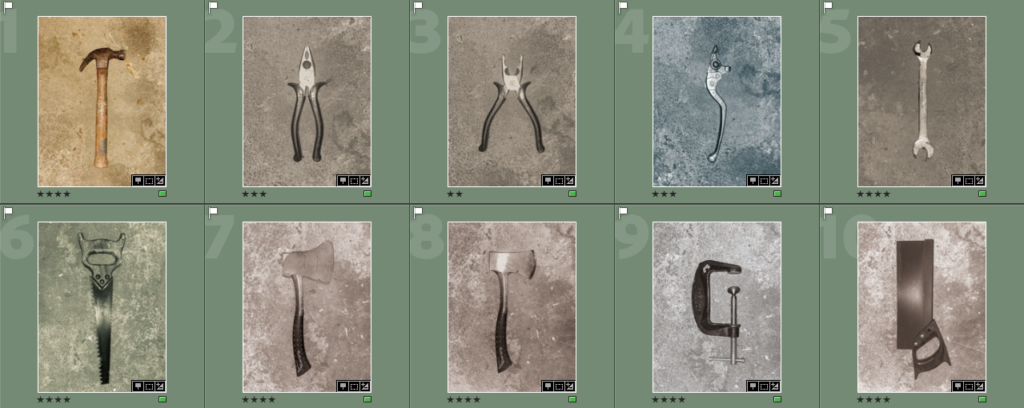
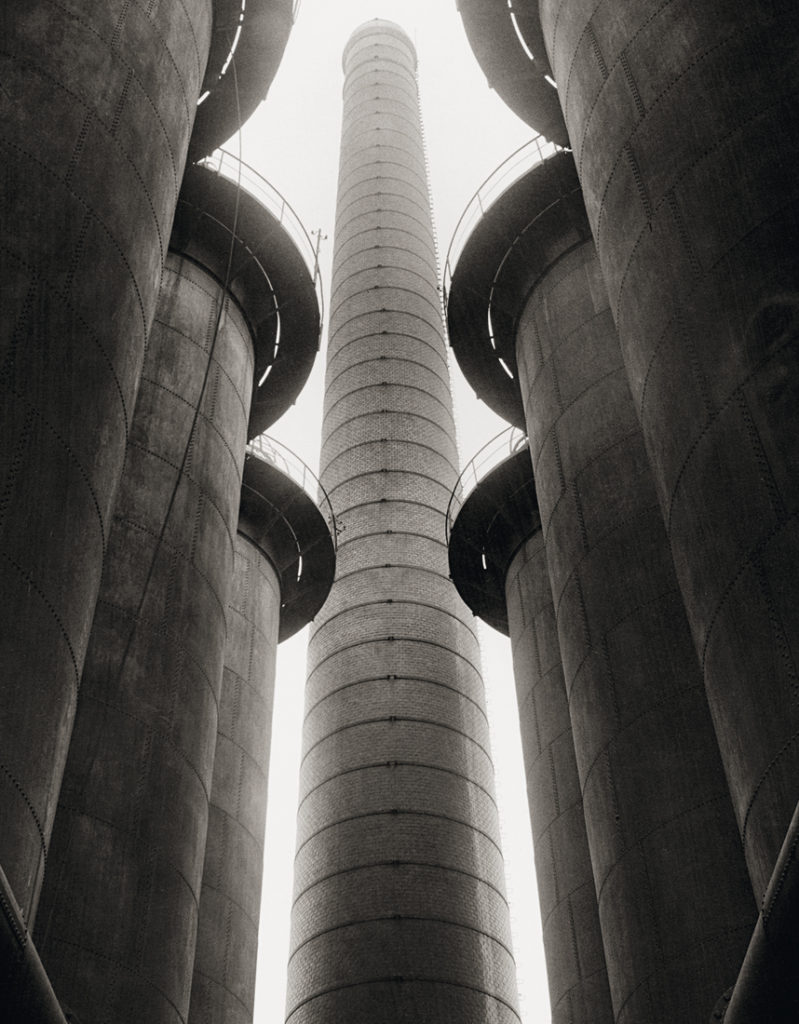
I did a small at-home photoshoot using the different tools I found around my garage, in the style of Walker Evans.
I sorted through my images, and removed the ones that had poor focus, too high an exposure, or just too small a subject, such as the allen key.
I then started editing, playing around with different monochrome presets and other settings for each one, but still maintaining the old-fashioned film camera look that’s present in Evans’ work.
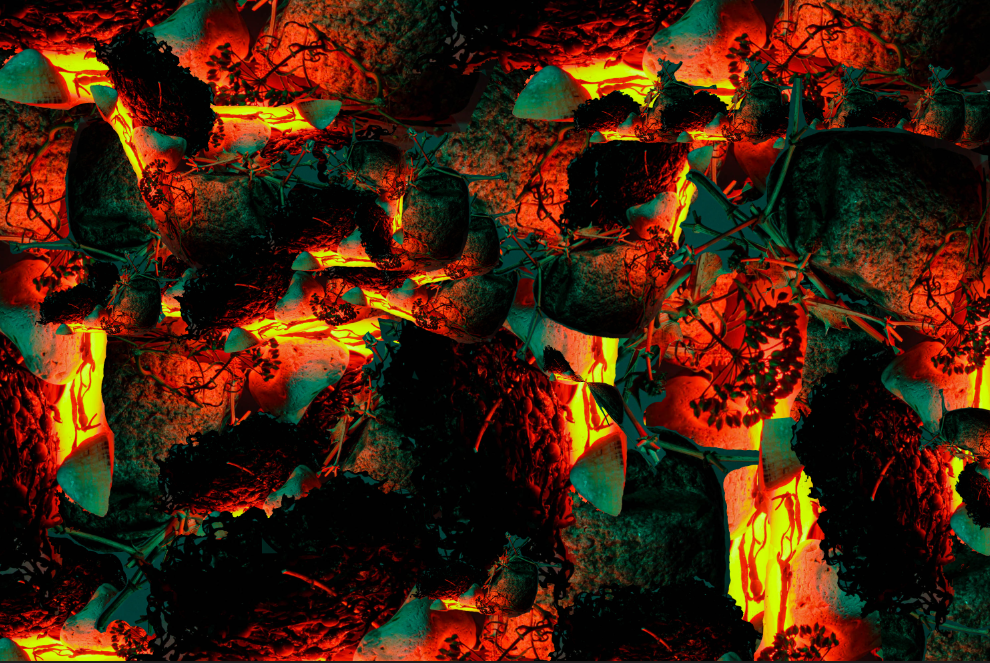
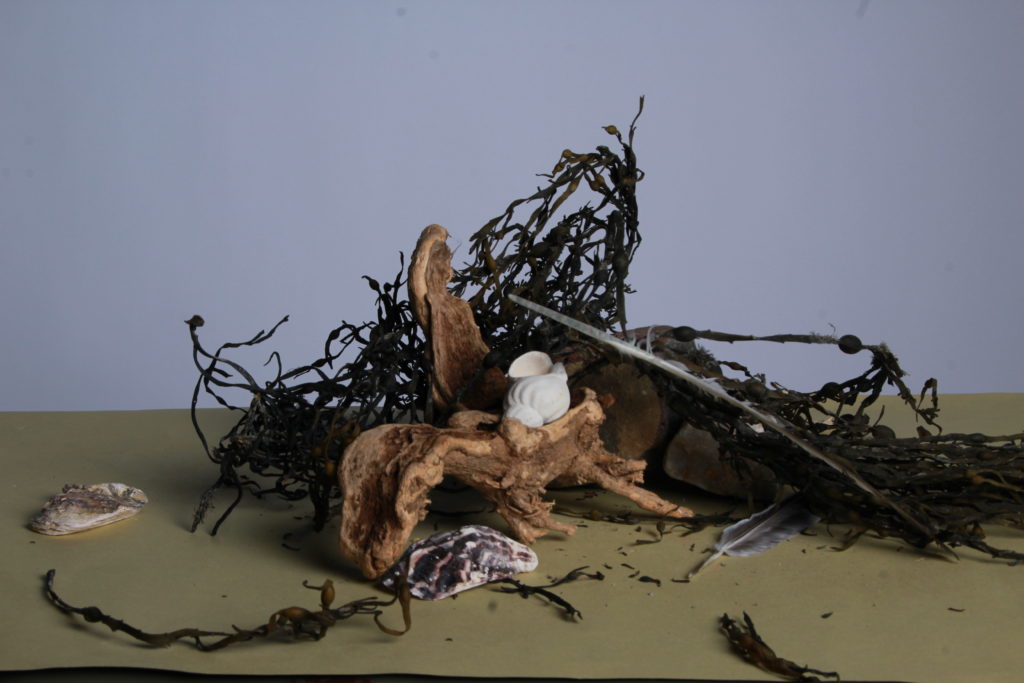
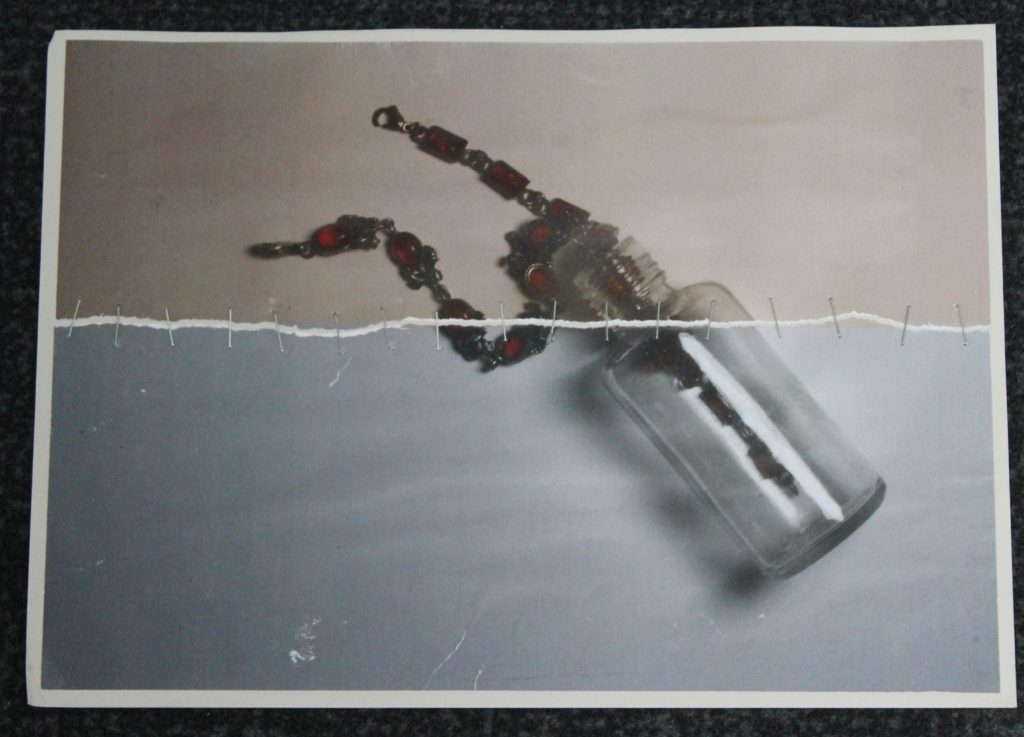
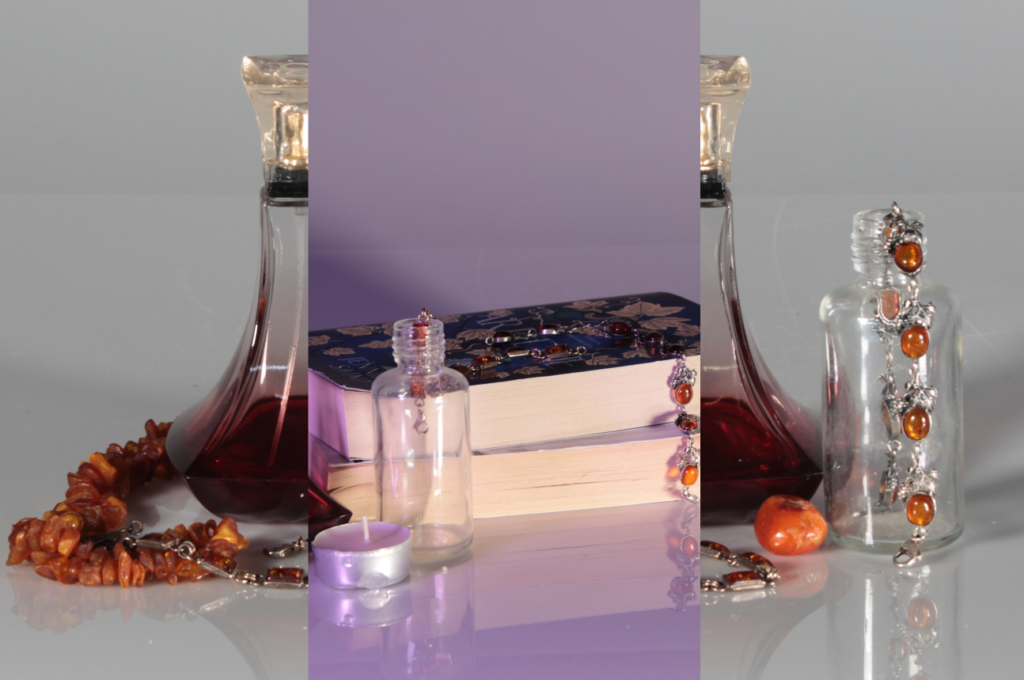
This is an edit I made by cutting out one of my favourite still life images.
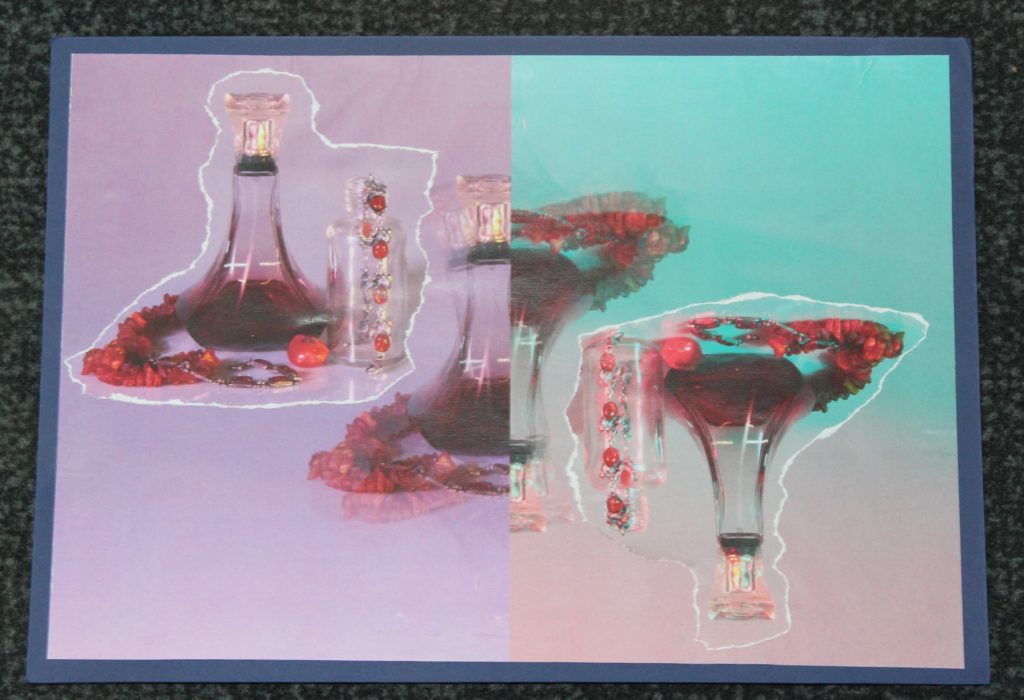
Then I pasted it many times on to a blank canvas, using different shapes, sizes and angles to fill all the white space with my image. I like how this has come out. It is very vibrant and exciting.
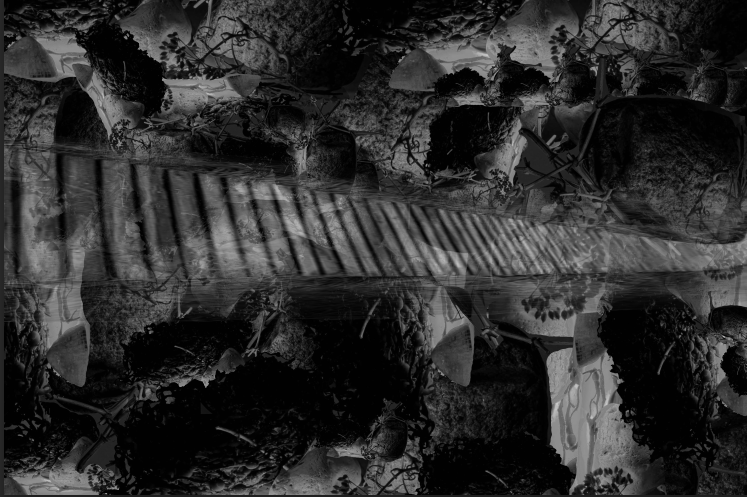
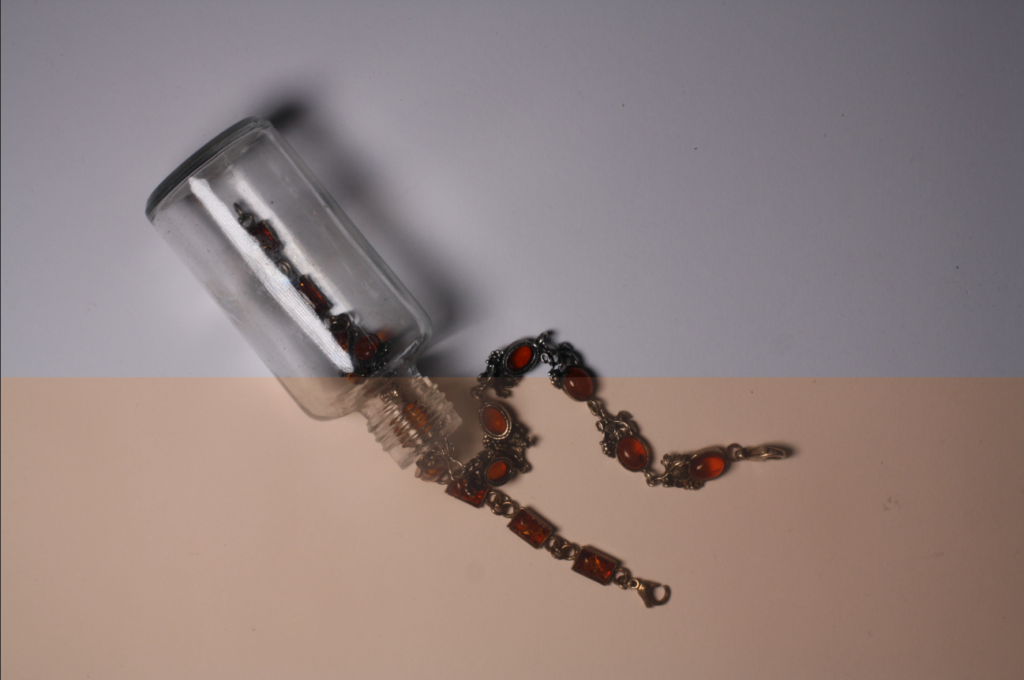
This is it in black and white. It looks like a great background for another photo.
I added a creepy bridge over the top of the background. I used the opacity tool to blend it into the image.
Now I put a lady falling off the bridge. It looks as if she has fallen off into a monochrome jungle.
For my first manual photomontage I used my image on the red car in black and white and stitched a red heart into the photo as if it was coming out the car. I used red string as it contrasted with the black and white image and stood out well. Overall I like how this image turned out as it is simple yet effective however next time I would make my image of a better quality to avoid the patchy image.
For my second manual photomontage I used the sam image twice but in two different colours (pink and blue). I then cut the images into strips and re stuck them together alternating the colours of the strips to create an engaging effect. I think the image turned out well however the strips could have been cut more carefully to avoid the little gaps between them when sticking them together.
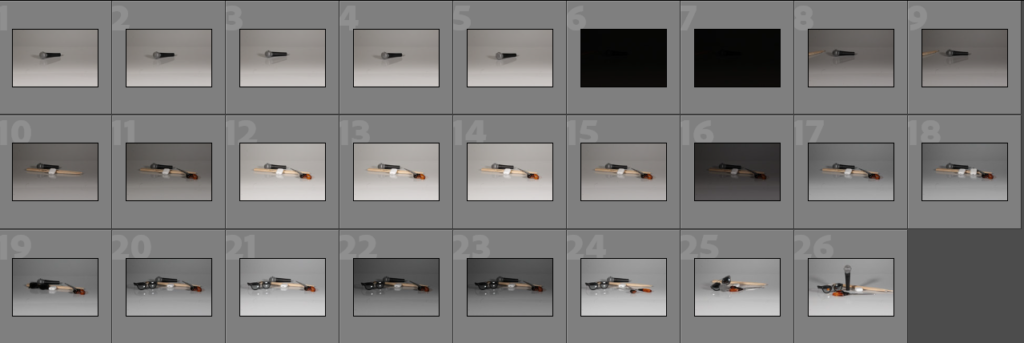
within photography, and taking picture of objects, people or specific things you want to control the lighting in, it is key to have a good setup and to understand what each area does.
for example with these two images there is a change in lighting and how it was set up. Image one was used with more lighting towards the right side of the objects, whereas the image on the left was used with less lighting, almost natural lighting. This can also be described as continuous lighting, where the main lights where turned off besides when the picture was actually taken.
in this image I used a camera setup of IOS 100, aperture F/16, with a white background and played with the lighting towards the objects.
Natural and ambient lighting
Natural lighting is described as lighting that was not set up by the photographer taking the picture mainly being from the sun or the moon, for example taking a picture outside of a rock, and depending on where the sun or moon is shining that determines the shadow of the everything within that picture including the rock. This lighting can change at any time depending on the setting of where the picture is taken, its unpredictable but can be some what controlled by the photographer using aperture, shutter, and IOS settings, and where they might be placed while taking the picture.
ambient lighting is pretty much used anywhere, in most pictures photographers use. For example in this image there is ambient lighting from the sun, and with camera adjustments the image creates a glow from the bottom of the image, giving a more vibrant look.
Importance of lighting
lighting within photography is a very important aspect of what can create an image. It creates depth to the image making it stand out more or even giving it an aesthetic look.
An easy aspect of light is that photographers can manipulate where they want the shadows of an object or thing by using a mirror and/or different positioning. With different types of lighting creating different types of affects of the image. This includes things like the intensity of the lighting creates a sharper or softer shadow, or a different shades of light creates an even bigger aesthetic to the image.
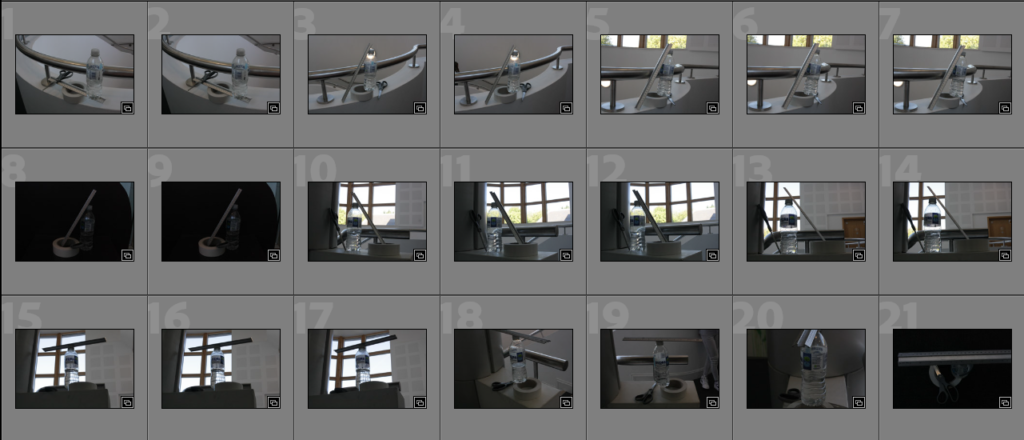
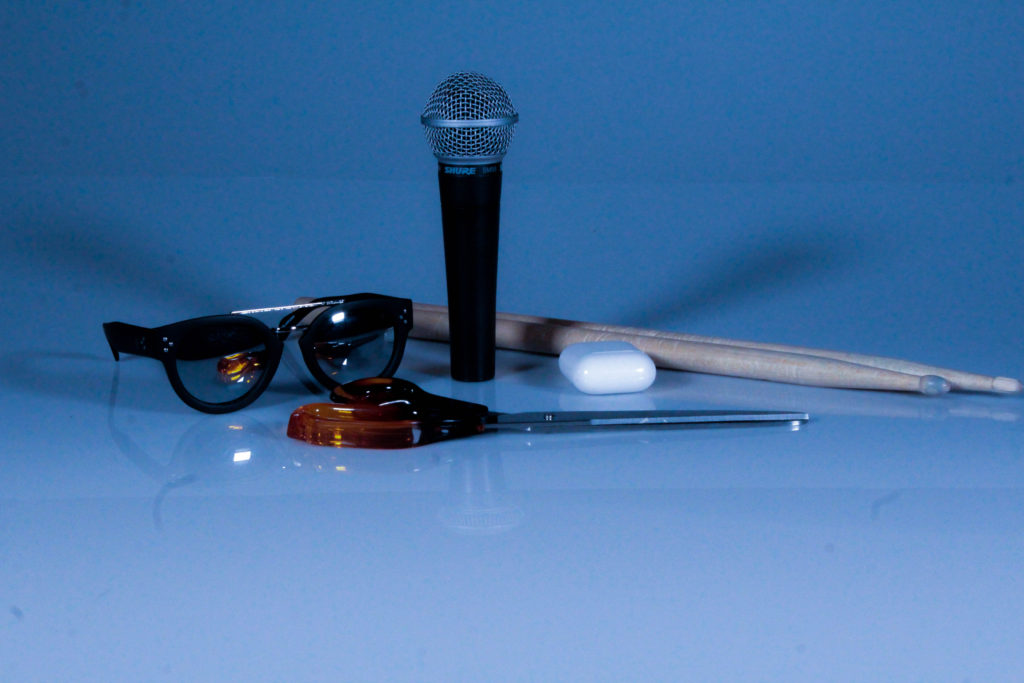
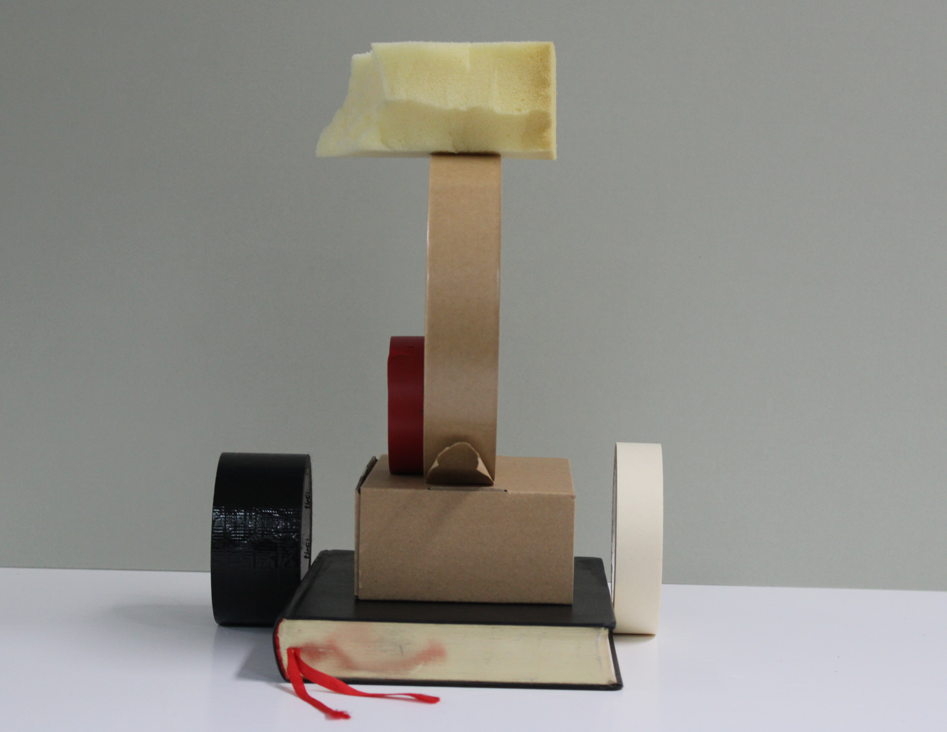
As a group, we experimented with different elements of Mary Ellen Bartley’s COVID-19 quarantine project – 7 Things Again and Again – and created our own compositions using different objects from the studio and our own personal objects.
We used props we found around the studio – microphones, drumsticks, scissors – and a few personal objects in different orders to experiment with shadow. While we were able to do this, Bartley’s work makes more use of natural light, so we also went to an area of the school where there was plenty of natural light to use.
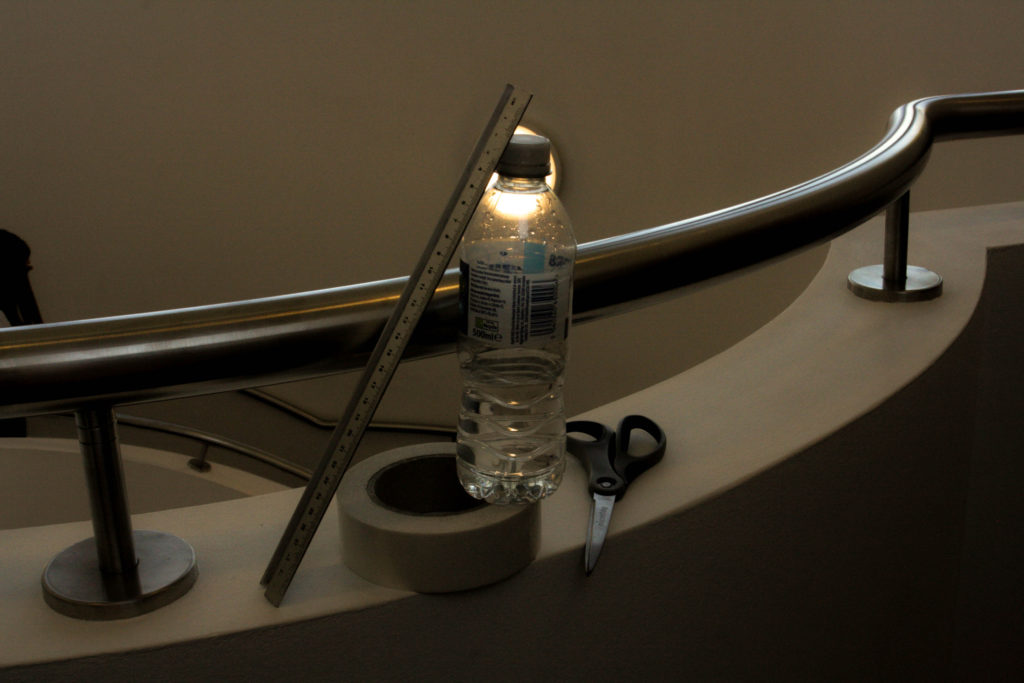
Using a water bottle, a ruler, a roll of masking tape and a pair of scissors, we attempted to create some natural light compositions. We had hoped the water in the bottle would create more of a glint in the light than we had in the final product, but we still took a few images that were simple enough to use. Like Bartley’s work, we needed to try and have a simplistic background for our objects, so that the focal point would be on them as opposed to anything on the wall or floor.
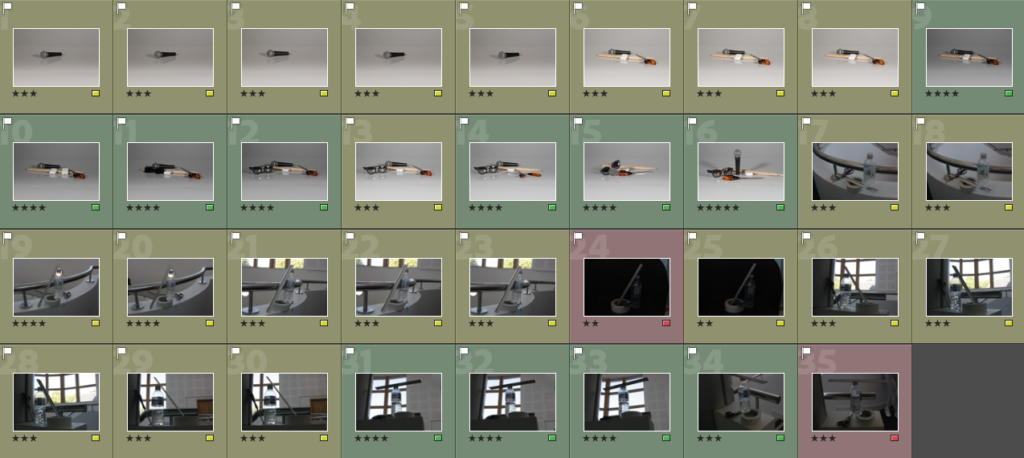
After uploading, I started the editing process on Lightroom Classic, and gave each image a star rating and colour grade (red = unusable, yellow = could use, green = usable). Most of them ended up being yellows as I was unable to determine which ones would work well after enhancing them. My decision was to edit a few that I think could be turned into something better – such as image 24/25, as the exposure only seems to be the issue, although the natural light level is relatively low.
I edited six images – one of which was from the single object shoot – that I thought could turn out to be something decent, but as this project was rather simple, there wasn’t all that much to work with, and I could only really enhance the studio images and a few taken around the school. I marked them in blue to show they’d been edited, and exported them.
These five photos were the best of the whole shoot, and looked even better after editing. I like the use of temperature within the images, and the effect of night/day the warmth creates – the colder images look more like they were taken in the early morning, whereas the warmer images look like they might have been taken at night/evening, mixed with the low light levels and heavily contrasted shadows.
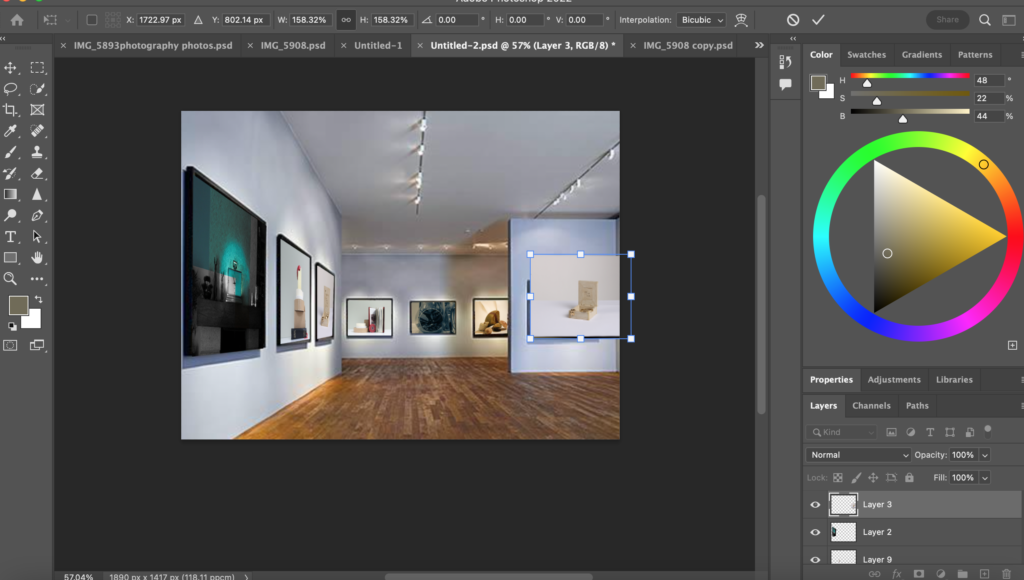
I have created a virtual photo gallery using my favourite photos i have taken so far.
I used photoshop to place the images onto the original photo. I lined up the photos to the original photo frame, i then right clicked the image, pressed skew and moved the photo so it then fit the frame i used this process for each photo until the gallery was full.
I a lined the photo into the frame and then you make the photo the size you need to fit in the frame, if the frame is on a angle you need to use skew to create the illusion that the photo is on a angle.
New Objectivity was a movement in German art that came out during the 1920s. The term was coined by Gustav Friedrich Hartlaub, who was the director of the Kunsthalle in Mannheim, who used it as the title of an art exhibition staged in 1925 to showcase artists who were working in a post-expressionist spirit. Although principally describing a tendency in German painting, the term took a life in Weimar Germany as well as the art, literature, music, and architecture created to adapt to it. Rather than some goal of philosophical objectivity, it was meant to imply a turn towards practical engagement with the world an all business attitude, understood by Germans as essentially American.
What is the importance of new objectivity ?
The New Objectivity movement in photography, emerging in the aftermath of World War I, holds significant importance for the impact on visual storytelling. Characterized by its unembellished style, it sought to portray the world with a heightened sense of realism, rejecting romanticism and subjective idealism prevalent in earlier photographic approaches. The importance of New Objectivity lies in its commitment to capturing the truth of the world without manipulation. Photographers under this movement sought to present an unvarnished view of society, often focusing on everyday subjects and emphasizing the details of the objective world. Furthermore, New Objectivity brought a sense of social responsibility to photography, using the medium to document the complexities of the human experience. By moving away from idealized portrayals, photographers sought to engage viewers in a more critical dialogue about the realities of their surroundings. This movement paved the way for a more authentic, documentary style of photography that continues to influence contemporary visual storytelling, emphasizing the power of unadorned narratives and the importance of an unfiltered depiction of the world.
Mary Ellen Bartley is a still life photographer, and is a great inspiration when it comes to deciding what objects to photograph and how to align them as the objects she choses always comliment eatchother and have similar tones. she choses objects that go very well together when it comes to shape and colour. she stick to being manimalistic chosing objects that are quite simple in design like books and containers and cups .
during lockdown in 2020 she gave herself a project to photoraph the same thing over and over again, she named this project 7 things again and again. she actplained in the vidio bellow this project in thurder detail.
from what I have learned from the video and her project is that with each day she desired to expand he creativity, using back lighting, montages and different forms of lighting whereas at the start she just stuck to capturing the objects in different positions. through this project not only she learned but also inspired people to think outside the box and that photographing still life doesn’t have to be boring. There are many opportunities to photograph objects creatively producing interesting and exiting photographs.
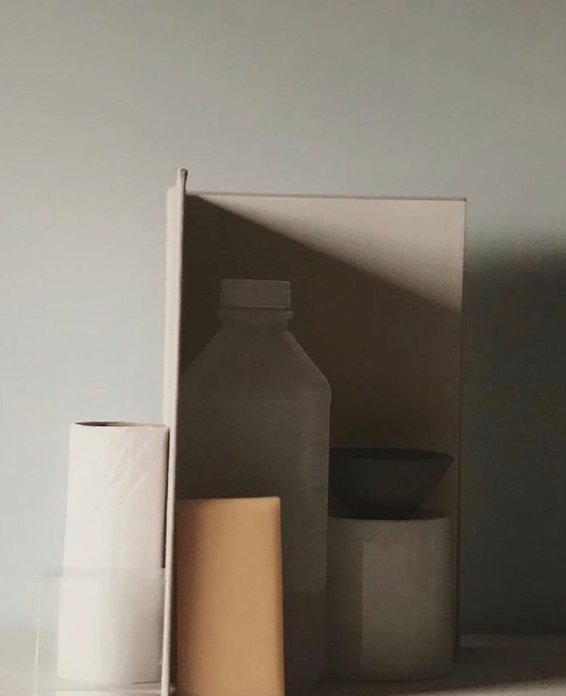
6. Conceal and reveal – light and shade
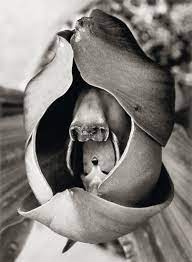
The objects in this picture are simple when it comes to their shape, because the objects aren’t rigid or have much detail to them, what can be seen is a lot of straight parallel or horizontal lines correlating to each other as well as opposing. There are no rough edges or cracks making the photograph appear calm, smooth and unlayered. This is because the are not many layers when it comes to a photograph. There is a plain colour for a background which its colours corelate to the objects, making them not stand out as much as if a more vibrant or even black background was used they would. There are many greys and whites however what stands out the most is a soft yellow container which is the only object of the most different colour. What is interesting in this photograph is how given the fact that the objects are simple and so is the background and colours of them, the light plays an important part in the photograph . Using a book she blocked the light source and placed objects inside the shadows of the book as well as the toilet paper on the outside. By doing this she created an image which is exiting and interesting to look at as she found a balance between whites and blacks and used light to her advantage. What she also put in the final image is a little square of the same or similar object on top of the white toilet paper which is hardly noticeable but is an additional element of the image. With this photograph she showed even what can be said by most, ordinary objects and plain , unexciting colours can produce an interesting image depending how creatively the picture is taken, she shown her creativity when blocking the light by the book and on top of that when she included a tiny square. What I’ve gathered from this is the photographers input and the way the picture is taken make an image interesting especially if their creativity is shown, not what is being photographed, although this also has a big part.