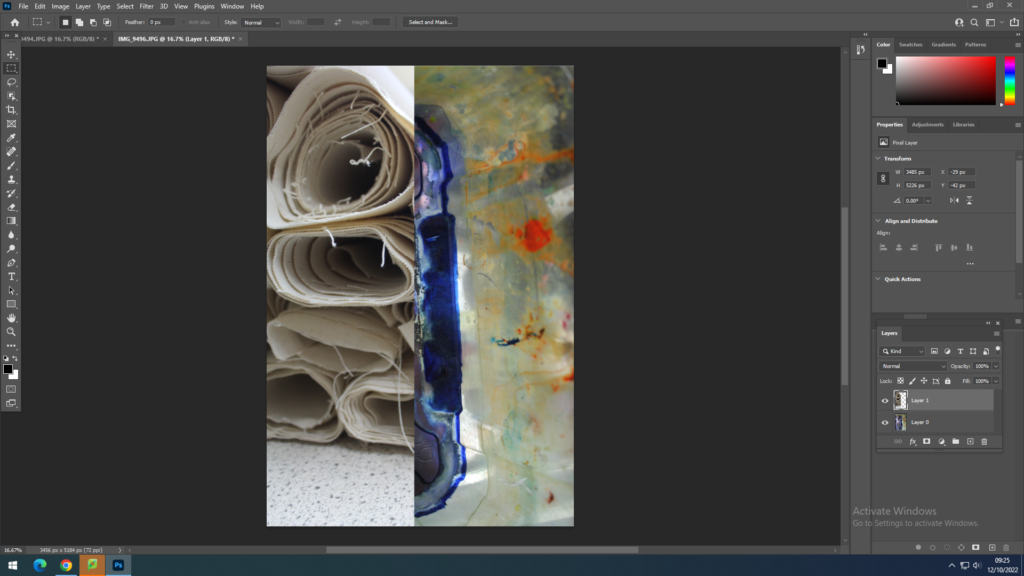
using photoshop I was able to experiment with different tools it has to offer to create an interesting image. With the first image I have layers another image on top of another and cut it in half so that I have 2 images joined in one image. i have done this by opening 2 separate images in photoshop, then using Ctrl+A, which selects the whole image and pressed Ctrl+C to copy the single image, then in a different window where the other image is opened in i have used Ctrl+V to paste the image on top of the other which also creates another layer. These layers can be seen on the right side of the screen. these layers can also be joined together by dragging one on top of the other, or a layer can also be moved depending where on the plan of the image it is supposed to go, next to the layer if the eye icon is pressed that controls if the layer is visible or not , this helps to work on a single layer only if the others are not visible. to work on a specific layer it has to be selected first , where it will be a lighter grey then the others. by using the crop tool on the left hand side I have cropped the top layer of one image.

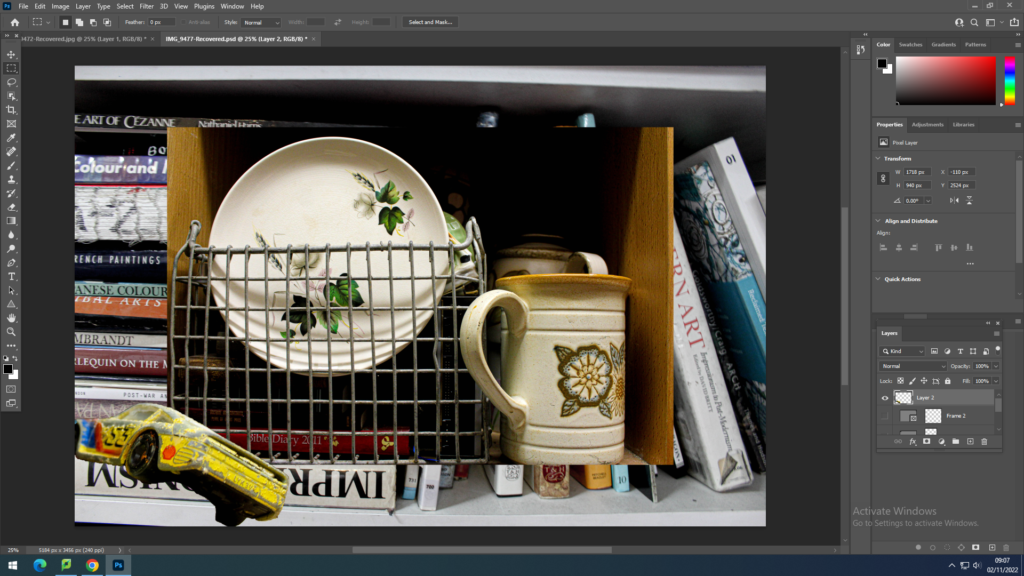
By using similar skills as above, repeating the layering process I have layered one image on top of the other without cropping it like I did with the image above, instead I used Ctrl+T which transforms the image and allows me to shrink it and change its size , this also allows to change the perspective of it and has other options when it comes to transforming the image size, angle etc. These options are shown when I right click with the mouse on the image after using Ctrl+T. I didn’t use these options when creating this image however I am now aware of the options and know how to use them, and where to find them in the future. another new thing I did with this image is having another one opened and in its window using the lasso tool, found on the left hand side of the screen, to create a circle around the car and this selected it where I was able to copy it directly to the overall image.

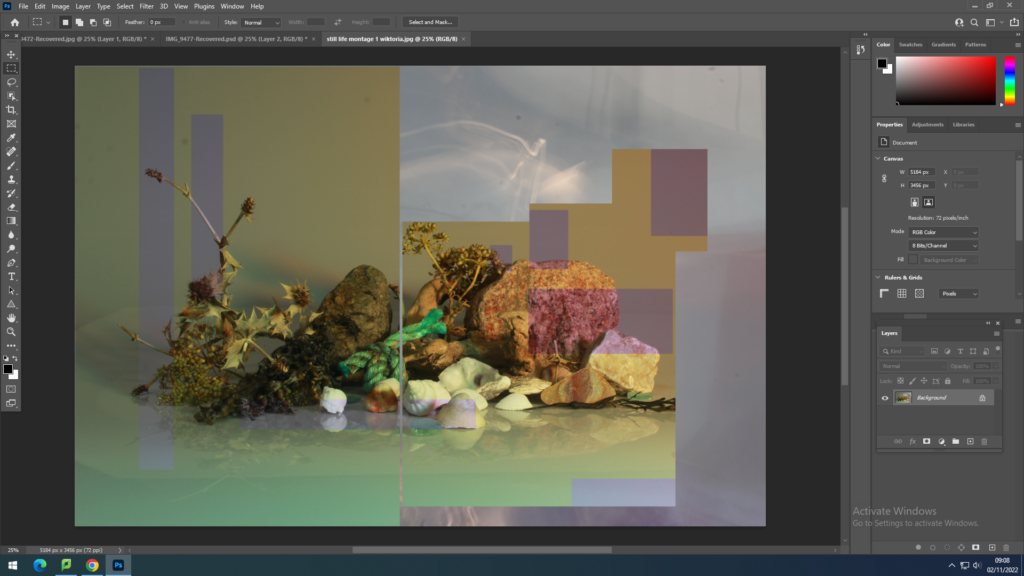
For this image I used 3 different images which I have worked on one by one and because the images were layered with rectangular marquee tool or rectangle tool found on the bottom left, I was able to select a shape, which were rectangles, and to draw then on different parts of the screen which when I pressed enter created a “hole” in the image but the layer from underneath was visible, which was the same image however in a different colour. on top of it I layered a final image which I have also cut out rectangles in however because this layer was on top of the previous 2 , this meant both of then showed through.

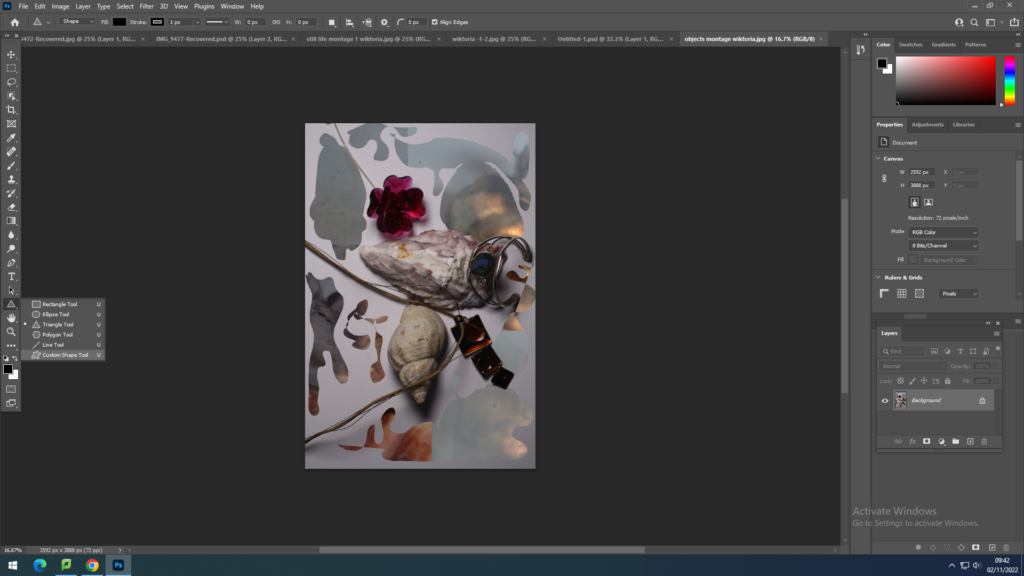
When it came the last image I have used all the techniques that i have mentioned when it came to layering an image on top of another , using cutting and rectangle tool to create a background and on the top layer I have use a custom pattern tool which was an option when I clicked on the rectangle tool I was using previously , then I drew shapes in the image , this process is relatively the same as the above one except I have customised the shapes I was drawing.

