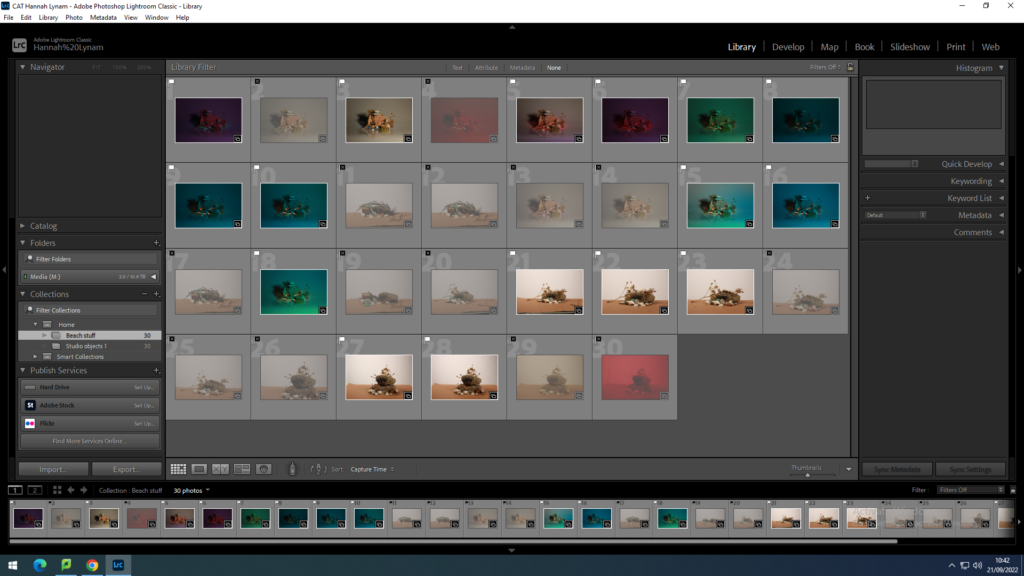
To select the images I wanted I used “shift ” and “p”. If I didn’t want the image to be apart of my selection I used “x” instead and it would reject the image.
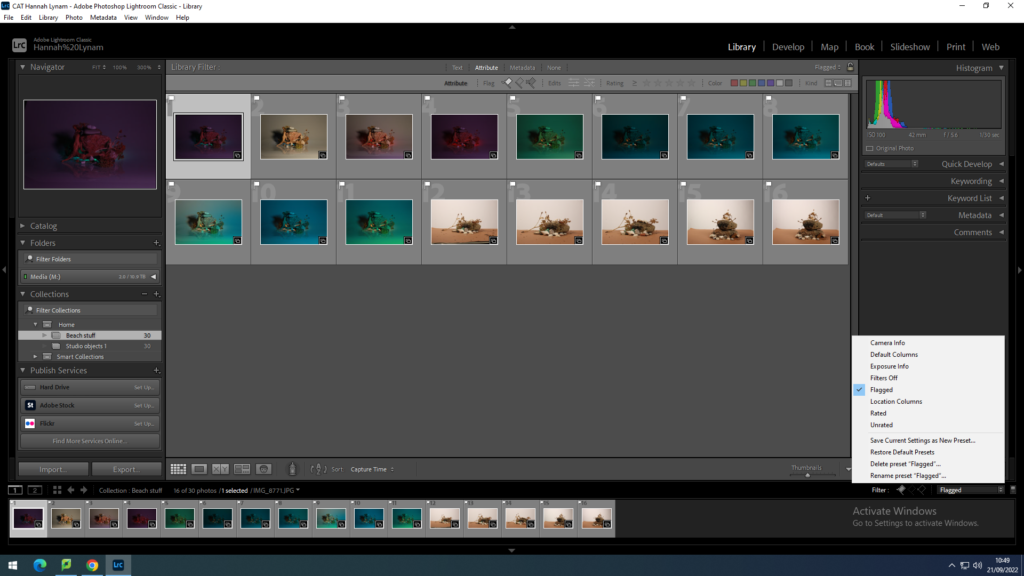
To filter out the images you have rejected you select “flagged” so you only see the ones you have selected.
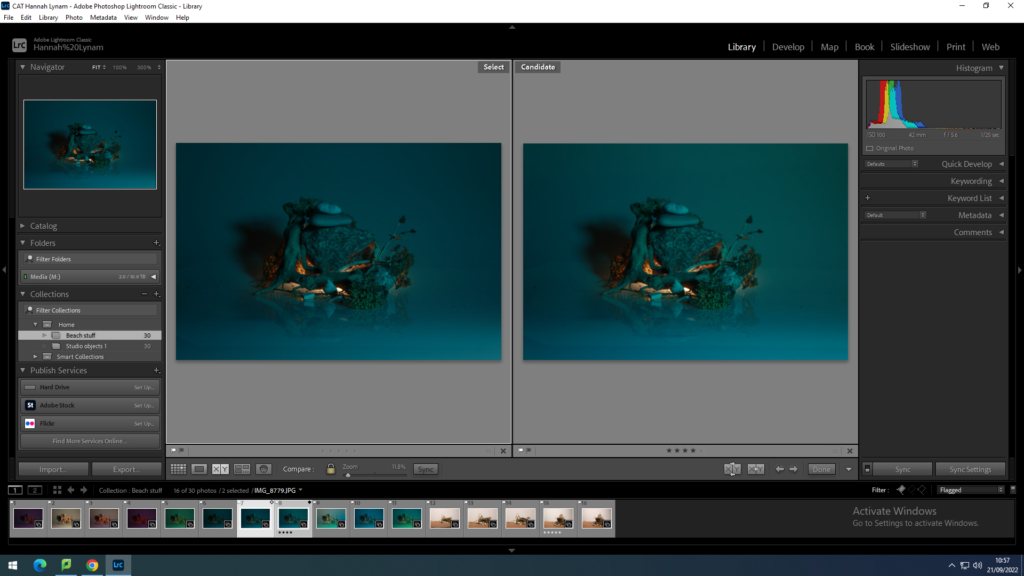
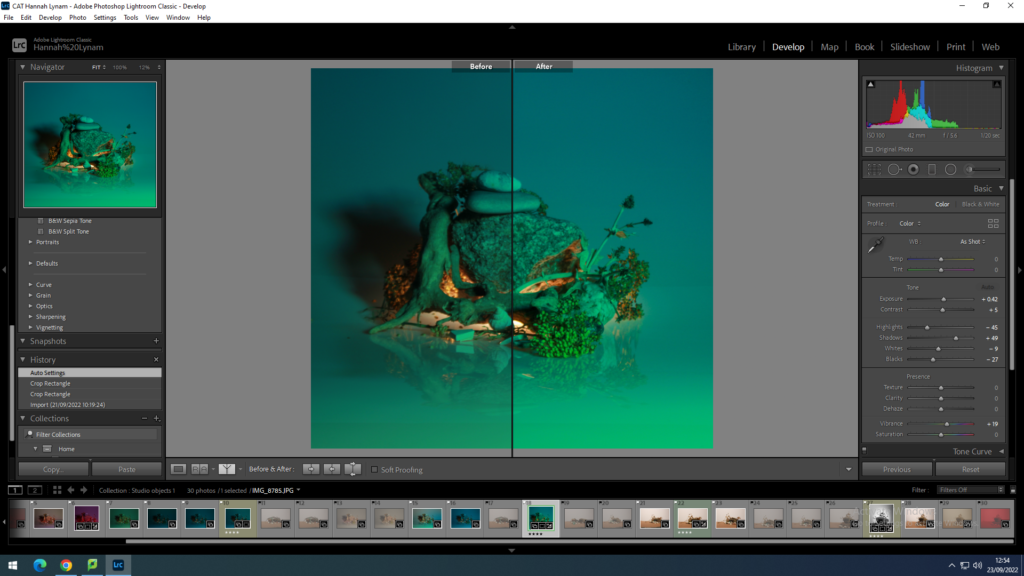
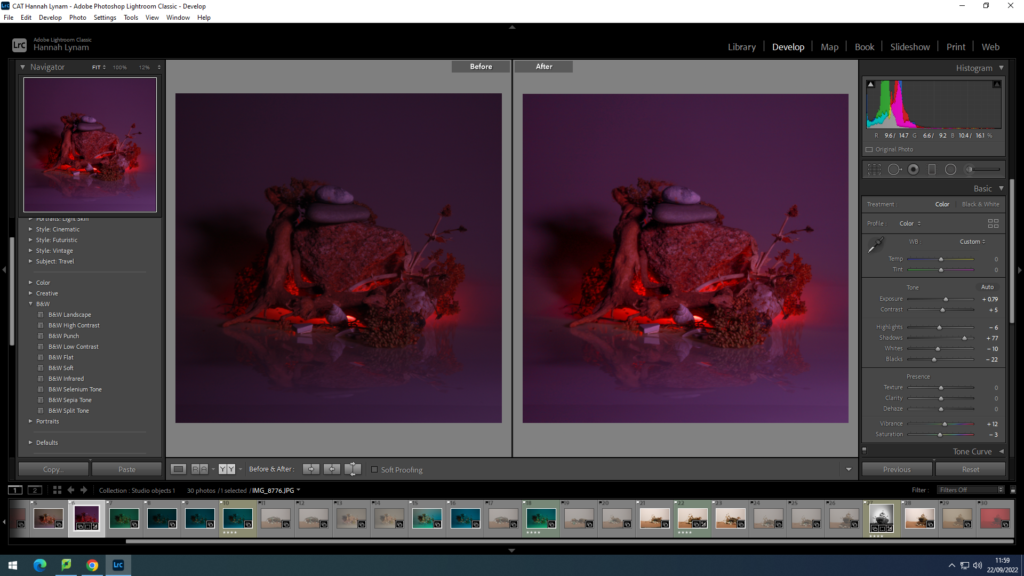
You can compare images by using “X and Y” view and give them a rating.
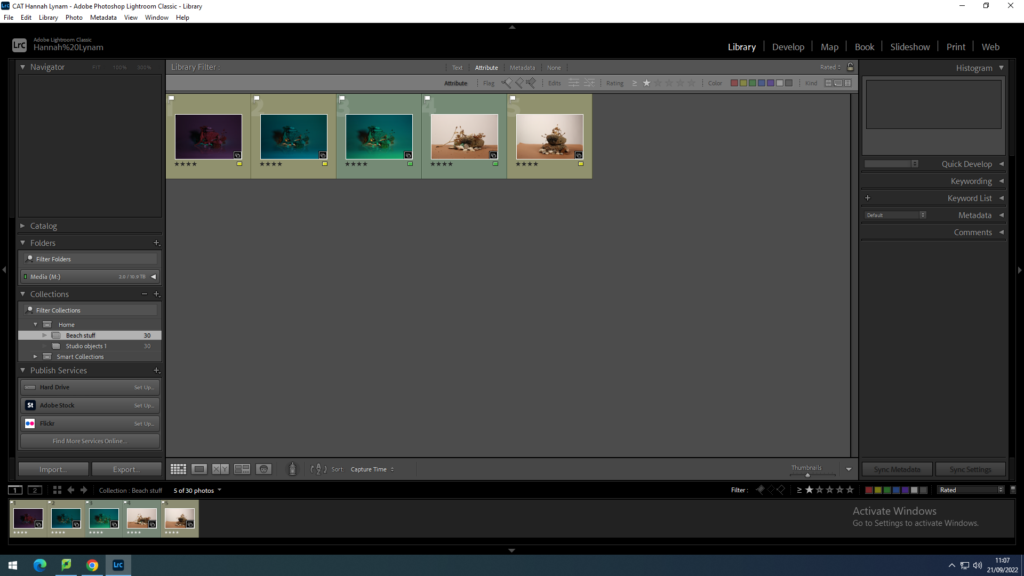
You can then narrow your images down further so you only see the ones you have rated. You can then give them a colour to help you narrow down your final selection further.
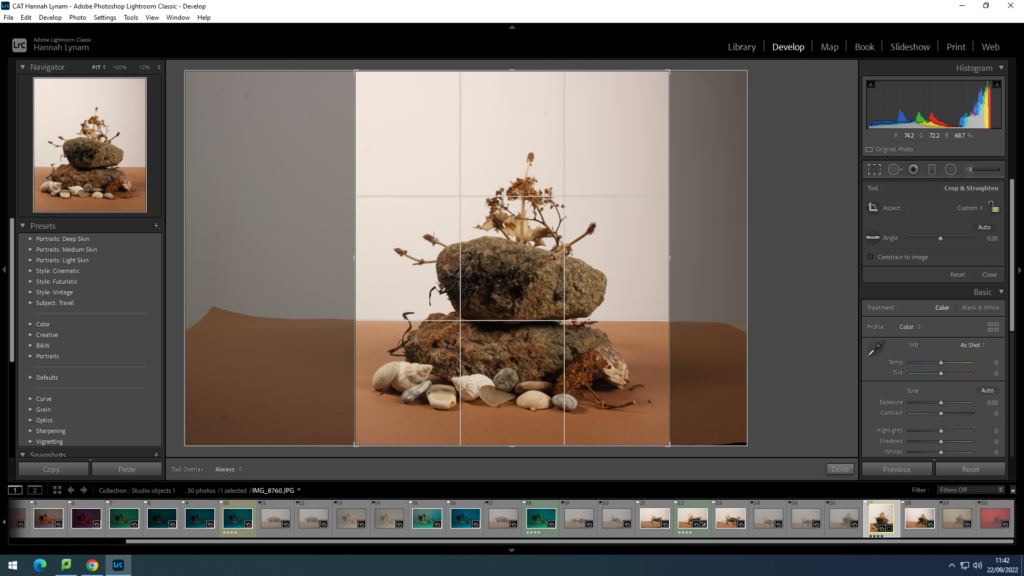
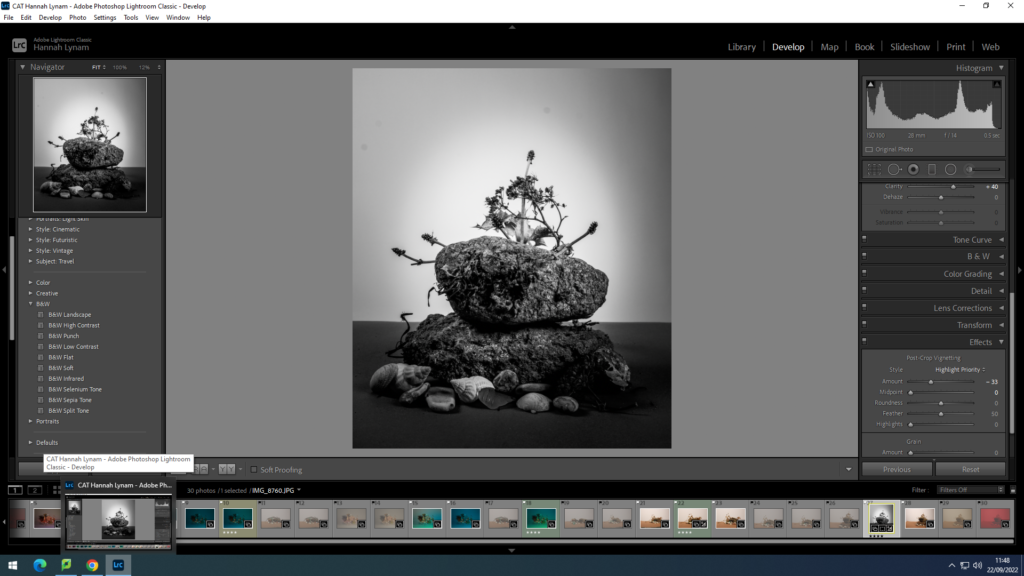
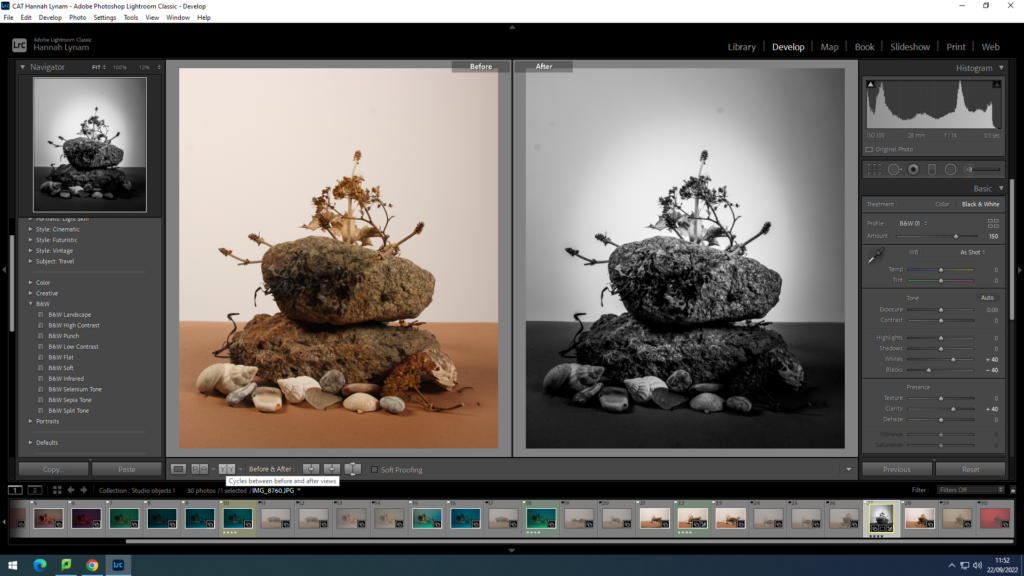
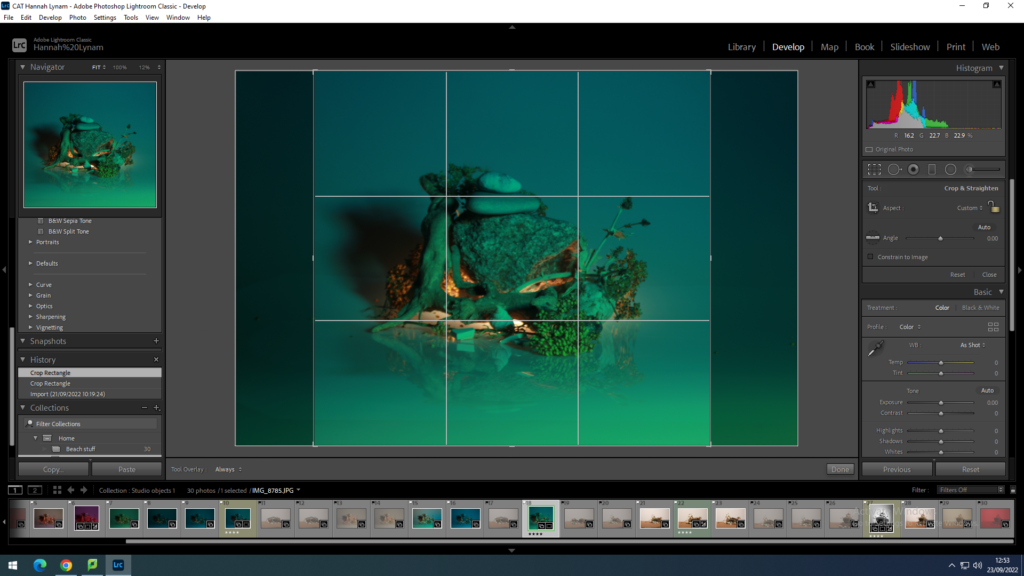
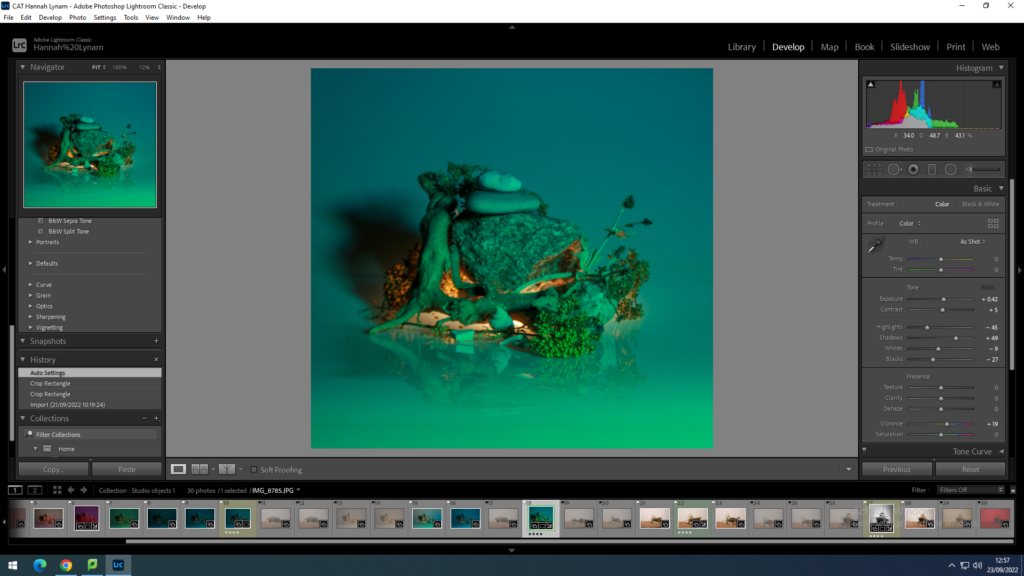
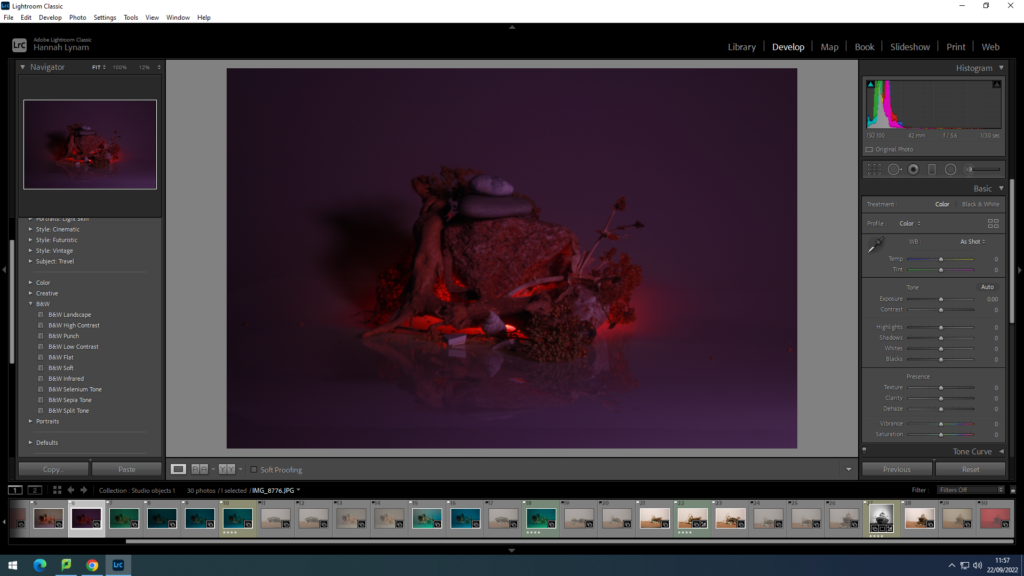
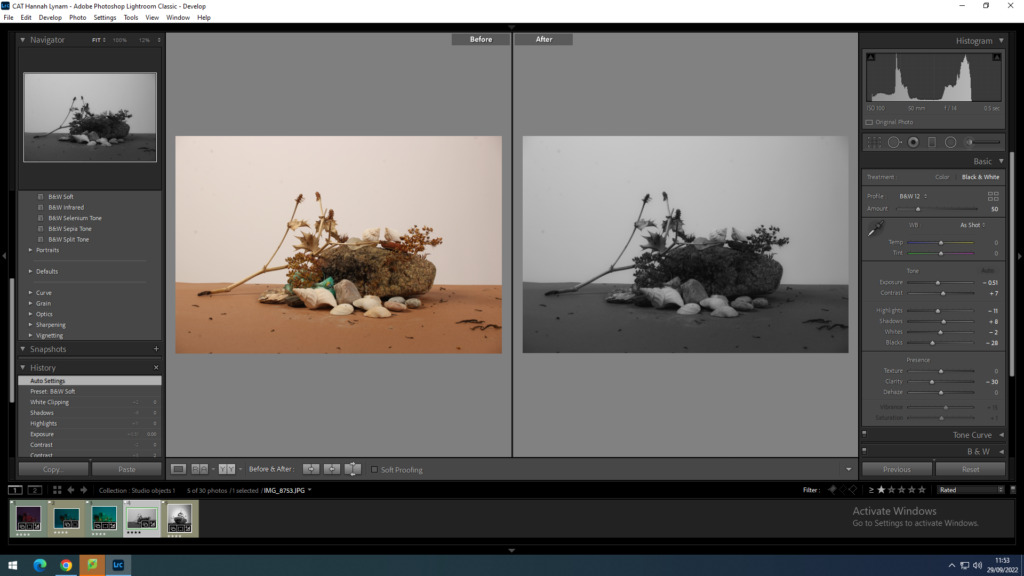
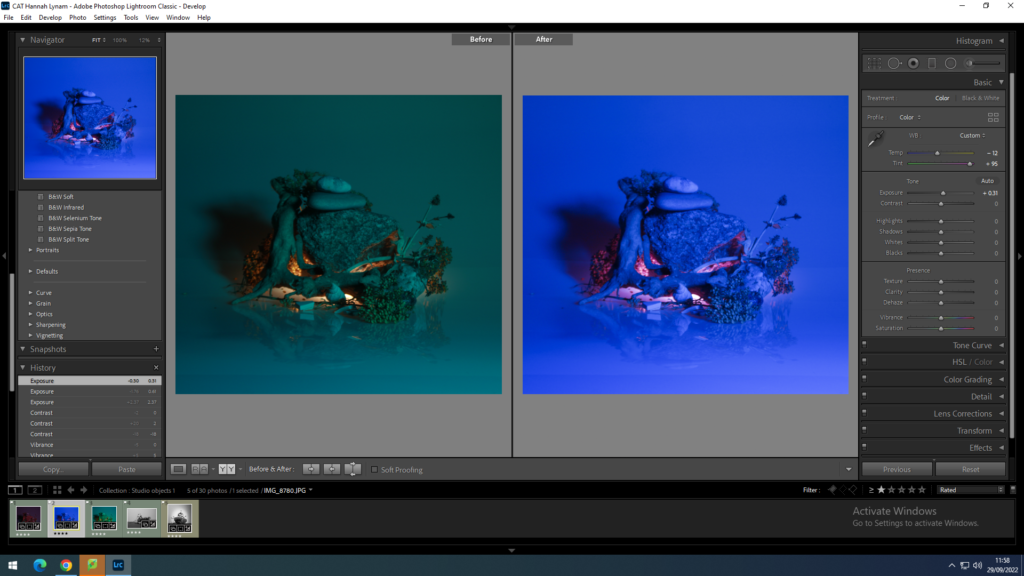
Basic edits:
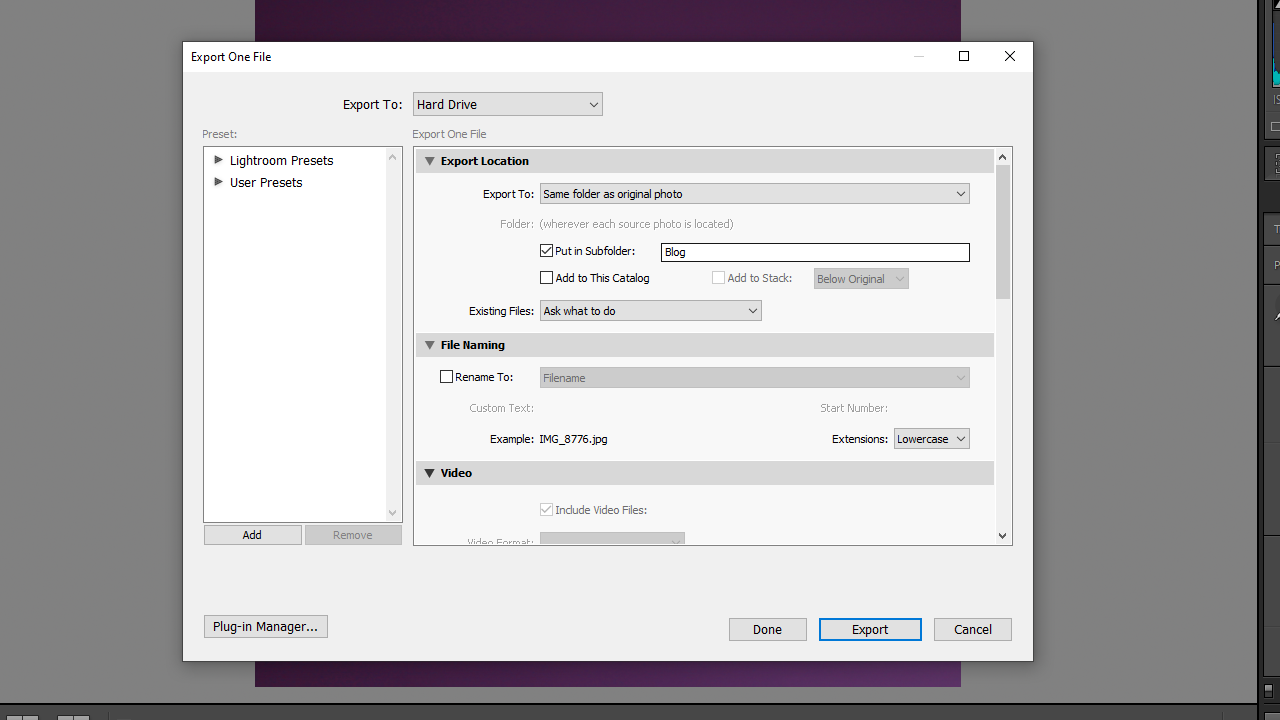
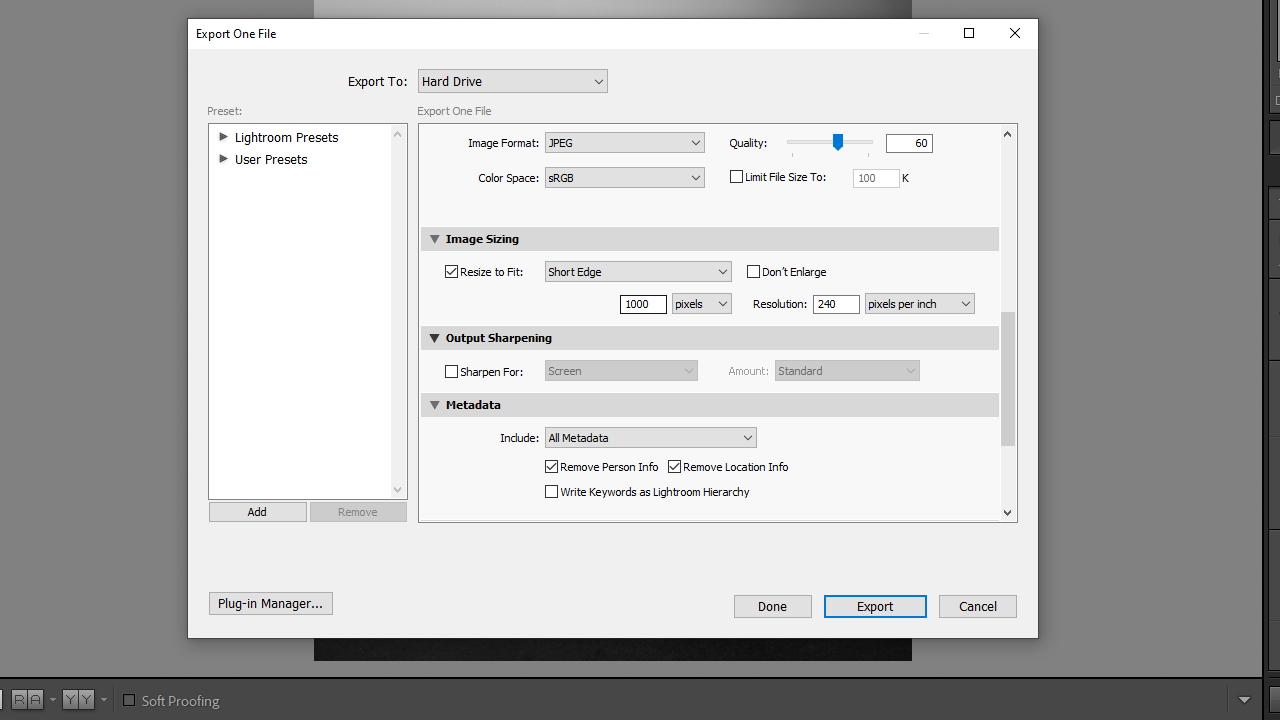
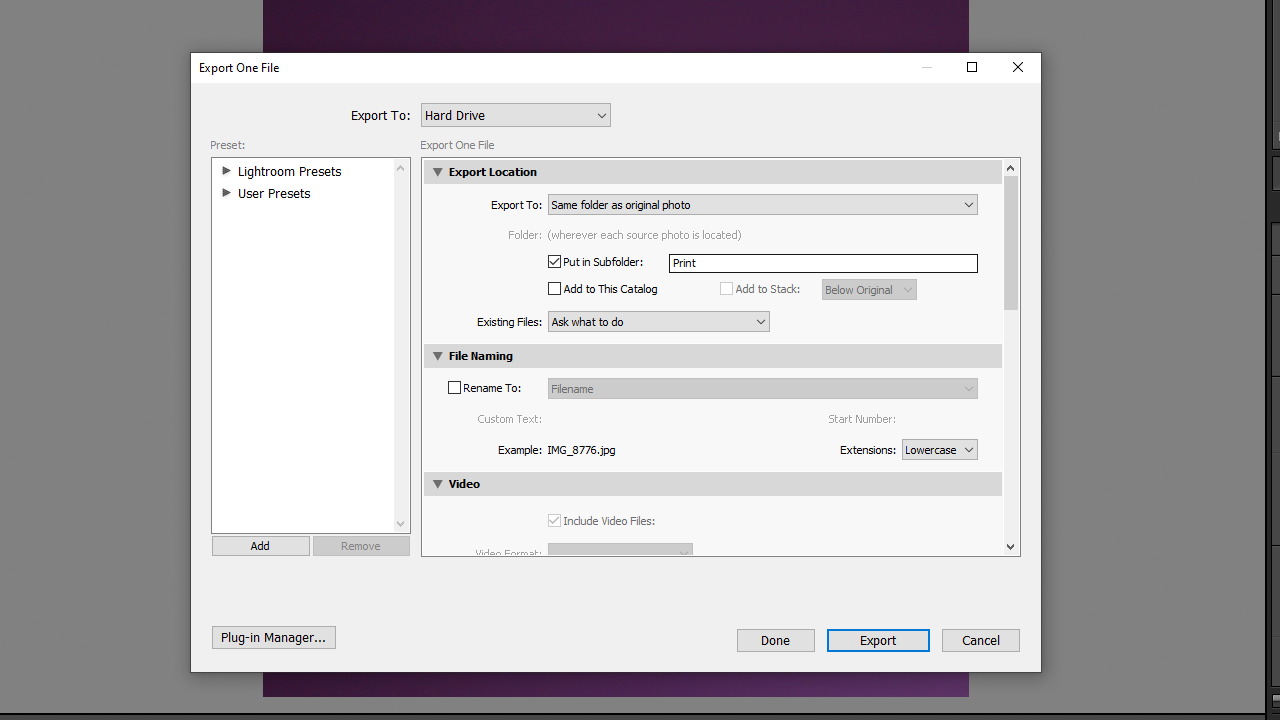
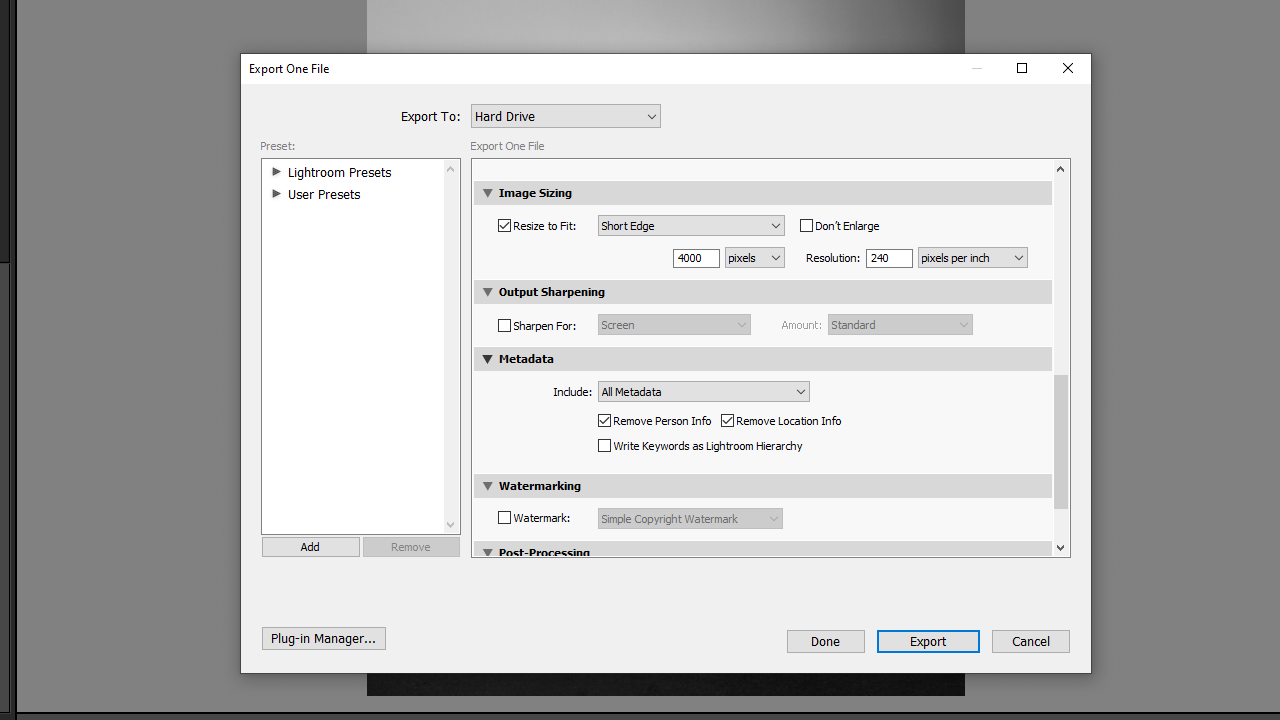
How to export an image
