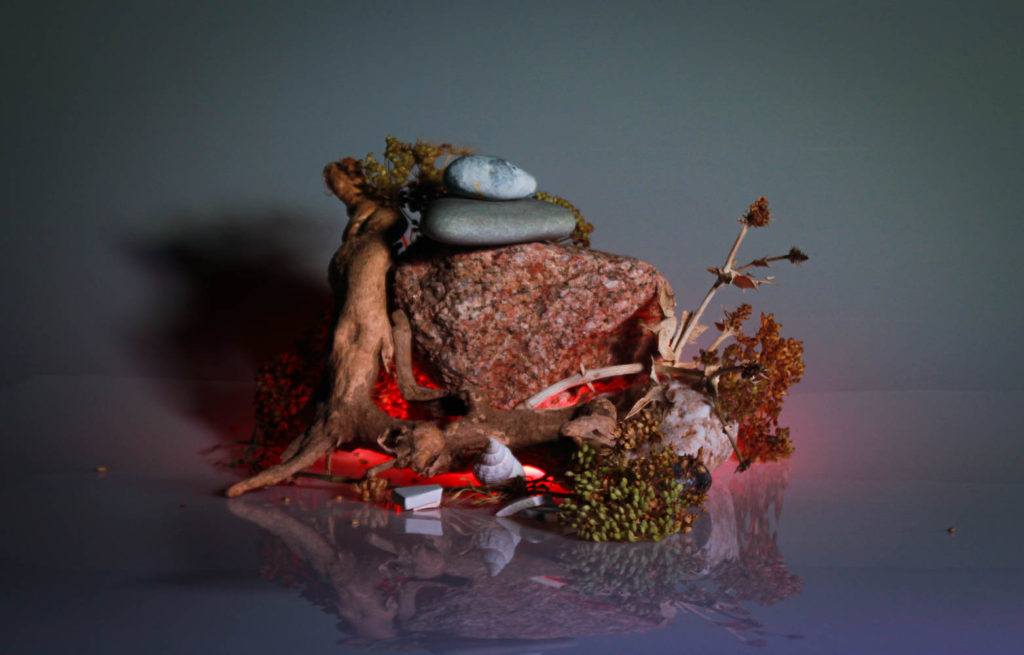
Importing Images:
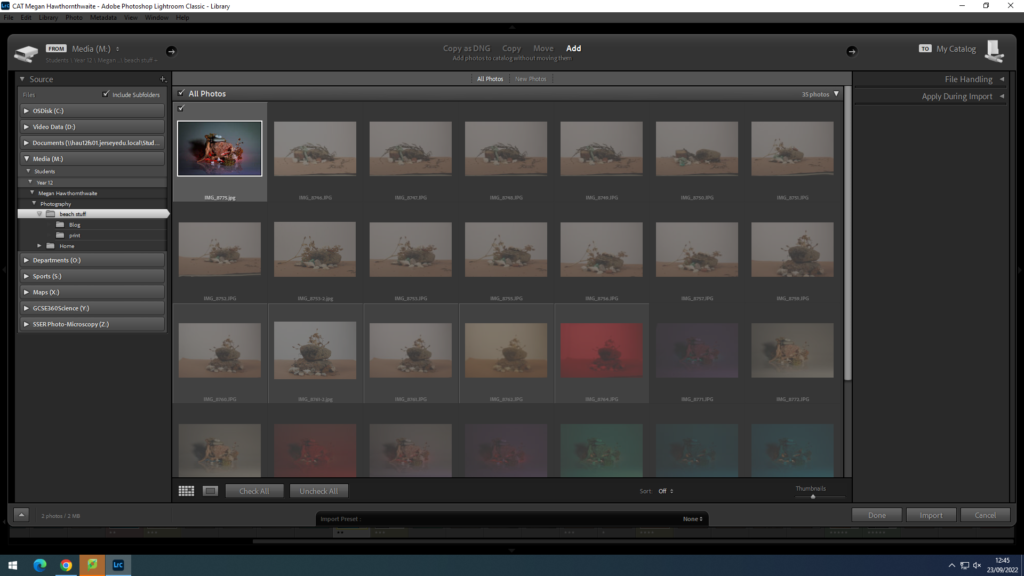
To import, click the ‘import’ button in the bottom left and you will be shows the files on your computer. Select the folder and images you want to edit and click ‘import’.
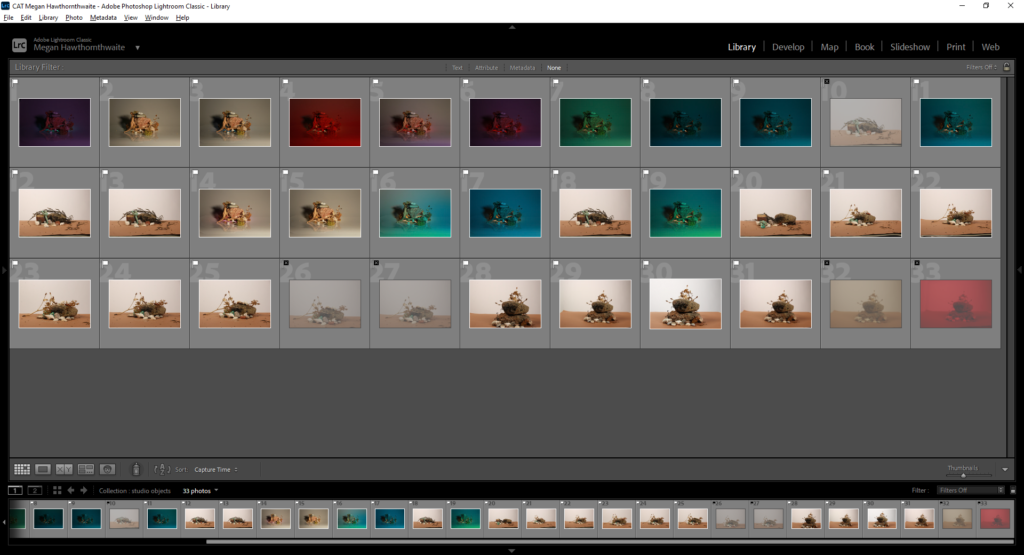
I used ‘shift’ and ‘X’ to reject the images that I didn’t want to edit as they were out of focus or over exposed.
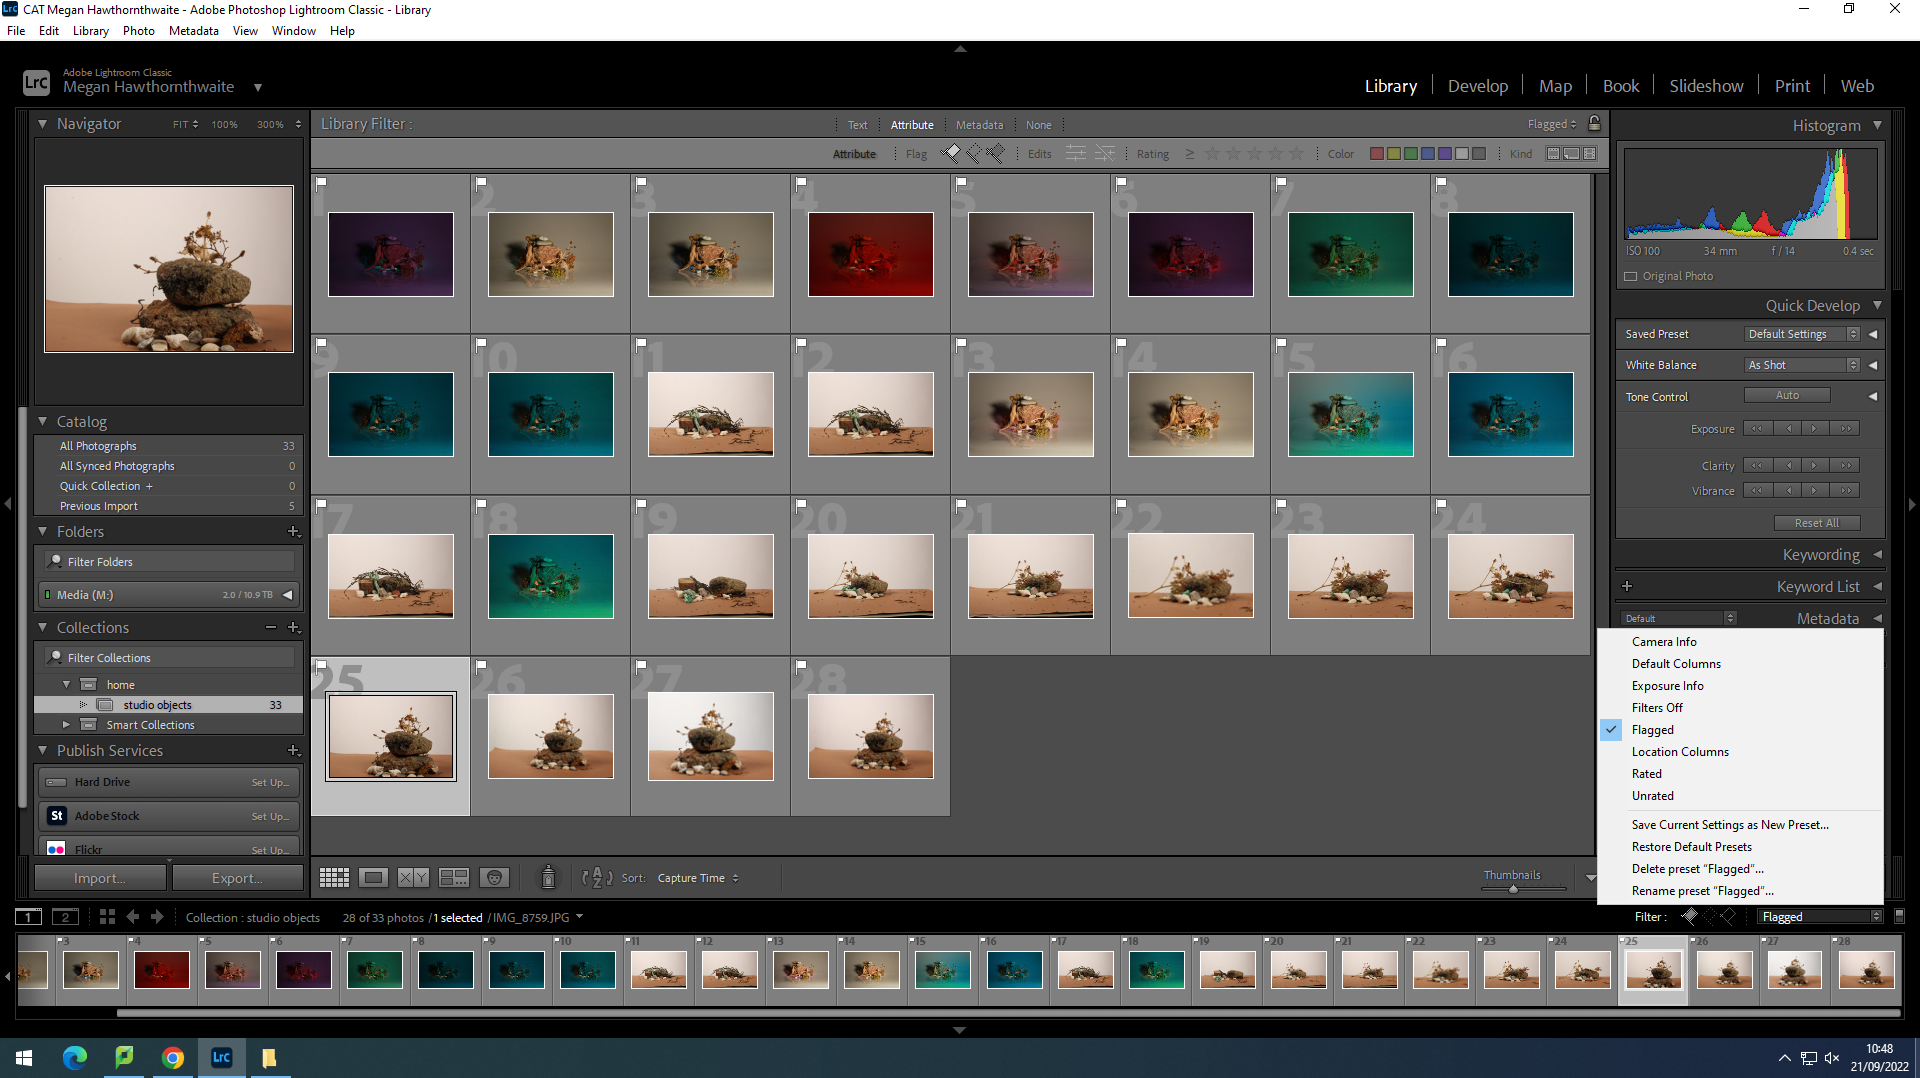
I have filtered out my rejects by filtering to only show the flagged photos.
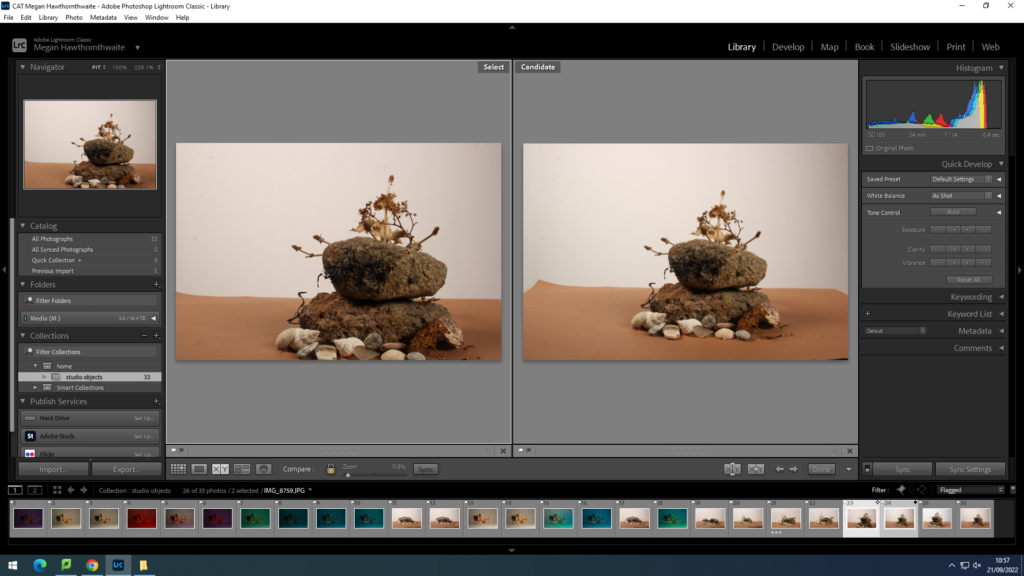
You can compare images next to each other by selecting two and then clicking ‘Compare View’. You can then zoom in on them by clicking on an image and moving about.
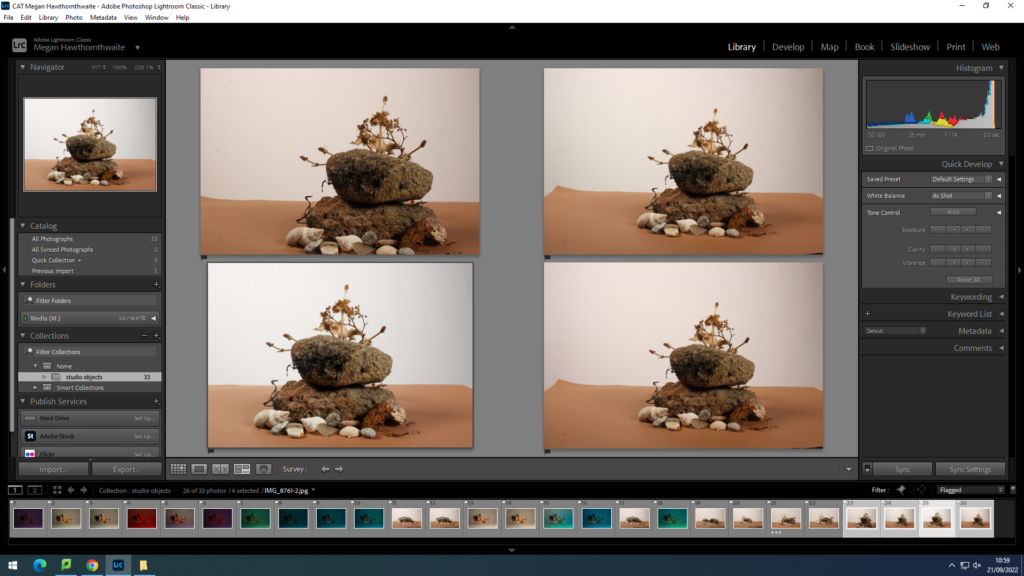
You can also compare more than two images in ‘Survey View’, however you can’t magnify the images in this mode.
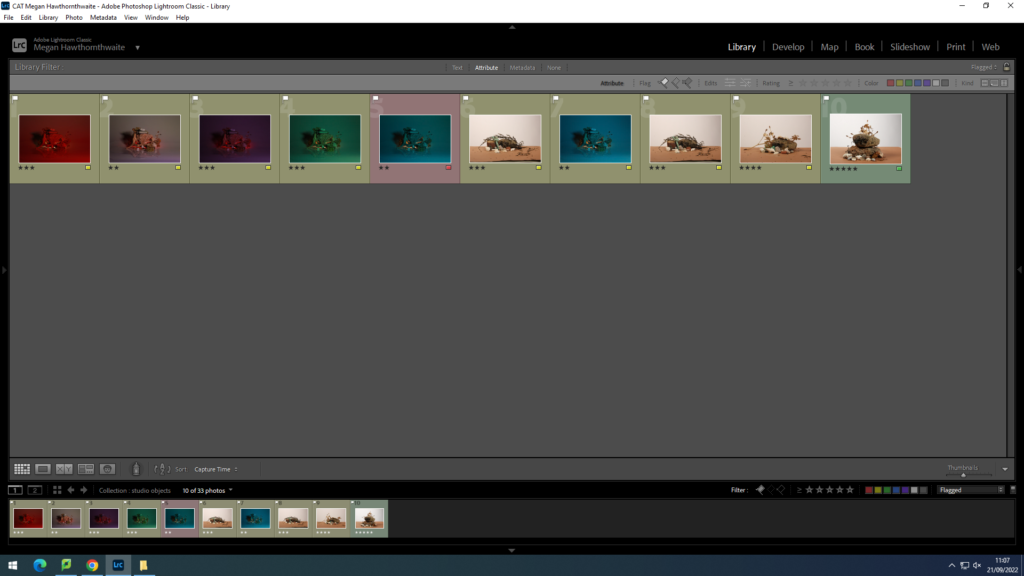
I RAG rated my images from green to red. Green is the images I will definitely edit, yellow is alright, and red is the least best images out of my final selection.
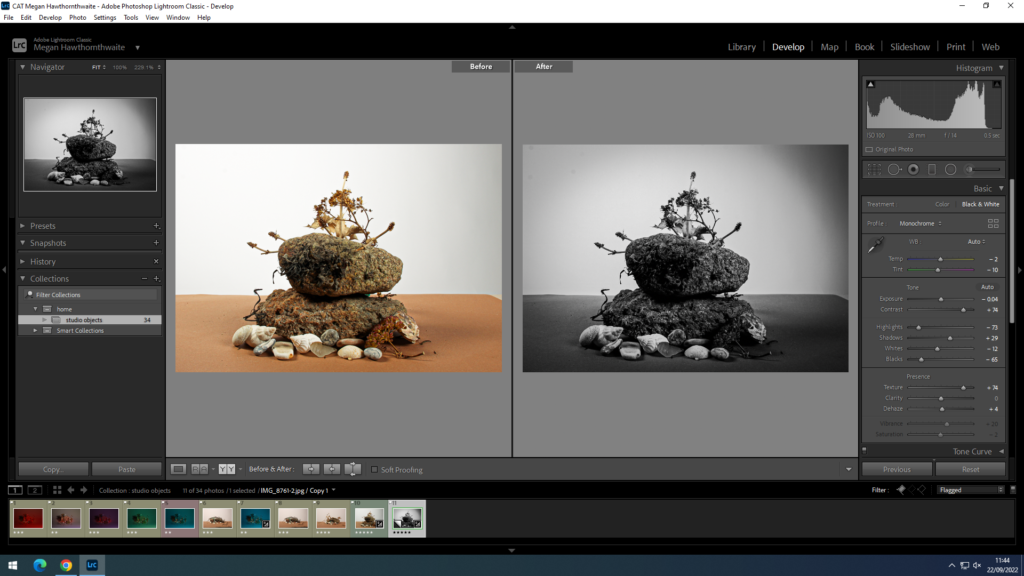
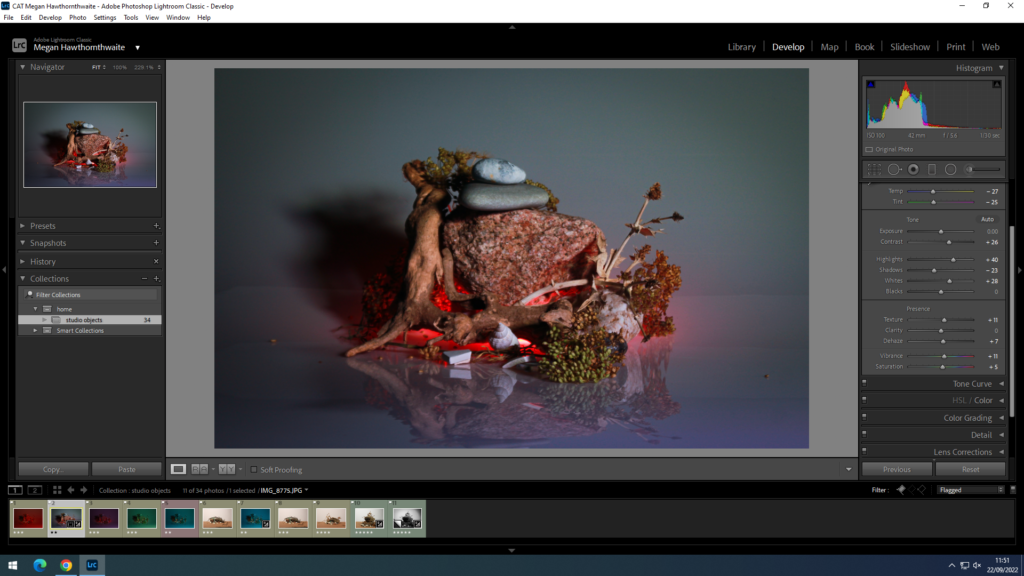
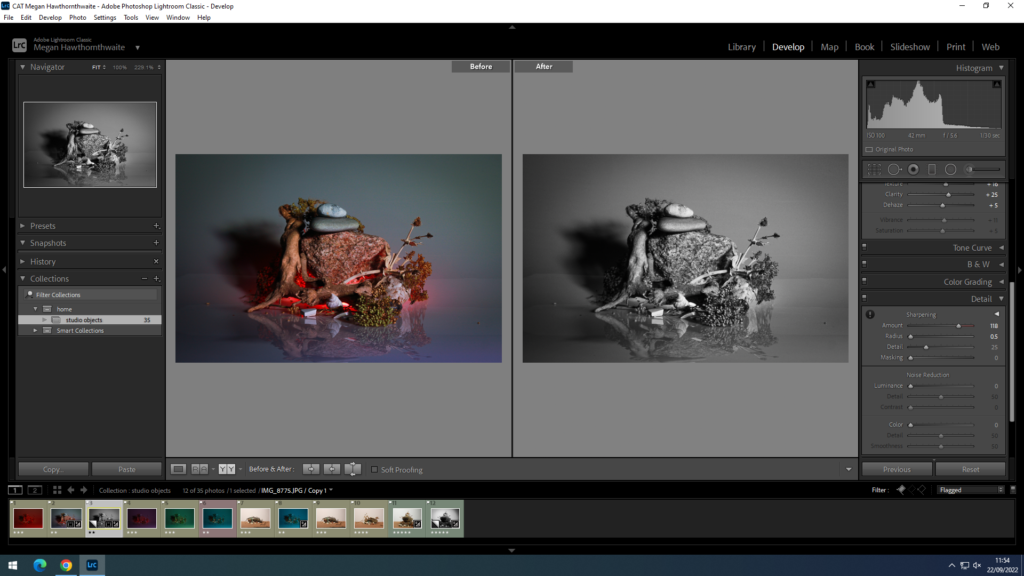
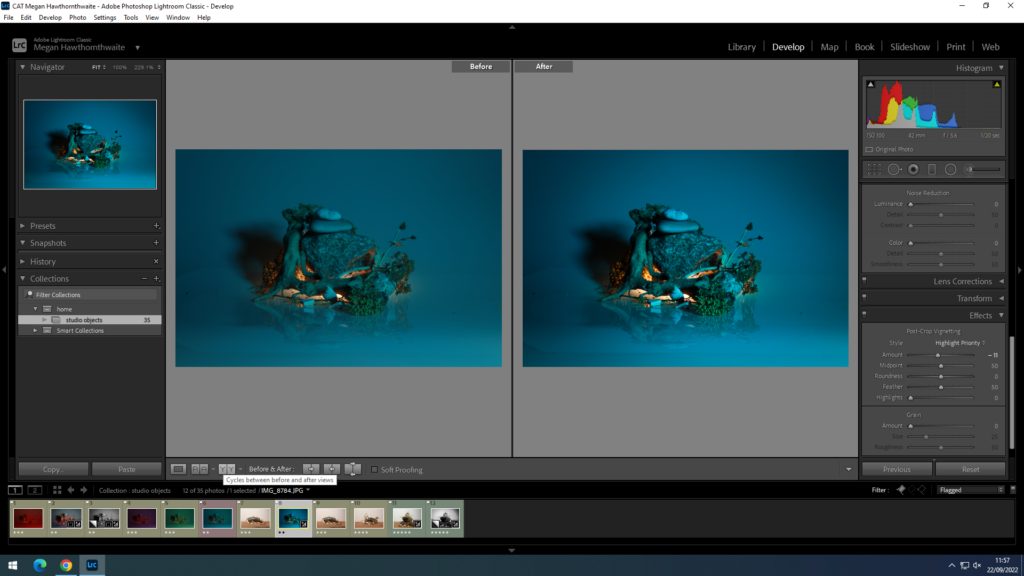
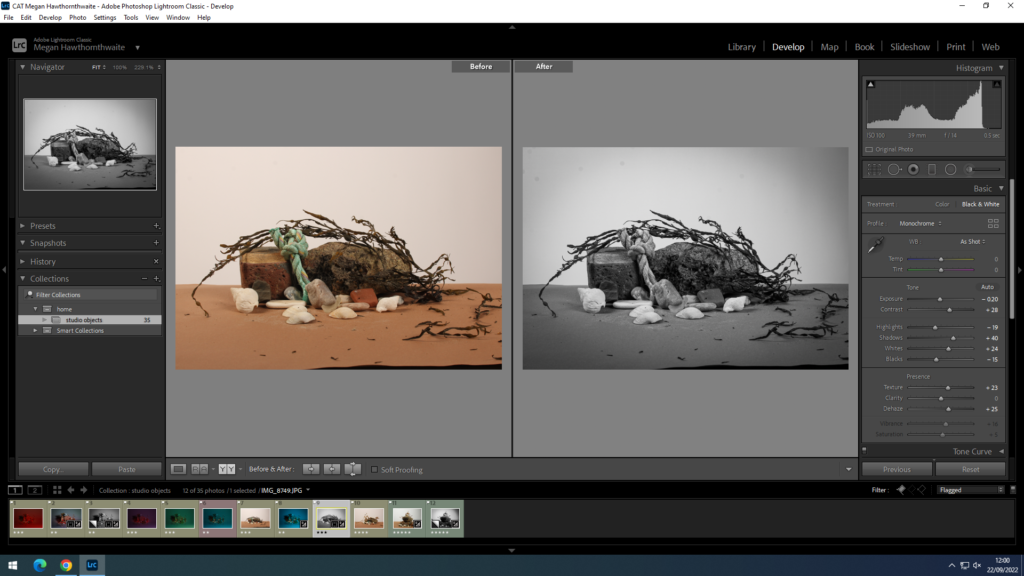
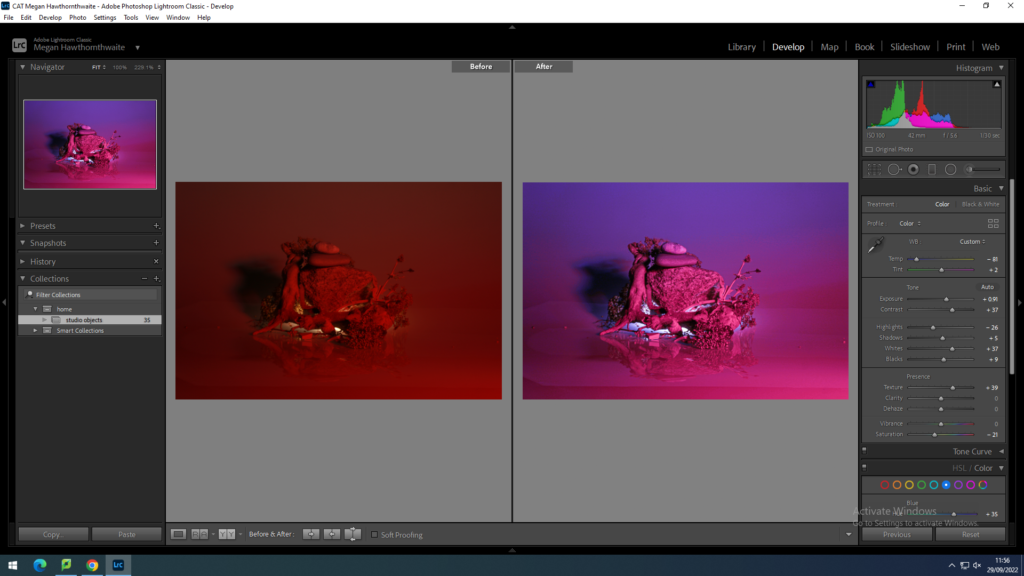
I edited my best image adding contrast, vignette, texture etc. to add depth and make the image more interesting. This is the original compared with the edit.
More Basic Edits
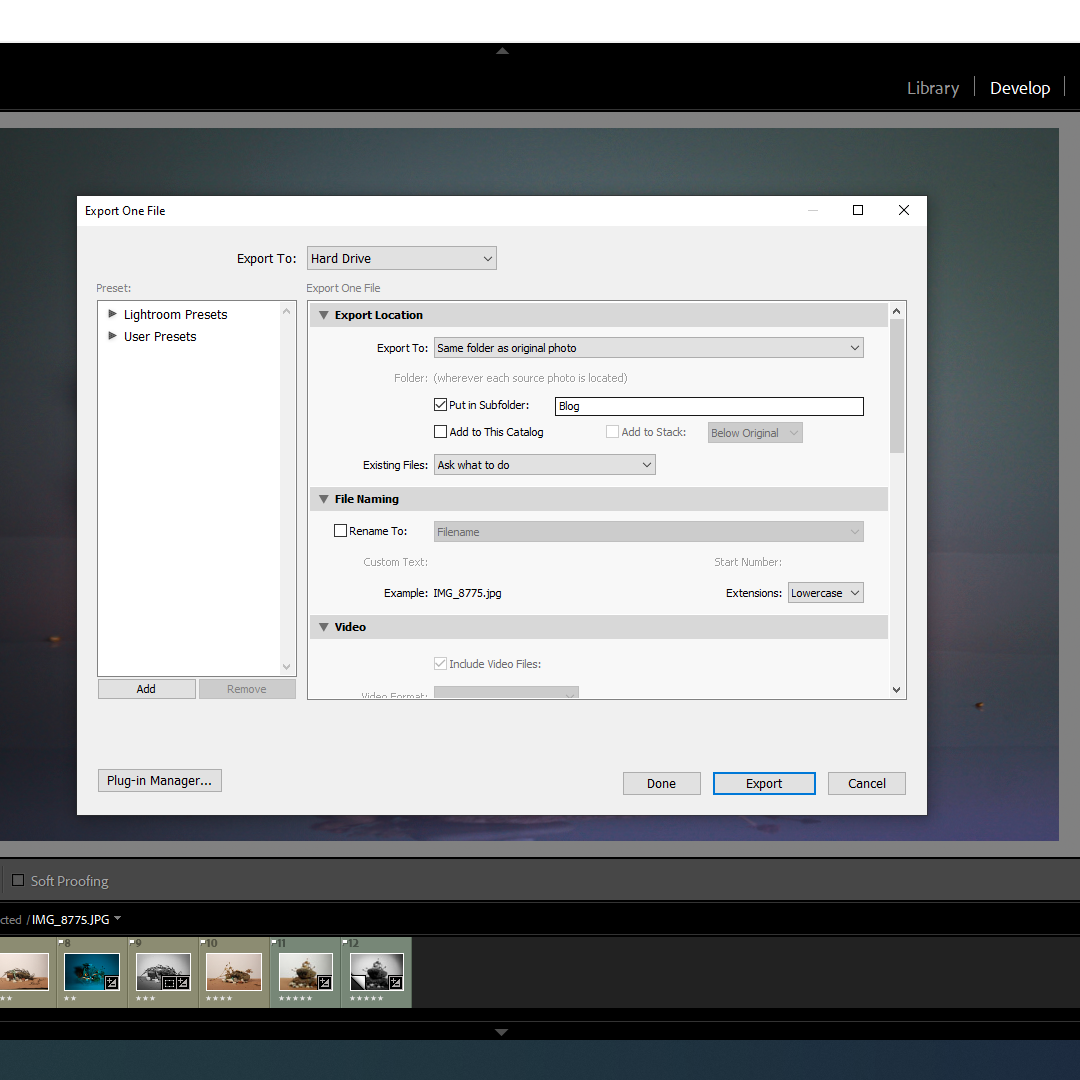
How to export images from Lightroom:
File – export – ‘export to: same folder as original photo’ – tick ‘put in subfolder’ – ‘Blog’ – image sizing – tick ‘resize to fit’ – ‘short edge’ – 1000 pixels.
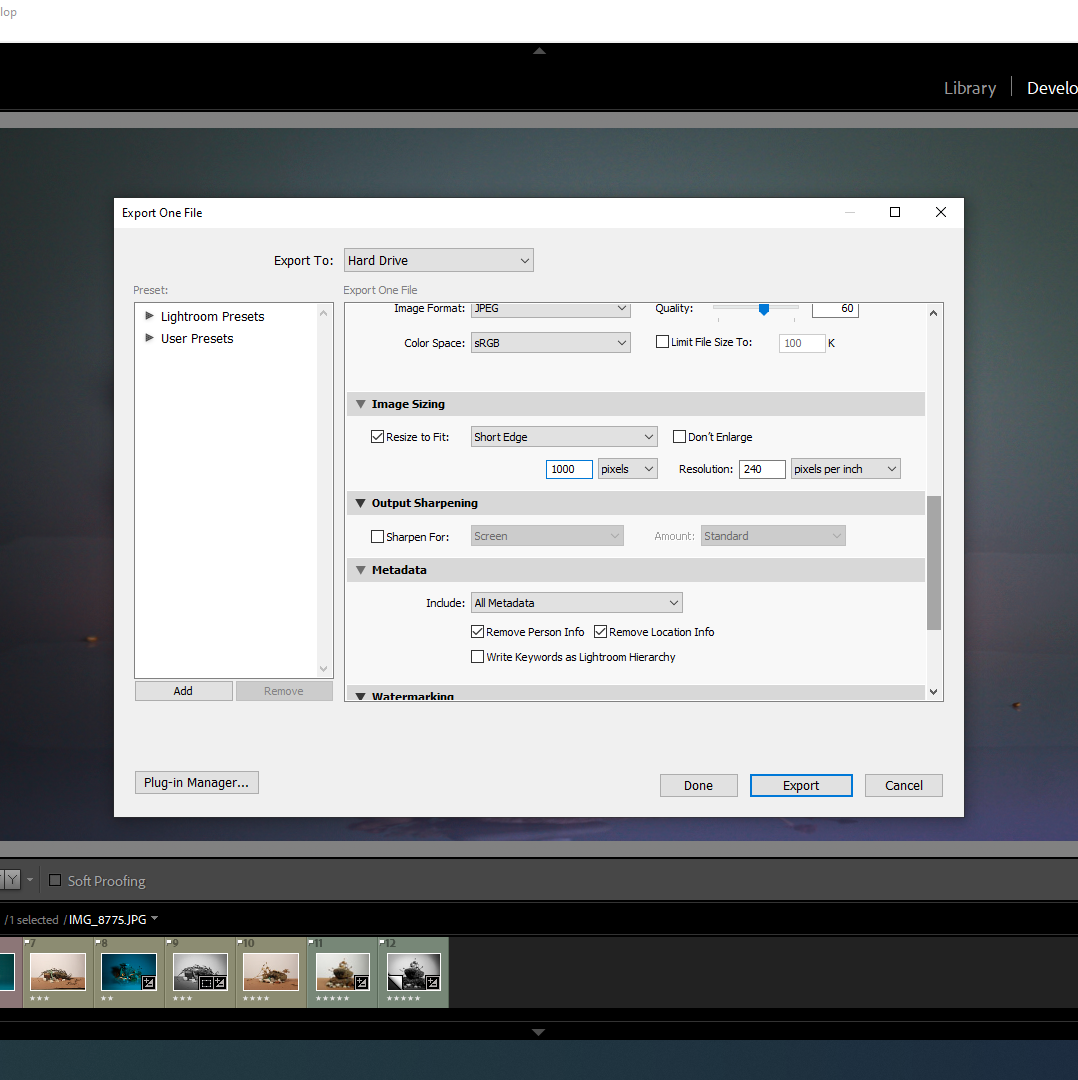
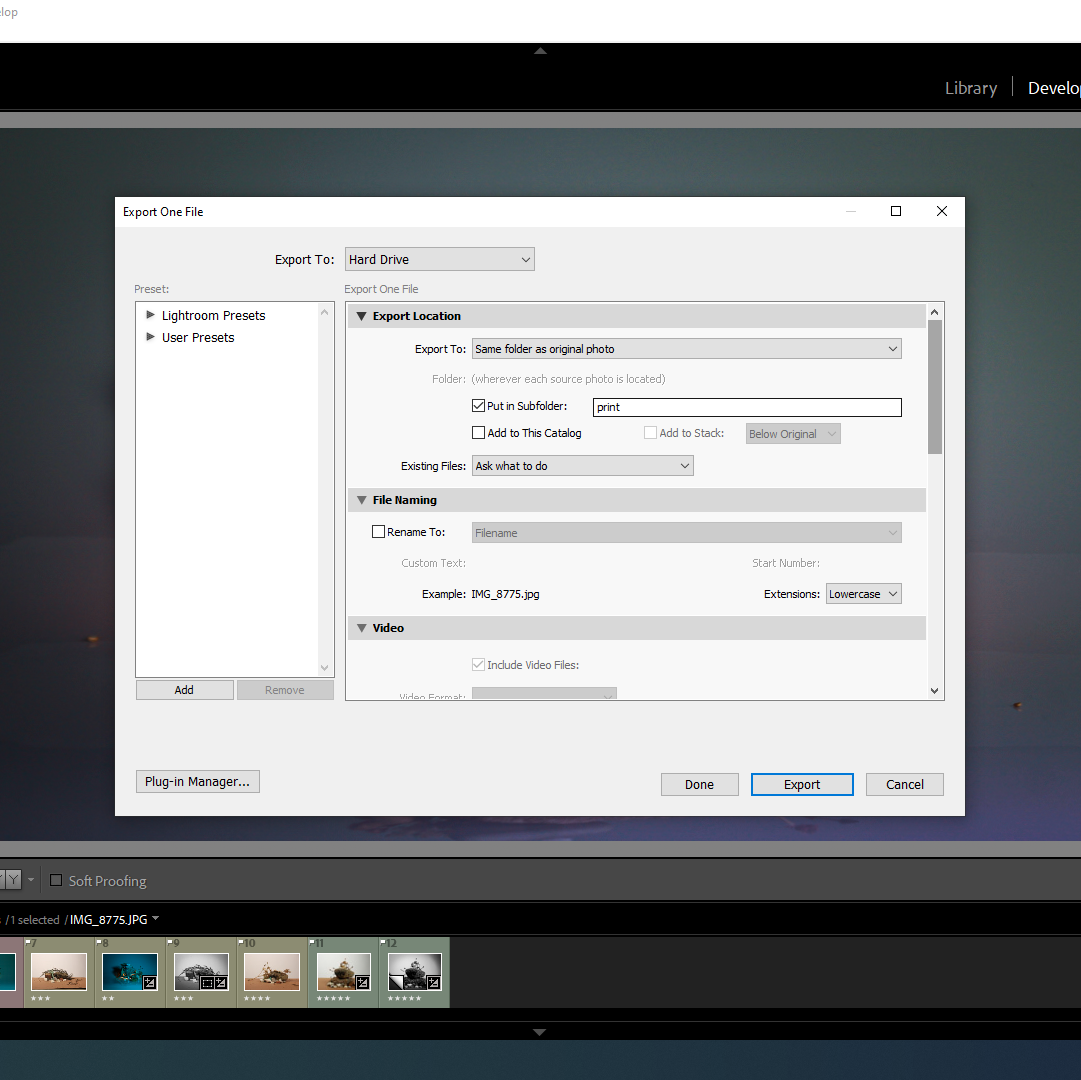
Do the same for the ‘print’ folder but choose 4000 pixels.
Final Image
