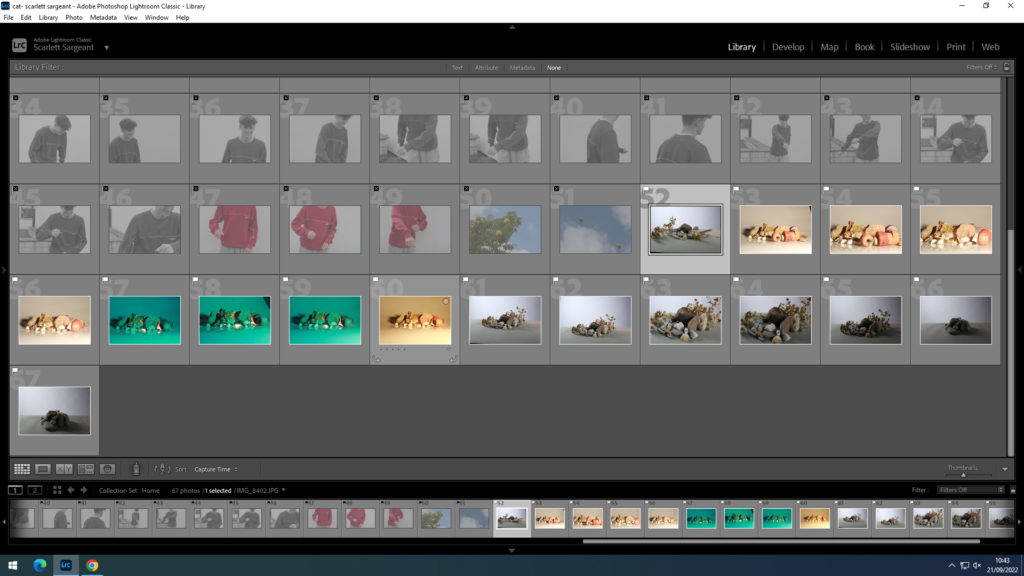
To select the images that I wanted, I pressed the keys “shift” and “x” to hide the images that I didn’t want to use and “shift” “p” to pick the photos I wanted.
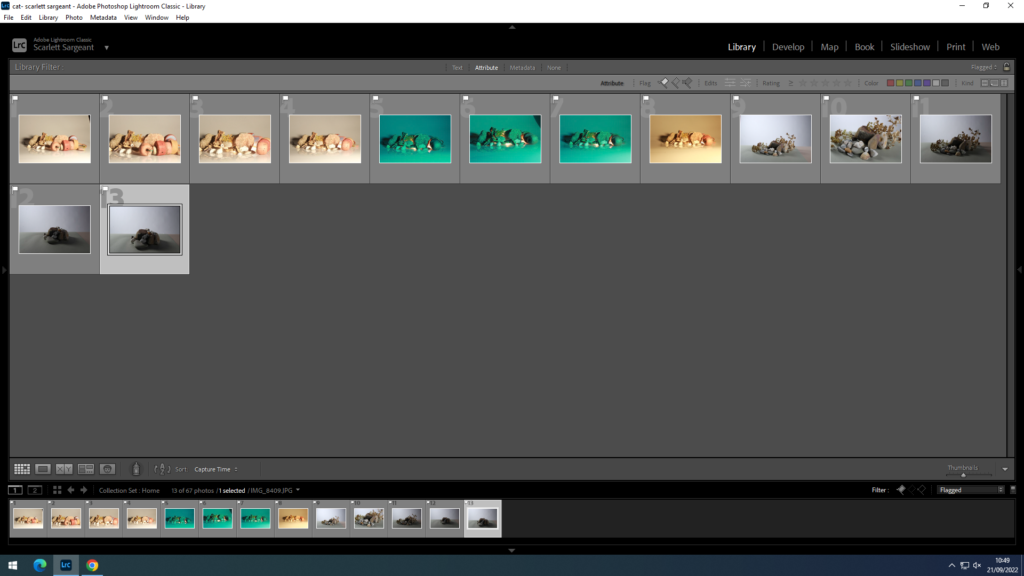
I then turned the filter to flagged to then get only the photos I selected.
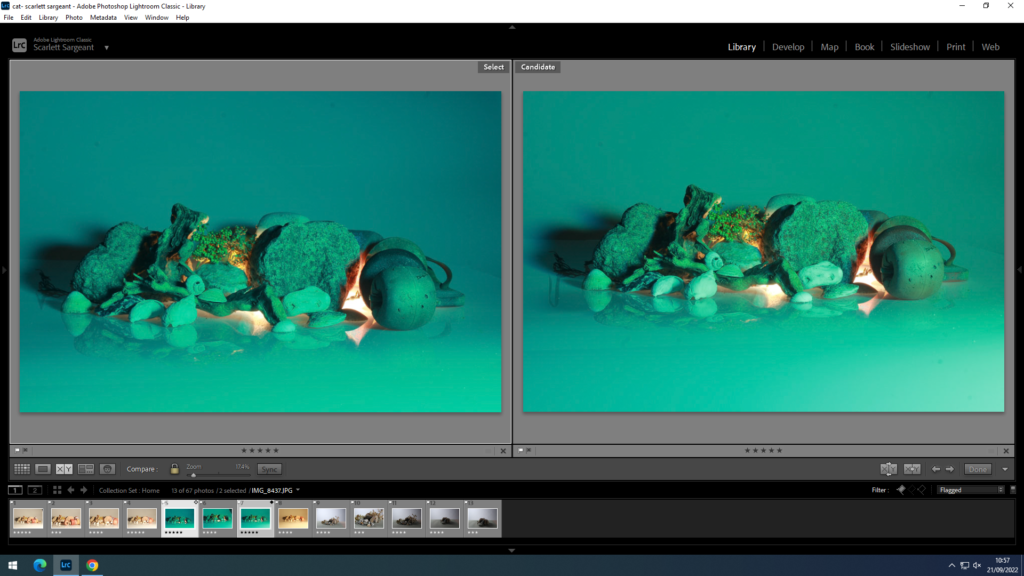
You can compare two images using the compare view (xy). You can also zoom in on details by moving the mouse.
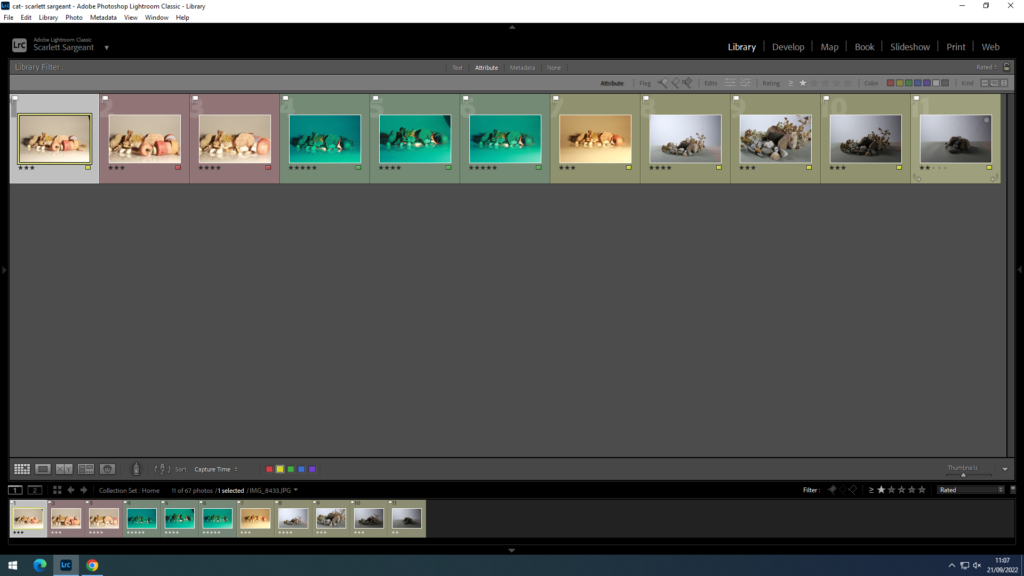
You can also lable your images by using star and colour ratings.
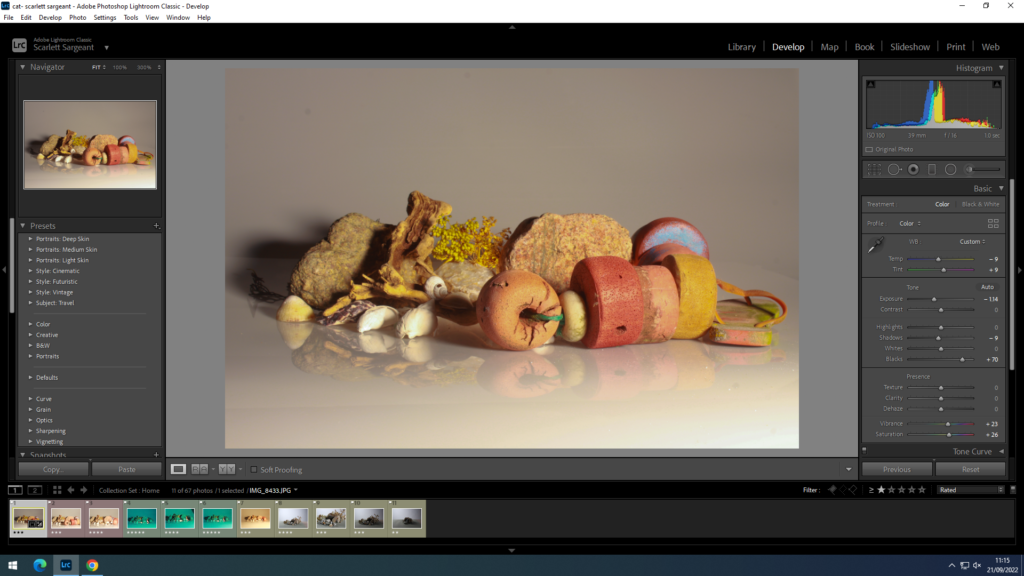
you can dit photos by contrast, exposure ect.
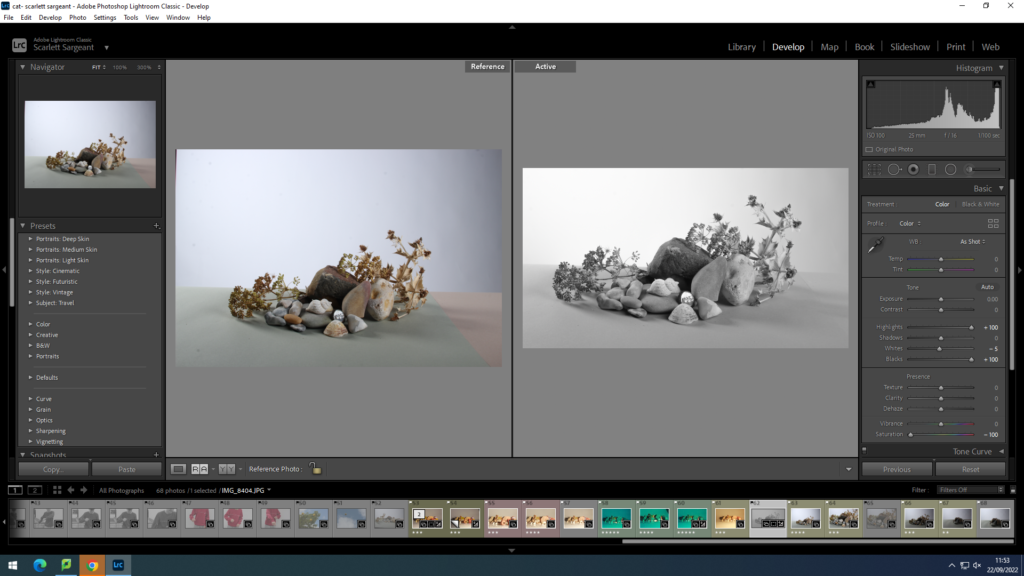
in this photo I cropped, lowered the saturation and raised the highlights in order to receive the image on the right hand side. I also used reference view to compare the two images together to see if I like the changes I have made.
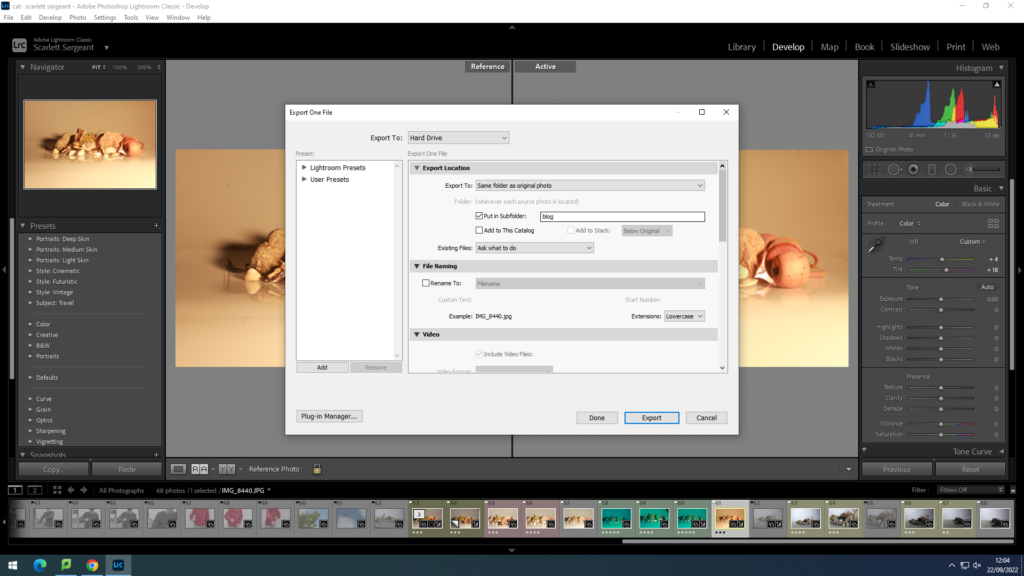
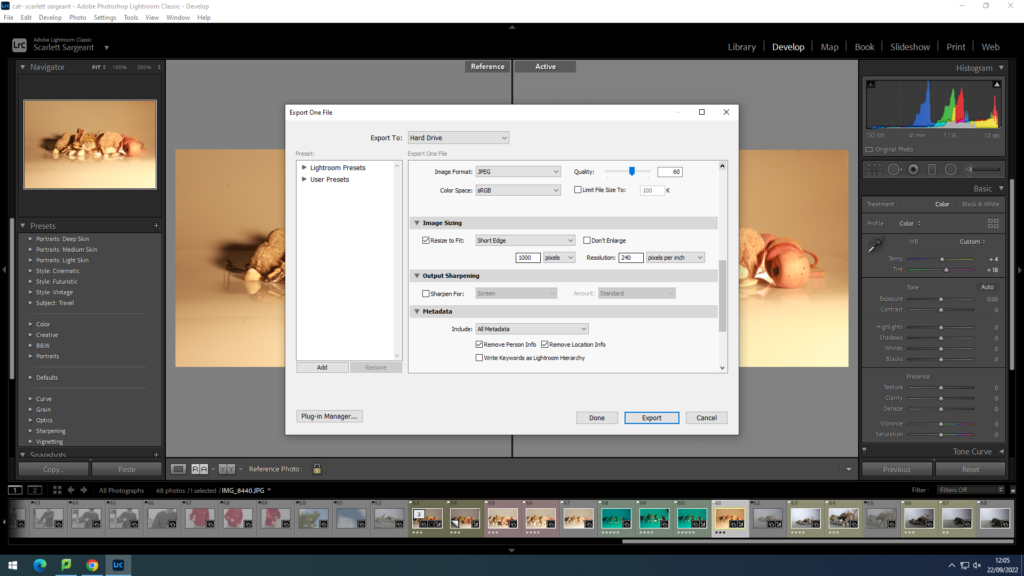
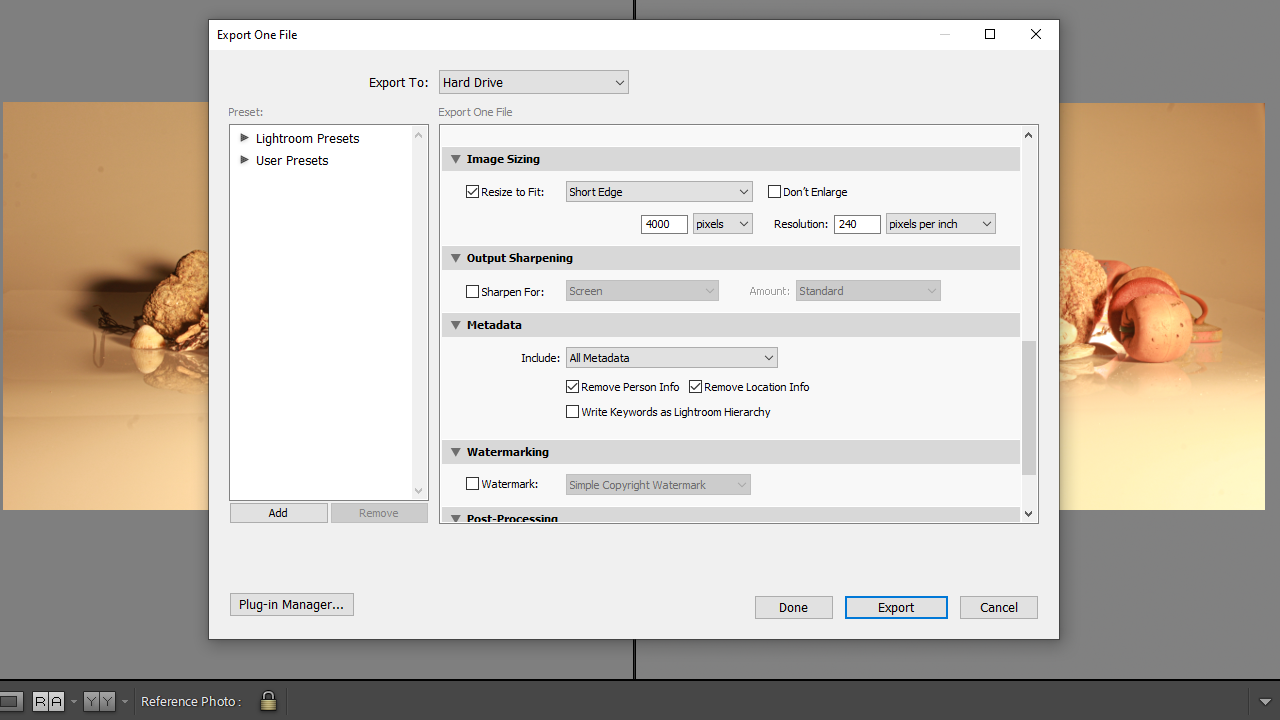
These two images above show how to save photos with a pixilation of 1000 to be able to post onto the blog. where as the image below shows me saving with a pixelation of 4000 to save as a print as it is larger and more clear.
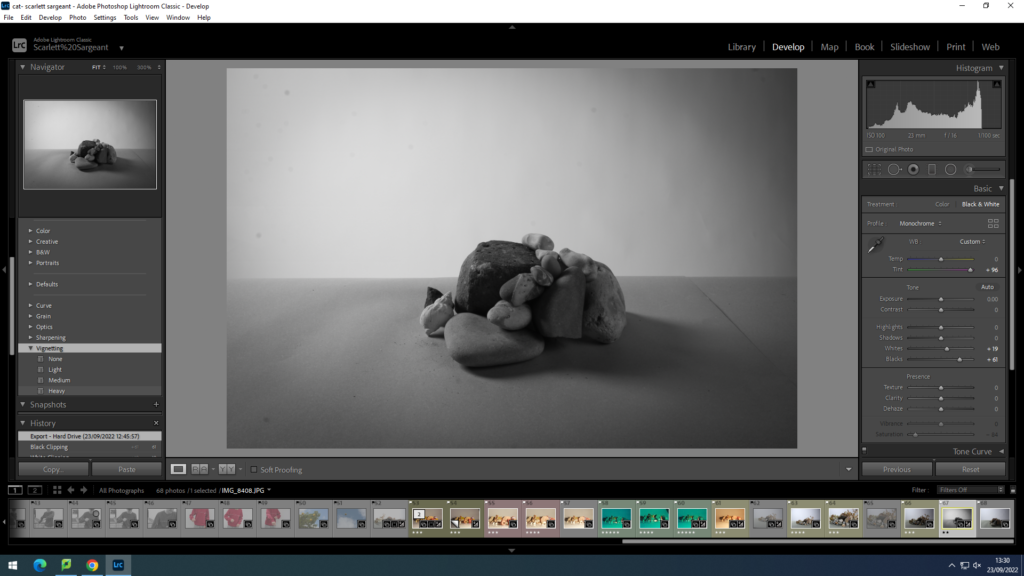
in this screen shot i have edited the image and added vignetting to add some shadows into the corners.
