Experimenting with aperture

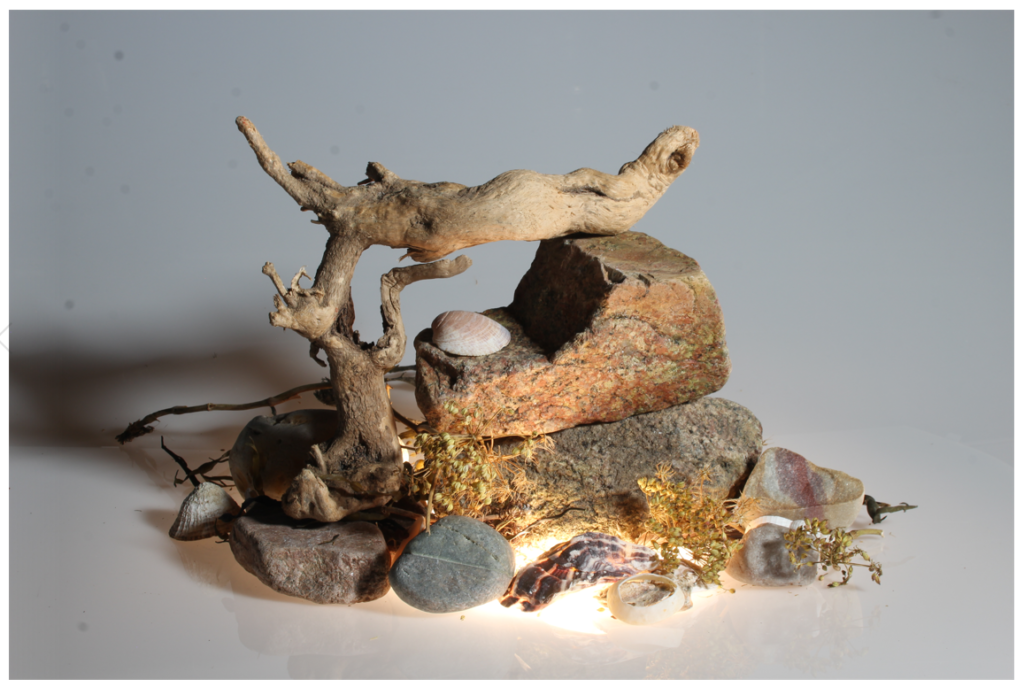
Here are the results from my recent studio shoot exploring the use of aperture to create different effects.
Here is a diagram to remind you of the effects that aperture creates:
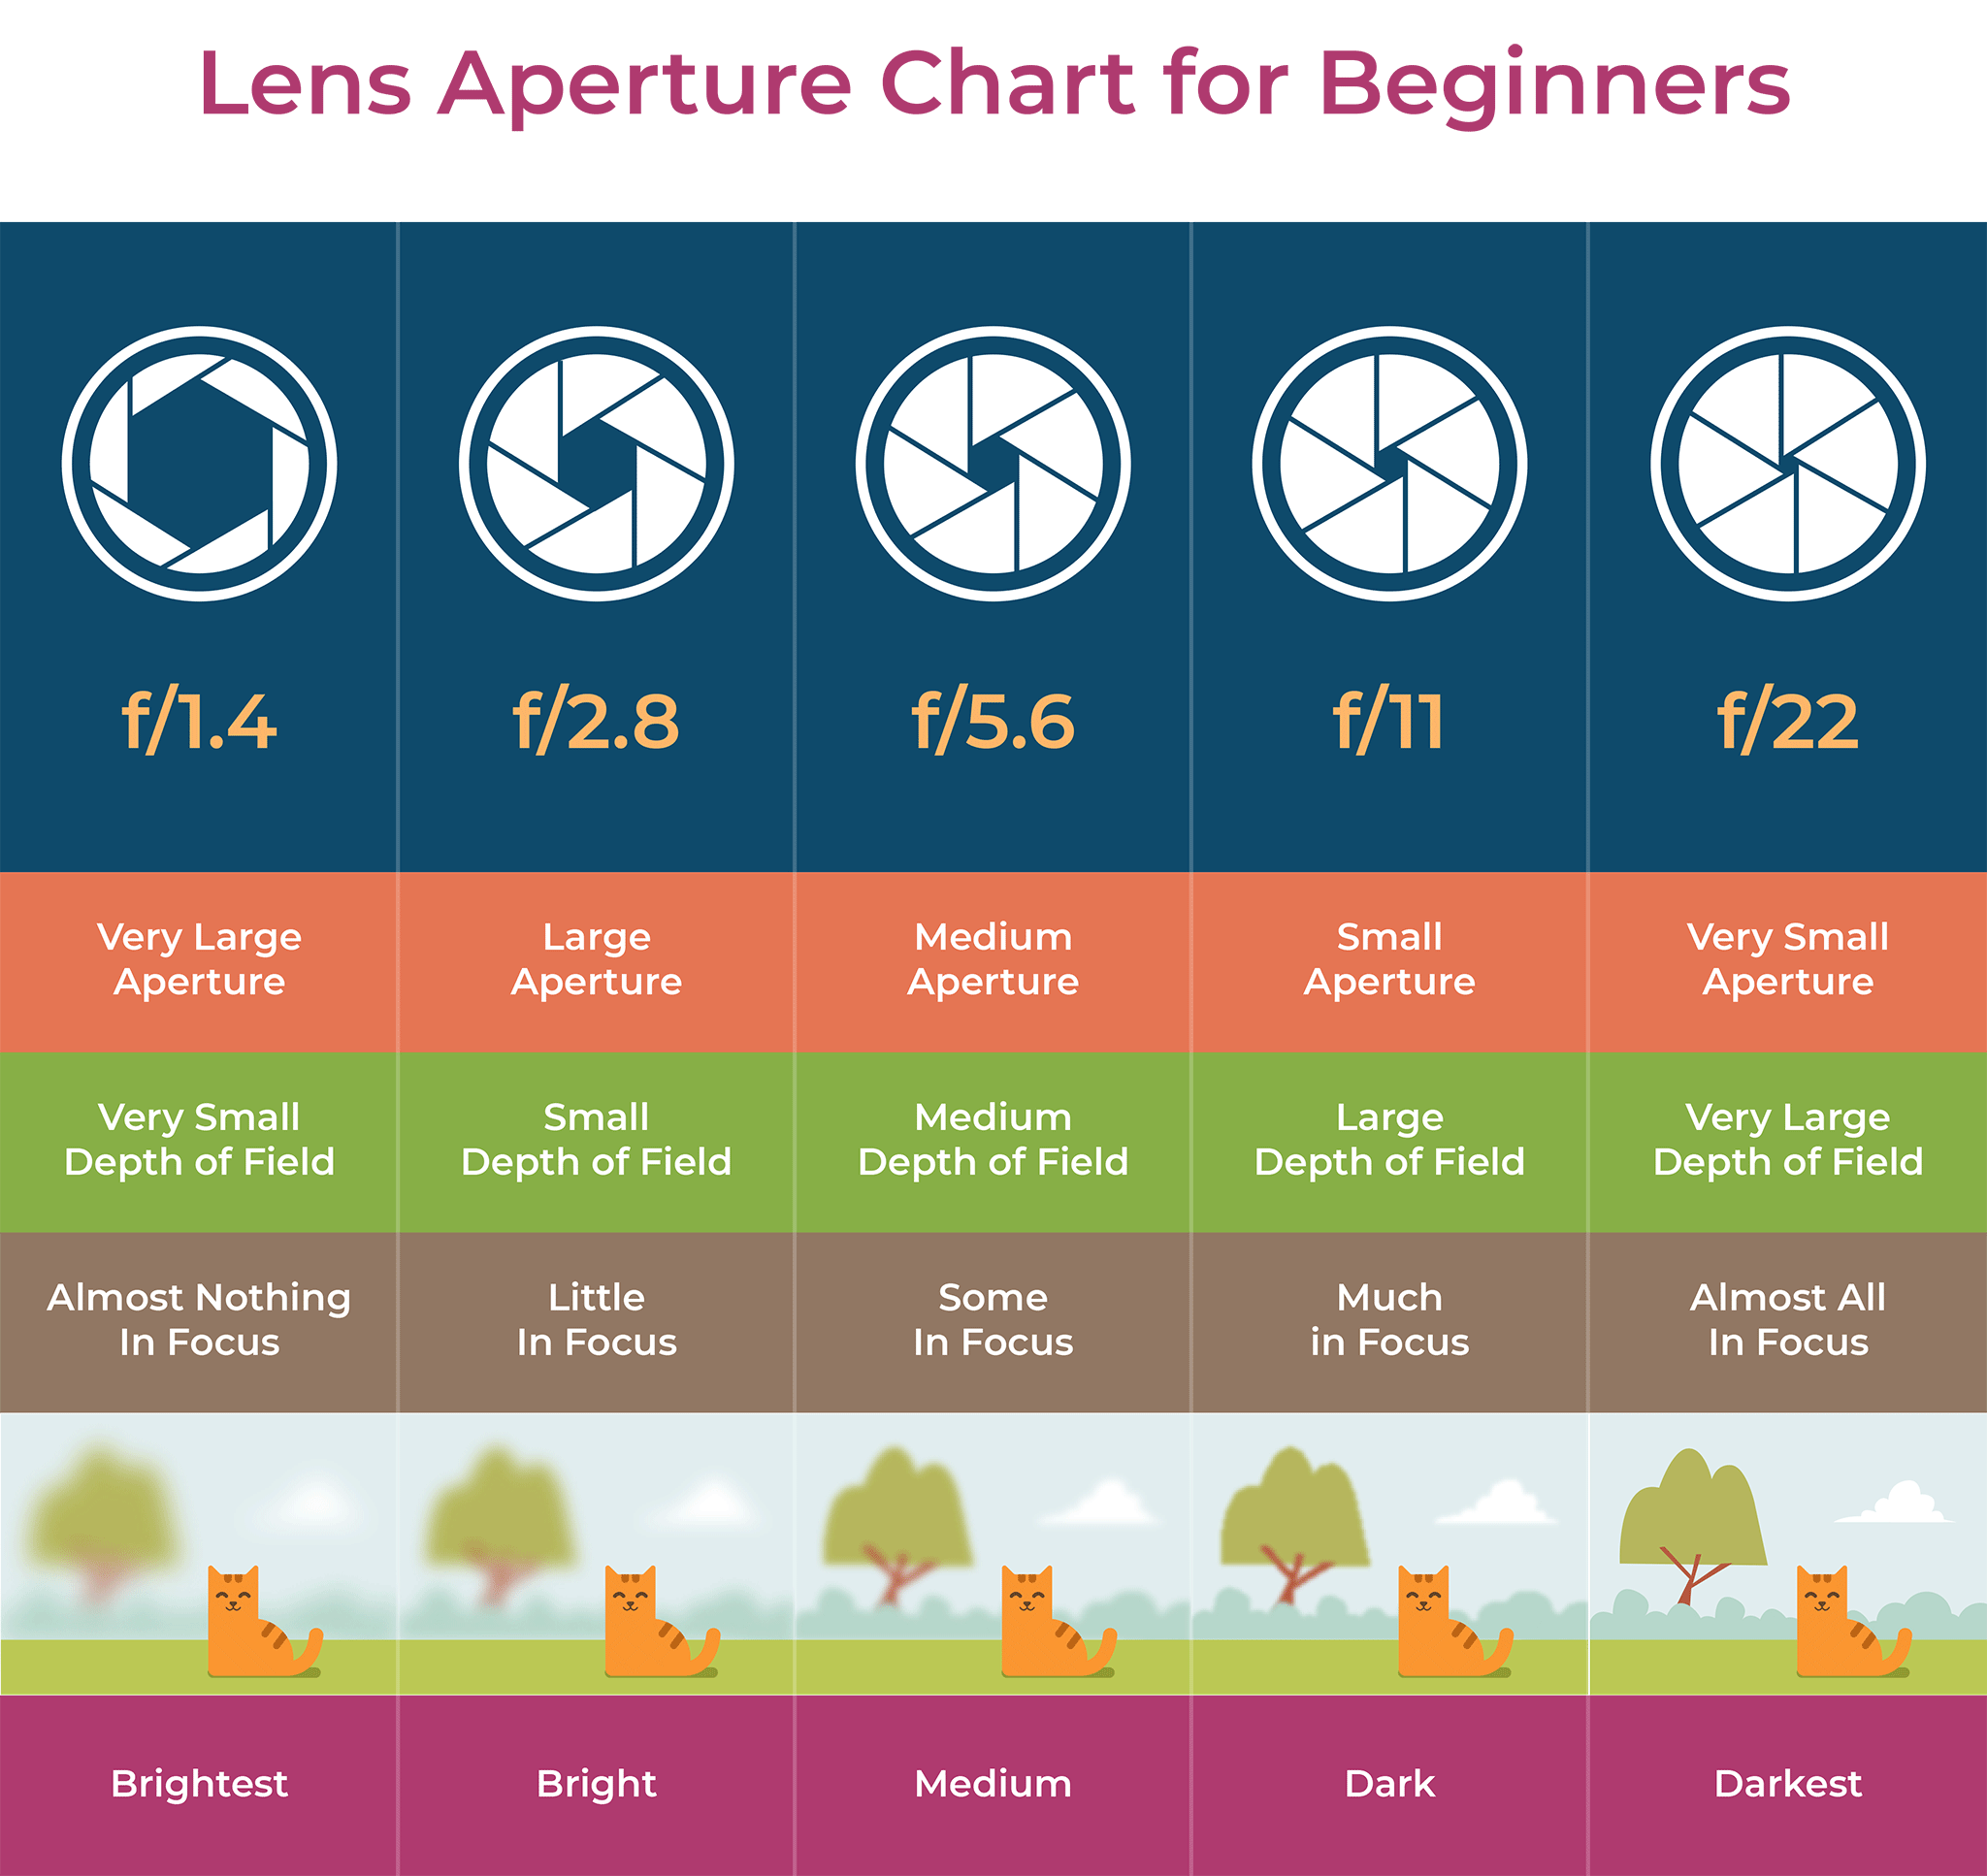
What is Aperture? Understanding Aperture in Photography

In this shoot, we chose to show the results of using different apertures to take the same images:
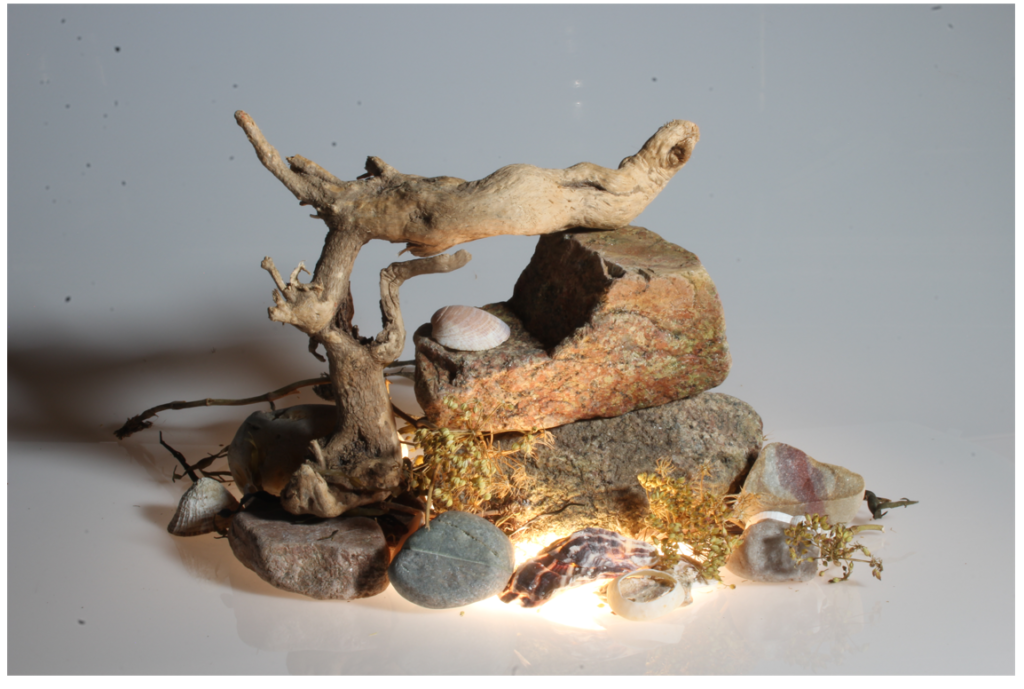
Here is an image taken with an aperture of f5.6 and a shutter speed of 1/4″ – you can see this because of the nature of the radial focus – only the focal point of the image is clear whilst the rest is slightly blurry.
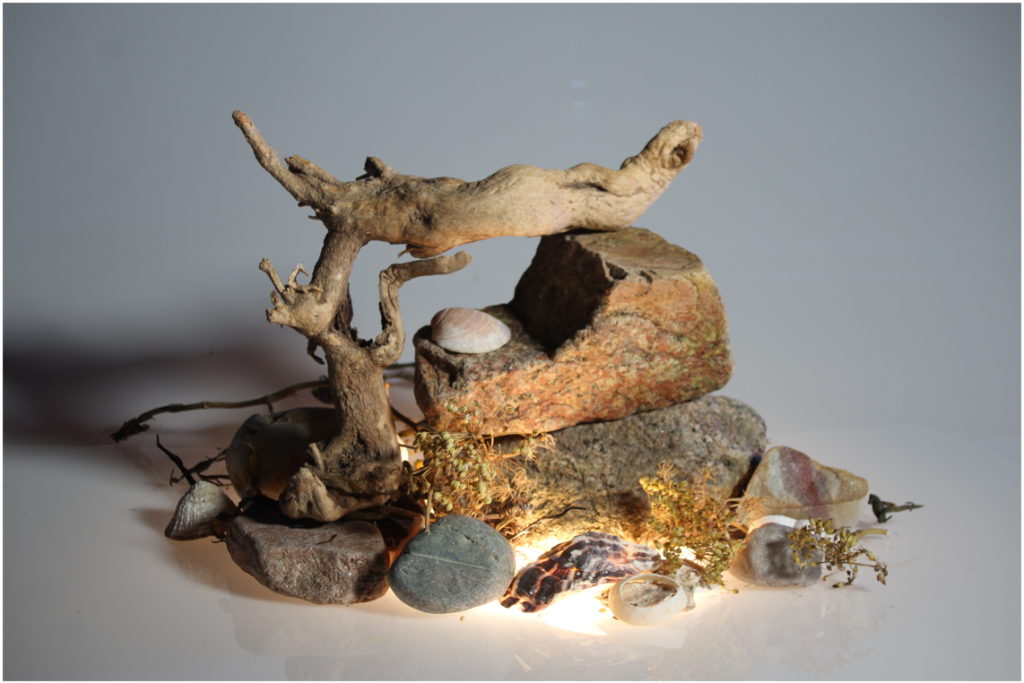
Here is an image taken with an aperture of f16 and a shutter speed of 4″ – you can see this because although the image is not fully clear, there is more clarity than the previous image. Also, the image is slightly lighter which is due to the camera’s automatic shutter speed setting adjusting the shutter speed with the aperture to ensure that, as the hole is now smaller in size, the same amount of light will still be let in (requiring a longer shutter).
Here is an image taken with an aperture of f36 and a shutter speed of 20″ – you can see this because although the image is now crisp and clear, with almost full focus.

The following images are in the same order of aperture (f5.6, f16, f36), but in these, the objects were arranged moving away from the camera, in order to show the clarity in aperture levels. This is drawing on the idea of lining up 22 eggs away from the camera, and by increasing aperture from lowest to highest, seeing an increase in the number of eggs that are in focus. Here we of course didn’t use eggs but instead the objects we were already photographing. You can see this effect was achieved as in the first image (with a low aperture) a low number of the objects are in focus, but in the final image (with a high aperture) all the objects are in focus.

Leave a Reply

Your email address will not be published. Required fields are marked *