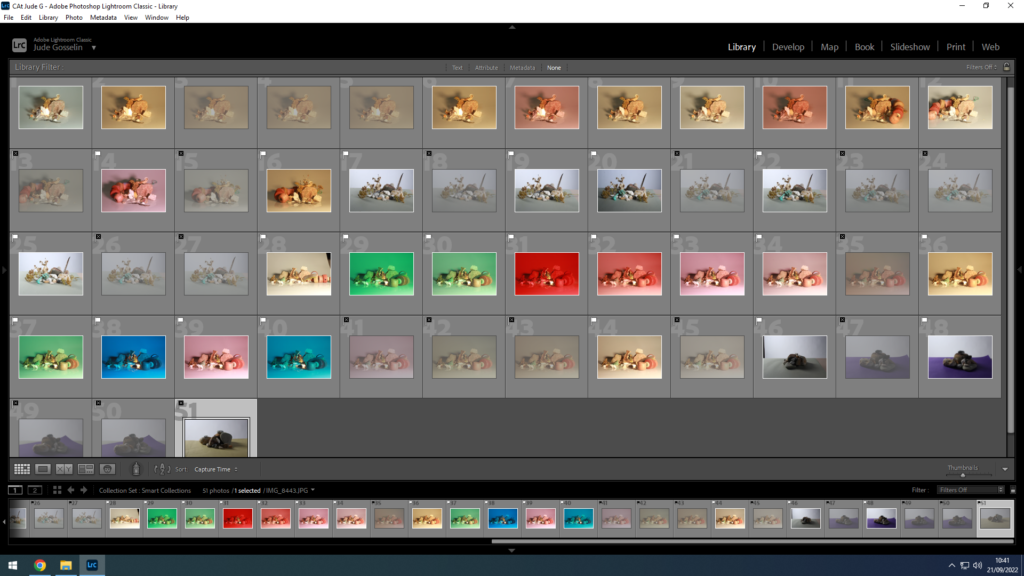
This is an example of me picking specific images from Lightroom by holding down “shift” and pressing “P” to select the ones I want to use, and “X” for the images I do not want to use.
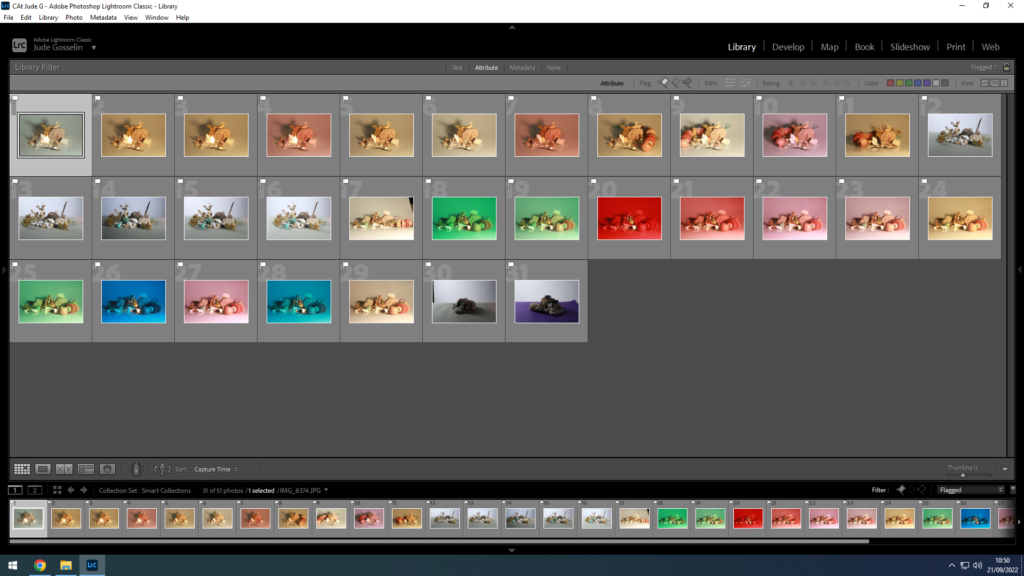
Then, I used an option in the bottom right corner of the print screen in adobe light room called “flagged”, to remove the images I don’t want to use.
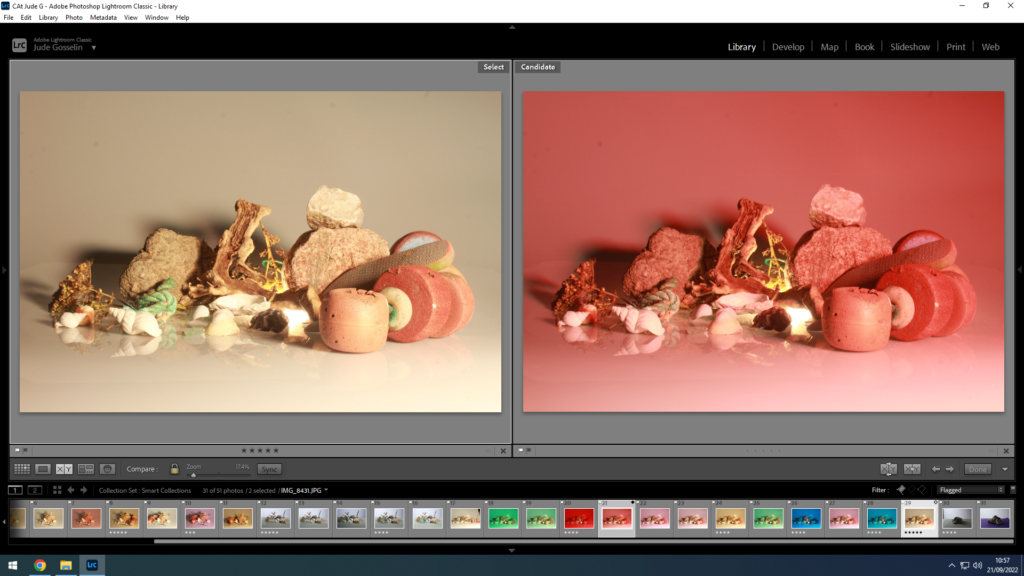
This is how you can compare images. There is also a tool that enables you to zoom into the picture you want to, and it does this on both images which allows you too see what camera options where used. You can also use star ratings on specific pictures you preferer to use by using the numbers 1-5.
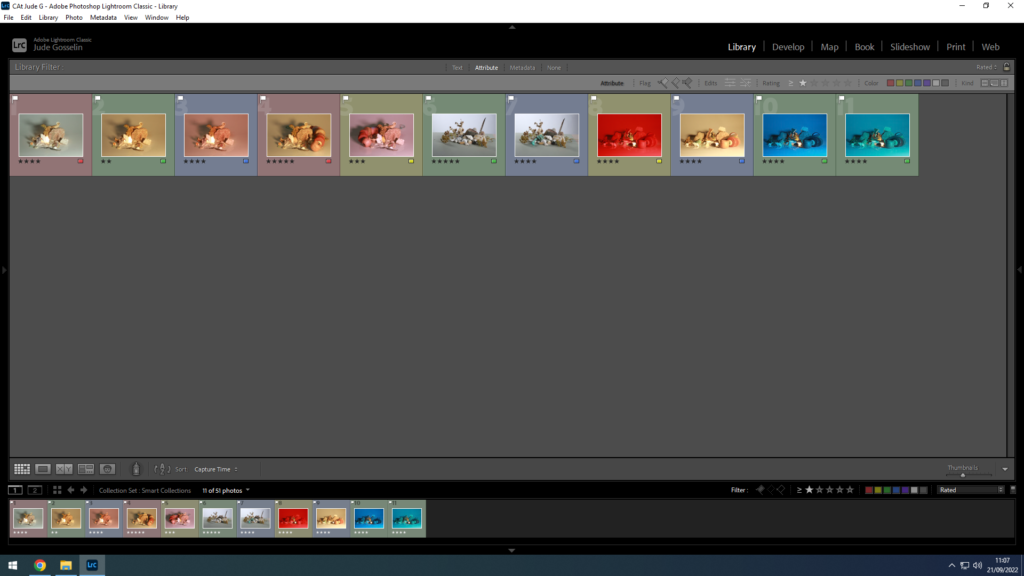
By using colour co-ordination by using numbers 6-9, you can highlight specific pictures with which ever colour you want, which you can use as a key for specific pictures.
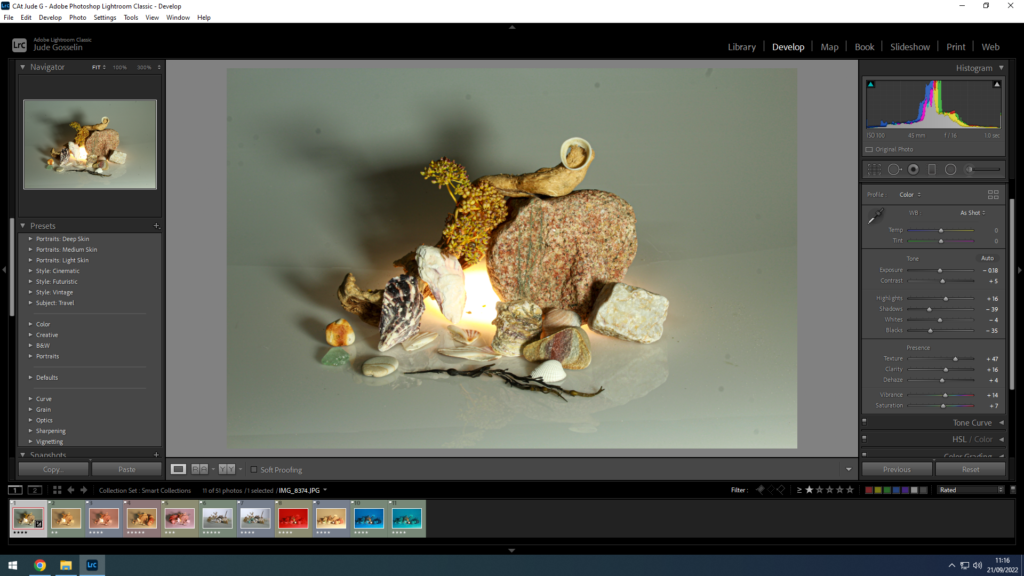
There are also options in “develop” modes which allows you to edit your pictures to very specific details, and to adjust the image to how you want it to look.
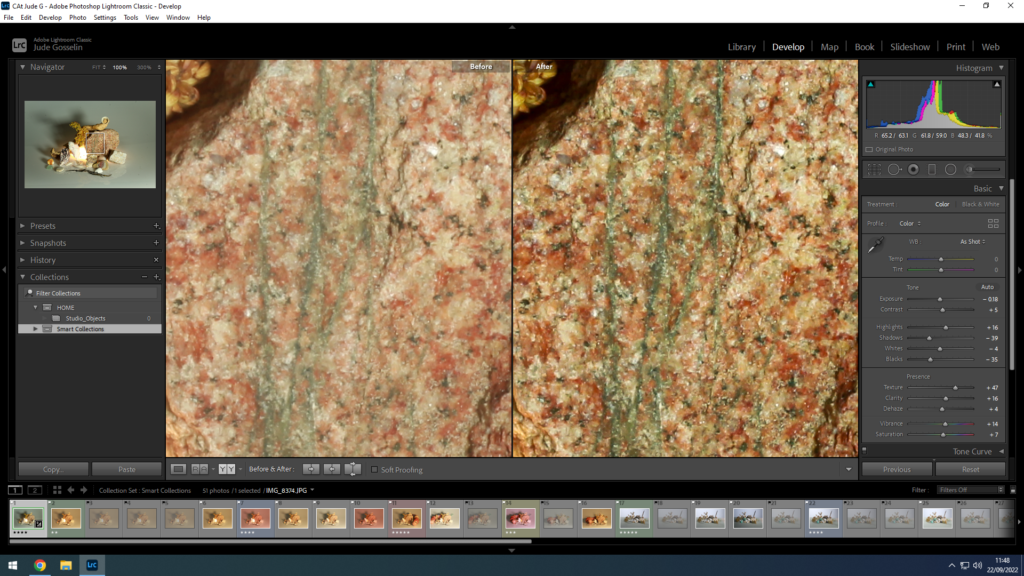
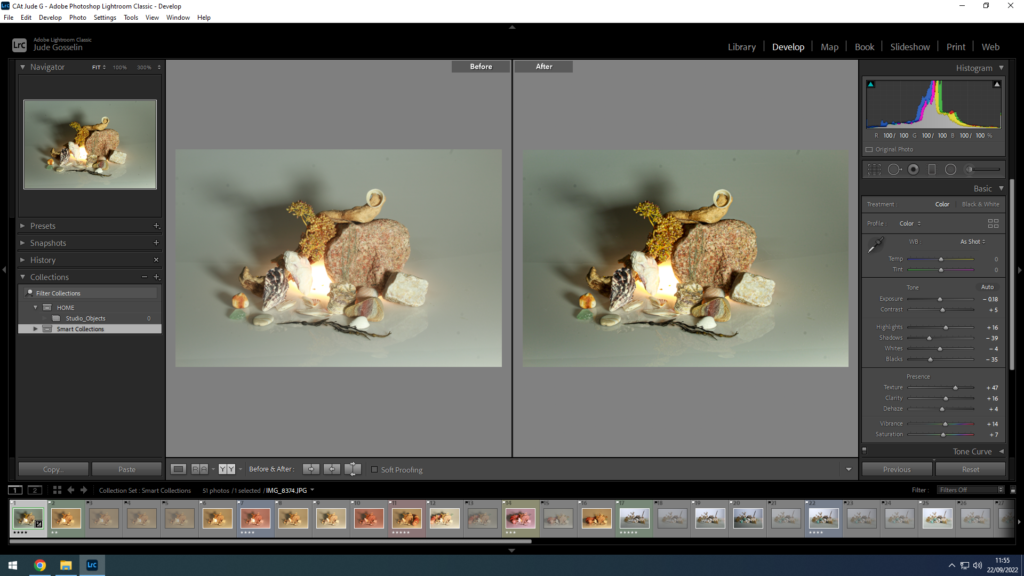
Adobe light room also allows you to compare an image after you have edited it, (before and after). This is an example of one of my images that I edited, to make it look sharper and cleaner.
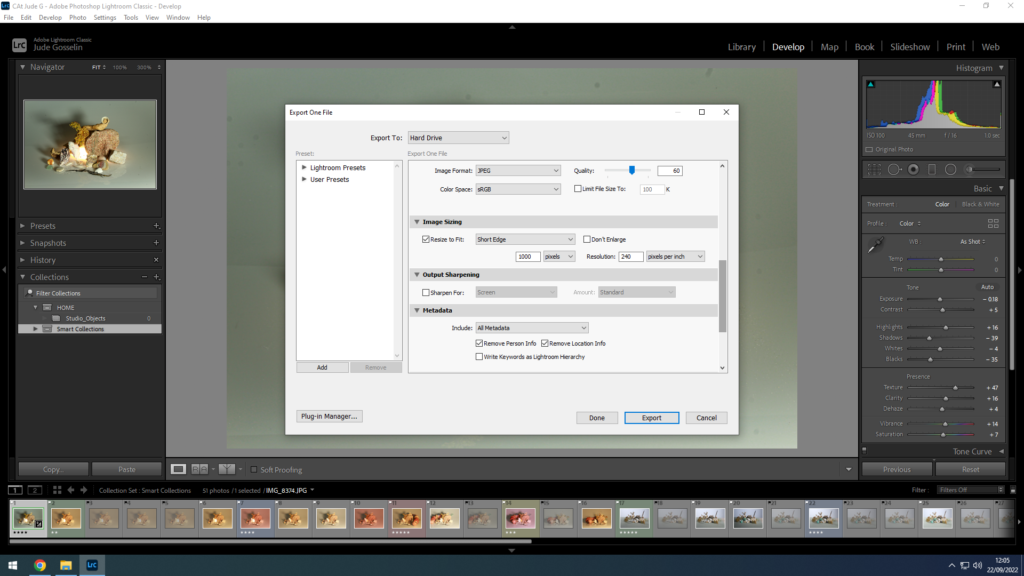
This allows you to export images into a file that allows you to separately save an image.
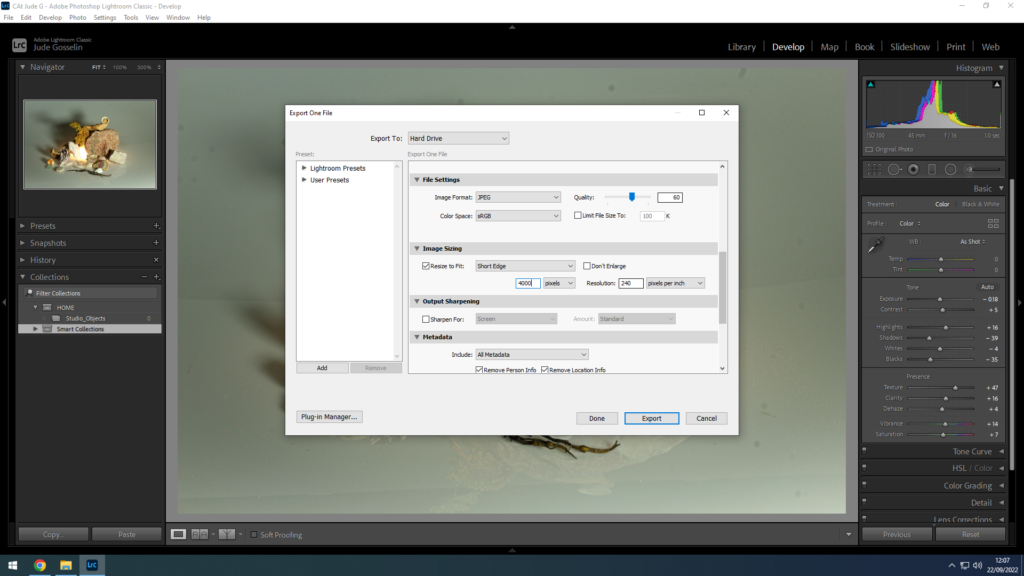
This is me saving the image again but with a larger pixel size, allowing me to print the image out, and copy the image into the blog separately.
