Lightroom

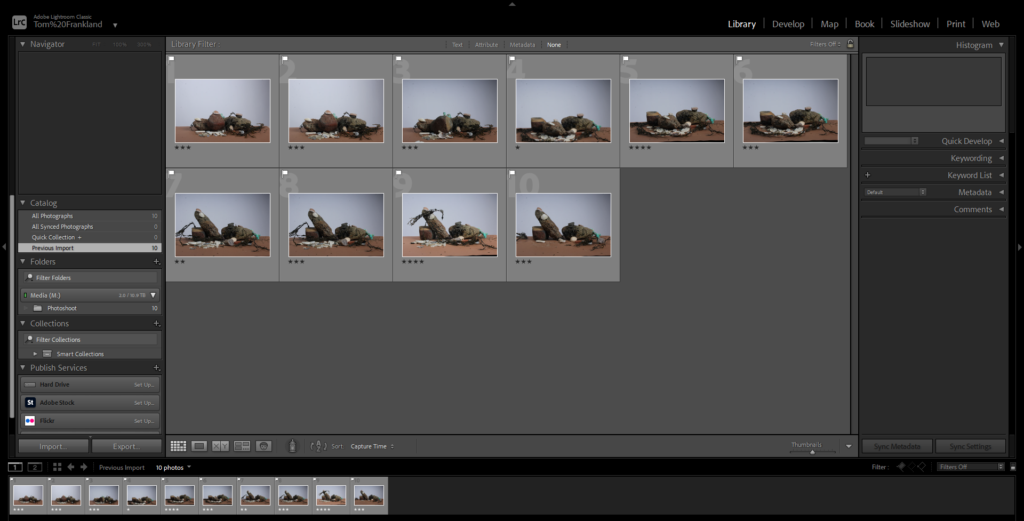
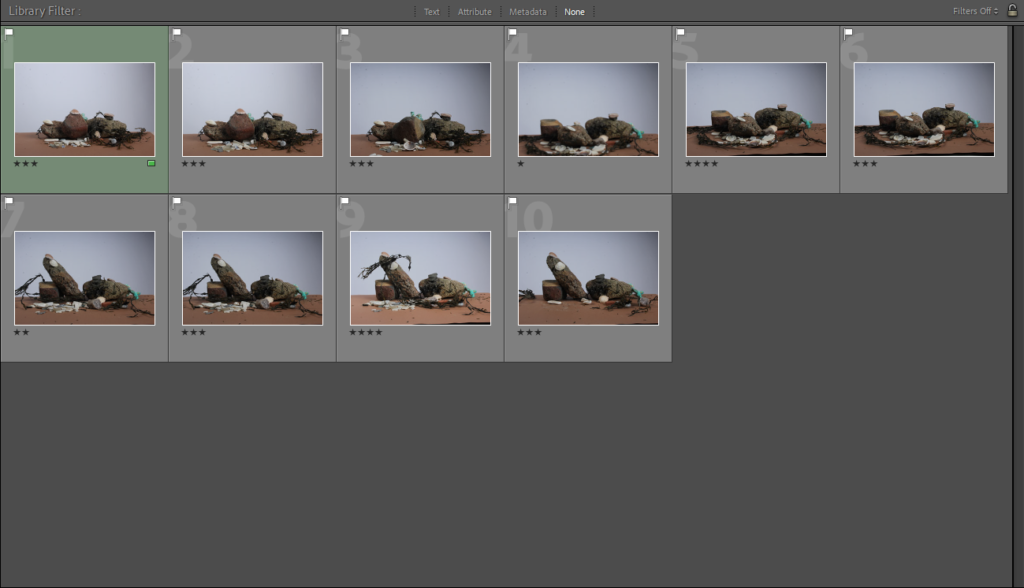
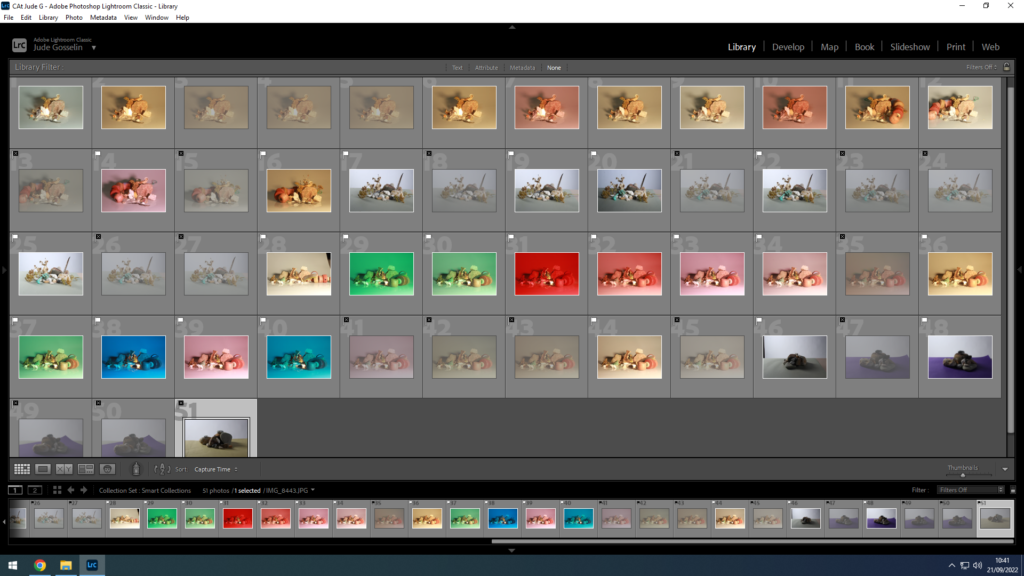
This is an example of me picking specific images from Lightroom by holding down “shift” and pressing “P” to select the ones I want to use, and “X” for the images I do not want to use.
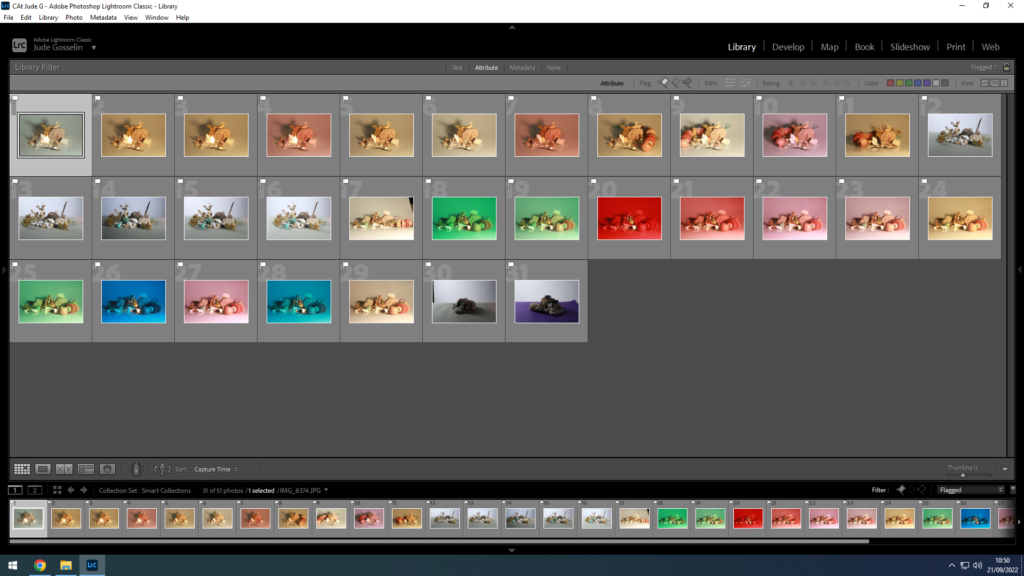
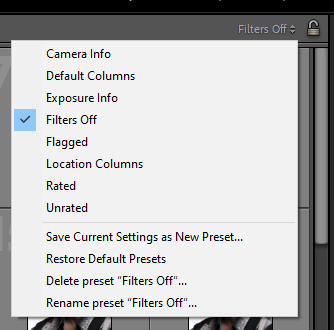
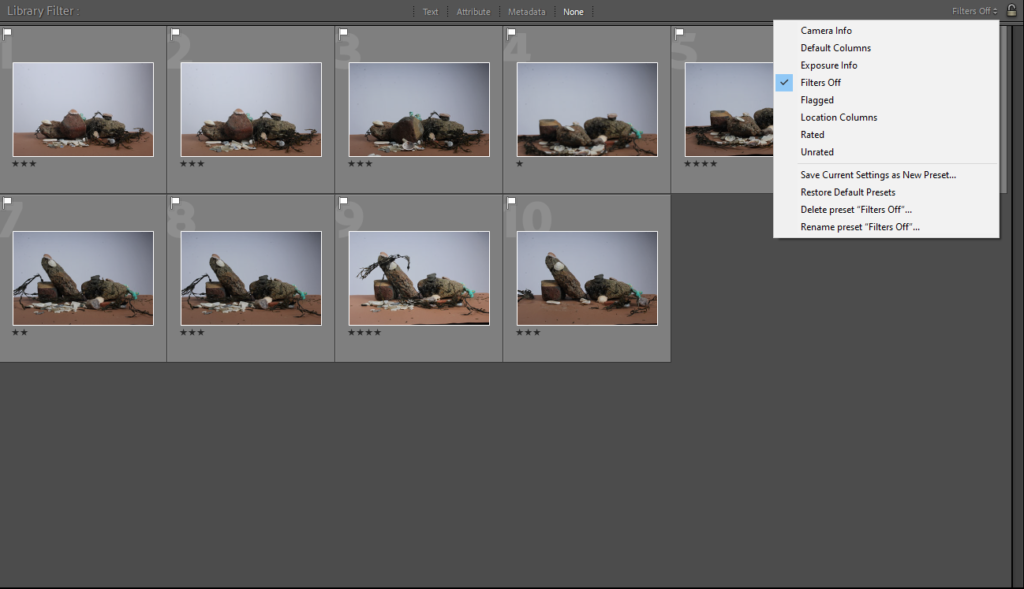
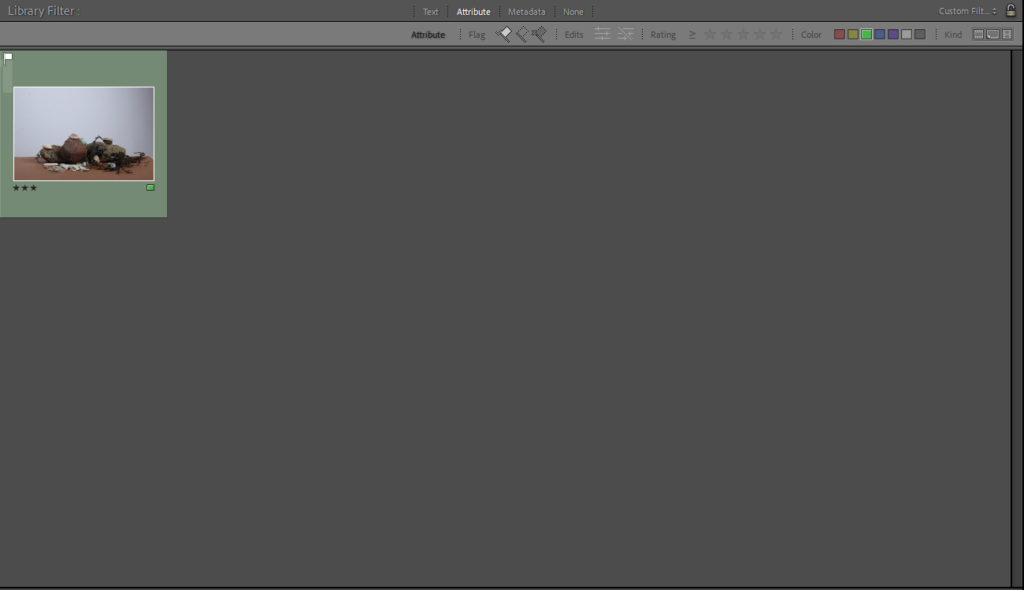
Then, I used an option in the bottom right corner of the print screen in adobe light room called “flagged”, to remove the images I don’t want to use.
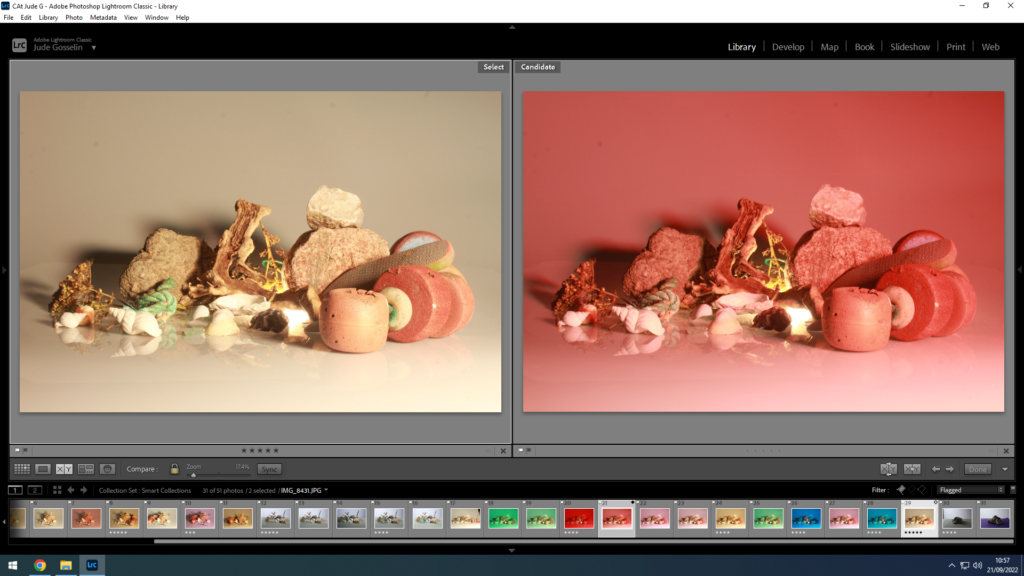
This is how you can compare images. There is also a tool that enables you to zoom into the picture you want to, and it does this on both images which allows you too see what camera options where used. You can also use star ratings on specific pictures you preferer to use by using the numbers 1-5.
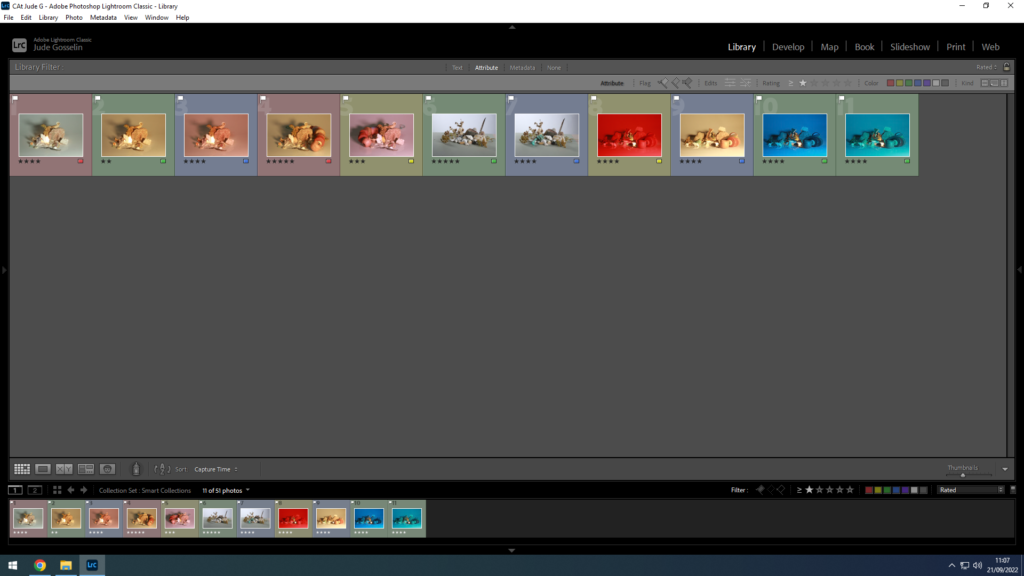
By using colour co-ordination by using numbers 6-9, you can highlight specific pictures with which ever colour you want, which you can use as a key for specific pictures.
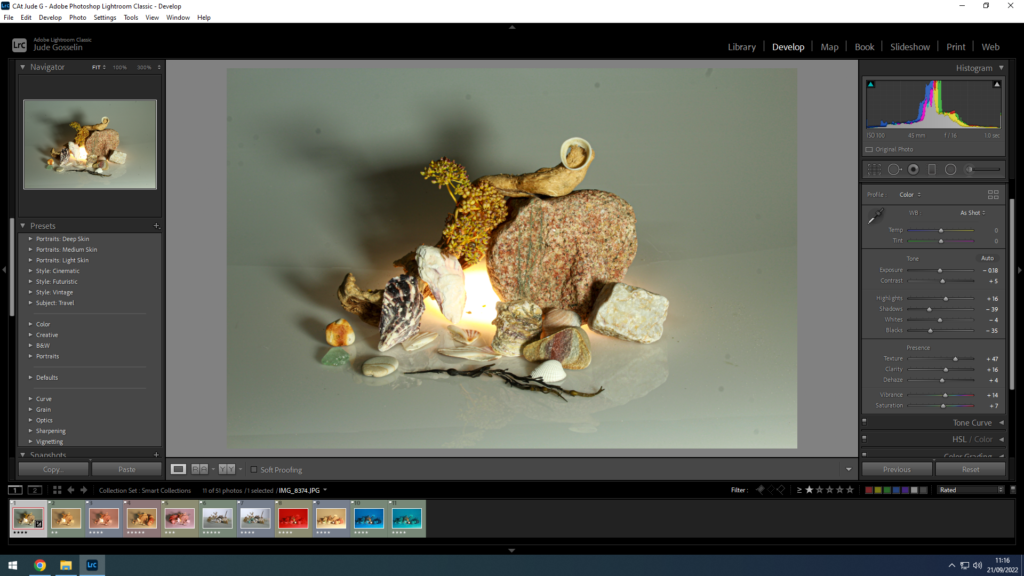
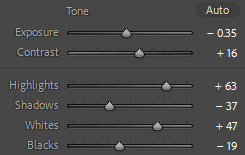
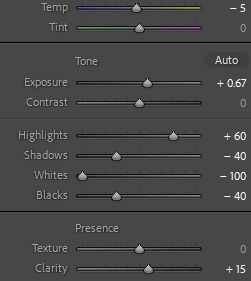
There are also options in “develop” modes which allows you to edit your pictures to very specific details, and to adjust the image to how you want it to look.
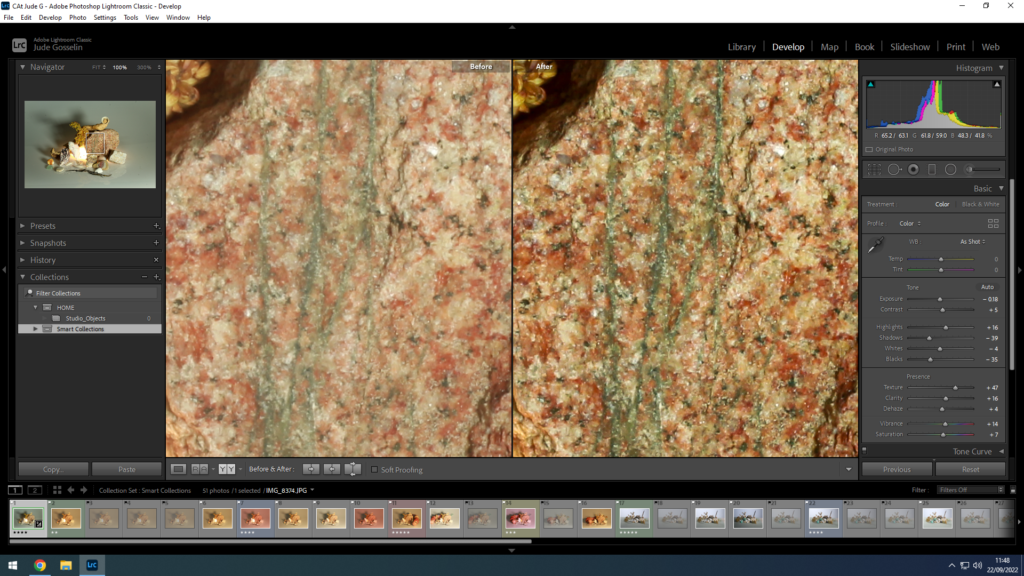
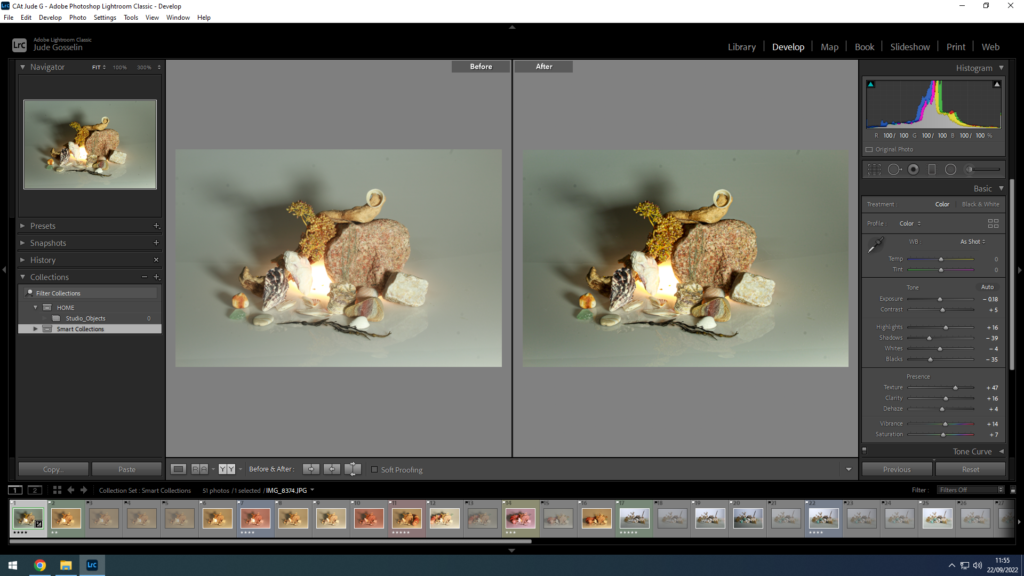
Adobe light room also allows you to compare an image after you have edited it, (before and after). This is an example of one of my images that I edited, to make it look sharper and cleaner.
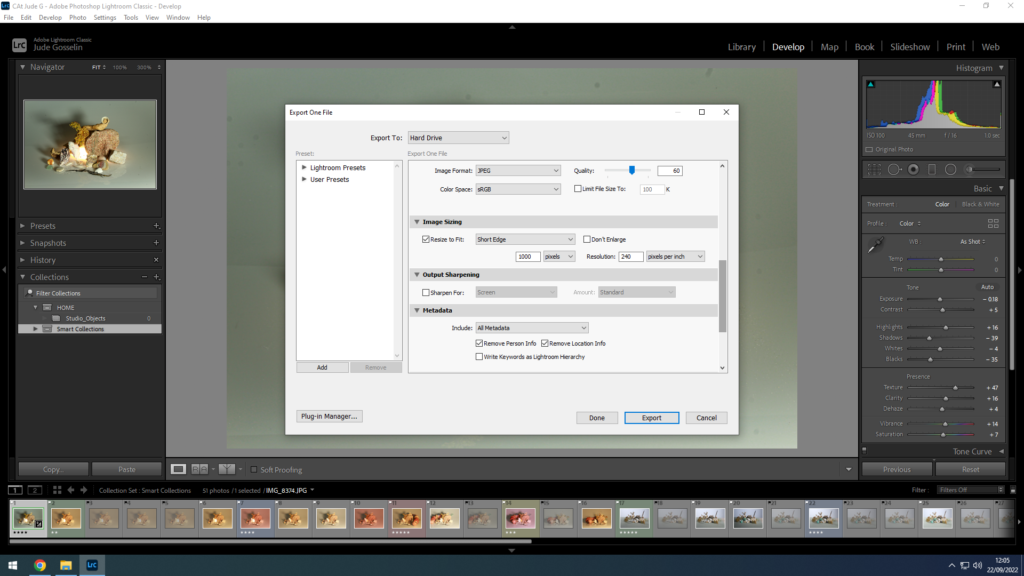
This allows you to export images into a file that allows you to separately save an image.
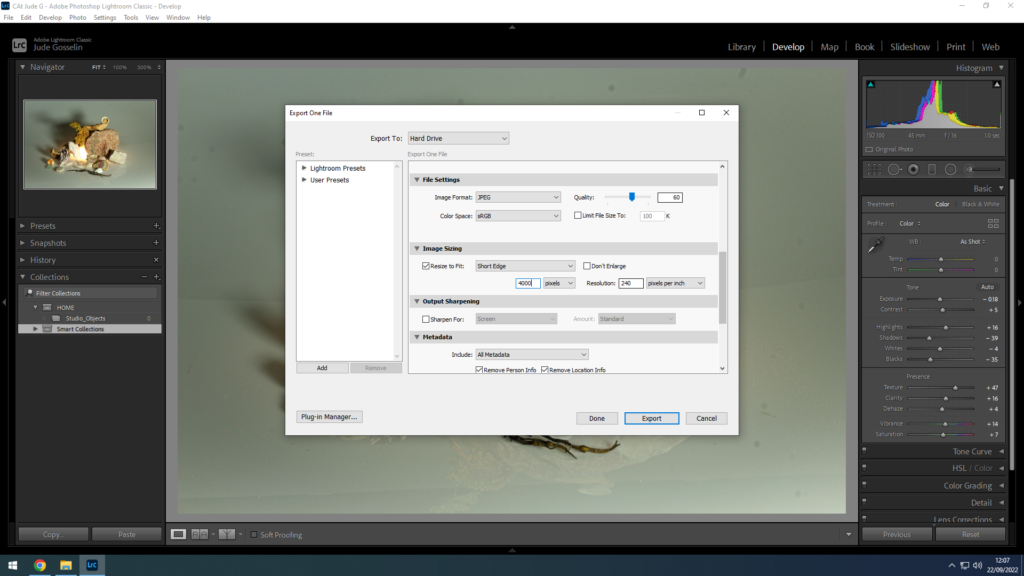
This is me saving the image again but with a larger pixel size, allowing me to print the image out, and copy the image into the blog separately.

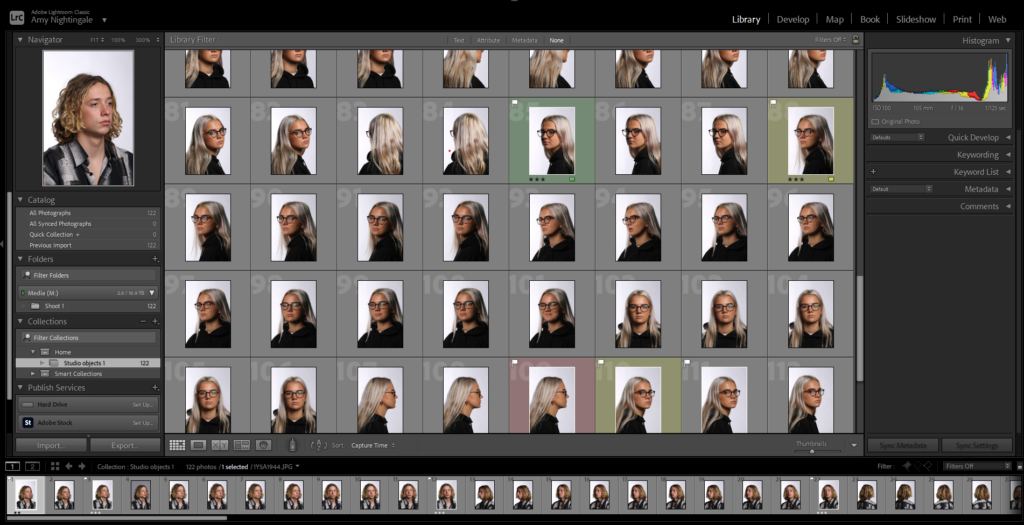
using lightroom

Imported photos from past students.

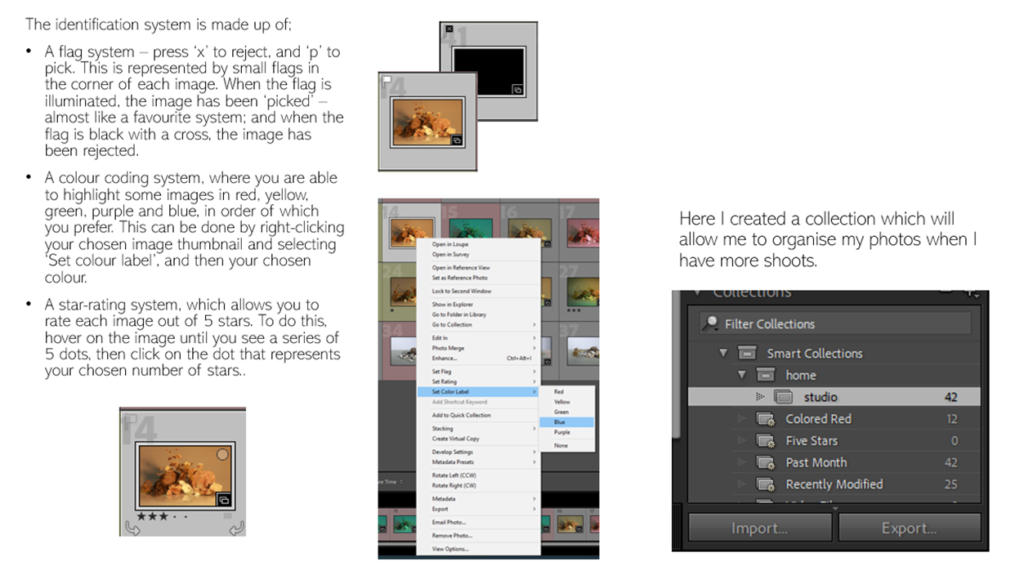
First I learnt how to select and discard different photos, by selecting the photo and either clicking P to select or X to discard the photo. Discarding the photo doesn’t actually delete it but shows that you don’t want to use it.

Starred and colour codded photos.

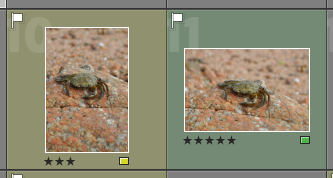
Next I learnt how to rate the photos using the stars underneath the photos. Also how to colour code the photos using the flag at the bottom right of the photo to show whether the photo is going to be used, might be used or isn’t going to be used.

How to select only flagged images.

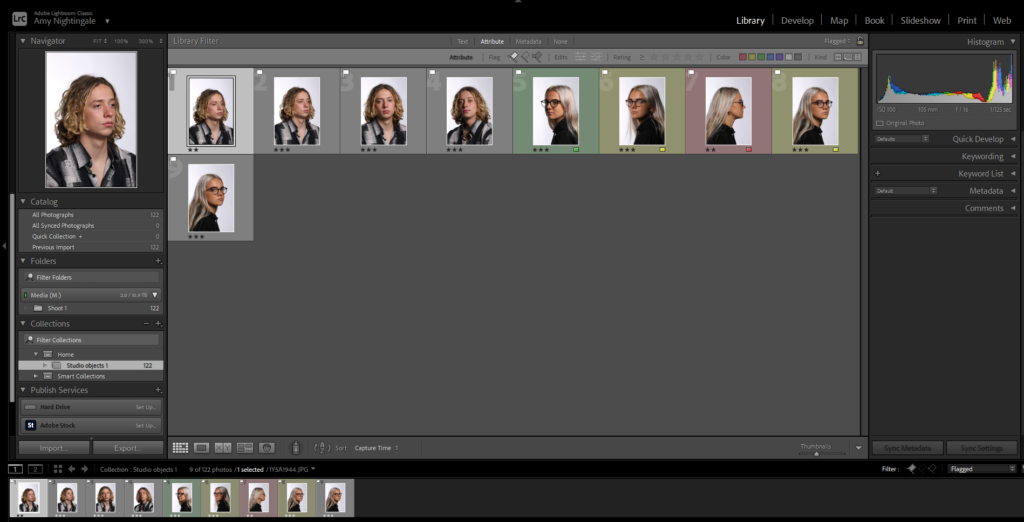
Then I learnt how to select only the photos that I had flagged/selected. By clicking on the top right button which says filters off and selecting flagged. This got rid of every other photo apart from the ones that had been flagged.

Only flagged images are shown.
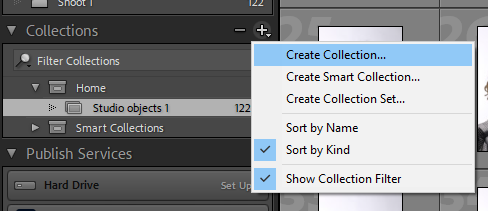
How to create a new collection folder.

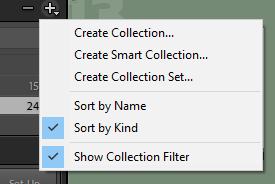
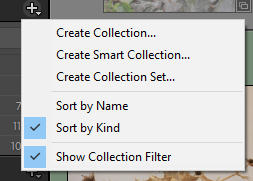
Then I next learnt how to create a new collection folder. This is by clicking on the plus symbol next to collection and then clicking create collection.

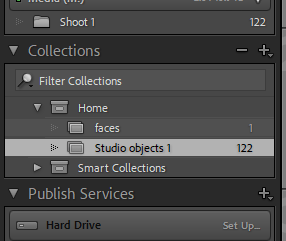
New folder with the photos.

I then dragged certain photos into a new collection folder which were of a specific person. To do this you just click the photo, then drag it and hold it over the folder you want to put it into.

LIght room classic- fliltering system.

In Lightroom Classic it gives you the opportunity to filter through, rate and colour code you imported photos.

Lightroom uses Previews of your photos not the actual photo file its self.

The filing system makes light room less cluttered and easier to find your work.

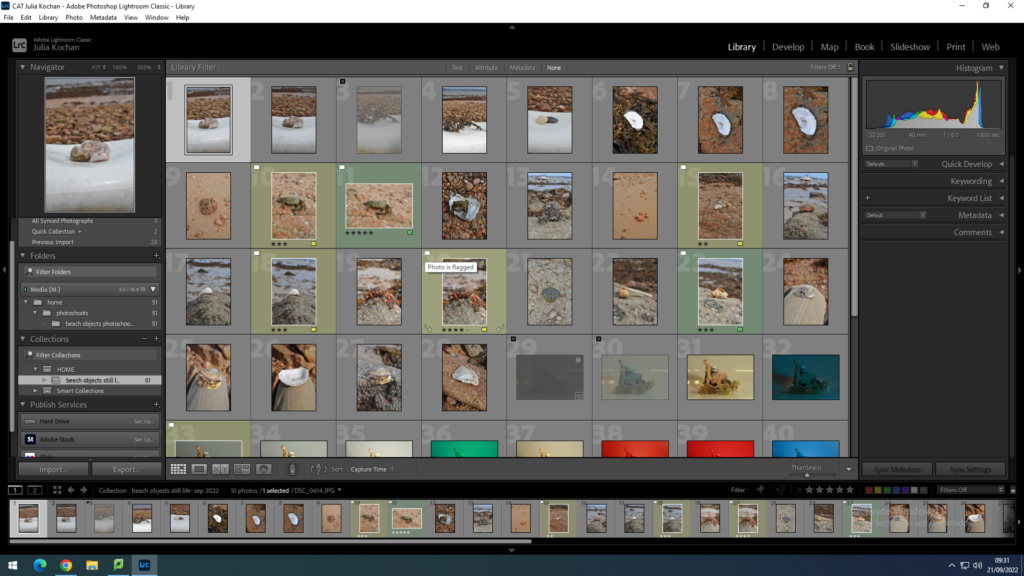
The photos I like I have flagged them by selecting the photo and pressing p.

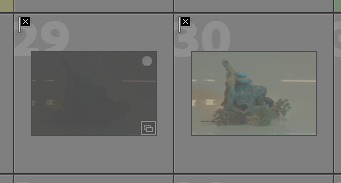
To discard the photos I don’t like so I know not to use them I have put black crossed flag on them and it comes up as grey

To colour code my photos i selected the photos in a simple traffic light code in order of photos i like, find okay and photos I don’t mind i did this by selecting the photo then pressing the square on the bottom right hand side and selecting the colour.

I also rate my photos by how much I like them so I know what photos to use.

You are also able to make a folder in collections which you are able to put all the photos of one project into a file so you arent habing to look through thousands of photos to find one project.

you do this by pressing the plus button on the left hand sign of the screen, you then drag the photos into the file.

Adobe Lightroom

Filtering

Lightroom classic is an software that allows you to import your images and filter them through multiple methods, such as:

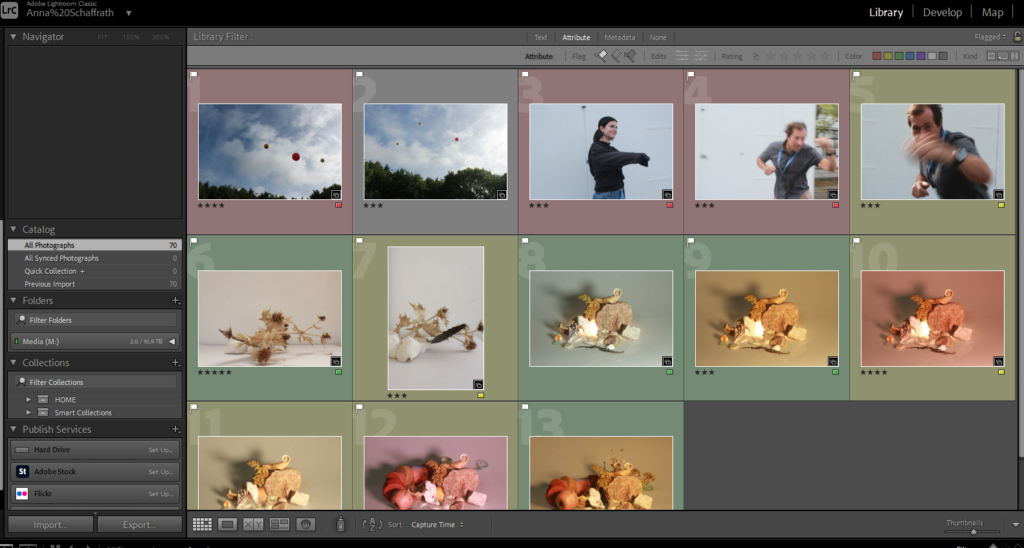
This block allows you to colour code you images. For example if you really like a certain image you could colour it as green, meanwhile if you dislike a image you could code it as red.

The flag allows you to pick out certain images by adding this little white flag to the top of the image. It makes it easier to filter which images you need to find.

The stars allow you to say how much you like this image. This is useful for when your trying to choose which images to select.

The images should look like this once you have filtered them. As you can see, the green and yellow colours separate how much you like each image as well as the stars rating out of 5 showing which ones you prefer.

Creating a collection

Your also able to organise your picture through collections. This makes it easier for you to find specific pieces of work instead of searching through all of your images.

Your able to create a collection by clicking on the small plus in the corner.

adobe photoshop lightroom

I have learnt how to import my own pictures and then to flag which pictures I like the most, and also flag the ones I don’t need/like. Ive then learnt to colour code them red, yellow or green.

The four things are:

  • Flagging my favourite pictures with a white flag by selecting it and pressing (P)
  • And then using the stars to rate how much i like the picture 1-5.
  • If I don’t like a picture I select it and press (x) and it becomes de-selected.
  • I can also colour code my pictures either green (favourite) yellow (okay) red (don’t like as much).

This shows my flagged pictures which I’ve colour coded and rated.

This is going to help me organise my photoshoots and make initial selections.

Creating collections

To sort my photos properly I’ve learnt to create collections for different categories of photos so its easier to access:

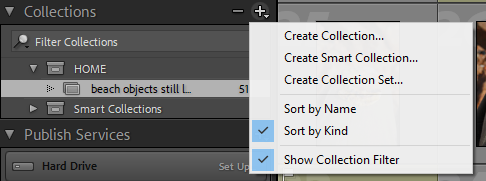
The plus sign in the top right corner gives the option to add another collection:

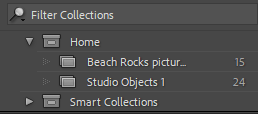
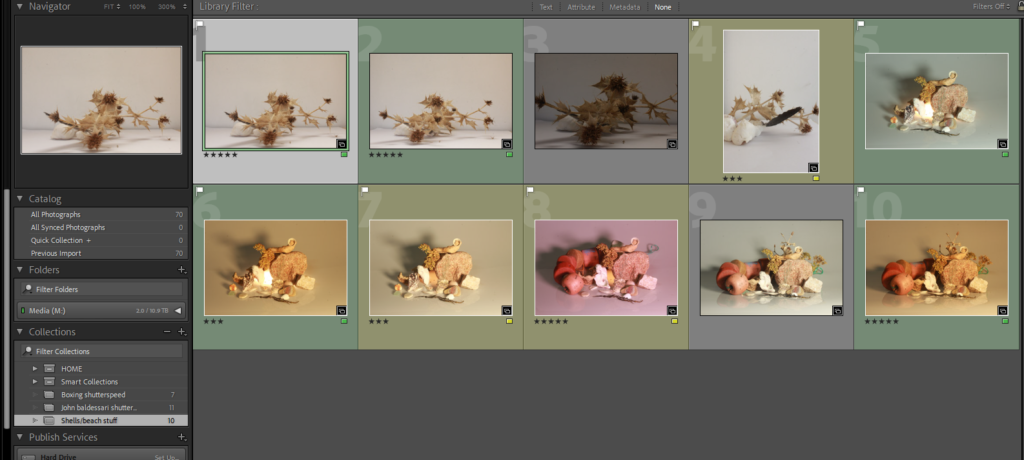
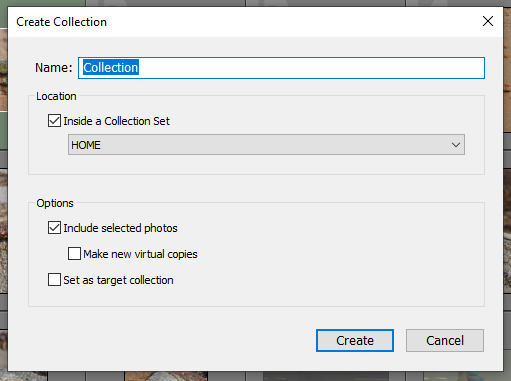
By clicking the top one (create collection) you can then have a different folder which you can name to whatever category the photos you decide to put in it falls in. For example this is what one of my collections look like:

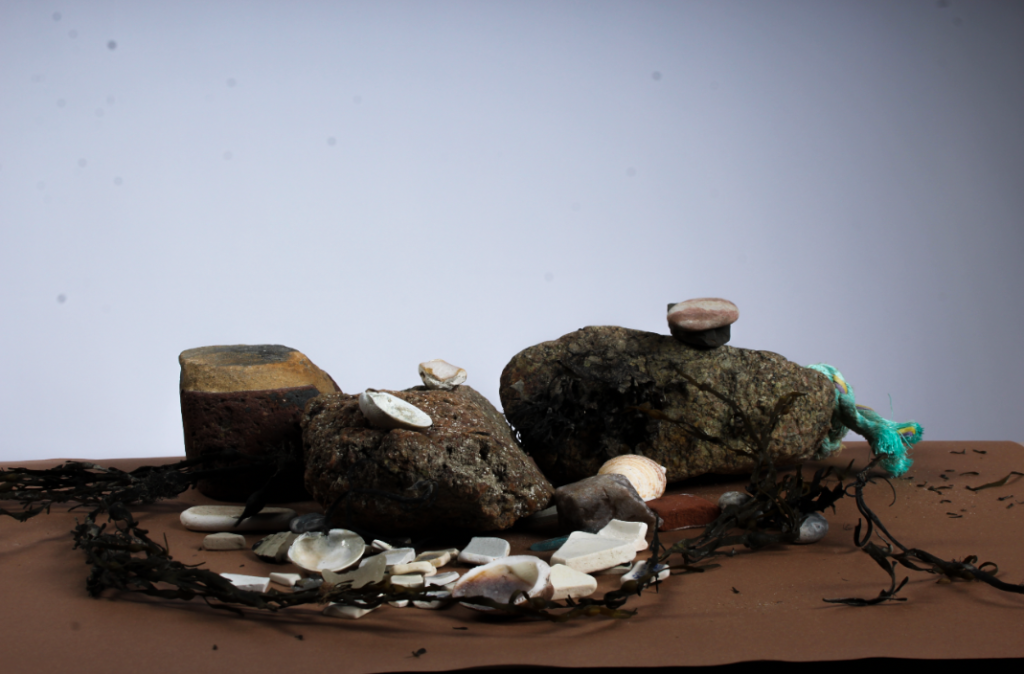
This is my shells/ beach stuff collection.

Using lighroom classic

Creating Collections and Filtering in Lightroom:

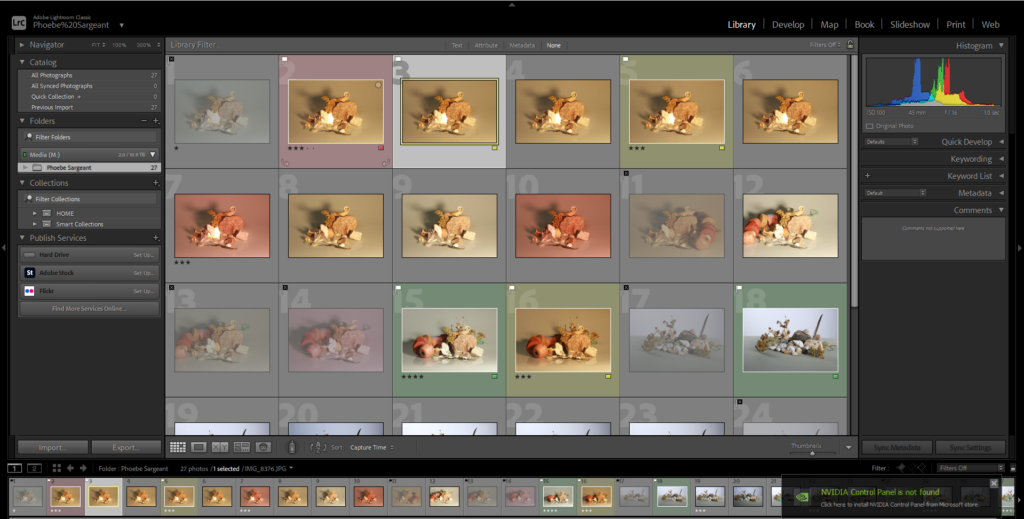
All of my pictures in a collection.

I started by importing all my pictures from a certain photoshoot into Lightroom, creating a collection set and then a collection to put them into.

Some of my rejected images.

I went through my photos and rejected some of them by clicking the letter ‘x’ on my keyboard. This helps me sort out my images as Lightroom now knows that these aren’t images I will be using.

Some of my pinned photos.

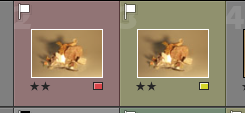
I also pinned some of my images, the ones I thought were the best, as well as them filtering them by giving them a rating and colour. I used green for the ones I will definitely want to use for editing, yellow for the ones I might use and red for ones I most likely won’t use. I used the star rating to show how much I like the image (1 being the lowest rating and 5 the highest).

stars
colour
Making a collection.
Naming the folder.

To make a collection, you go on the collections section and go on create collection. You would then label it with a suitable name and the collection will be created. this is used to create subfolders, placing photos that belong together in one place, making everything more organised.

LightRoom

You can flag the images that you like by selecting them and pressing “p” and “x” if you don’t like it.

You can give each image a star rating from 1-5 depending on how much you like them.

You can colour code each image on depending on what you need for example: green for the ones you will use.

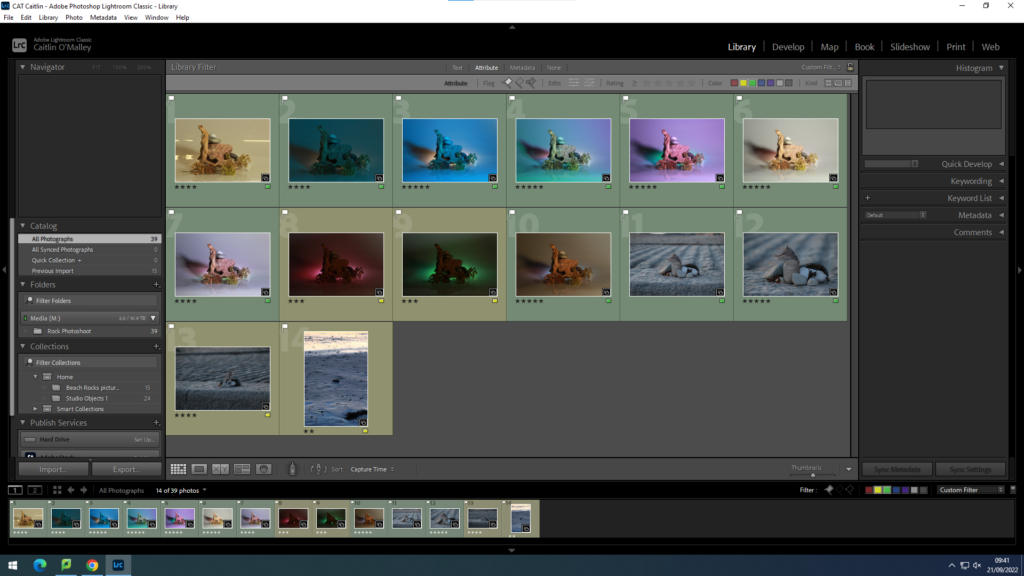
You can also filter to only show certain images.

In this image I’ve filtered so it only shows green images.

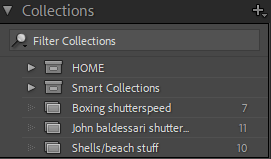
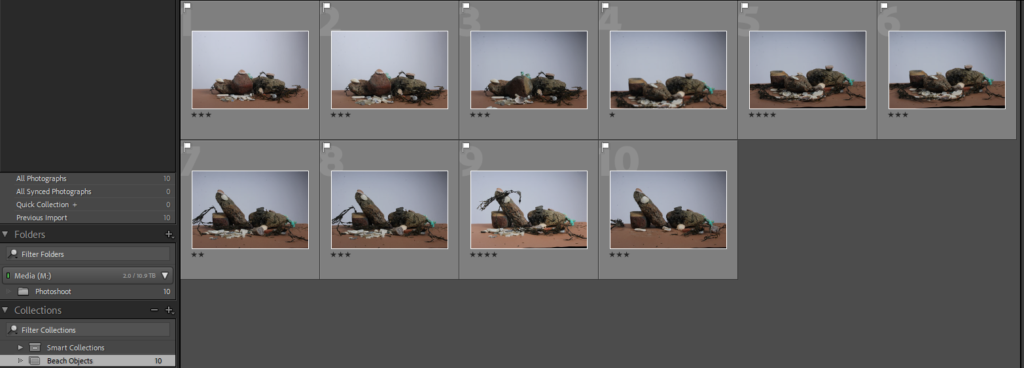
You can create a new folder to store certain images in them for example like I’ve done with the beach objects.

Creating a collection is good to keep your photos organized.

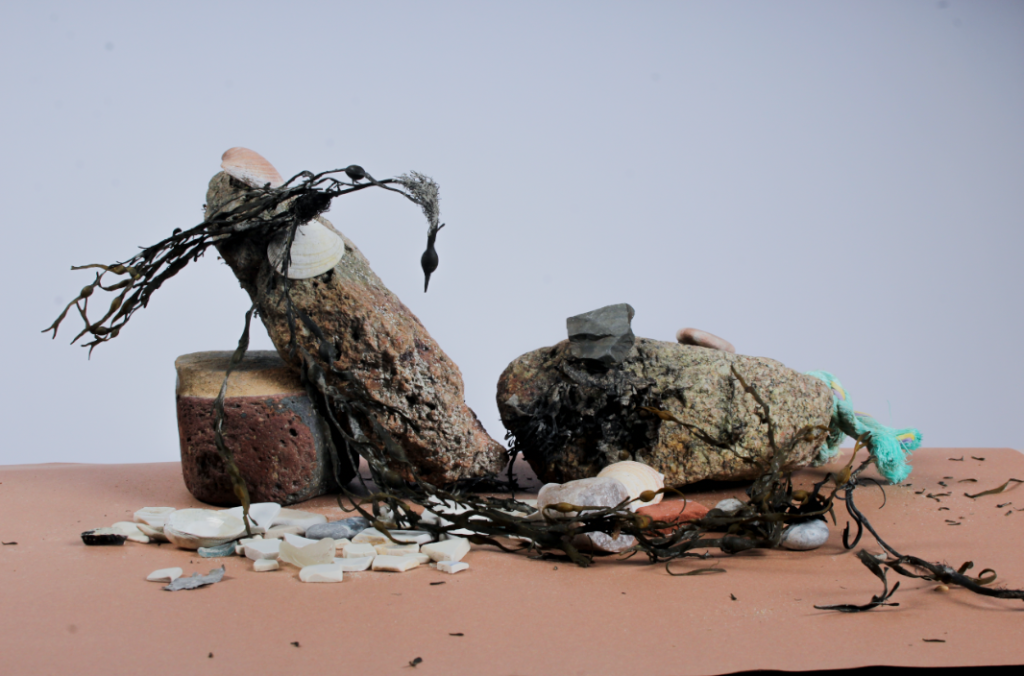
I edited these 2 images slightly

Shutter speed

What is shutter speed?

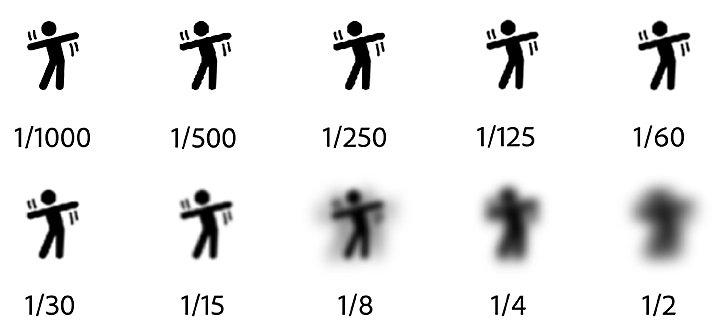
It’s the speed at which the shutter of the camera closes. A fast shutter speed creates a shorter exposure (the amount of light the camera takes in), a slow shutter speed gives the photographer a longer exposure.

A chart showing different levels of blur for a moving stick figure, based on the shutter speed

A faster shutter speed allows less light to pass into the camera sensor. Inversely, a lower/slower shutter speed allows more light to pass into your camera.

What is shutter speed in photography? A Useful Illustrated Guide.

Photo games

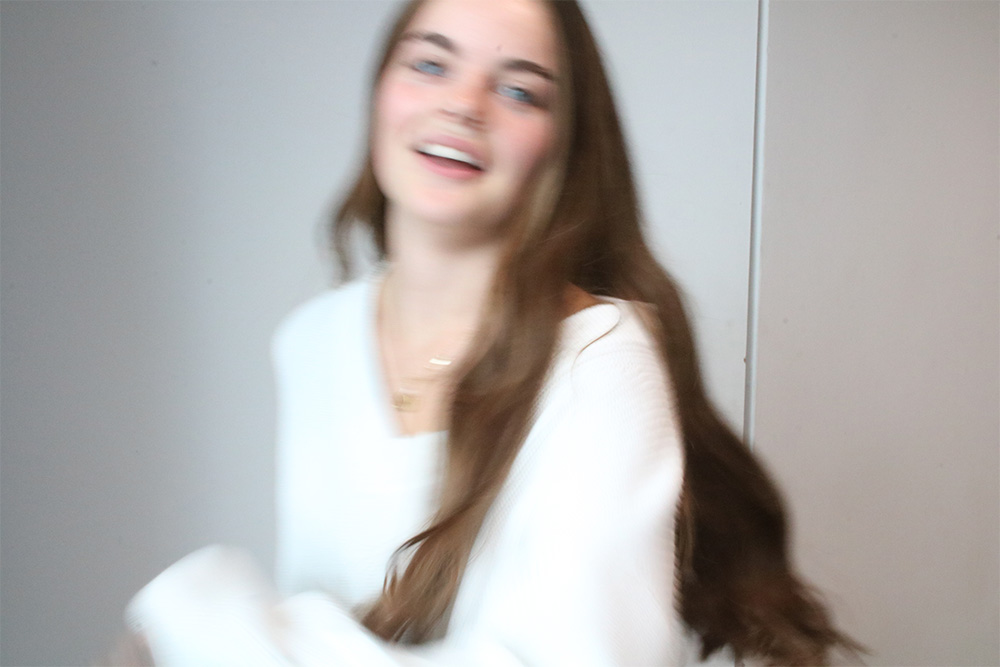
These images were produced with a slow shutter speed (1/15) creating a blurred effect.

These images were taken with a fast shutter speed (1/250) creating a sharper image.

John Baldessari

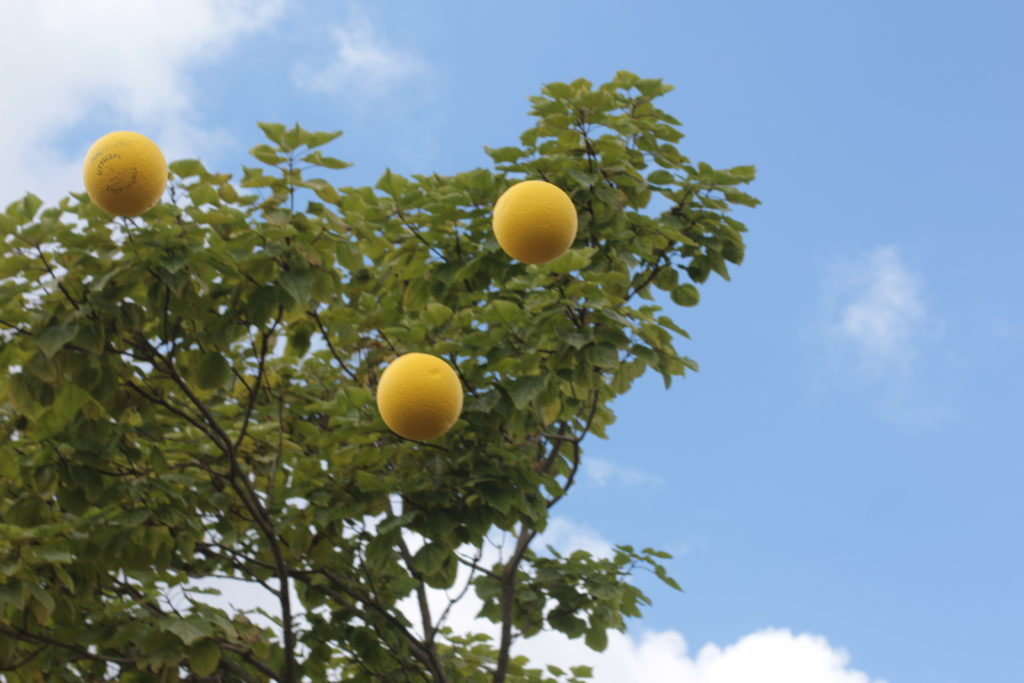
John Baldessari | Throwing Three Balls in the Air to Get a Straight Line  (Best of Thirty-Six Attempts) (1973) | Artsy

John Anthony Baldessari (June 17, 1931 – January 2, 2020) was an American conceptual artist known for his work featuring found photography and appropriated images. He lived and worked in Santa Monica and Venice, California.

Initially a painter, Baldessari began to incorporate texts and photography into his canvases in the mid-1960s. In 1970 he began working in printmaking, film, video, installation, sculpture and photography.
My Jersey

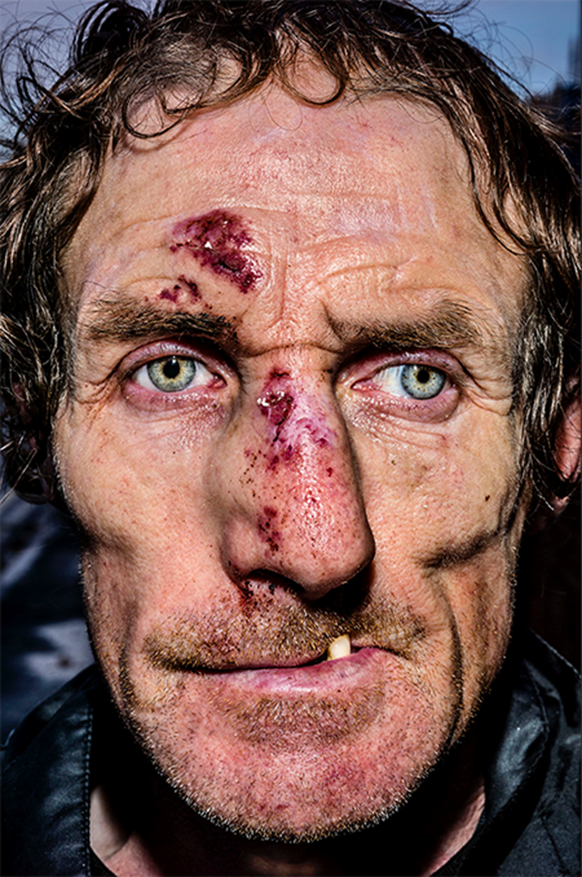
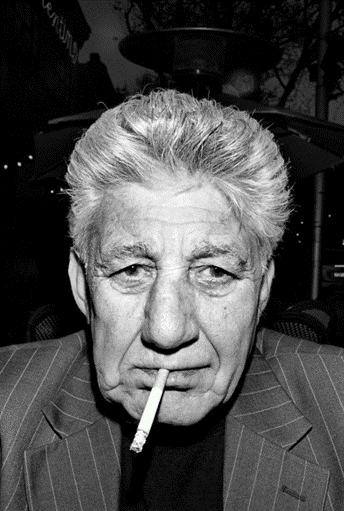
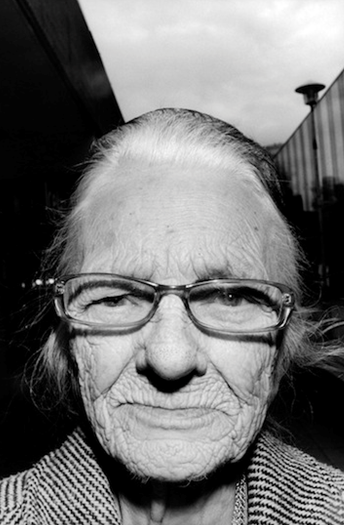
Bruce Gilden

Bruce Gilden (born 1946) is an American street photographer. He is best known for his candid close-up photographs of people on the streets of New York City, using a flashgun.
Whilst Gilden studied sociology at Penn State, he watched Michelangelo Antonioni’s film in 1968. Influenced by this film, he purchased his first camera and began taking classes in photography at the School of Visual Arts of New York. Captivated with people on the street and the idea of visual spontaneity, Gilden turned to a career in photography.

Gilden has worked on commissions for Louis Vuitton, The Climate Group, and Mission Photographique Transmanche as well as publications including Wallpaper, New York Times Magazine.

“I’m known for taking pictures very close, And the older I get, the closer I get.”

John Stezaker

John Stezaker is a contemporary British Conceptual artist best known for his collages of found images taken from postcards, film stills, and commercial photographs.

Stezaker attended the Slade School of Art in London in his early teens, he graduated with a Higher Diploma in Fine Art in 1973. His works have been featured at The Museum of Modern Art in New York, the Tate Modern in London, and the Tel Aviv Museum of Art, among others. Stezaker lives and works in London, United Kingdom.

“My ideal is to do very little to the images, maybe just one cut: the smallest change or the most minimal mutilation, what I do is destructive, but also an act of deliberate passivity.”

My Jersey

For my summer task I have decided to focus on my mum.

My mum has been living in jersey for over 20 years, in St Ouens bay. I am going to be showcasing my mums connection to the bay with multiple images taken on a recent family walk.

The images consist of a portrait of my mum inspired by Bruce Gilden, along with a Landscape of St Ouens bay. Through the influence of John Stezaker I have overlapped these two images, With the use of Blend Editor on my Iphone.

I have selected these images because having lived in St Ouens for some time my mum and family have had a significant connection to the bay as seen through this portrait.

The Portrait

The Landscape

The Final Image