PHOTOSHOOT #3
Both of these photoshoots were quite small, with only 30 images being taken overall. I coloured coded 12 images that I thought were successful green, in one set of images I concentrated in bringing out the purple of the images while in the other I concentrated on yellow when editing.

I will also be doing minimal editing for these images, being careful not to make the images too grainy as the rich coloured lighting in the room where I took the images already means that if I change the exposure massively the images will become grainy.

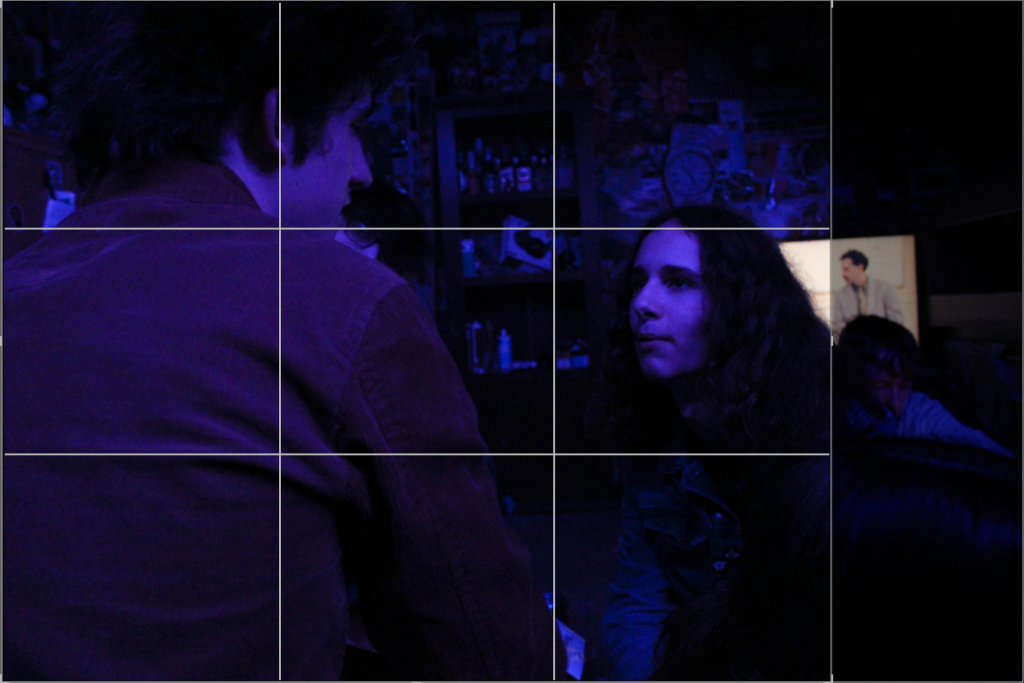
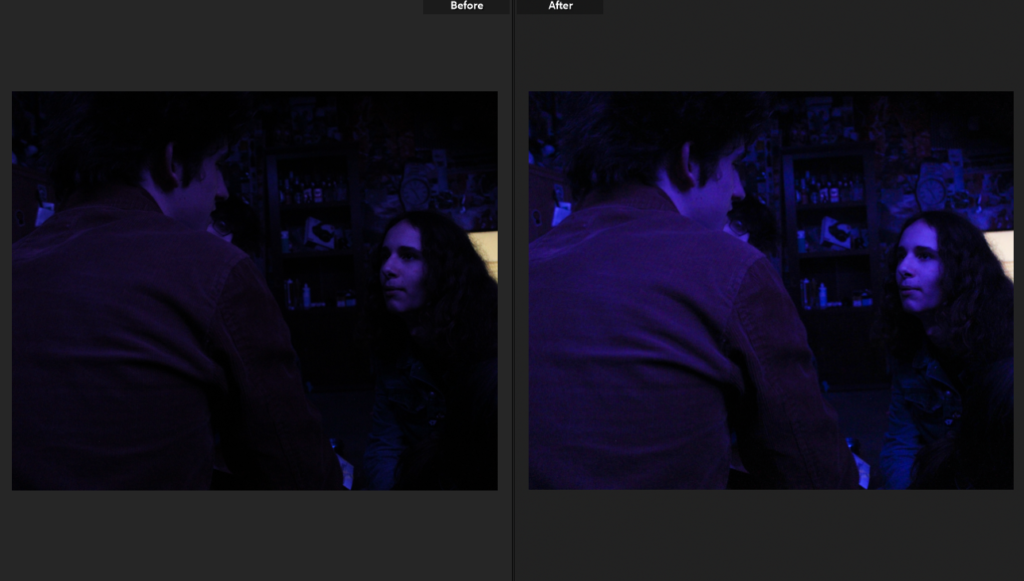
In this image I turned up the exposure trying to bring out finer details on the subjects and more definition, this was difficult due to the coloured light as the images became very grainy.

Cutting down on images after editing I put my unsuccessful images into the yellow category while keeping my successful images green.

Personally I am not very fond of LED coloured lighting in images as I think it looks tacky and amateur so for these images I wanted to concentrate on the subject’s emotive expression which in these images I do not think is very effective.

Concentrating on facial expression and body language these images above I feel are the most emotive- the image on the left has direct eye contact with the viewer (displaying almost a kubrick stare), paired with the image on the right the subject who is faced towards the camera has almost a facial expression of pleading.
PHOTOSHOOT #4

For my fourth and final photoshoot my only concentration is choosing between 6 images as a final image which are very similar, they are all edited with the same settings- to bring out the yellow in the images- however each image portrays a slightly different perspective.

The image that sticks out to me the most is the top right one, where a blurry figure is entering into the phone box with the subject- this image has slight symmetry due to the lines on the phone box doors creating yellow boarders and the motion in the image present more action in the image.


Alex, make sure you produce the following blog posts:
1. Mock display of final prints
2. Consider producing a zine or photobook using your images
3. Zine/ photobook research, concept, narrative + design process
4. Final zine/ photobook + evaluation
5. Final prints + virtual gallery + evaluation