For my final project I decided that I would like to make a photobook alongside prints of my final images. I felt like a photobook would allow me take more inspiration from Kawauchi’s work, and that placing my images in a book would give them a new unique way to be interpreted based on their order and placement.

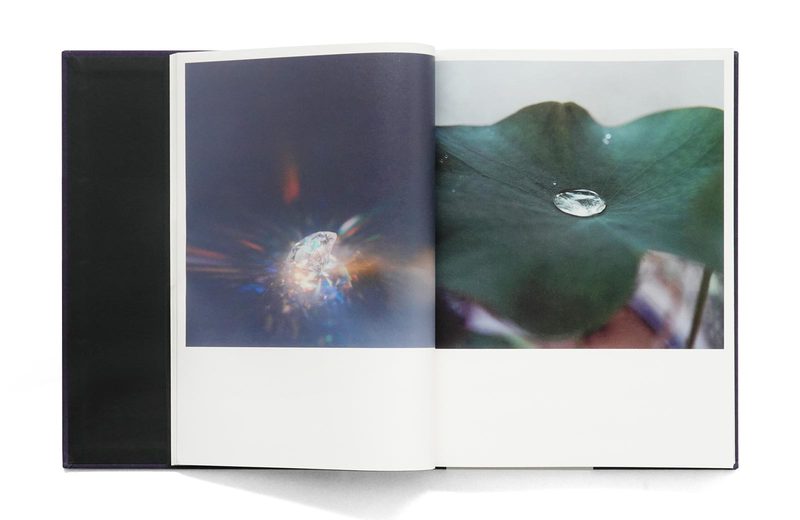
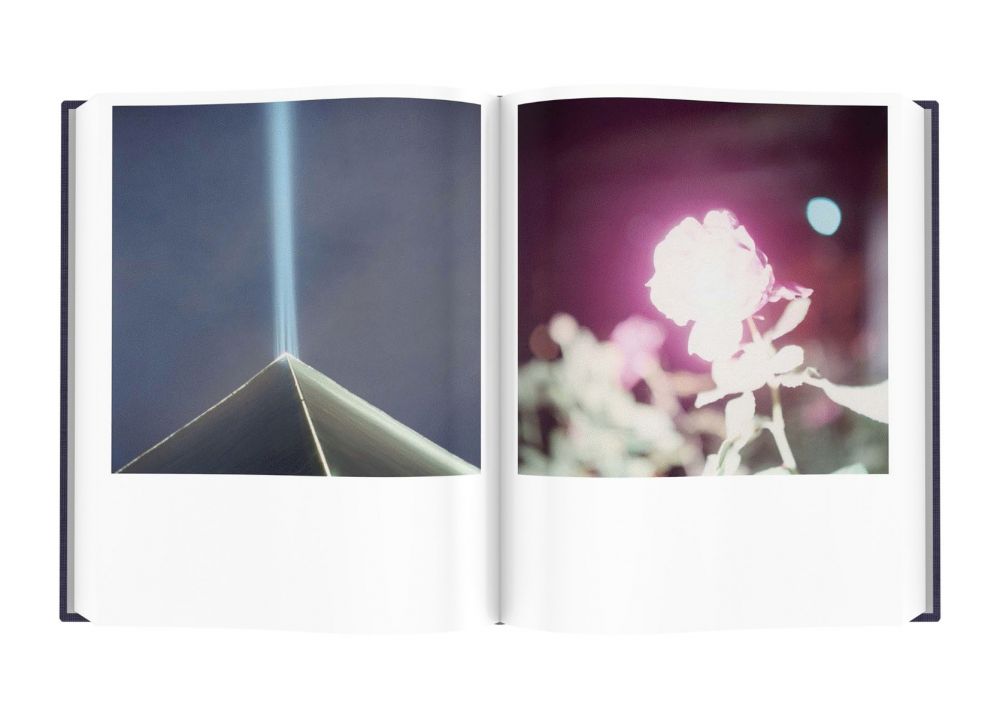
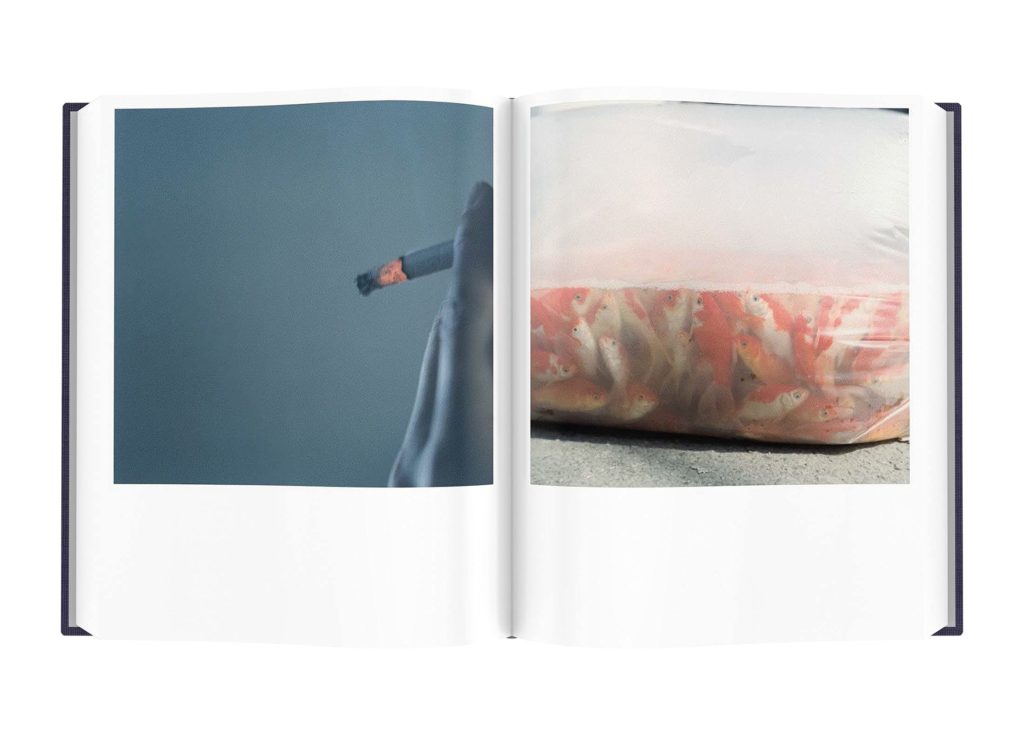
I tried to keep this in mind when selecting my images for the book, trying to focus on using images with interesting colours and light, taking inspiration from my artist references throughout the project.
For example, unlike in Kawauchi’s, Eggleston’s photobook uses a variety of image sizes and shapes, giving some more variety.
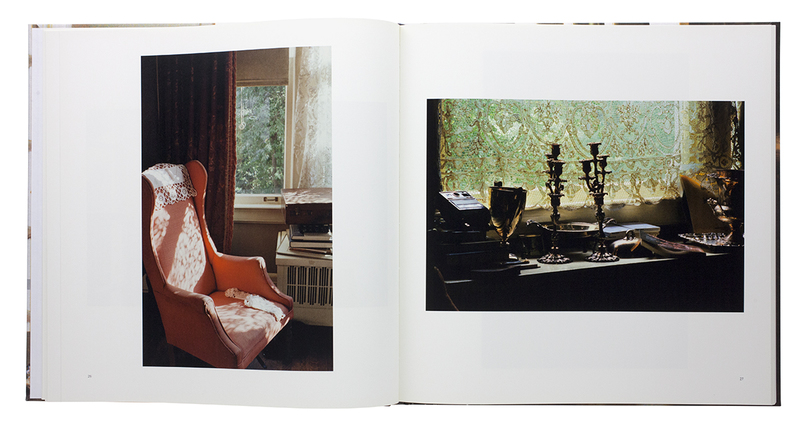
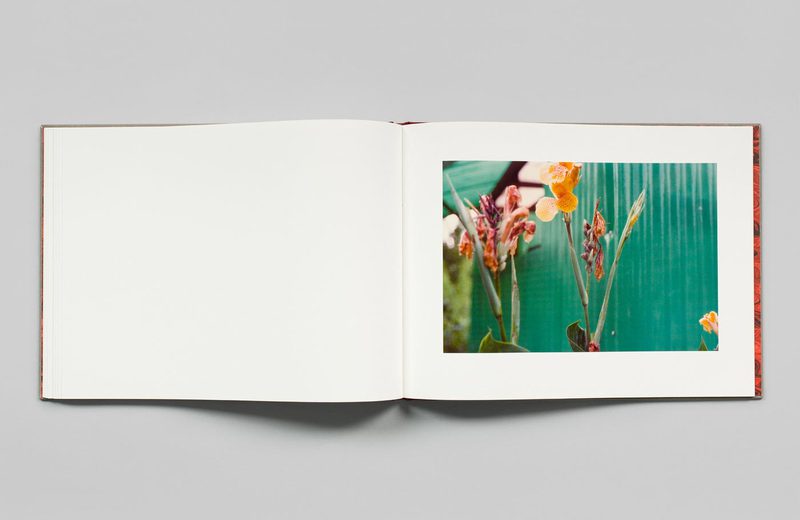
Both of my inspiration books are relatively large, to show all of the detail within each image, so I kept this in mind when designing my own photobook. Neither had a focus on a clear narrative, instead focusing on showcasing an array of abstract images, leaving it to the viewer to interpret the meaning of them.
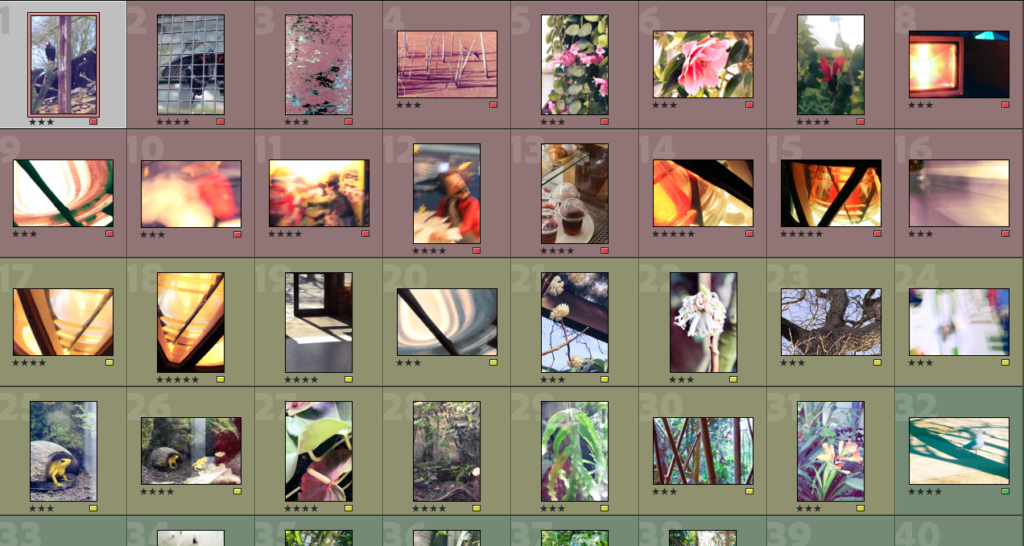
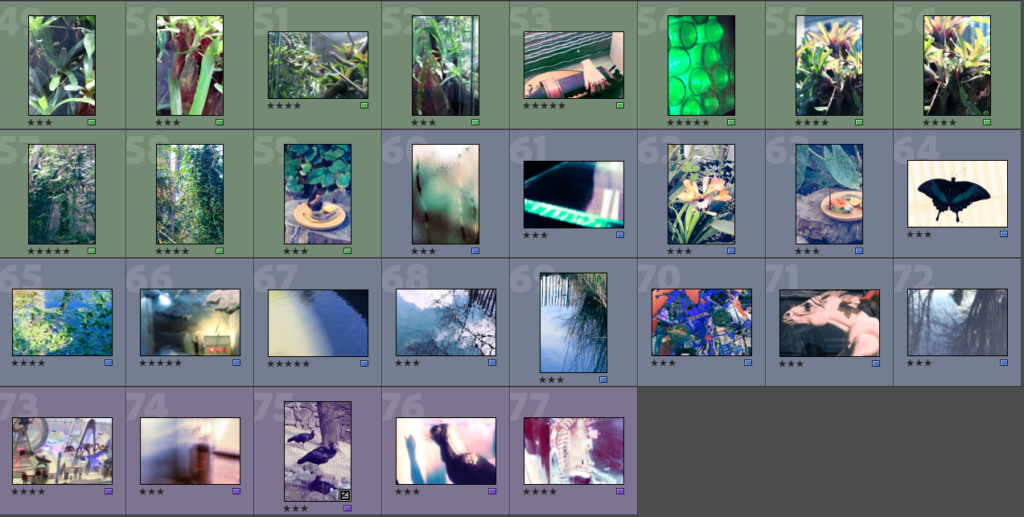
I decided to use Lightroom’s image selection process to mark my images as different colours, based off of what I felt were the main colours within each individual image. I also decided to use the star rating system to decide which images I wanted to use the most so I knew what I wanted to focus on in my photobook.
Before starting to assemble my book, I decided on the specifications I wanted to use, including size and paper type.

I decided to use a large square book like I did for the last exam, I liked the size and general feel as I felt it could show my images very well. I also picked to have a hardcover image wrap instead of a dust jacket as I just generally prefer the look, and it is the style used for Kawauchi and Eggleston’s books.
I decided that when I started assembling my photobook that I should make multiple draft versions with differing compositions, allowing me to find the best possible layout.
Blog posts to make for photobook:
1. Research and deconstruct photobook:
Book in hand: how does it feel? Smell, sniff the paper.
Paper and ink: use of different paper/ textures/ colour or B&W or both.
Format, size and orientation: portraiture/ landscape/ square/ A5, A4, A3 / number of pages.
Binding, soft/hard cover. image wrap/dust jacket. saddle stitch/swiss binding/ Japanese stab-binding/ leperello
Cover: linen/ card. graphic/ printed image. embossed/ debossed. letterpress/ silkscreen/hot-stamping.
Title: literal or poetic / relevant or intriguing.
Narrative: what is the story/ subject-matter. How is it told?
Structure and architecture: how design/ repeating motifs/ or specific features develops a concept or construct a narrative.
Design and layout: image size on pages/ single page, double-spread/ images/ grid, fold- outs/ inserts.
Editing and sequencing: selection of images/ juxtaposition of photographs/ editing process.
Images and text: are they linked? Introduction/ essay/ statement by artists or others. Use of captions (if any.)
2. Write a book specification and describe in detail what your book will be about in terms of narrative, concept and design with reference to the same elements of bookmaking as above.
Narrative: What is your story?
Describe in:
3 words
A sentence
A paragraph
Design: Consider the following
How you want your book to look and feel
Paper and ink
Format, size and orientation
Binding and cover
Title
Structure and architecture
Design and layout
Editing and sequencing
Images and text
3. Produce a mood-board of design ideas for inspiration. Look at BLURB online book making website, photo books from photographers or see previous books produced by Hautlieu students on the table in class.
4. Make sure you have a made a blog post that charts your editing process, including prints screens with annotation
5. Photobook: Final layout + evaluation
6. Prints: Final outcomes + presentation
7. Prints: Virtual Gallery + Evaluation