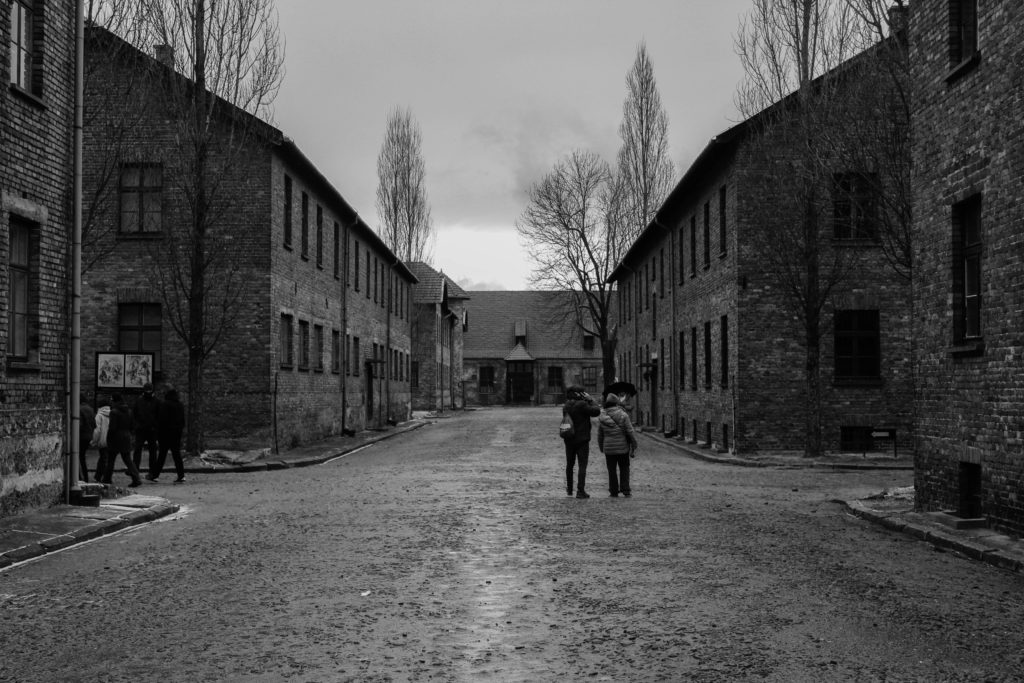
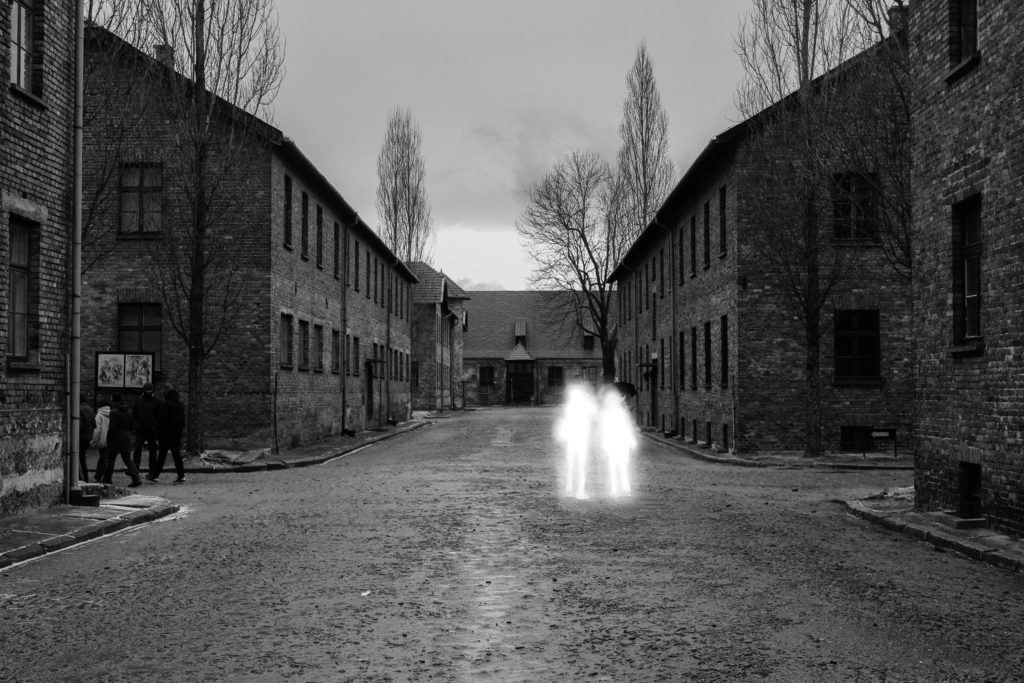
I decided to experiment with one of my photographs that I took when I was visiting Auschwitz. What I wanted to achieve was something similar to that of Katrin Koenning. In order for me to achieve this, I opened up photoshop and opened the image that I wanted to edit, afterwards I outlined the couple in the centre of the image with the pen in white and added a soft white barrier around the outline.
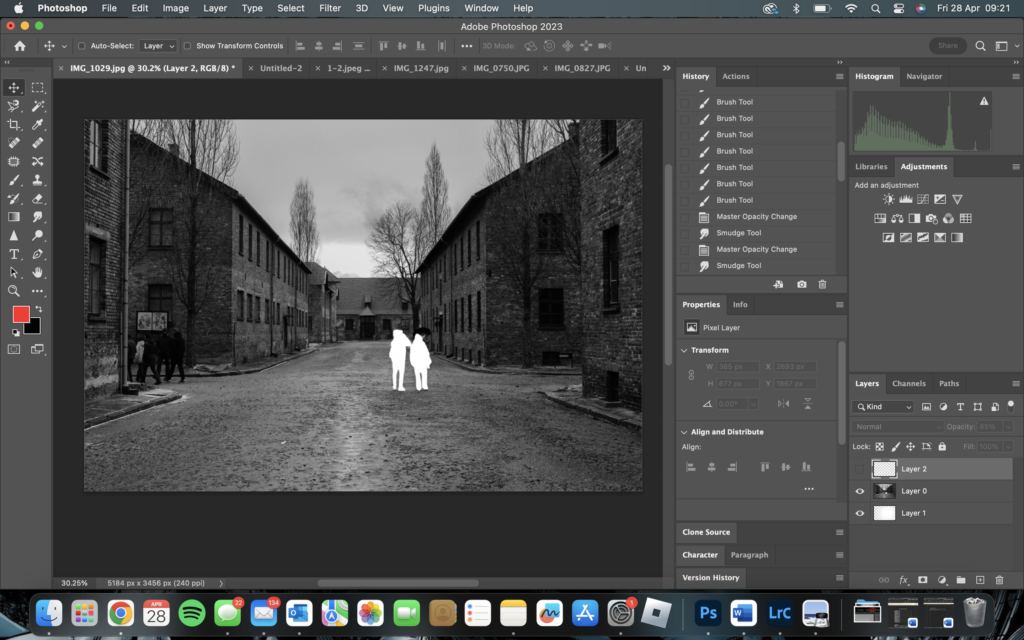
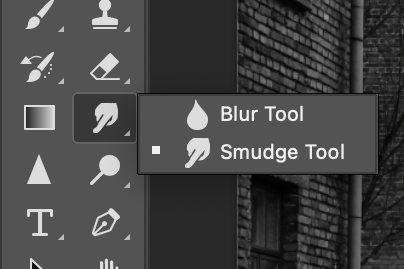
I then went ahead and used both the smudge and blur tool to soften the white glow that surrounds the people so that it didn’t look too harsh. I also decided to lower the opacity of the glow as it seemed to be quite harsh the first time I did it.
— Final outcome —
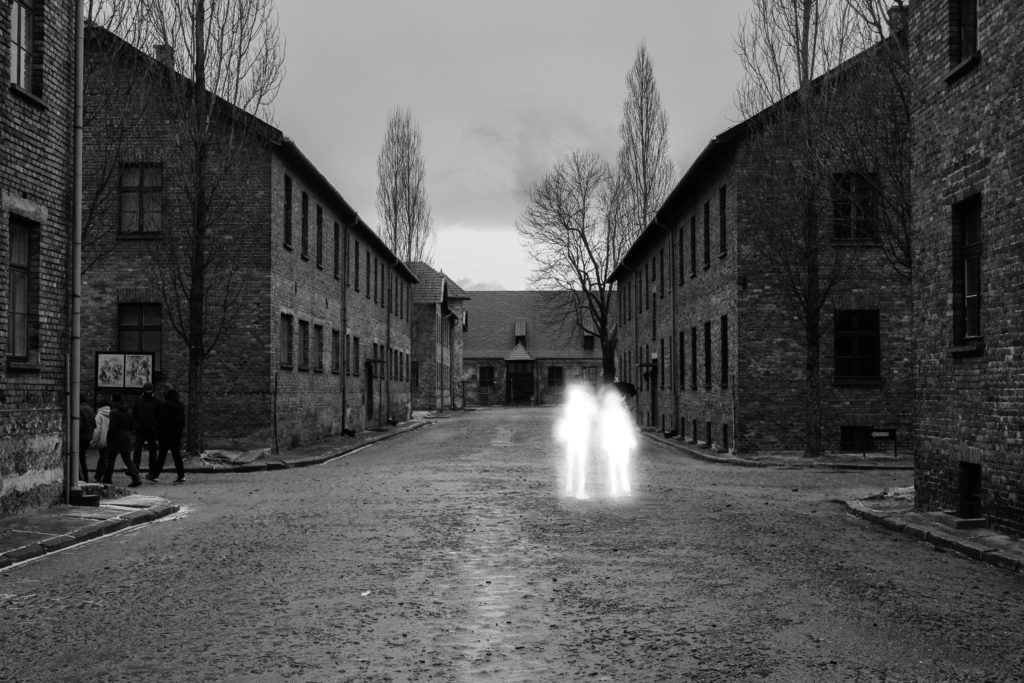
Above I have a side-by-side comparison of my edited photograph right next to an example of Katrin Koenning’s photography. I was very happy with how this image turned out as I believe it is very similar to that or Koeninng’s.
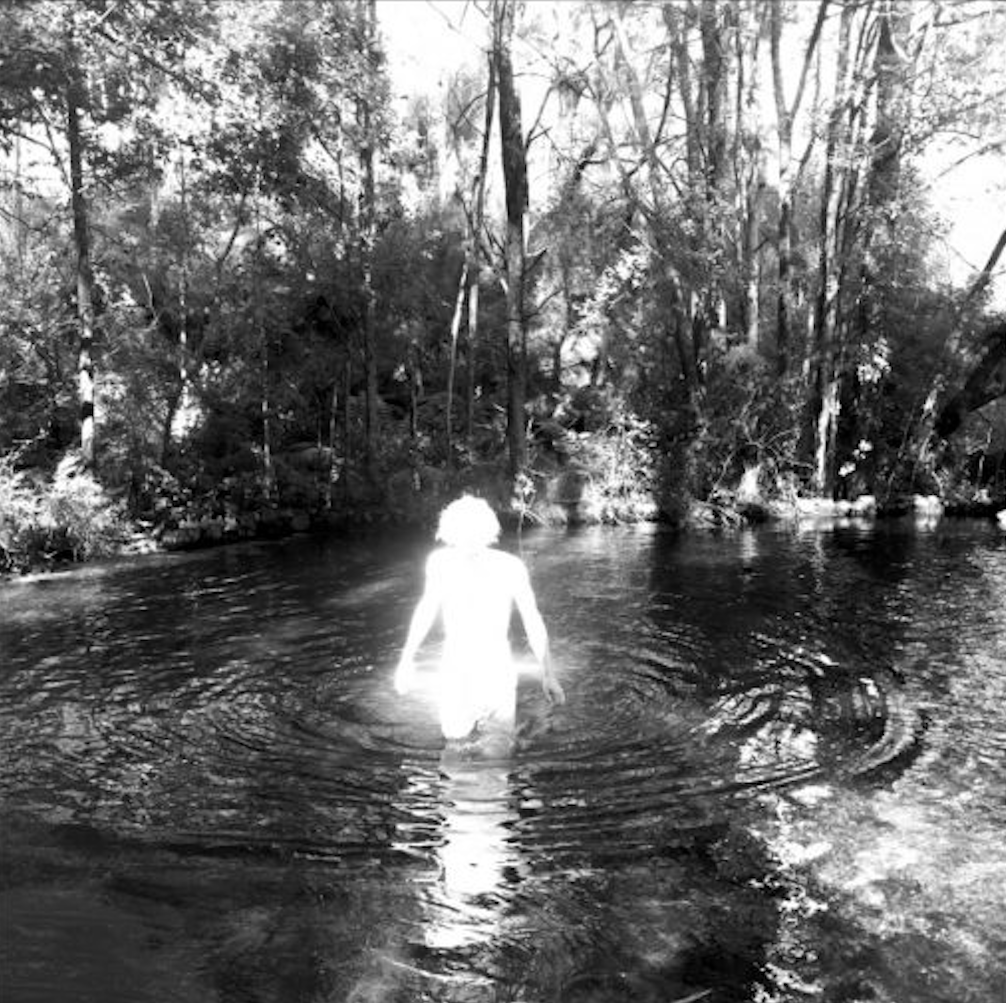
However, I won’t be using it in my final outcomes or my photobook as I don’t think it fits in with the other photographs. All my images are just of real moments and real buildings in different countries, whilst this photograph is the only edited photograph I would have to present which I don’t feel fits in with what I have already produced. I am still very satisfied with how this image turned out as it holds the same aesthetic as Koeninng’s but it doesn’t meet the brief of what I have made. Something I would change is the colour of the glow as it is pure white and doesn’t seem to fit in as well with the overall colour scheme of the image. The image contains a lot of blacks and greys but hardly showcasing any shockingly bright whites which compliment the cutout section, that is why I have decided to use the original version of the image for my photobook rather than the edited version.
