Designing my Photobook

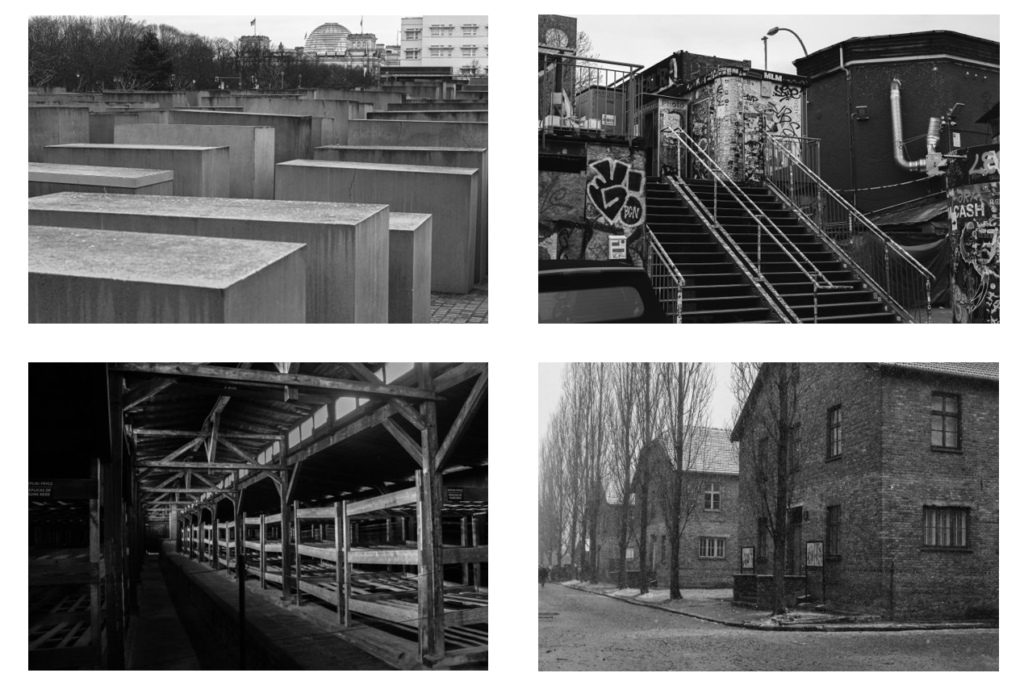
Selected Images

These are my selected images from my 4 photoshoots, to fit into my photobook. I don’t have that many, but I plan to make a simple and minimalistic layout different to my previous photobook in my coursework. As I spoke about in my statement of intent, I’m developing this photobook from my personal study, where I found my photobook to be too complex and ended up with way too many pages for my liking. Therefore, in my photobook design for this project, I’m thinking carefully about the images I include, with a few layouts only, to keep the design minimalistic – like many of my images. This will help me to keep a clear link between the reasons for my design choices and the images themselves.

Specification

I decided to use a standard portrait orientated photobook. I thought of using a layflat hardcover book as well, as I found in my previous project that the fold in the middle of each spread where the spine is ruined the composition of a few of my images. However, in this project my images are completely different, with no portraits and minimal compositions – I thought about using a layflat book for this project, but decided against it and went for a softcover portrait book. I am using a softcover book for these images as I have much less images than my previous project. I feel that using a hard cover for this book would have outshadowed the actual contents of the book and made the quantity of images look smaller also. Furthermore, I am creating a black and white only book. I think that keeping all of my chosen images in black and white was a successful choice – it enabled me to keep the formal elements of the images like light and shape the main focus of the images

Designing my book in Lightroom

After creating a new book within my ‘best images’ folder, I favourites a few simple layouts that I liked to be my principle templates for all of my images – this way I would keep the layout simple and make sure the book stays consistent visually when finally presented.

With a lot of my images, I used heavy cropping in m editing stage. Because of this, a lot of my images had changed size – I had difficulty fitting them into the templates I had picked. I ended up just zooming in /out to fit them in, seen in the imaves above.
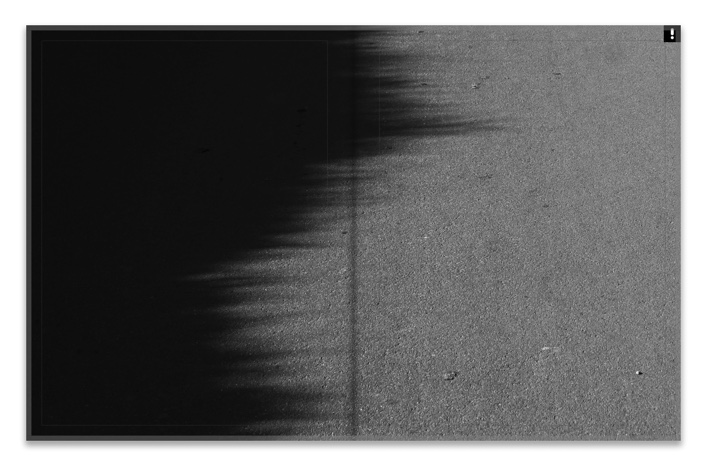
Again here I was experimenting with different spread types for this image. For this image in particular, I struggled with where to place it – It was a much darker, more graphic image than many of my others. I ended up keeping it as a single image spread, as seen on the right, at the start of my book.

Originally I had placed these two on the same spread next to each other. However, after looking again at my plan and more closely at the minimalistic design I had wanted, I decided to separate the spread. Together, I felt they looked too busy and created a slightly chaotic spread together, which disrupted the rest of the book. I think that the white space helps with isolating each image and helps the viewer to appreciate each image solely, without distraction from the other.

Here I was experimenting with two different types of double page spreads for two of my images which I decided to use for double spreads. I was using a full bleed image on one side, and an image with a border on the right. I think that on the right the image needed a white border and it works well – the white of the border frames the white road marking the strikes across the centre of the image, coming from the top left. This layout kept the composition balanced, and made sure the focal point of the image was still the main focus.

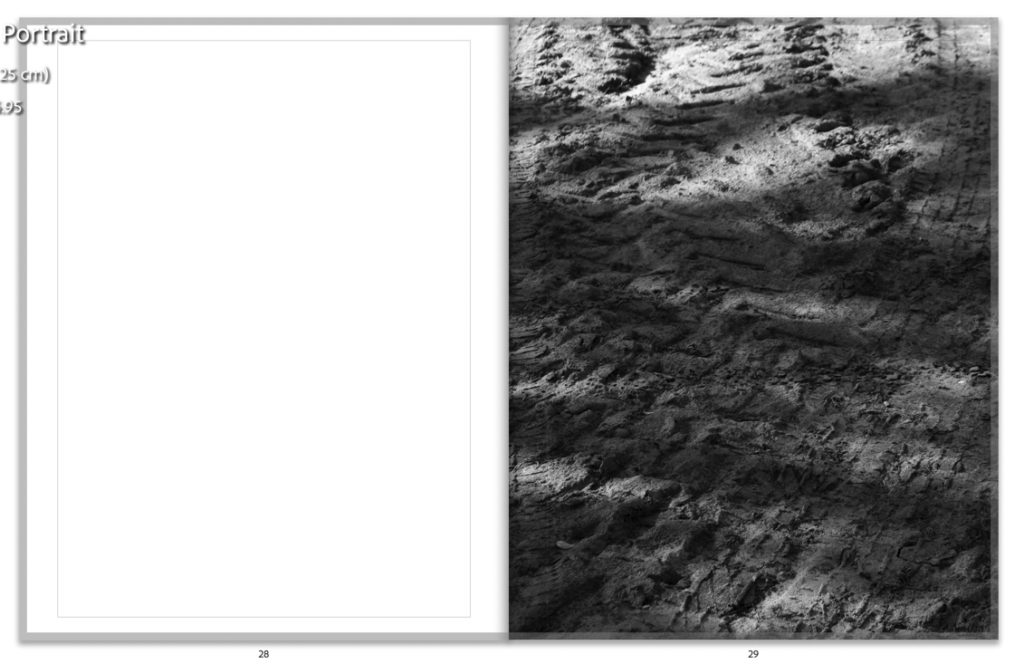
Two different spreads put as full bleed single pages. I previously had these both together, after changing them and fitting them with other images in the book. I wanted to include this step of my experimentation, as it shows the successful outcomes of using different layouts.

In this screenshot and the others below, I was experimenting with coloured pages in my book. This was informed by one of my artist studies, Siegfried Hansen, who uses coloured pages to make the colours in his own work in his book “Hold the Line”. However, he does this in colour, and my images are in black and white. I attempted to try this style with muted pastels below, but it didnt work with my style.

An example of what I was emulating – Hold the Line by Siegfried Hansen. One image on the right and a blank coloured page on the left.

I then tried this again with black and grey, as these tones are most similar to the tones in my own work. I also chose to try this as I used the same style in my personal study photobook – however this worked better in that project because most of my images were in colour, so the coloured pages toned with the images well.
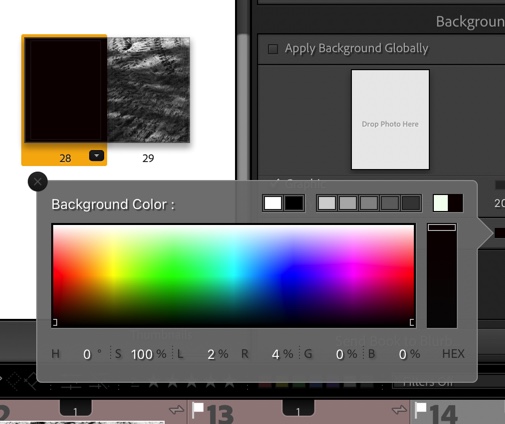
I ended up realising that this wasn’t working, after reviewing my artists’ work and what my intentions were, and changed all my blank pages back to white. Using the coloured pages took away depth from my images, and took away from the images’ quality, rather than complimenting them. Therefore, I didn’t use them.

An example of one of my spreads after I put them all bqck to white. I like this much better, and through this experiment I learnt that doing many different things in my work isn’t always best – hence why I stuck with the white.

https://members.societe-jersiaise.org/sdllj/vocab.txt – jerriase dictionary I used for inspiration.

In the above screenshots, I was experimenting with different titles. At first, I brainstormed ideas on a piece of paper for name ideas. I thought of using house names, as my work was directly linked to places where I’d lived, and also Jerriais words. – I used a jerriais vocabulary dictionary from La Societe Jersiaise to help me come up with relevant words. In the end, this led me to think of french words instead – I have links to France in my family, and myself and my grandmother both speak the language. For that reason, I decided to use a french word – ‘Avant – hier’. It means ‘the day before yesterday’ (- I will analyse this fully in my final photobook post. )
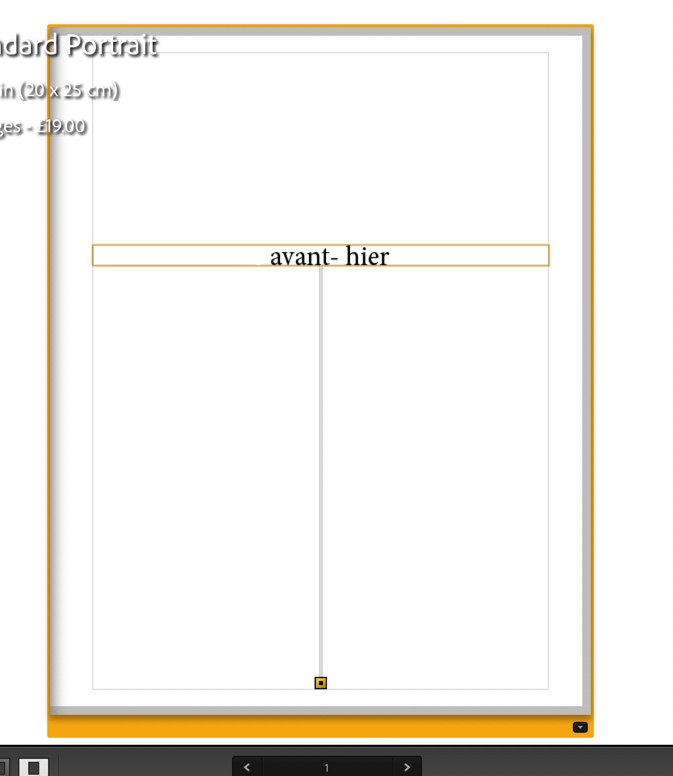
Here was my final experiment – I was adding a title page fir my book, using the same font as the cover in order to keep consistency – however I had to obviously change the font to black due to white pages. I like the minimal, and simple look to this front cover.

(Final photobook uploaded and analysed in next blog post – final evaluation)

Simple Vs Complex

“Youth culture refers to the societal norms of children, adolescents,and young adults. Specifically, it compromises the processes and symbolic systems that are shared by the youth and are distinct from those of adults in the community”

https://en.wikipedia.org/wiki/Youth_culture

In modern day within youth cultures there are common subcultures for example, Vintage obsessives, Bikers, Skaters, Goths, Roadmen and much more.

As I am following my friendship group for my final I wanted to identify our subculture and follow us as we have parties, skate, go on drives and have a quiet gathering.

However, I couldn’t find a subculture which everyone fit in. This gave me the opportunity to record different ones.

Upon research I found The Museum of Youth Culture the nail hits it on the head as to what it is and on their website they have an archive of different places and varieties of different sub cultures in which people have uploaded to the website. I found that The Museum of Youth Cultures’ website an inspiration to my work.

Youth Culture

https://i-d.vice.com/en_uk/topic/youth

Final Images, Pieces, Virtual Gallery and Evaluation

Final Images

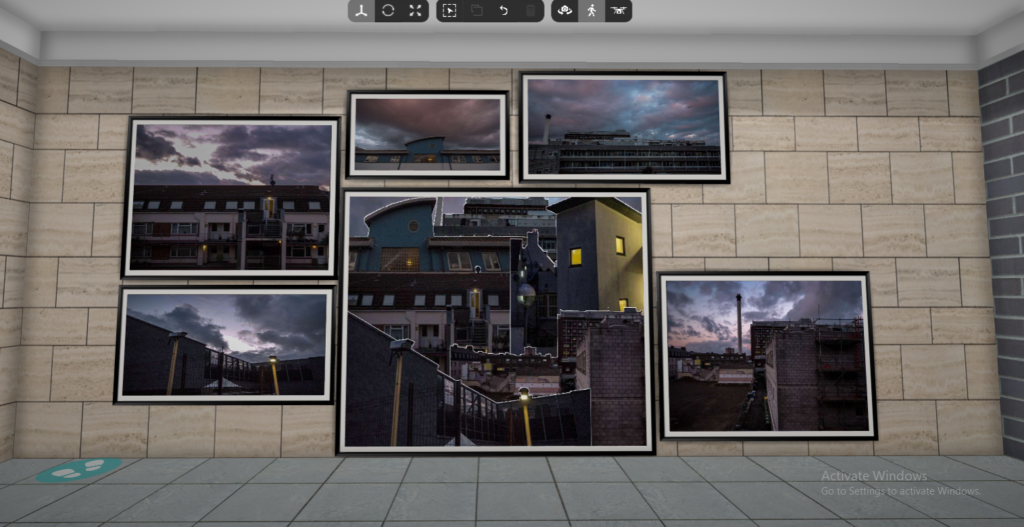
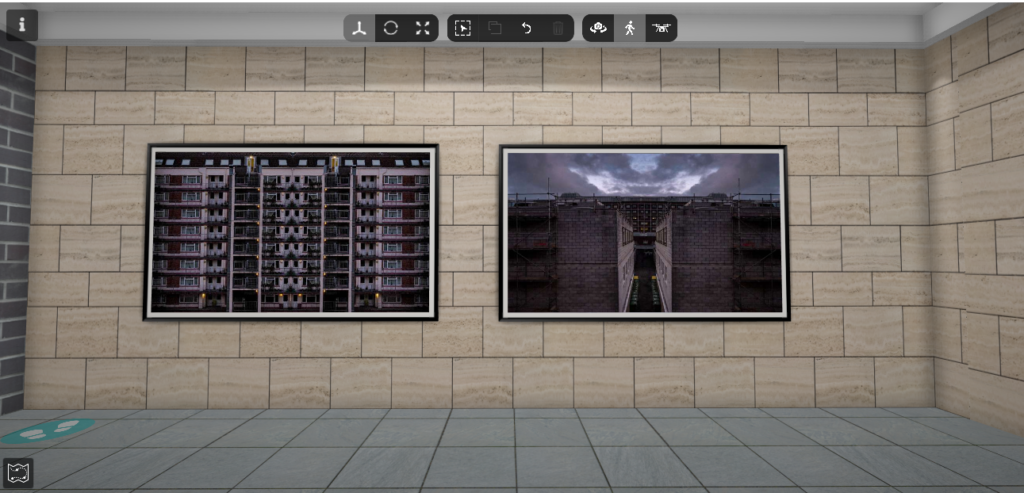
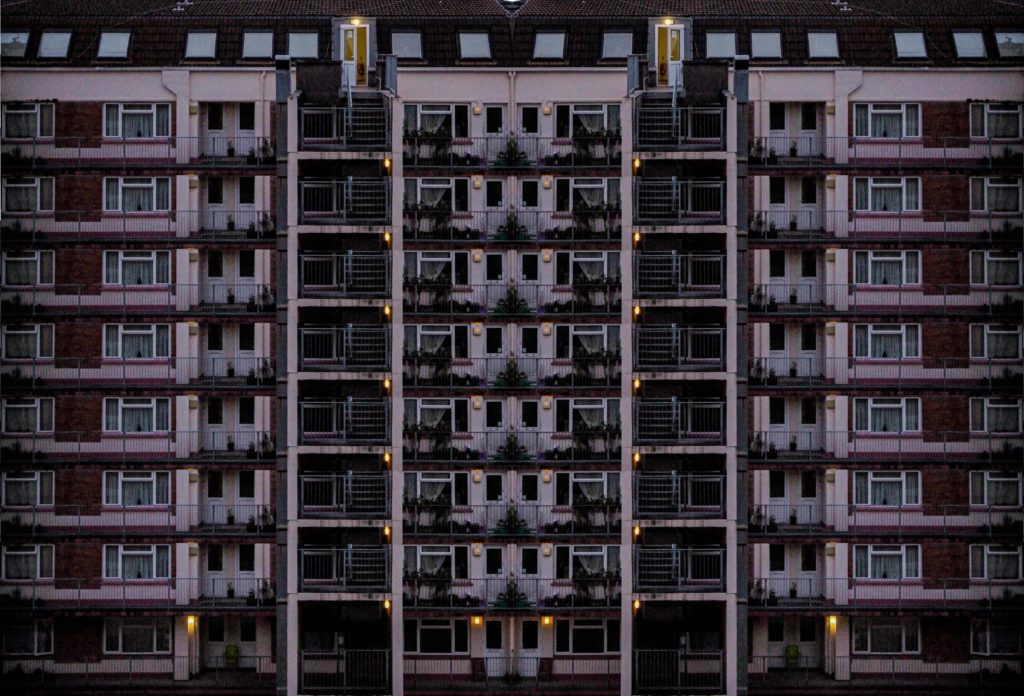
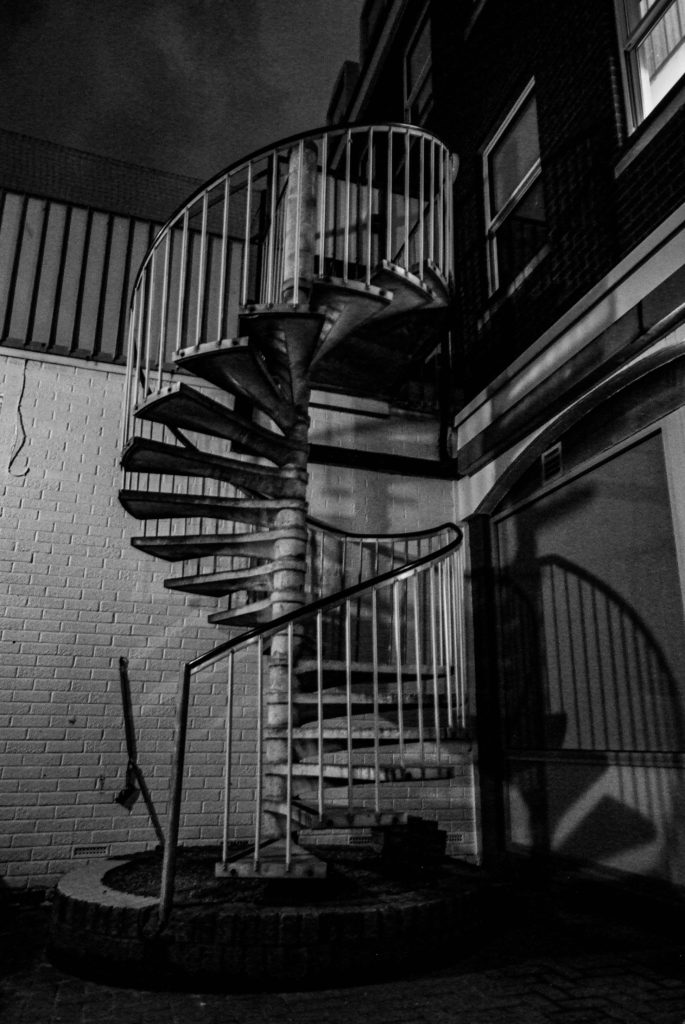
My choice of editing my images is to present an overcrowded, claustrophobic urbanised dystopian world. These pieces of work also suggest how the gentrification of jersey and how it seems every piece of land is being built on is turning jersey into a very urbanised island which can, at times, feel very claustrophobic due to the amount of things being built on the island. The visual elements of my final pieces of work present this claustrophobic world very well, with the images themselves being very crowded with a lot going on, and I believe they are very effective for this reason.

Final Pieces

I created 3 final pieces for this project, one using 3 window mounts on a piece of black card, and one piece using foam board and spray mounts.

Mock-up:

Final Piece 1:

Mock-up:

Final Piece 2:

Final Piece 3:

For the window mounts I decided to rearrange the photographs compared to the mock-up I created, as in person I believe it looked better in this arrangement. For the foam board and spray mounts, I also rearranged the photographs around the centre montage piece. I rearranged these photographs as it also looked more effective this way in person and the photographs around are now more corresponding with their position in the montage. I also mounted the montage on an extra piece of foam board to make it stand out more from the smaller photographs. For my third final piece I just decided to back it onto some foam board and not overcomplicate it, as it was fine just being simple.

Virtual Gallery

https://www.artsteps.com/view/64491d517af8a3756f0e0e79?currentUser

Evaluation

What went well:

Overall, I believe that this project was somewhat successful, I believe that I responded to the subject of the exam as best as I could. I believe that my final outcomes came out very well and are very effective. I also think that I referenced the artists that I studied effectively as well, with similar visual, technical, contextual and conceptual subjects within my photographs. My final pieces came out looking very nice, I was able to measure up and cut the window mounts to near perfection and it came out very well. My foam board pieces also came out very nicely with near perfect sticking and spacing of images. I believe that my final images have a good contextual meaning behind them which was mentioned above, as well as great visual concepts as well as technical concepts. Overall I would give my project a 7/10 as there is some things I could improve on.

How I could improve:

To improve, I could have completed more photoshoots to ensure I had more than enough photographs to work with to complete my final pieces of work. On top of this, I could have completed more artist references to have more inspiration to complete more pieces of work. As well as this, I could have printed off more of my final images to make more foamboard or window mounted pieces of work, to increase the amount of work I have to present for this exam.

Compare and contrast work to artist references

“They’re Looking For Peace” by Claudia Andujar, my final image, an untitled image by Wing Shya

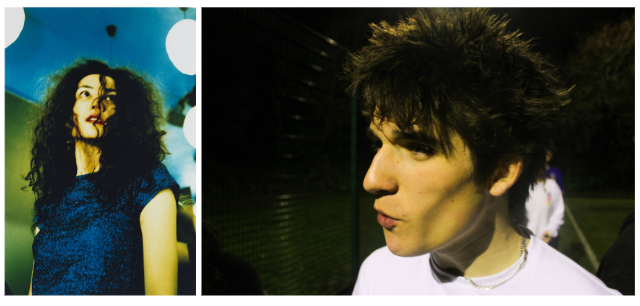
My image (above, middle) I feel is more closely related in inspiration to Claudia Andujar’s work, in relation to Wing Shya’s work I feel the only comparisons are bright colours in the background of the image while in the foreground the subjects face is illuminated with shadow either defining or hiding the face or the fact that my image was also taken in a car- apart from the obvious contrasts being my image only has one subject and has slight blur in it (which neither artists have). Andujar’s work has an emphasis on emotions and colour with the image above displaying a filter/coloured lighting over the image- my image was made colourful with the use of coloured lighting, parked outside the neon lights of a bar and illuminated with streetlights which flooded the image with a warm, vibrant orange as apposed to Andujar’s pale pink filter across the image. In relation to colour theory, Andujar’s image with a pale pink conveys different emotions than my image- pale pink supposing vulnerability, sensitivity and kindness, which is echoed in the subjects body language in the image- shows what seems to be a man and woman helping a younger woman who’s face is framed by the two figures: while my image, with the vibrant orange, shows excitement and happiness which is also emphasised by the the subjects facial expression which is framed by his long dark hair which contrasts against the light creating a waterfall effect of darkness which goes diagonally from upper left to lower right of the image.

Untitled image by Wing Shya and my final image

I do not feel as if my image can be related to Andujar’s work however these two images, again very different, echo similar atmospheric values based in the activity of the subjects. In Shya’s image there is a sense of separation between the subjects as they are both looking down quite sombrely with the man on the left remaining anonymous as he is turned away from the camera with only slight facial features visible- in my image there is a similar composition with two subjects parallel to each other however one is obscured by blur (with only slight facial features visible) creating an idea of anonymity similar to Shya’s image while the other subject is visible to the camera although in my image my subjects face is slightly obscured by the phone but I believe this presents another dimension to the image where instead of the silence and isolation which is envisioned in Shya’s image, my image seems to be more aggressive- the blur implying quick movement and the anonymity implying an intruder into a private moment. A similarity of the two images the symmetry of lines which comes with its own contrasts, in my image it is of harsh horizontal lines across the image with a vertical line separating the two subject however in Shya’s image soft vertical lines separate the two subjects in the form of subtle shadows- both ideas presenting a theme of isolation and seperation.

Untitled image by Wing Shya and my final image

Once again relating to Shya’s images, these images have similarities in editing styles and in the fact they are both portraiture- both images are edited so the skin of the subject has a yellow/greenish tinge, with hair texture in full view due to the lighting (often in portraits the subject looks “perfect” i.e. no astray hairs which presents a simple outline of the subject) and both subjects are also the only thing happening in the image however they are not acknowledging the camera, presenting a separation between the subject themselves and the audience of the image as the subject is addressing someone/something which is out of frame which is unusual for portraiture as the usual composition would be the subject looking directly into the camera and level with the camera- maybe standing or sitting a distance from the camera. Both images also contain harsh shadows around the face, under the jaw to be exact (Shya’s image presenting this more prominently). The obvious differences between the images being the fact that my image is in landscape while Shya’s is more traditional in portrait, meaning my image has more negative space and a darker background which makes the subjects face stand out more.

My final image and an untitled image by Wing Shya

The similarities of these images run in technical abilities, both images have two subjects each turned away from the camera referencing something out of frame- contrasting between my image and Shya’s my subjects are facing the same way while Shya’s are facing opposite ways however neither are creating any attempt to acknowledge the audience once again creating a feeling of separation between the subjects and audience, this could be further translated into cinema as the third wall is rarely broken and Shya’s images are taken from film sets and my images are intended to be cinematic- meaning this perspective was intentional of Shya. Both images also have the main subjects in focus, while the background is blurred making the audience drawn to the subjects as the only point of interest- in my image this can be translated differently as there are people in the background of my image which may draw attention away from the subjects however I believe this adds to the narrative of my image where it looks like a snapshot in time leaving the audience wondering what is happening out of frame while in Shya’s image it is natural for the two subjects to be alone as they are on a motorbike.

Evaluation and Critique

Evaluation:

I am very happy with the photographs I took overall as I believe they were able to convey the exact message I was going for and have been presented exactly how I wanted. I am very happy with how my photobook turned out as well and I once again feel as if it meets the brief of what I was trying to aim for. I feel that what I have presented fits with the theme of “complex” due to the different countries exteriors, interiors and meaning behind them.

I made a lot of changes to my photobook after highlighting what I was going initially. At the very beginning of this project I said I was going to include black and white pages and black and white text, but I wanted to hold a similarity to Michael Schmidt’s work so I changed the idea of different coloured text and pages and just stuck to white pages and black text if needed. I also initially started off with a standard landscape format for my photobook but at the end decided to change it to a small square format as I preferred the concept of having a smaller book to contain complex imagery.

What went well:

I believe I was able to execute what I was envisioning and was very happy with the final results of each photograph taken. I wanted to have my work heavily inspired by Michael Schmidt which I believe I was able to achieve when editing and finalising my photographs. I was able to present the exact concept that I was thinking of going ahead with and I am very satisfied with the way I have laid everything out and presented my final outcomes.

Critique:

What I would have done differently is I would have taken more photos of Jersey due to the fact it is the island I live on and it means a lot to me. Although the main basis of my photography was to be on WWII and the history of the German occupation, however Jersey is filled with bunkers which highlight the history of the War which I have really taken advantage of as I have easier access to photographing these compared to ones in Germany and Poland. I also would have taken photos of the bunker in my garden as it is something that I own and have easy access to, it means a lot to me as it is part of where I live. Even though it isn’t a very exciting bunker, it is still one that I could have captured to signify the importance that bunkers in Jersey have to me.

Final Prints Presentation

For the presentation of my final print I have chosen three images from each subject which I will arrange in different ways to make four triptychs. A triptych is a set of three images which are intended to be seen together to create an aesthetic collaboration.

Above is the first arrangement of three images, I have used different formats and sizes for these prints so that they will be interesting and look cohesive. For the image on the left i will print that in A4 to set it apart from the two other photographs, the others will be printed in A5 but as the bottom image is a slightly different shape it will create a different composition to the trio of pictures which I like rather then the top and bottom being the exact same. To present these images I will glue the two smaller images onto foam board to lift them up from the bigger A4 image which will also be stuck on the same piece of foam board. By increasing the height of the two smaller images it will push them out towards the viewer as I feel that if I didn’t do this they would get looked over by the bigger image.

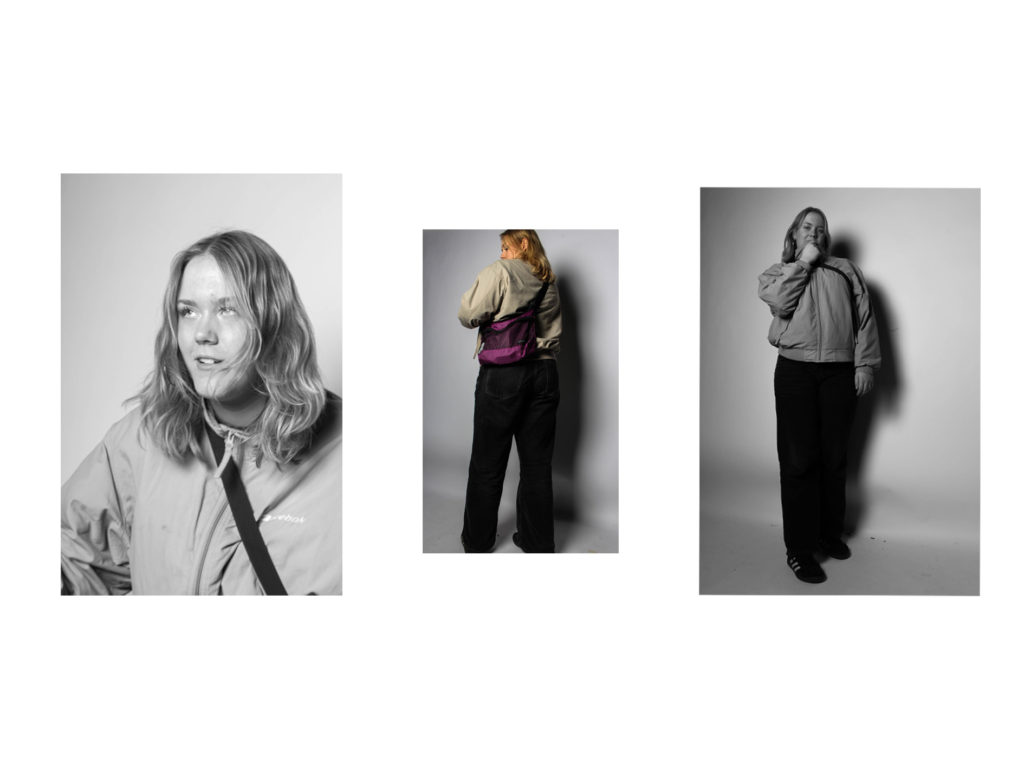
This is another triptych that I will be making with my final prints, for this presentation instead of stacking images I will be putting them side by side but the middle image will be smaller then the outside ones . To get this effect I will print the outer images at a size of A4 and the middle image in A5, this is also connected by having the two outer photographs in black and white while the middle one is in colour, i think that the pop of purple from the bag in the centre image helps to bring the triptych all together.

Above is the third triptych that I will be constructing, all of my presentations will be in a different format so that I can experiment with different designs and ideas. For this presentation I have decided to use all black and white images in a diagonal design, i like how they kind of move in a cohesive motion like the subject is spinning while the images are descending down the foam board. This presentation will have one A4 image which is the middle photo and two A5 images the outer pictures. I will lift the two A5 image up by sticking them to another piece of foam board before placing them on the big piece next to the A4 image.

This is my last triptych that I will be making for this project as I have planned to do one for each subject. This is the original way a triptych is supposed to look as they were normally connected by hinges. I have used two black and white images and one colour image in this presentation, I will also printing the coloured image at an A4 size while the others will be printed at A5.

Overall I think that all of my presentations have been very successful and display the images perfectly, they show off parts of each subject while also looking put together and that they are a collection instead of images just randomly put together.

Photobook Final layout + Evaluation

https://www.blurb.co.uk/bookstore/invited/9911395/8ab5d2bbab17d99ff36bb5ad84e40d5638fb3c5e

Evaluation

I am very happy with the final outcome of my photobook. I think that the layout is very clean as photos in the same group are together in chapters. There is an even amount of colour and black and white images as well as an even distribution of single image pages, double image pages and double page spreads. This keeps the book interesting and as it is not too long it ensures there are not loads of similar images and every photo is unique. One downsides of the photobook are that there are no images from my first photoshoot due to it not working very well.

lewis bush

Lewis Bush is a photographer, writer, curator and educator based in London. After studying history and working as a researcher for the United Nations Taskforce on HIV/AIDS he completed a MA in Documentary Photography at the London College of Communication in 2012. Since then he has developed a multidisciplinary practice which includes photography, writing and curation to explore ideas about the way power is created and exercised in the world.

For Metropole (2015) Bush investigated the transformation of London at the hands of unaccountable developers and property speculators. In Shadows of the State (2018), he examined the secret communications used by intelligence agencies, creating images from intercepted signals and uncovering a previously unknown geography of covert radio broadcast sites. More recently he completed Depravity’s Rainbow (2023) which investigates the connections between early space travel and colonialism and the Holocaust, and the impact of that history on the present.

Metropole (2014-2018)

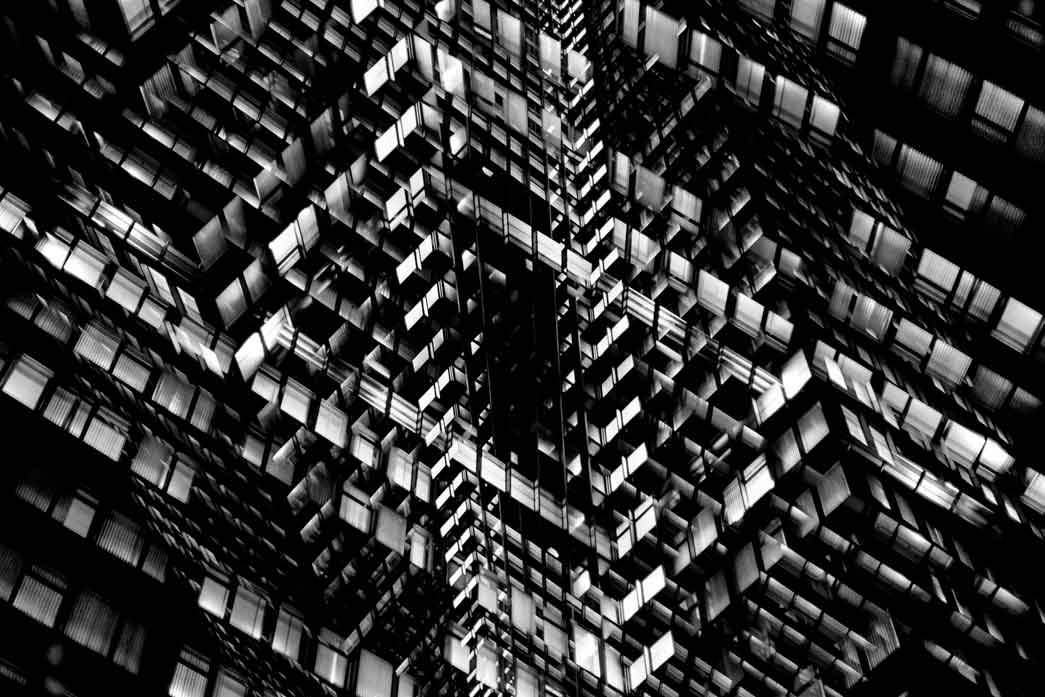
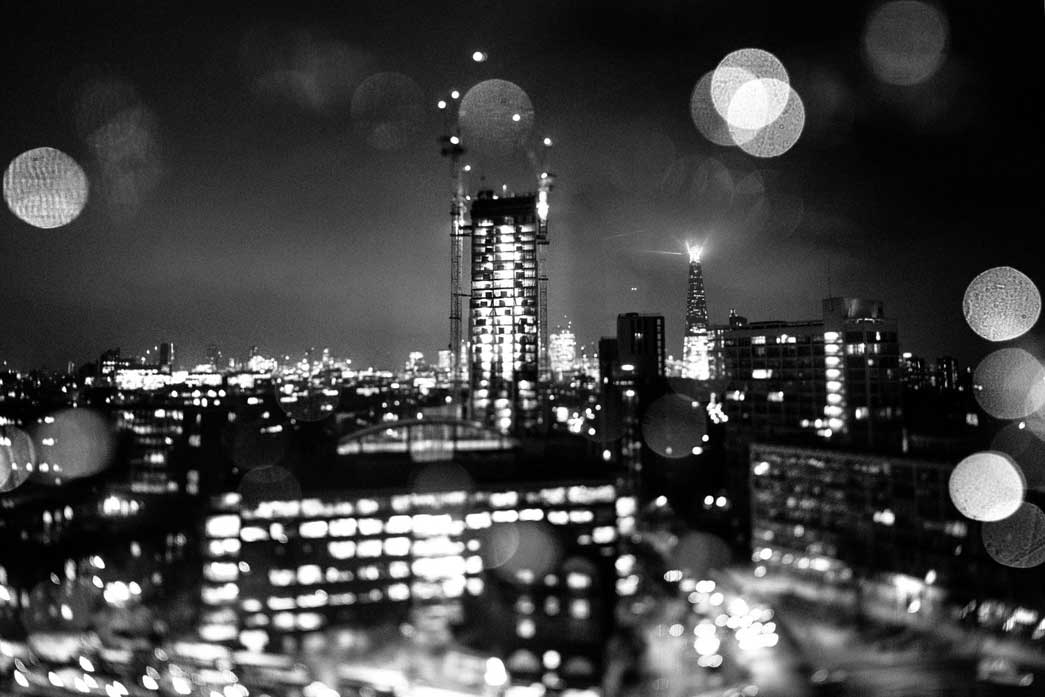
Metropole records the brutally disorientating effects of this by documenting these legions of new luxury blocks as they are constructed and occupied. Multiple exposure photographs are combined with appropriated, repurposed photographs taken from the billboards of the developments, alongside extensive research into the property developers behind these schemes, including their extensive use of opaque offshore financial structures and unaccountable political lobbying.

Once known as the Metropole, London was the mother city at the heart of a vast empire which at its peak encompassed a quarter of all land on the planet. Its maternal name belied a profoundly hierarchical and unequal relationship with power radiating outwards from the urban heart, and territorial riches feeding back in return. The British Empire has long since collapsed but in its place has risen a new world power; globalised capitalism. London — rebranded an ‘investment opportunity’ — is now a city of continuous demolition, shifting cranes, and glittering new high rises.

Lewis arrived in Jersey in April after being named Archisle’s International Photographer in Residence. He received a bursary of £10,000 for an exhibition of new work which will take part between 20 and 29 September at Piquet House, on Royal Square.

While most of his time has been spent working on the exhibition, which will look into the finance industry and its influence on Jersey, Lewis has also been going into schools to teach the island’s students about photography. This week’s workshop was part of a partnership between Archisle and Jersey Youth Arts. Carmel Butel, Senior Youth Worker, explained that the workshop helps reach out a wider audience that might not have gotten the chance to see Lewis in schools.