After choosing my final images I created a zine for my final images which be would put in a CD case- to put the zine in a DVD case I would simple have to change the orientation of the zine from landscape to portrait.

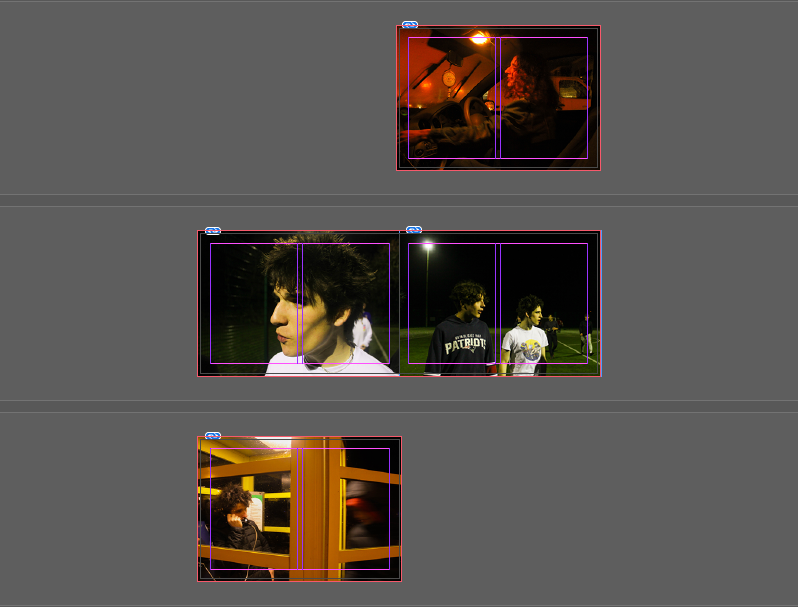
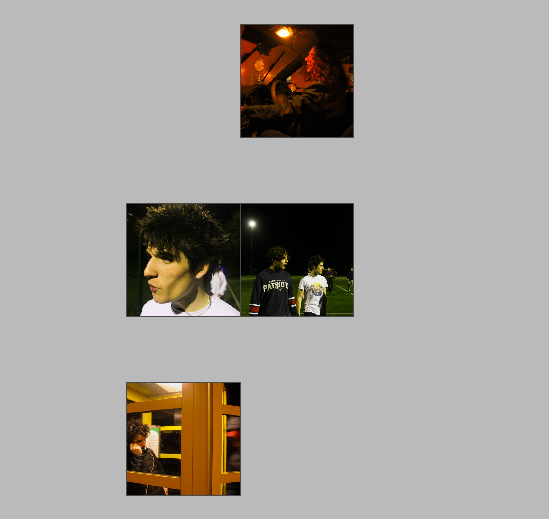
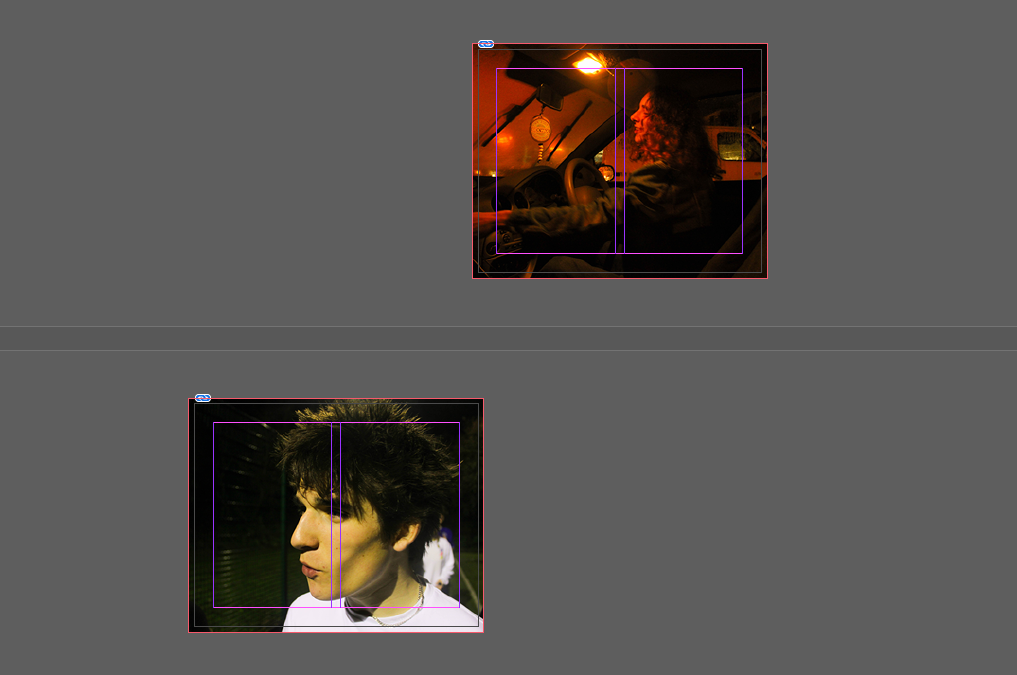
I created this zine using Indesign, I opened a new document and created four pages, I then inserted my images and readjusted them to the page size- after doing this I then made the images fit the frame proportionally to create my final zine. I wanted to make sure I kept the colour scheme of the images connected- as there are only four images the zine (by technicality) can have either set of images as the front and back covers so I kept the images with similar colour schemes together (yellow + orange and green/yellow + green/yellow).

After printing this zine I am going to put it in an empty, clear CD case, for this I have to measure the CD case and make sure the dimensions of the zine fit perfectly into the case- this will make my zine the front, back covers and the inside images: one image will be covered by the CD but for display purposes I am not going to put a CD in the case.
CD CREATING PROCESS

First I created the zine which will be the front cover and the traditional fold out in the CD, this is seen above.

I printed the front and back cover separately as the dimensions are different for the front and back cover of the CD (front- 12x12cm, back- 15×11.8cm) so my second “zine” will simply be a double sided page, The back cover is bigger as to have the image folded so the spine of the CD has imagery in it. I may write a title and track list on the CD but I am unsure as of what to write so this is still uncertain, especially since if I was writing on the case/images it would take away from the cinematic look of the images. Once printed, I inserted the prints into an empty CD case, the final outcome as seen in this blog post.