Selection:
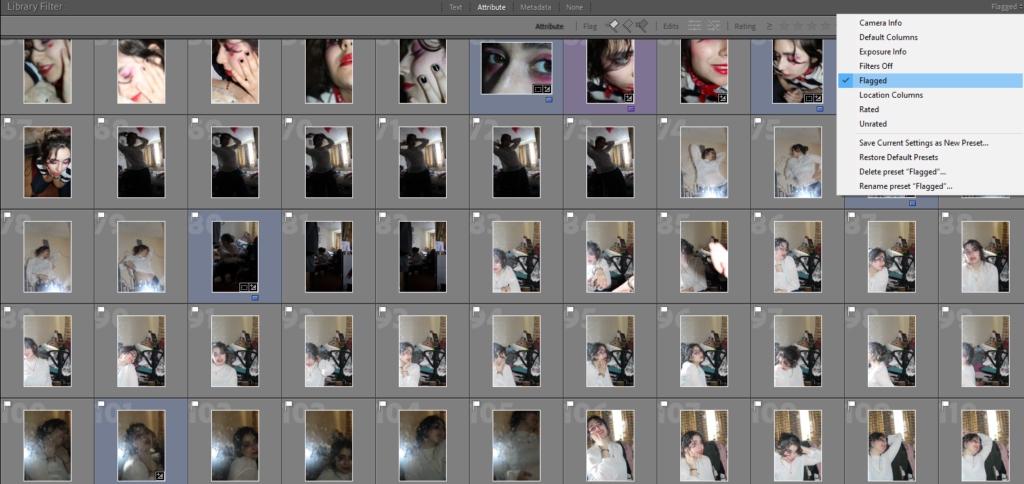
I began the selection process for my final images by putting all my images into one collection on Lightroom, allowing me to easily see them all at once. Then, I filtered the photos so I was only being shown the images that I’d previously gone through and marked as ‘pick’, making the selection process slightly quicker.

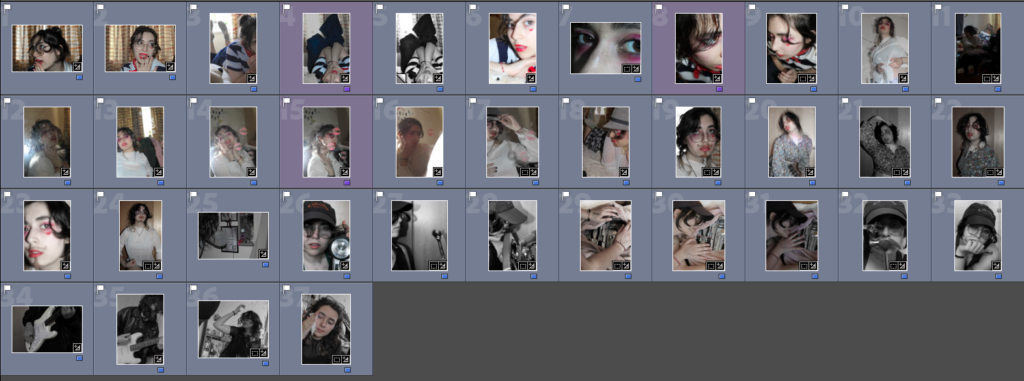
From here, I began to go through each image and mark in blue some of my favourite images that I thought would work well for my final piece and began to map out what images could go together in purple, starting to get an idea of how the final mount up will look like.

Editing:
Next, I began editing my images, making sure the image groups I created looked similar to one another as to not have images that look out of place. This took some time and experimentation as I needed to try match the saturation, exposure and contrast in each of my images in order to create the most effective result.

I didn’t want to use a lot of colours in my images and I felt as thought they’d be distracting, especially as I knew I was going to have busy looking frames which along with colour would be too much for my project.
Final Images:
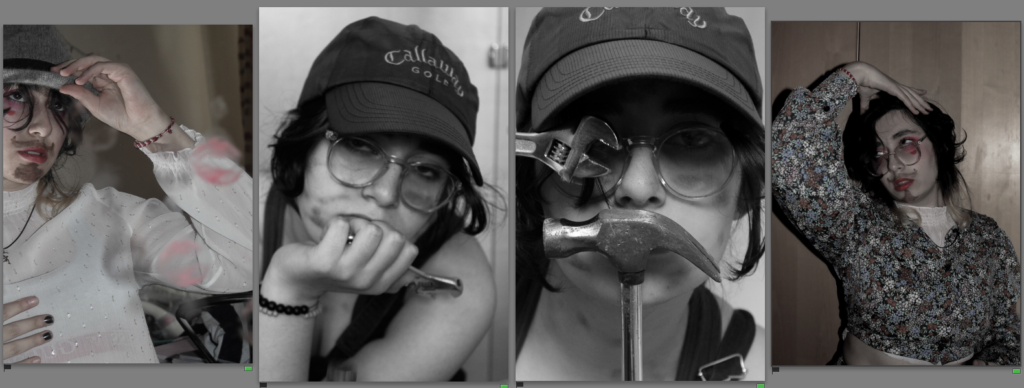
These are my final images that I printed and grouped together for my final project.


