The gallery which I have chosen to use and why –
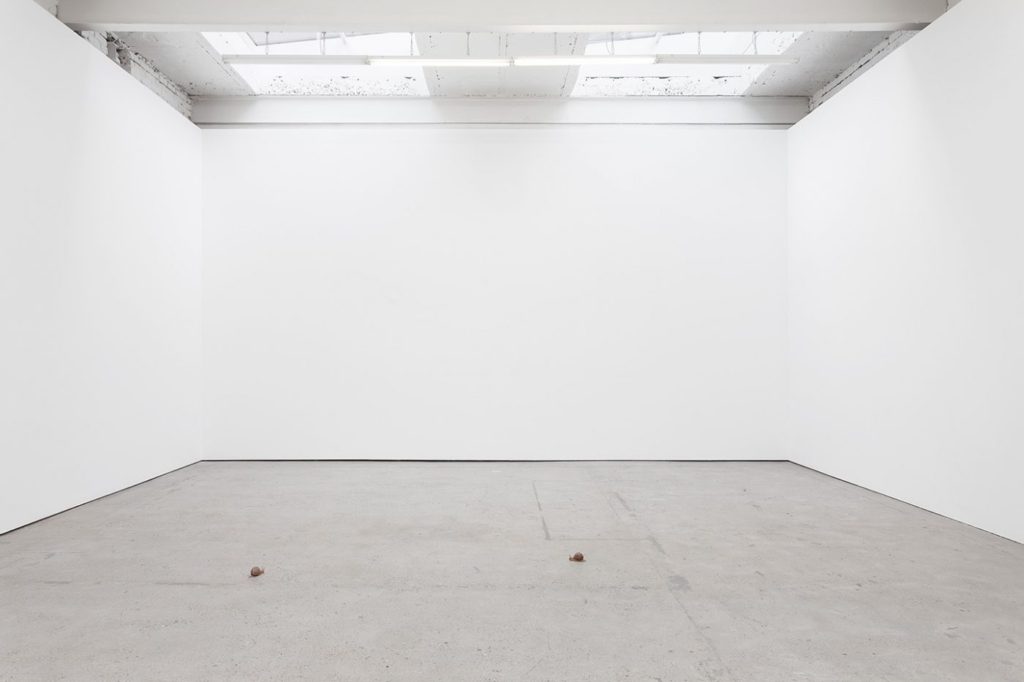
This is the gallery file which I have chosen to use to create my virtual gallery to present a few of my images with. To find this, I searched on google for an ’empty gallery file’ where I chose the one which I liked the most as I thought that it would work the best with my images. This is because the gallery has a plain colour scheme and there are 3 walls, which makes it simpler when placing the images in photoshop, I also like how there is a natural effect of light in the virtual gallery due to how bright the room is.
Image selection –
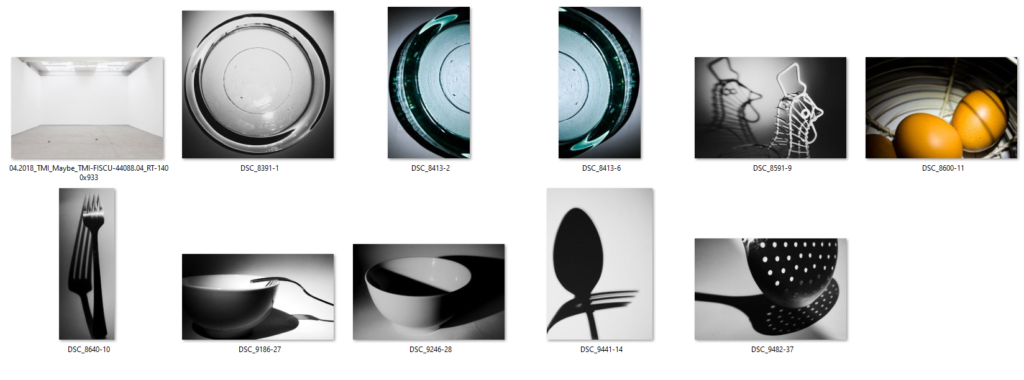
These are the images which I have selected as potential images which I could use in my virtual gallery, I decided to start with a wider range of images as it gave me more choice when inputting them into my virtual gallery. As you can see below when I begin to edit the perspective and add a drop shadow to my images I decided that I would use 4 images which I thought complimented one another quite well due to their colours which were black and white and bold shadows. The reason why I decided not to use the images with colour is because I wanted to keep the gallery to have a simple and almost ‘clean’ aesthetic, due to how simple the pictures are in relation to the theme of still life, and I thought that if there were images which featured colour I thought that this would make them appear to be quite messy, which I did not want to happen.
Placement –
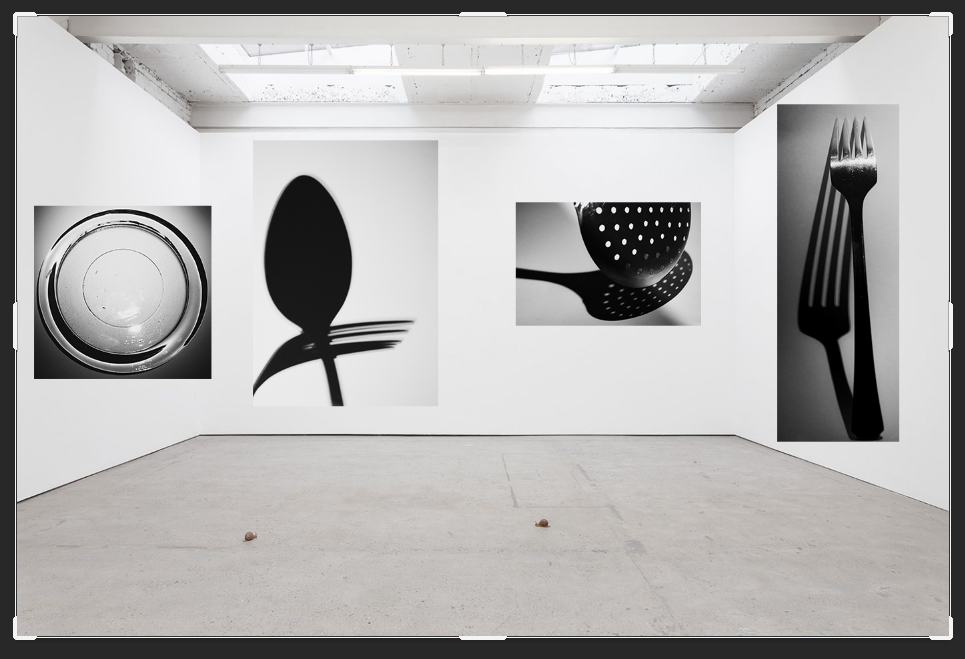
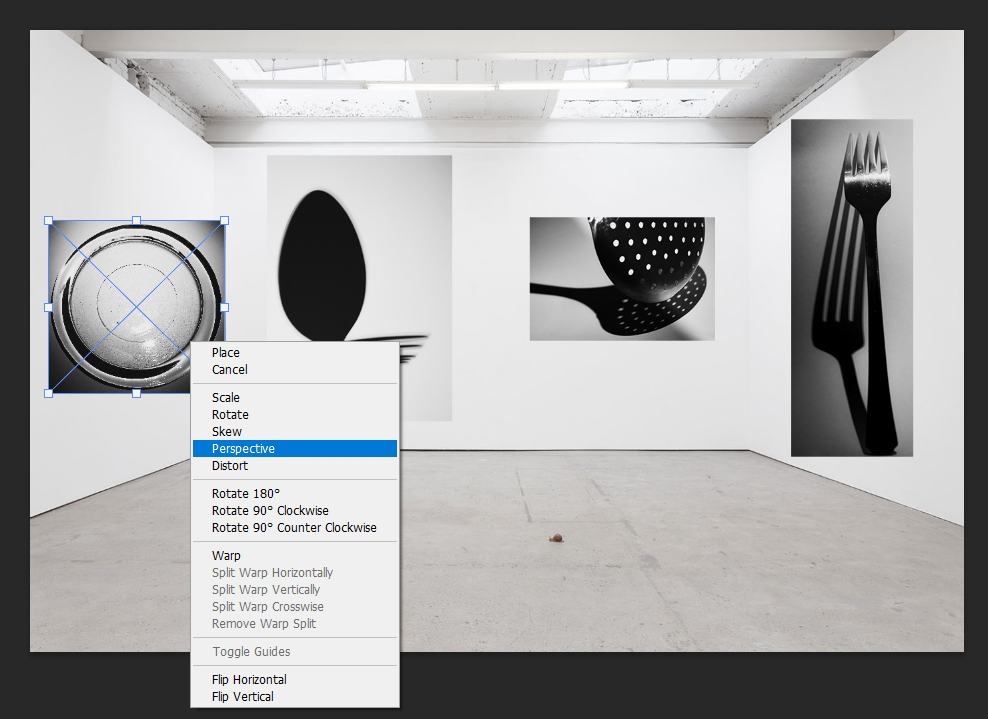
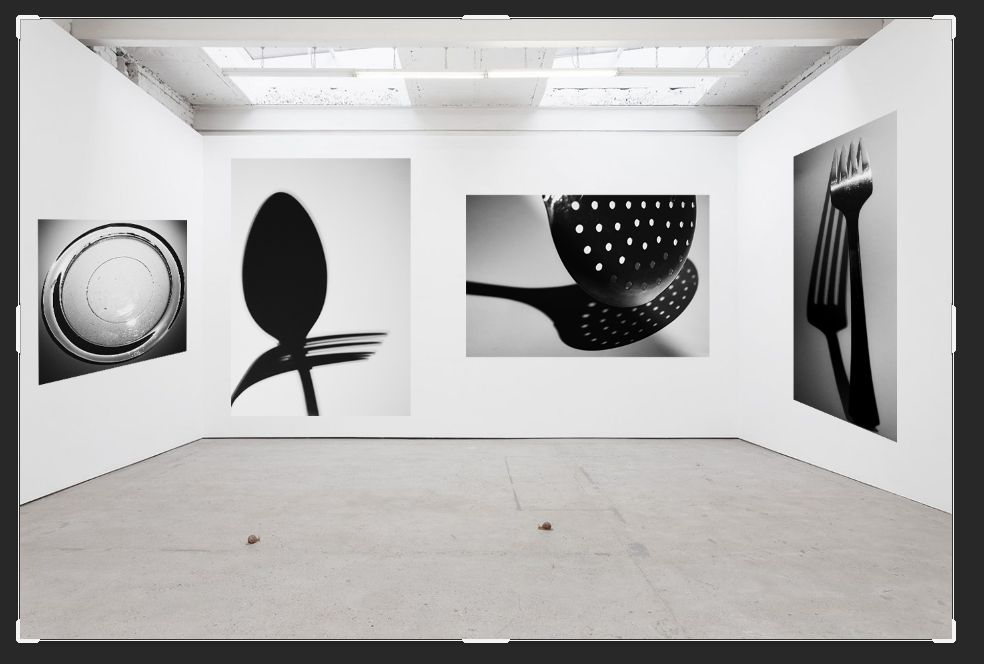
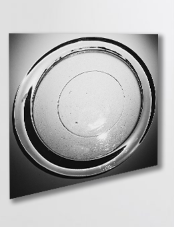
This is the placement which I decided on for my images, this was done through the process of deciding that I wanted to have only one image on wither side of the virtual gallery walls with two images in the middle as I did not want it to feel as if it was too crowded with a lot of different images. To edit the perspective on photoshop of the images to give the effect that they were mounted on the wall I selected the images using ‘Crtl-T’ which brought up free transform which allowed me to move the image to the selected area, then I right clicked it which brought up a selection of different options and I chose ‘Perspective’, this allowed me to alter the angle in which my images appeared on the wall due to adjusting the placement of the sides and how big or small it needed to be on either due to how the effect of having a photo mounted on the wall would look. This process was relatively easy to carry out and I repeated it for the rest of my images as it prepped them well to add a drop shadow on to them later on.
Adding a drop shadow –
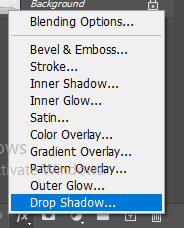
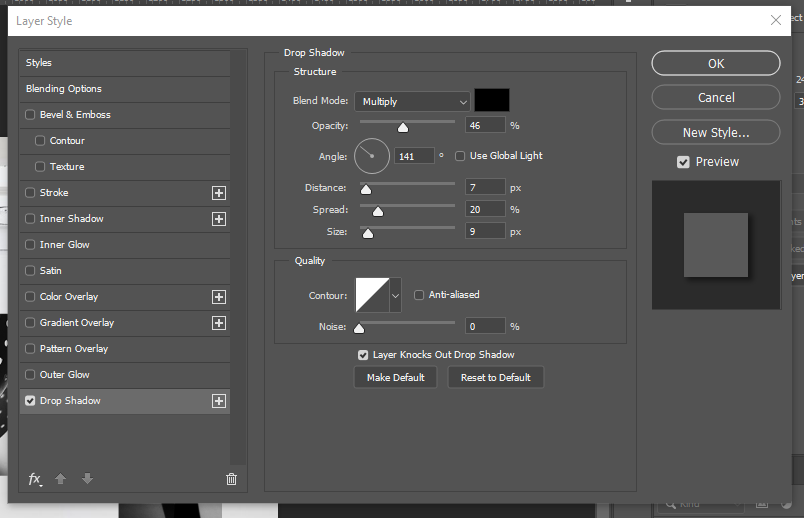
This is the process which I used to carry out the effect of adding a drop shadow on to my work. I began by selecting the image which I wanted to add the drop shadow too and choosing the ‘fx‘ button which is in the bottom right hand corner on photoshop which brings up this menu where I chose the ‘Drop shadow’ option. This then opens up this menu; this is where I am able to alter the angle of where I want the shadow to fall on the image to give the effect of lighting falling on to the image, the opacity of how bold I wanted the shadow to be, the distance and the spread of how far I wanted it to fall out beneath the photograph, for my images I chose a small distance and size as the images were already in black and white and I felt that having a large, bold shadow would make the image seem quite overpowering due to how big the shadow may have been.
Final outcome and evaluation –
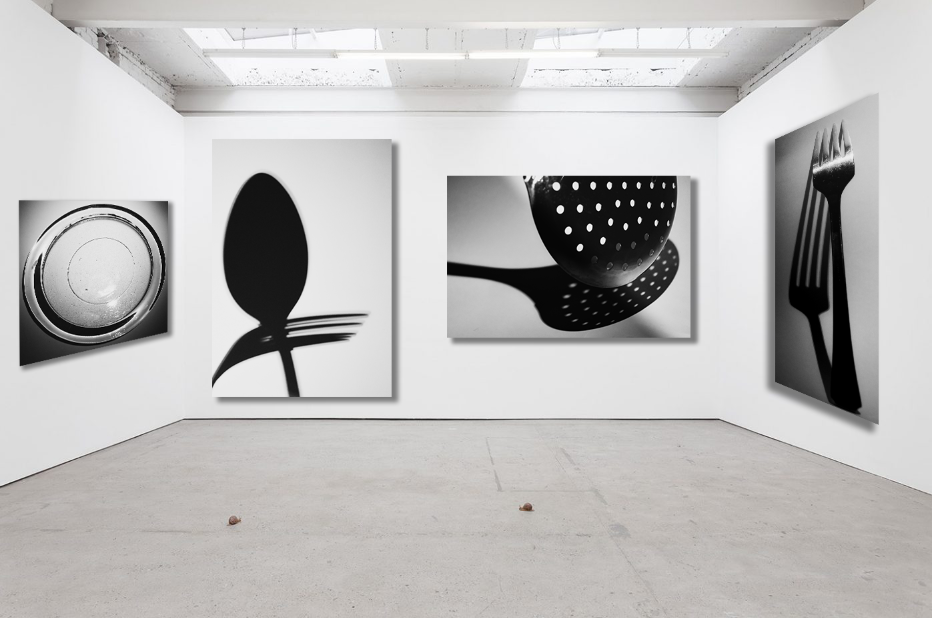
This is the final outcome which I have created on photoshop for my virtual gallery, I am really happy with how this turned out because even though there is a small selection of my images which I have chosen to use I think that it represents different shadows and how they have been created due to the different lighting in each photograph. I also like how the images are slightly grey in against the wall, which is white, because this makes them seem as if they are actual mounted prints of images which would appear bigger if you were looking at them in real life, this is also emphasised by the use of the drop shadow.