Images For Printing
These will be the images that I am going to print out and then mount up, this will allow me to showcase the work that I have done, as I will have the option of placing them onto foamboard or into window mounts, which means they are surrounded by a black board, they are the best way to illustrate monochromatic photographs.


Each of these images has an A5, A4 or A3 label in the caption of the image, this is to demonstrate how large I will be printing my images. The images that are not of high qualities are going to be printed onto A5, this is so that the more blurry areas are less visible.
Layout Experimentation
To illustrate how my images will be displayed, I will be placing my photographs into Photoshop, this will allow me to play white or black boarders around them, and place them in a layout in which they will be presented once they have all be mounted up.
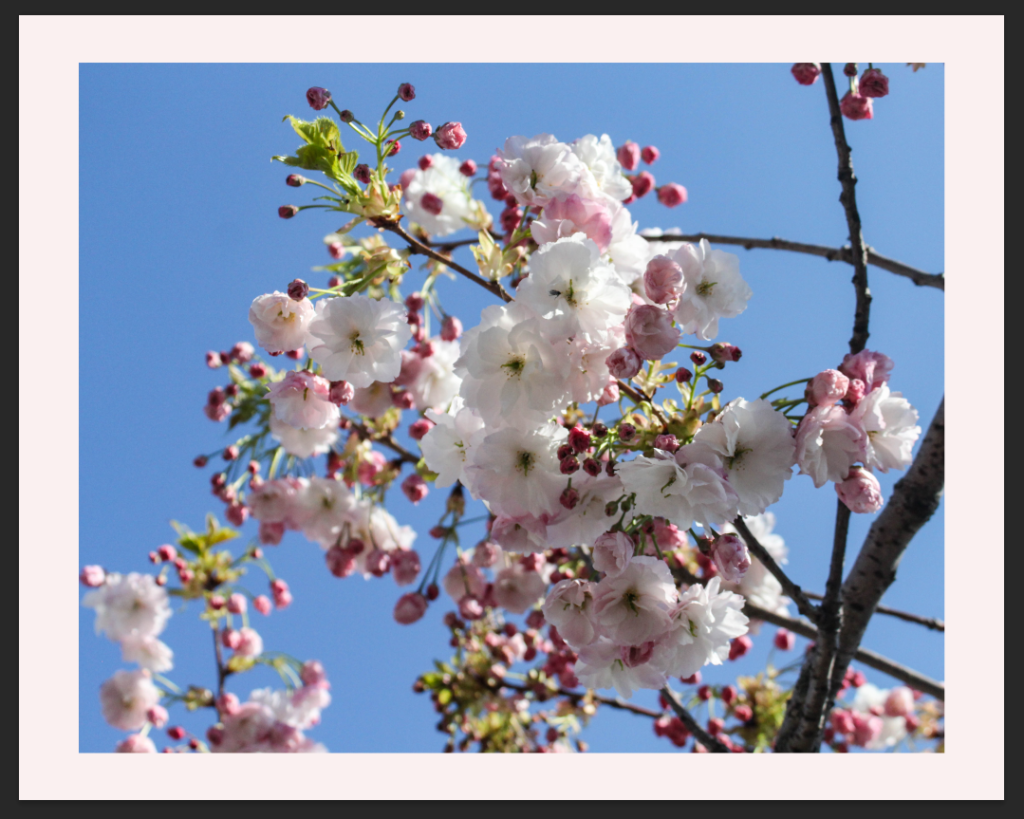
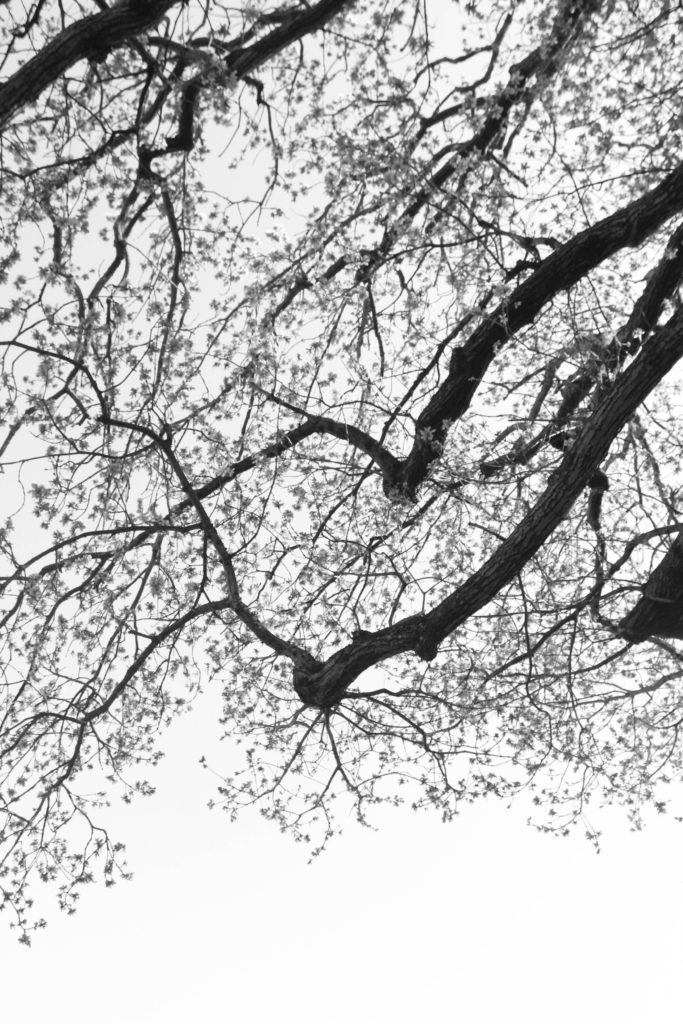
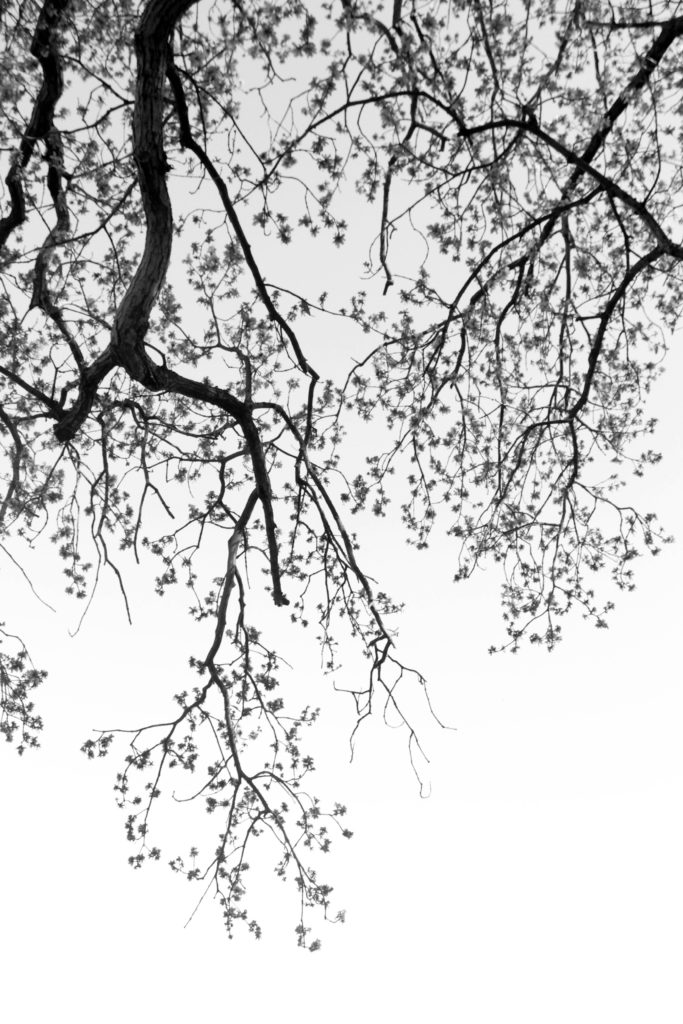
I didn’t know whether this photograph would be more successful placed on white foam board or in a black window mount, in the end I thought that it was a the best decision to go with a lighter background as I think that it compliments the white flowers the best, and will make the whole piece look cohesive when it is printed out.
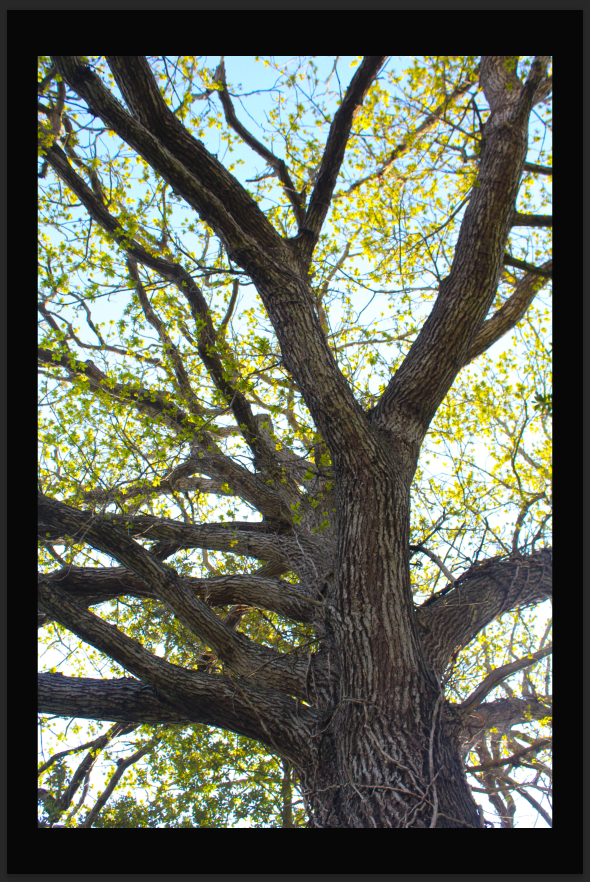

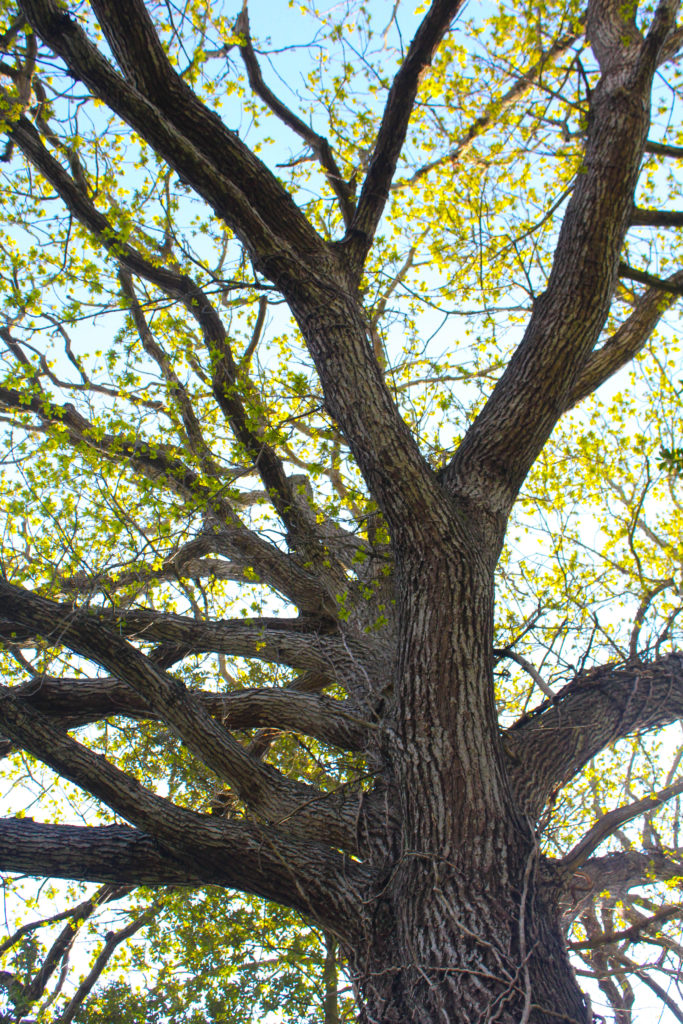
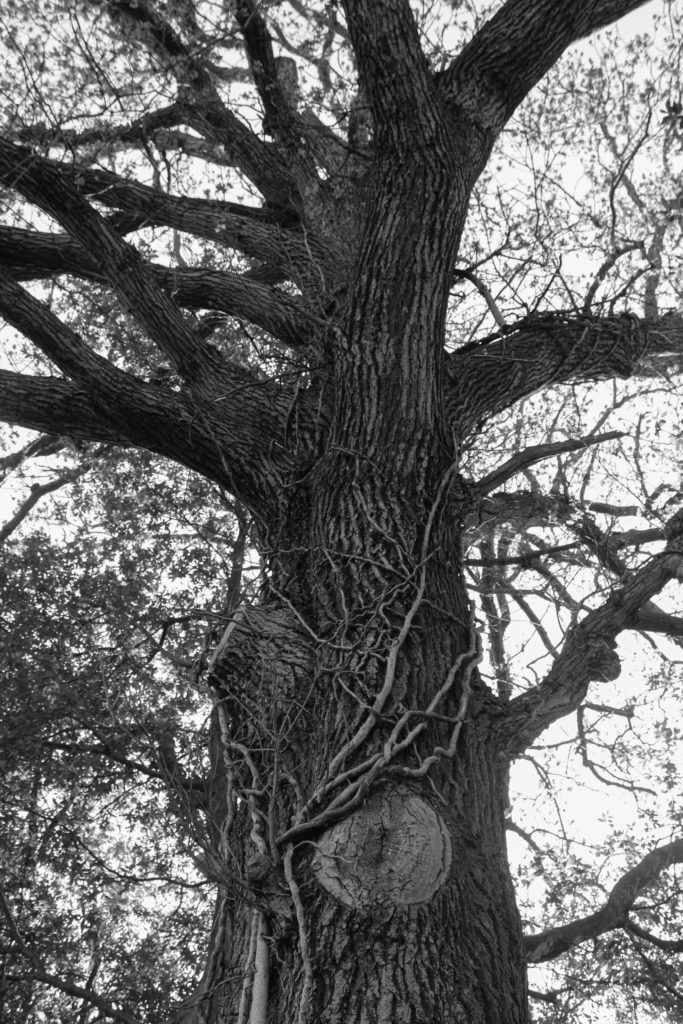
This image is one of my favourite images from both of my photoshoots, I really like that this photograph looks goo with both a black and white background. I think this is because the tree is filled with lots of dark tones, and then the surrounding leaves. I think that this image still looks better with a white background as I think this compliments the leaves and sky within the image more.

This is my favourite layout of all the ones I have created, this is because it has a lot of juxtaposition yet a lot of links. this is because in my opinion, monochromatic images look better on a black background, this is because the lighter points in the image are being highlighted. I think that placing them in a triptych means that they are more aesthetically unique and there more eye-catching, when I mount these images I will attempt to do the most equal window mount as I believe that this piece alone will increase my grade if I do it correctly.
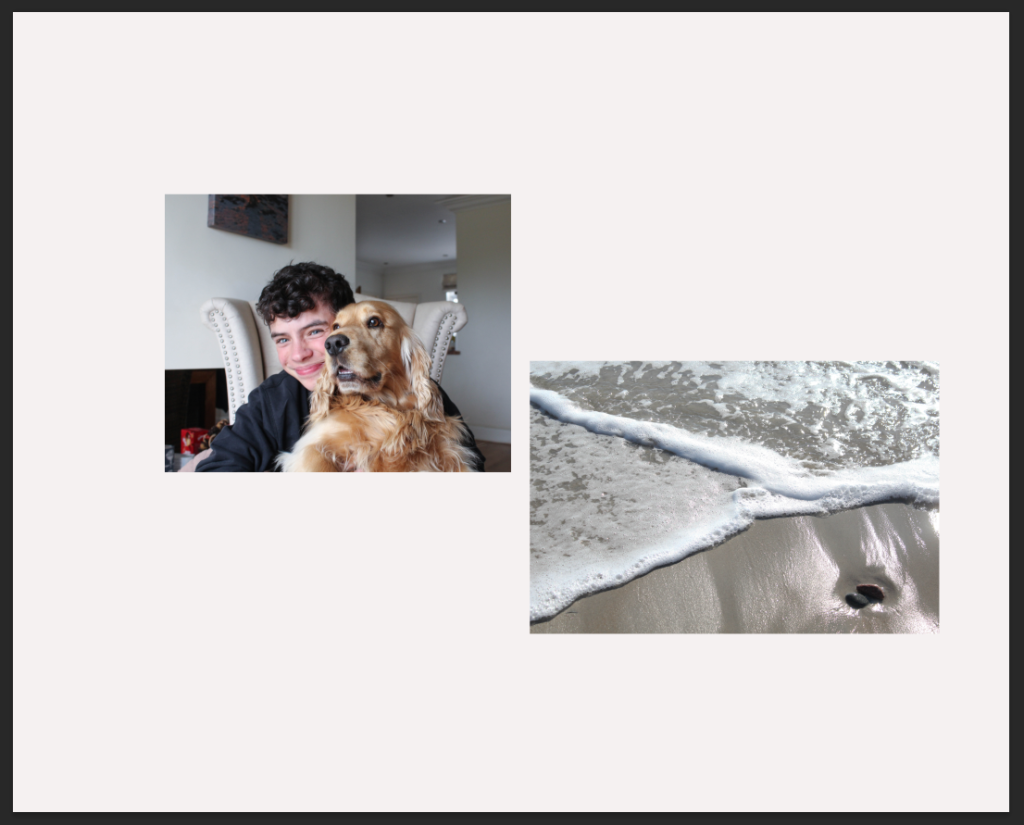
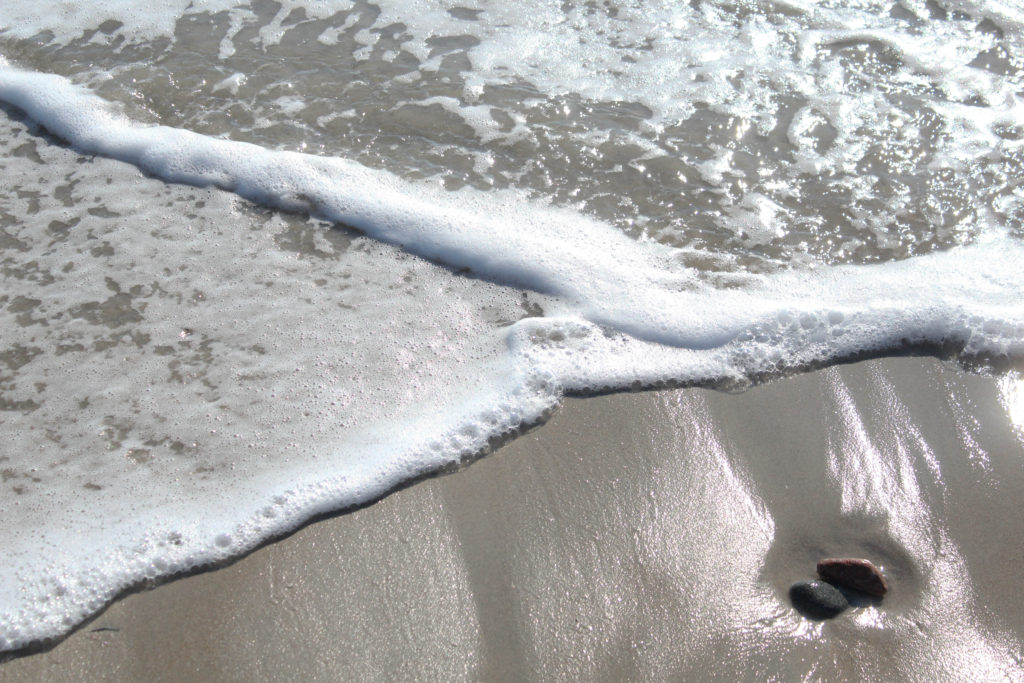
I like that this background is almost more beige than white, I think this creates a smoother affect, along with matching with the tones in the sand and decor in my house. I like how these photographs are not going to be arranged is a perfect horizontal position, as I think this adds more depth to this mounting as I believe that these images match together well, and they additionally link as both my dog and my brother love to spend time on the beach, and this is where we spend a lot of time throughout our childhood.


To attempt to create a more interesting background, I have attempted to place pink in the background of these images, I am not a huge fan of this colour, as it appeared a lot lighter in Photoshop. Furthermore, I just think the white looks a lot better and the purpose of the flowers being in the middle was to attempt to split up photographs and I think this works well, the colour within the flowers help give a break from the lack of colourful tones in the other images.
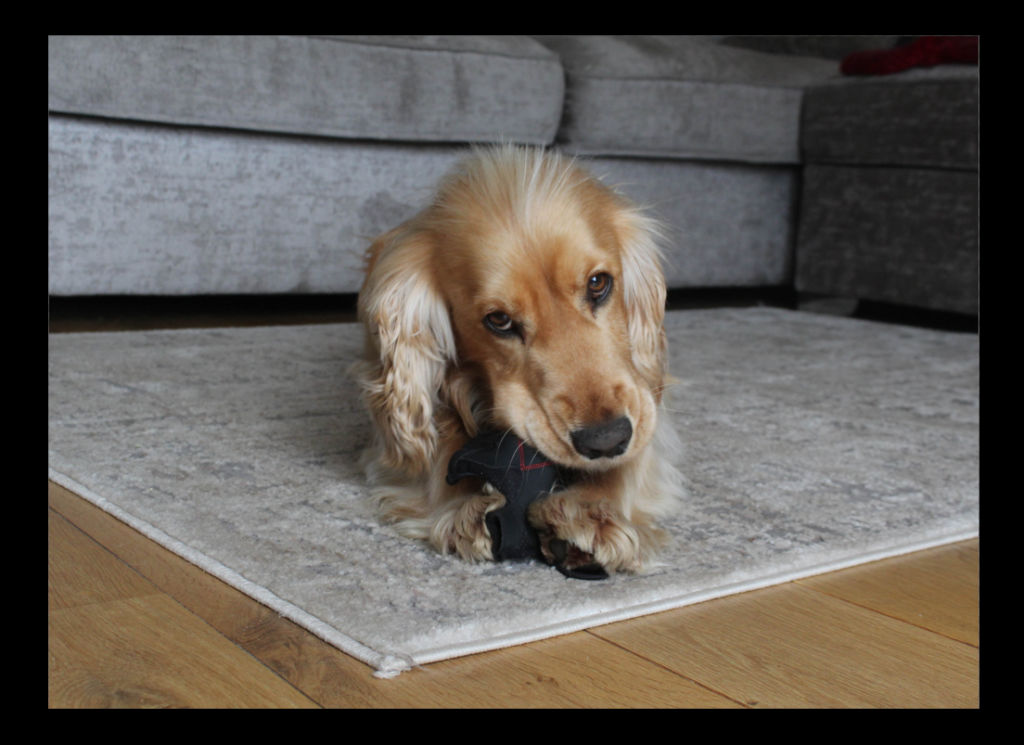
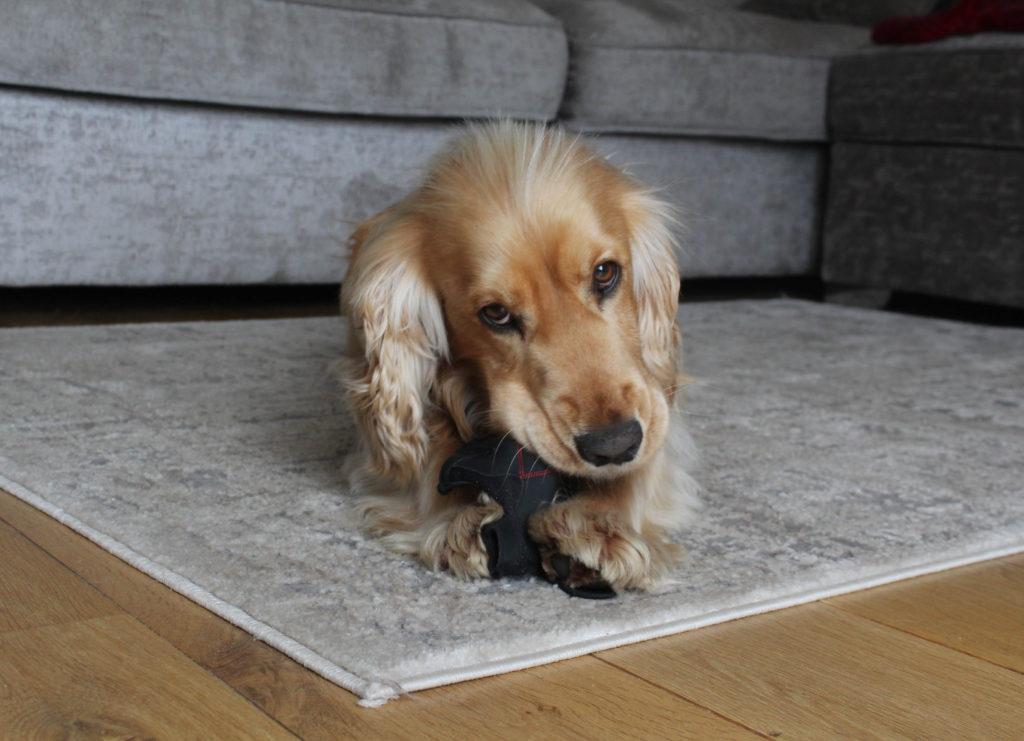
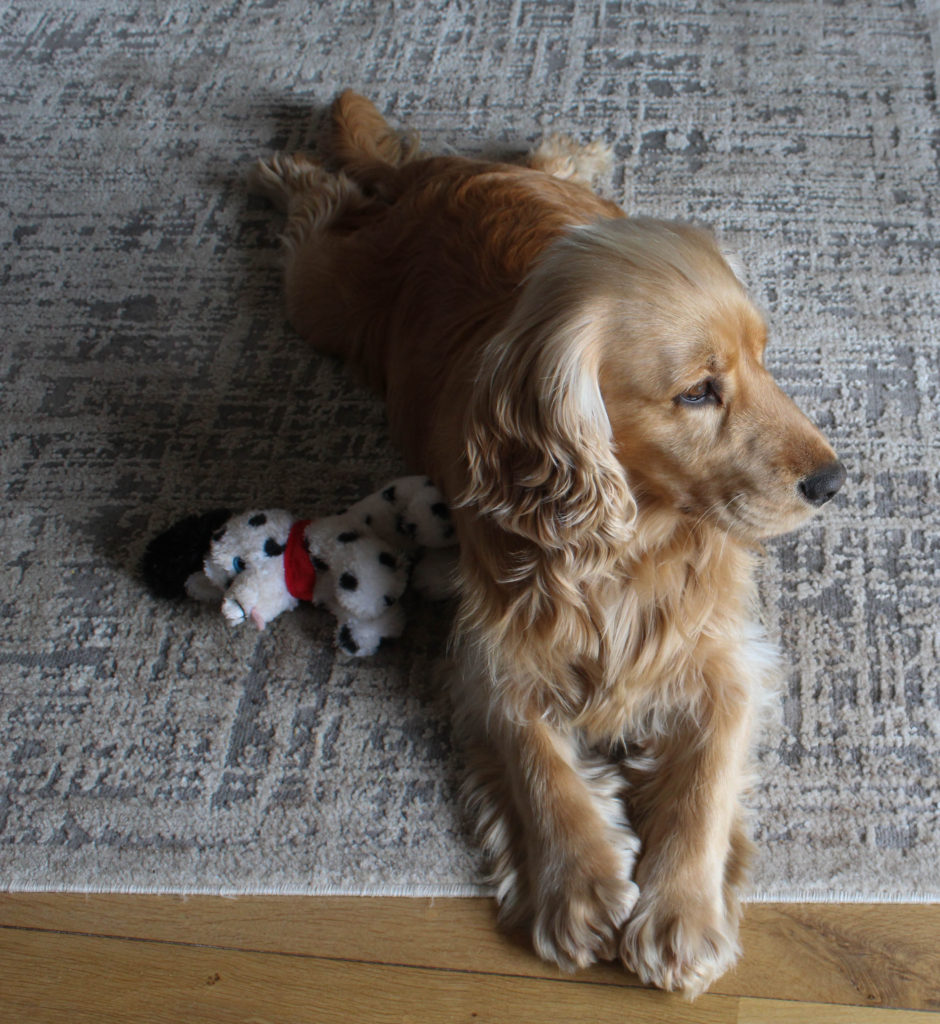
As this photograph is being printed in A3, I think it would be a good idea for it to be placed in window mount alone, this means that the full attention will be placed onto the photograph of my dog, as I think that the grey tones in the image would better suit having a black frame. There is also some darker features in the image such as his eyes, bottom of paws and nose, which will compliment the black frame.

In my opinion, this is one of my most successful mounting experimentations, this is because of the matching colours within both of these images, there is a lot of pink present in the first image within the flowers, then the stripe of pink on the front of the lighthouse. Furthermore, there is a lot of white straight lines and strong blues within the background of both of these images. I think this diptych was a big success.
Zara, make sure you publish the following blog posts:
1. Photobook research + case study
2. Photobook spec on concept, narrative + design process
3. Final photobook + evaluation + hyperlink to Blurb book
4. Final prints + virtual gallery + evaluation