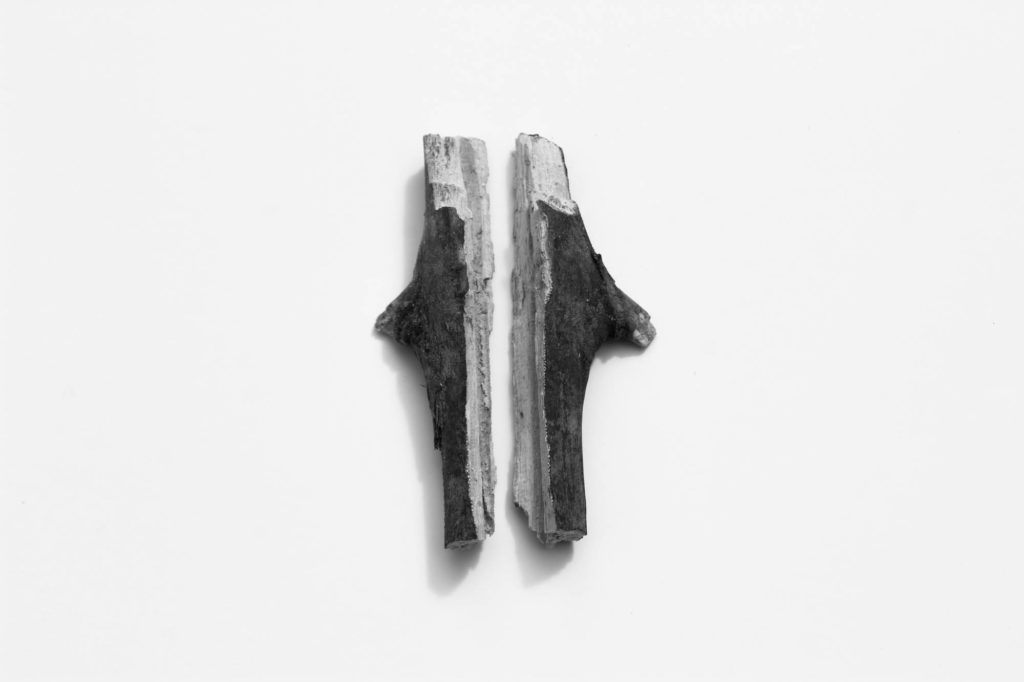
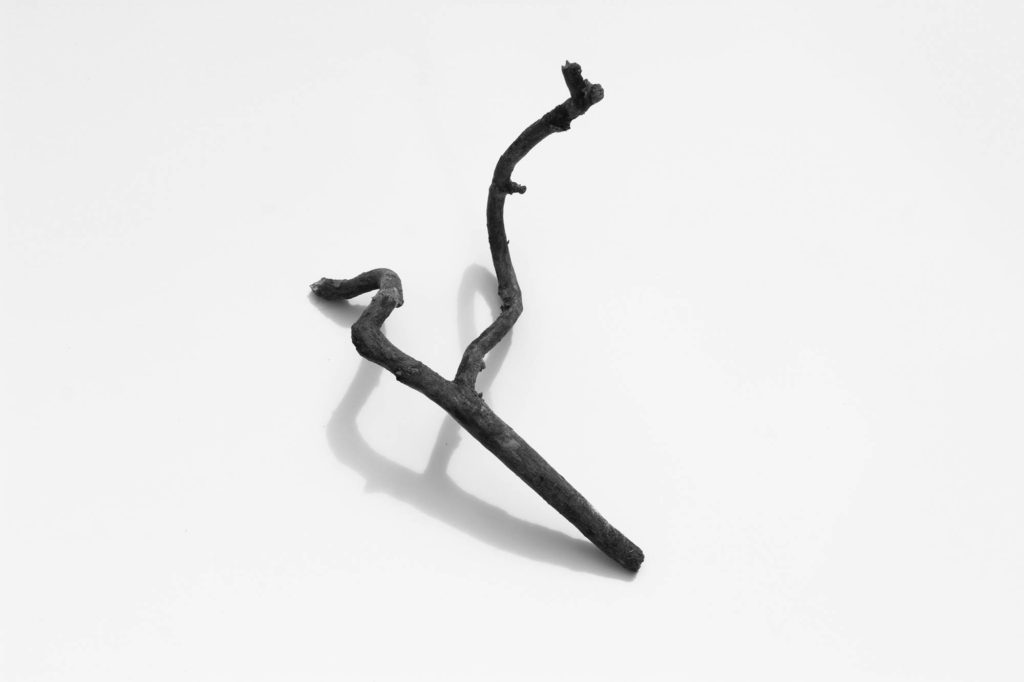
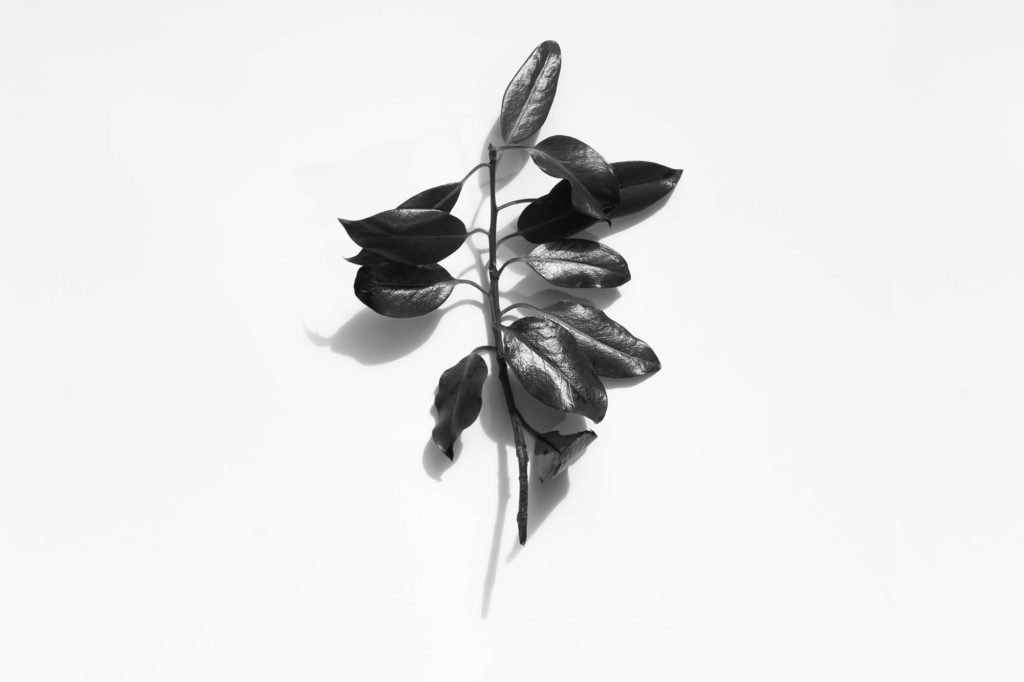
For my final prints in this project, I will be making 4 pieces of work that take work from both the object side of the project and the woodland side of the project equally. I will create two final pieces using my object images, one using the images I took with my camera and the other using the cyanotype images. The other two final pieces will use images from my woodland shoots, one will use images from my first shoot and the other will use images from the third shoot.
Images I will be using for my final pieces:
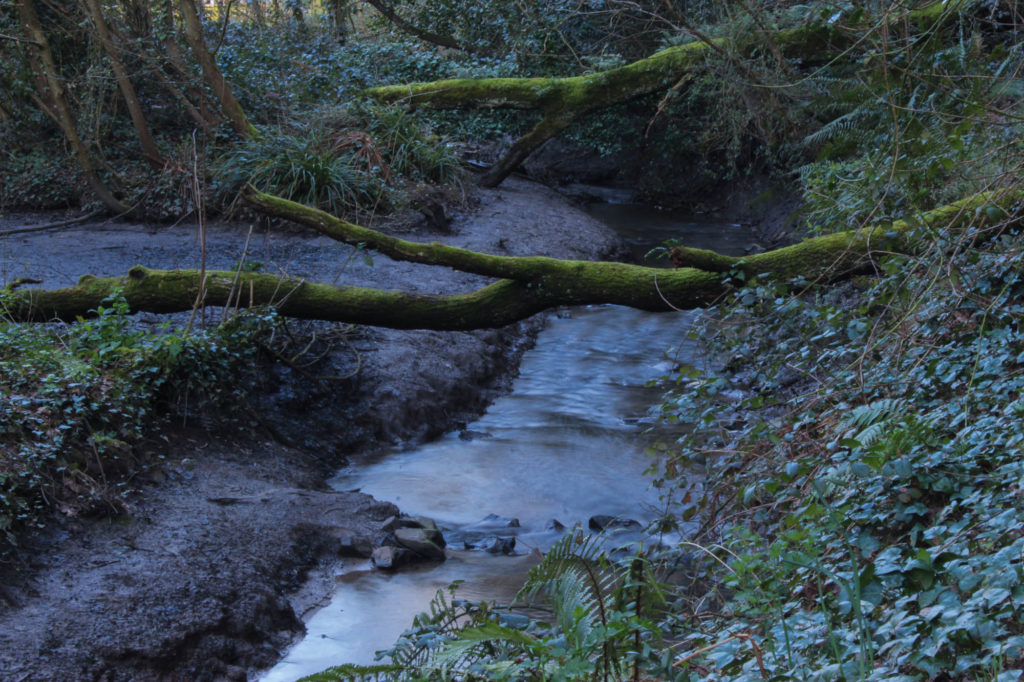
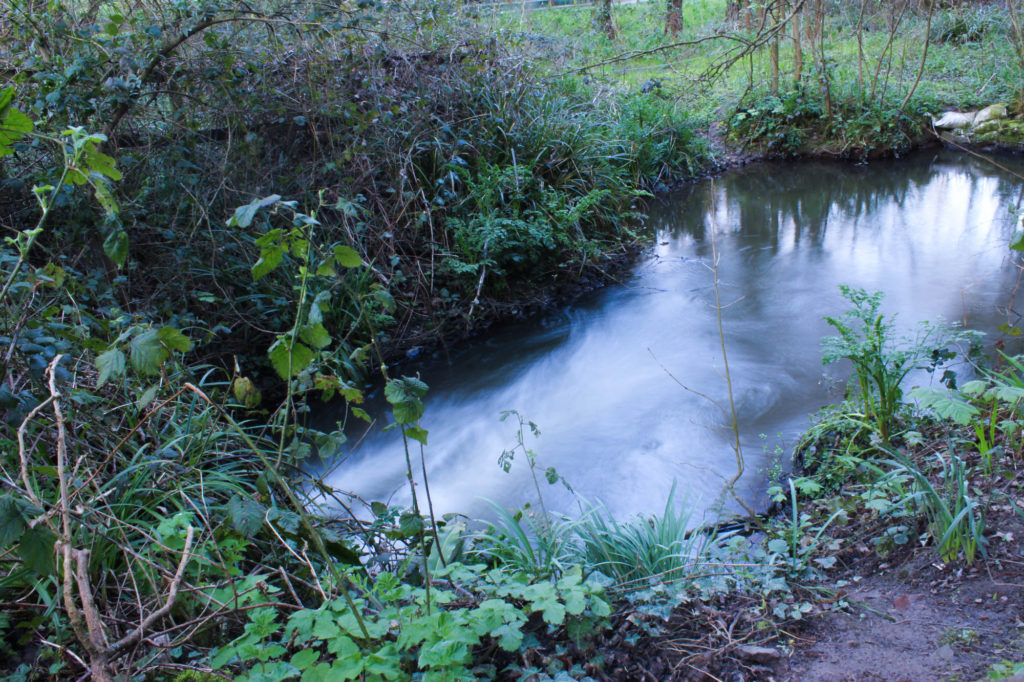
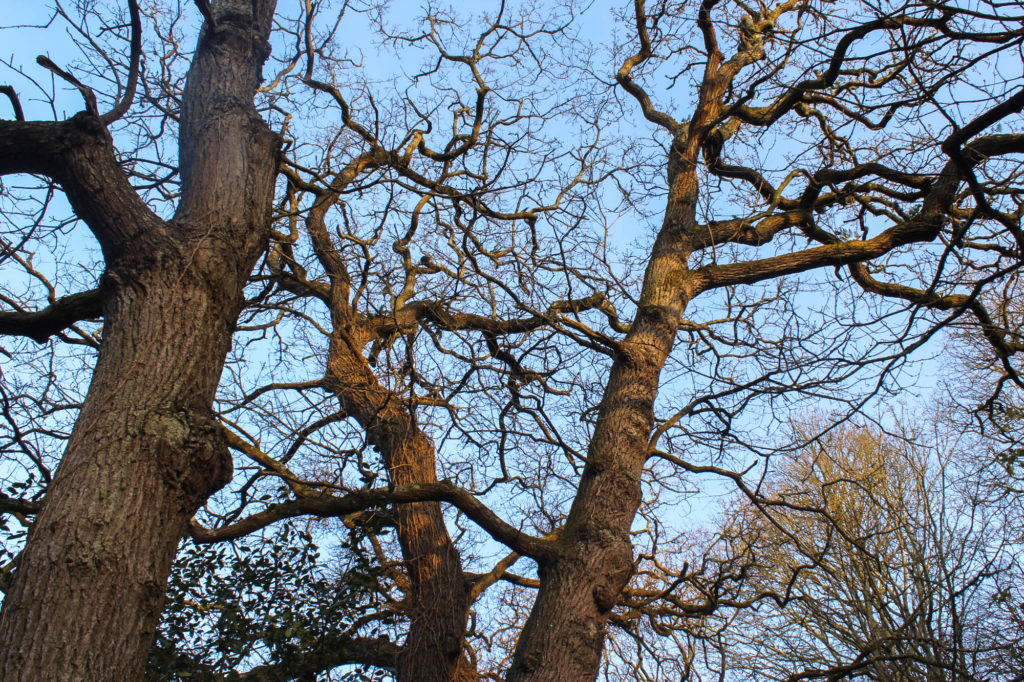
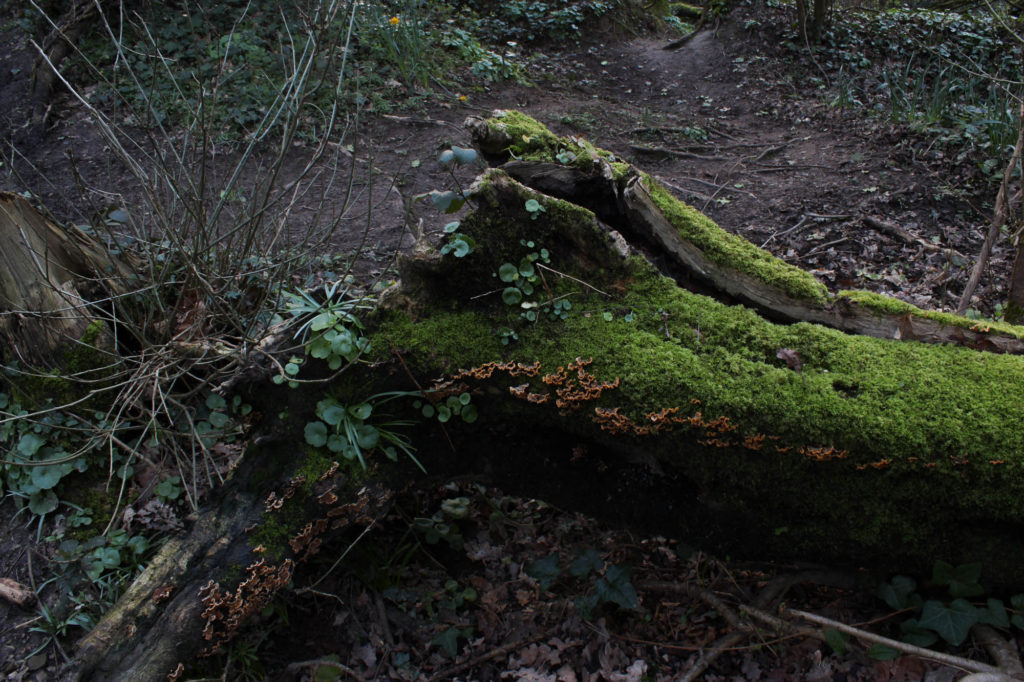
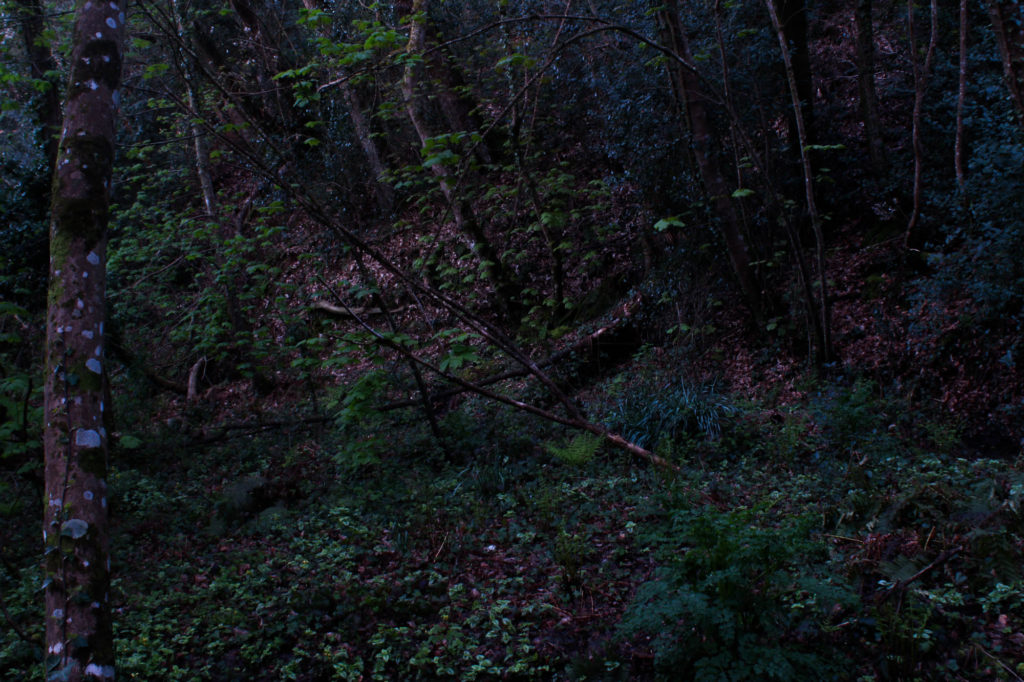
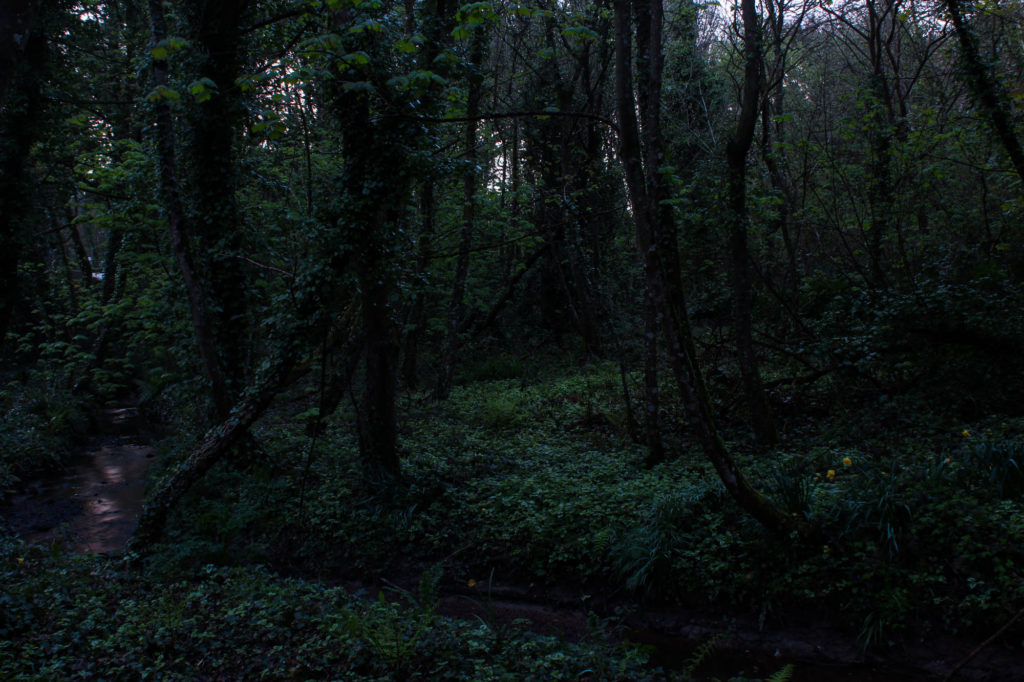
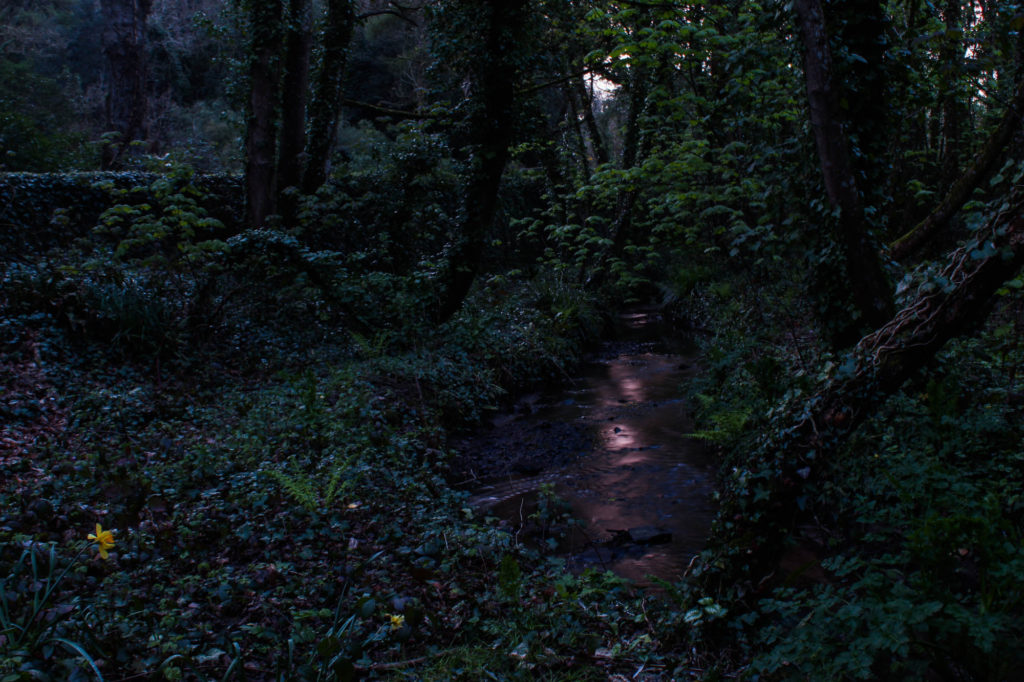
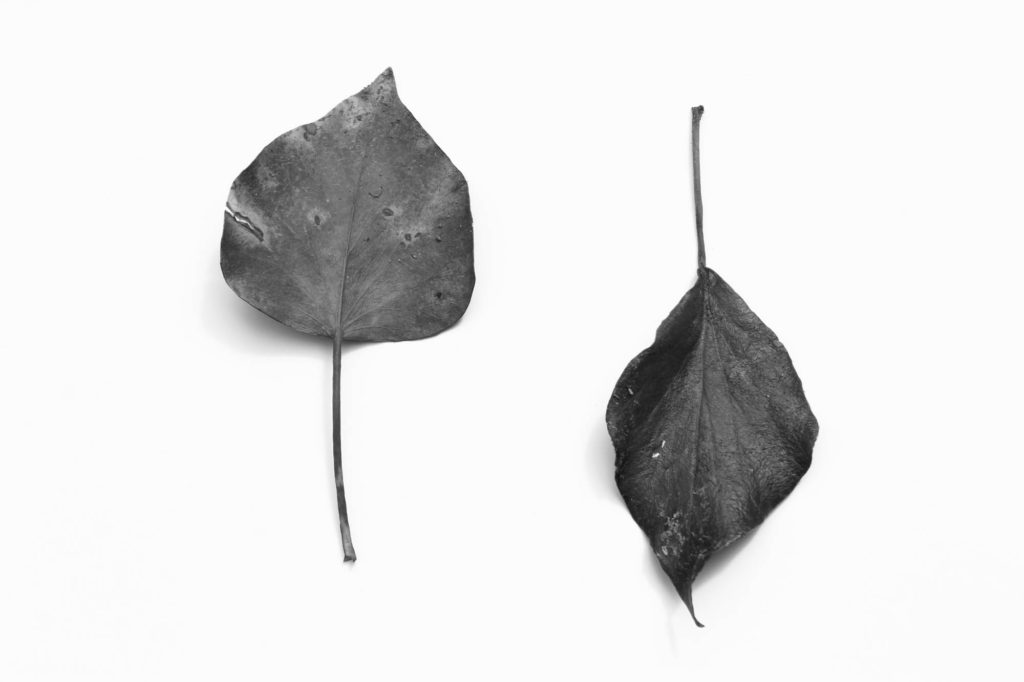
First Woodland Piece (A3 x 4)
For this piece I will create a series of classic window-mount images. I possible, I would like to place this into a black frame to give it a formal/professional look. As I am printing these images as A3, all of the images will be separate from each other.
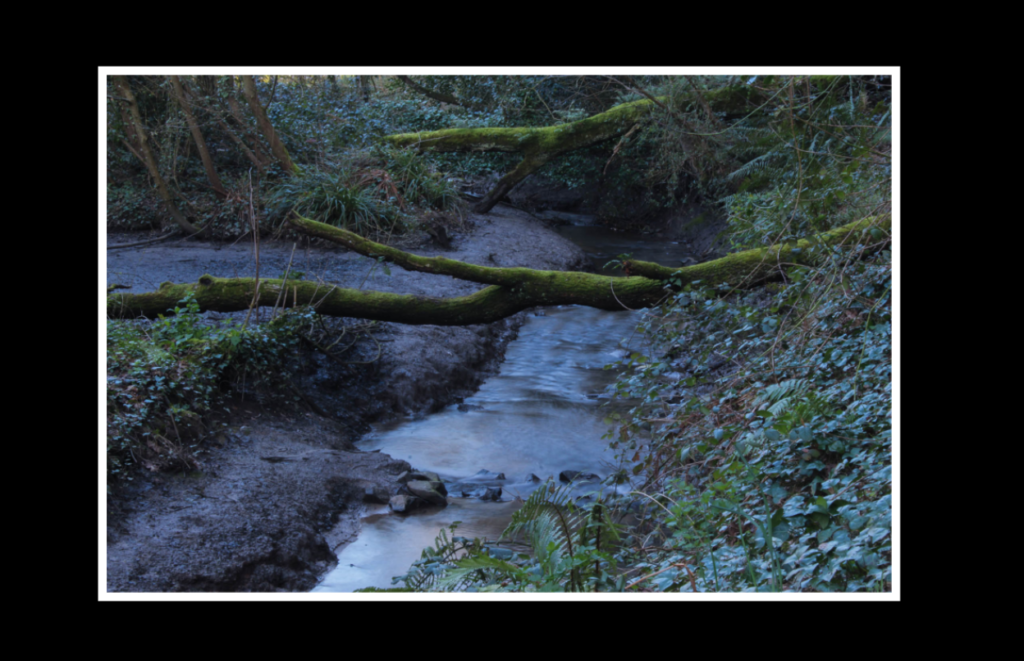
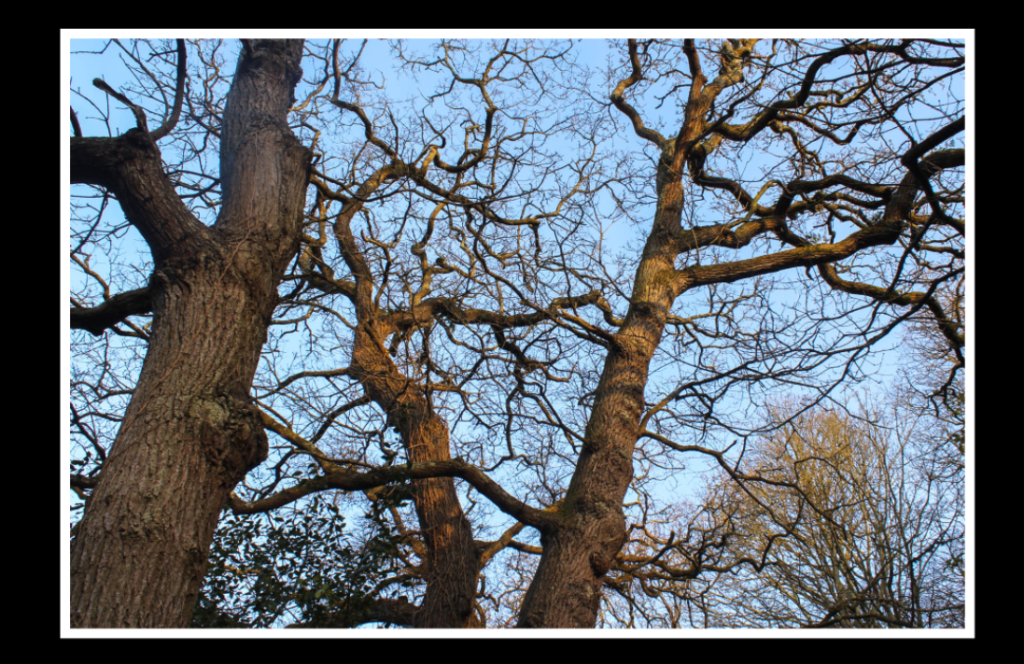
Above are two mock-ups of window mount images.
Second Woodland Piece (A4 x 3)
I would like to lay these images out in a simple sequence, either on plain white foam board, or on a black window mount. Below are screenshots of me experimenting with the layout of the sequence.

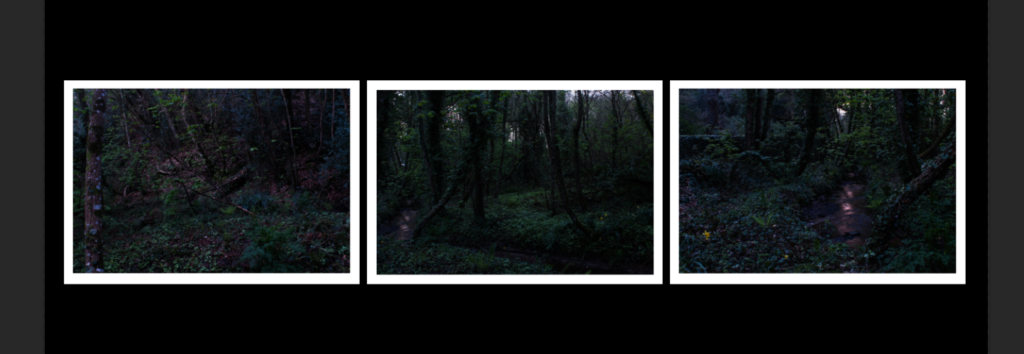


After experimenting, I think the vertical layout on white foam board will be the most effective for this piece, as the white offers a nice contrast to the darker images.
First Object Piece (A5 x 4)
I will lay out these images in a sequence, either on white foam board or black window mount.
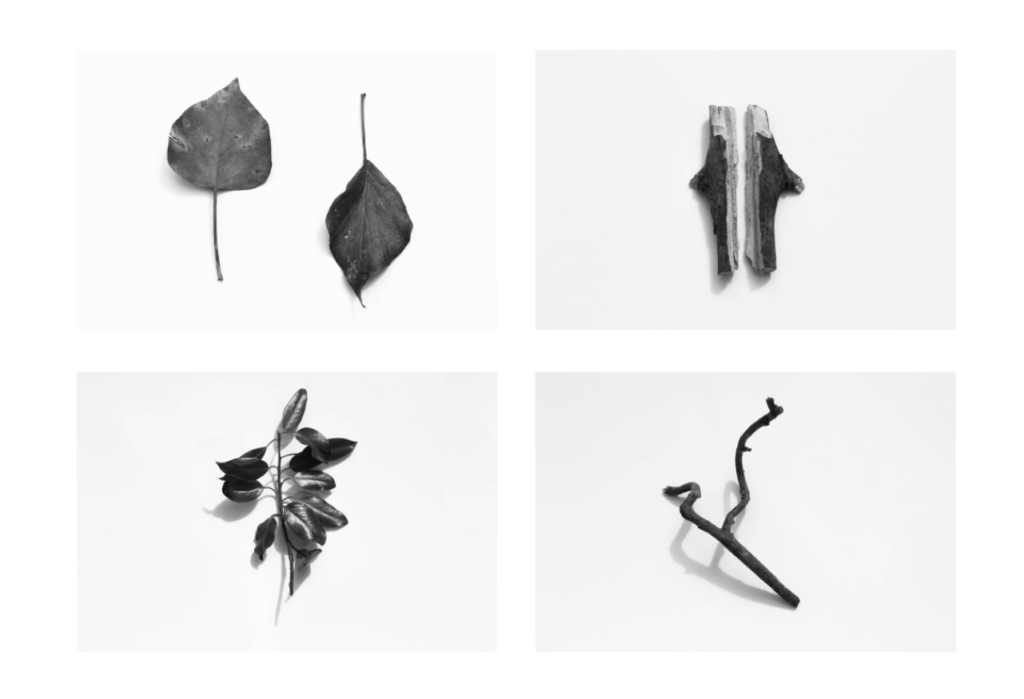
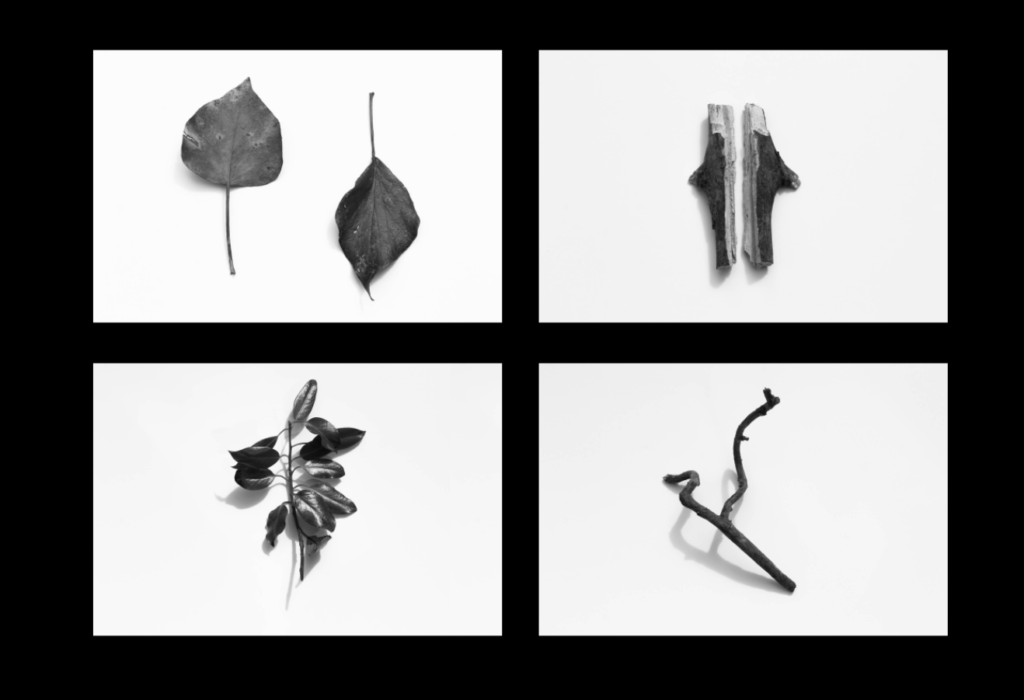

At this point I quite like the 2×2 grid on black window mount, below are experiments on the order of the images:


After experimenting with the layout and sequencing of the images, I think the last layout (the image above) is the layout I will aim to recreate with my final prints.
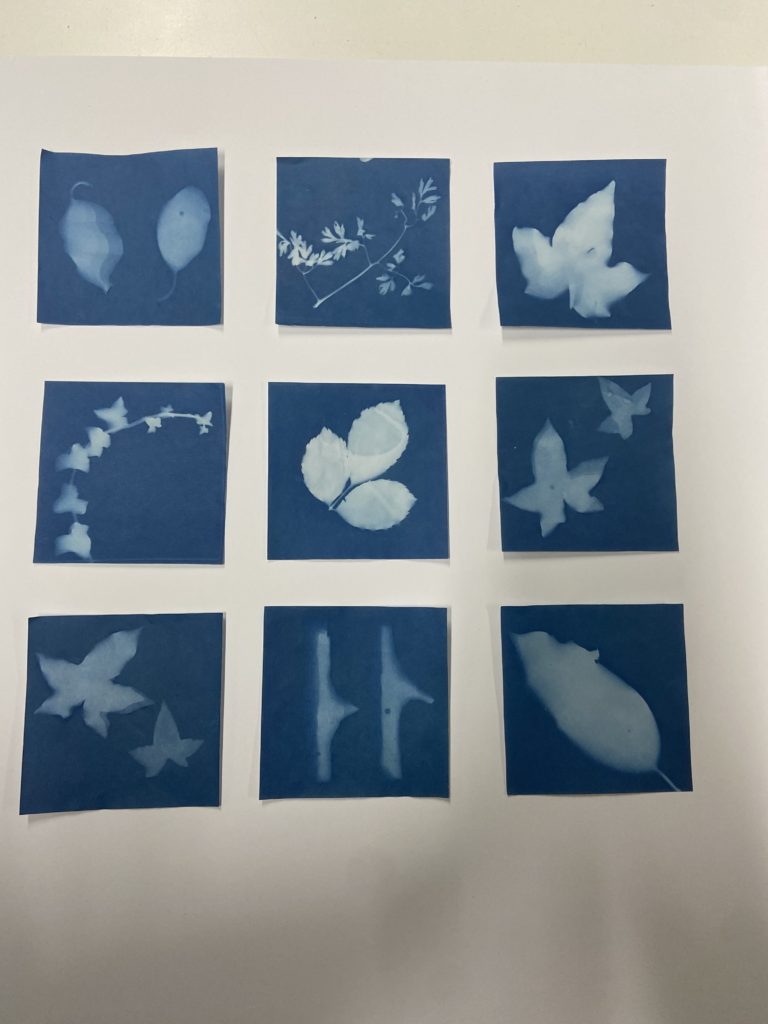
Second Object Piece (A5 x 9)
For this piece, I am going to create a 3×3 grid using my cyanotype images in the sequence (or similar sequence) as shown in the image above. I will be using double sided tape to mount each image onto a piece of foam board, which will not fully stick each side to the board, giving them a sense of shape and three-dimensionality. I will then cut this grid out from the foam board and place them in a window mount, giving it a black boarder.
Final Prints
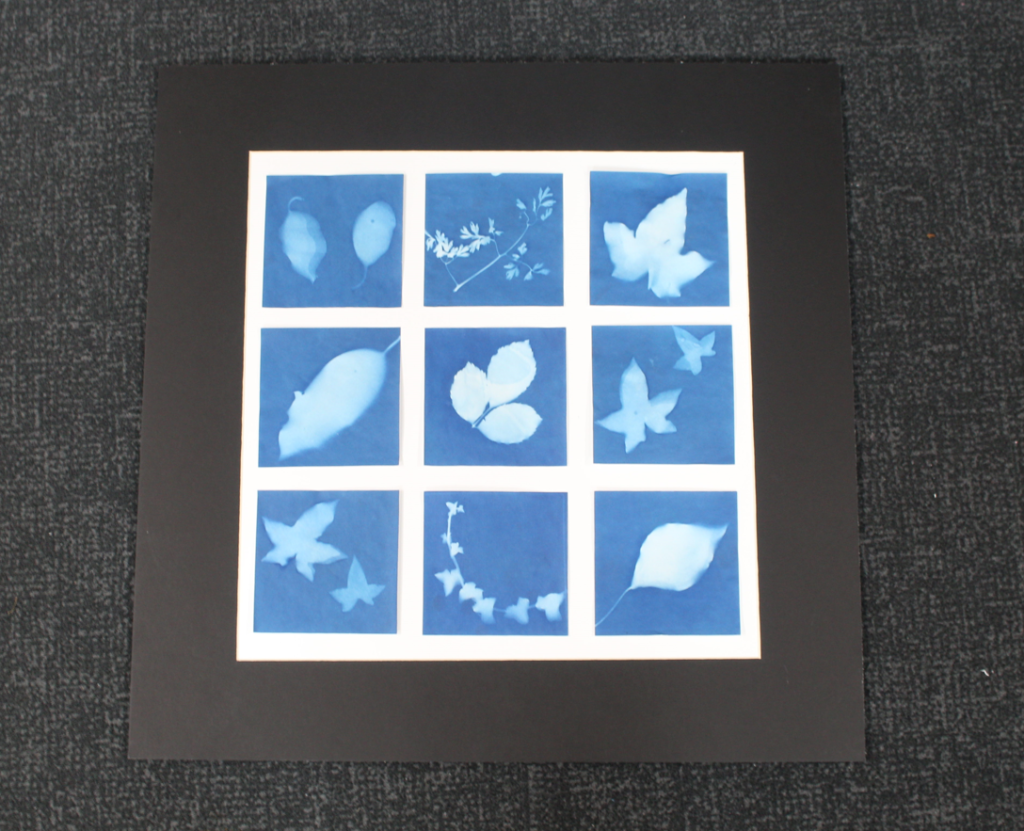
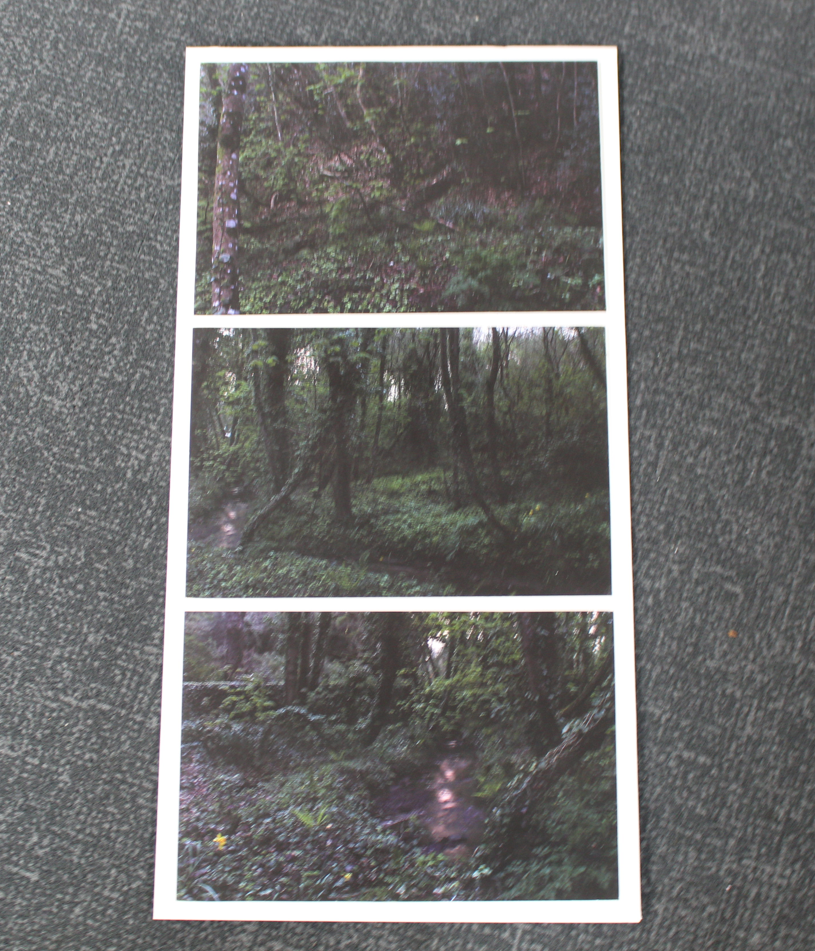
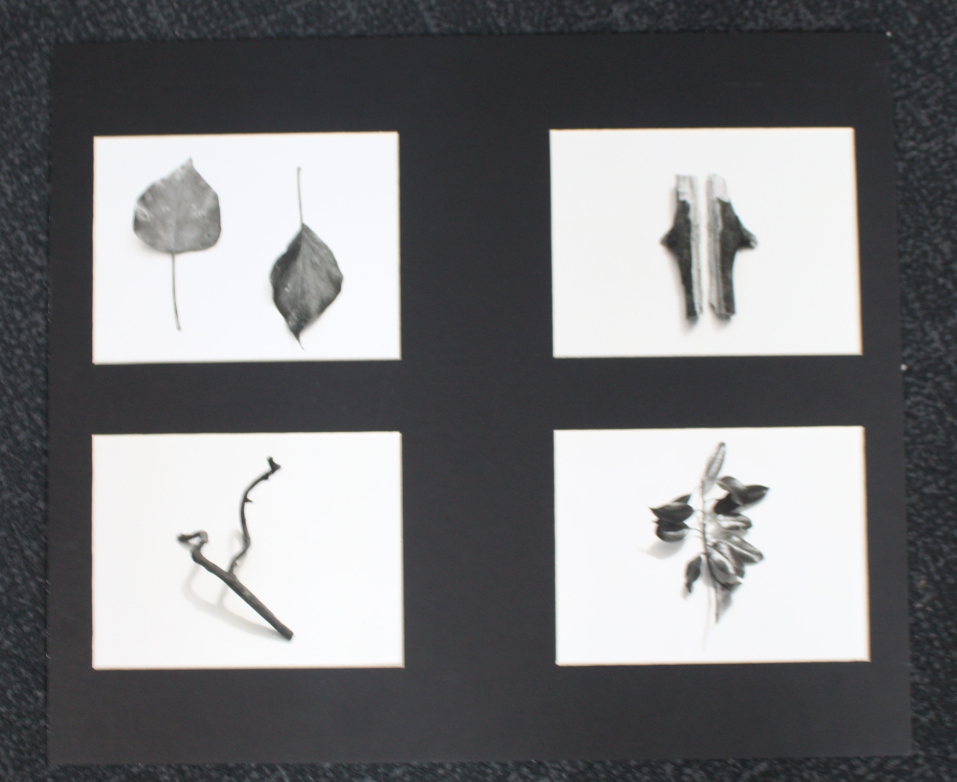
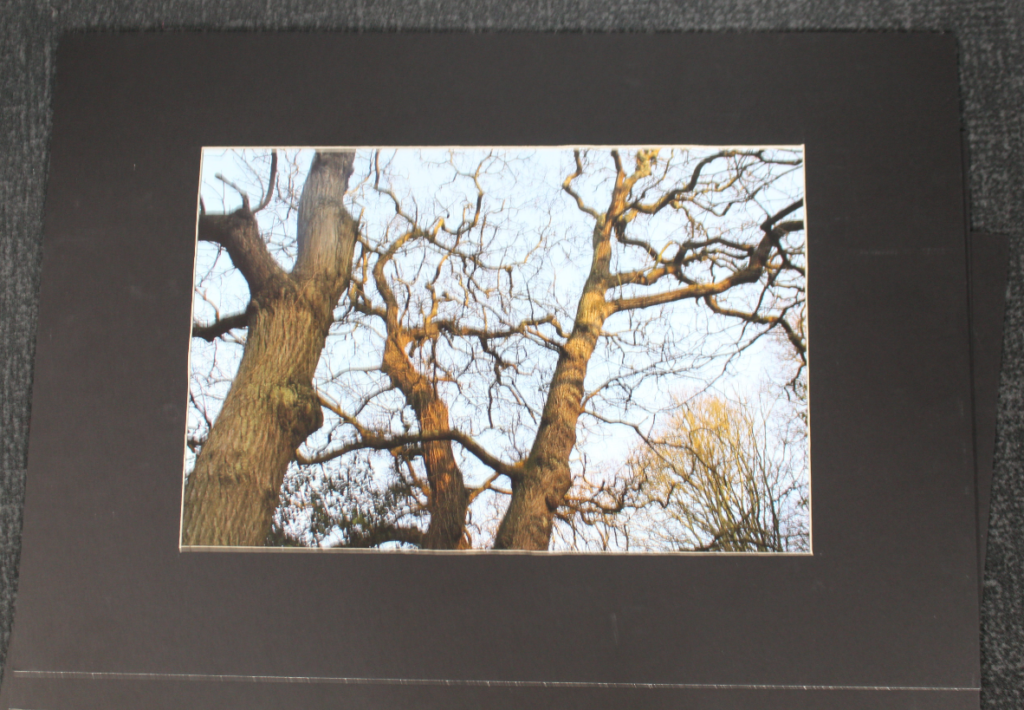
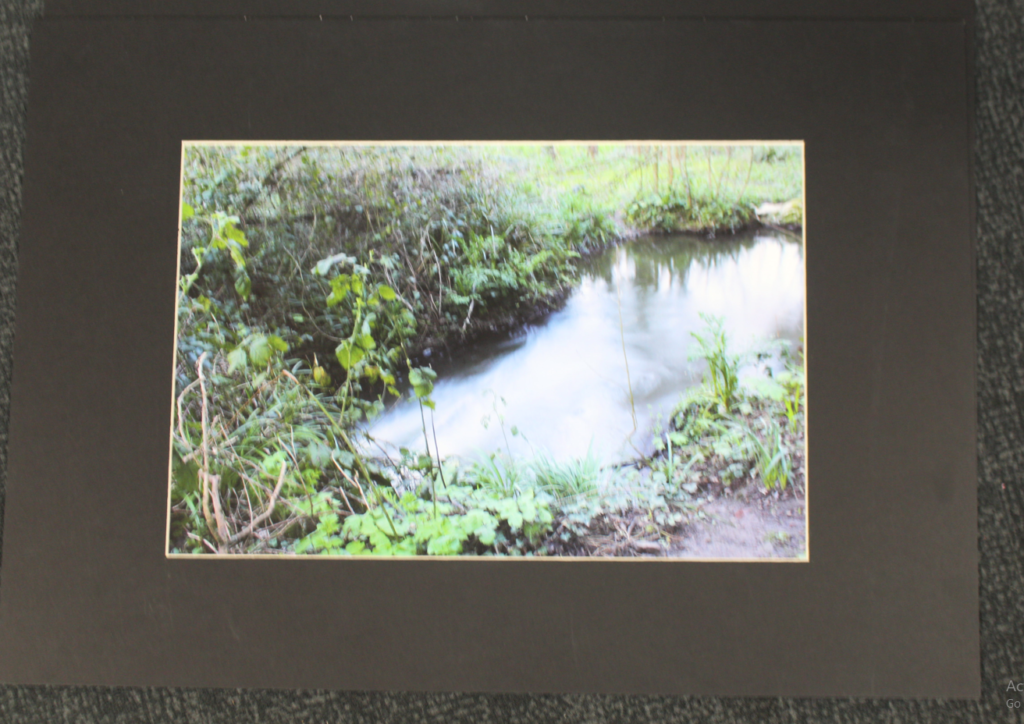
(A few are missing due to bad quality and time restraints)
Joshua, make sure you publish the following blog posts:
1. Photobook research + case study
2. Photobook spec on concept, narrative + design process
3. Final photobook + evaluation + hyperlink to Blurb book
4. Final prints + virtual gallery + evaluation