Best shots –


To begin my final selection and editing process of images to use as my final shots for my photobook and mounting up, I began an editing process where I experimented with different outcomes throughout my work. The way in which I carried this out was through the use of splitting my photographs in to 3 different coloured sections by creating virtual copies and colour sorting them to make my work more organised, these sections were:
- Green – These were the original images in their natural form before any editing so that I had a hard copy of each image, just in case something happened to other edited images.
- Purple – These were the images which I wanted to transform in to black and white.
- Blue – These were the images which I wanted to edit in different ways through different filters, hues, saturations, vibrancies, etc.
After I had edited all of the images which can be seen below, I went through and labelled the images ‘P’, for the outcomes which I thought were my most successful and wanted to use, and ‘X’, this was for the outcomes which I did not like and didn’t think that they were successful in how they had turned out. I then moved those images to a separate folder on Lightroom labelled ‘Photobook and Mounting’ so that my best and most successful outcomes were clearly organised when I wanted to begin my process of creating my photobook and deciding what images to print out and mount up.
Experimenting with different filters in Lightroom –
Black and white –


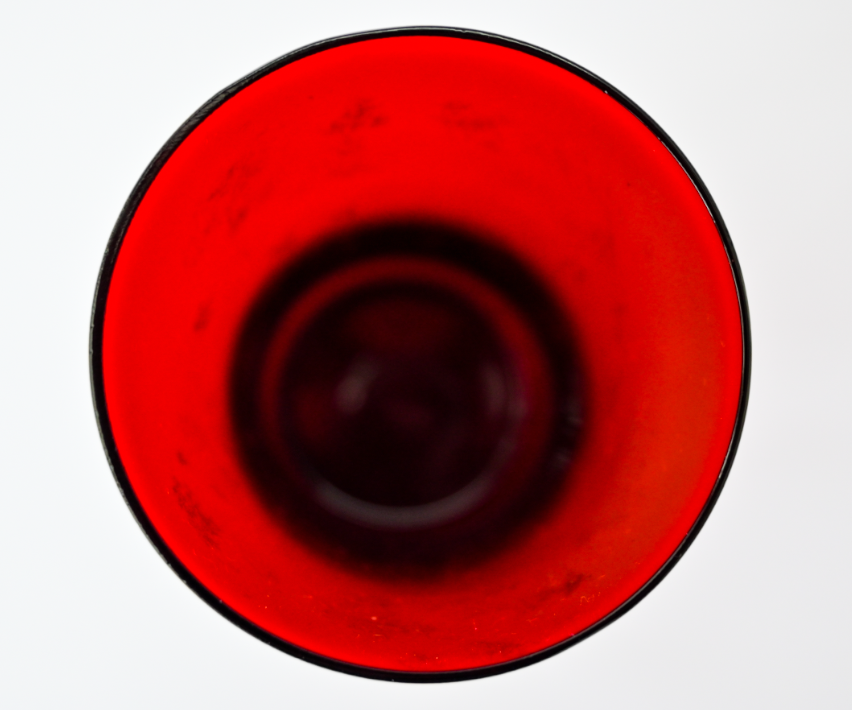
To transform my images into black and white I began by selecting the purple section of images and the image which came up first was the first image which I chose to work on in transforming them into black and white. I started off by selecting the initial ‘Black and white’ filter on the right hand side in Lightroom and then adjusting different settings such as the exposure/contrast/highlights/blacks/whites/shadows to enhance how dark I wanted my images to appear and how the contrast between the different tones work amongst one another. Once I felt confident with this, which can be seen in the image of the bowl above, I selected the rest of my images and used the ‘Sync settings’ button which applied all of the editing choices which I had made on to the other images which made them appear to be quite uniformed and flow nicely with each other instead of being a random mix of colours due to different lightings or ways I have used the spotlight previously. To further develop my images I decided to go through them individually below, this was a more in depth approach where I experimented with different black and white filters, such as ‘infrared’/’soft’/’flat’/’high contrast’/’low contrast’, cropping and tools to help neutralise the lighting in different areas of a photograph through the use of the radial and graduated tools.
Examples –


Other experimentation –


To experiment with a variety of other filters on Lightroom I repeated the same process that I carried out for my images in black and white, but in this case I used different filters which fell under the filters such as ‘Creative’/’Colour’/’Vivid’/etc as there was a variety of different ways I was able to enhance the colours used within my photos. I really liked doing this as I was able to create different vibrancies and contrasts in colours which I was then able to compare to the images in black and white and saw how the images were changed and brought to life within them.
Examples –




Examples of experimenting with double/multi exposures –
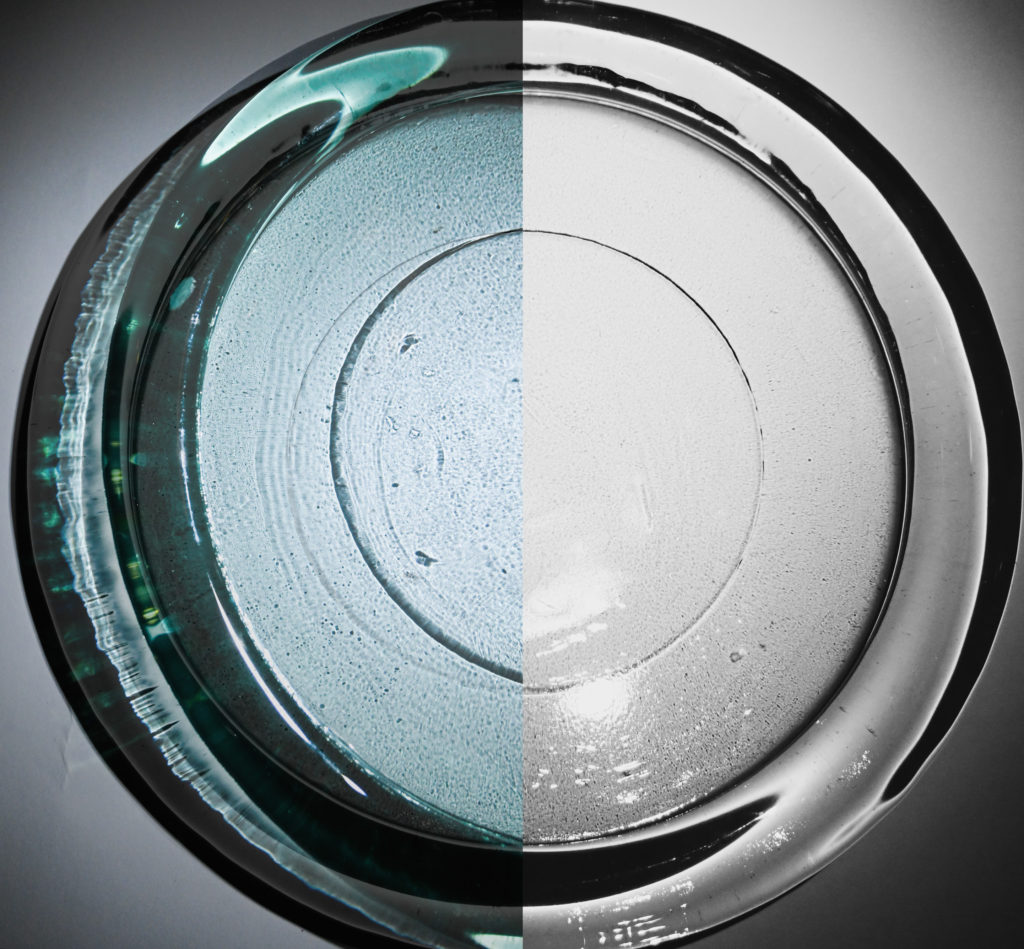
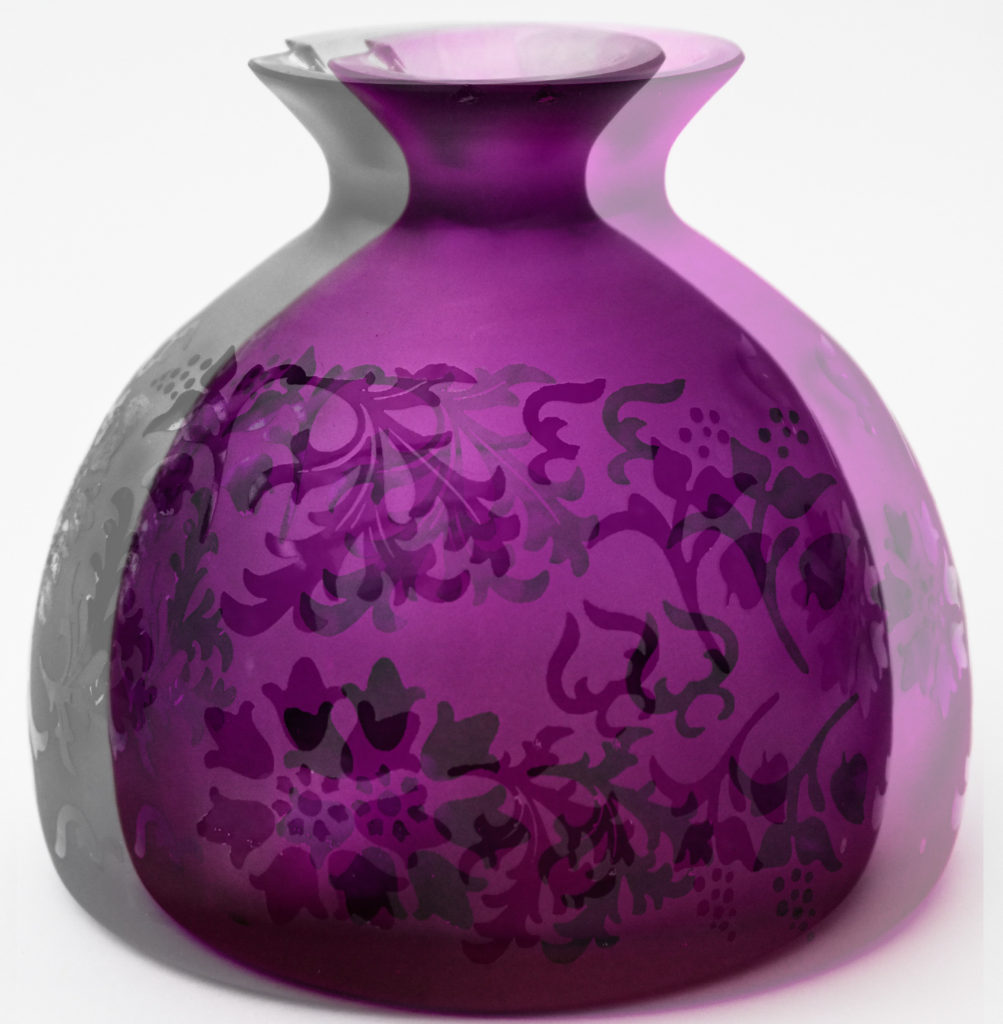
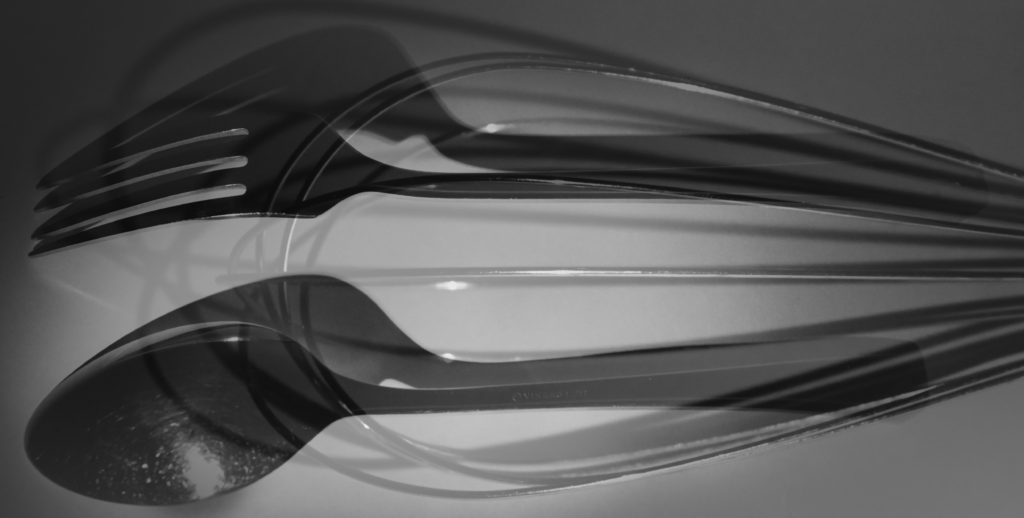


In my work I also decided to experiment with the use of double/multi-exposures, this was through the process of bring the images into photoshop and layering them on top of each other in different positions and then altering their opacity to achieve the effect that there is more than one object within the photograph. I did not like the way that these images have turned out and I think that this is because in many of my photos there may be a use of 2 different objects and once this is paired with another photo it begins to make the image look messy, this effect is something which I do not like, although ‘double 2’ does share a similarity with one of Jaroslav Rossler’s images where the effect used on the photograph makes it appear to be quite blurry and colourful. Therefore I have decided that I will not be using double/multi-exposures within my own work for creating my photobook and mounting up my images as in relation to Paul Outerbridge and Andre Kertesz’s work within the theme of still life their images feature a few different objects but with a clear lens.
Images I have chosen to print out and why –


These are three images which I have decided to create a ‘triptych’ with to print out in A4 and mount up. This is because I like how they work against one another as there is a flow between them as they are all of the same object and due to the full picture in the middle being of the plate and then having half of the plate each side makes the plate look as if it has been split in half which I really like as it reveals what is underneath.


These are two images which I have decided to create a ‘diptych’ with the print out in A4 and mount up alongside one another. This is because I think that they work well with one another due to being in black and white, being of the same objects and sharing similarities in the shadows which they have both produced which I really liked although I was unsure of them beforehand.


These are three images which I have decided to create a ‘triptych’ with to print out in A3 and mount up. I have decided to print them out in A3 because I think that they can work well together as a triptych but I am unsure of how they may print out, so if I print them as A3 I am also able to mount them up seperately. This is because I like how they work against one another as there is a flow between them as they are all of the same object and due to the full picture in the middle being of the plate but with different angles and shadows which have been created in them.


These are images which I have decided to print out in A4 images and mount up separately, this is because I think that they will work well by themselves. This is due to the hair clips and how the reflected shadow creates quite a abstract look as well as the perfume bottle and the bowl and fork represents the simplicity of still life and relates towards one of my artists which I have studied who is Andre Kertesz.

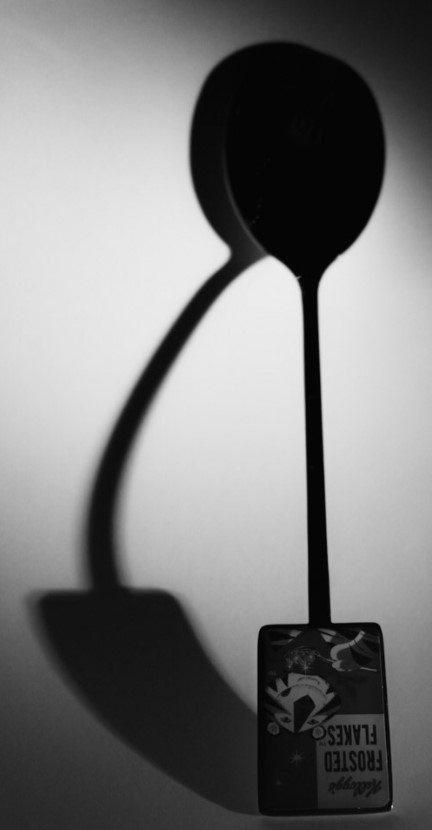

These are images which I have decided to print out in A4 images and mount up separately, this is because I think that they will work well by themselves. This is due to the hair clips and how the reflected shadow creates quite a abstract look as well as the perfume bottle and the bowl and fork represents the simplicity of still life and relates towards one of my artists which I have studied who is Andre Kertesz.
Emily, make sure you publish the following blog posts:
1. Mock display of final prints
2. Photobook research + case study
3. Photobook spec on concept, narrative + design process
4. Final photobook + evaluation + hyperlink to Blurb book
5. Final prints + virtual gallery + evaluation