What was photoshoot 2?
My second photoshoot consisted of taking photos of the objects which I had used in my initial photoshoot during the day, singularly or in groups, and introducing other objects such as different accessories/perfumes/etc. By carrying out this project during the day it made the background appear clear and bright due to it being white, creating a vibrant contrast between the colours of the different glassware and objects. Throughout this photoshoot I also tried to work within the style of Jaroslav Rossler and Paul Outerbridge due to the objects which I have chosen to use and how I want to further edit these photos in the future. I enjoyed this photoshoot to an extent because I was able to see the objects and their finer details/colours in more detail compared to using a spotlight within the night time and I was also able to experiment with different compositions of how I wanted them to appear in their layouts.
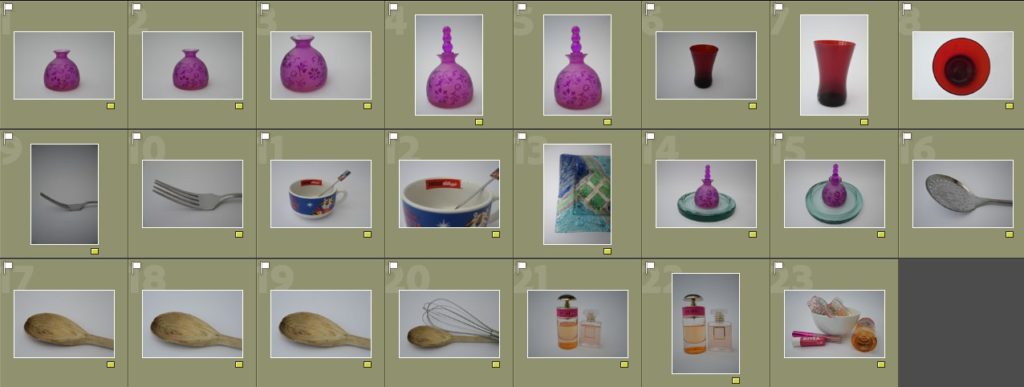
Most successful shots –


Above are the images which I chose to be my most successful shots, I did this on Adobe Lightroom by going through the images I had taken and selecting ‘P’ for pick to mark them as images which I wanted to analyse further. How I decided what images I wanted to choose as my most successful I went through a process of selecting ones; which were clear and had no shakiness, experienced with various angles such as from the side/centred/birds eye/etc, had an unusual formation due to the way that they were taken and how the objects worked with one another, how the images related to my artist references. Personally, I think that I chose a variety of images as my best shots that have a variety of potential on how I could use them in further ways to edit, I really liked the photos of the singular fork, the spoon and the fork, as well as the perfume and perfume boxes because I think that they work well in representing still life images too.
Colour coding and rating –

To further select a smaller amount of images which I can use I decided to begin a process of colour coding, this process which I had done before for my first photo shoot consisted of me putting images into two separate colours, green and yellow. I used green to recognise and sort the images which I felt 100% sure on using in my work to edit and yellow to organise images which I still was unsure of due to them not working well together or being repeats if images which I had chosen beforehand. This process made my selection process easier for me because I was able to think of different pros and cons of each image and this further helped me when it came to organising my images to be rated as a part of my selection process.

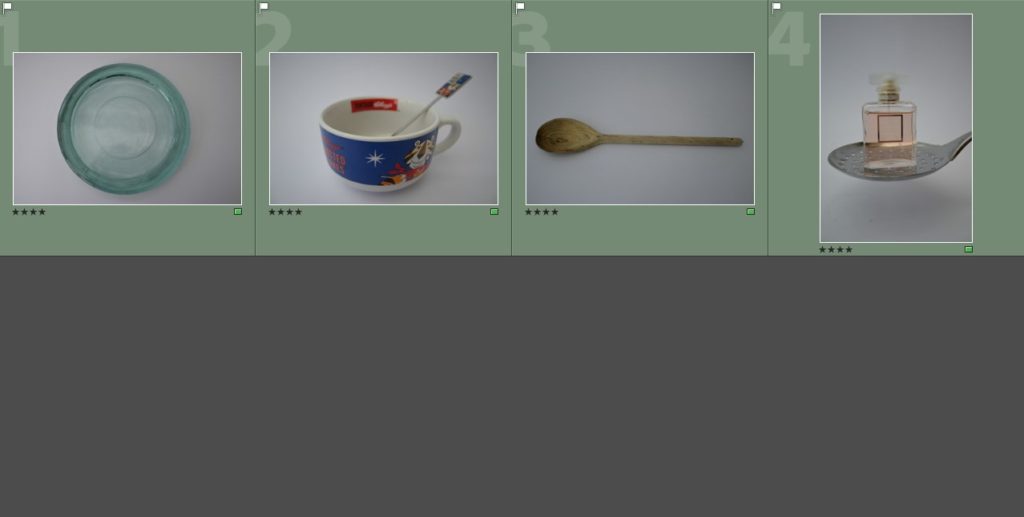
The rating process was used by myself within my work to organise my photos in to a final 8-10 images which I can use alongside other photos from my other photoshoots when editing. I decided to organise them in to two categories; 4 stars were used for images that I decided I did not want to work with as I felt as if they were too plain in how they appeared, and 5 stars which were images that I felt related well to my artists which I have chosen and had further potential with editing in different ways as well.
Evaluation of some images I chose to be my most successful –


Image 1:
- I like how there is a dark band of colour around the edge of the image, creating a heavy contrast against the vibrant colour further within to the plain white background. This creates the idea of a barrier which is protecting others from what may be in the middle of the cup because the colour red can be seen as a sign of danger.
- I like how the cup gets darker in the middle of the photograph, this adds depth in to the photograph.
- As the photo is taken from a birds eye view this emphasises the fact that you are looking down in to the glass due to the effect of depth created from the darker colour in the middle.
Image 2:
- I like thw simplicity of the image as it is a singular fork in solitide.
- I liike how there is also a slight shadow underneath the fork as it starts off quite dark yet subtle and trails off.
- I like the way that the fork curves within the photograph because the image is quite plain so this adds some difference and subtle variety in to the photograph.
- In further editing of this photograph, I will experiment with different ways to crop the photo to enhance how it appears within being the main focus of the photo.


Image 3:
- I like the placing of the spoon on top of the fork as it creates different lines, shapes and bends within the photograph and with further editing this can be manipulated through different effects e.g. filters/black and white/exposures in Lightroom and photoshop to transform how the photo turns out.
- I like how there is a slight refection in the spoon of the surroundings and then how there is also a reflection in the fork of the spoon. This is a subtle effect of reflections which I wanted to include within my work.
- I also like how the camera has captured the imperfections of the spoons and the forks, showing the wear on them and how they have come from a household that use them frequently which adds character and story to the image.
Image 4:
- This photo reminds me of a photograph from Jaroslav Rossler which he also took but from a dofferent angle, which I wish that I experimented further with but could achioeve through editing in different ways.
- I also like how the height of the perfume bottles work alongside one another as it adds dimension towards the photograph as if they were the same height they would look too uniformed.
- In further editing I will make sure that the photograph is recentered as it is slightly wonky due to how it was taken, but this is not a big issue.
Least successful shots –


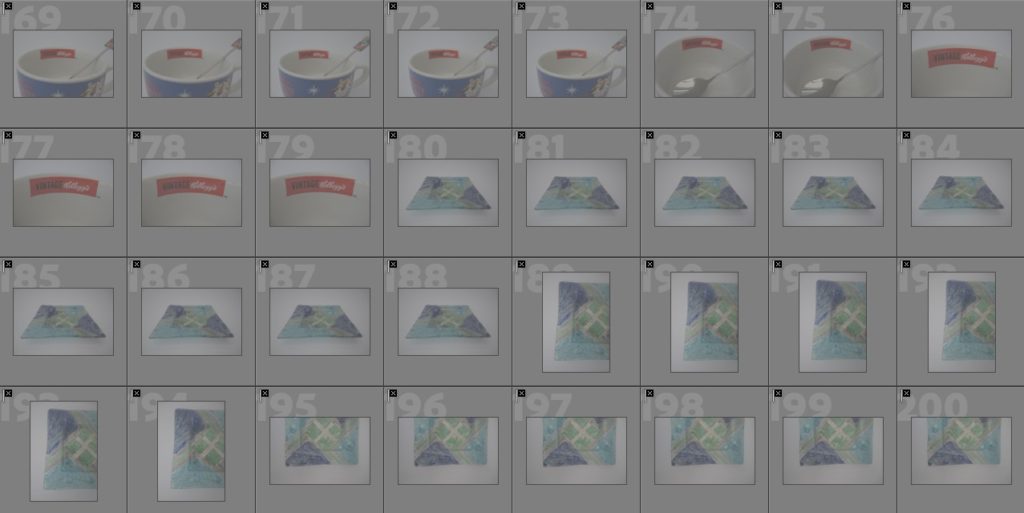
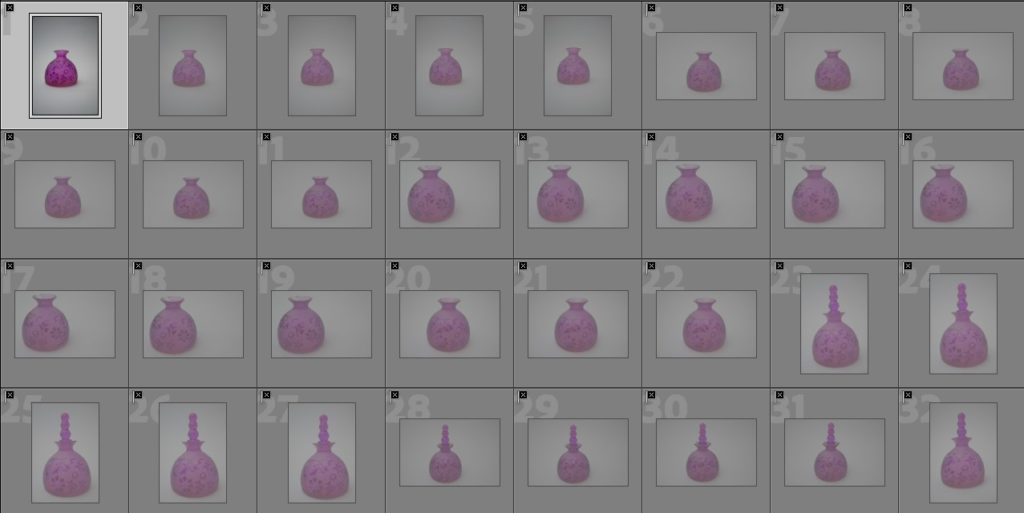
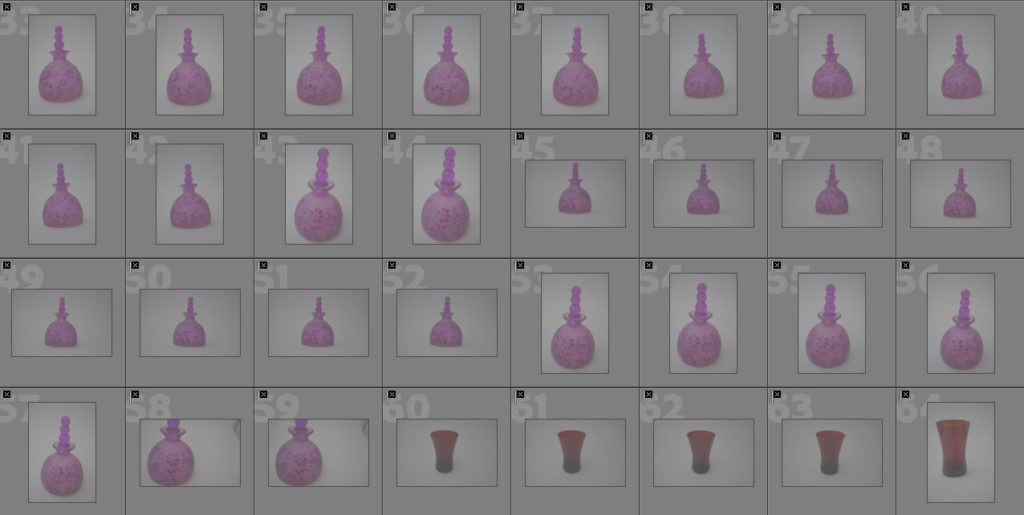


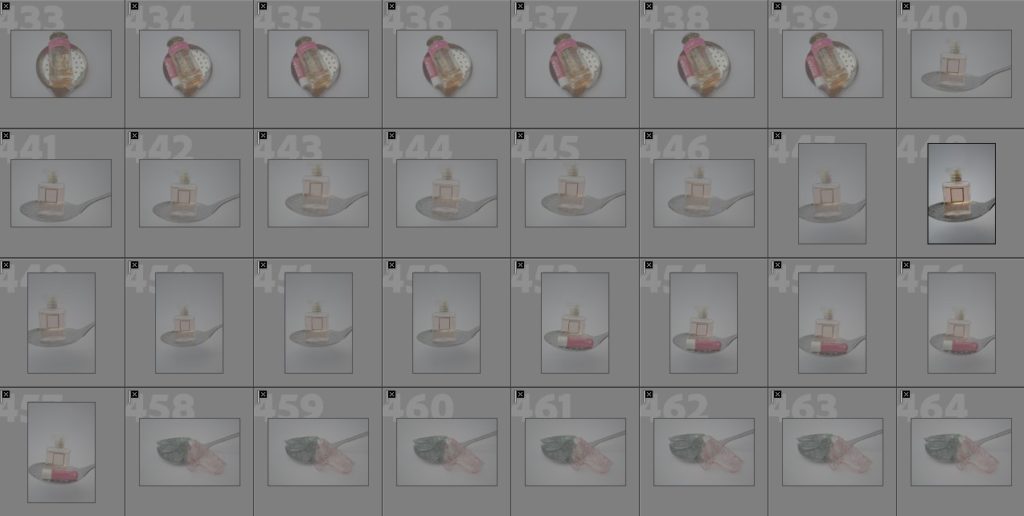


Above are the images which I chose to be my least successful shots which I had taken throughout my second photoshoot. I did this by selecting ‘X’ for images that I wanted to reject, the way in which I decided this was through; repeats of images, the framing of images, if the images were blurry, if they were too plain in how they appeared and if the objects which I had chosen to use did not work well together. Personally, I found it quite difficult to decide on images which I chose to be my most successful due to being my least successful throughout this photoshoot, this is because I did not enjoy how this photoshoot was done during the day instead of using a flashlight to create different shadows and reflections. If I were to do this photoshoot again, I would look into using a mirror, this would help with gaining different perspectives and reflections, or even a small spotlight to help with creating different shadows and manipulating where they fell on the background.
Evaluation of some shots I chose to be my least successful –


Image 1:
- The image is off centred and wonky which I do not like as the object in the glass isn’t straight which also doesn’t help the glass to appear as if it is in an upright position.
- The detailing at the front where it is slightly chipped is blurred, this doesn’t give the effect of it being as worn as I would like it to be as you are not able to see it.
- I do think that the detailing on the glass is quite precise in how it appears, this means that you are mostly able to see it all clearly as it is quite different and unique.
Image 2:
- Only the front half of the glass is in focus whereas the rest in the background is out of focus which I do not like even though it does create a depth of field within the photograph.
- The colour of the glass isn’t that clear or as vibrant as I would like it to be and it becomes quite light at the back which makes it appear as if it is lost in the white background.
- The image is too simple in its composition, there is nothing exciting or intriguing about the image and how it looks.
- I do like how the natural light falls on the side of the glass and creates a subtle yet effective shadow which is varied in it’s colour as it is lighter in some places compared to others where it is darker.


Image 3:
- I do not like the placement of the hair clips on the ladle as they look as if they are falling off and as if they have just been placed there randomly.
- The ladle is not as shiny as I would like it to be in the light, appearing to be quite dull which makes the blue clip get lost within the photograph as well as it blends in.
- There is no shadow or dimension in the photograph which could have been created by adding an extra spotlight or some sort of forced light which makes the object look as if it floating.
Image 4:
- The ladle is tilted due to the way that it is being held, this makes the image seen as if it is quite off centred and as if the perfume bottle is falling off.
- I do not like how I have placed the perfume bottle and the ladle together, personally I do not think that they work well alongside one another.
- Due to the light colour of the perfume, as well as being in a clear bottle, it gets lost within the background of the photograph and you can’t see the logo on the bottle that says the name of the perfume.