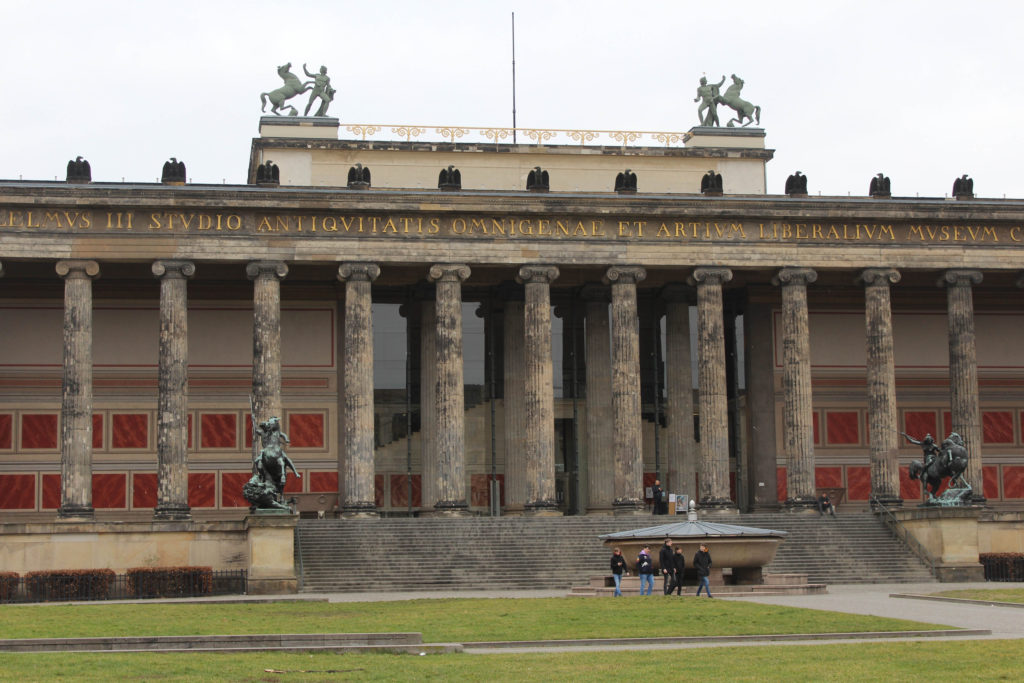
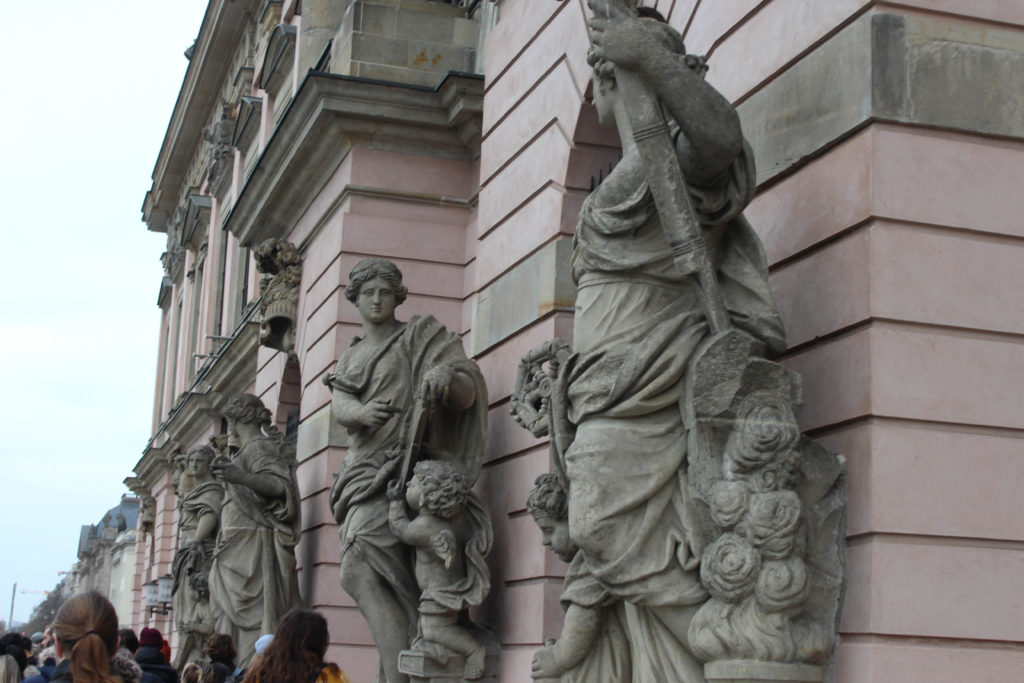
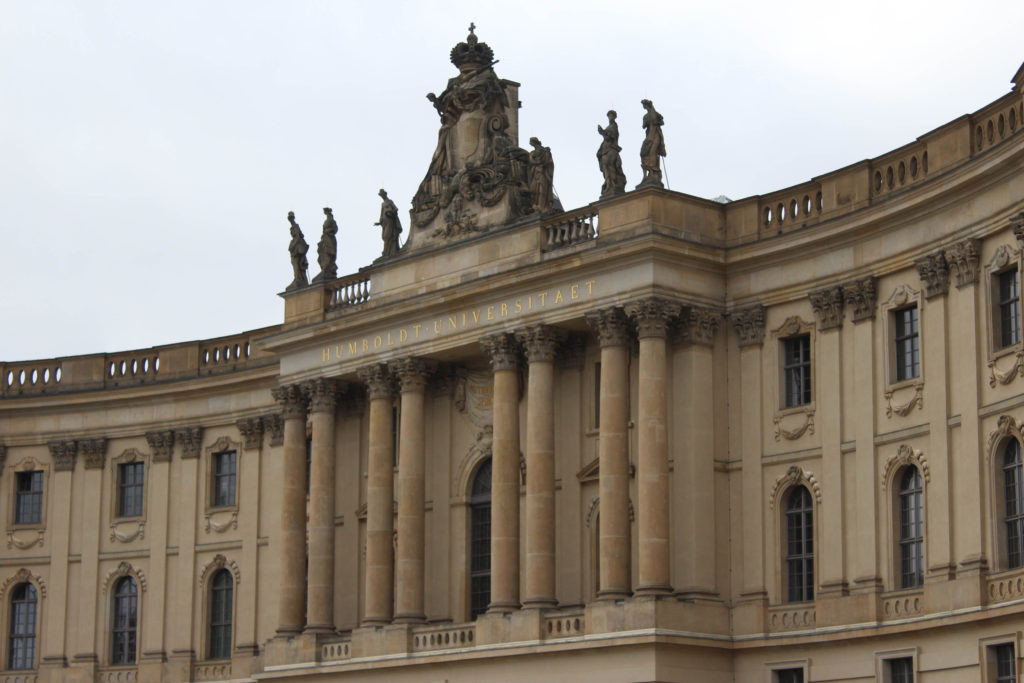
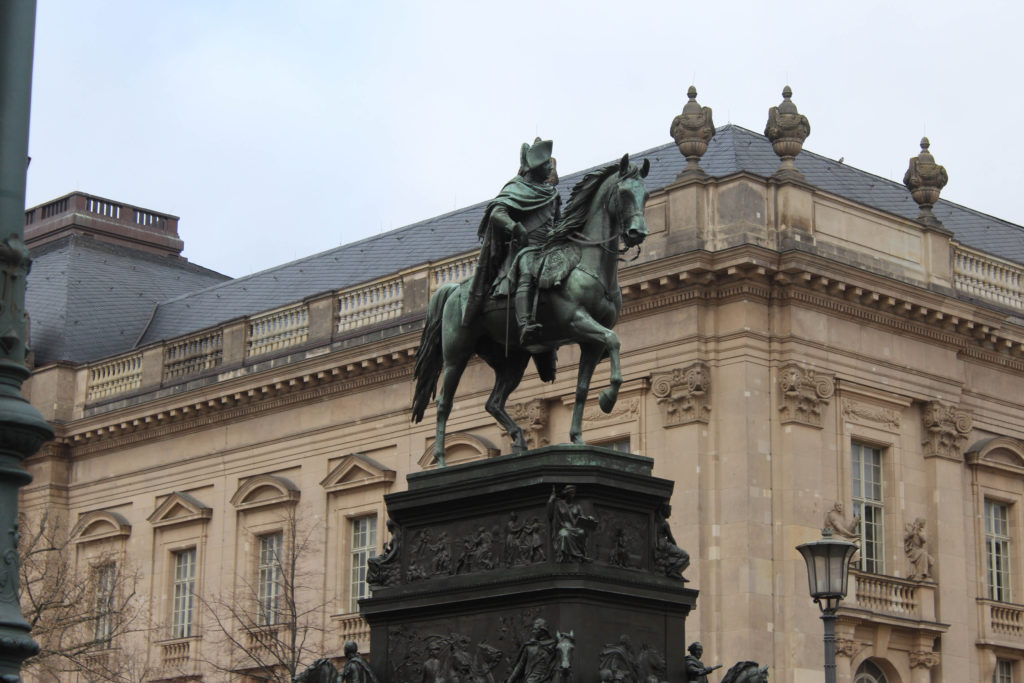
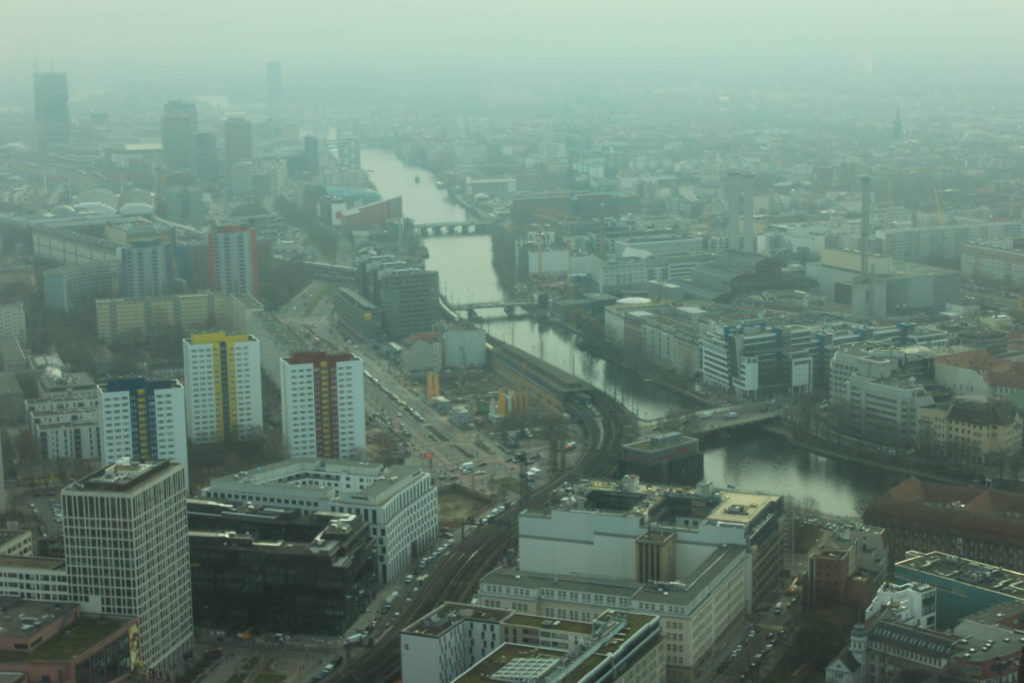
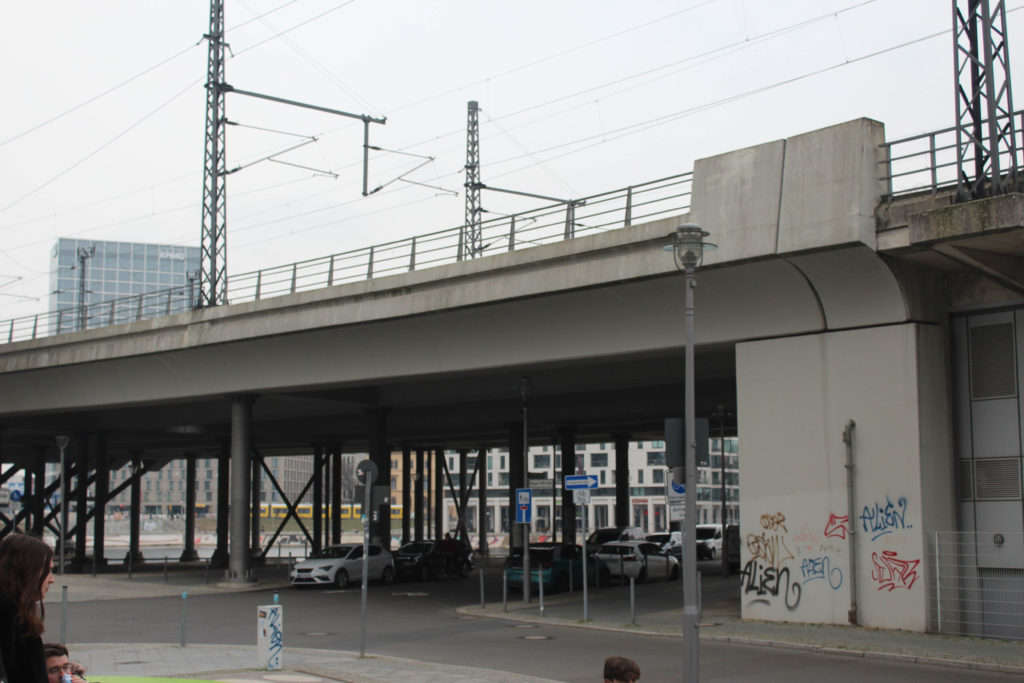
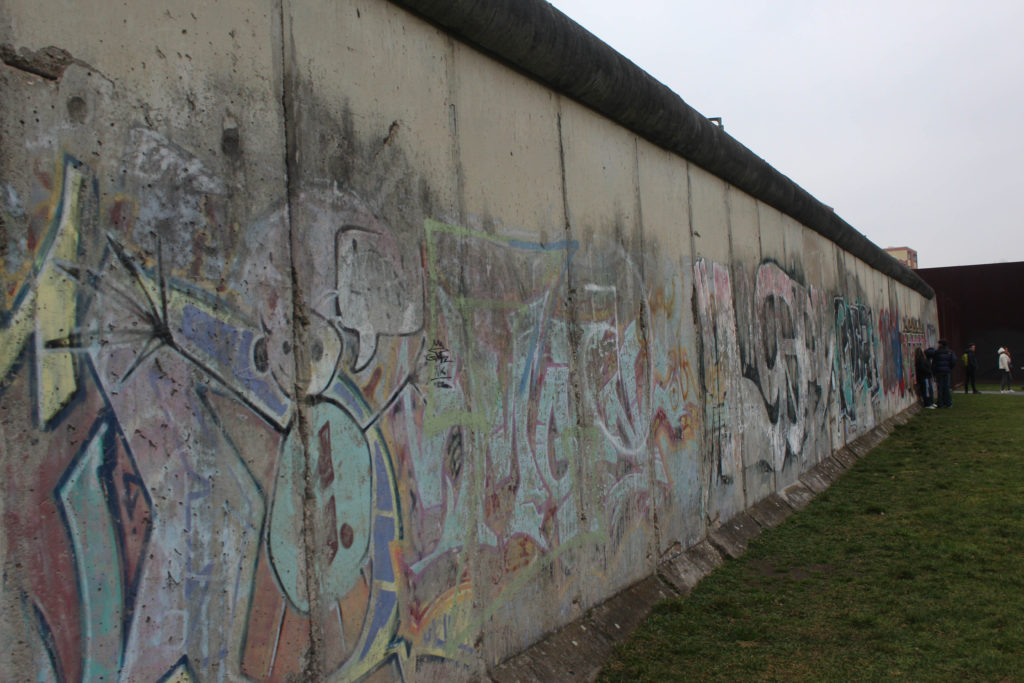
For this first photoshoot, I would like to mainly aim to capture the setting of Germany, especially the portion that is Berlin. Berlin is known for containing a vast selection of historical architecture and structures that link towards its relationship with wars, especially WWII. The Berlin Wall was a main historical monument that was included within the city itself and played a vital role within the division of areas within Germany.
Contact sheets:
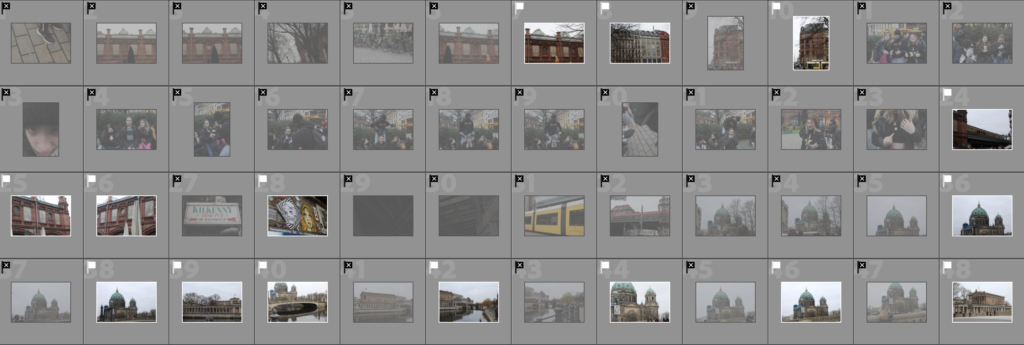


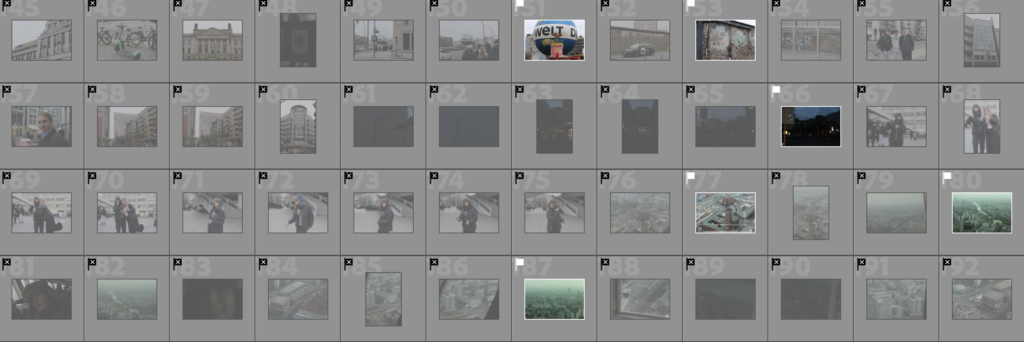
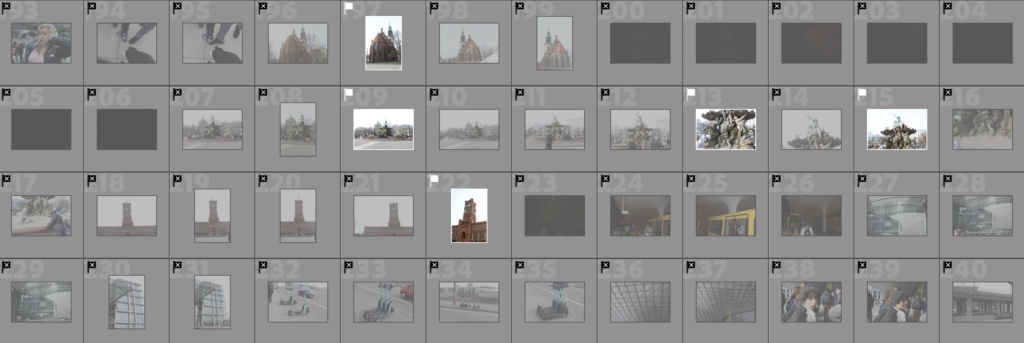


Here I have the entirety of my Berlin photoshoot. I have flagged and rejected all my images so that I can categorise them into ones I would like to use and ones I don’t want to use. I rejected the ones I don’t like by pressing X in lightroom and flagged the ones I would like to use by pressing P in lightroom.
I wanted to make sure I was making a strict choice with which I wanted to use and to reject as I wanted the photographs to fit the theme of “complex” nicely.
Colour coded and star rated:
Here I have a range of flagged photographs which I then categorised into green, yellow and red. Green being ones I wanted to definitely use, yellow being ones I was unsure of using, and red being ones I definitely don’t want to use. After colour coding my images, I then went in by adding a star rating to each out of 5. 5 and 4 being definites, 3 being ones that I might be using and 2-1 being ones I won’t be using for this project.
Green:

Yellow:

Red:

Images before editing
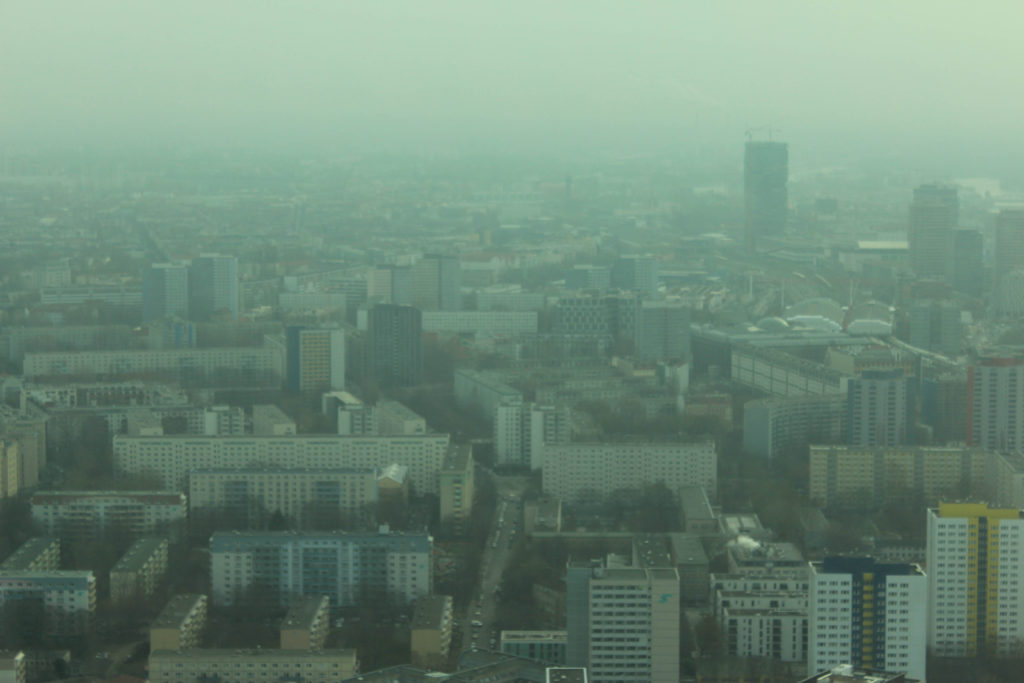
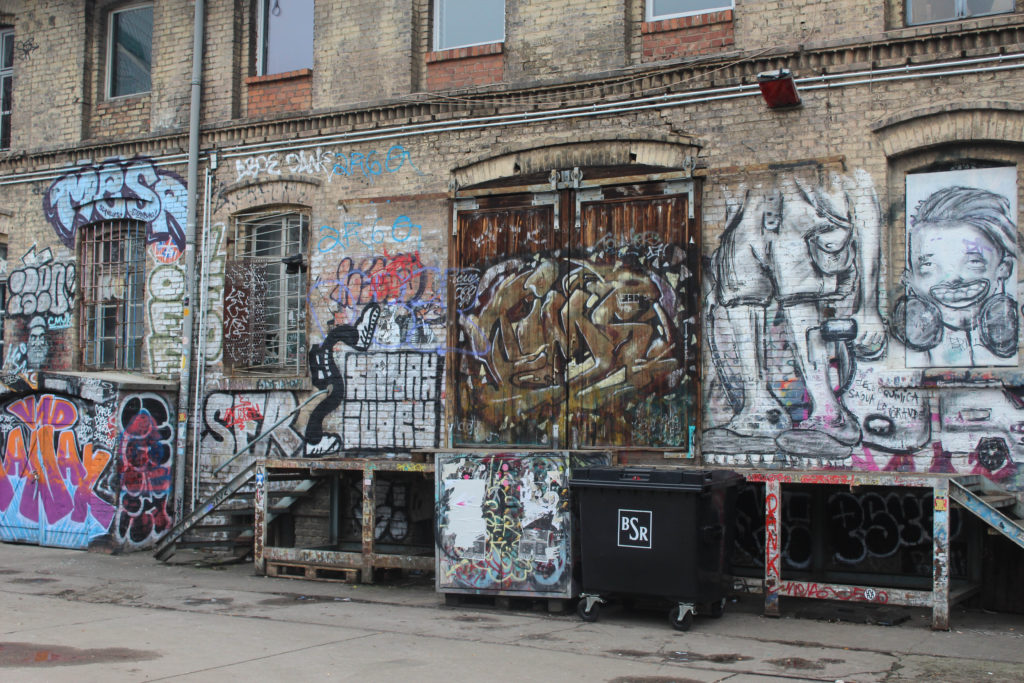
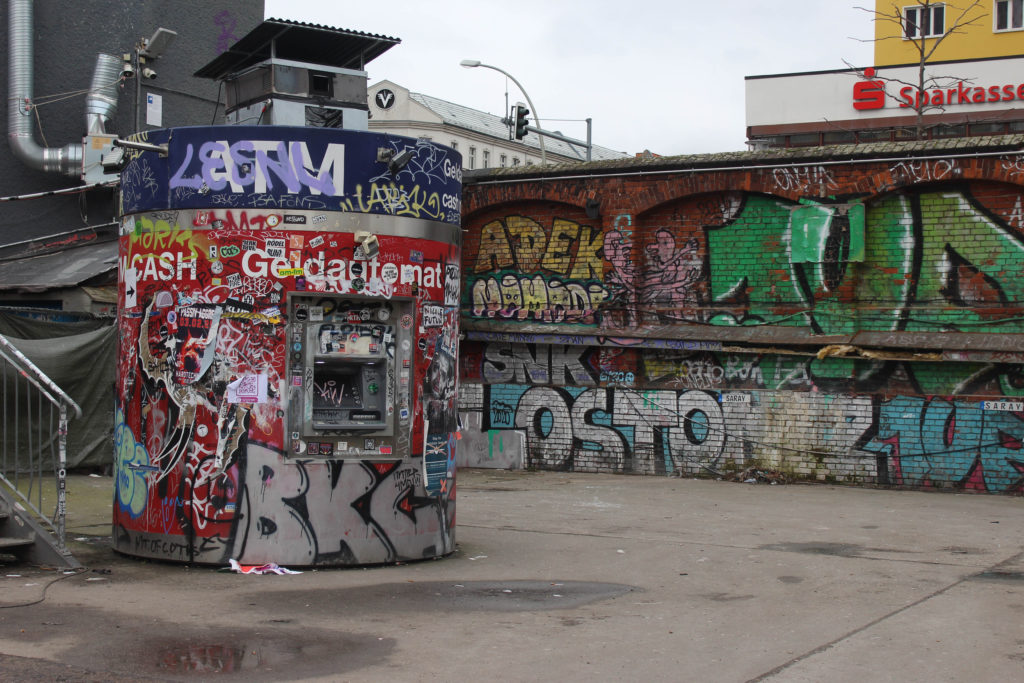
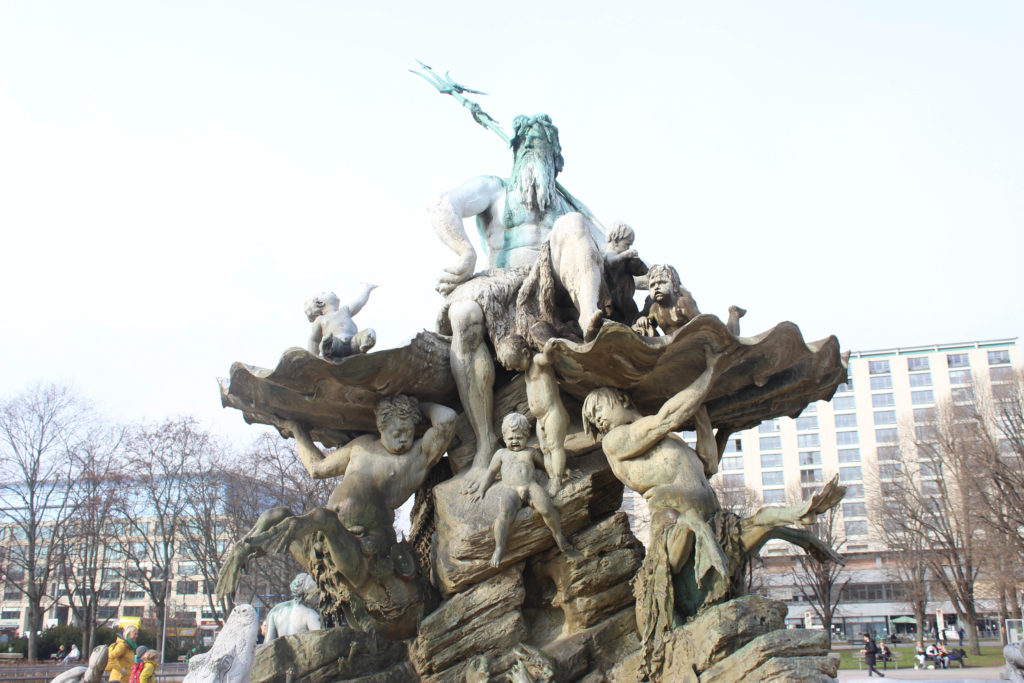
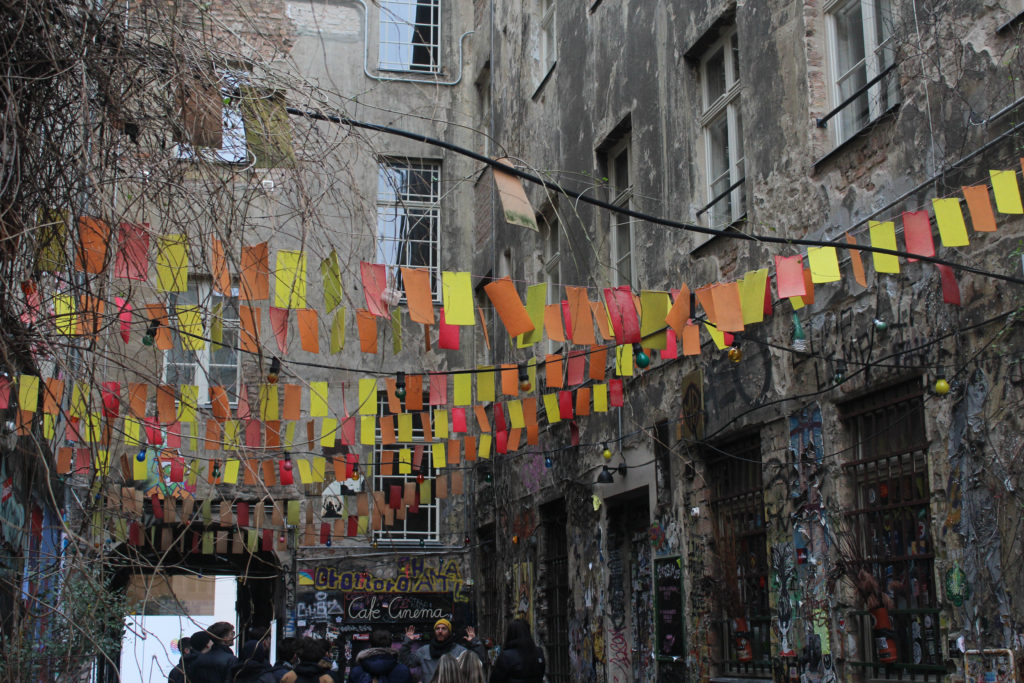
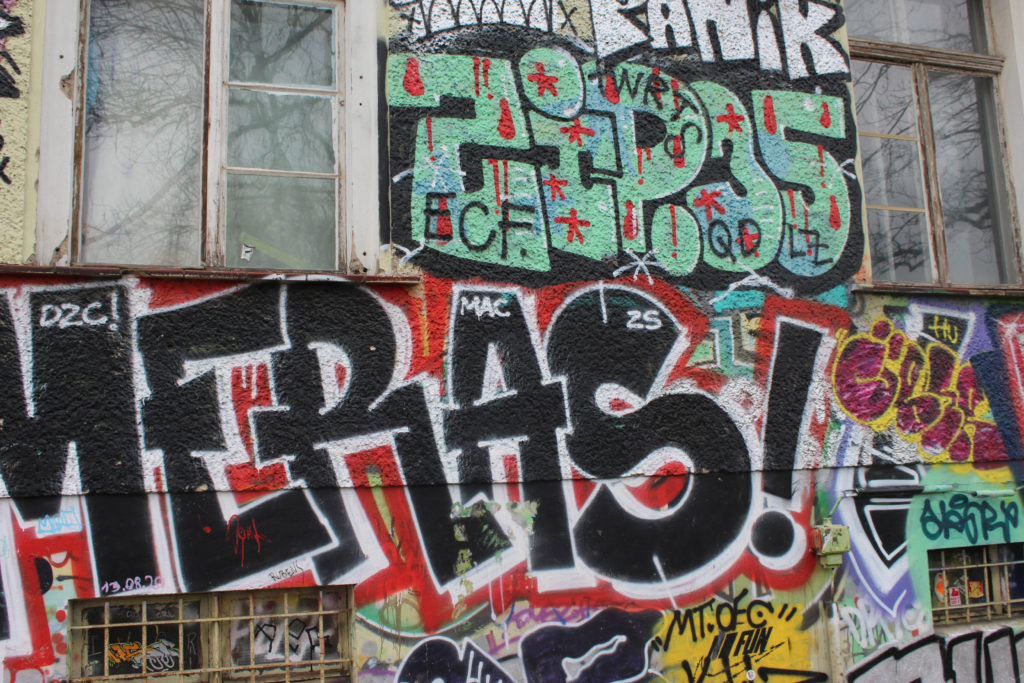
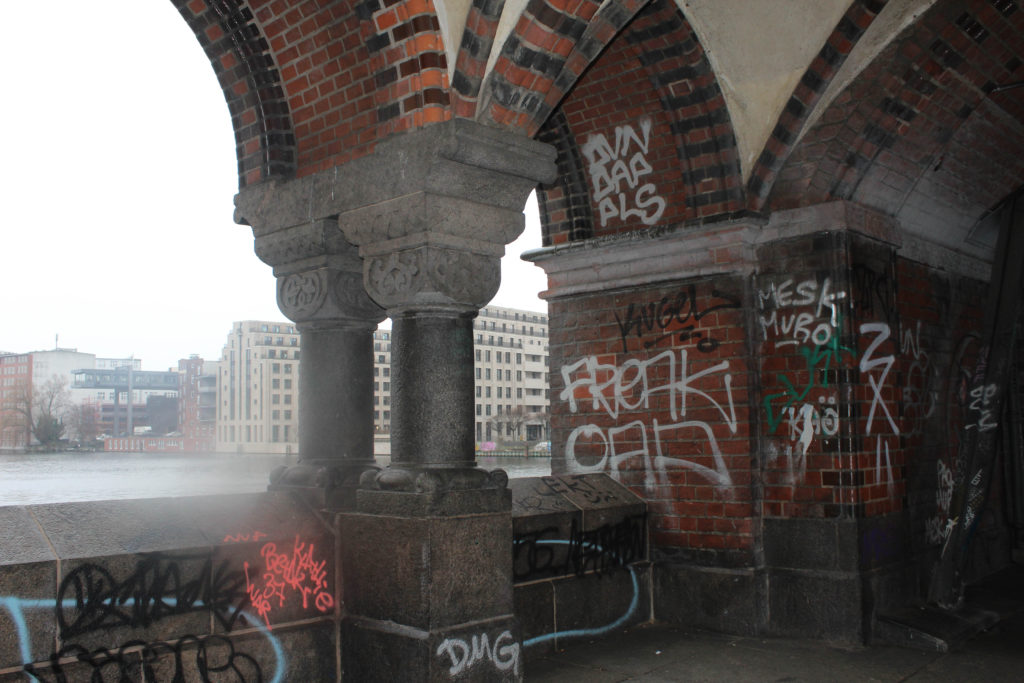
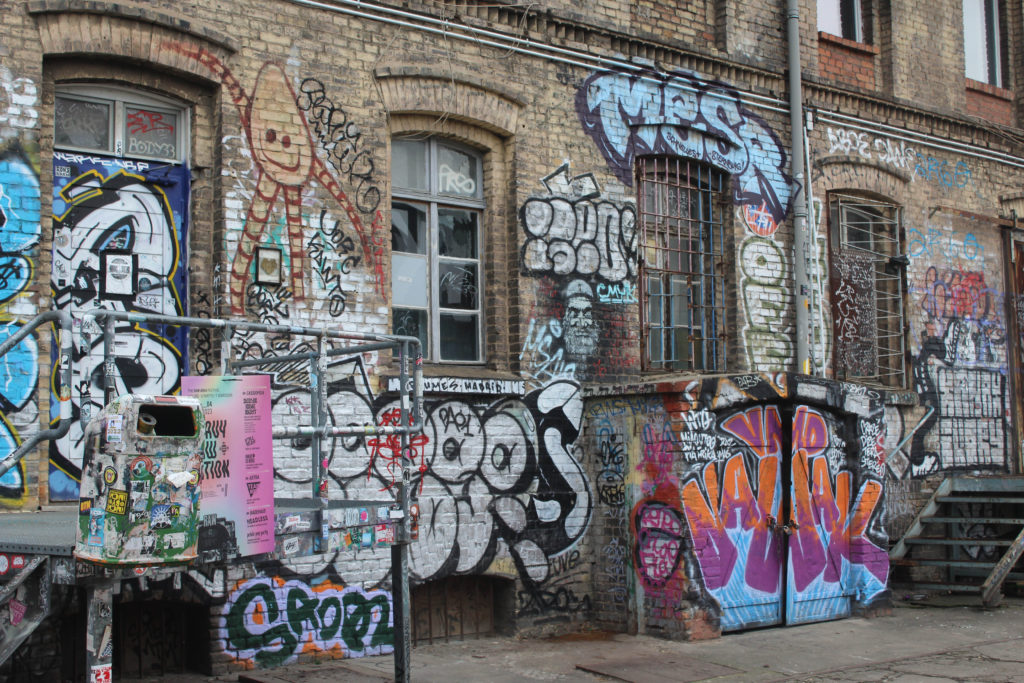
— Editing —
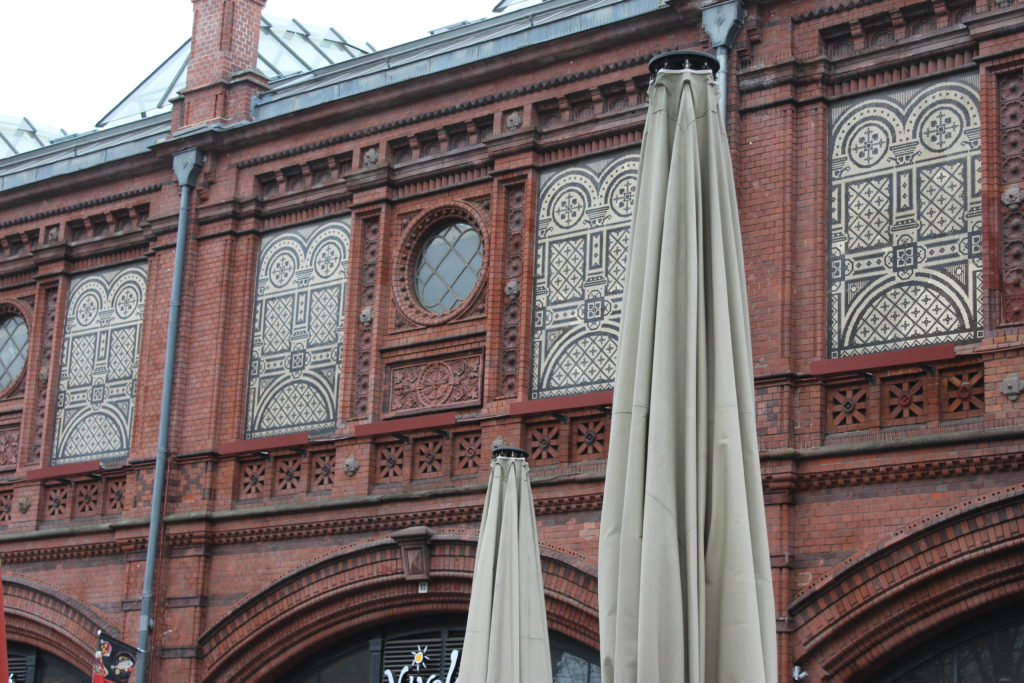
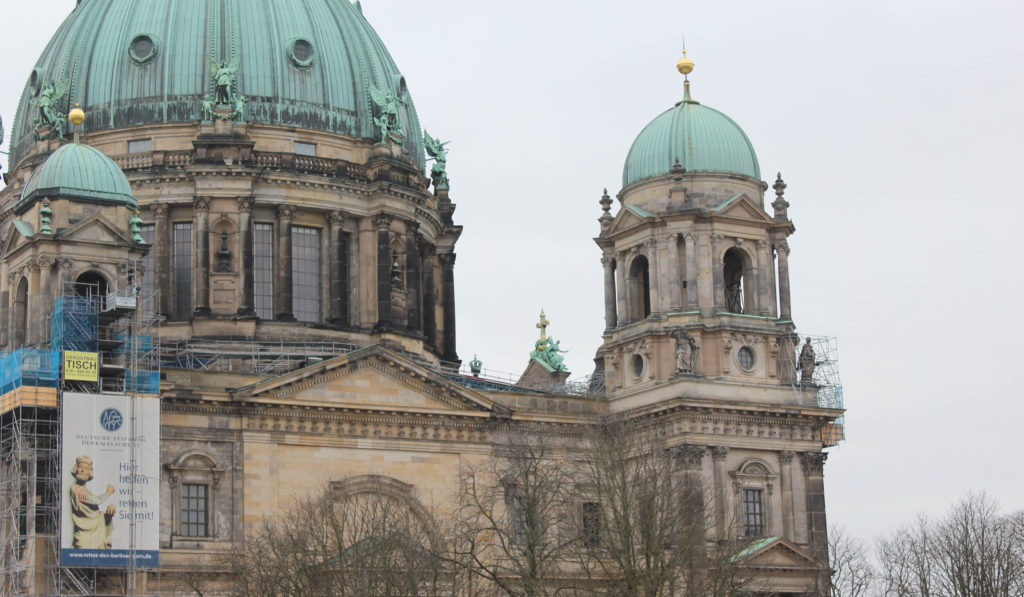
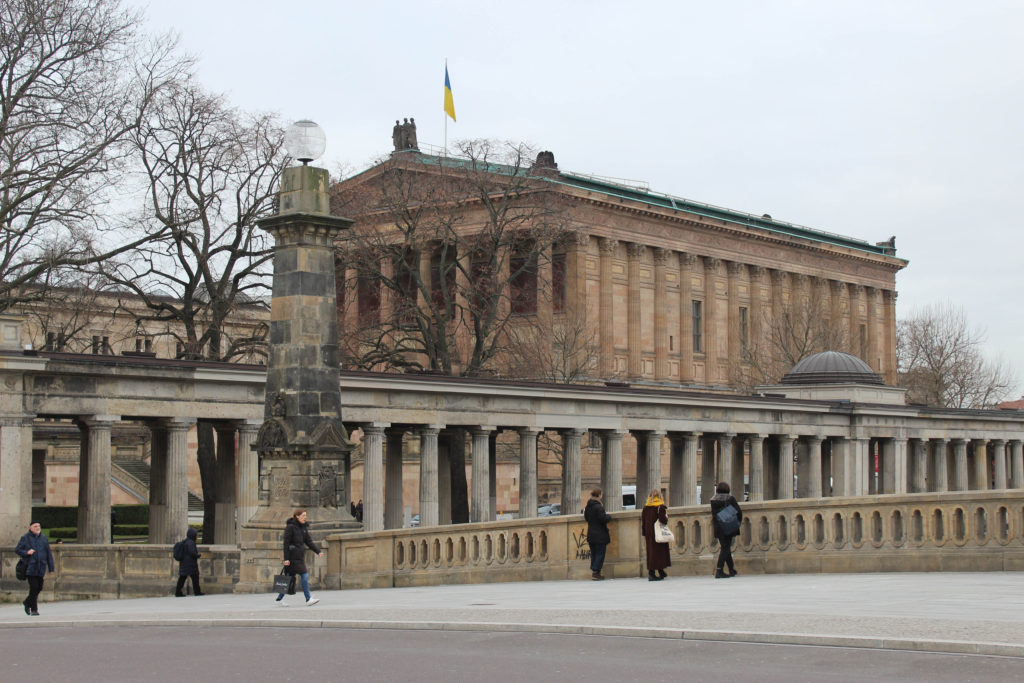
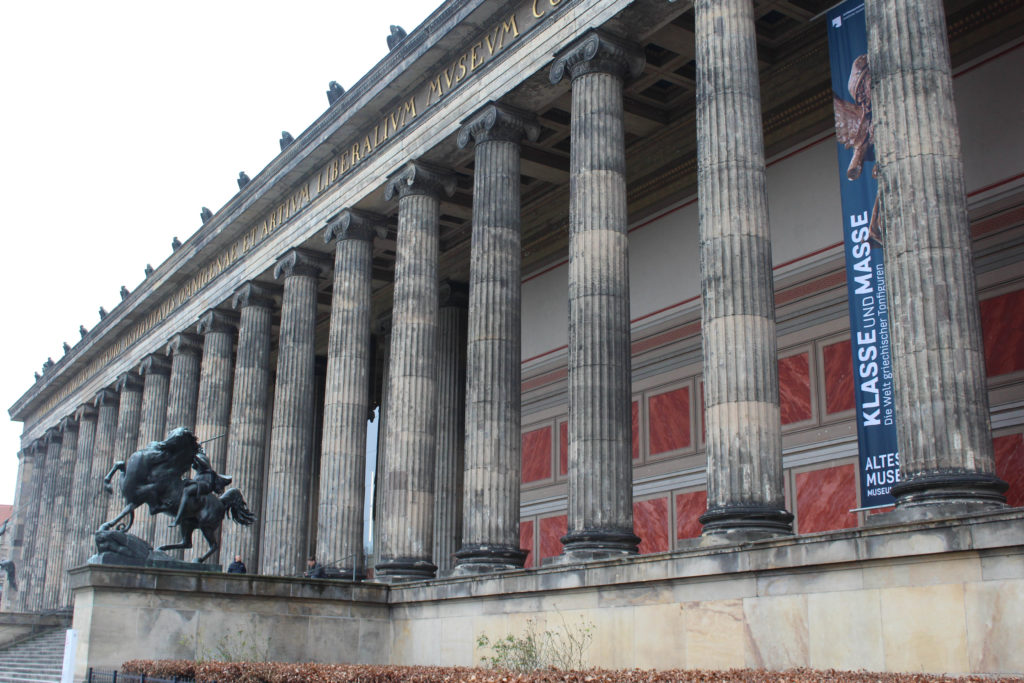
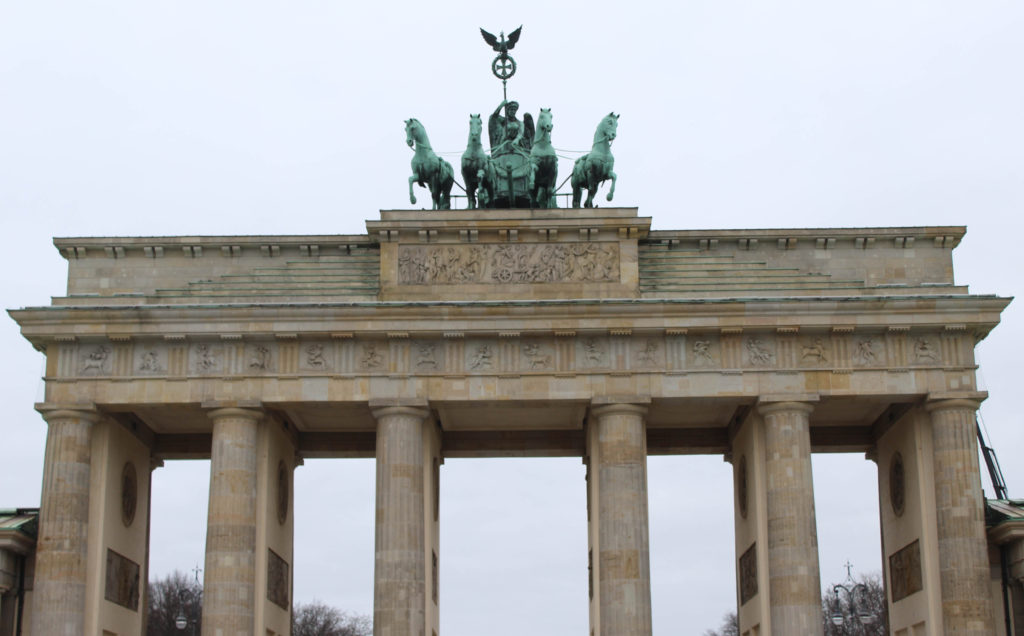
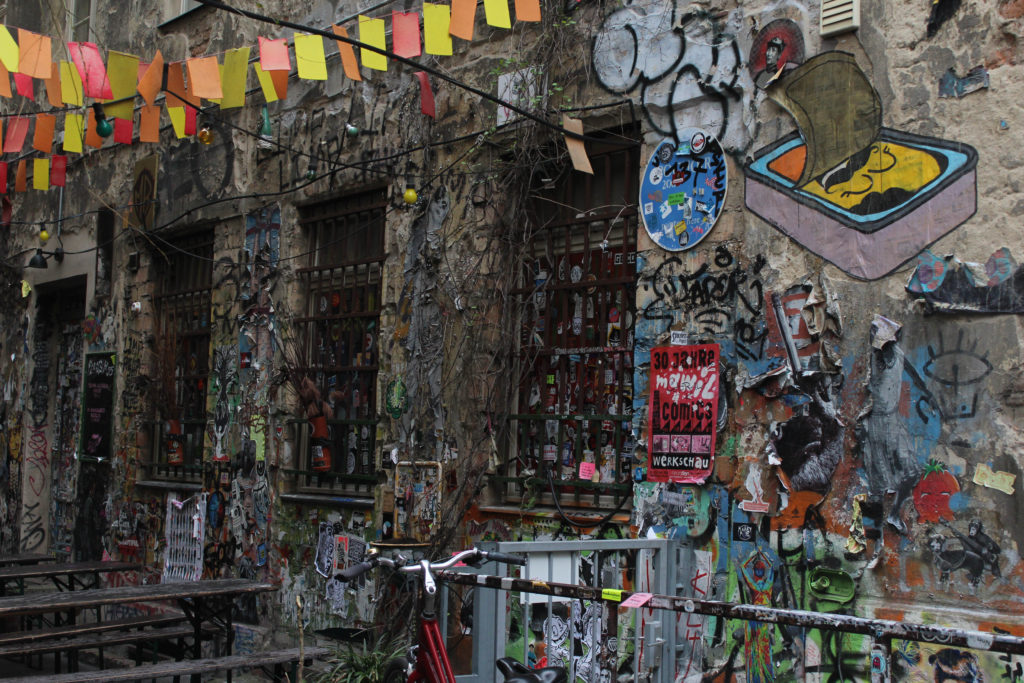
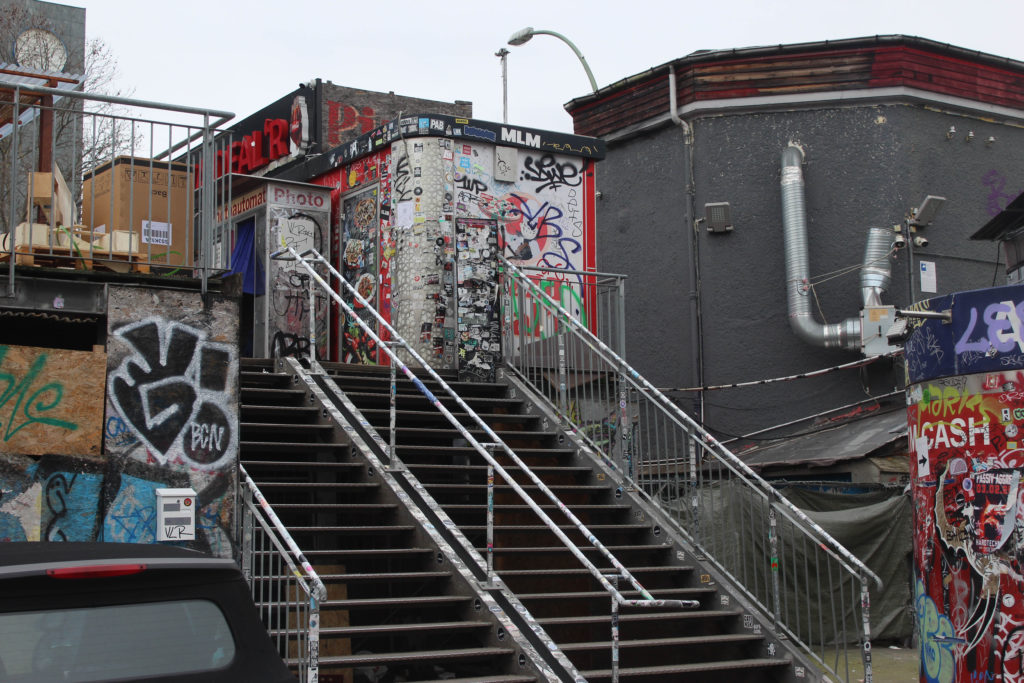
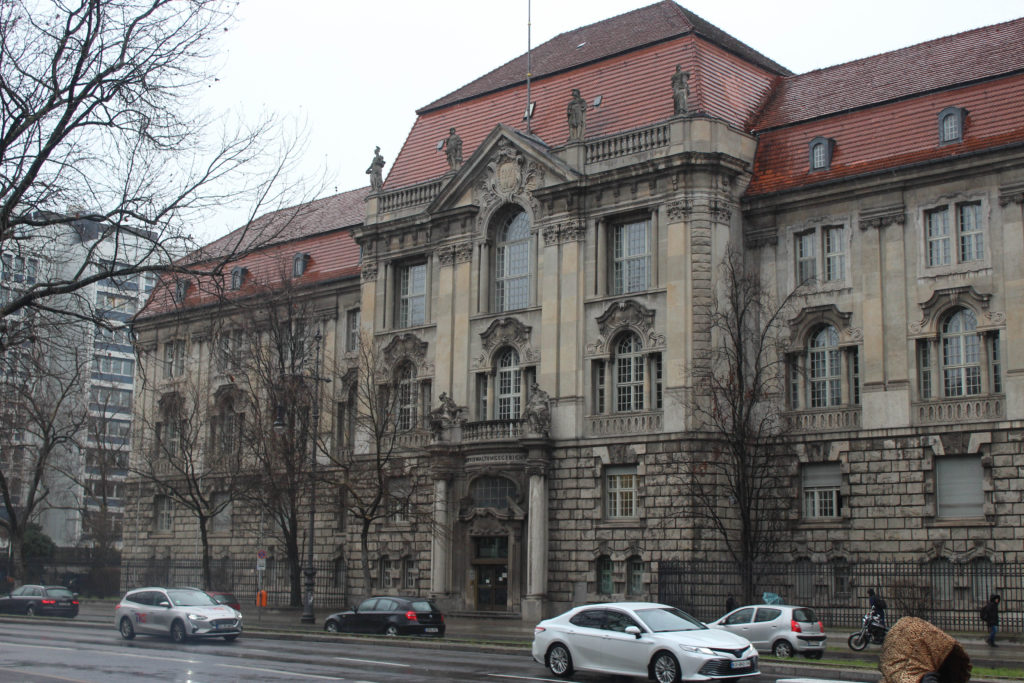
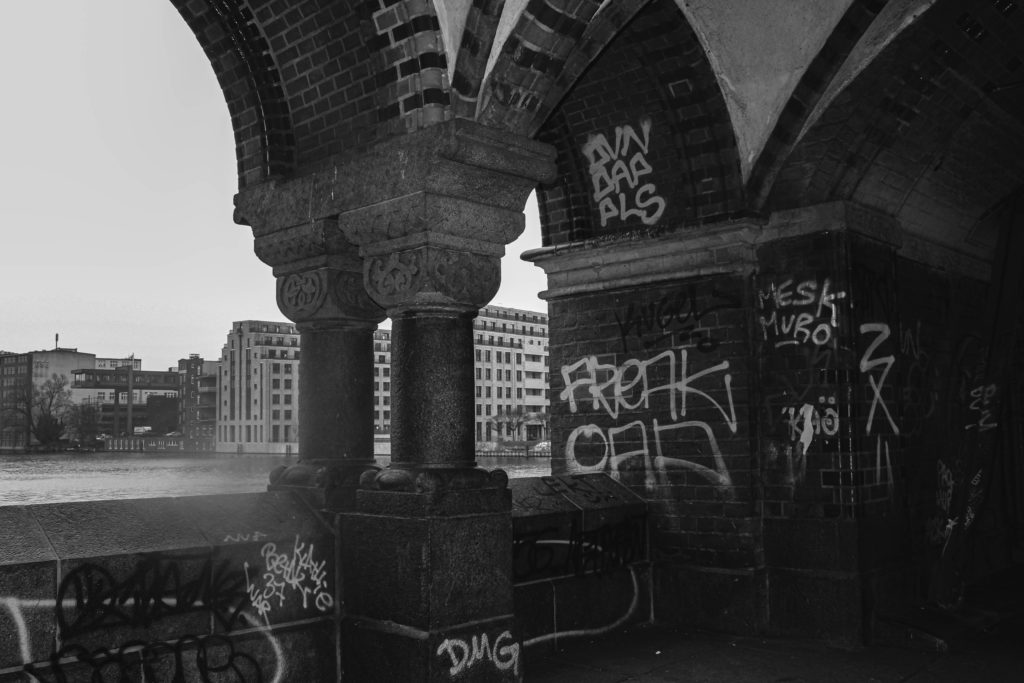
Below I have a few examples of images that I have edited after selecting my best images out of the range I have taken during my photoshoot. I particularly like these images as I feel they express the theme of Germany’s history and the aftermath of massive events that occurred during the time of WWII. I especially like the first edited image which is of the Berlin Wall, I believe this to be a very significant image as it display the very monument that separate Berlin as to keep so-called Western “fascists” from entering East Germany and undermining the socialist state.
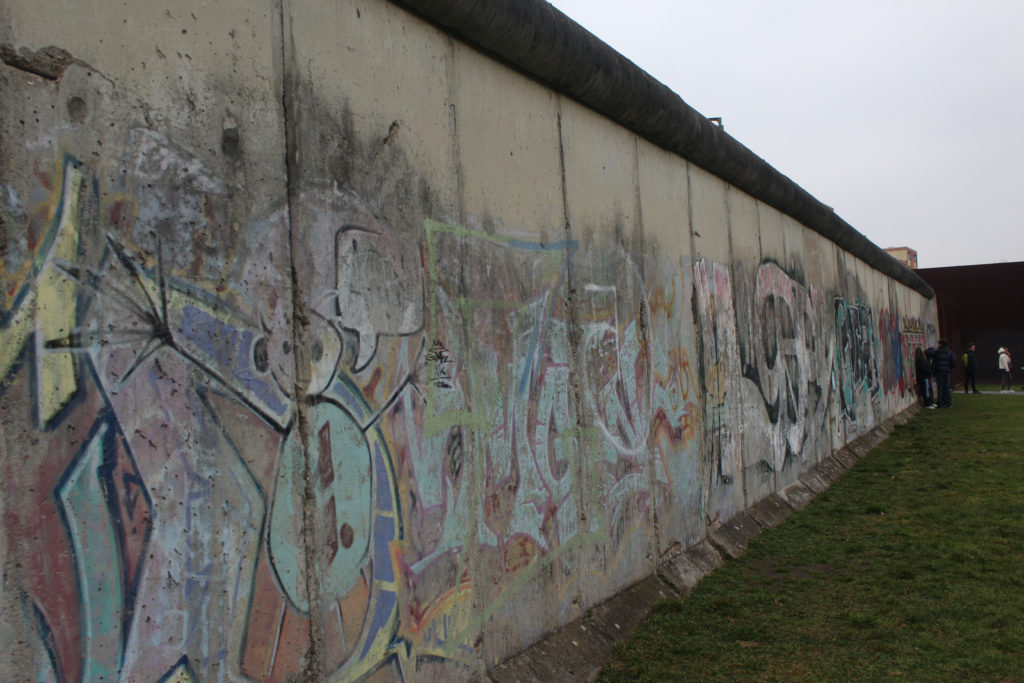
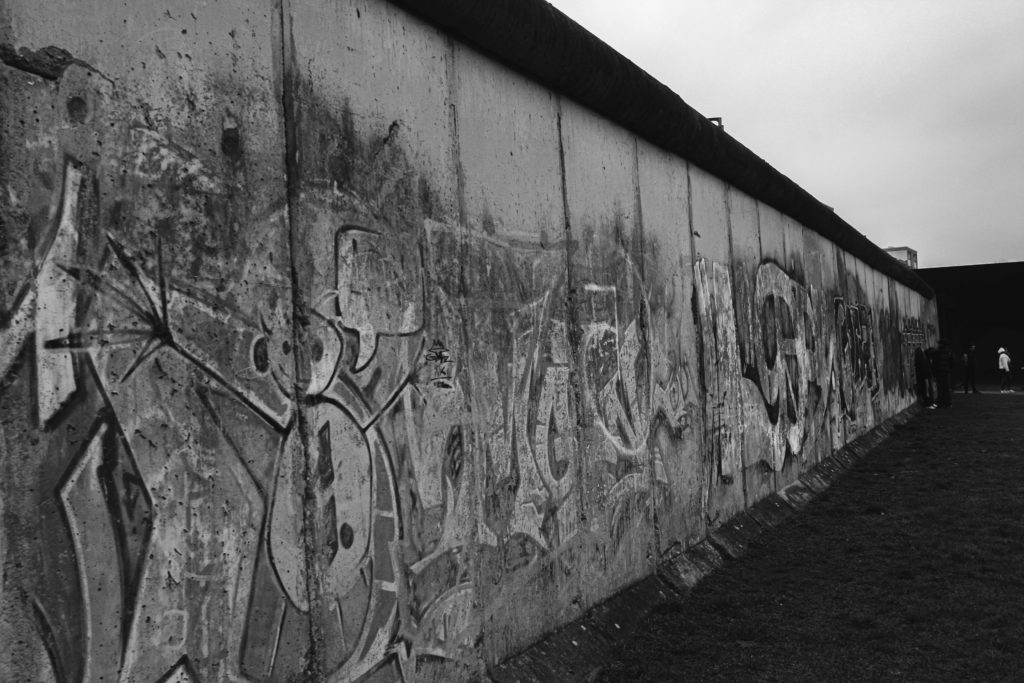
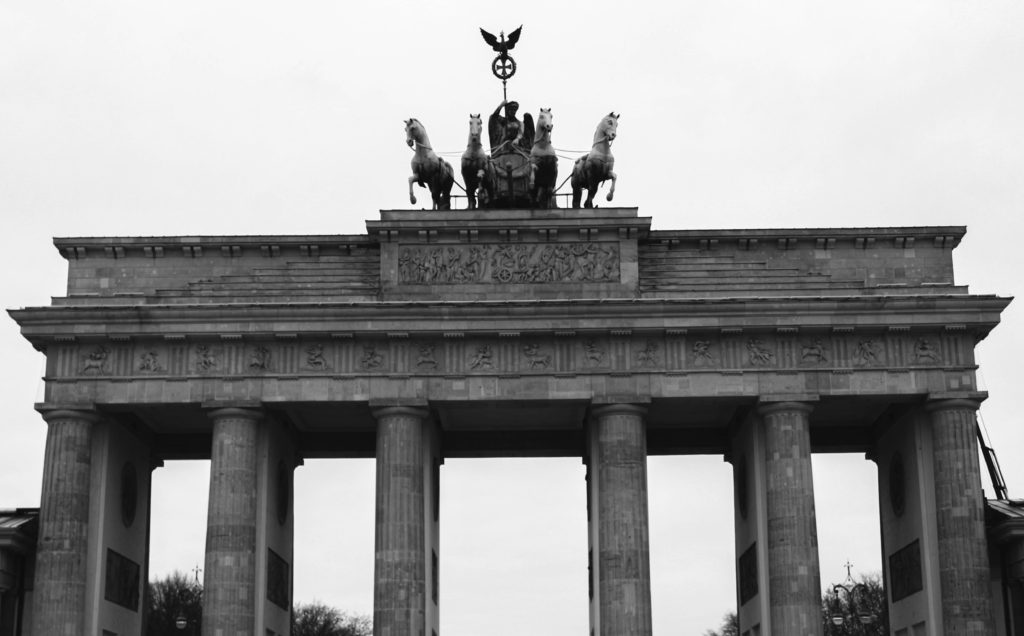
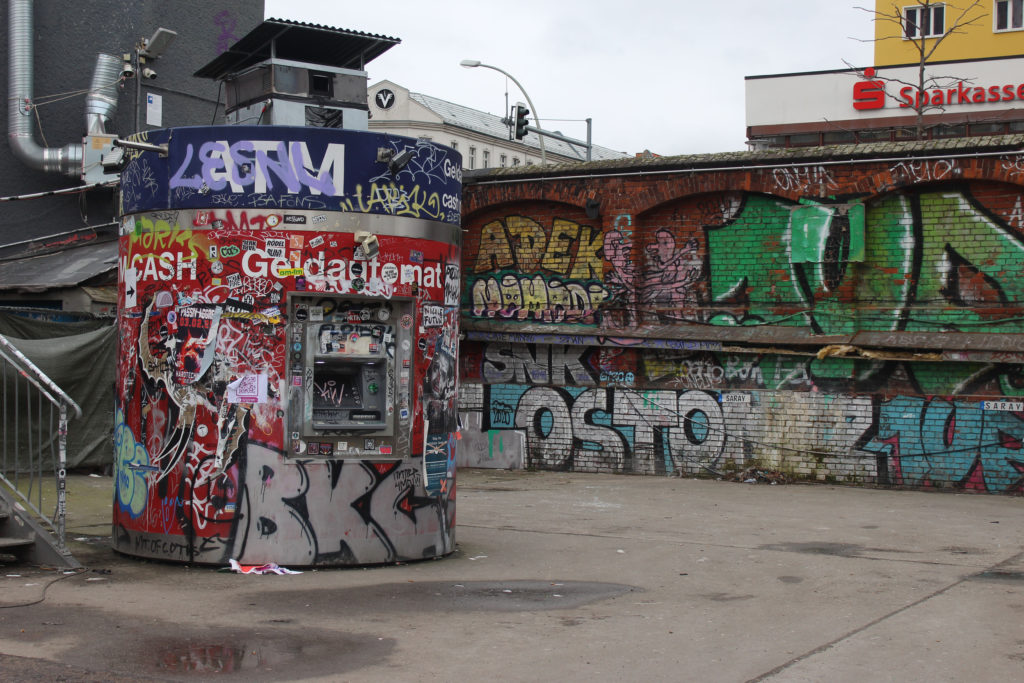
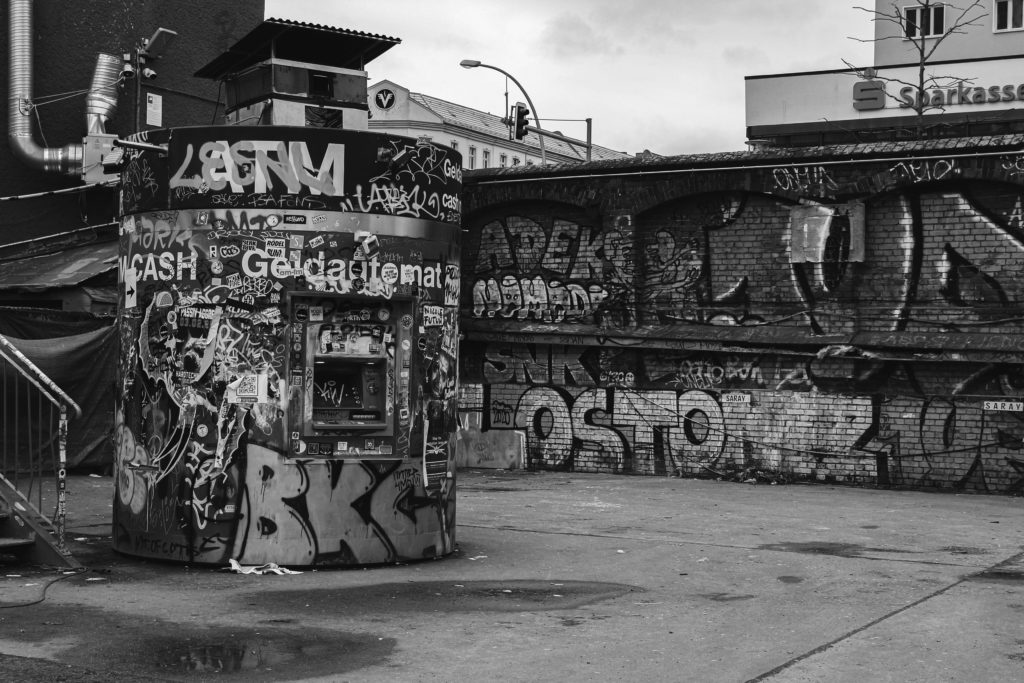
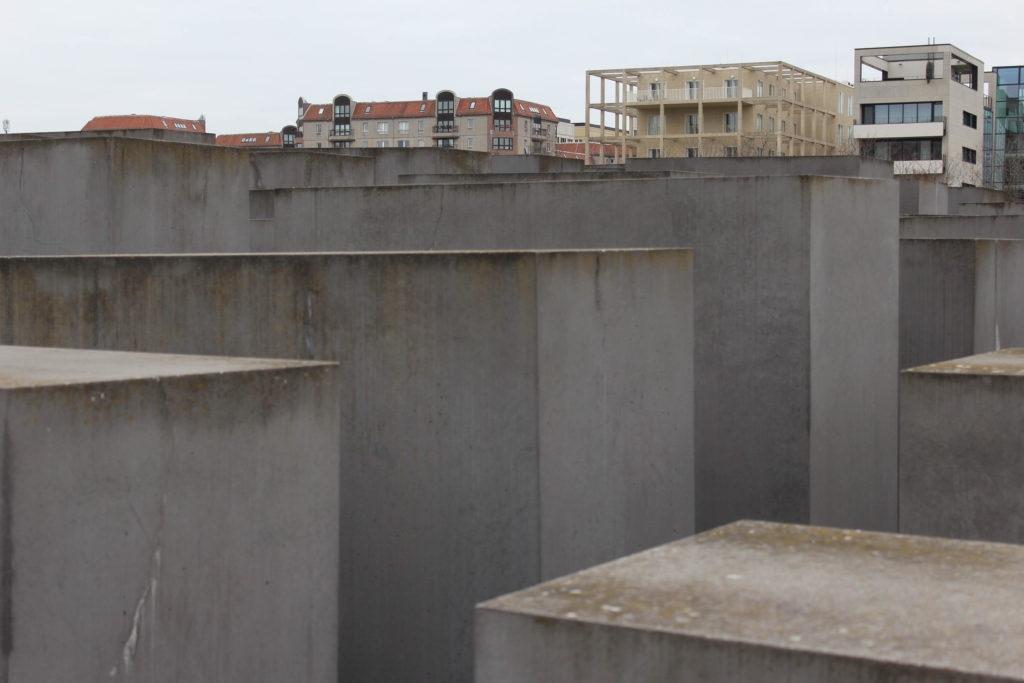
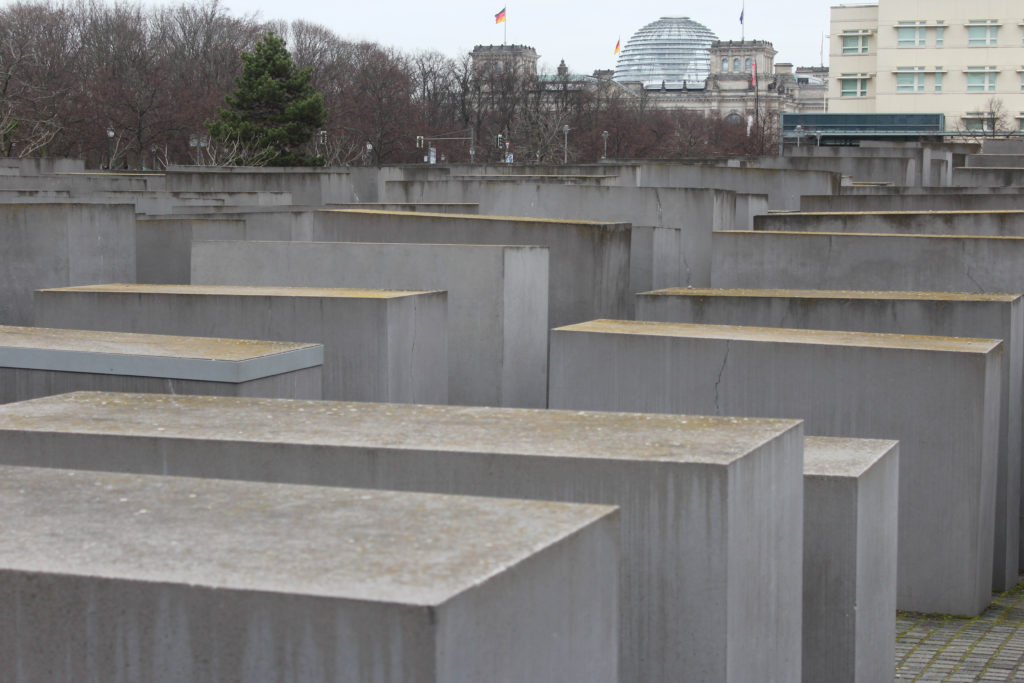
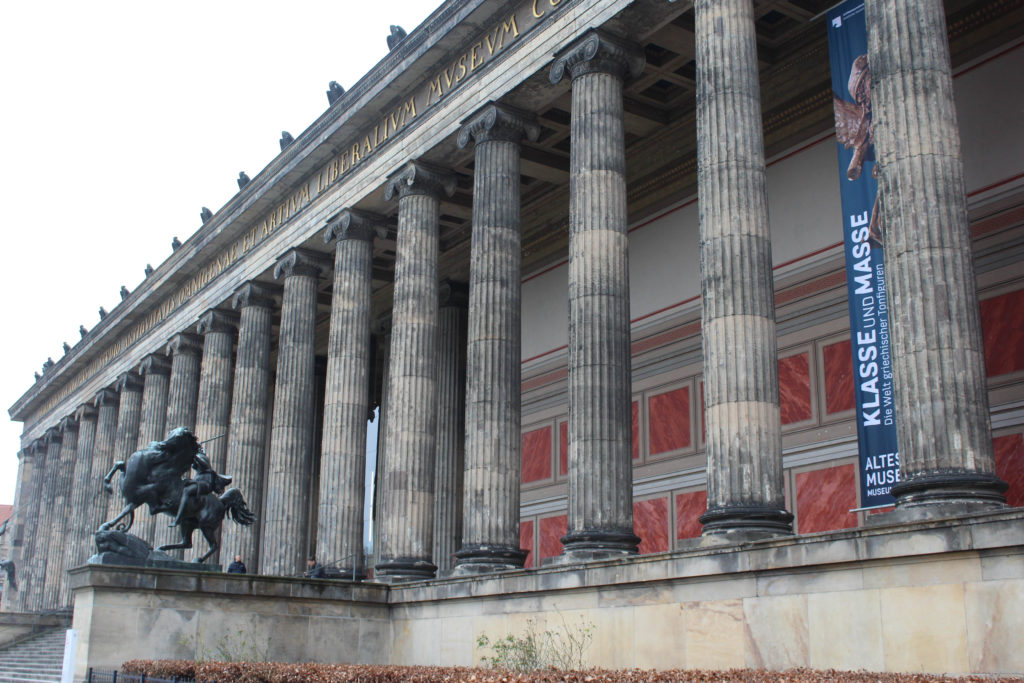
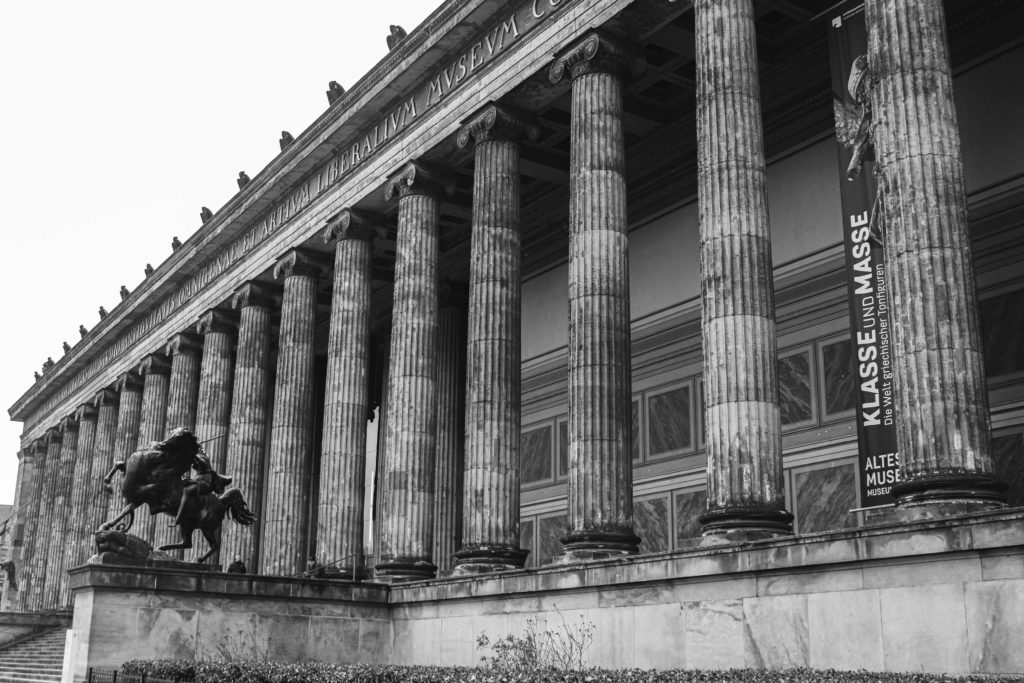
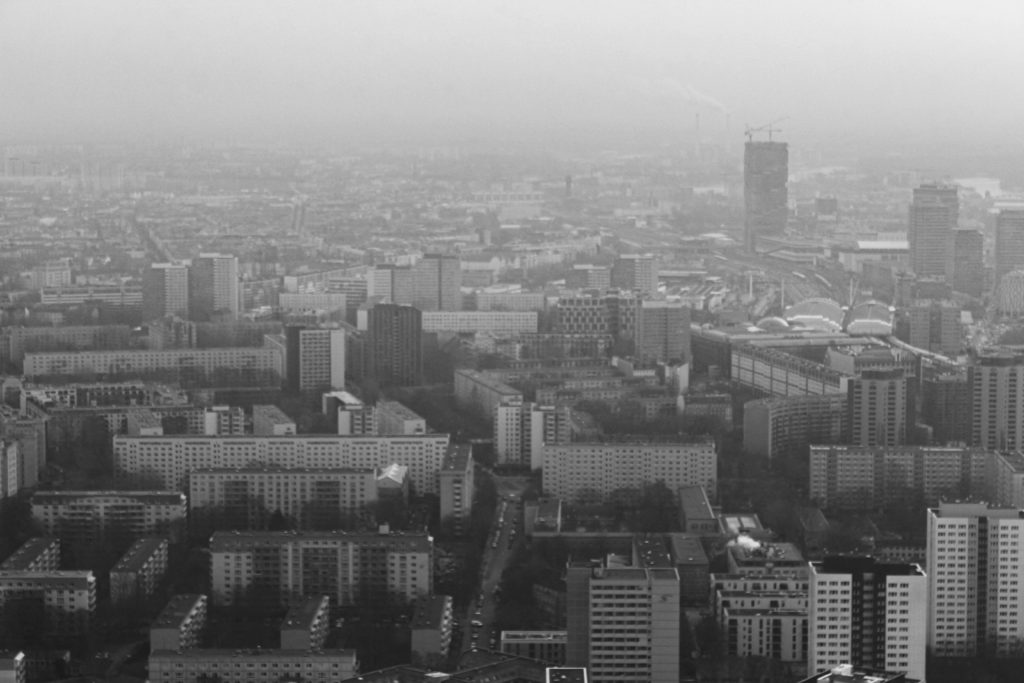
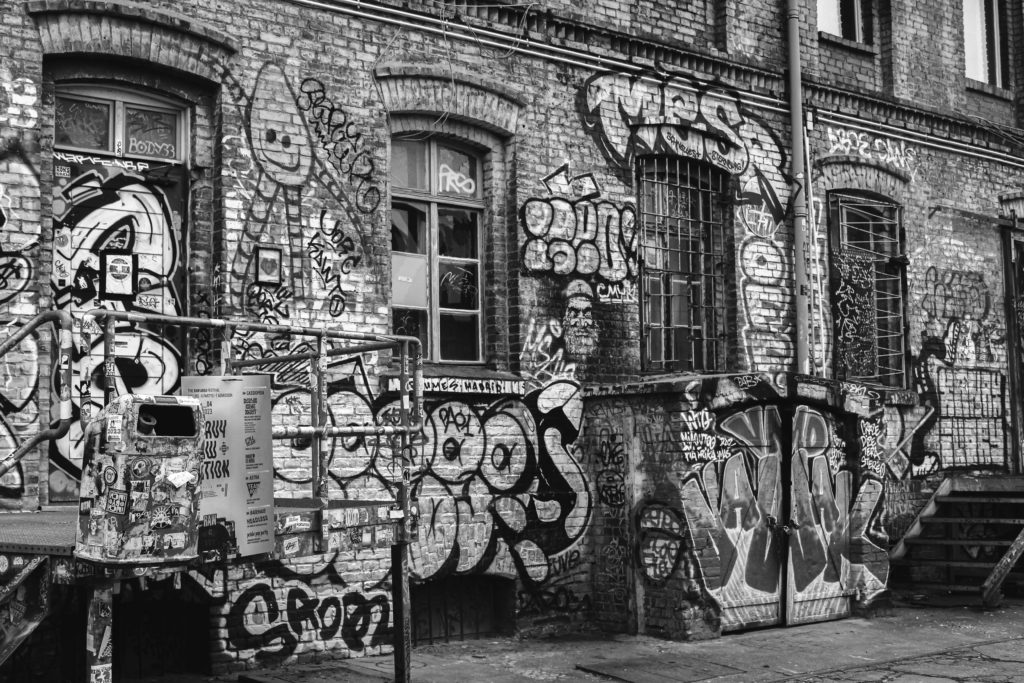
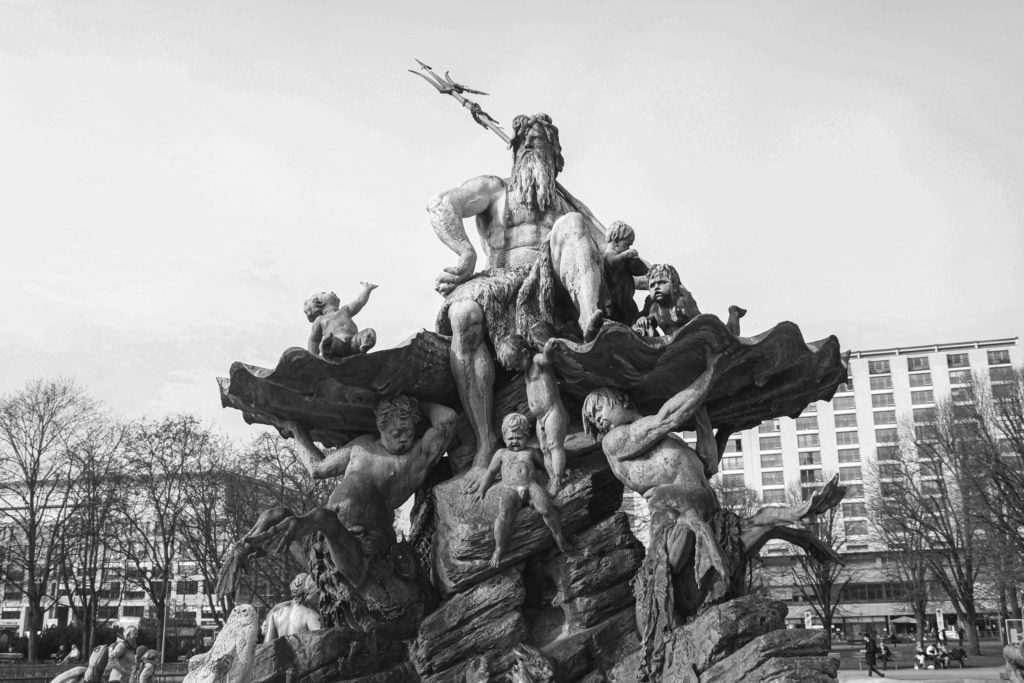
I really like how these images turned out as I believe they fit within the theme of complex. They display momentous structures that are full of complex meanings and also portray a complex exterior to themselves as well.
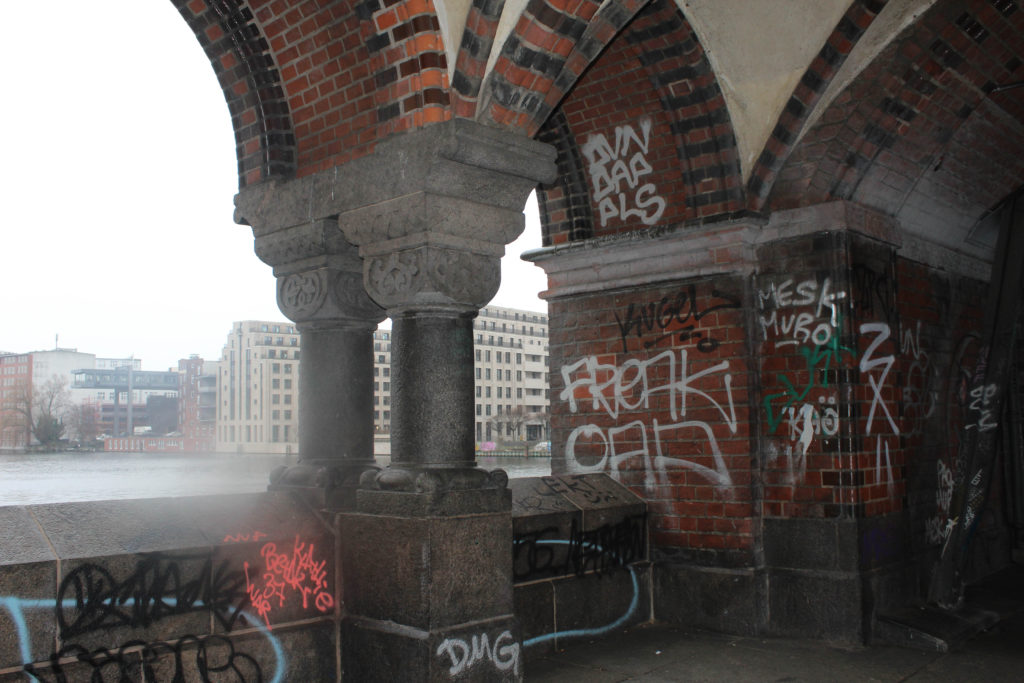
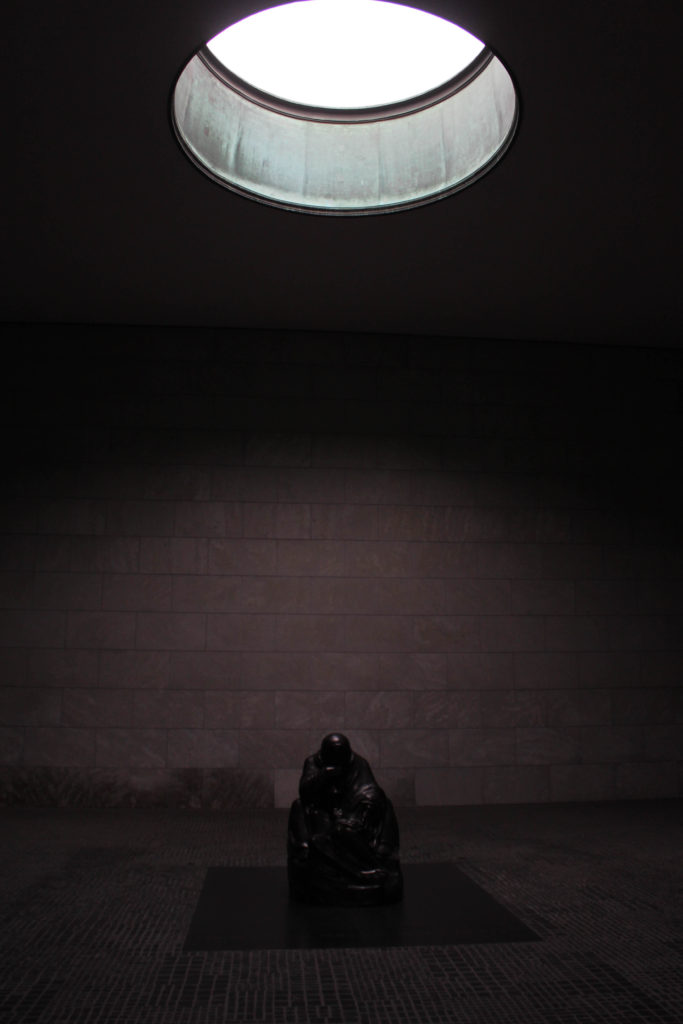
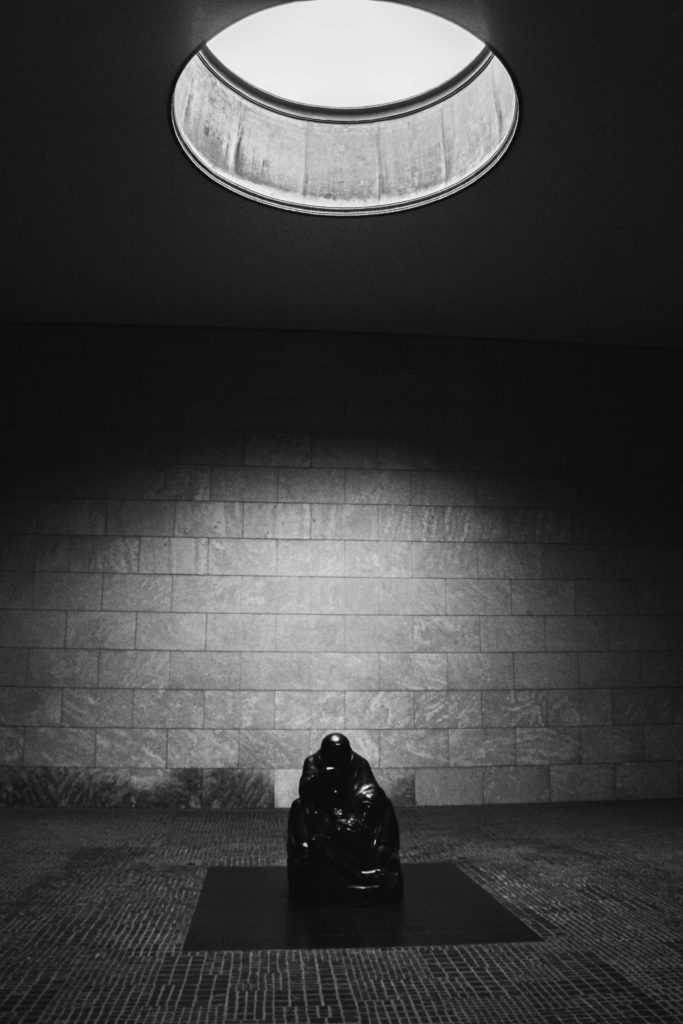
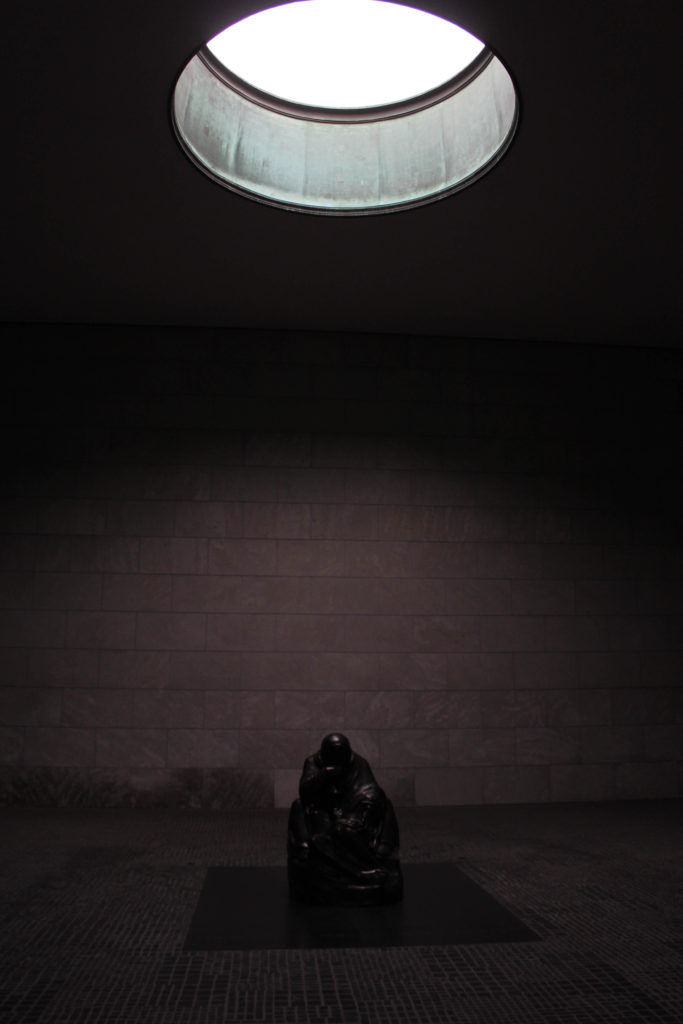
I thought it would be a good plan for me to enhance the exposure of the above image due to it being difficult to see at first glance. I wanted both the ceiling light and the figure to be the main focal points of the image so I edited it so that both aspects were highlighted more obviously. After enhancing the exposure and other aspects such as contrast, highlights and shadows, I went about changing the colour to black and white to really enhance the brightness of the lighting and make the statue more obvious.
Final Images
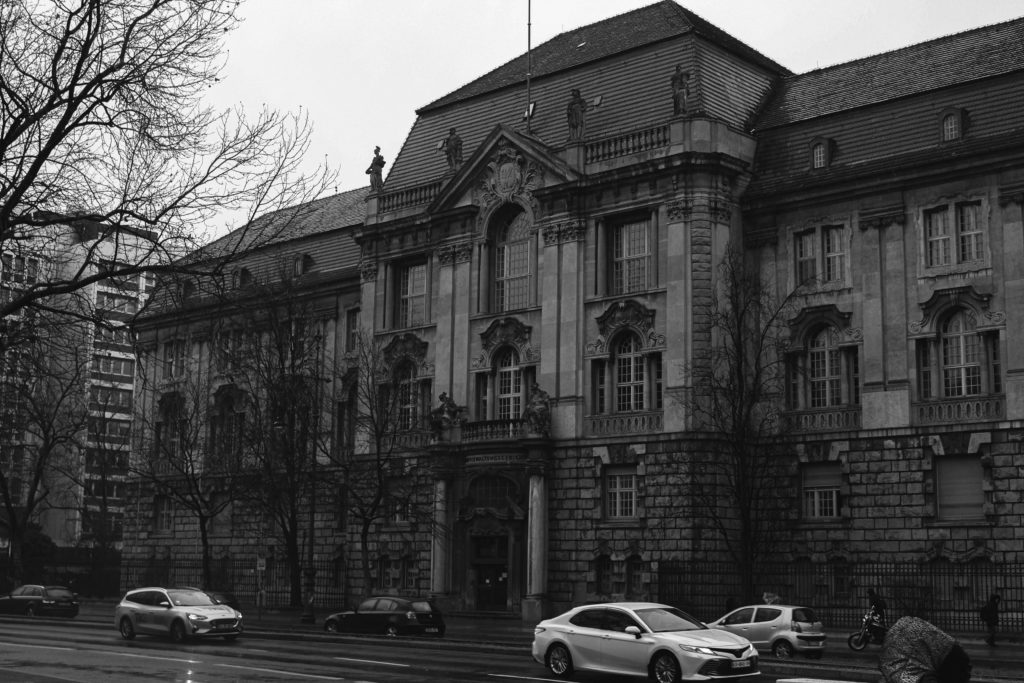
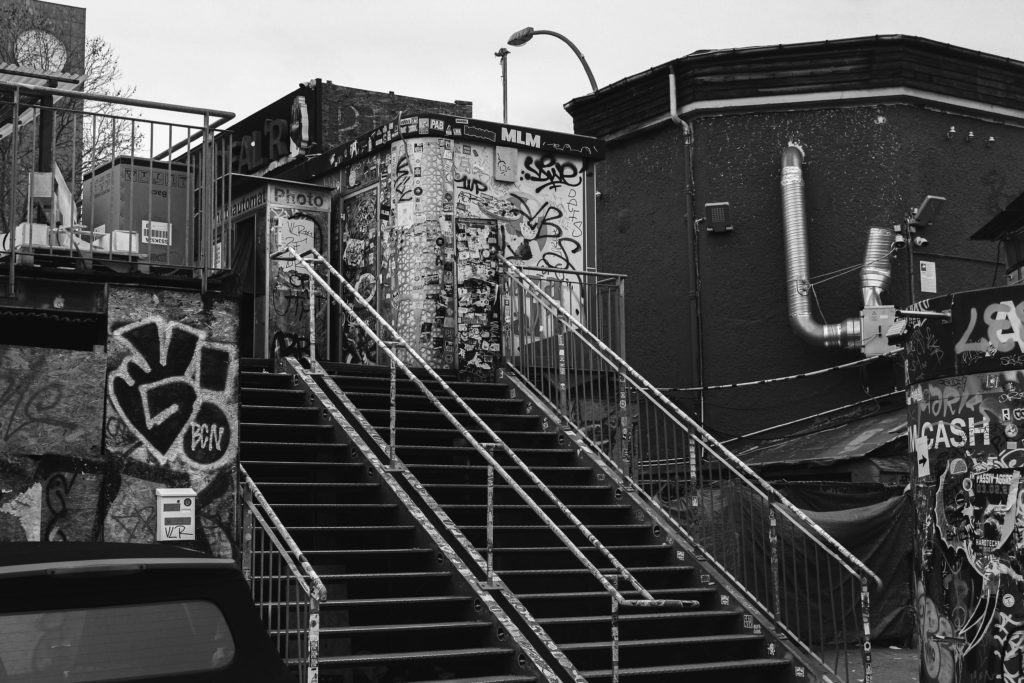
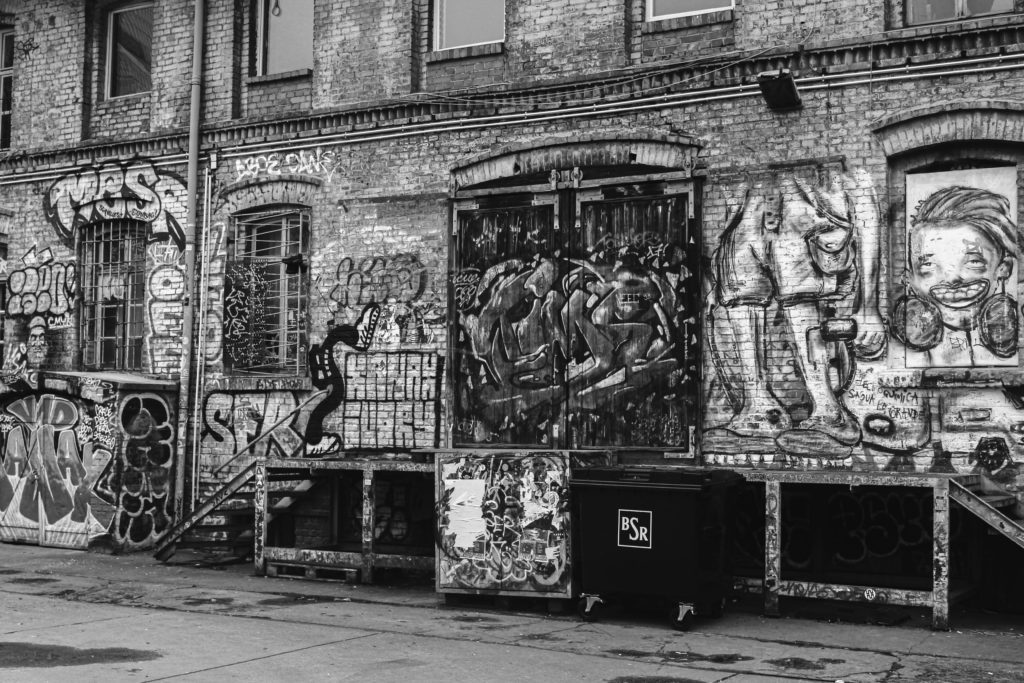
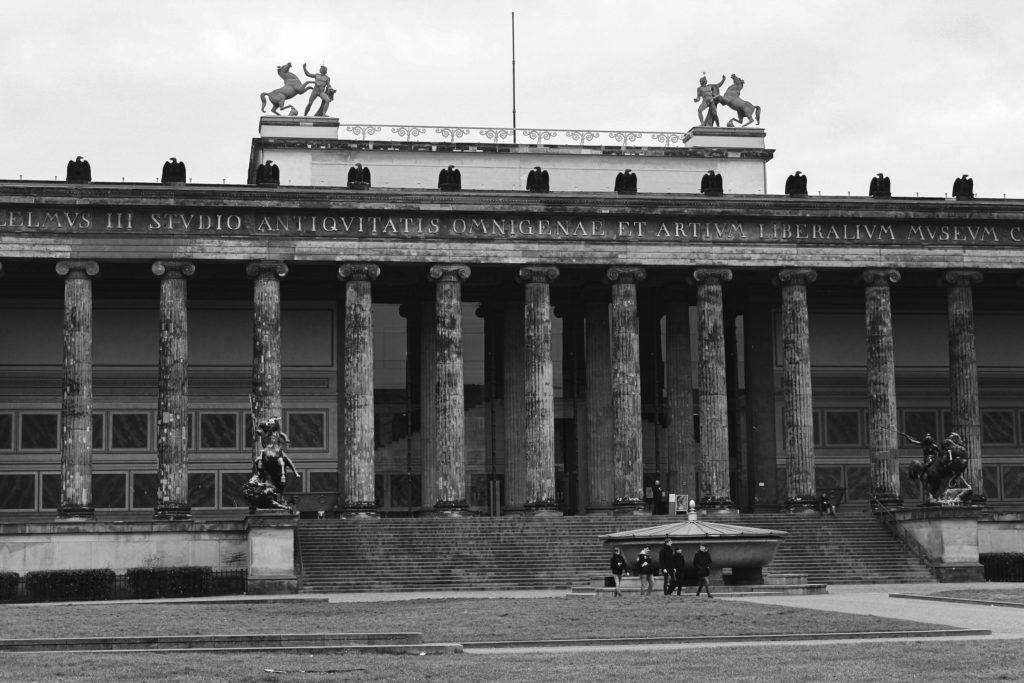
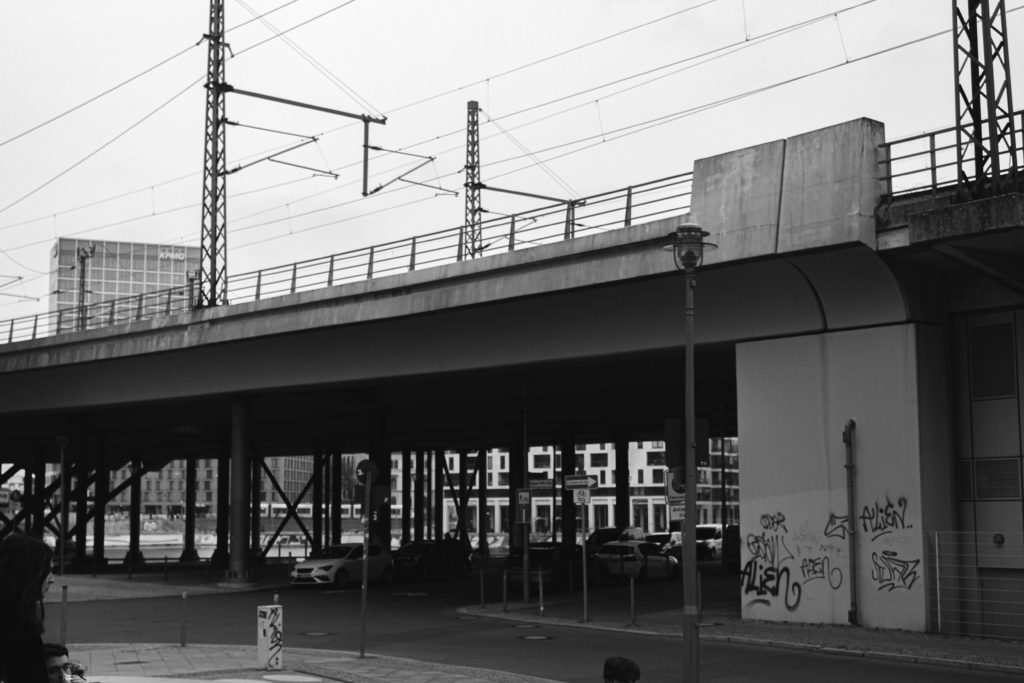
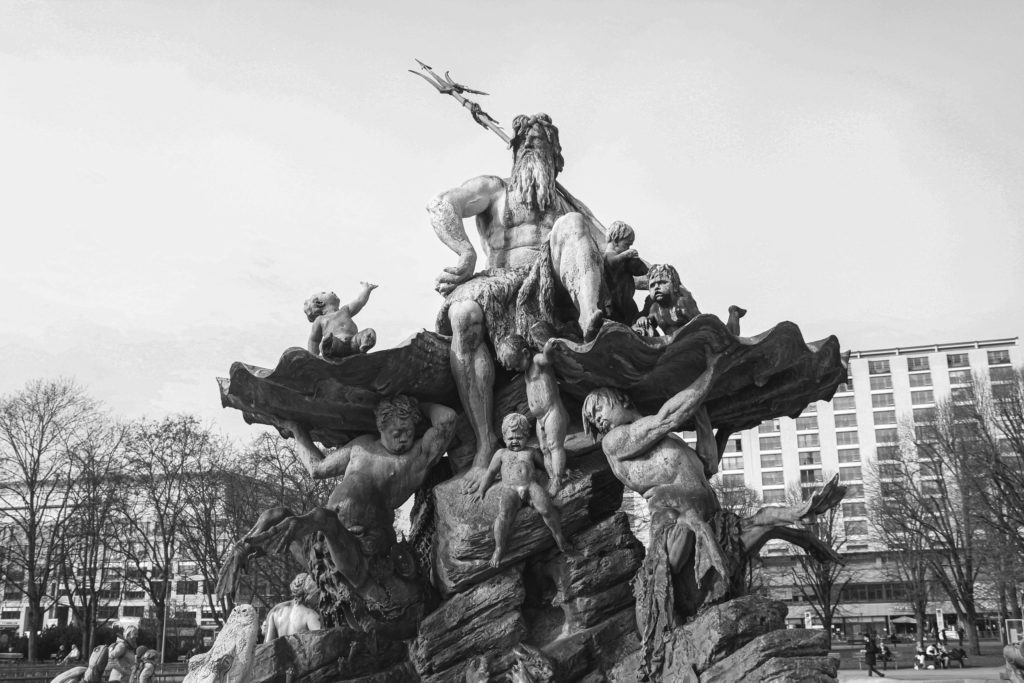
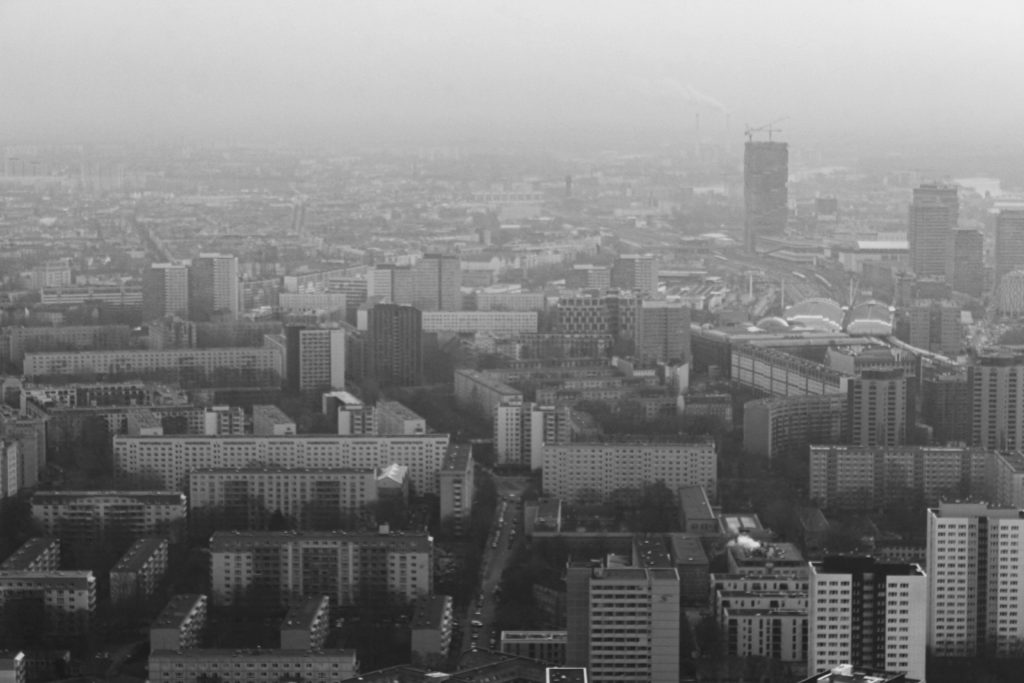
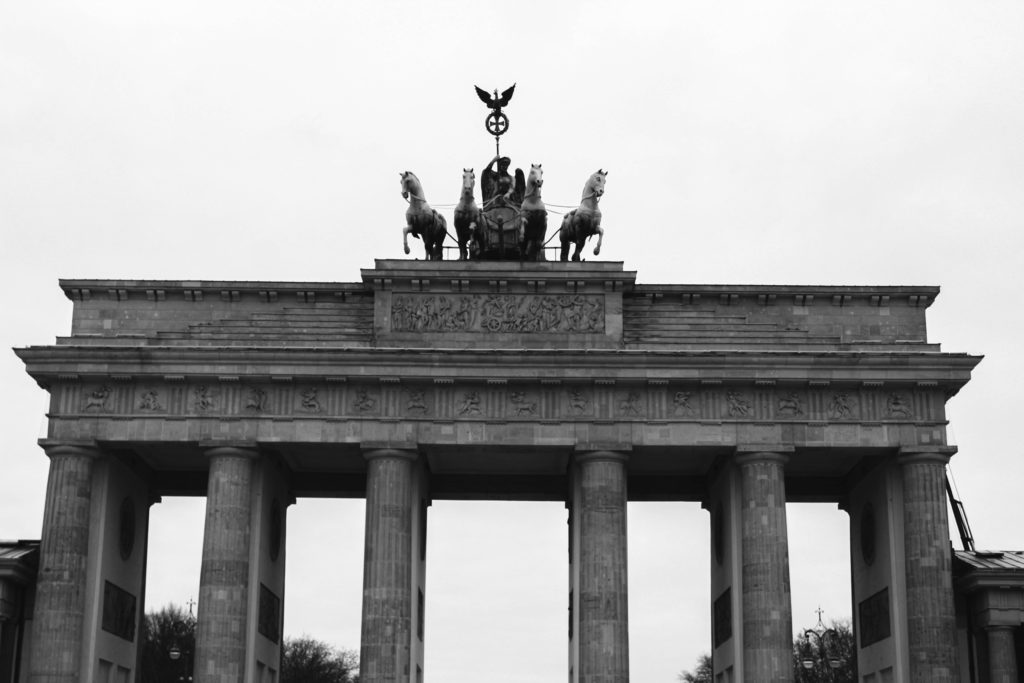
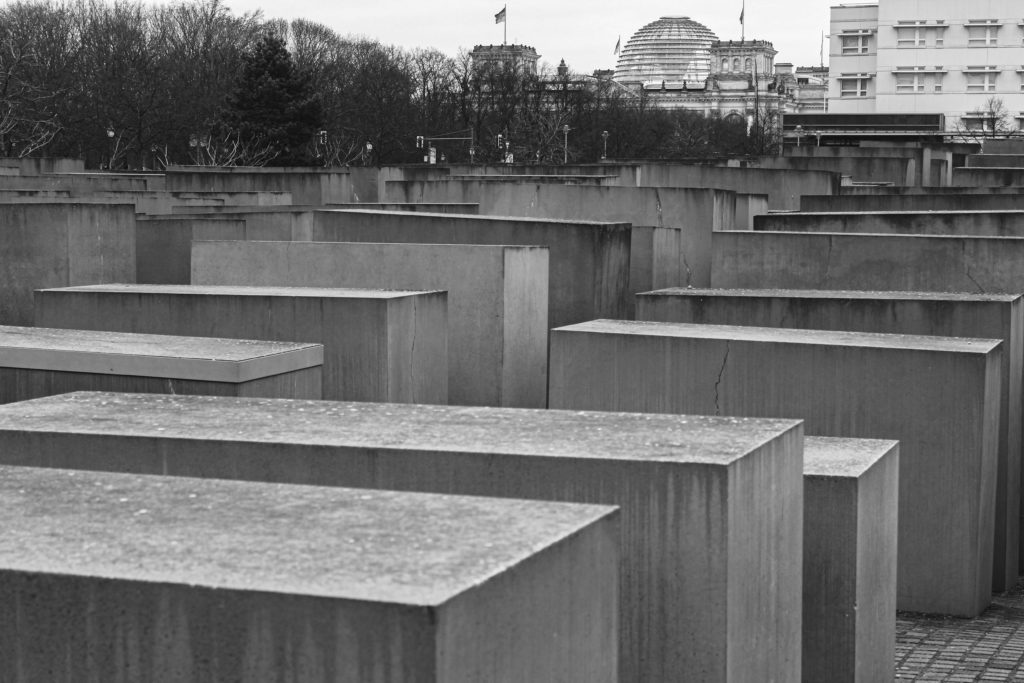
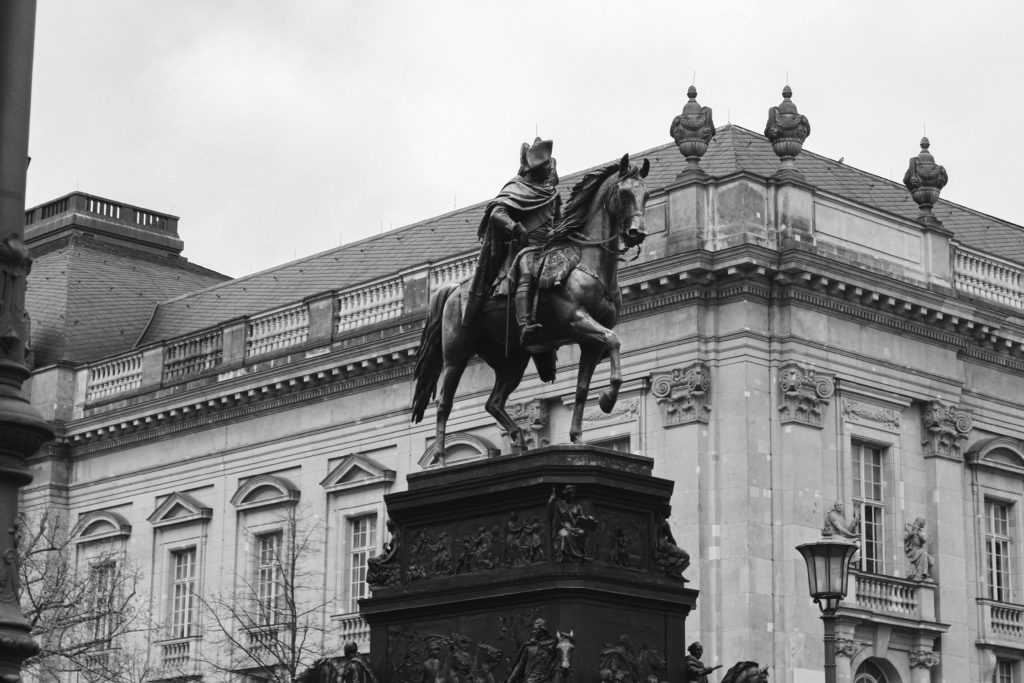
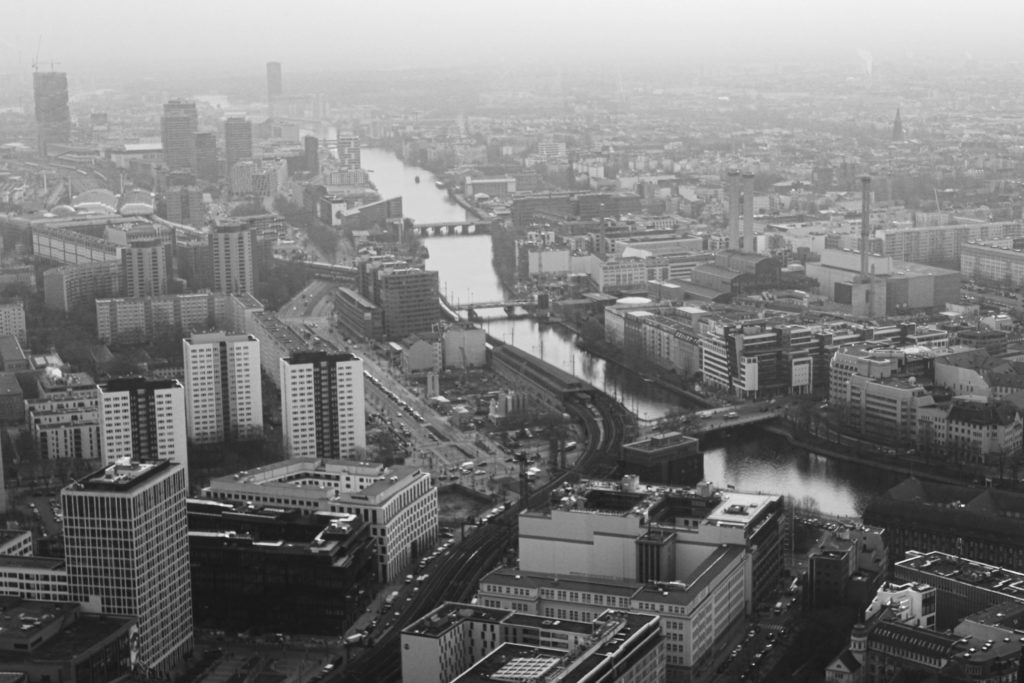
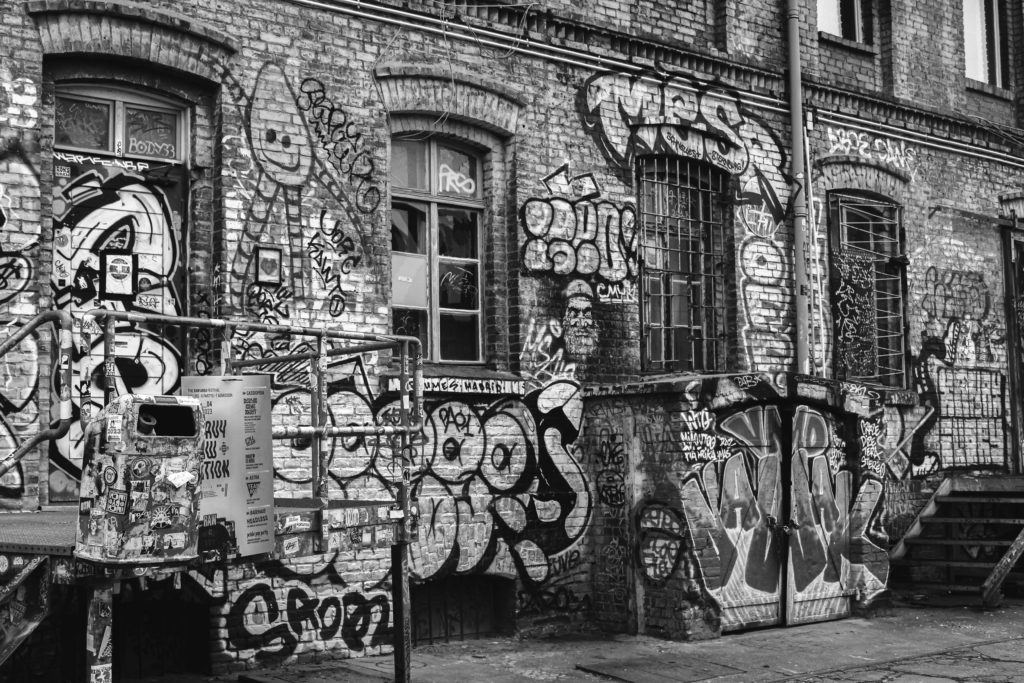
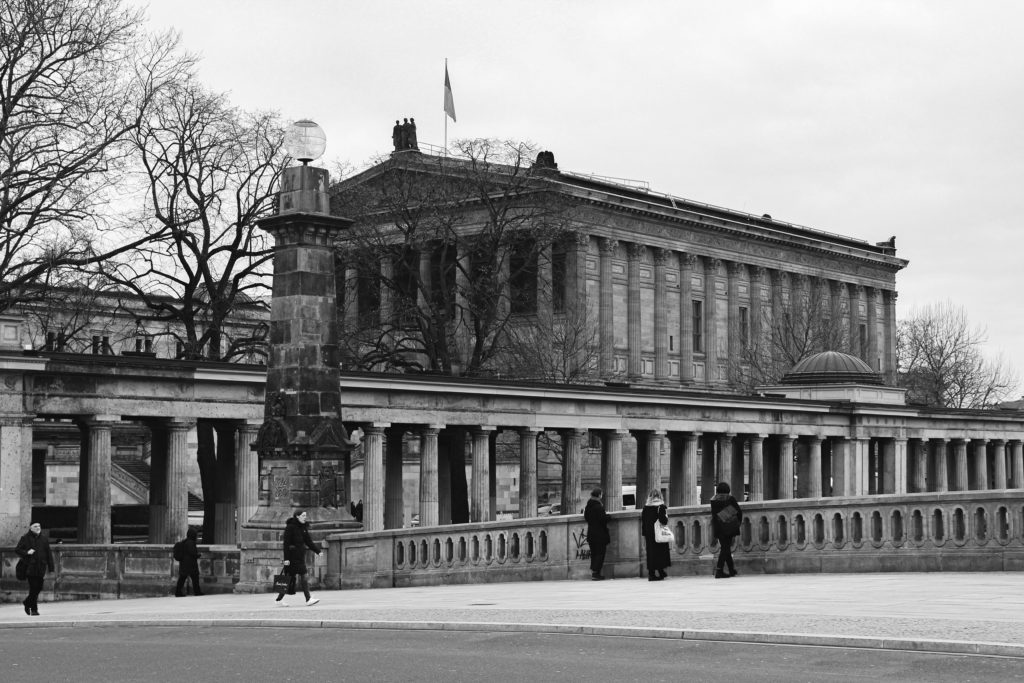
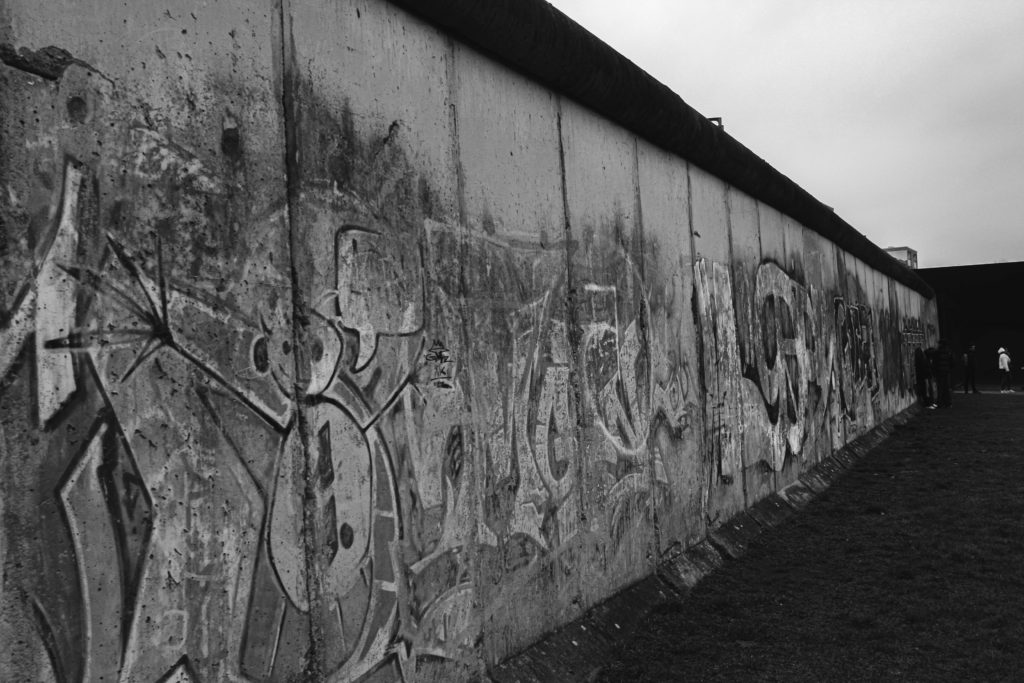
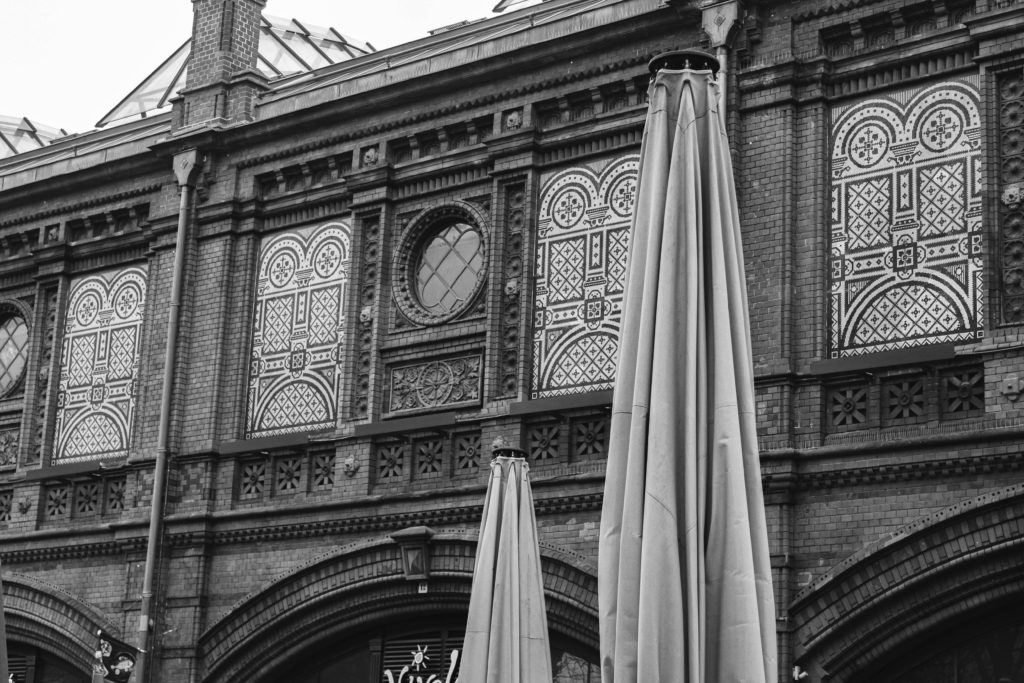
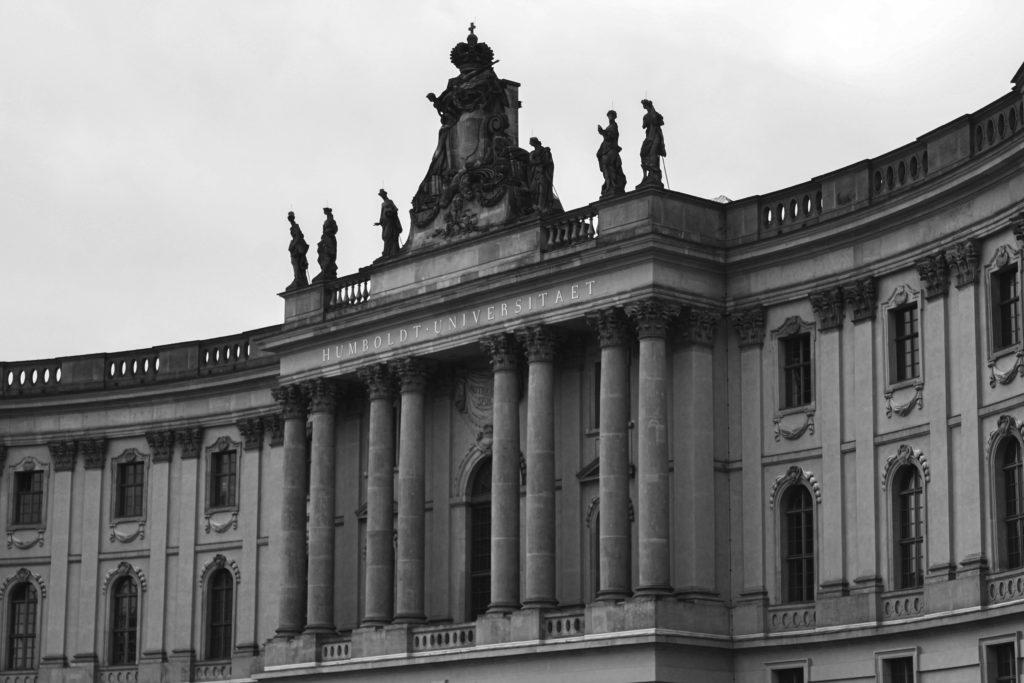
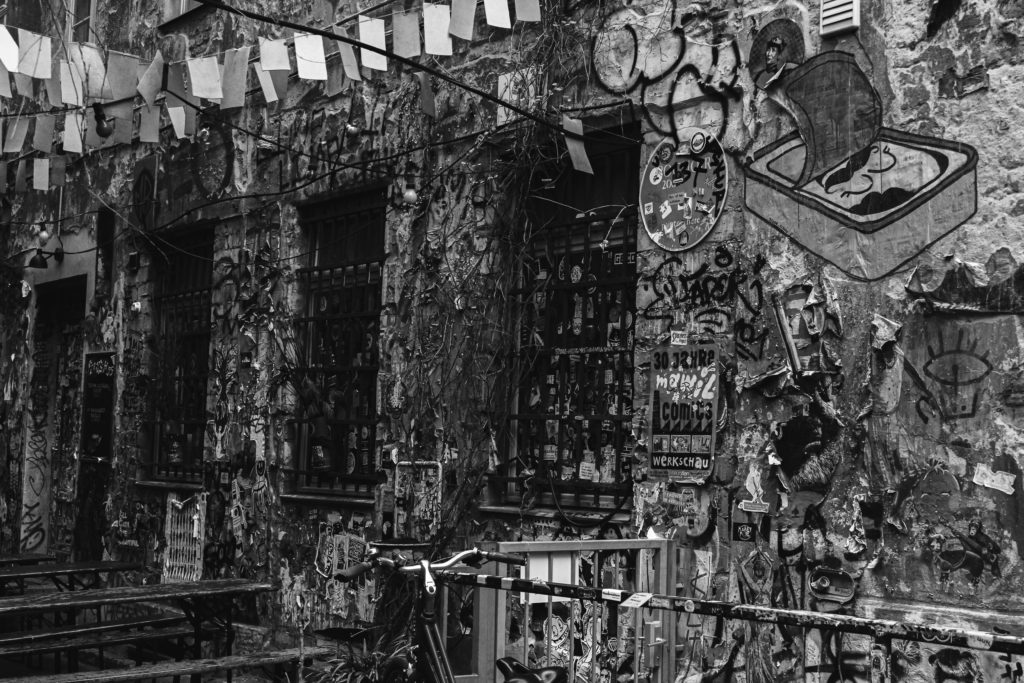
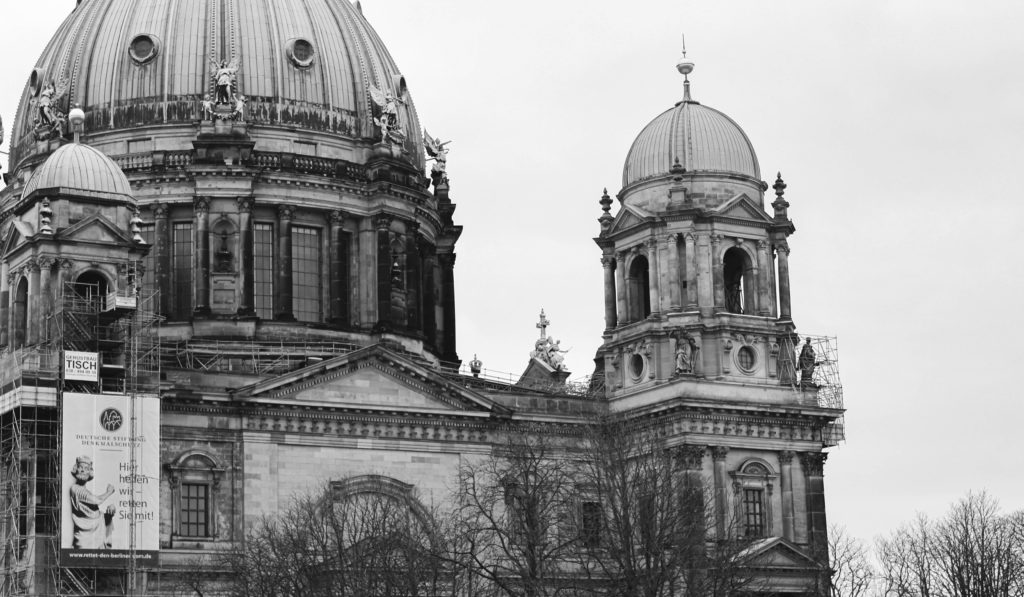
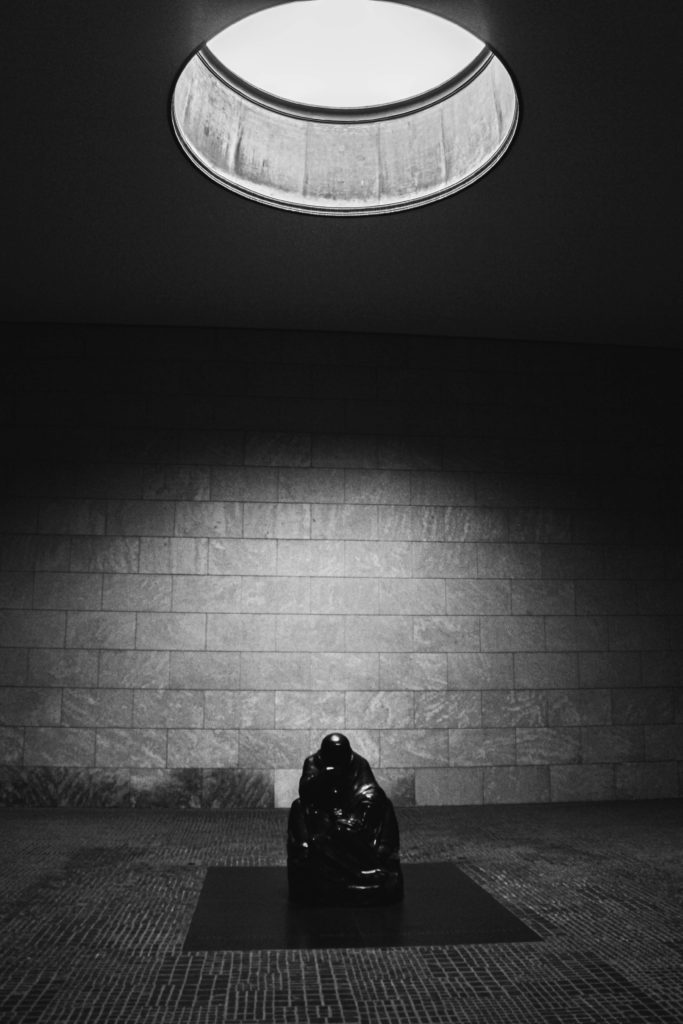
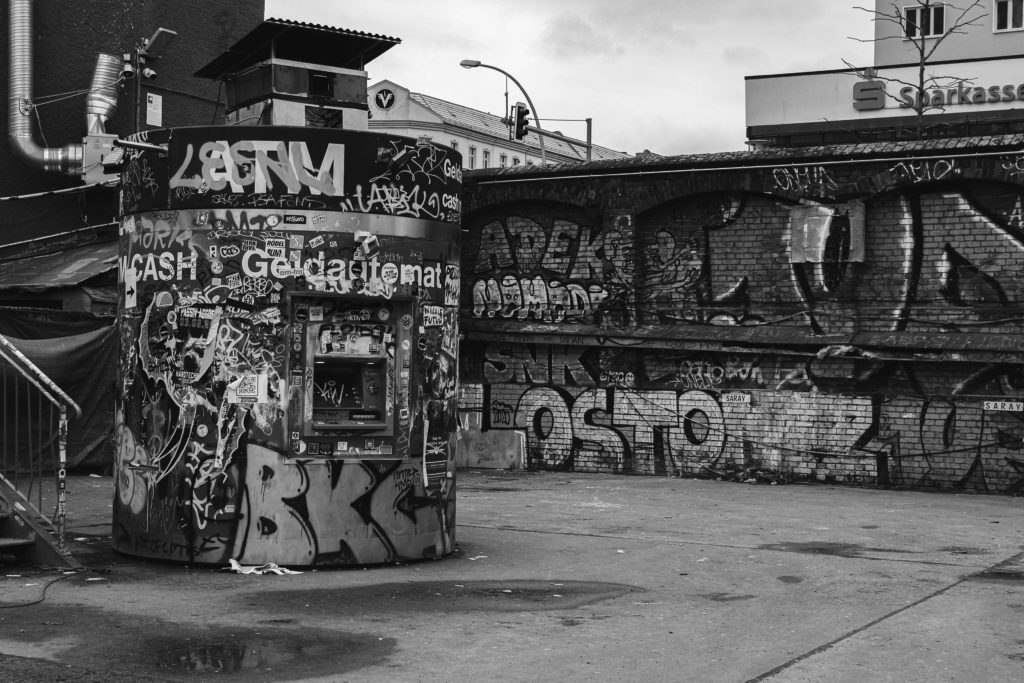
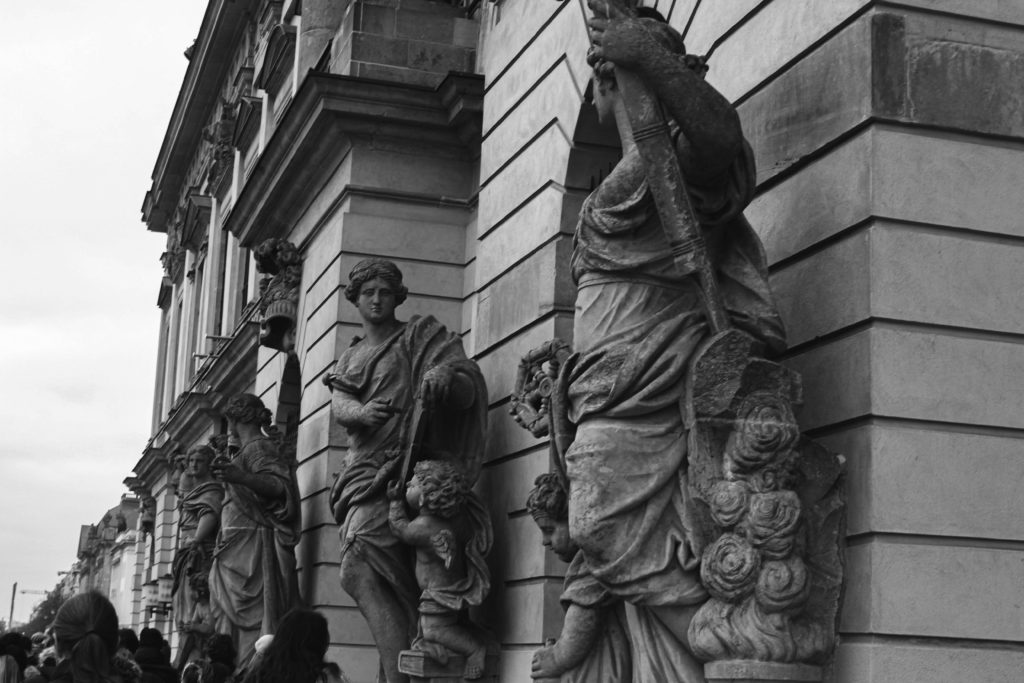
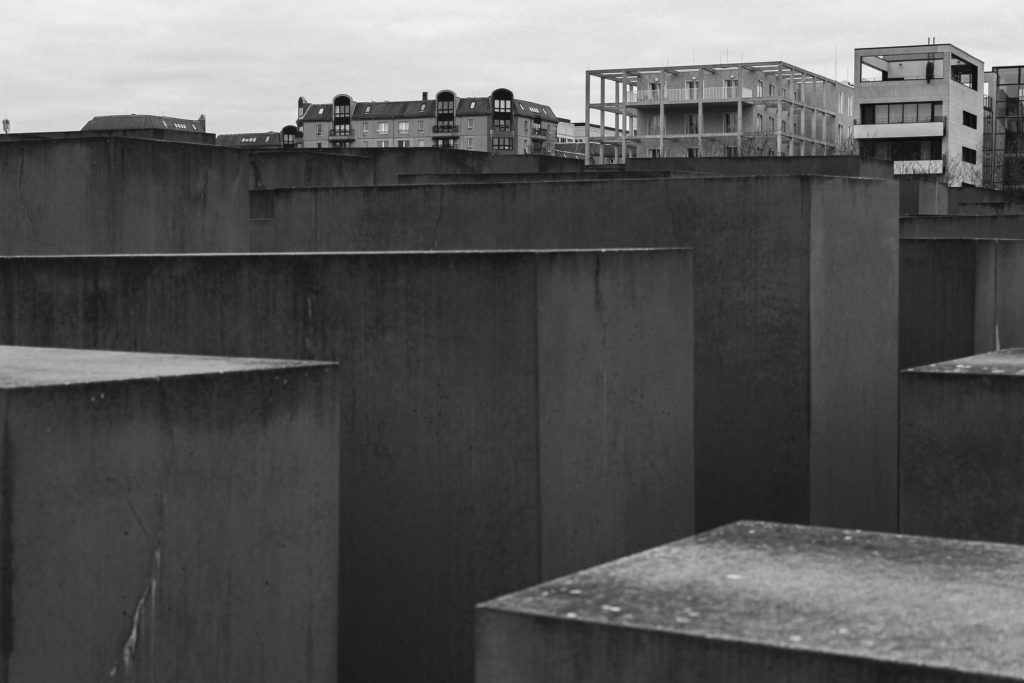
Analysis and Critique
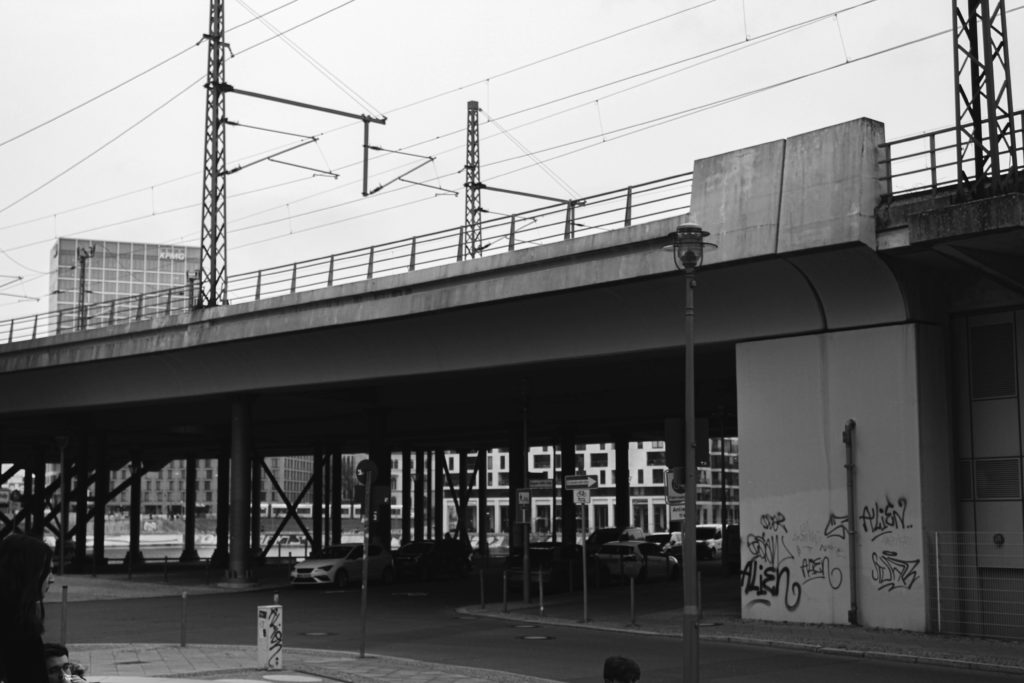
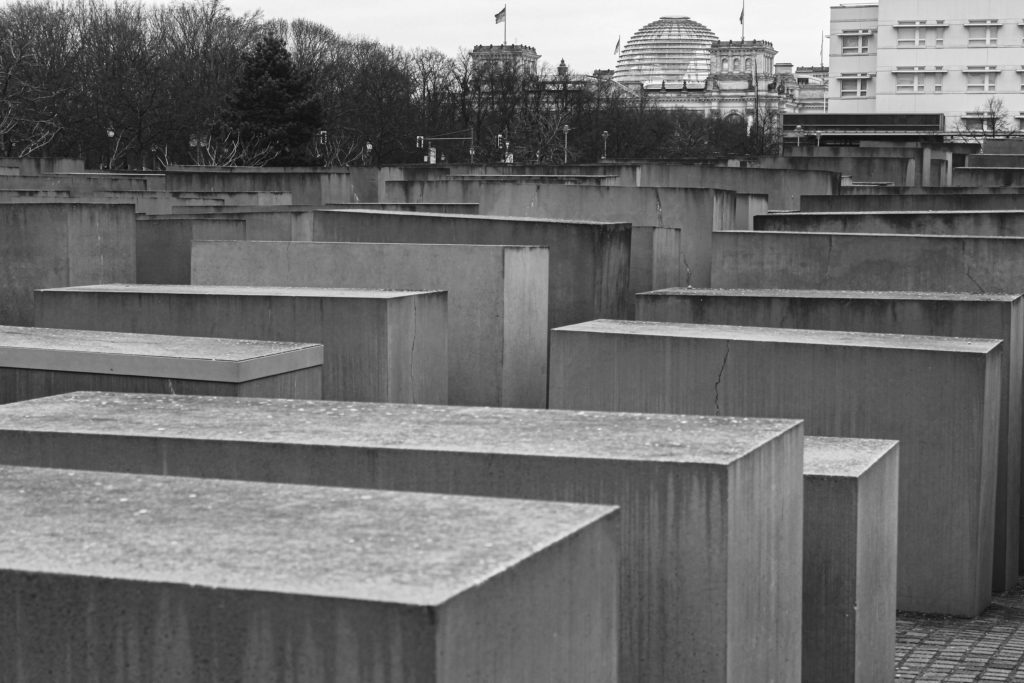
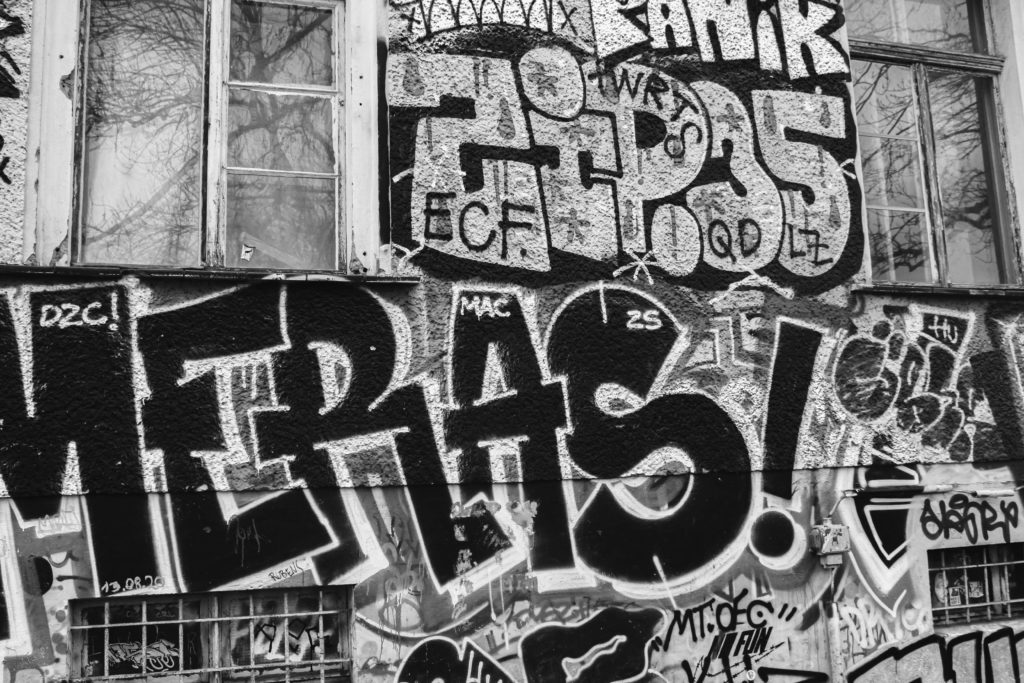
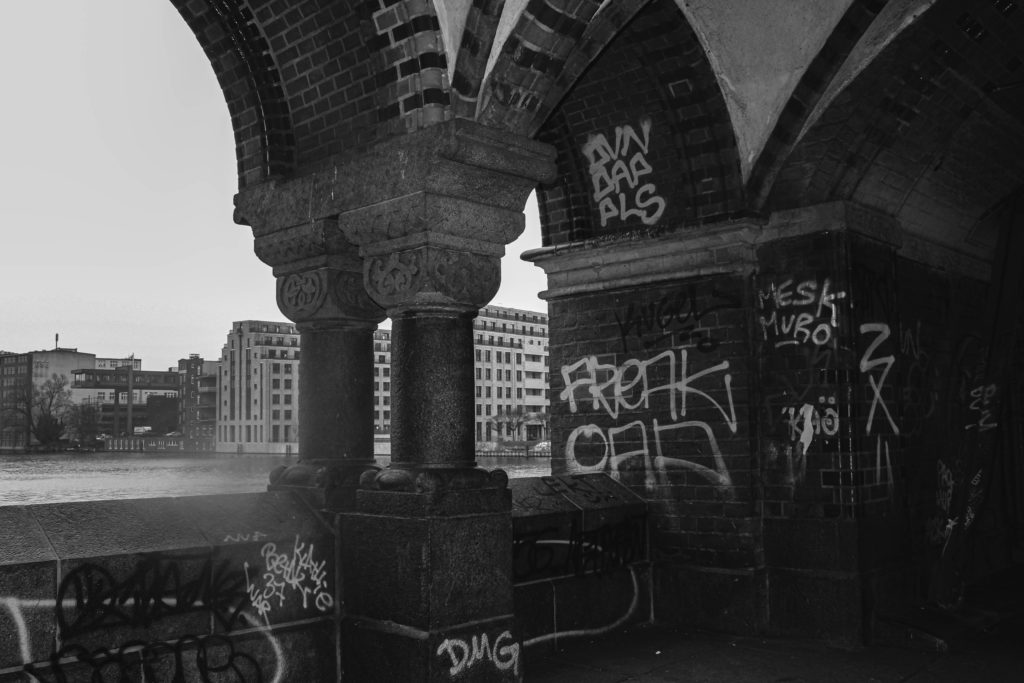
I feel as if the images above work well together as they both provide quite complex-looking imagery, with the many tram wires in the first one to the solid and intricate blocks within the second image. The second image displays Jewish victims in the form of an art form which is an almost never ending maze. It was used to impact the public as you walk through the labyrinth alone, just to showcase how many deaths had occurred during these dark times.
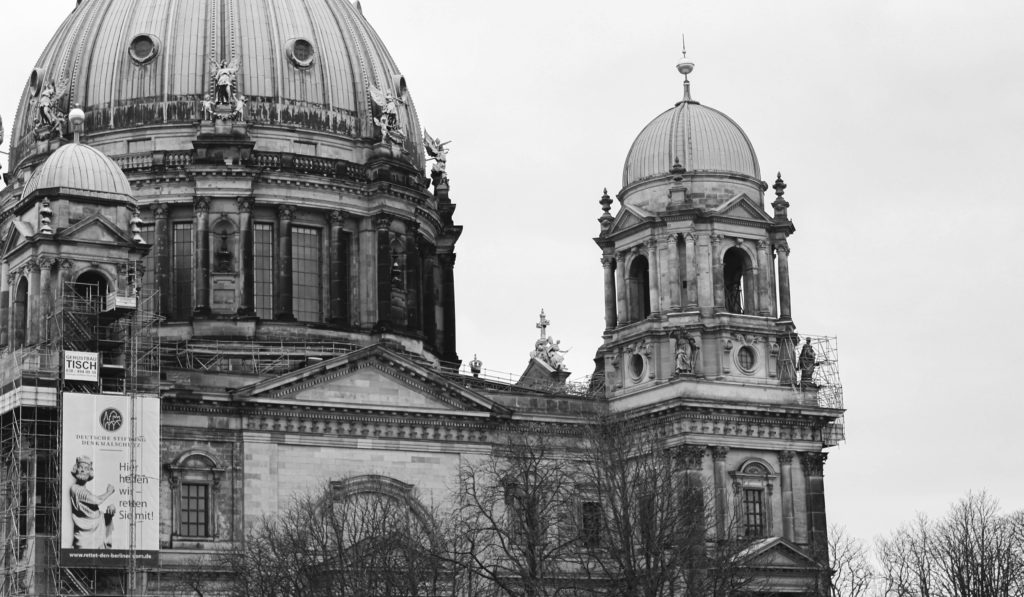
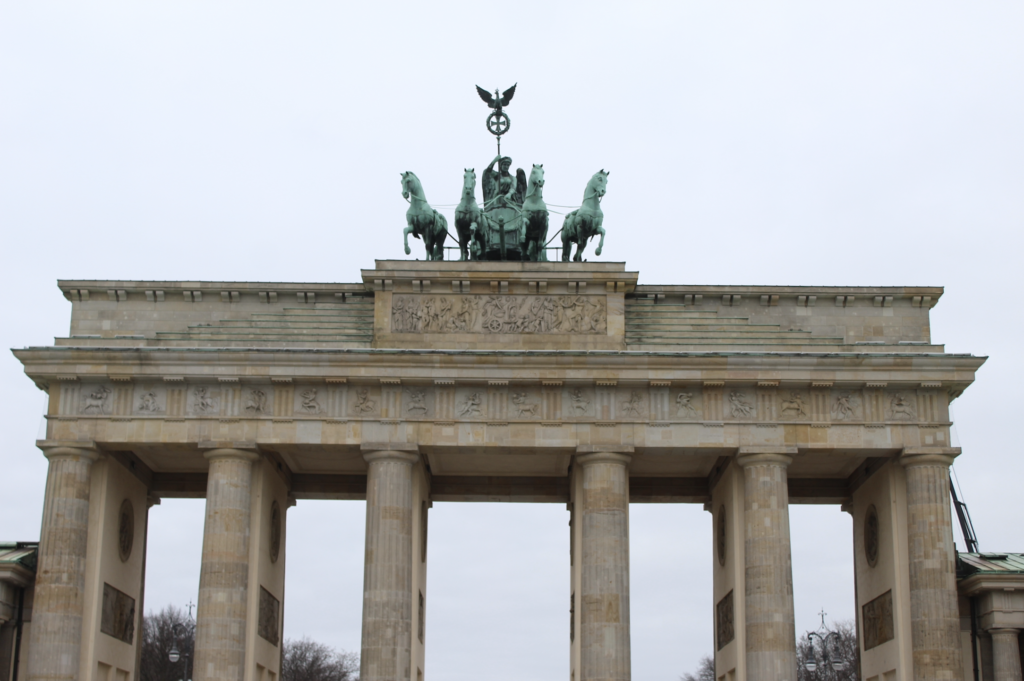
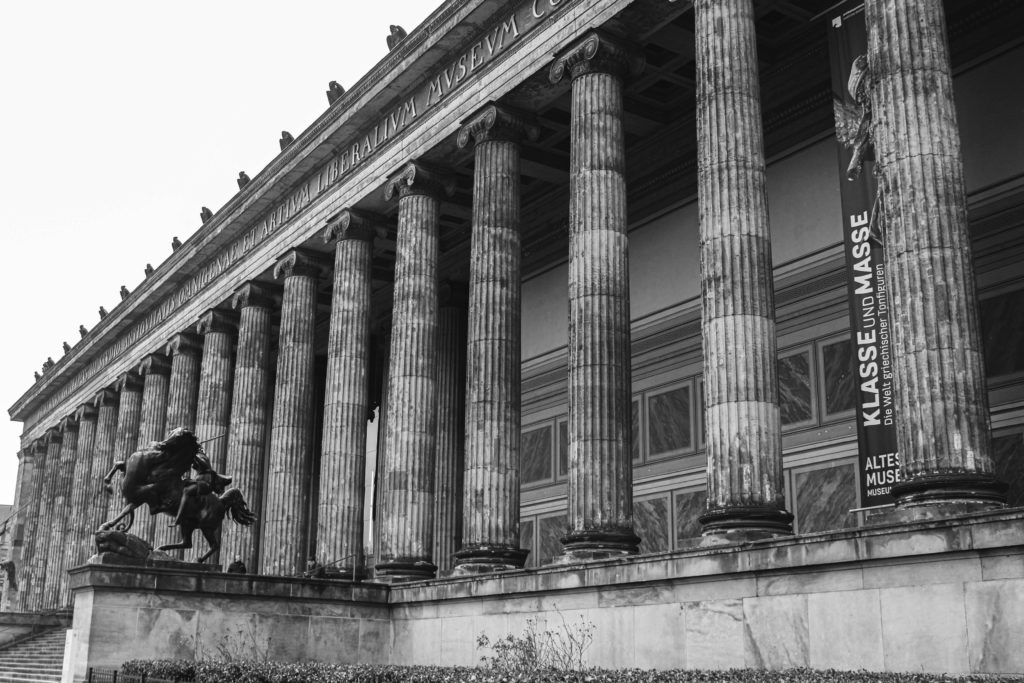
I particularly like this image above as well as I feel it displays one of the complex structures within Germany. In colour it showcases that the building itself is incredibly old due to the deterioration in colour. The roof has gone from a copper to a somewhat greenish colour due to the metal oxidising. Even though the colours from the monument are indeed intrancing in itself, I still preferred the aesthetic it gave off whilst in black and white as I feel it highlights the details of the building and creates a looming and ominous sense to it.
Improve blog posts:
1. Artists References: Select one key image and analyse using matrix. Include also comments from artists to provide further context
2. Photoshoots: Again select one of your best images from shoot and analyse using matrix. Also produce blog post with a set of colour images
Blog posts to make:
3. Research and deconstruct photobook: Choose either photobook by Michael Schmidt and look at in detail – follow these steps
Book in hand: how does it feel? Smell, sniff the paper.
Paper and ink: use of different paper/ textures/ colour or B&W or both.
Format, size and orientation: portraiture/ landscape/ square/ A5, A4, A3 / number of pages.
Binding, soft/hard cover. image wrap/dust jacket. saddle stitch/swiss binding/ Japanese stab-binding/ leperello
Cover: linen/ card. graphic/ printed image. embossed/ debossed. letterpress/ silkscreen/hot-stamping.
Title: literal or poetic / relevant or intriguing.
Narrative: what is the story/ subject-matter. How is it told?
Structure and architecture: how design/ repeating motifs/ or specific features develops a concept or construct a narrative.
Design and layout: image size on pages/ single page, double-spread/ images/ grid, fold- outs/ inserts.
Editing and sequencing: selection of images/ juxtaposition of photographs/ editing process.
Images and text: are they linked? Introduction/ essay/ statement by artists or others. Use of captions (if any.)
4. Write a book specification and describe in detail what your book will be about in terms of narrative, concept and design with reference to the same elements of bookmaking as above.
Narrative: What is your story?
Describe in:
3 words
A sentence
A paragraph
Design: Consider the following
How you want your book to look and feel
Paper and ink
Format, size and orientation
Binding and cover
Title
Structure and architecture
Design and layout
Editing and sequencing
Images and text
6. Produce a mood-board of design ideas for inspiration. Look at BLURB online book making website, photo books from photographers or see previous books produced by Hautlieu students on the table in class.
7. Make sure you have a made a blog post that charts your editing process, including prints screens with annotation
8. Photobook: Final layout + evaluation
9. Prints: Final outcomes + presentation
10. Prints: Virtual Gallery + Evaluation