Environmental Portraits

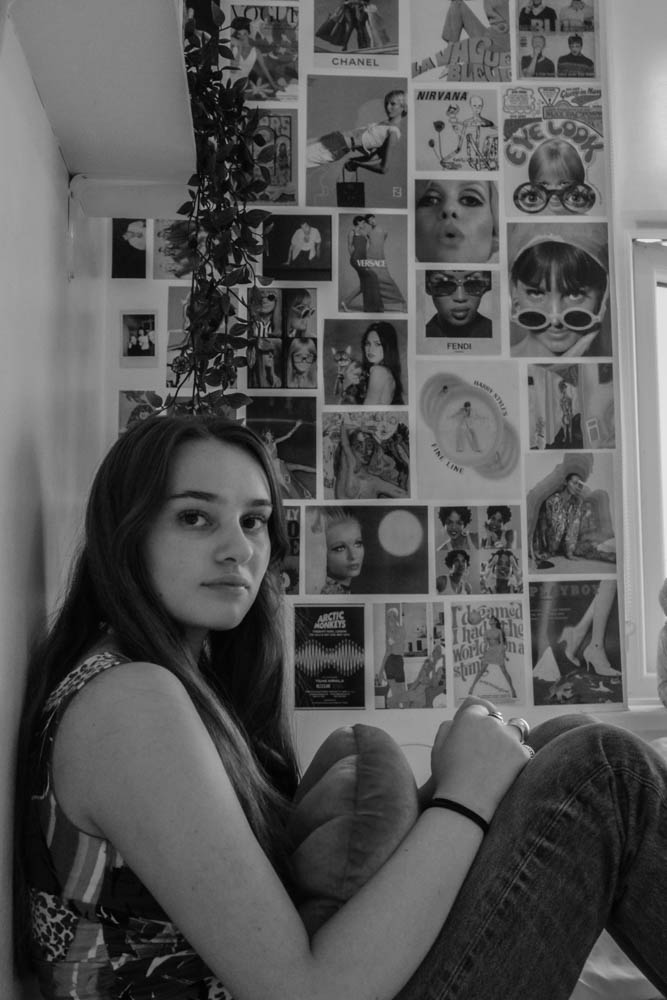
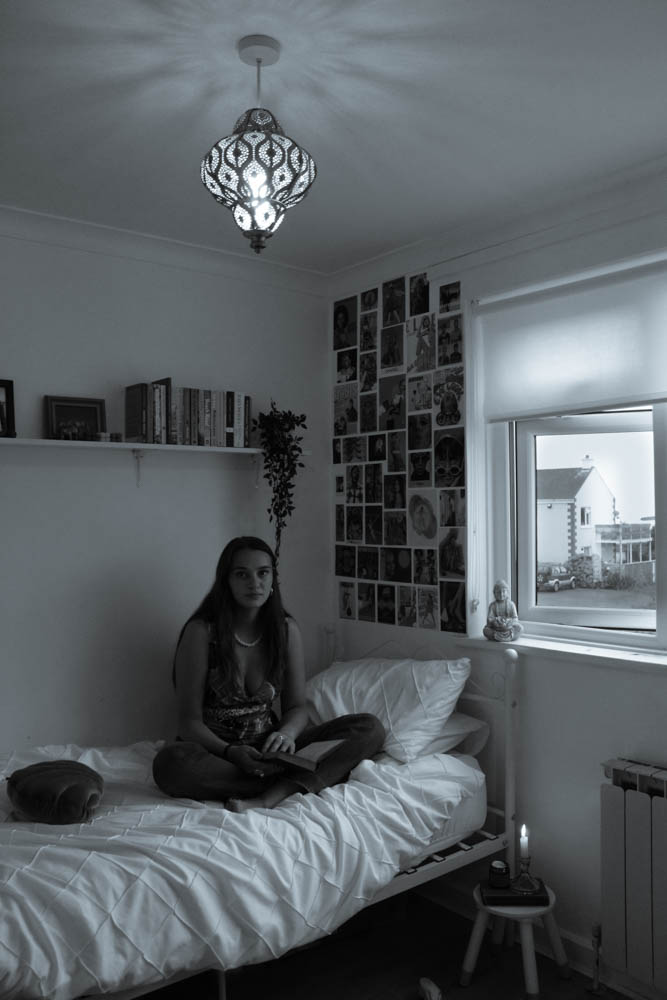
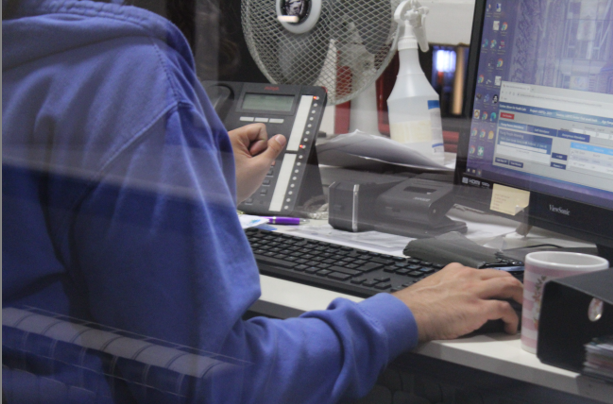
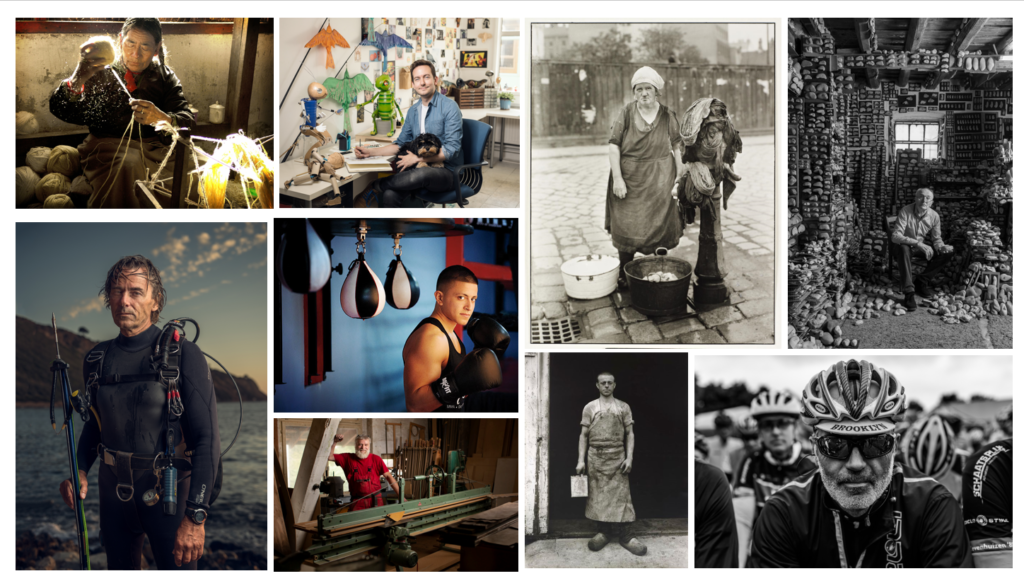
An Image is an Environmental Portrait when the Model and their Environment, the foreground, mid-ground and background, are linked through the actions or appearance of the Model, as if they are a part of that Environment.

Mood Board of Environmental Portraits
Ideas

  • 3/4 of Model Visible?
  • Colour?
  • Portrait?
  • Holding Something?
  • Could use colour to make the model stand out from the background (Contrasting colour of clothing or prop)
  • Full Body?
  • Black and White?
  • Landscape?
  • How much of the Environment will be visible?
  • How large will the Model be compared to the environment?

Plan

Outside Photoshoot

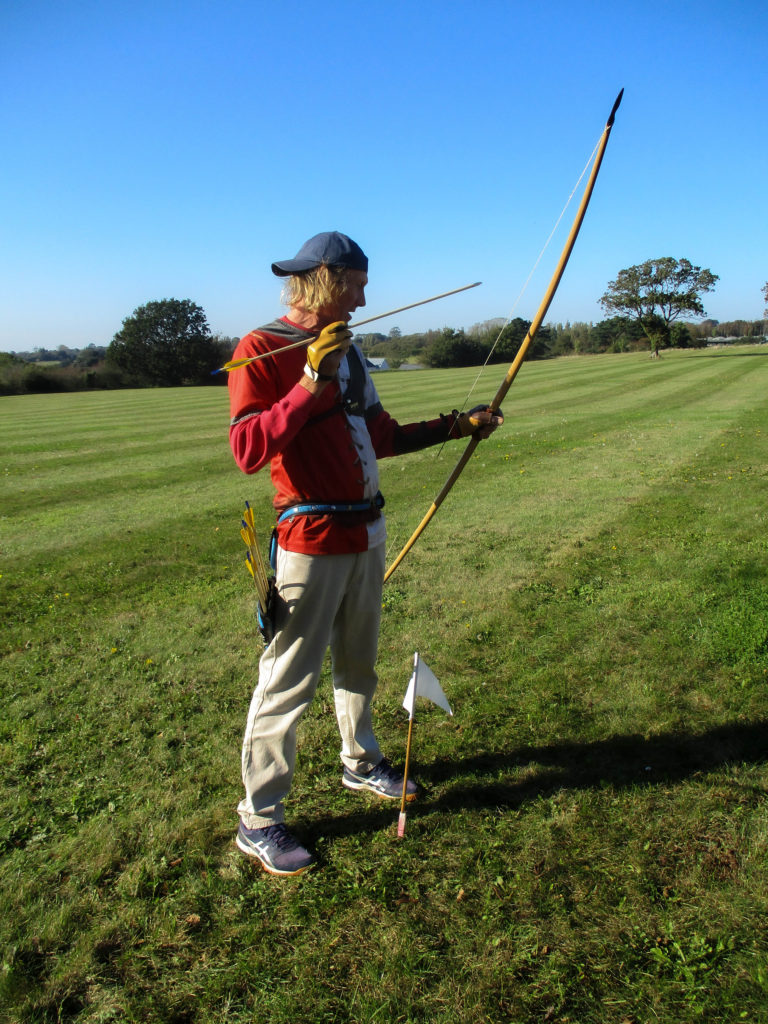
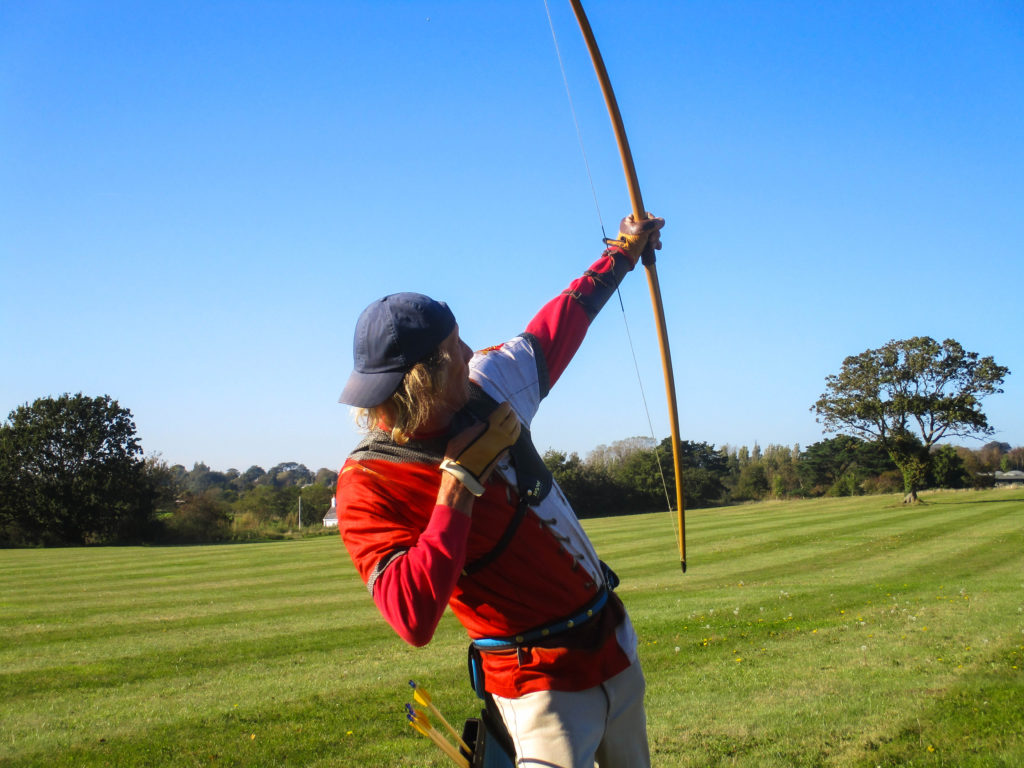
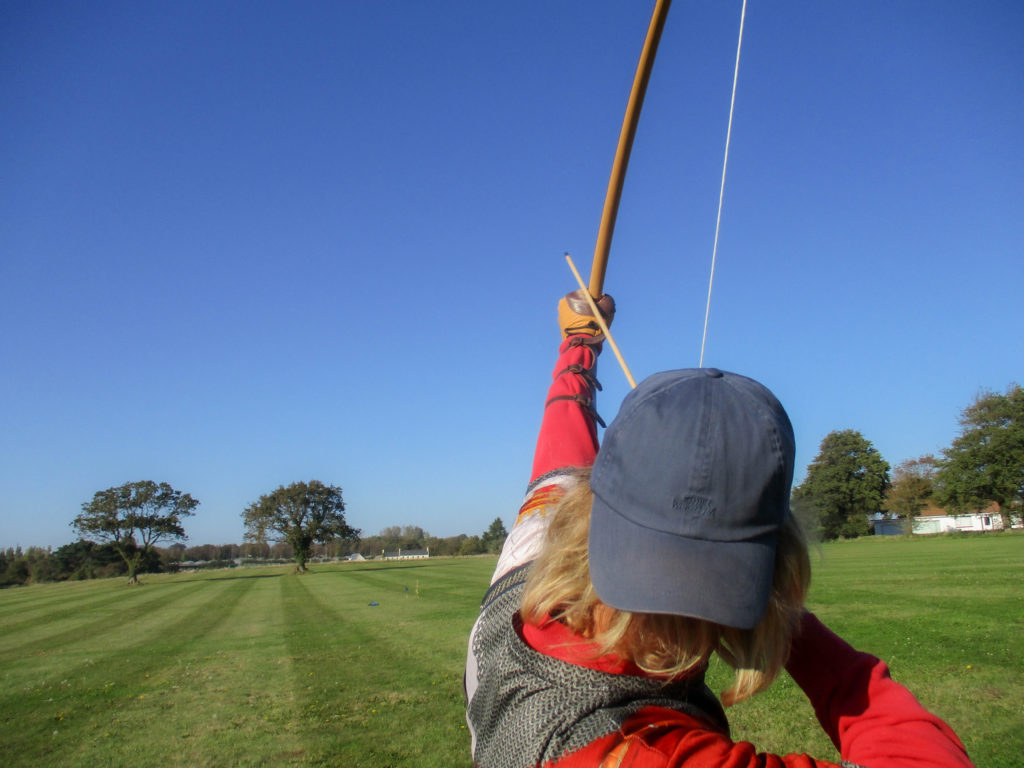
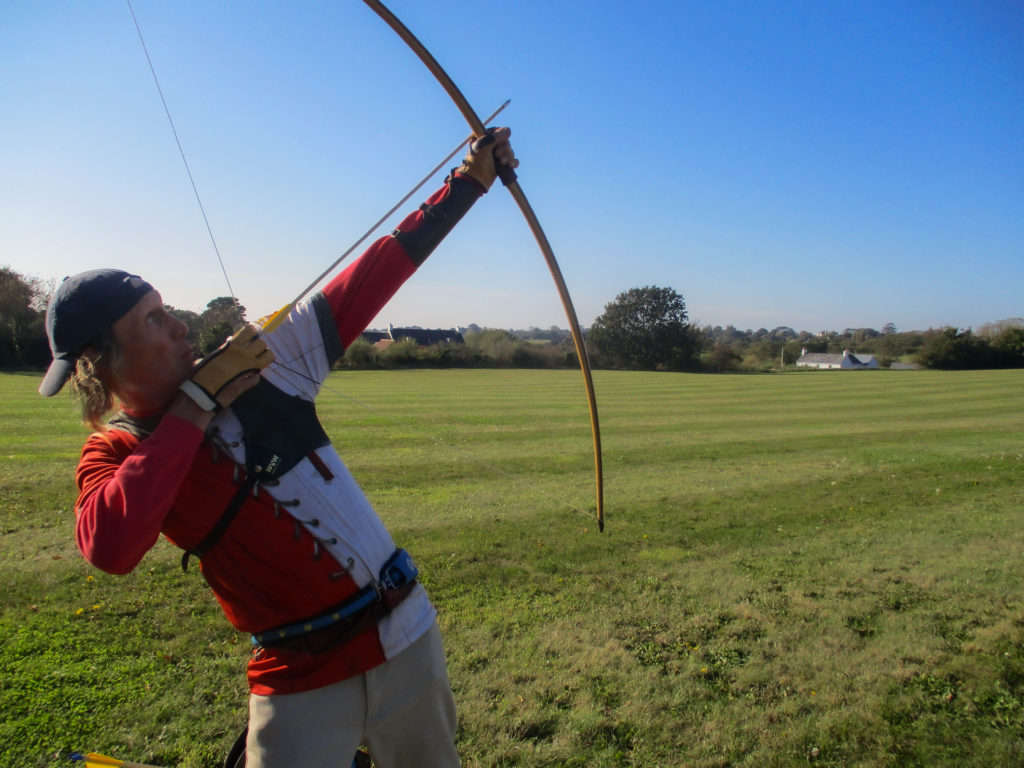
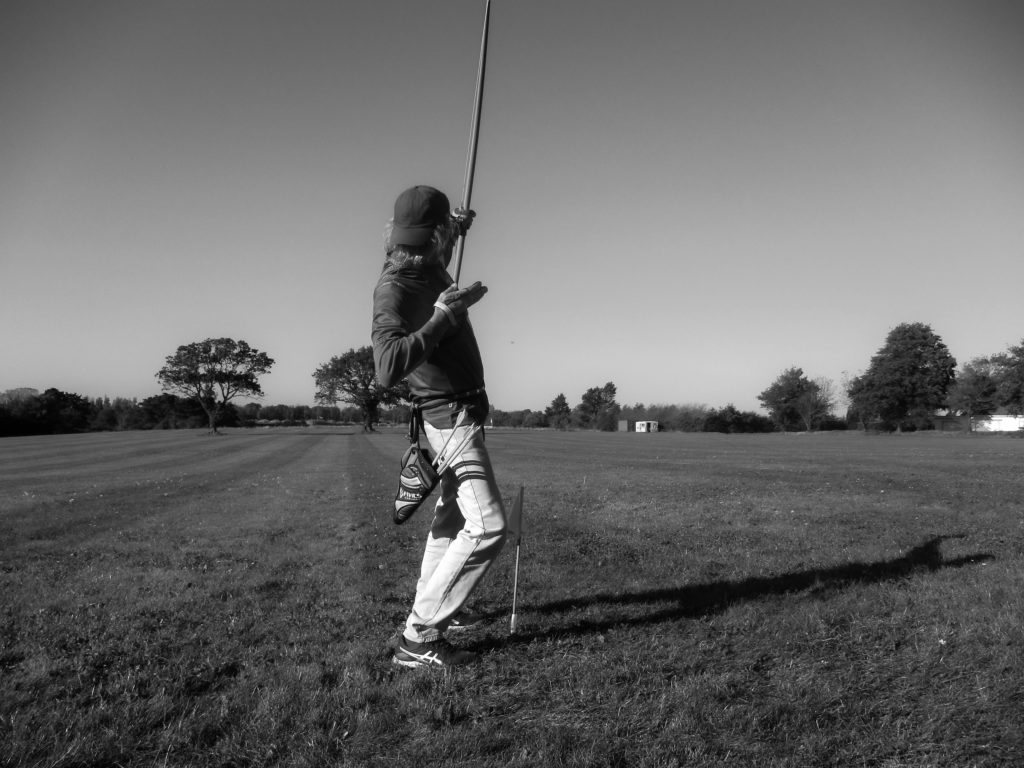
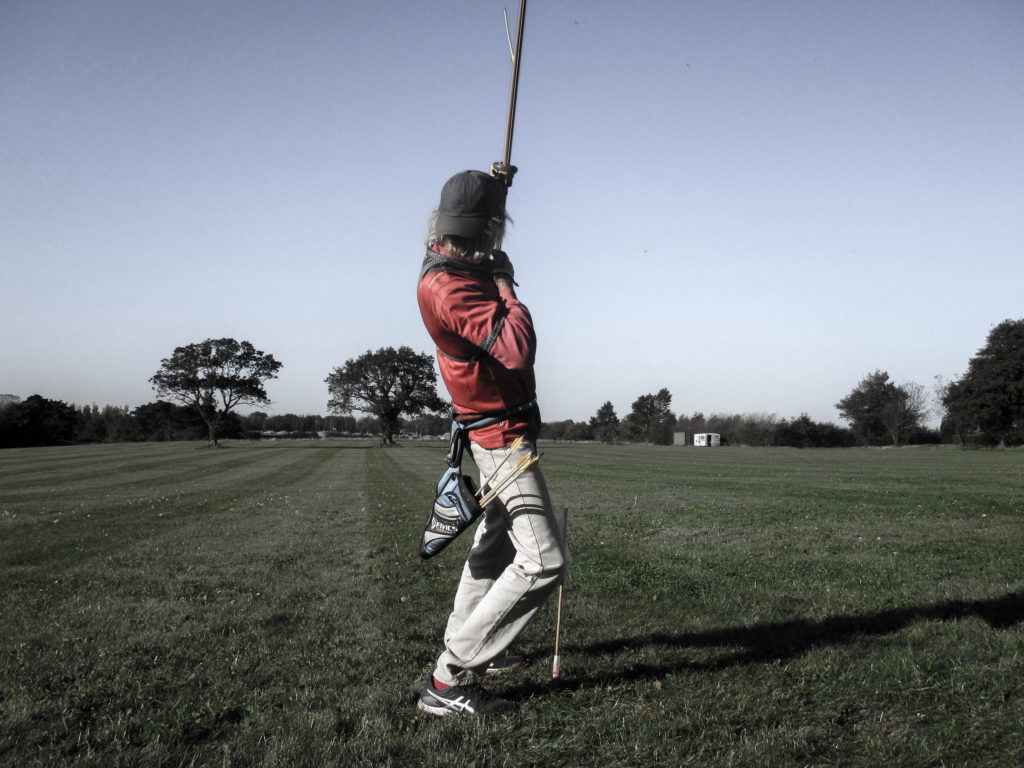
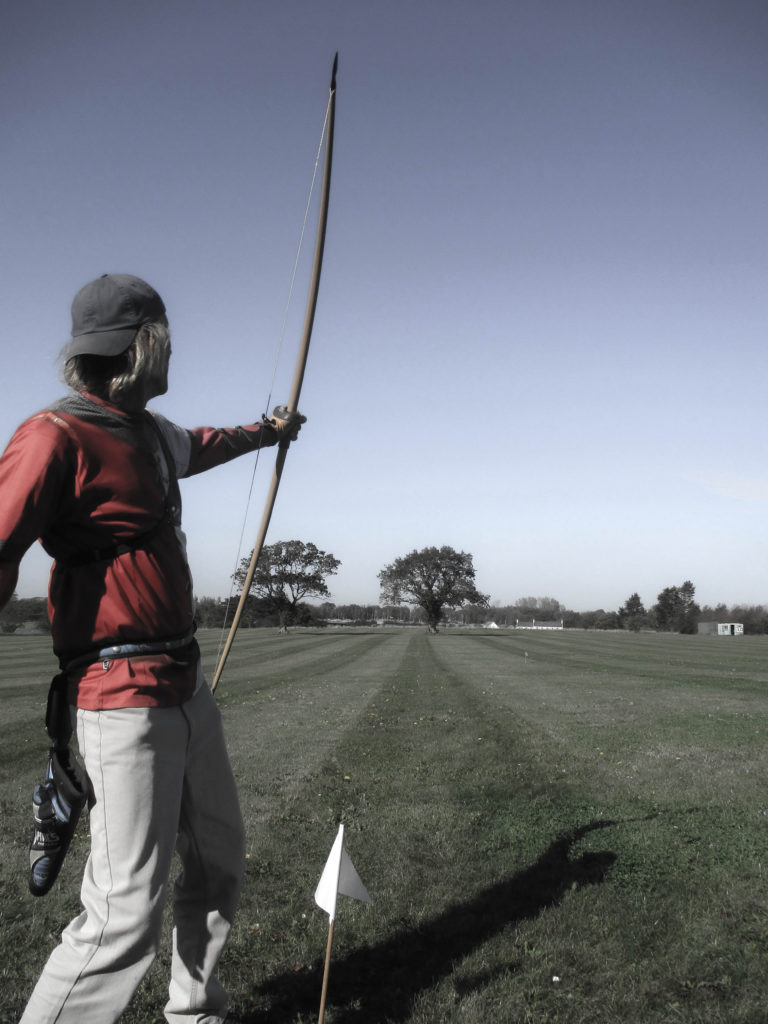
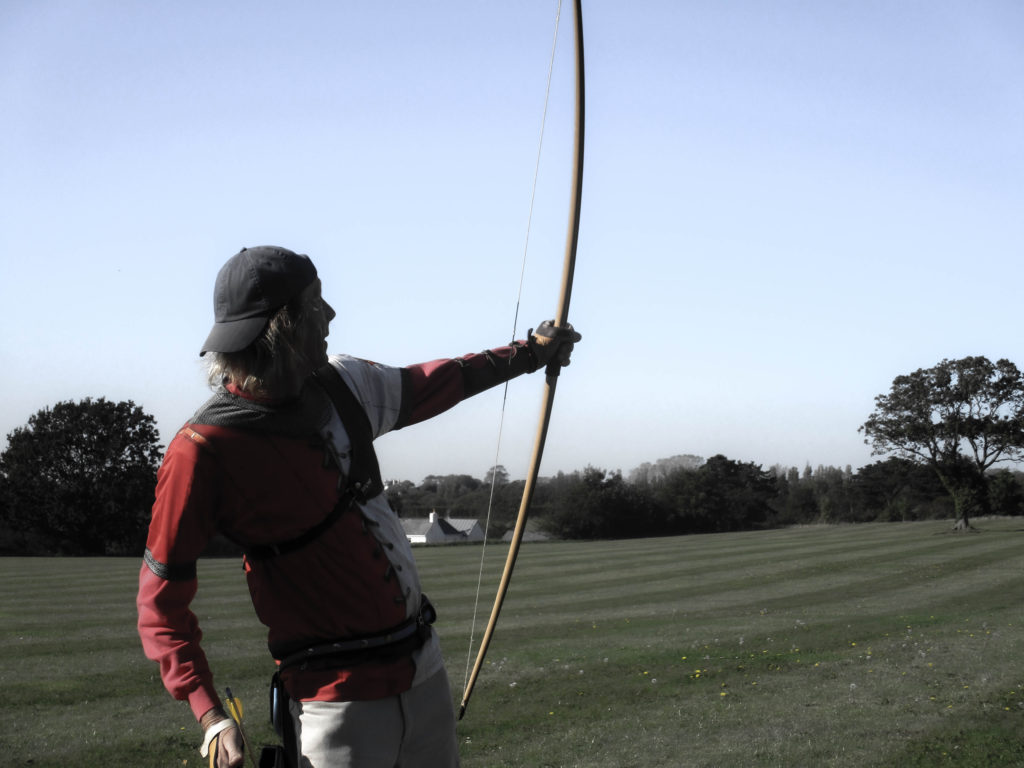
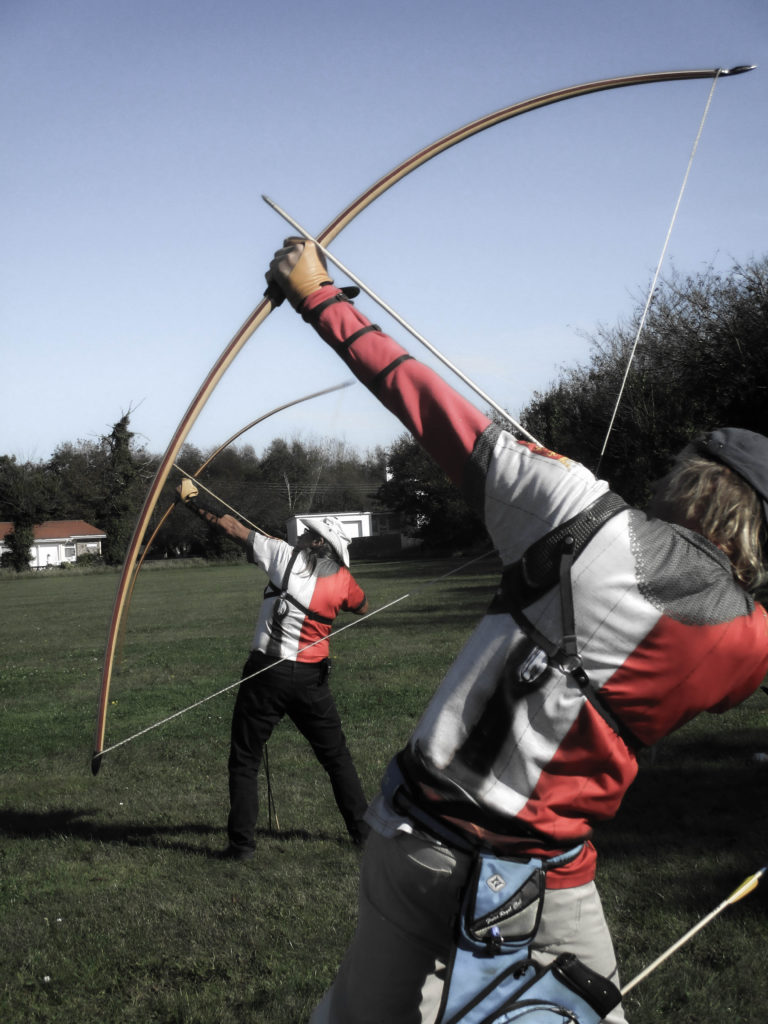
For my outside photoshoot I will be taking pictures of my uncle doing archery. I will go to the archery range on the 17th October because it is sunny on that day, which will allow my images to have natural lighting. I also want to do the shoot on Sunday because we will be doing a Clout Shoot and because it is a less modern style of archery, we will be using an older type of bow and will wear a medieval-themed shirt, which will loosely link to Heritage. I wanted to take pictures of him doing archery because we have both done it for years and we both enjoy a lot.

Inside Photoshoot

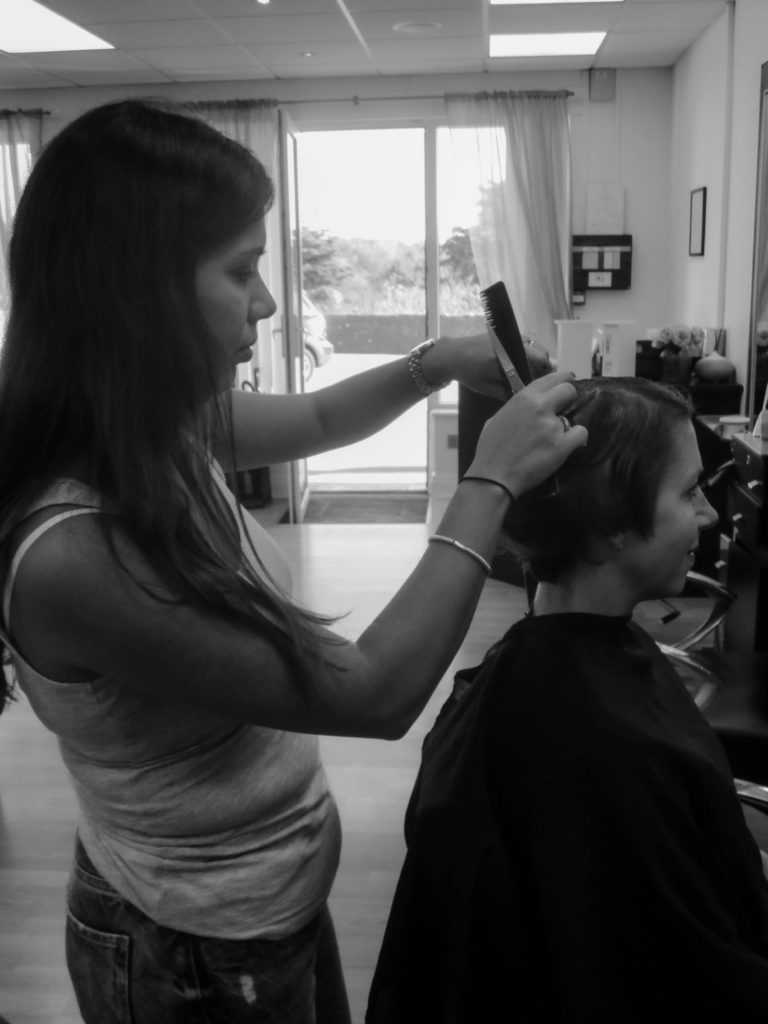
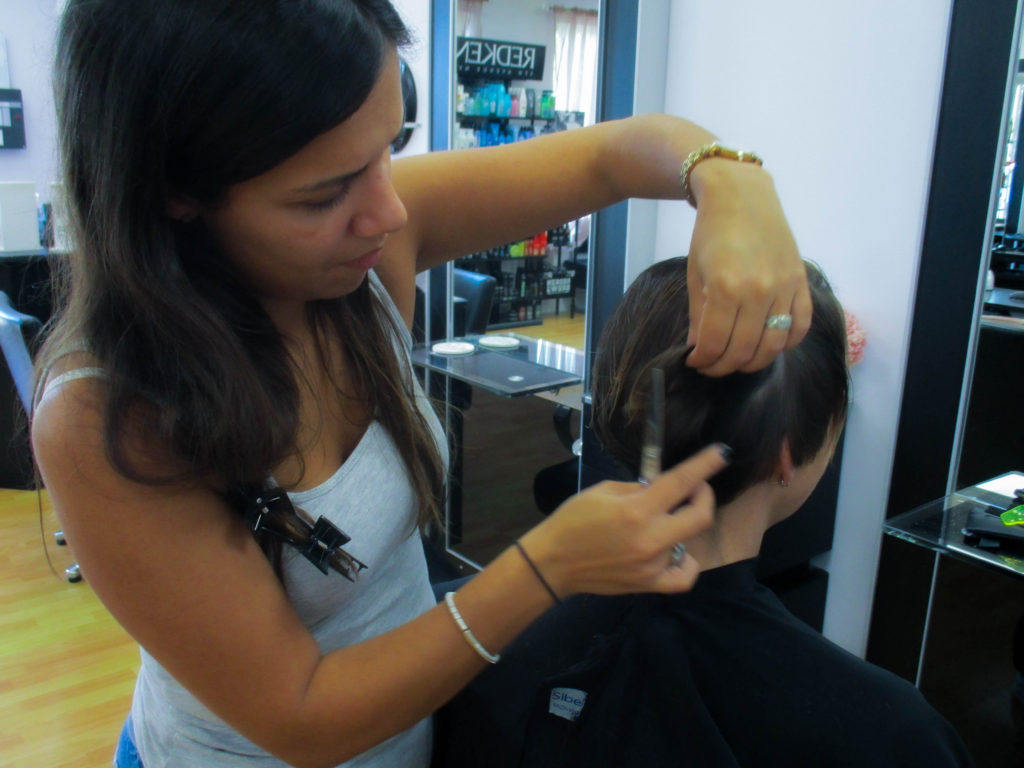
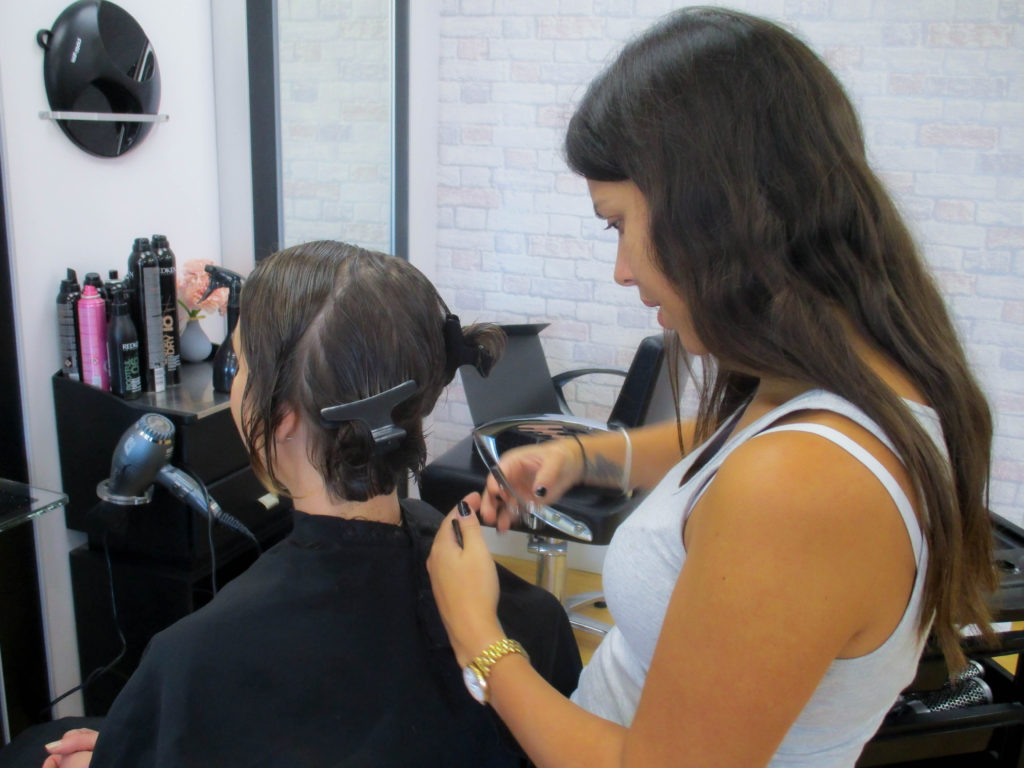
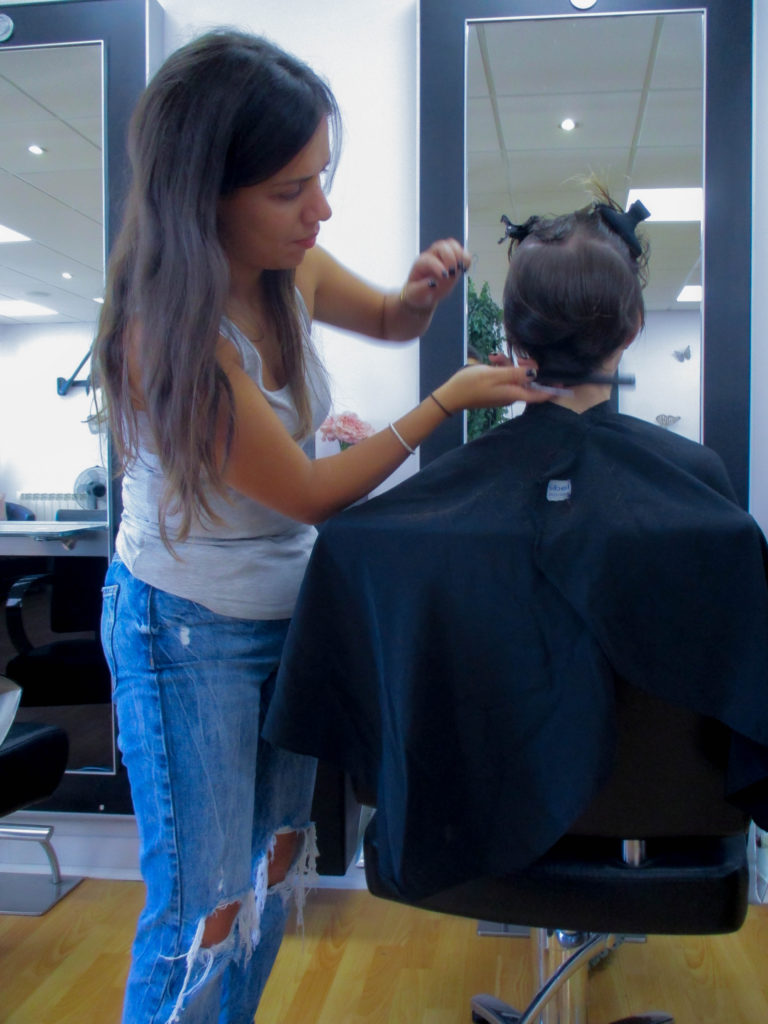
For the Inside photoshoot I will take pictures of a hairdresser cutting someone’s hair at the salon they work at, which will allow me to make the images more recognisable. I will go on the 16th October, when it is not too busy, and I will be using artificial lighting, with fairly bright natural light coming through the door. I decided to take pictures of a hairdresser because I thought it would be a good way for the model to get into poses that are easy to notice and correlate to her profession.

Two or more people

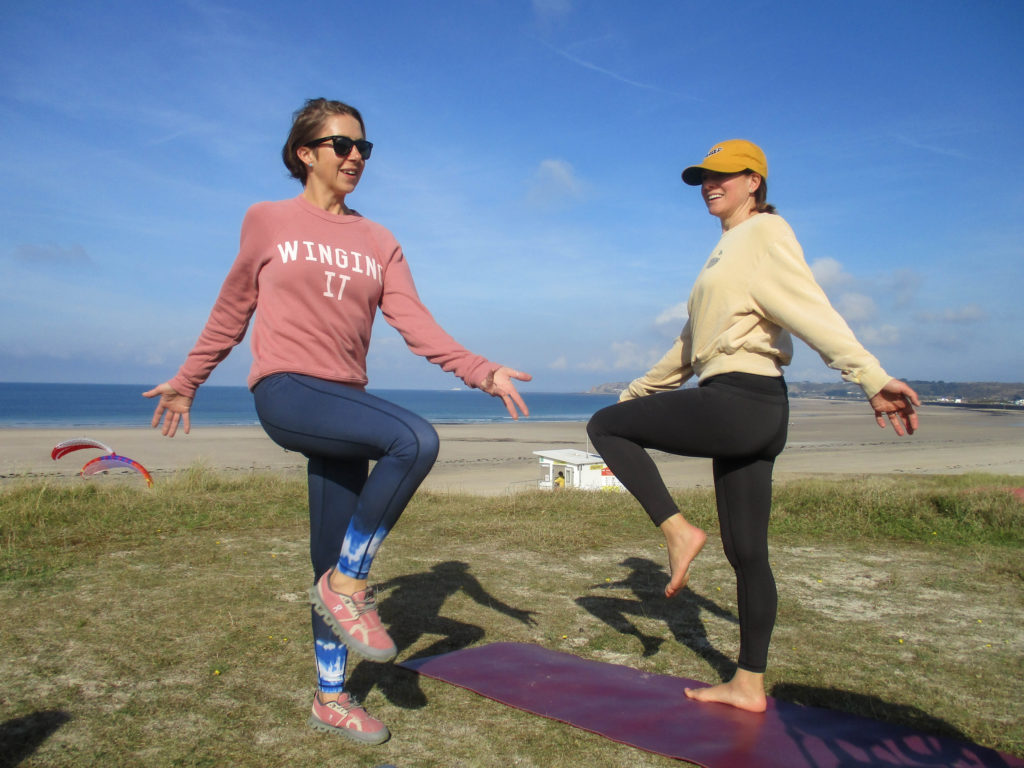
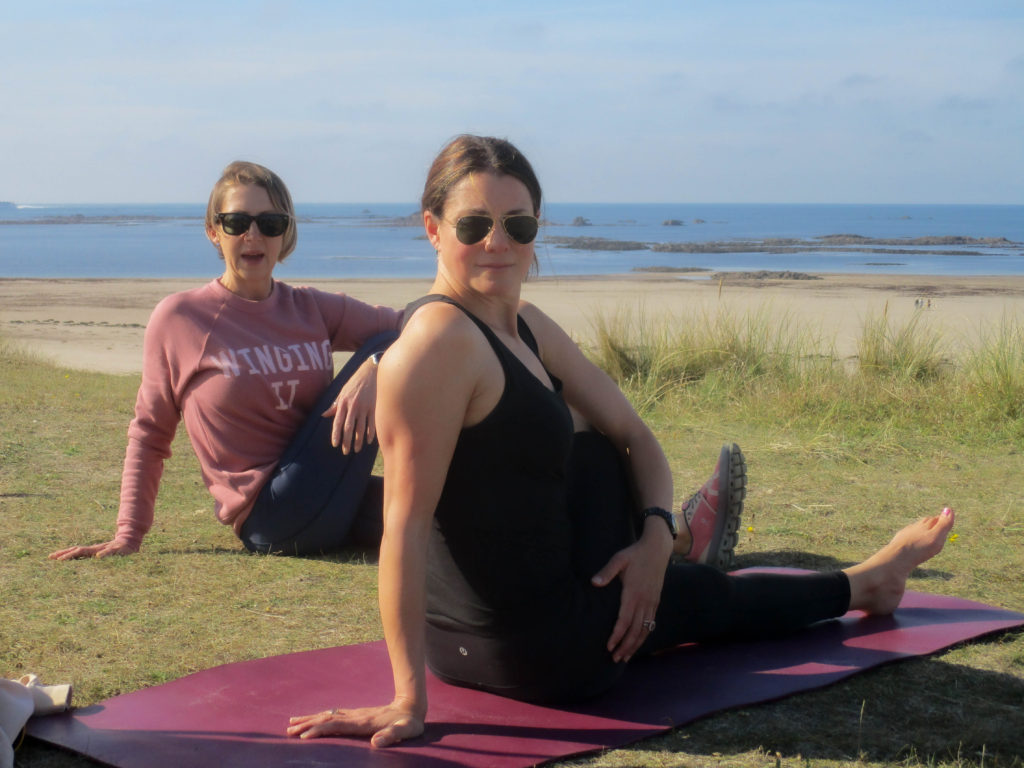
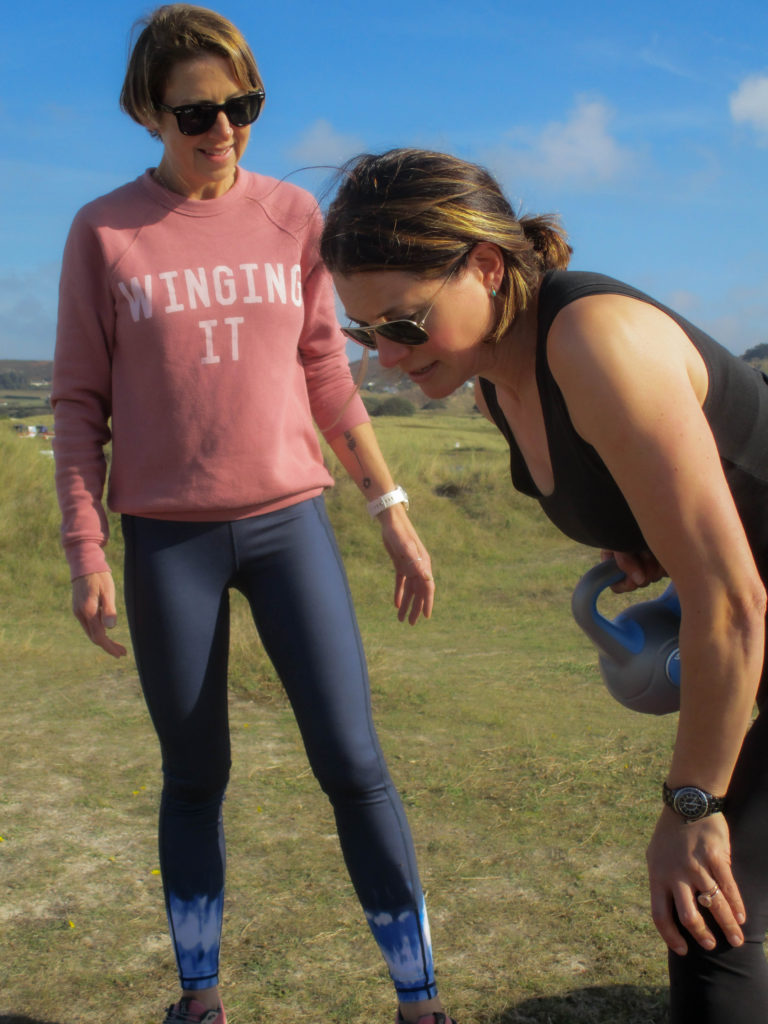
I will be photographing my mother and one of her friends while they are doing a fitness routine. I will be taking this photoshoot at Le Braye (on the dunes) because it has a flat surface and a fairly plain background, which allows the models to be the main focus, on the 16th October because it was also sunny on that day, which allows for good natural lighting to be present in the photograph. My mother used to work as a fitness instructor, so I thought it would be a good idea to capture her skills within a photoshoot.

Bert Teunissen
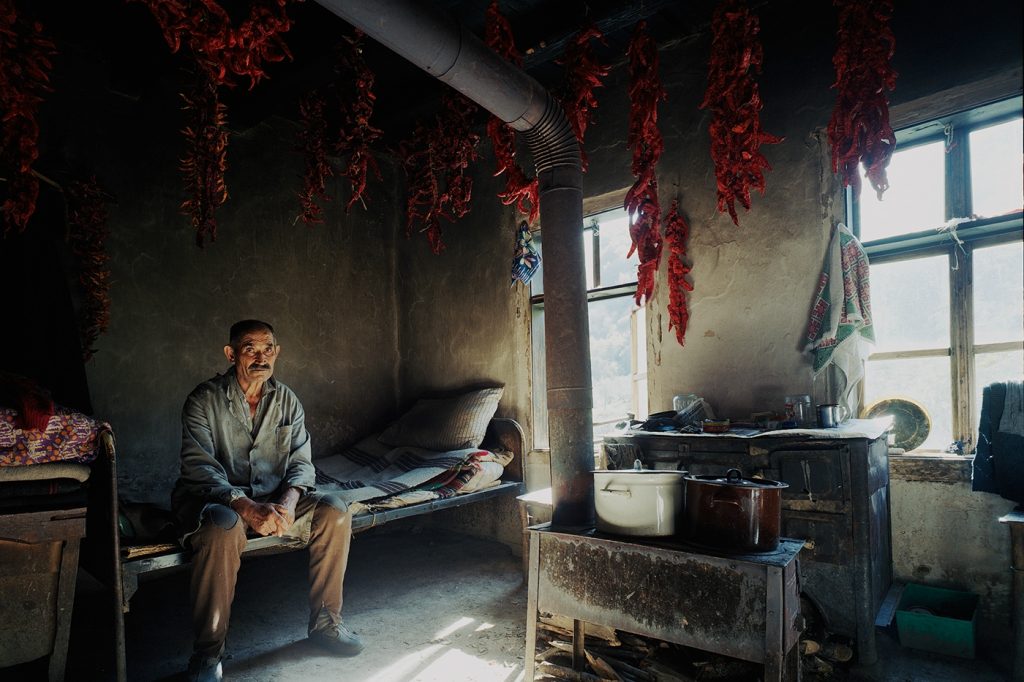
Work - Domestic Landscape - Bert Teunissen
An image of a man in his house with chili-peppers hanging from his room

In this image, the exposure is fairly low, which allows for the shadows to be clearly seen and made darker, giving the image a dismal, run-down look. The composition of this image is created primarily through the pipe in the centre of the image, with leading lines from the chili’s, windows and other furniture. It is arguable that the focal point is either the pipe in the centre or the man on the left. Lighting in this image overall is not too harsh, although light shines through the windows creating brightness. The artist likely uses colour as a way to show the situation of this person, with his house looking fairly run-down, which directly contrasts with the chili-peppers which would, supposedly, act as his livelihood. The model’s whole body can be seen and he has not been posed which could have been done by Teunissen to show that life for this person is mundane or glum. The image was taken level with the model, with the camera being positioned fairly far away, allowing more of the room to be seen. The model is fairly small compared to the rest of the image, which could possibly show how this man’s livelihood is of utmost importance to him in order to survive. The model is looking directly at the camera, which could have been done by the artist to make the model appear saddened or stressed about his situation.

Outside Photoshoot Contact Sheet

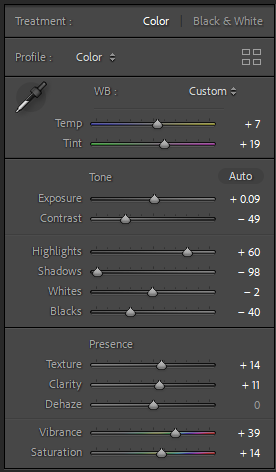
For these images I wanted to edit them in a simple way, by slightly changing the exposure, contrast, highlights/shadows and whites/blacks, which would allow for the colours and lighting to stand out more.

I think this is the best image from this set because I like how there is a difference in tone from the top and bottom halves of the image, as well as how the model inverts that difference in tone with their clothing (the darker parts of his clothing is positioned at the top half of the image which contrasts with the lighter sky, and his white trousers are in the bottom half creating another contrast). I decided to make the image black and white to make this correlation between the model and the background clearer

I decided to edit these next images in a similar way, I made the vibrancy low to create a dark red on the clothing of my model which contrasts nicely with the rest of the image which is left fairly dark and colourless.

I think this is my best image for the Outside Photoshoot because of how the image is laid out, with the other model’s upper body being positioned inside the bow of the closer model, which creates another frame within the image, as well as how both models have a similar pose like they are synchronised with one another. I also like how the colours in the image are shown, with red and white shirts contrasting heavily with the darker green.

Inside Photoshoot Contact Sheet

I edited these images in a similar way to the last ones, with only subtle adjustments, because I thought the colours of the models’ clothing worked nicely with the mainly black and white colours of the salon.

I chose this as the best image from the indoor photoshoot as I like how both models have their own frame or background around their head (with the model on the left having a white background surrounded by the black frames of the mirrors, and the model on the right having a mirror around their head, which is almost the complete opposite of what is shown around the model-on-the-left’s head). I also like how the image is primarily made of black and whites, yet some colour such as blue and green manage to make their way into the image and contrast with the black and whites.

Two or More Models Photoshoot Contact Sheet

For this set of images, I edited them in a simple way as well, this was so that the different colours, the warmth and tones of the images are kept close to the originals. I did this because I liked how the images turned out without editing them.

I thought this was the best image from the Two or more Models photoshoot because I like how there is a large variety of colours in the image, with blue and green being the majority of the colour in the image’s background and pink and black being the colours of the models’ clothing, creating a contrast. I also like how the models use the blue of the sky as a background for their head, which makes their faces stand out more as the sky has very little in it, while their lower bodies use the green on the ground as their background.

Final Images

Evaluation:

Overall, I am pleased with the outcomes of the photoshoots, I think the images correctly show what the atmosphere is like in those professions/doing those hobbies. I would say that my favourite photoshoot out of the three would be the outside one, as I think the images have a lot of energy and an ‘In-the-moment’ feel to them. However, I think I could have incorporated the style of the artist I researched (Bert Teunissen) more successfully, I could also work on my skills with communicating with my models in order to get the exact image that I wanted.

Still Life Editing

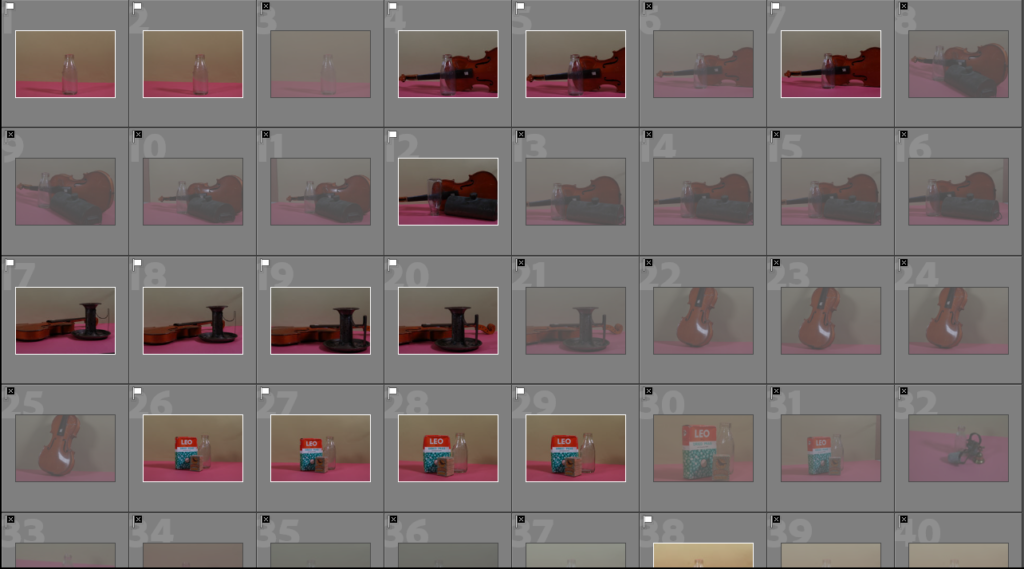
Selecting Pictures Process

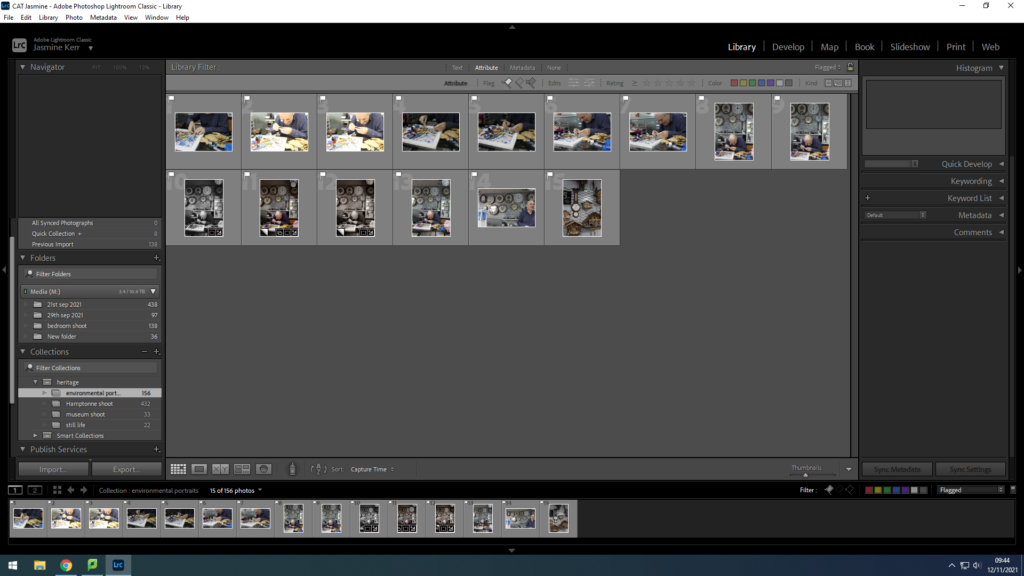
I used P (pick) and X (reject) to choose which pictures I wanted to keep and use later on for my edits.
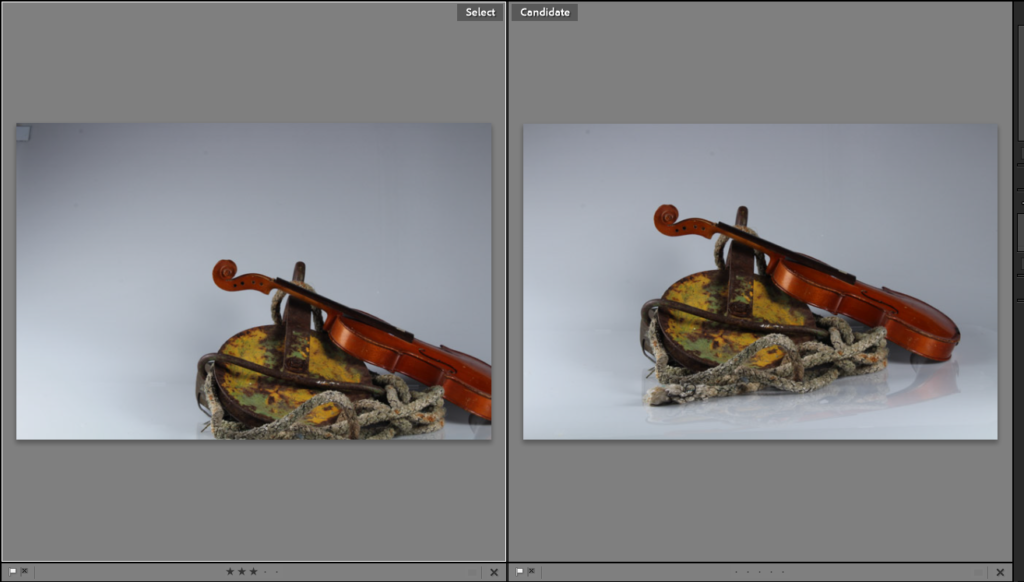
Then I compared the images that looked similar and picked the one I liked the most by starring it.
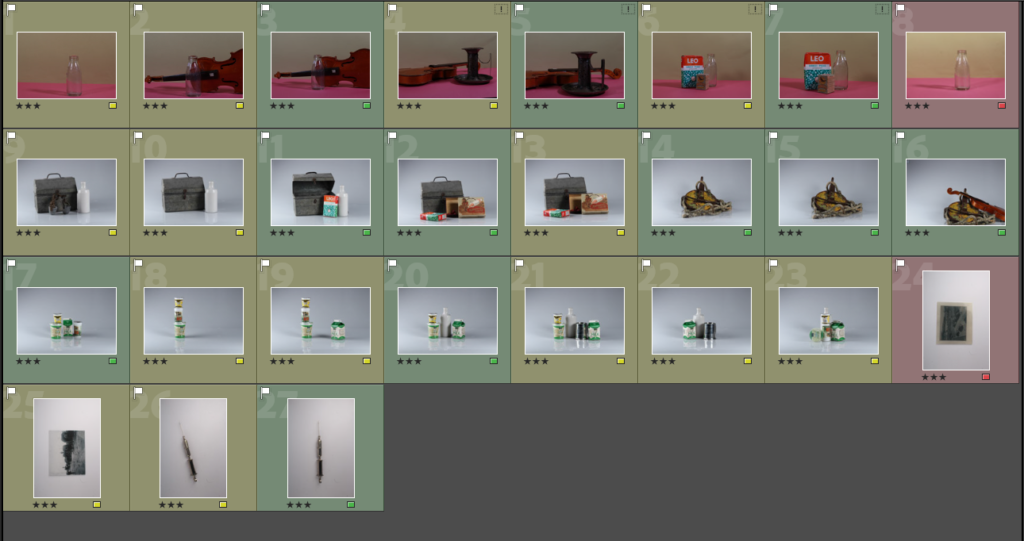
After starring my pictures, I colour coded them and decided which ones I wanted to edit. (yellow = maybe, green = yes, red = no)

Editing An Image

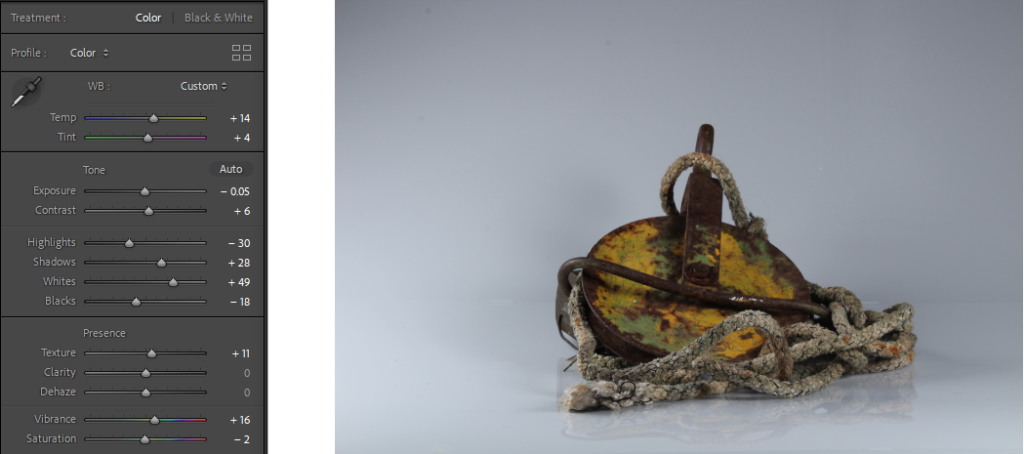
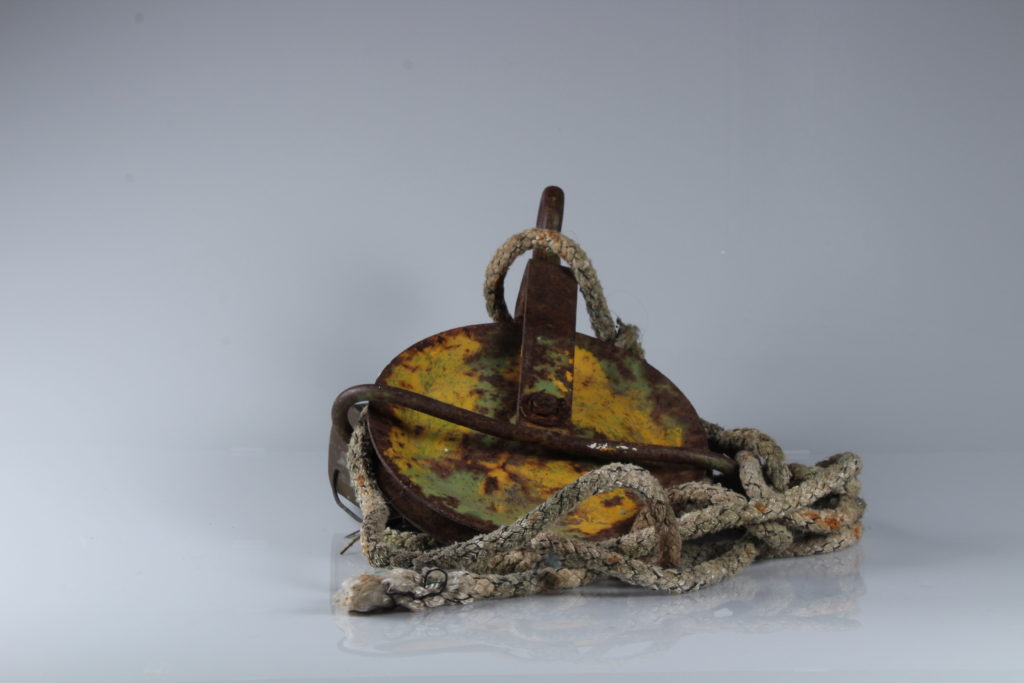
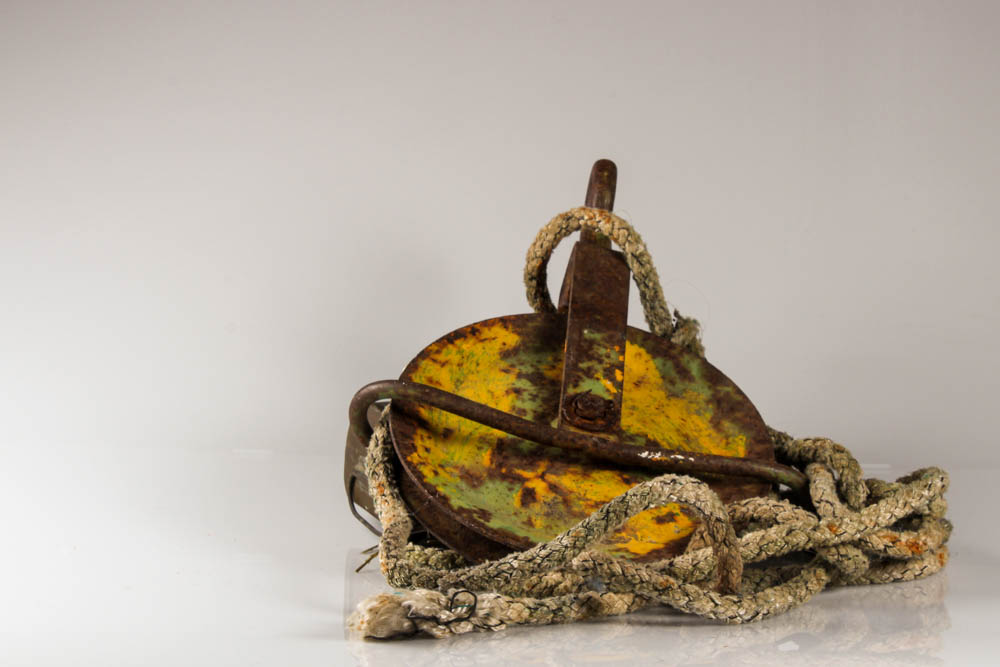
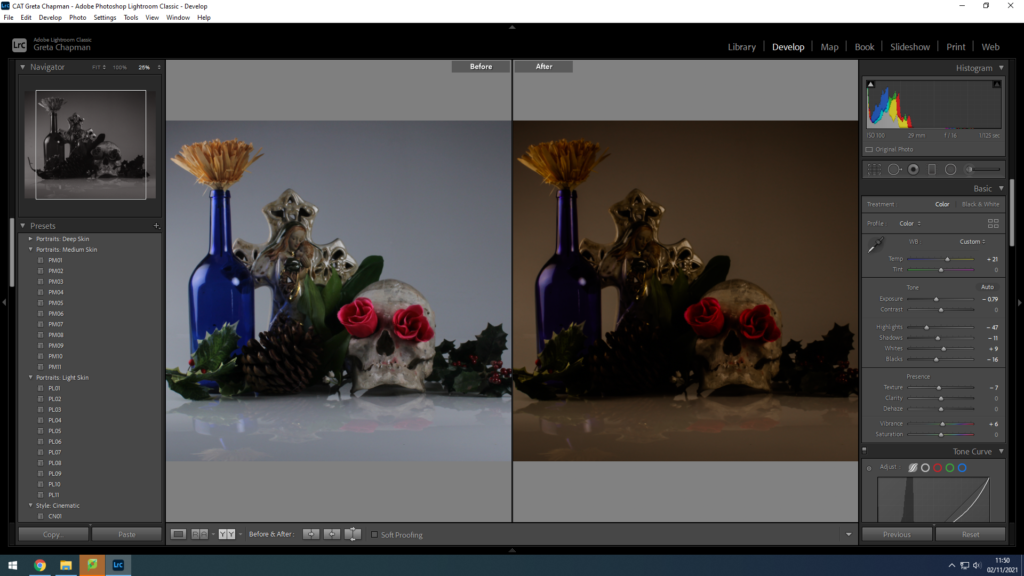
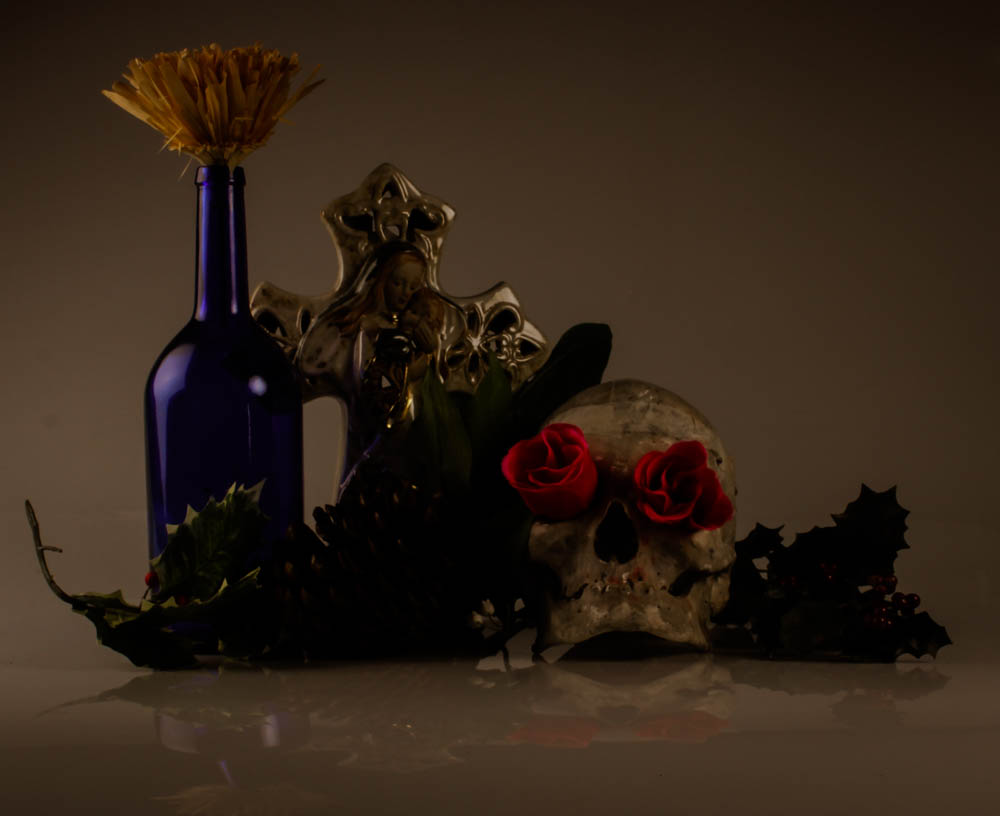
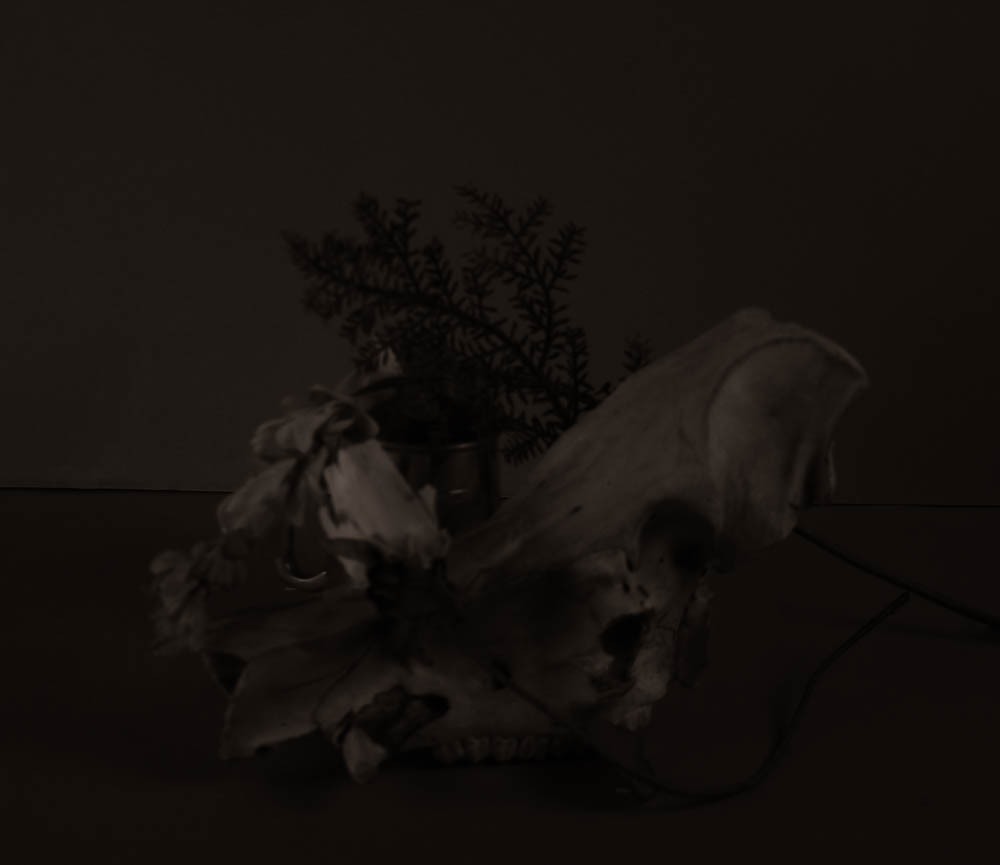
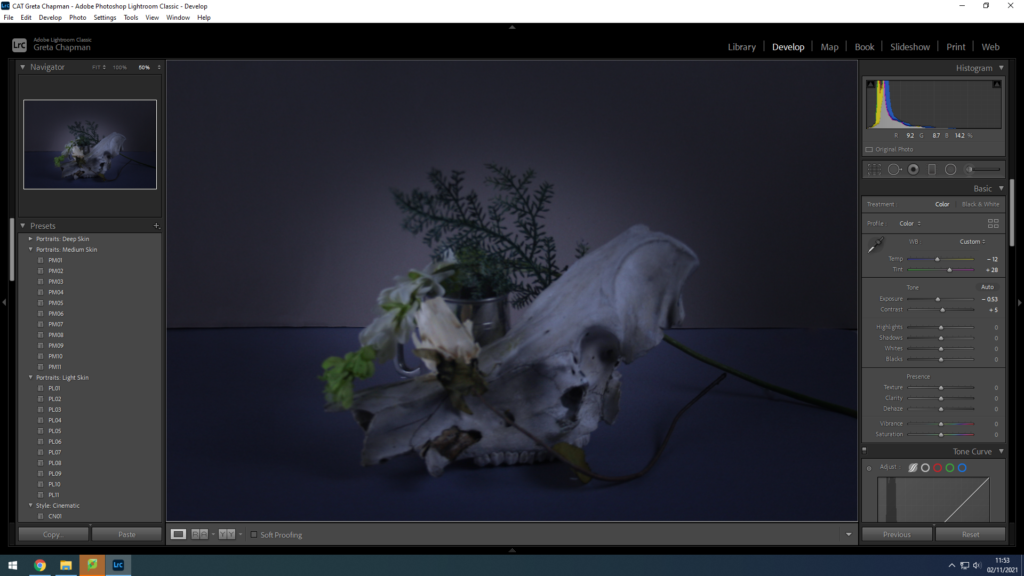
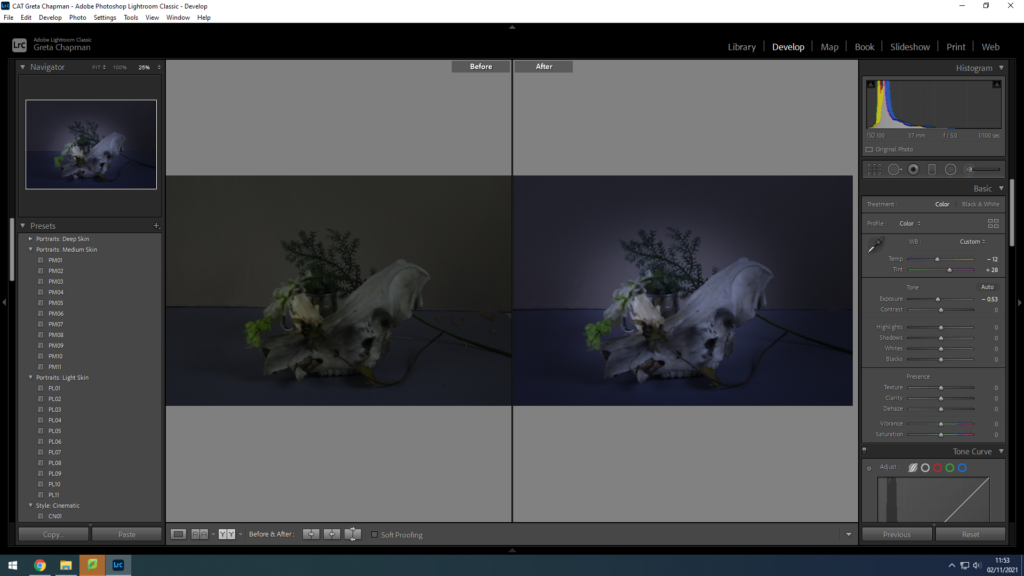
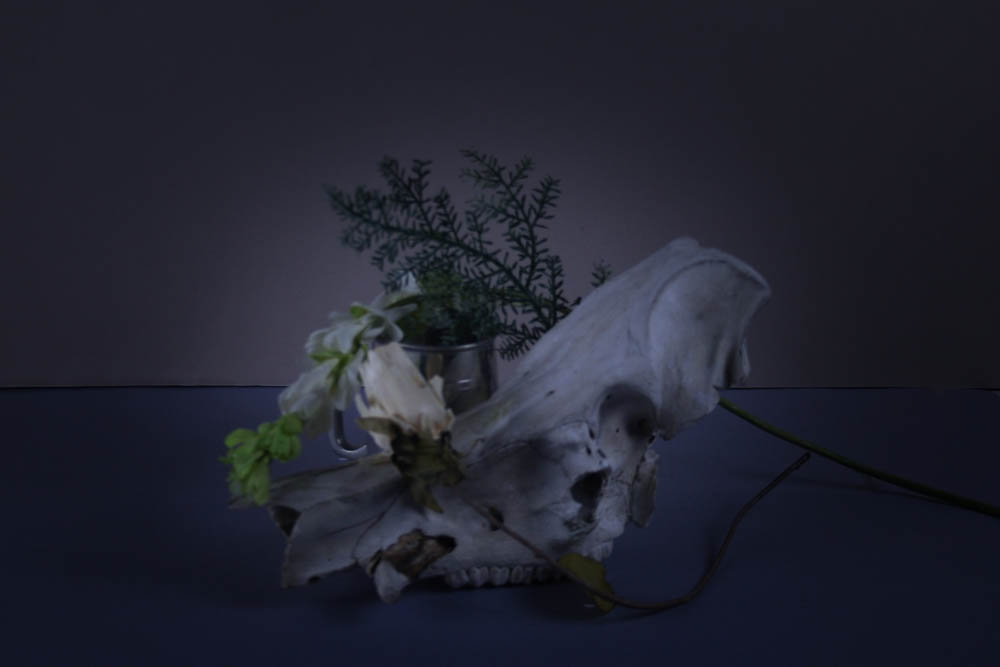
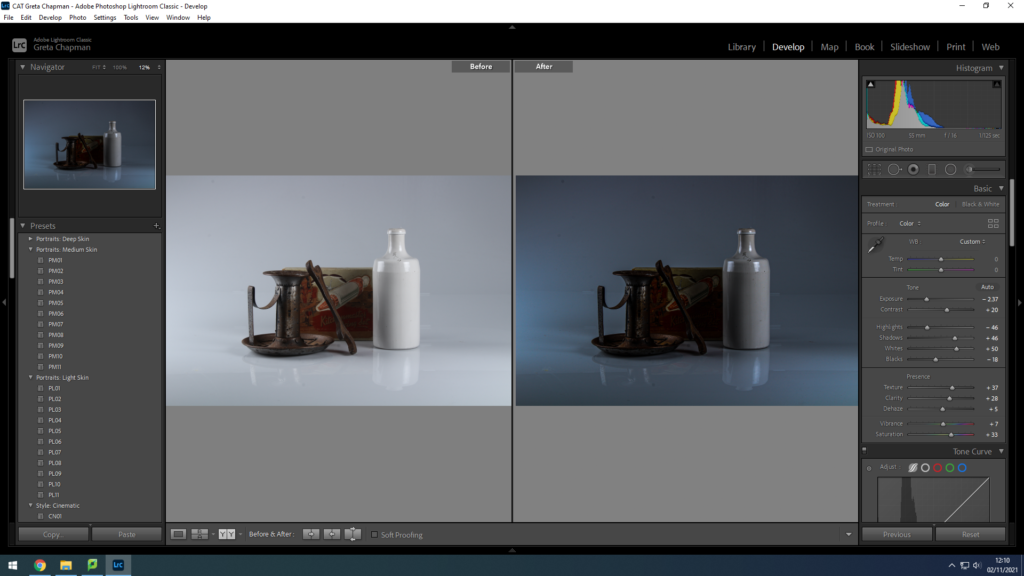
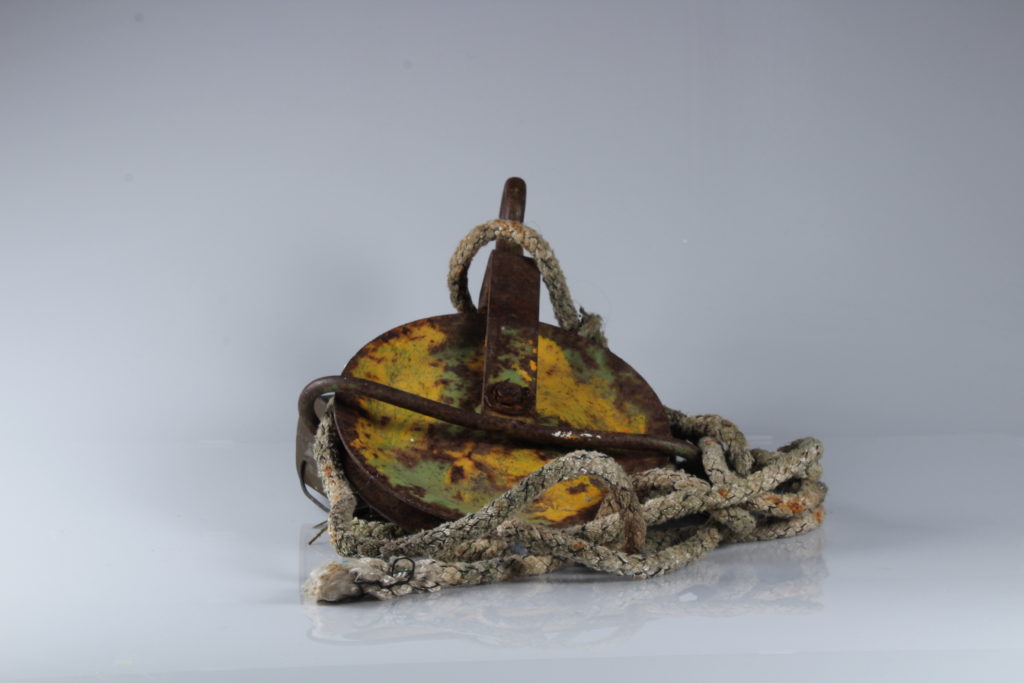
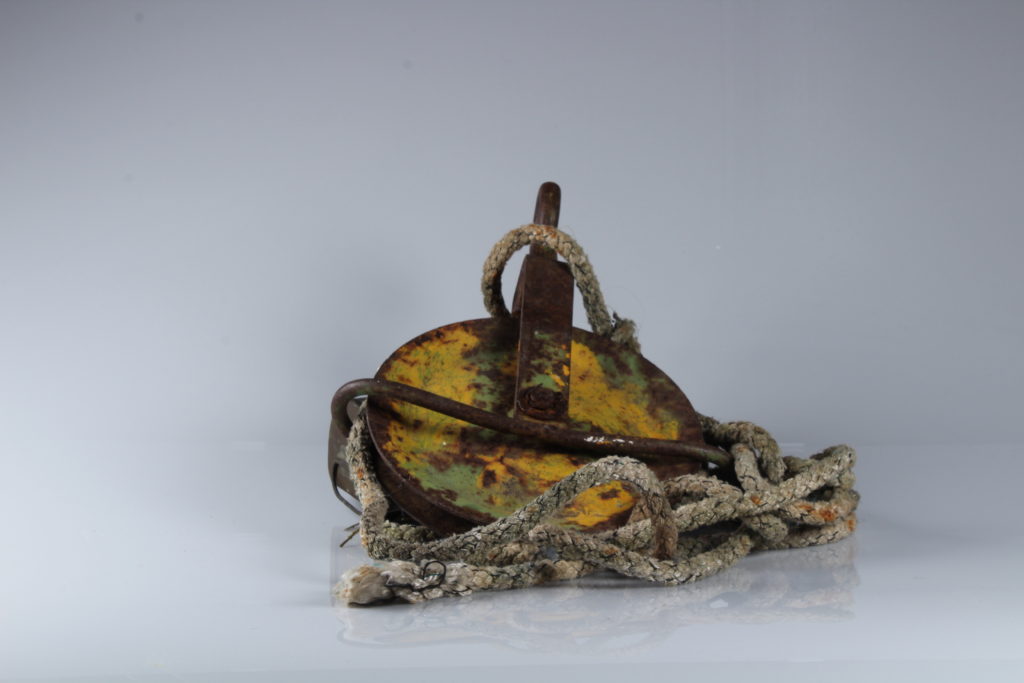
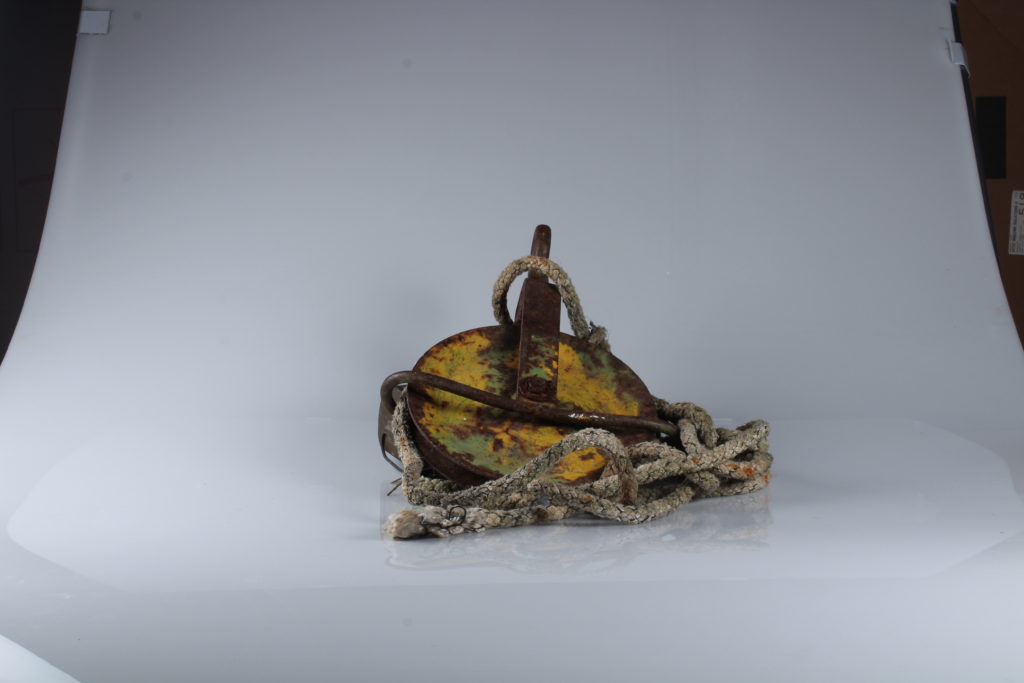
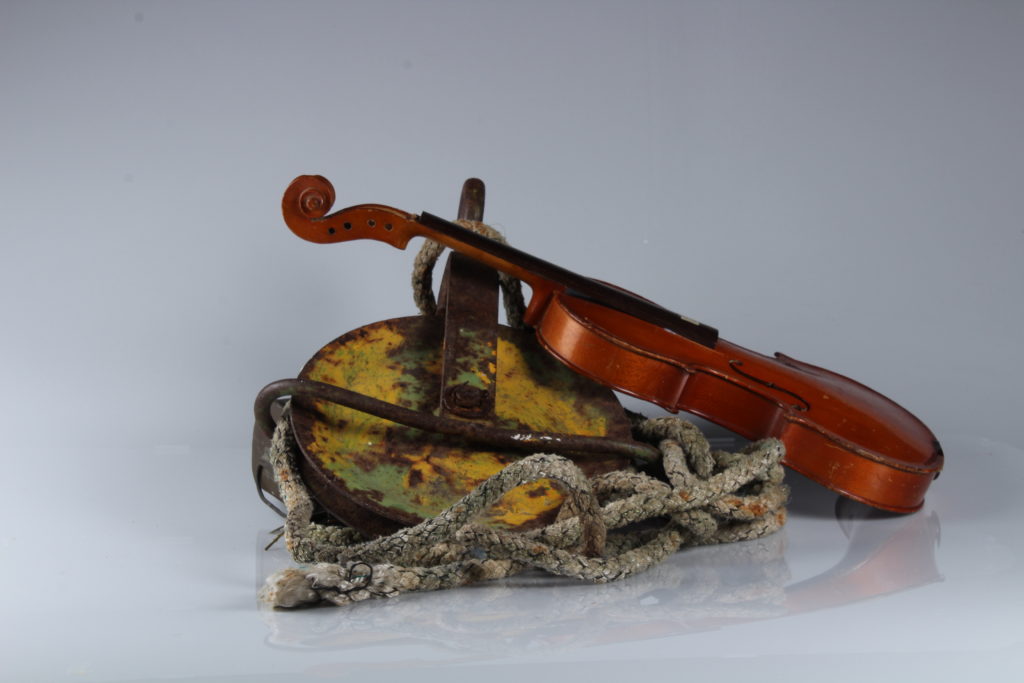
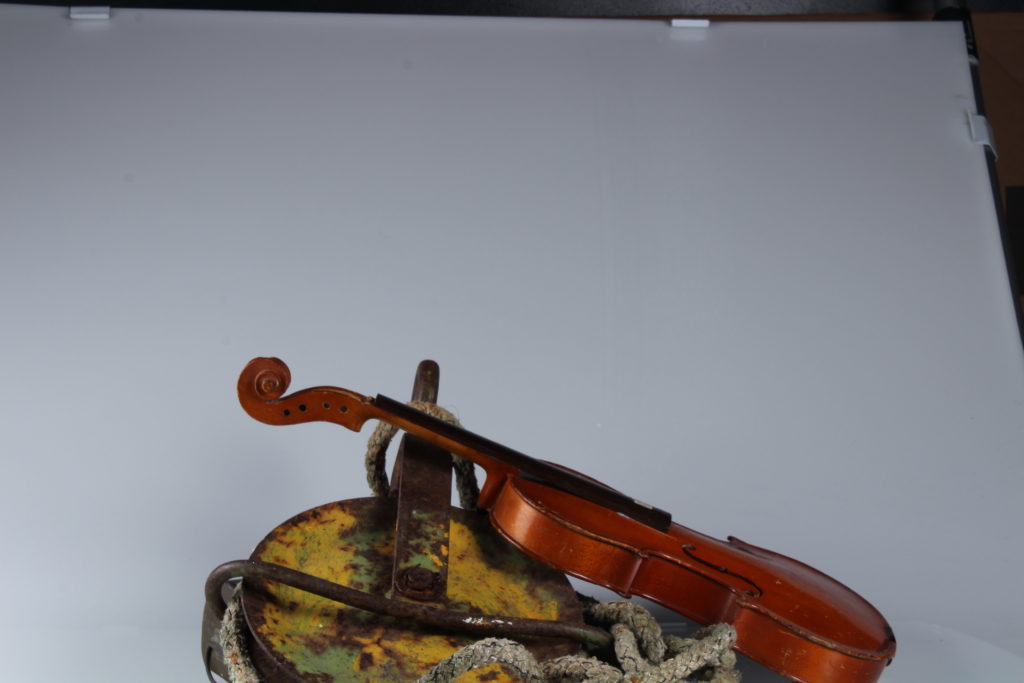
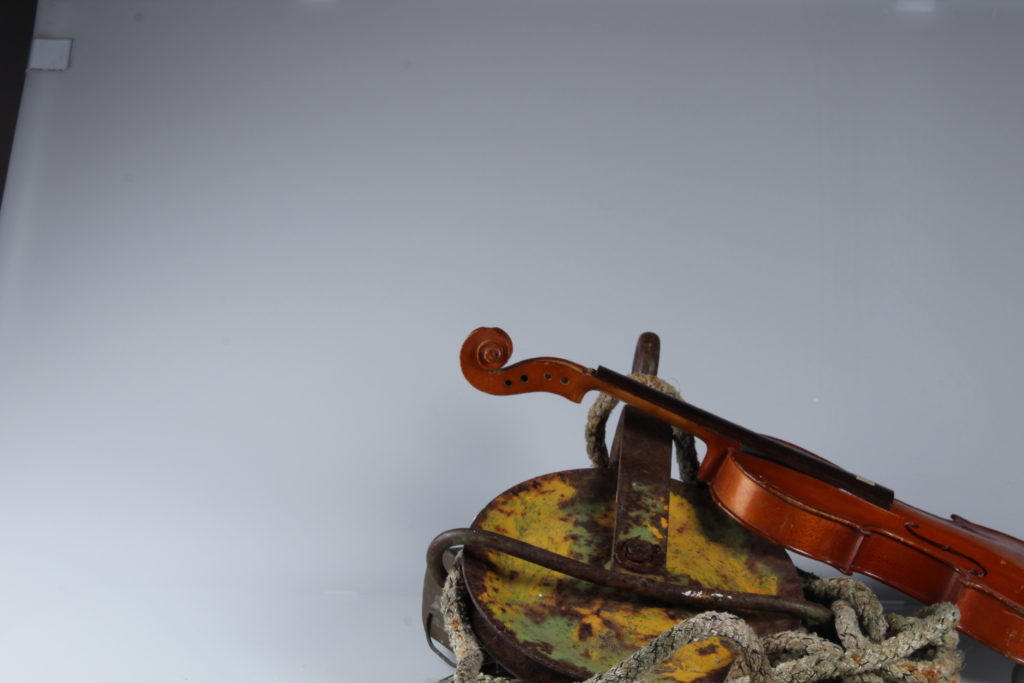
the original image and how I edited it

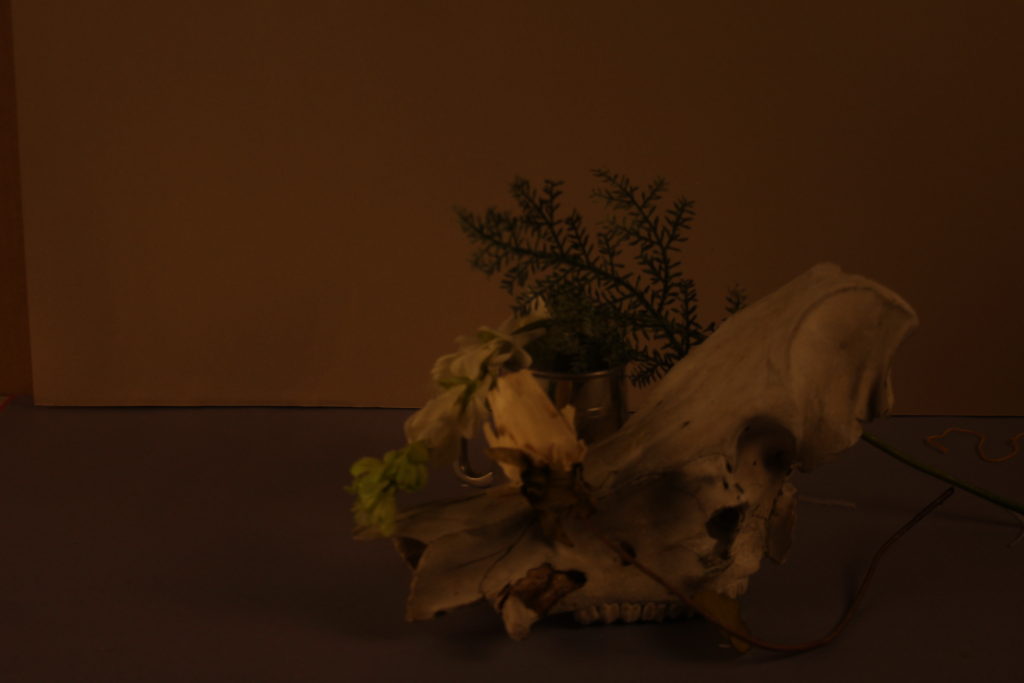
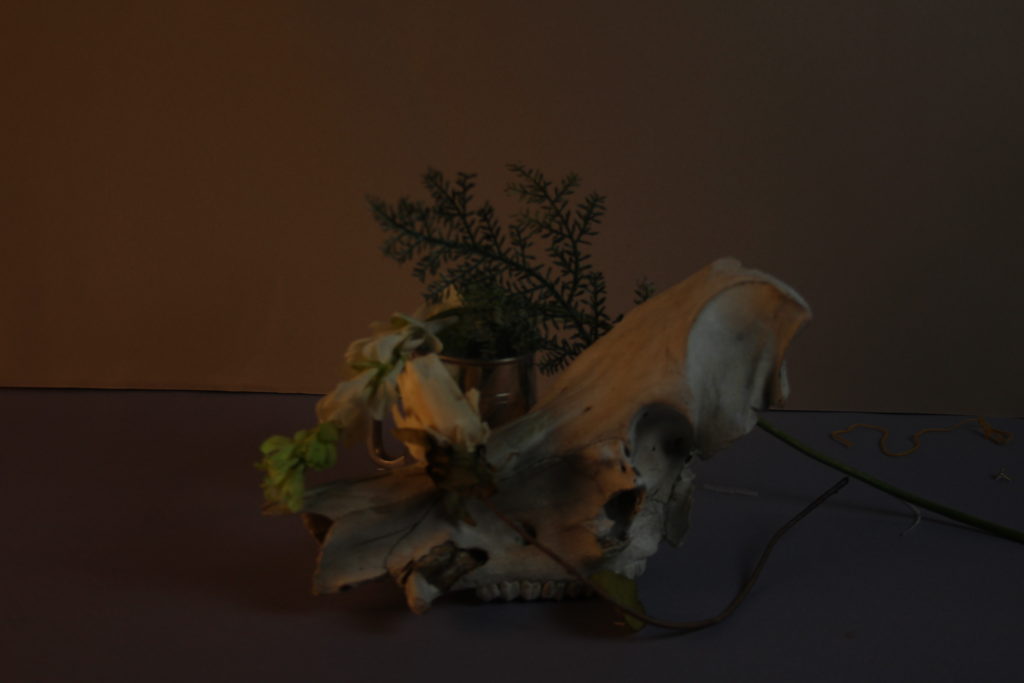
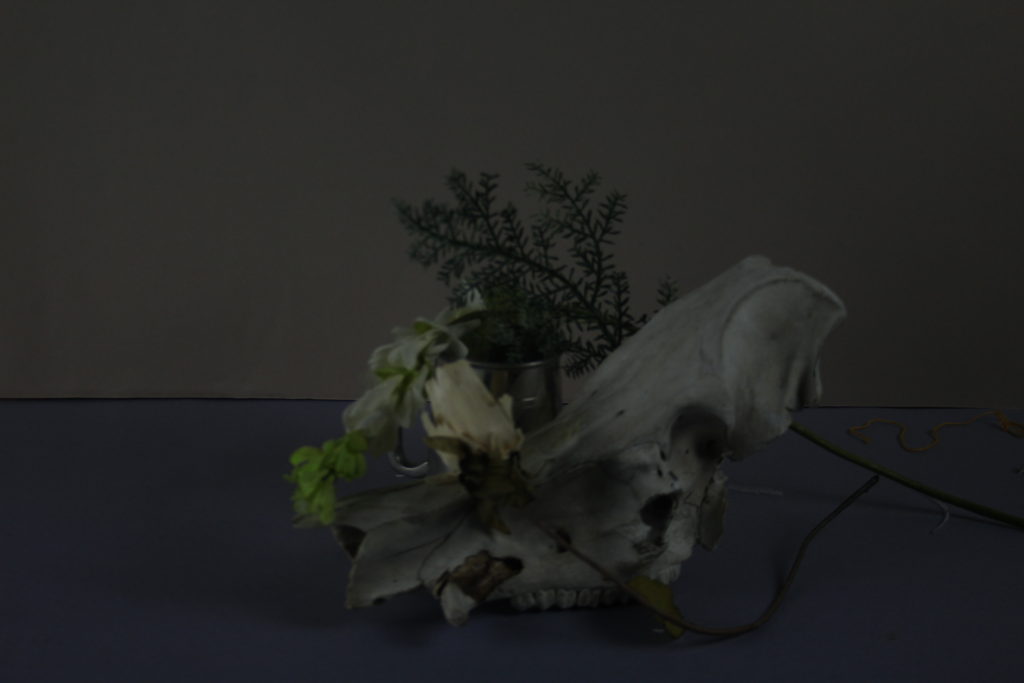
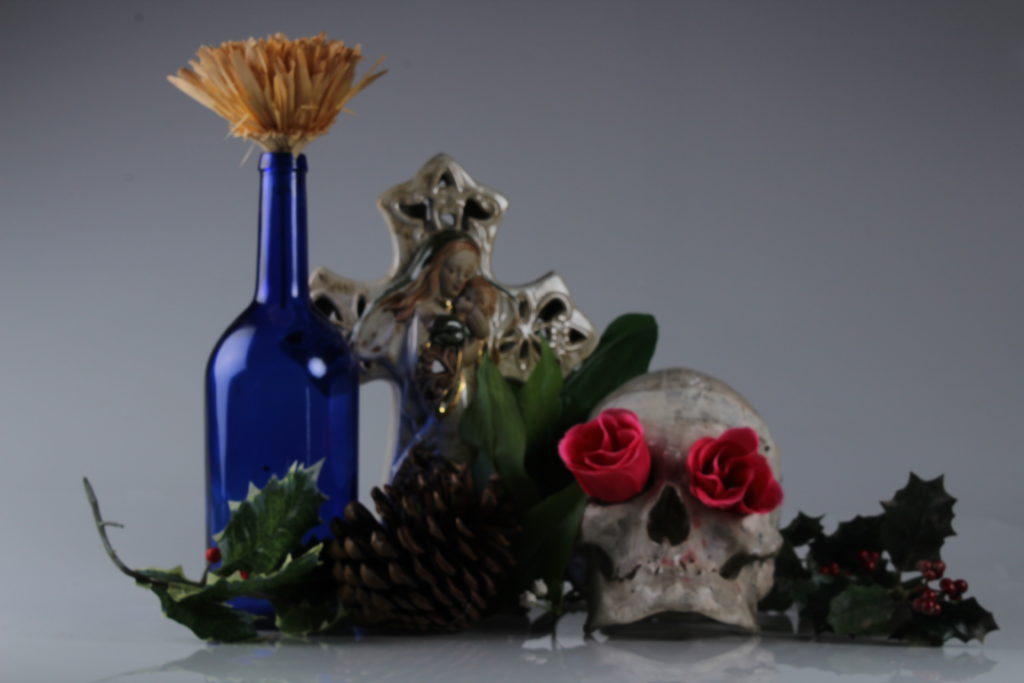
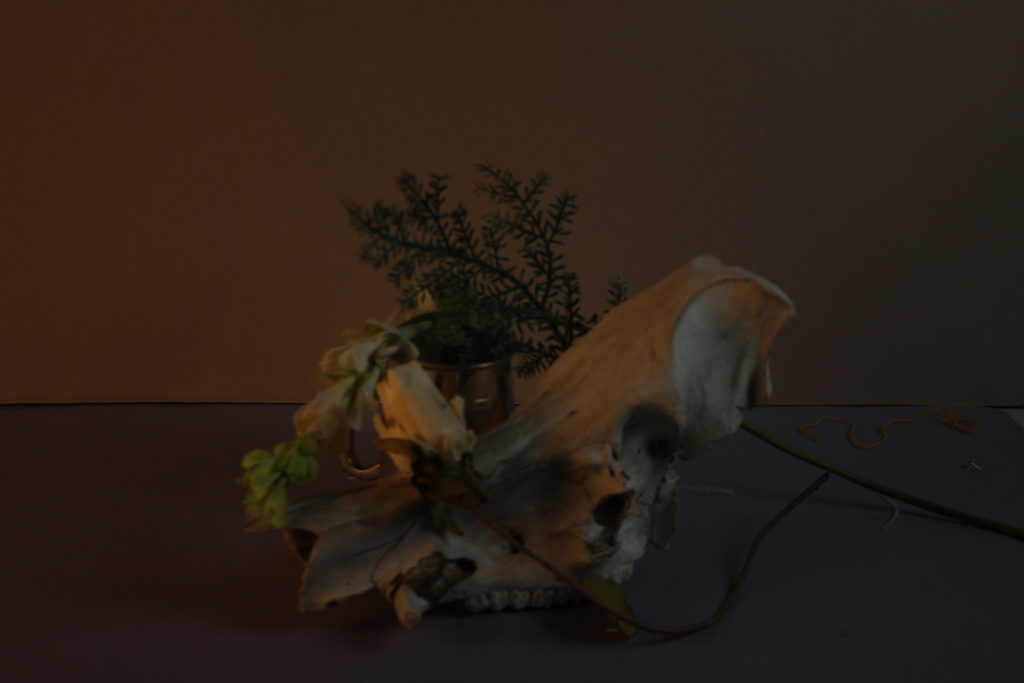
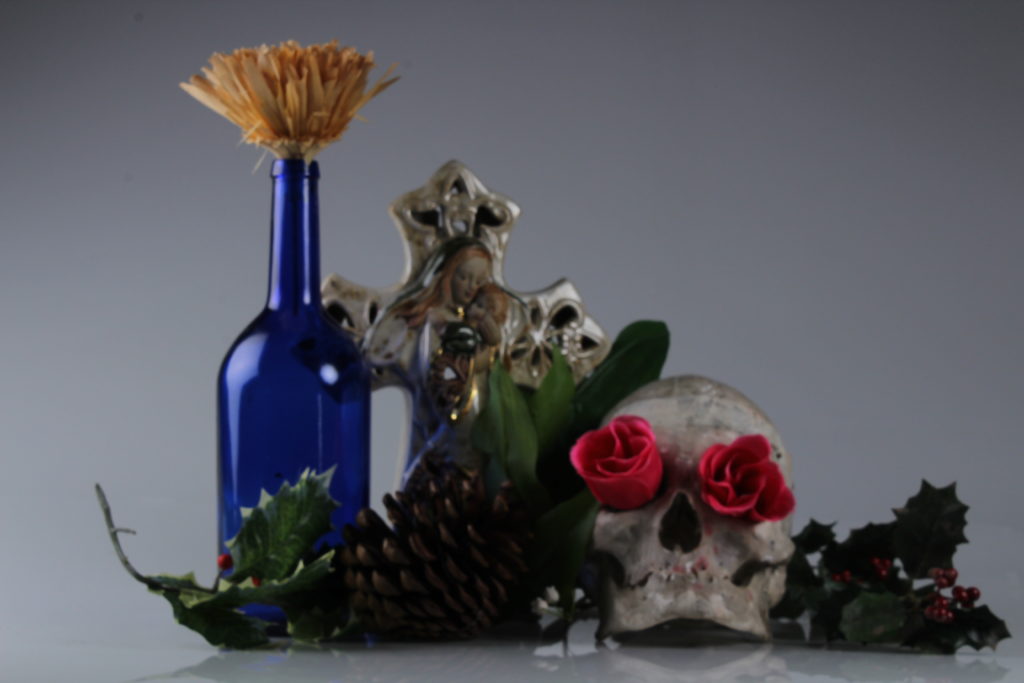
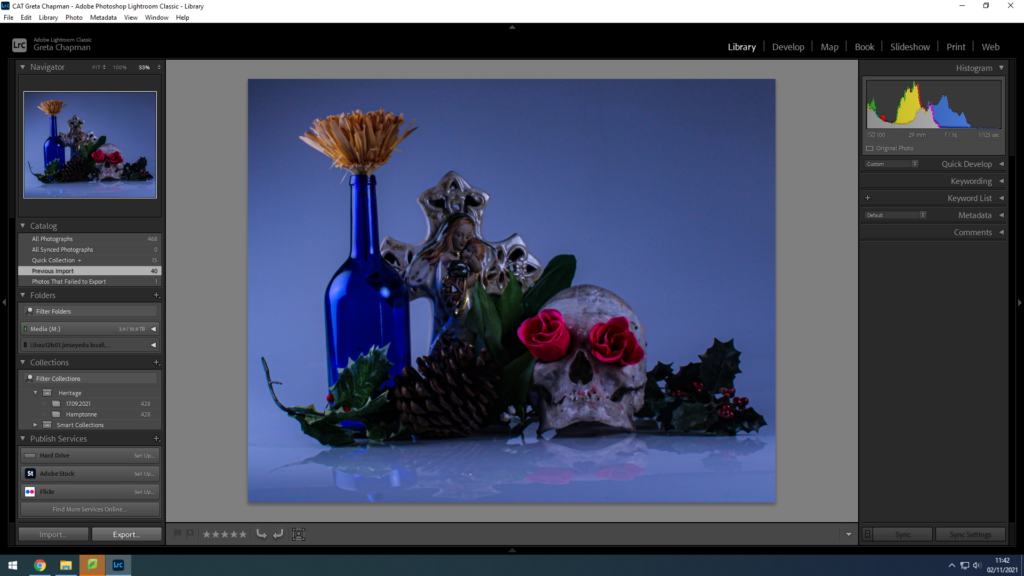
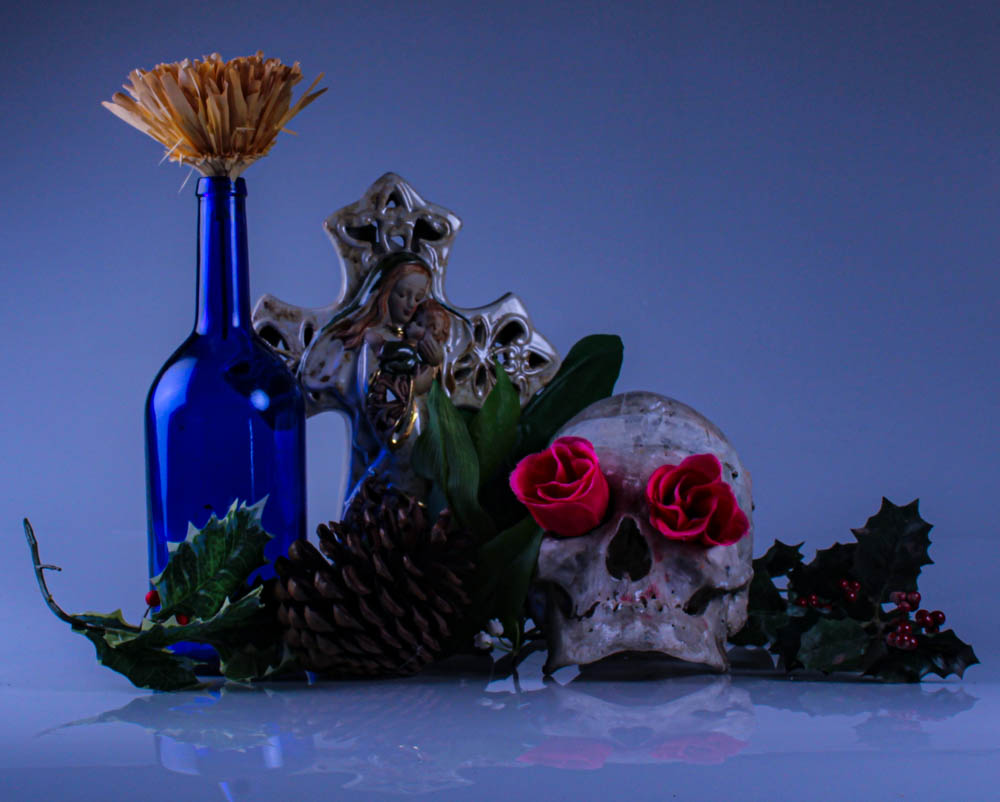
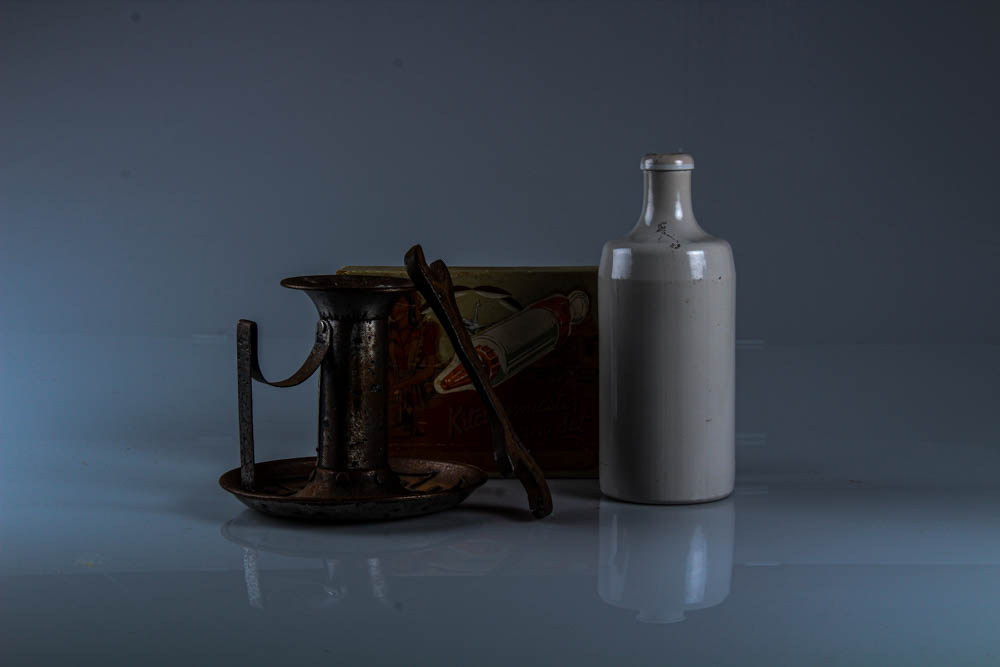
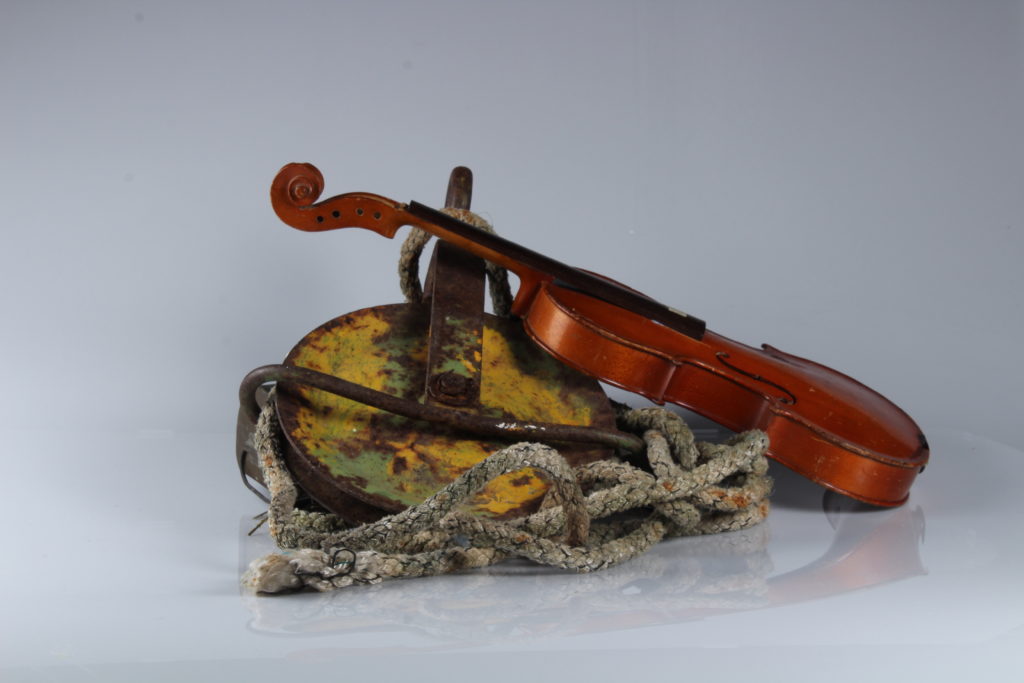
I decide to edit this photograph because I though the lighting was quite good and I liked the way I placed the item. This is because the rope is clearly visible and you can see all the small details on it which I thing looks interesting. I also liked the colours in the image because they compliment each other. The metal thing with the paint on reminded me of a paint palette.

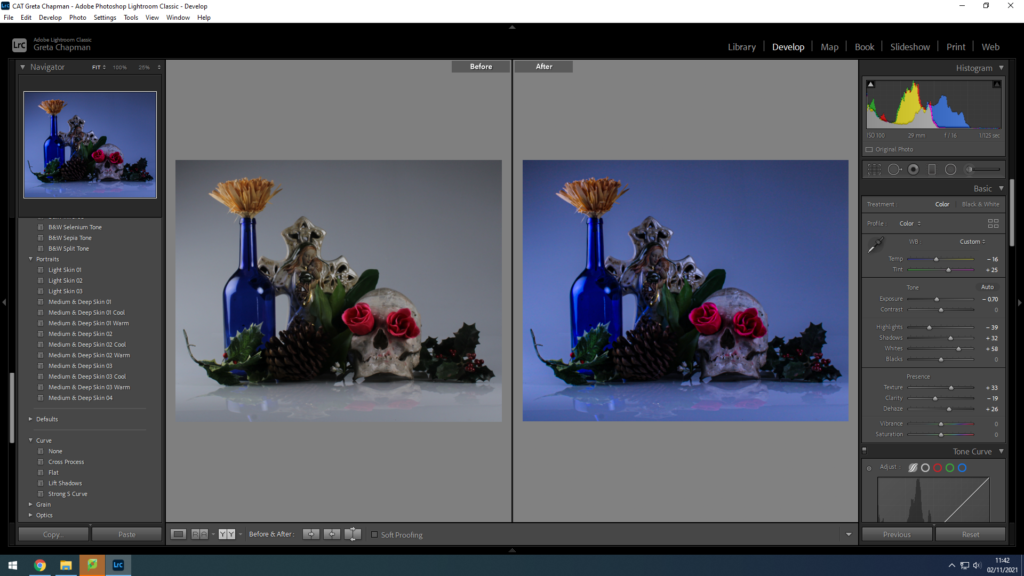
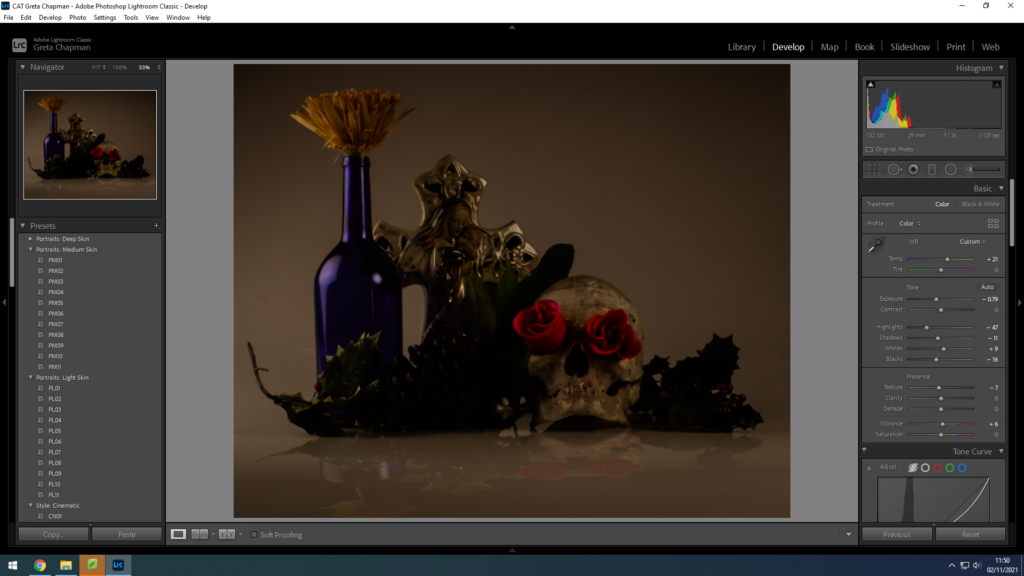
I started by cropping the image because I wanted the object to be more visible to the viewer. I increased the temperature by a little bit because I wanted to give it a warmer tone and make it softer (the studio lights were a bit too harsh in my opinion). Increasing the whites and shadows made the whole image brighter and I liked that because the details became more visible.

Final Edits

environmental portraits

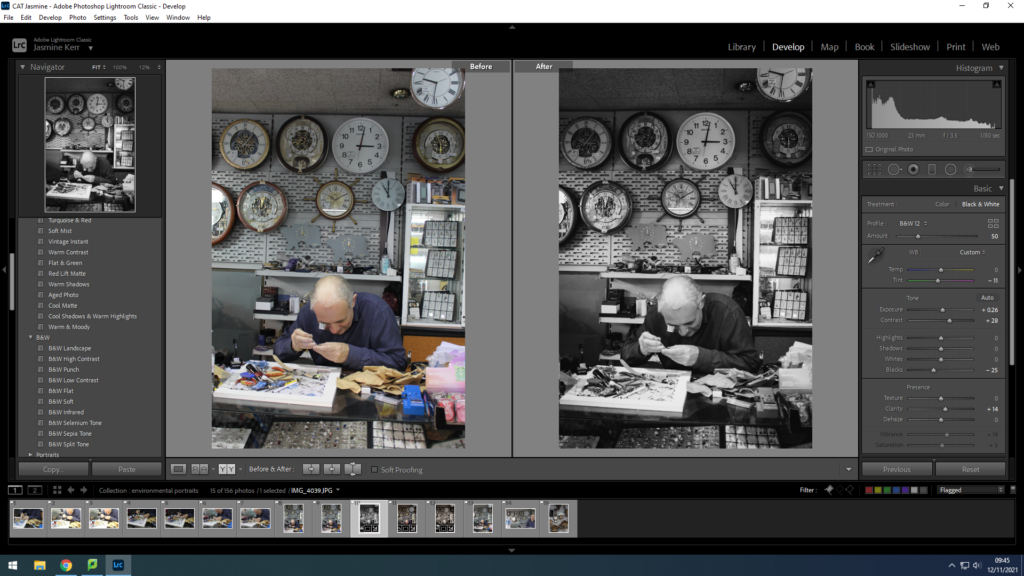
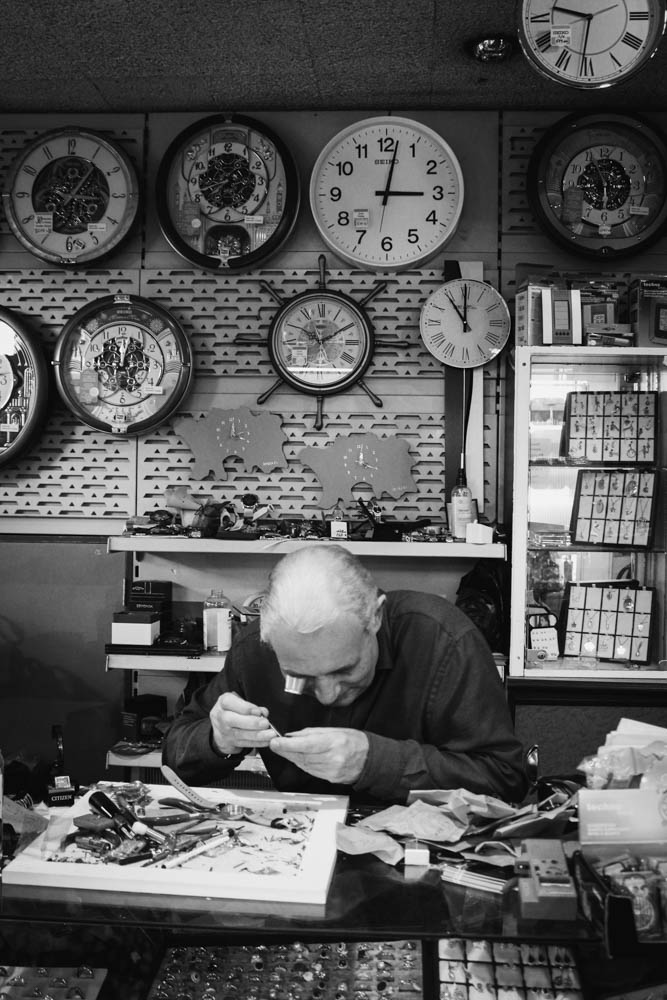
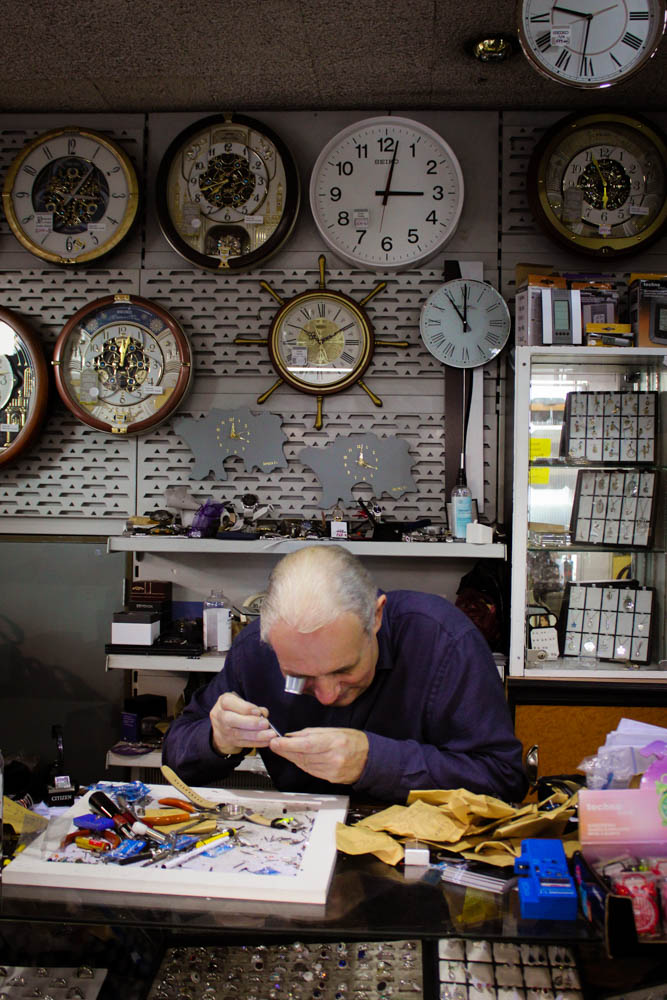
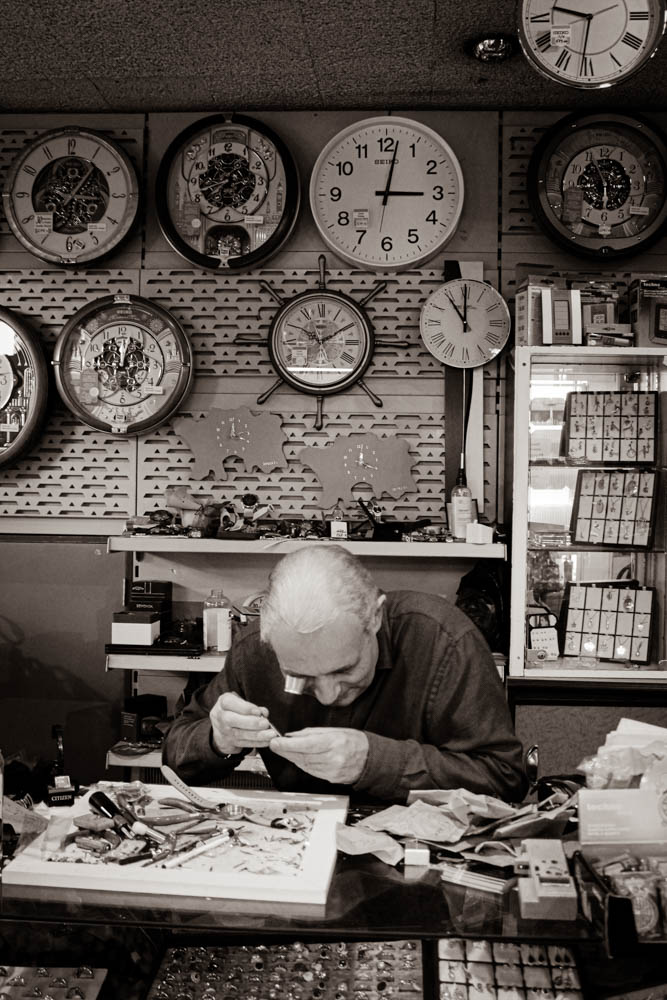
This version of the portrait is my favourite. This is because the black and white allows the picture to look timeless. This picture could’ve been taken recently or 50 years ago. I find this aspect of the photo the most interesting as I have made a picture taken in the 21st century look as if it is photographed in the 1900s. The black and white of this image reflects on how long this jewellery shop has been running for. It relates to the theme of heritage because it is a family jewellers which was established in 1988 by the hutching’s family. They stated at the time that they weren’t expecting so many people to come into the shop and since then, to this day, TJ Hutchings has been a go to jewellers to get all things jewellery fixed and is well known by islanders.

shoot 2

Environmental Portraits: EDITS

Photoshoot Process

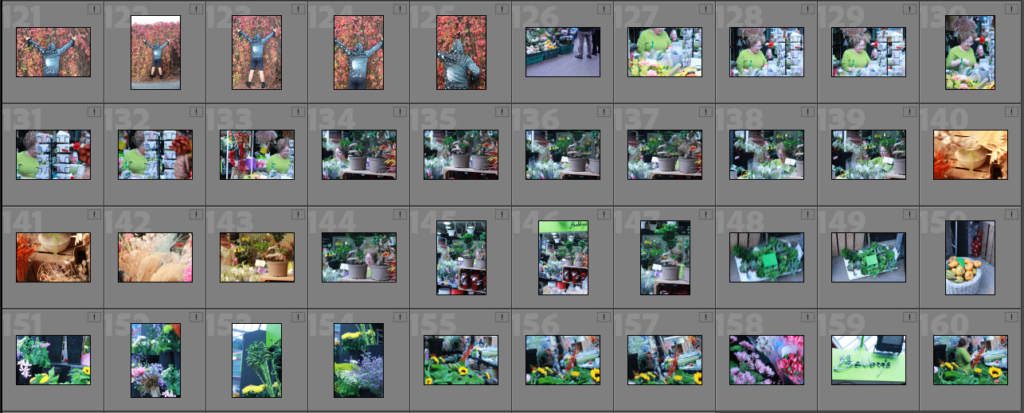
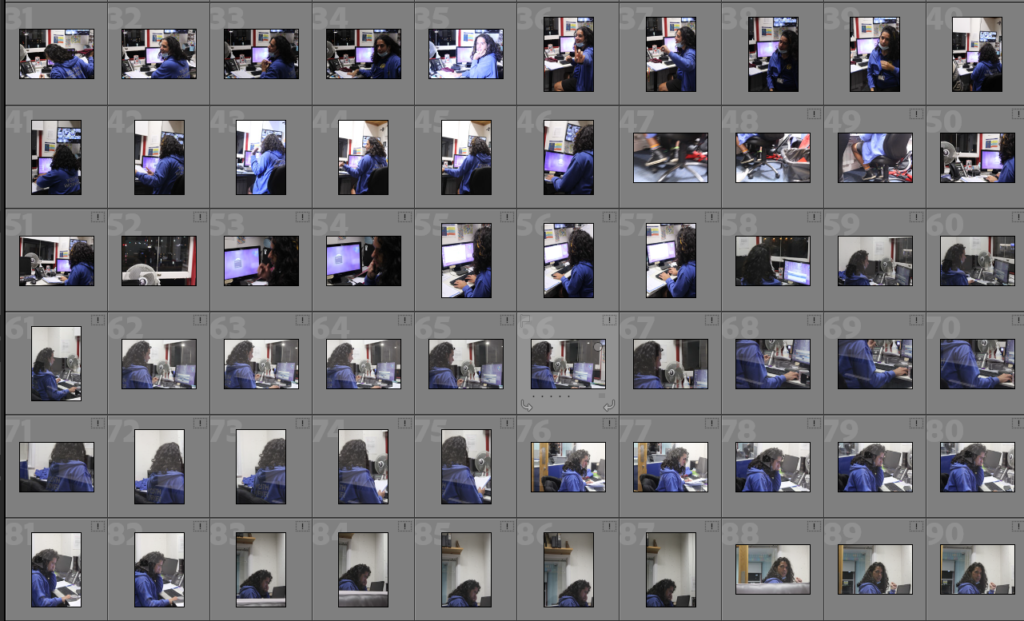
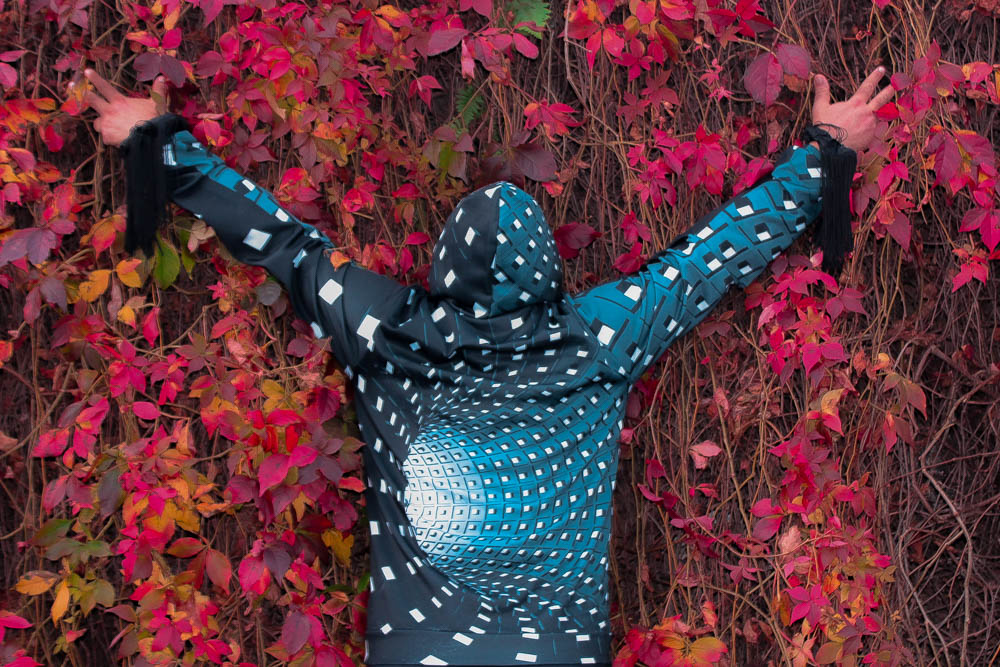
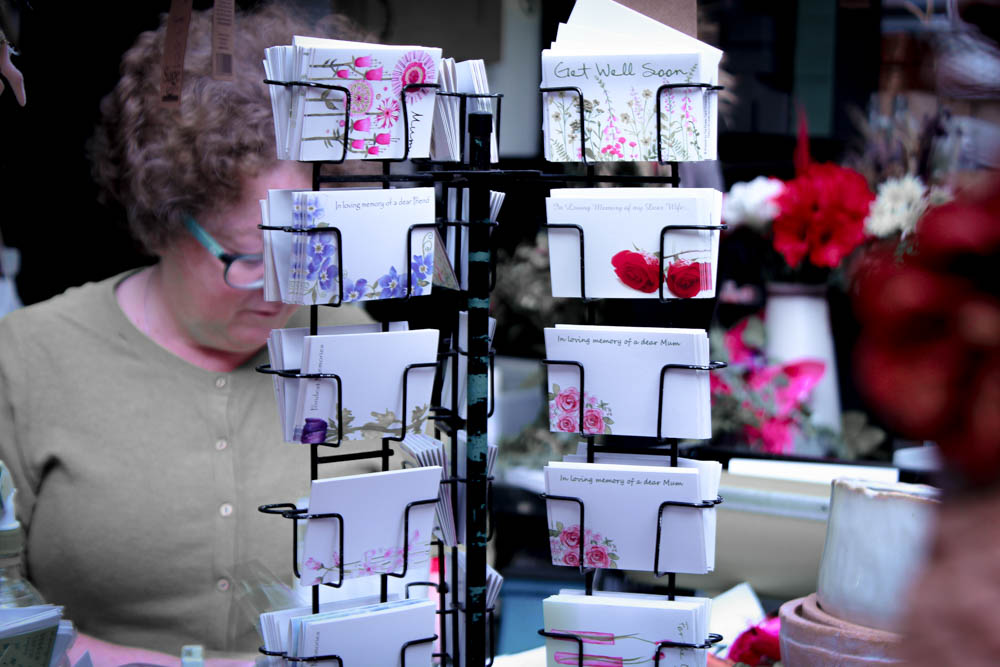
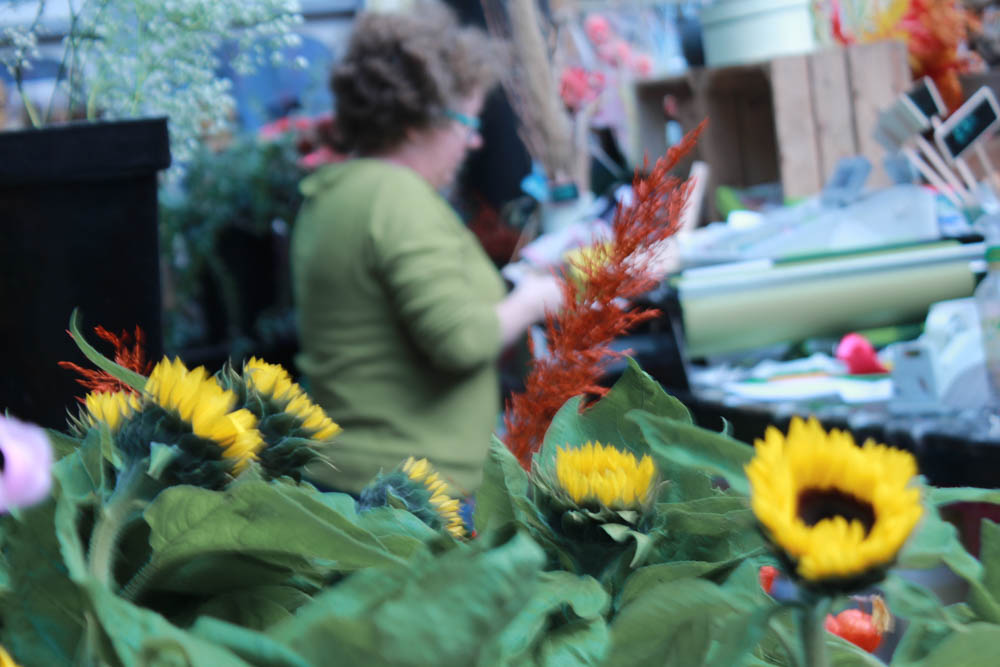
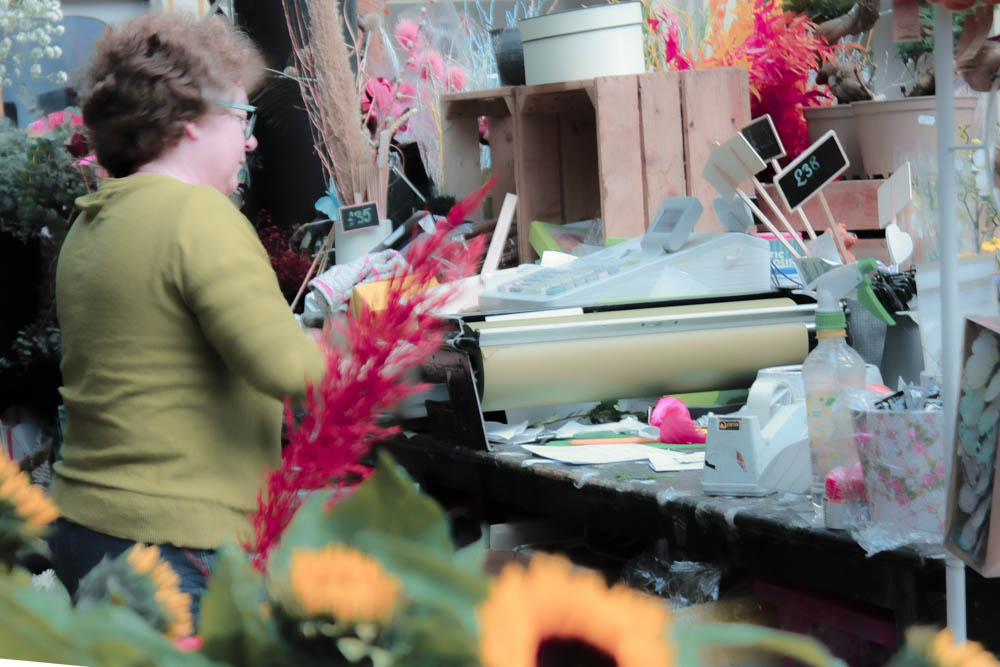
In total, I had 3 photoshoots: First at a youth club, second by some foliage, third in the market.

Contact Sheet
Contact Sheet

In each photoshoot I tried to use a variety of angles and distances in order to get an assortment of shots that looked different from one another whilst still keeping both the model and background in the shot. I found this quite difficult, especially when the model was moving around, as the photos would end up quite blurry/out of focus even when I changed the shutter speed and f-stop. However, despite these challenges, I think I was still able to get some decent environmental portraits.

Editing My Portraits

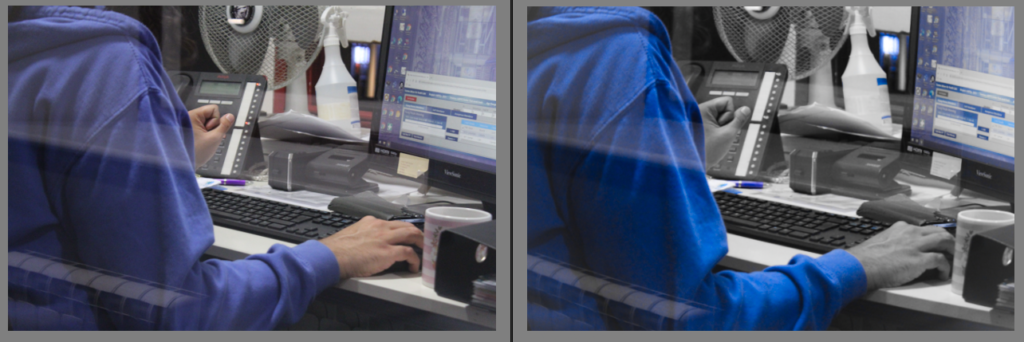
My original photo

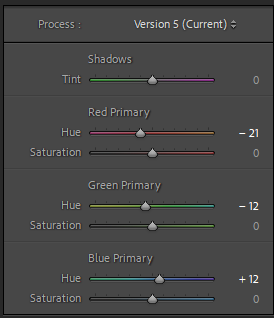
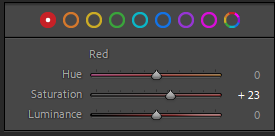
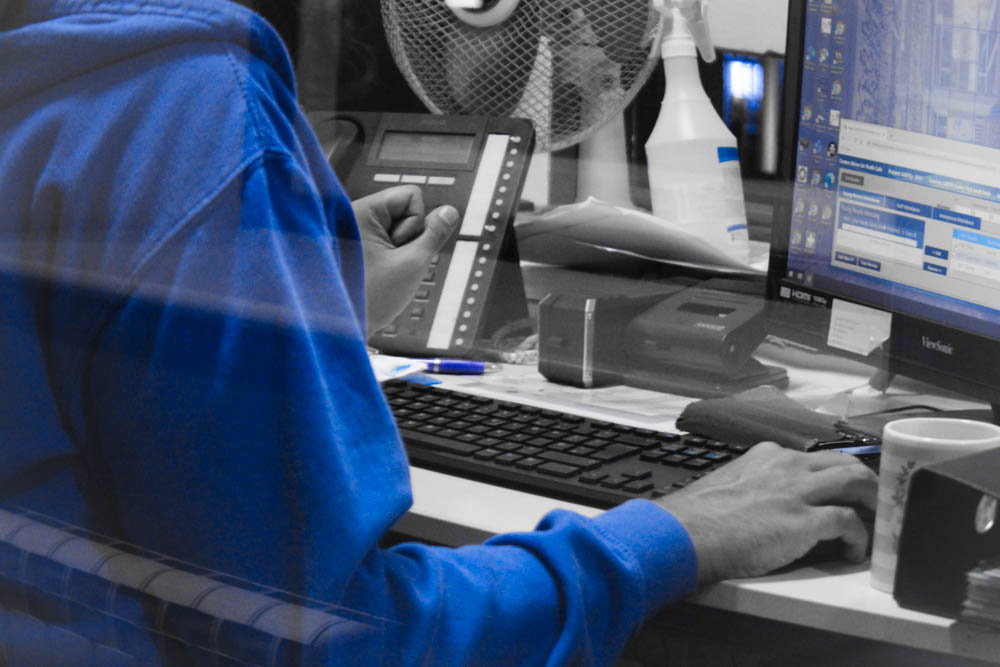
When editing this image I wanted to make the background stand out just as much as the foreground in order to highlight one aspect of the surrounding environment whilst still keeping everything else in focus. This led me to increasing the highlights and shadows a lot whilst keeping the exposure down in order to make sure each object in the image was in focus and distinguishable from one another. I finished off the edit by decreasing the saturation on everything except the blues which gives the viewers eye something to focus on.

This image has an empty alt attribute; its file name is david-butb-blue-1-of-1.jpg
My final edit

My Final Edits

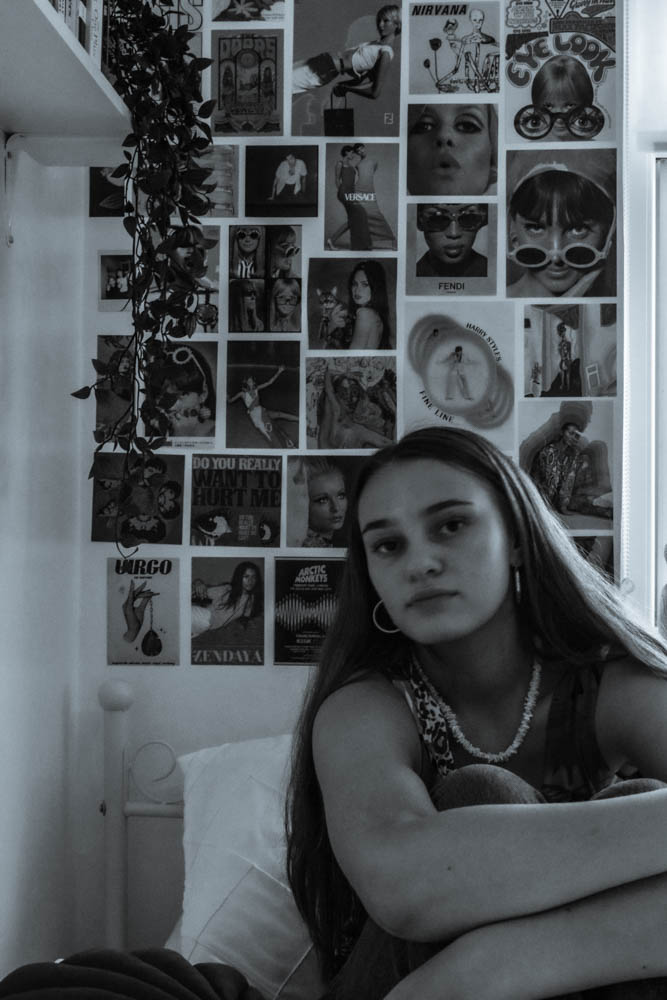
This is my favourite edit as I like how the colours stand out, despite being muted, and how they create a small wonderland due to the flowers surrounding her, making her seem like she’s in her own little world.

TASKS Mon 1 Nov – FRI 12 NOV

  • Environmental Portraits – show and discuss – critique
  • Work in small groups to take still life compositions in studio – use product table and flash lighting system, copy stand with flash light, and coloured backdrops with soft box lighting (this should be done by now)
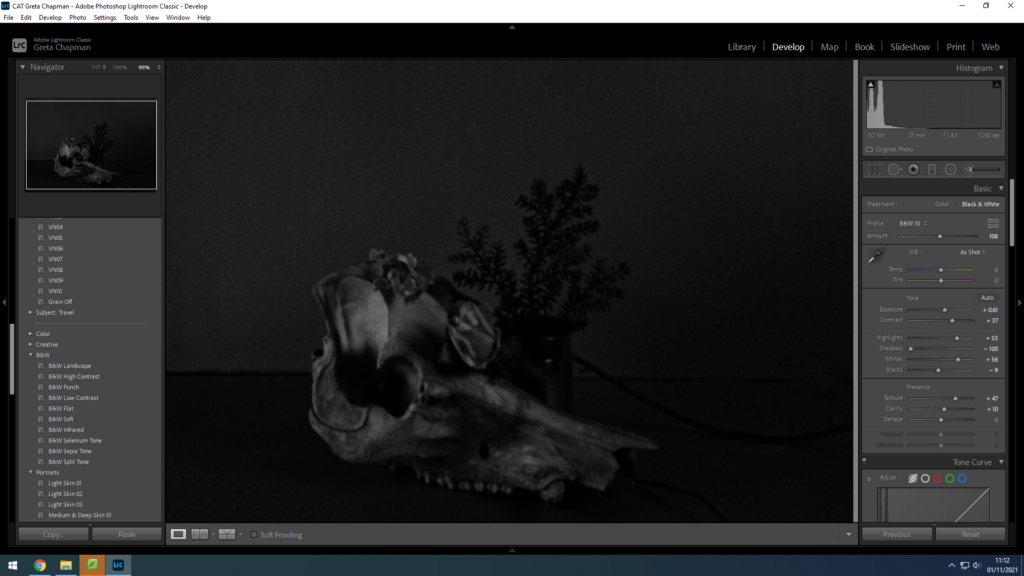
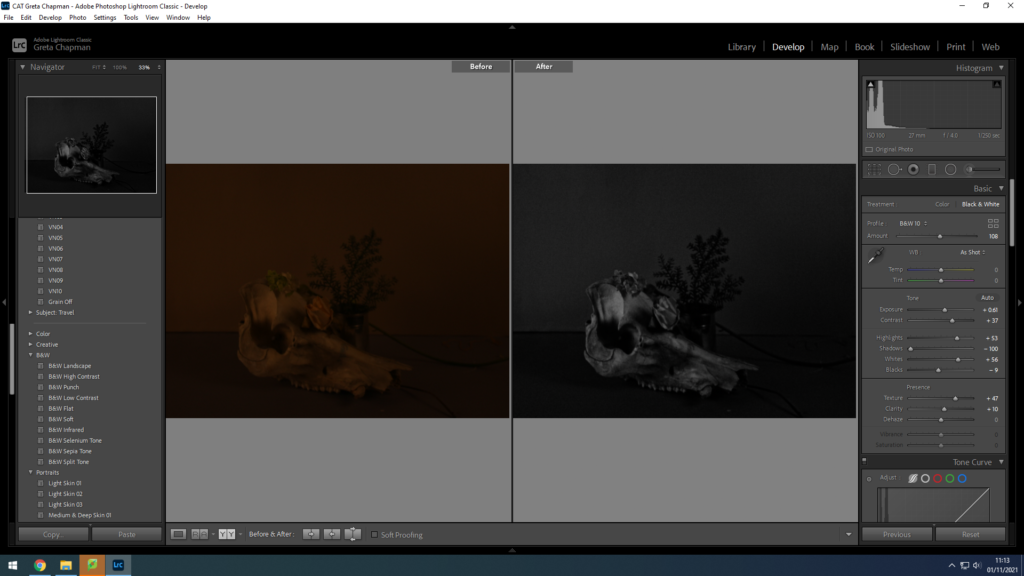
  • Select and edit a range of images from your still life photo-shoot in Adobe Lightroom
  • Look carefully at this blog post for ideas, research and theory
  • Create YOUR OWN blog post(s) that clearly shows your selection process and a range of final images from the objects
  • Final Images = 3-5 object-based images
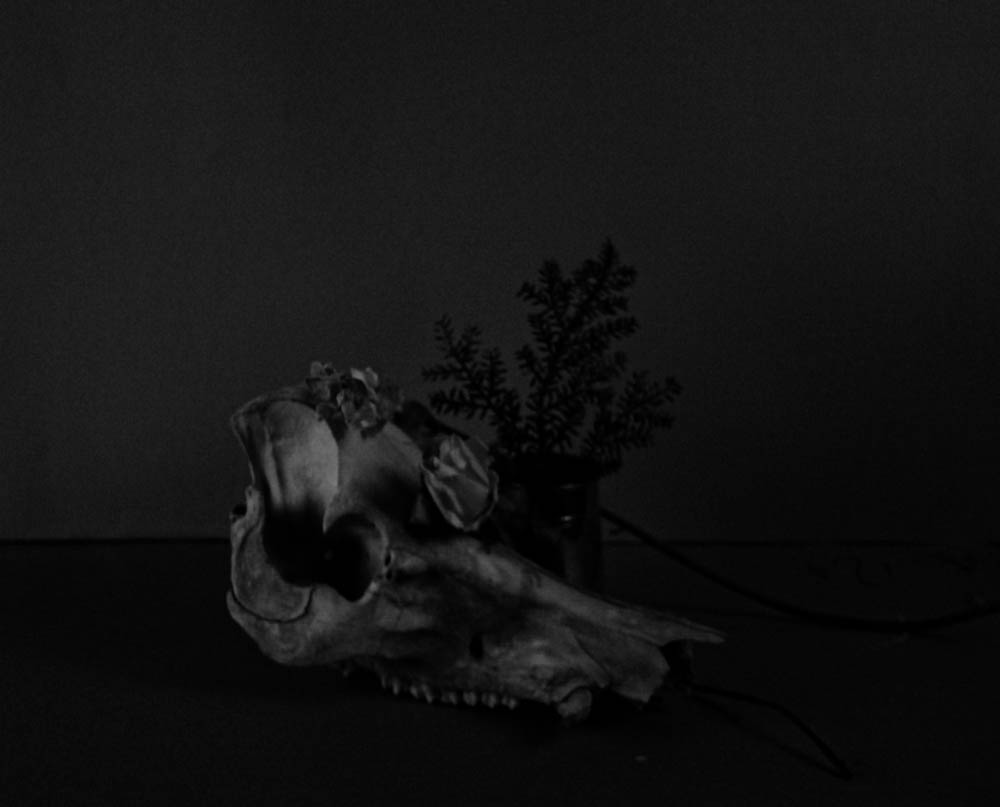
  • At least one image should be black and white, and show understanding of tone and contrast
  • Over half term…try to photograph a range of still-life set-ups, experiment with your own lighting, own objects etc
  • Remember when EXPORTING from Lightroom you must adjust the file size to 1000 pixels on the Long edge for “blog-friendly” images (JPEGS)
  • Refer to THIS BLOG POST… for help and guidance in the studio
  • Camera handling skills support is here

This week ensure your process looks like this…

  1. Mood-board, definition and introduction (AO1)
  2. Mind-map of ideas (AO1)
  3. Artist References / Case Study (must include image analysis) (AO1)
  4. Photo-shoot Action Plan (AO3)
  5. Multiple Photoshoots + contact sheets (AO3)
  6. Image Selection, sub selection (AO2)
  7. Image Editing/ manipulation / experimentation (AO2)
  8. Presentation of final outcomes (AO4)
  9. Compare and contrast your work to your artist reference(AO1)
  10. Evaluation and Critique (AO1+AO4)

Still Life Work

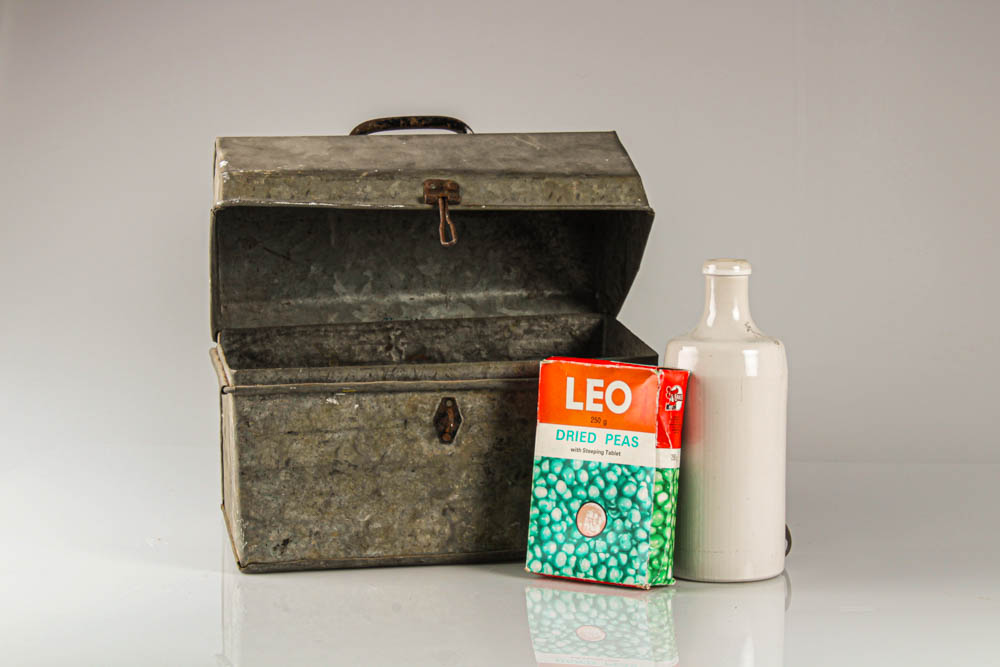
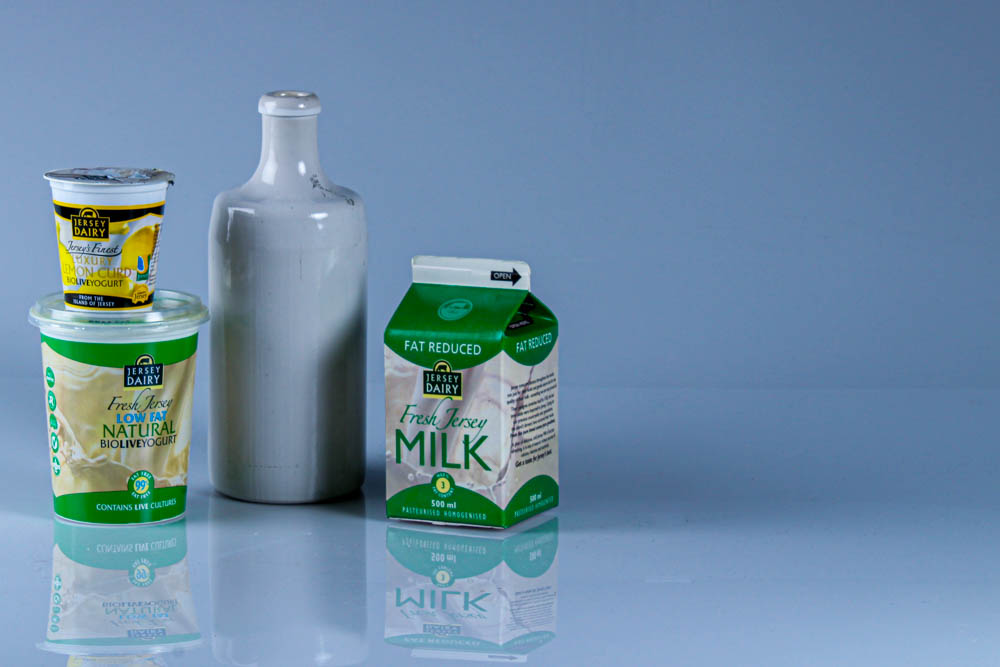
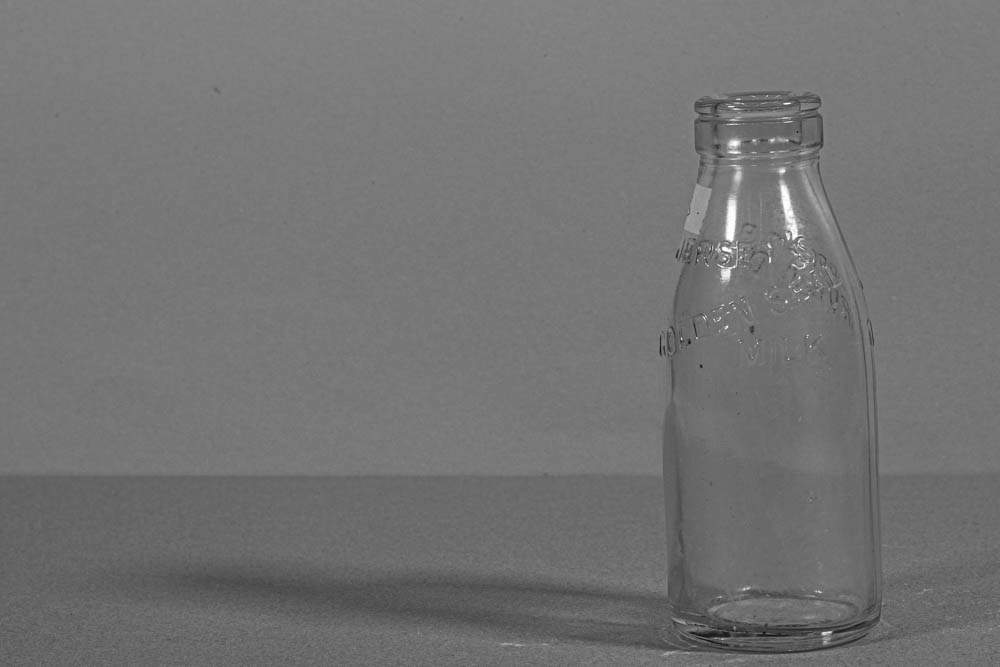
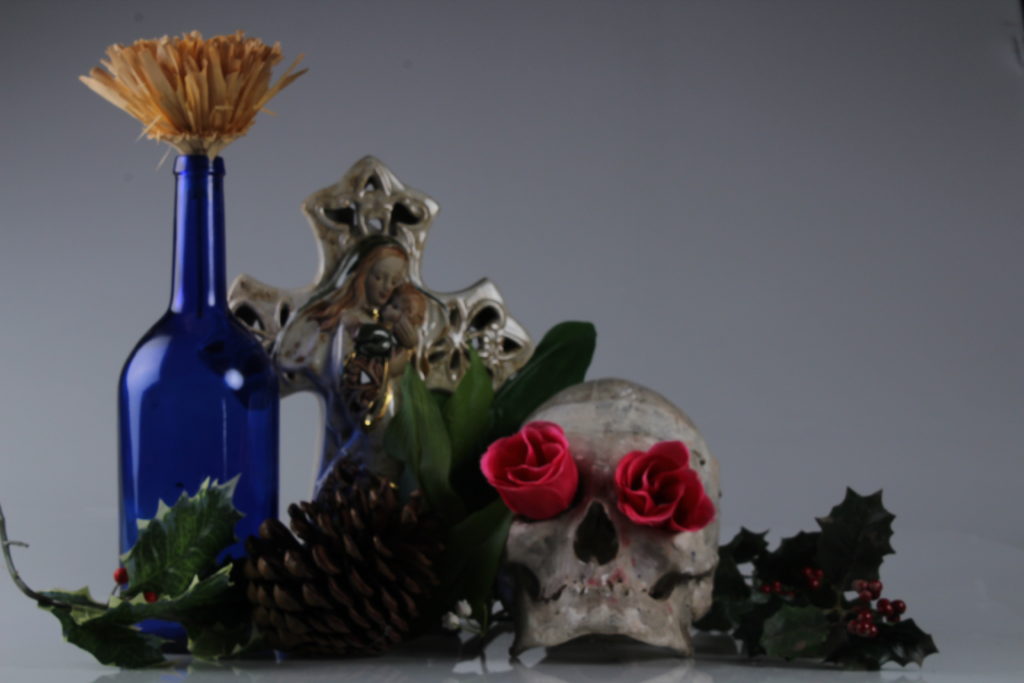
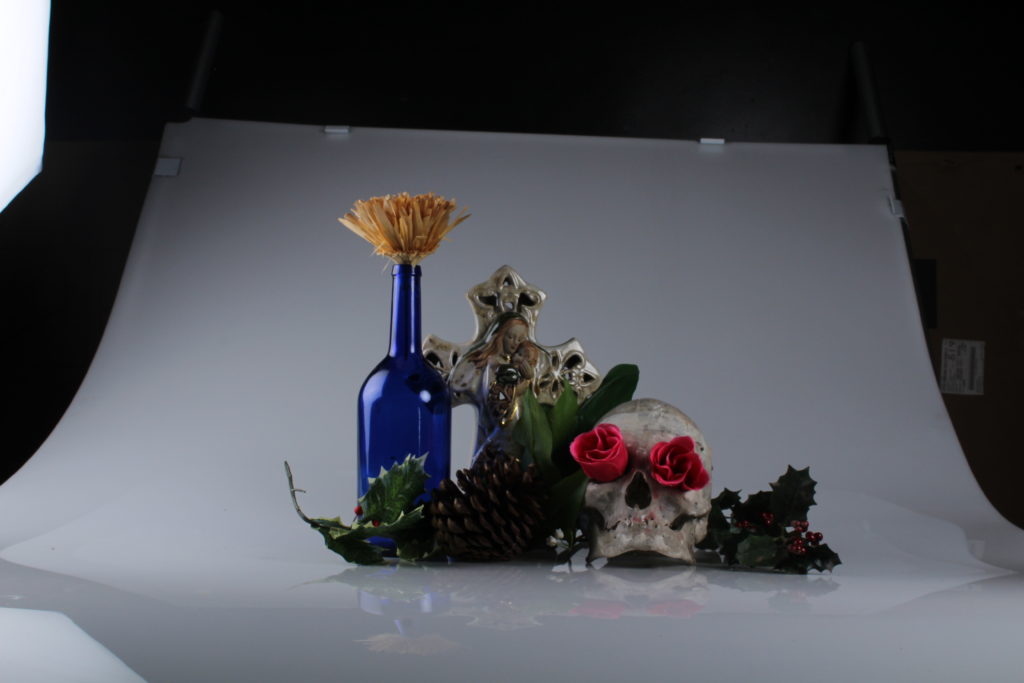
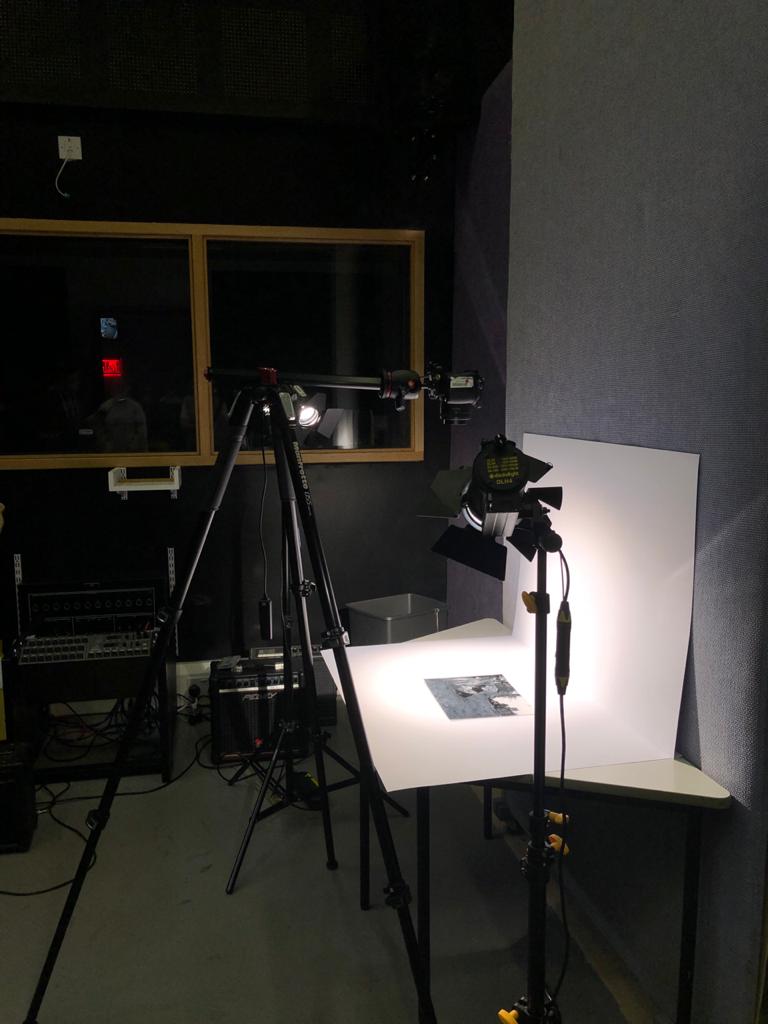
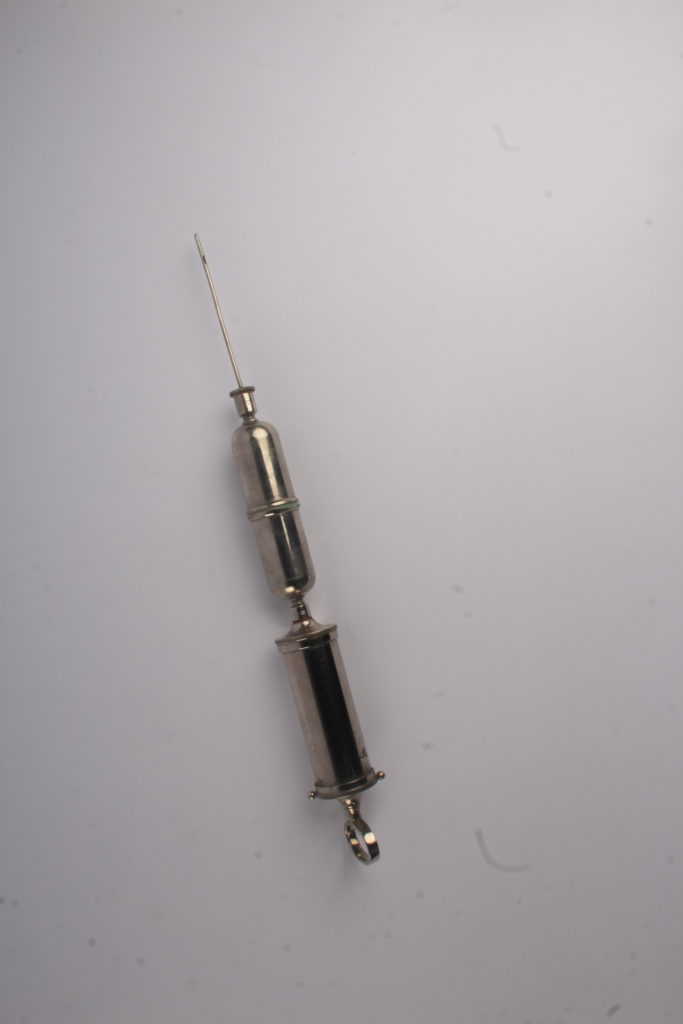
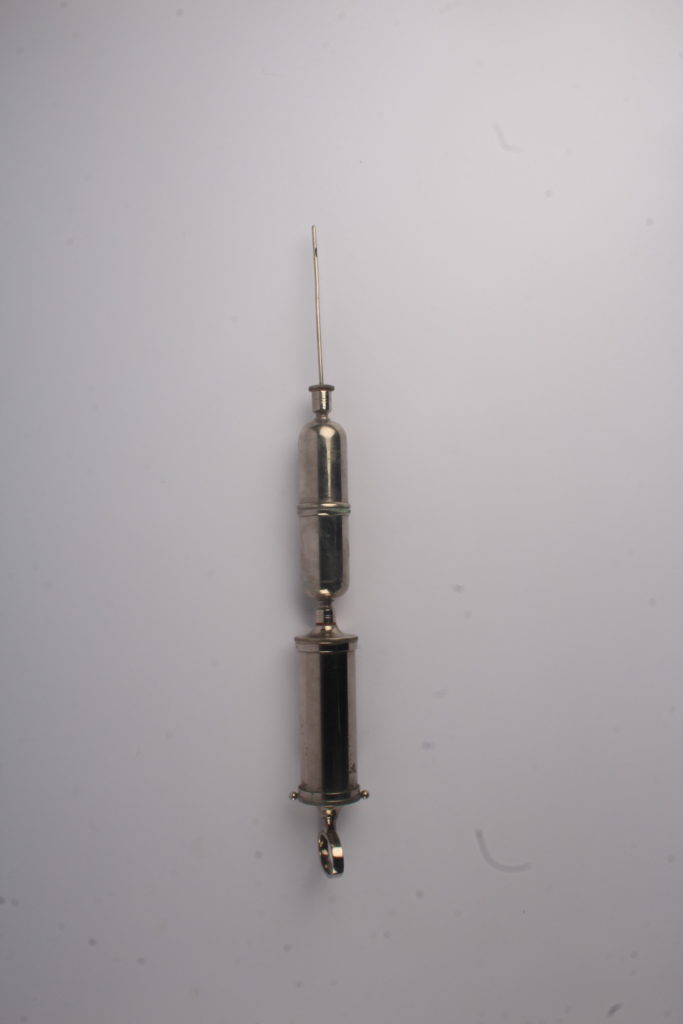
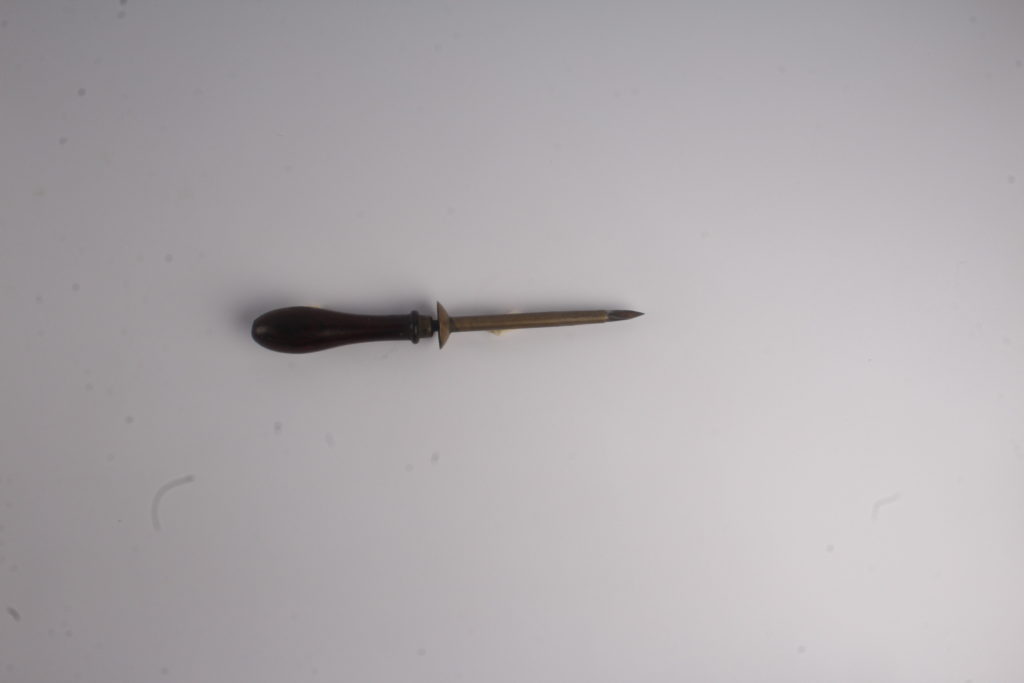
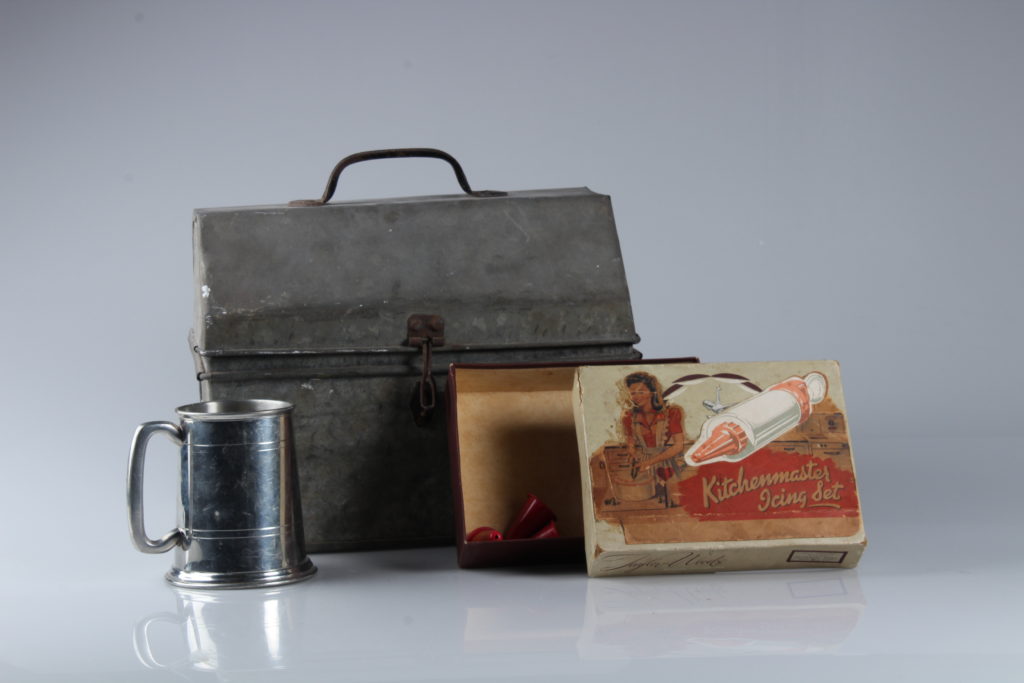
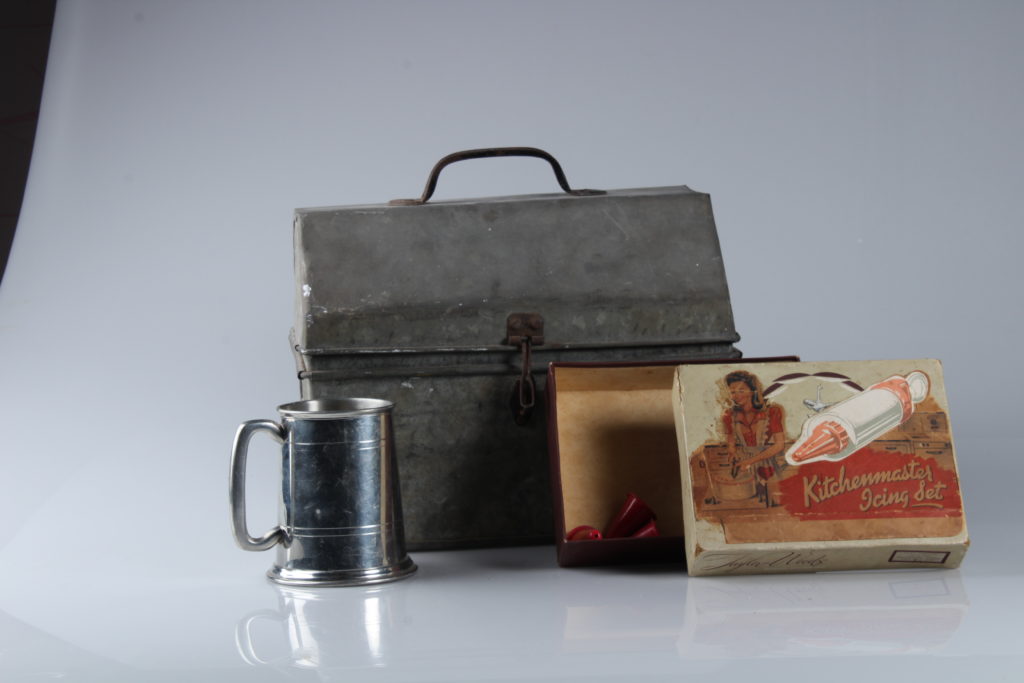
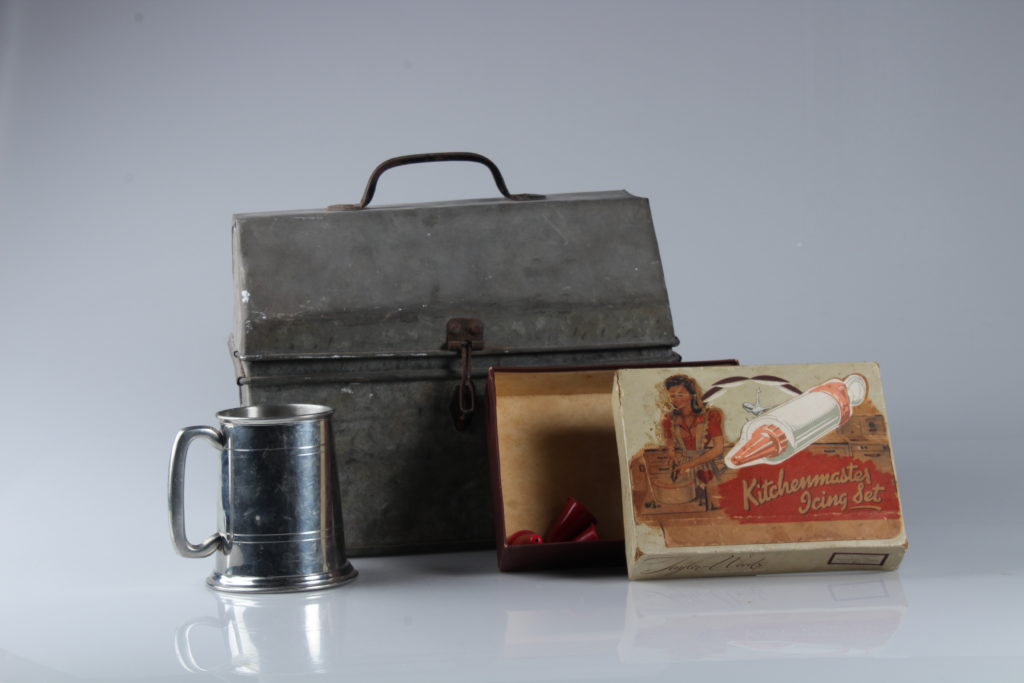
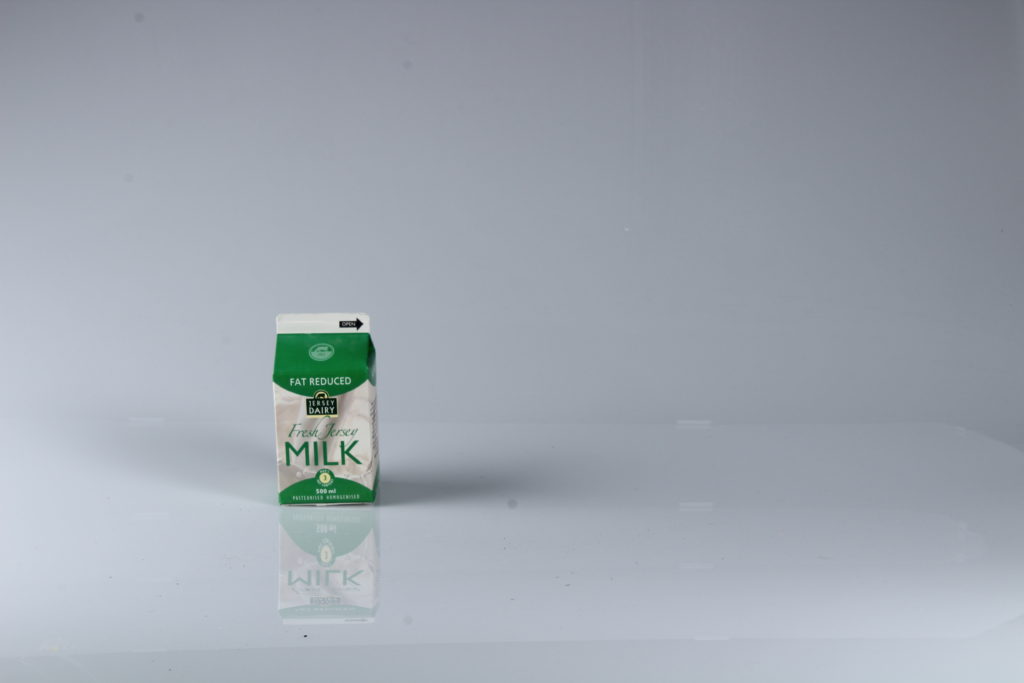
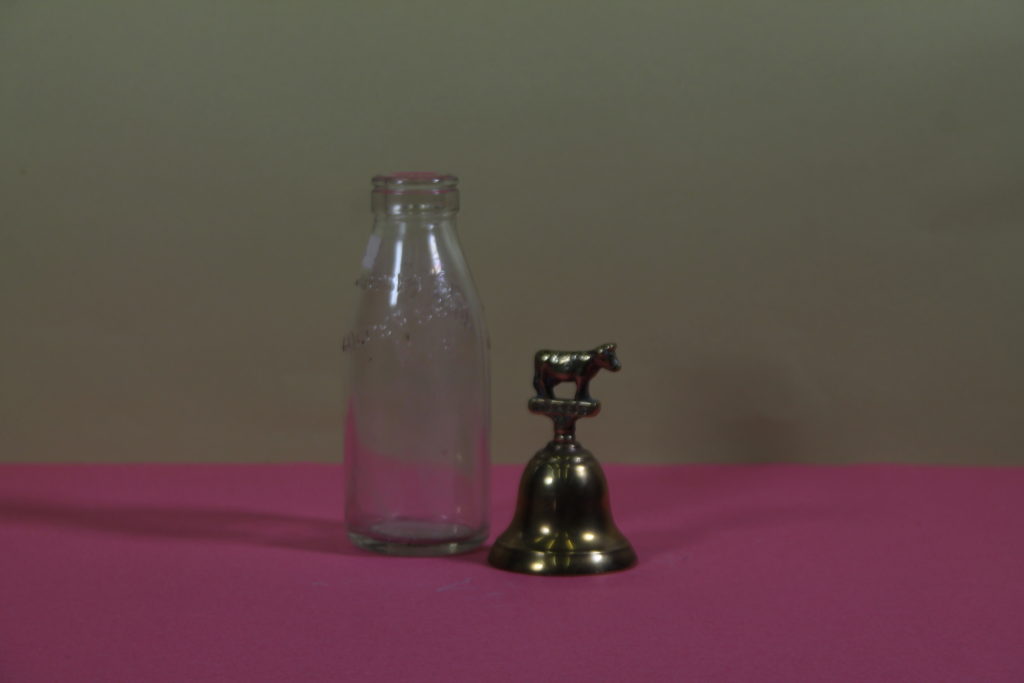
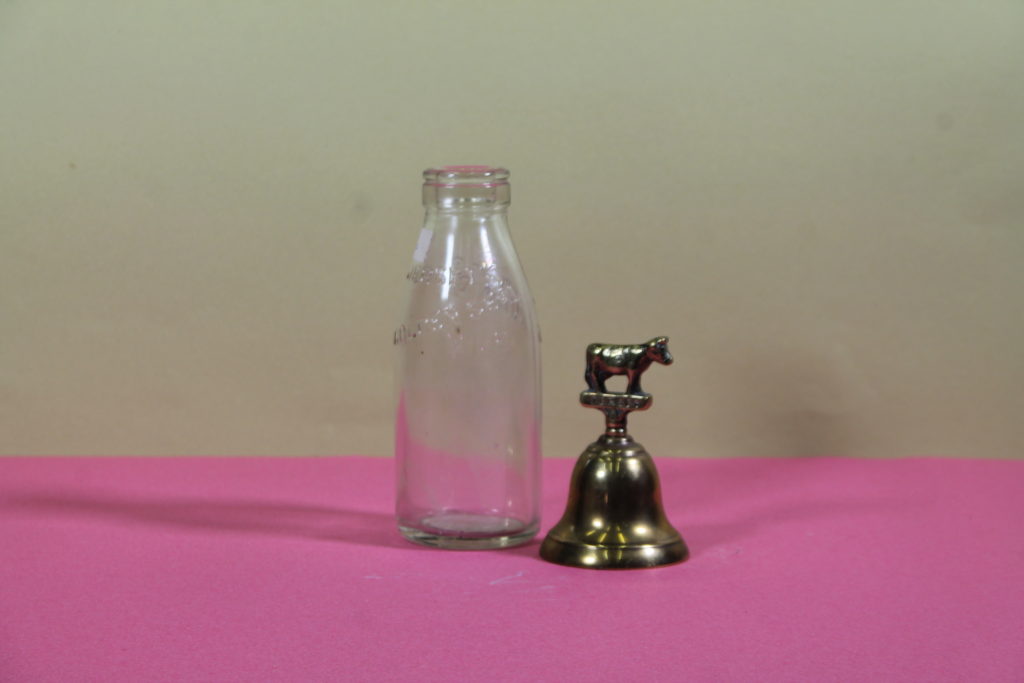
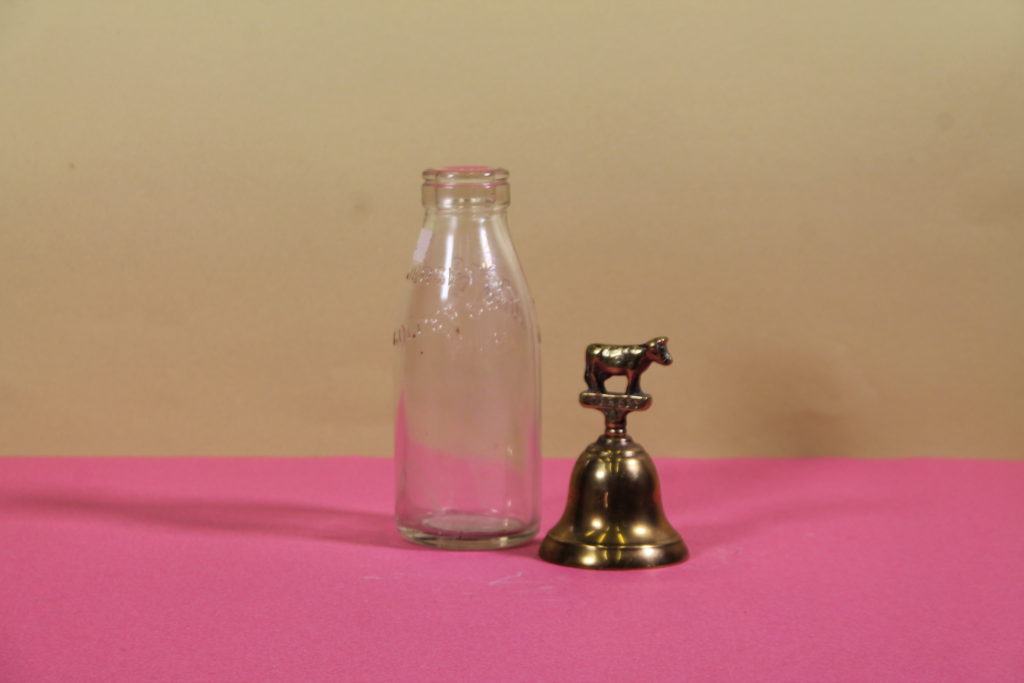
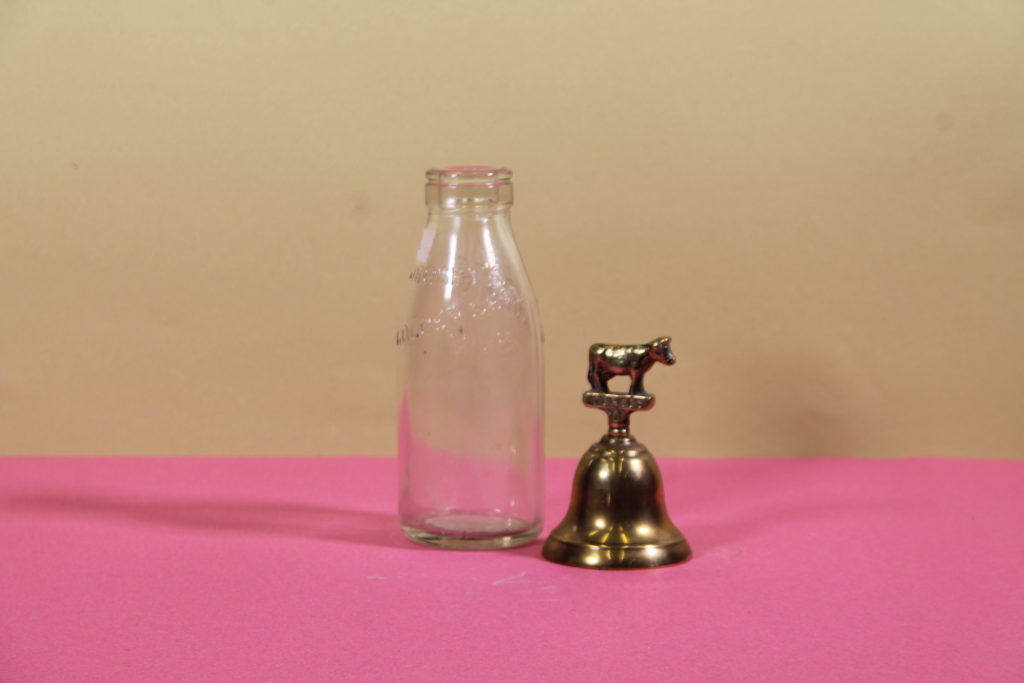
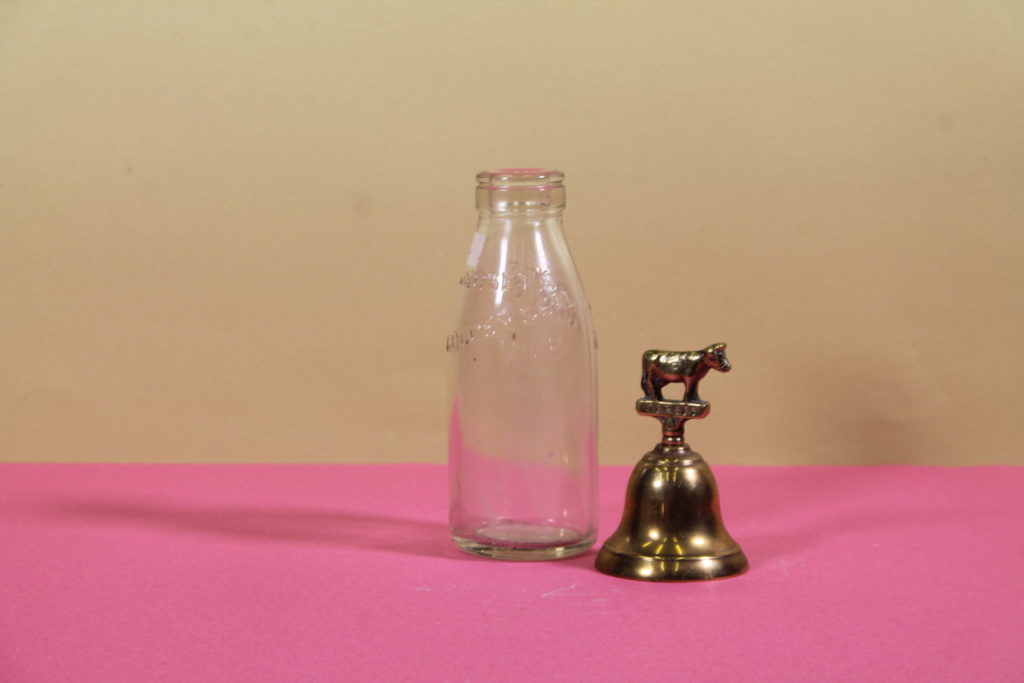
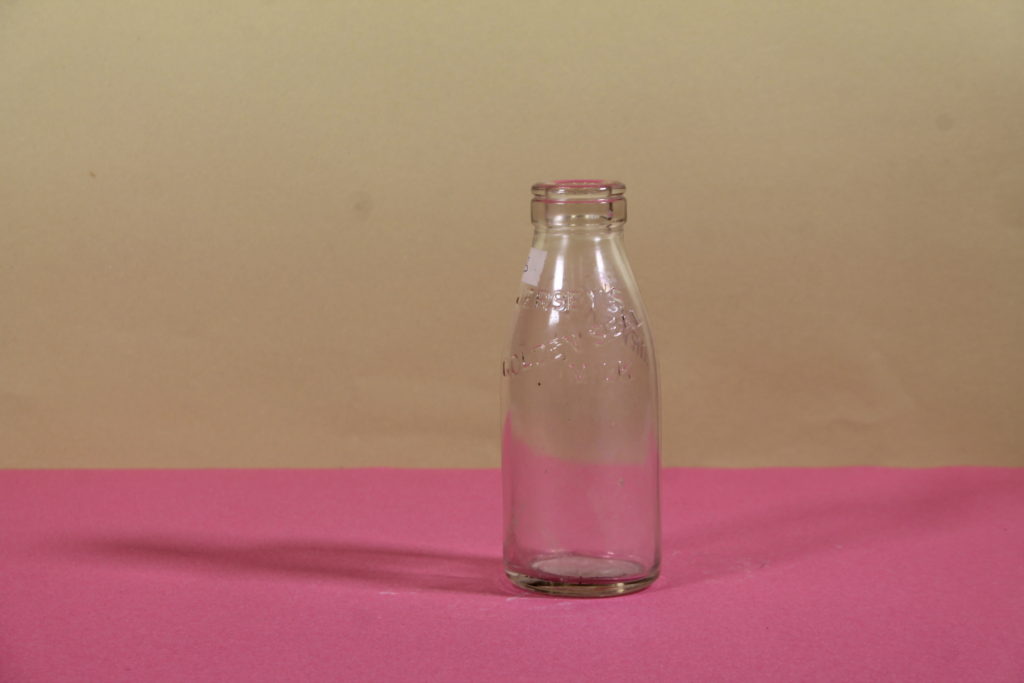
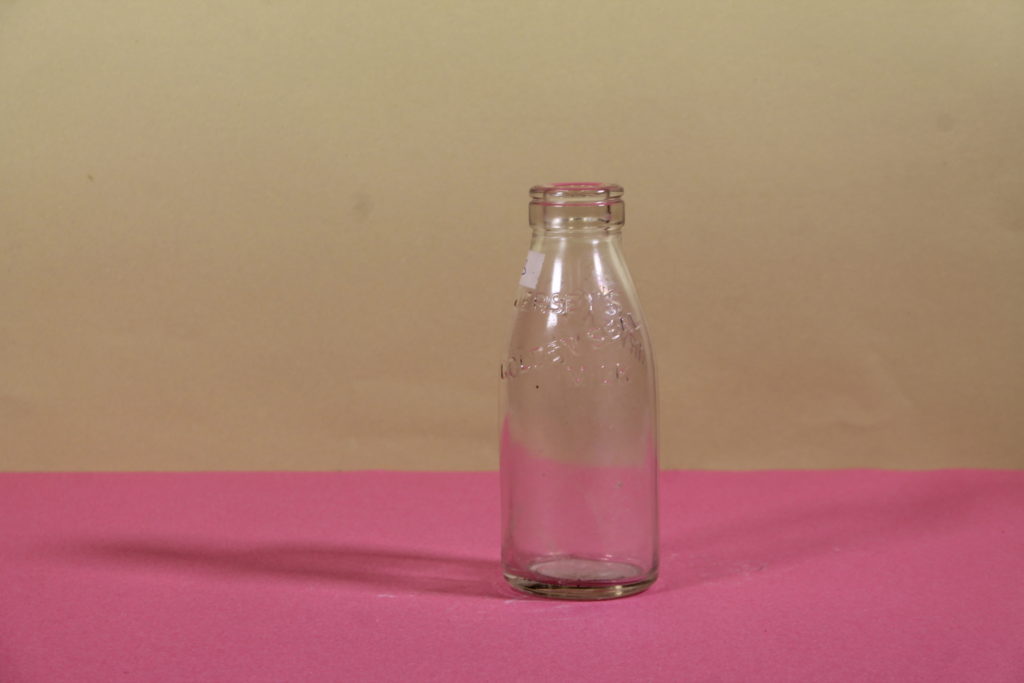
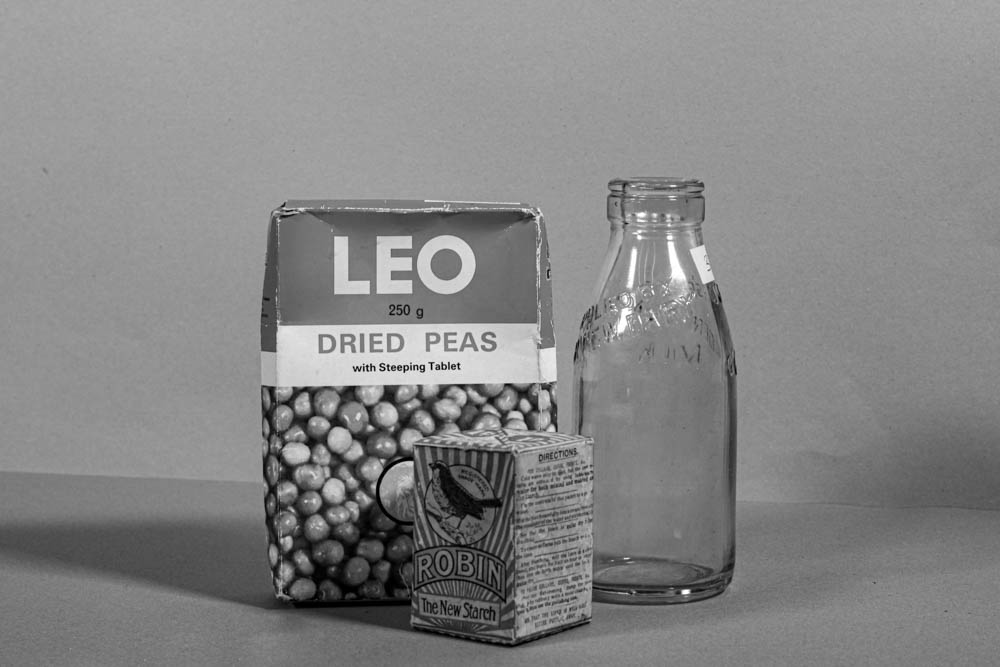
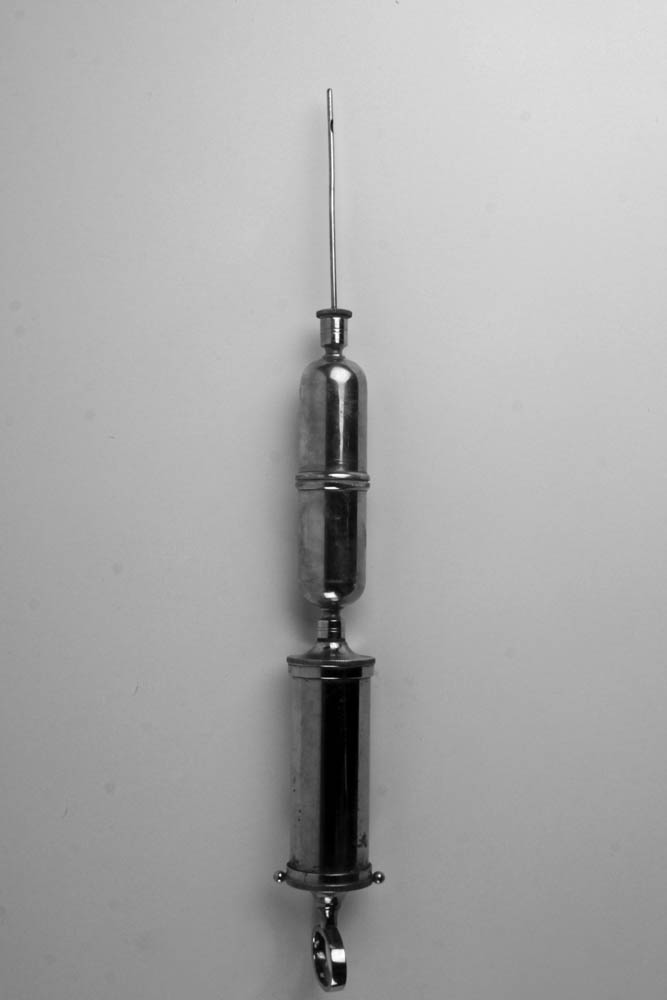
For this photoshoot, we went into the studio and took pictures of different objects provided by Jersey Heritage and the school. There were three different camera stations that were set up. One was positioned at bird’s eye level, one had a plain white infinity curve and the last one had a pink and yellow background. We split up into small groups of around 3 or 4 and took turns using each set-up.

Bird’s Eye Set-Up

It was a bit tricky using this set-up because we had never used it before and getting the objects in focus and frame was hard because we had to get on a stool and carefully try and look through the camera without touching anything.

Infinity Curve Set-Up

This was the easiest one to use because the lights that were there were really good and we had no difficulties with them. Most of the pictures turned out bright and clear.

Pink and Yellow Set-Up

This was the hardest and most annoying set-up to use because the tripod we had was wrong and we couldn’t use it properly. The lights were also quite bad which made the pictures turn out dark and there were lot of shadows that we couldn’t get rid of.

Still Life Photography Research

Walker Evans

Walker Evans (1903-1975) was an American photographer and photojournalist that was best known for his work for the Farm Security Administration documenting the effects of the Great Depression. He began to photograph in the late 1920s, making snapshots during a European trip. In 1936 he travelled with the writer James Agee to illustrate an article on tenant farm families for Fortune magazine; the book Let Us Now Praise Famous Men came out of this collaboration.

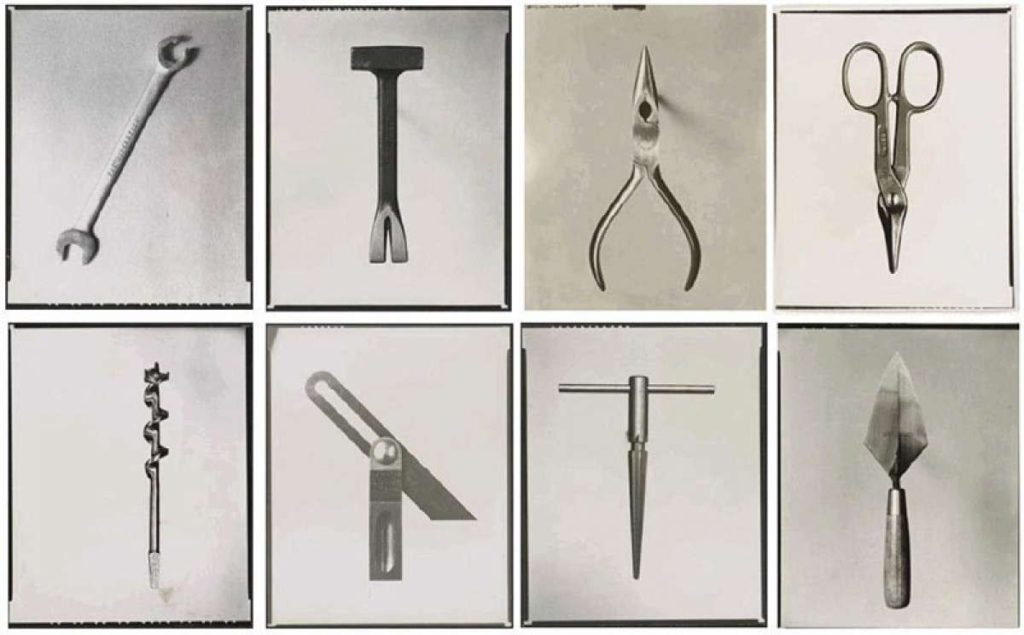
The ‘Beauties of the Common Tool’ collection has around 22 photographs in total and was published in July 1955 by Walker Evans. These images consist of a reamer, an awl, a bill hook, an auger, various pliers, and a couple of variations on a T-square and some wrenches. He used a nail to stabilise these tools and make them float in order to get rid of shadows and make the photographs seem cleaner.

‘Beauties of The Common Tool’ – Walker Evans, 1955

Darren Harvey-Regan

Darren Harvey-Regan is a photographer interested in the concept that photographs do not exist just to show things, but are physical things that become objects themselves. He was influenced by Walker Evans’ pictures of ordinary hand-made tools, such as a ratchet wrench and a pair of scissors. He first constructed a montage of Evans’ images to make new forms. He then sourced matching tools, cut them in half and re-joined various halves together, with the resulting physical objects being photographed to create his final work.

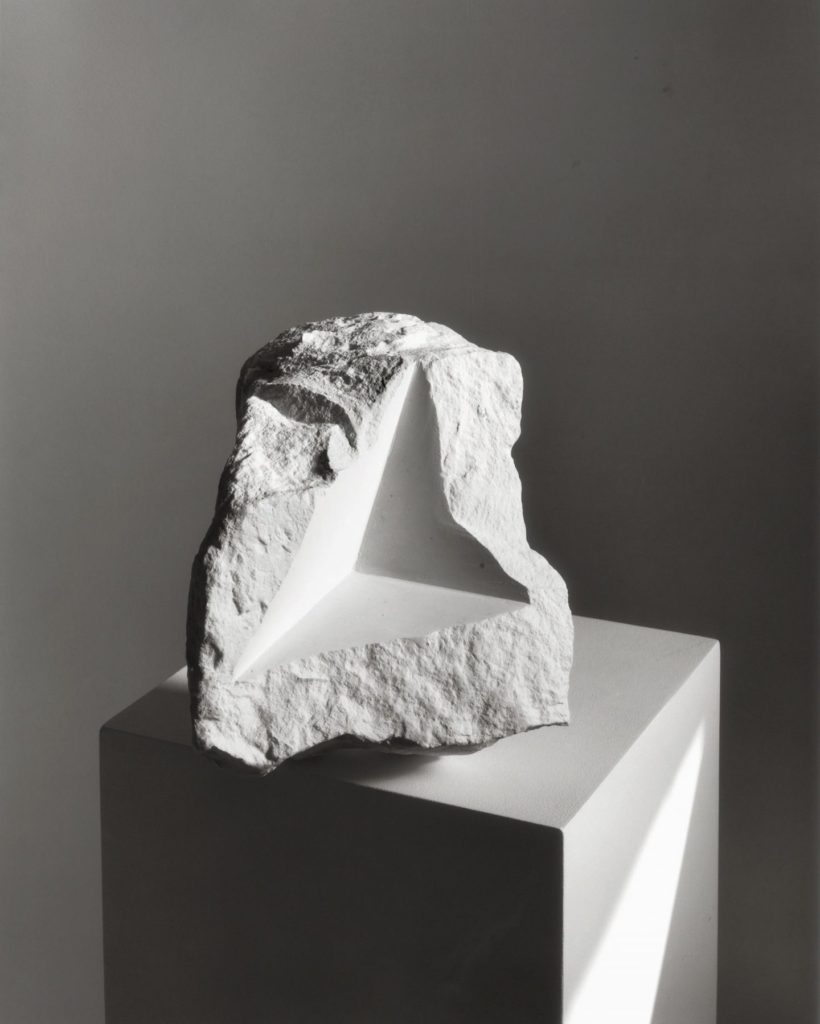
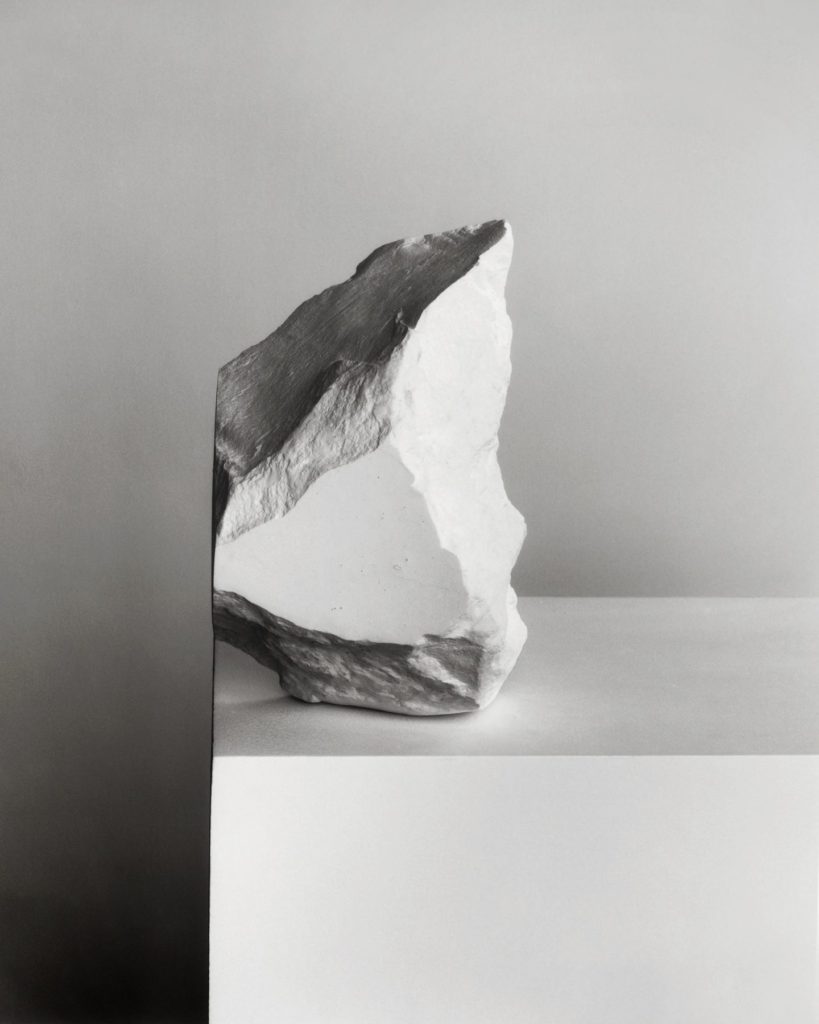
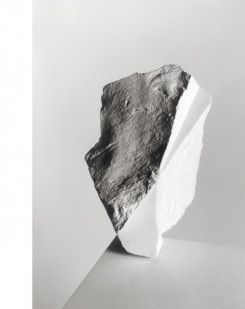
Harvey-Regan’s ‘The Erratics’ project focuses on abstract rocks of different shapes and sizes. For this project he spent months in his studio photographing rocks, concentrating on composition, geometry and line. I really like the way his pictures turned out because each rock is different and can tell a story. I also like how in some rocks there are straight lines and clean corners because it looks interesting and you don’t usually see anything like that in nature.

Comparison

Both of their works are quite similar because they both focus on taking detailed still life pictures of objects on plain white backgrounds and turning them black and white. The main difference is that Evan focused mainly on tools rather than rocks like Harvey-Regan. Harvey-Regan takes his pictures from different angles and has them placed them on a white table, he also seems to use some light source to get shadows on his rocks and accentuate the details. Evans just takes his photographs from a high angle and minimalises shadows as much as possible, he also makes his tools look like they’re floating by placing them on a nail that can’t be seen in the picture.

Enviormental photoshoots

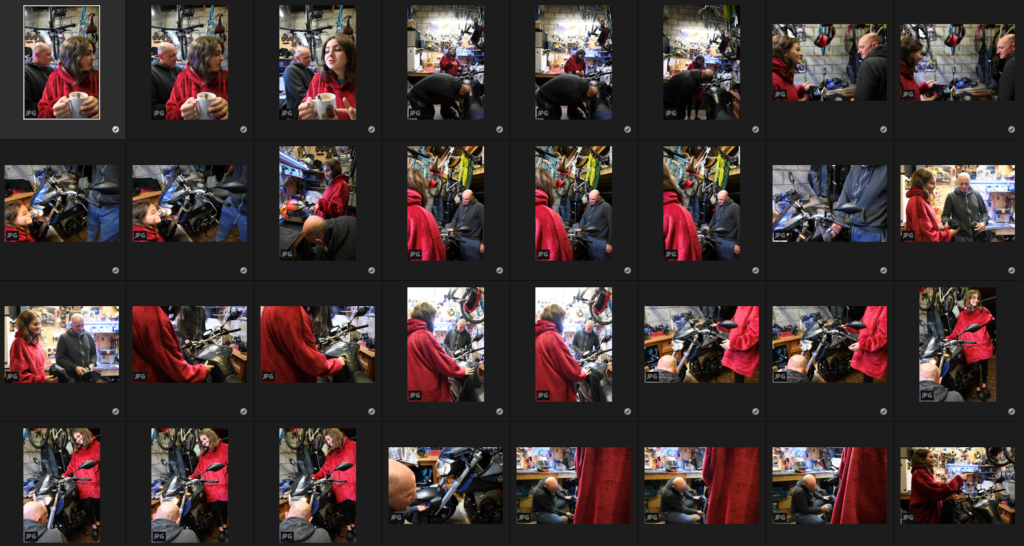
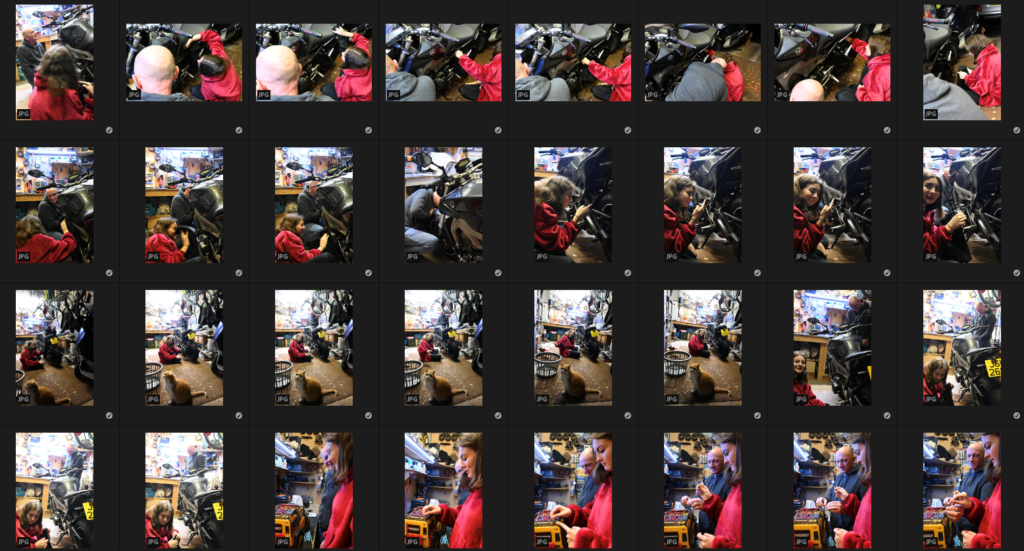
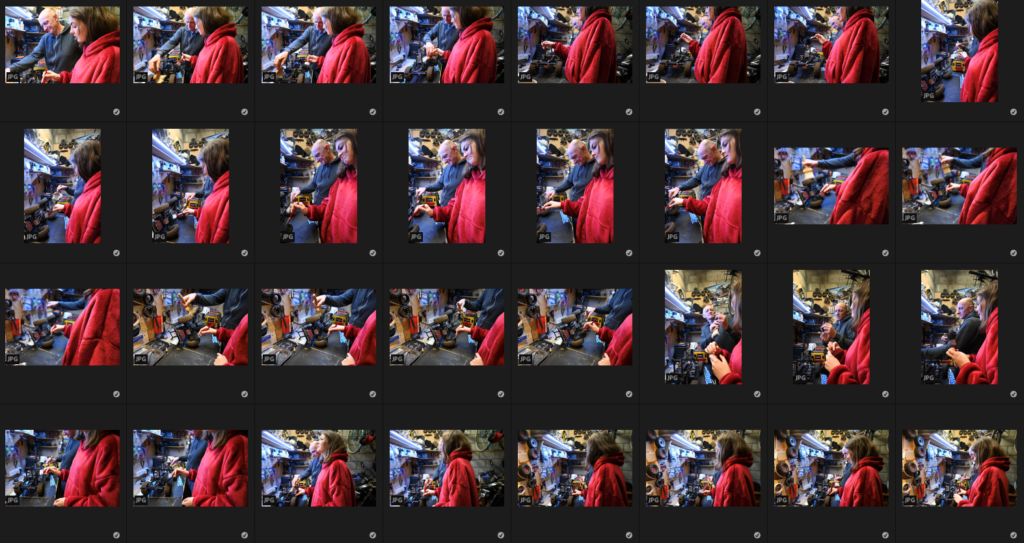
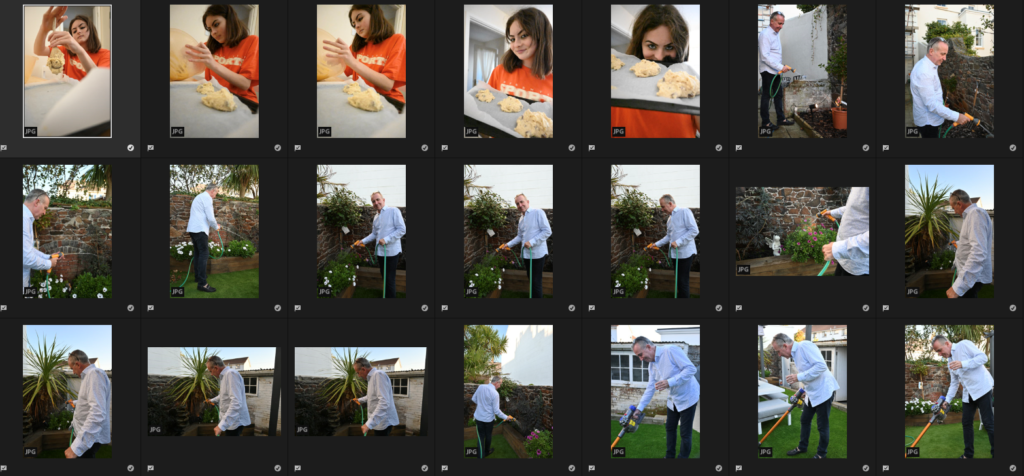
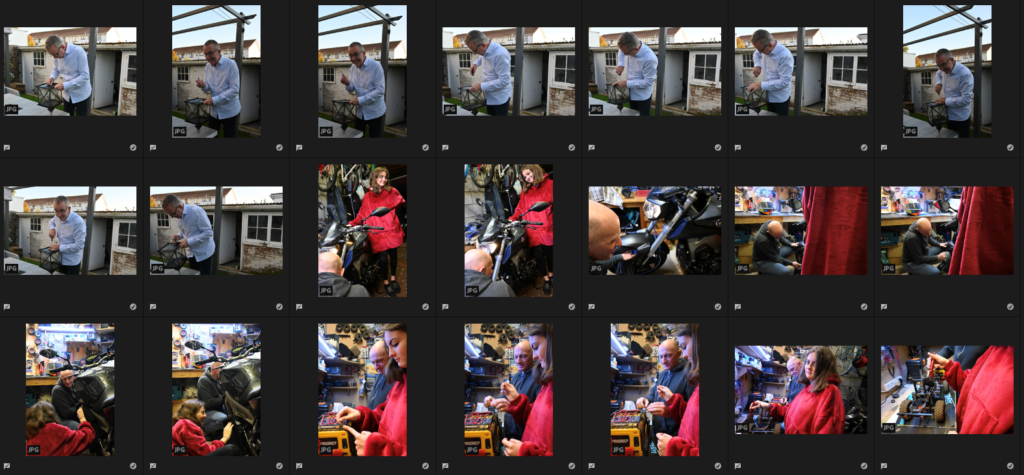
Contact sheets

1st Photoshoot – Inside of one person

For this photoshoot, I used my sister who enjoys baking in the kitchen and does it in her spare time. I like these photos because they show experimentation with different angles, lighting and facial expressions.

2nd Photoshoot – 1 person outside

For this photoshoot, I used my dad who likes gardening and when he moved house has built the garden up from nothing so it is his pride and joy. I like the photos because it experiments with faceless portraits and different angles.

3rd Photoshoot – More than 1 person

For this photoshoot, my stepdad and sister are being photographed in our garage where my stepdad has all of his bikes and cars which he has an interest in and she is helping him.

Image selection on Adobe Lightroom

These are the images which I think that are my most successful from my photoshoots. On Adobe Lightroom I used Z to pick the photos which I thought were the most successful ones which are seen below.

Experimenting with my successful final images

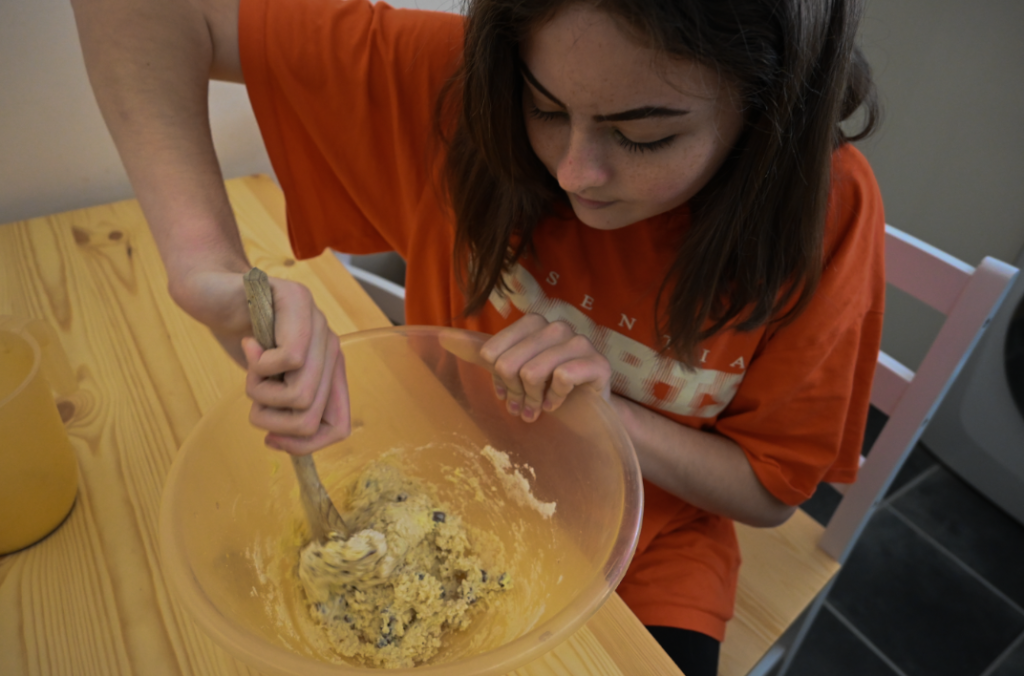
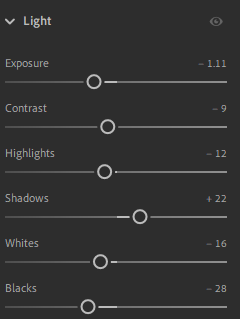
Single person inside editing on Lightroom –

I like the way this edit on Lightroom has turned out because it shows the model doing their hobby and focussing. The edited photo compared to the start has been edited well as the lighting, which was bright to begin with, has been controlled and the actions are clearer to see and the colours of the model and their surroundings are more defined.
Single person outside editing on Lightroom –

I like how I have edited this photo because it shows the model more clearly as the lighting has now been controlled through changing the contrast, highlights and exposure on Lightroom. The use of shadows also helps to control the brighter parts of the photo. I also like how the model is looking at the camera as it adds a personal level to the environmental photo.

More than one person editing on Lightroom –

I think that this is my most successful edit which I did on Lightroom, this is because I used the exposure and contrast to darken the photo but also controlled the colours which were brighter due to the lighting. I also like how the background is busy yet shows a personal side towards the models, who are captured tinkering with the car, as it presents their hobbies towards the audience well, showing how genuine the interest is.

Compared to Mary-Ellen Marks work

I think that you can see the influence Mary-Ellen Mark has had on my photoshoot as it shows my models captured doing something natural, which I like and wanted to include in my work and it shows to be similar to her photo where the girl looks as if she has been captured casually doing her own thing with others in the background. I think that my photo looks better in colour instead of black and white, like Marks work, because the colours stand out more and work well together, which I like.
Just another Hautlieu Creative site