hamptonne history

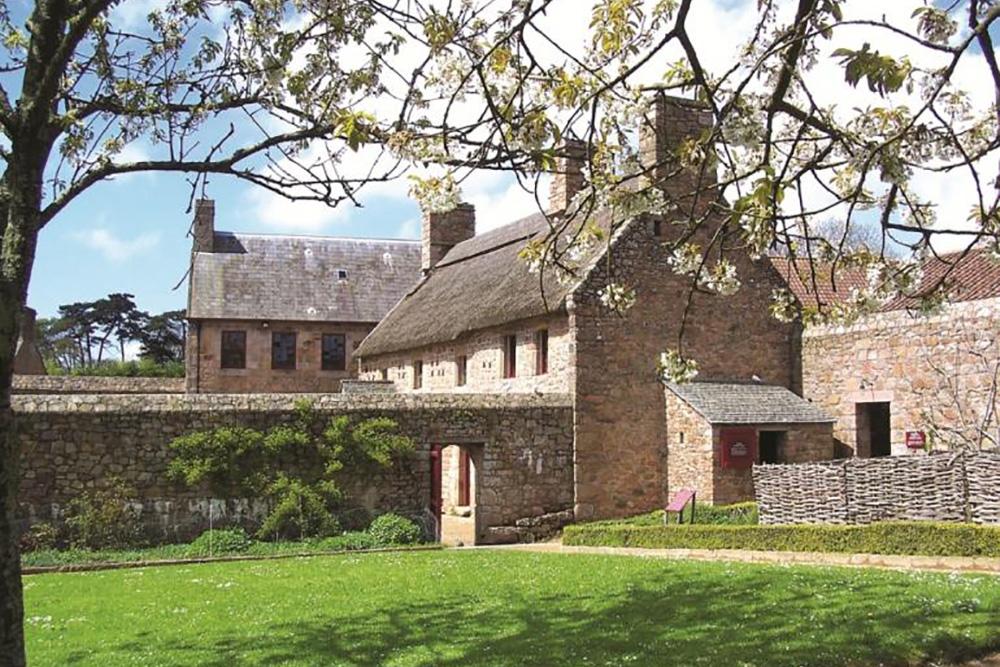
Hamptonne Country Life Museum is a unique insight into the rural life carried on in Jersey for centuries. The house and farm date back to the 15th Century. Jersey’s history of cider making is illustrated through the cider barn and the apple orchard. In the traditional farmstead calves, lambs, chickens and piglets show Jersey’s agricultural past.

Hamptonne Country life Museum

Part of the grounds include Syvret House, a decorated and furnished farmhouse gives a unique window into 1940s rural life, including; agricultural traditions, day-to-day family life, language, religion and the experience of the German Occupation.

The Hamptonne farm complex takes its name from Laurens Hamptonne, who purchased it in 1633. The property is also known as ‘La Patente’, as is the name of one of the roads that passes it, after the Grants by Letters Patent received by its owner Richard Langlois in 1445, and by King Charles II to Laurens Hamptonne in 1649. 

THE HOUSES AND COURTYARDS

Overall the site is square in shape. It includes ranges of buildings built in different periods, arranged around two courtyards. While the farm has medieval origins, consecutive owners have made marked improvements to the living accommodation. The main buildings are therefore named after the Langlois, Hamptonne and Syvret families, who lived here between 15th and 19th centuries.

When you exit the shop, you enter the North Courtyard along the side of which runs the Northern Range – a row of 19th century farm buildings constructed to meet the requirements of the agriculture workforce, its vehicles and horses. It include a Labourers Cottage, Coach House, Bake House & Laundry, and Stables. Facing the Stables is a glazed barn in which important farming devices and implements are displayed. There is a walled vegetable and herb garden to the east, beyond which is the Hamptonne Playground and Cider Apple Orchard.

To the south is Langlois House, which comprises stabling and an undercroft on the ground floor, and a parlour and bedroom on the first floor. At the south-west corner is a twin-arched stone gateway providing access to the roadway. To the south of Langlois House are the pigsties and a spring-fed pond.

To the west is the Cider House or pressoir with its granite apple crusher and press; to the southern end of this row is Syvret House which consists of a kitchen, parlour, two bedrooms and a small cabinet. The House is presented as the home of a tenant farmer around 1948.
Hamptonne Country Life Museum

CIDER APPLE ORCHARD

To the east of the farm complex is the Cider Apple Orchard, which consists of apple trees chosen for their sweet, bitter and sharp flavours to provide a good balance for cider making when mixed together. The footpath through the orchard takes you into a small area of woodland. Wooded areas at the back of farms provided an important source of wood for fuel and building materials, while also supporting a rich variety of plants and wildlife. Follow the footpath down to the grazing Meadow and, if you wish, continue on the public footpath that joins the National Trust for Jersey’s Toad Trail.

Hamptonne Cider Festival (La Faîs'sie d'Cidre), Jersey
The local cider festival; La Fais’sie d’Cidre

Tom Kennedy

Tom Kennedy is a local photographer, who is influenced by the Dutch Masters paintings of the 17th century, including Rembrandt and Vermeer. His photos with living history characters focuses on using natural lighting to stay within the time periods of the characters.

Tom Kennedy’s work on living history characters at Hamptonne

THE history of photography

Photography has come a long way in its relatively short history. In almost 200 years, the camera developed from a plain box that took blurry photos to the high-tech mini computers found in todays cameras and smartphones.

Camera Obscura
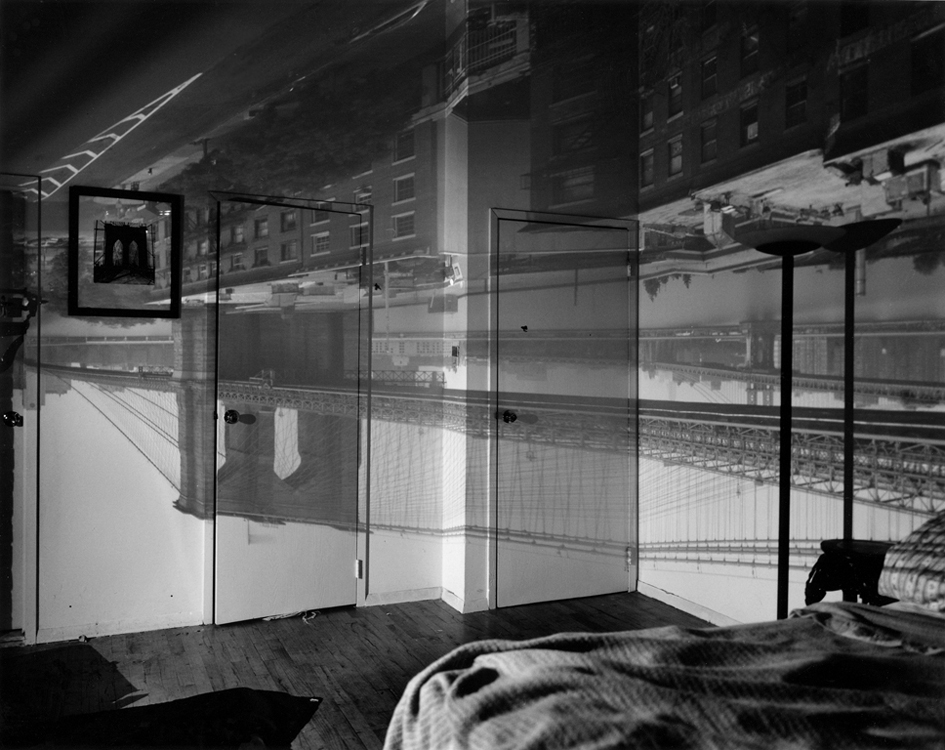
A camera obscura image projected into a room

The basic concept of photography has been around since about the 5th century B.C.E. It wasn’t until an Iraqi scientist developed something called the camera obscura in the 11th century that the art was born.

Even then, the camera did not actually record images, it simply projected them onto another surface. The images were also upside down, though they could be traced to create accurate drawings of real objects such as buildings.

Contemporary Photographers and the Camera Obscura | I Require Art
A drawing of the concept of a camera obscura

The first camera obscura used a pinhole in a tent to project an image from outside the tent into the darkened area. It was not until the 17th century that the camera obscura became small enough to be portable. Basic lenses to focus the light were also introduced around this time.

JOESPH NICEPHORE NIEPCE

Photography, as we know it today, began in the late 1830s in France. Joseph Nicéphore Niépce used a portable camera obscura to expose a pewter plate coated with bitumen to light. This is the first recorded image that did not fade quickly.

Joseph Nicephor Niepce: The First Photographer
The “first photo ever taken” by Niepce

For his first experiments , Nicéphore Niépce positioned at the back of a camera obscura sheets of silver salts coated paper, known to blacken with daylight . In May 1816 he produced the first image of nature : a view from a window (see above). It was a negative and the image vanished because in broad daylight the coated paper becomes completely black . He calls these images “retinas”.

Niépce’s success led to a number of other experiments and photography progressed very rapidly. Daguerreotypes, emulsion plates, and wet plates were developed almost simultaneously in the mid- to late-1800s.

DAGUERREOTYPES

Daguerreotype, first successful form of photography, named for Louis-Jacques-Mandé Daguerre of France, who invented the technique in collaboration with Nicéphore Niépce in the 1830s. Daguerre and Niépce found that if a copper plate coated with silver iodide was exposed to light in a camera, then fumed with mercury vapour and fixed (made permanent) by a solution of common salt, a permanent image would be formed on the copper plate. A great number of daguerreotypes, especially portraits, were made in the mid-19th century; the technique was supplanted by the wet collodion process.

How Daguerreotype Photography Reflected a Changing America | At the  Smithsonian | Smithsonian Magazine

HENRY FOX TALBOT

In 1841 Talbot applied for a patent on his “Calotype Process”. To produce a negative, the paper was first washed in nitrate of silver then with potassium iodide, forming silver iodide. Before exposure the paper was coated with a compound of acetic aced with silver nitrate and gallic acid, forming gallo silver nitrate. The paper was rinsed and dried before exposure in the camera. After exposure the paper was again washed with the gallo silver nitrate, then a hot solution of hypo was used as a fixative. A positive print could now be made on paper treated with silver chloride. Thus, Talbot became the creator of negative-positive photography.

William Henry Fox Talbot's early photographs of the Royal Pavilion –  Discover
William Henry Fox Talbot’s early photographs of the Royal Pavilion

Talbot published the first book illustrated with photographs in 1844. The book, titled The Pencil of Nature, contains 24 photographs of genre scenes of everyday life and a text of predictions and ambitions for the art of photography. There are fifteen copies in existence, two may be found in the museum at Lacock Abby.

GEORGE EASTMAN

Eastman introduced the Kodak camera (also known as the brownie camera) in 1888. Thanks to his inventive genius, anyone could now take pictures with a handheld camera simply by pressing a button. He coined the slogan, “you press the button, we do the rest,” and within a year it became a well-known phrase

TIME names Kodak and Polaroid cameras two of the 'most influential gadgets'  in history: Digital Photography Review

Eastman built his business on four basic principles: a focus on the customer, mass production at low cost, worldwide distribution, extensive advertising. Using these four principles, Kodak cameras became the most accessible art form as it was cheap and easy to do, leading to normal people taking pictures of everyday moments- this meant that photography became something less formal- as up to this point the main photography form that existed were portraits of influential people.

FILM/PRINT PHOTOGRAPHY

Cameras started being generated on a global scale in order to compete with mass consumerism, pictures were no longer formal- they captured memories and moments throughout the decades.

Woodstock 1969 - HISTORY
An image of Woodstock, 1969

DIGITAL PHOTOGRAPHY

Photos evolved to the point where you no longer need paper, Digital photography uses cameras containing arrays of electronic photodetectors to produce images focused by a lens, as opposed to an exposure on photographic film. The captured images are digitized and stored as a computer file ready for further digital processing, viewing, electronic publishing, or digital printing.

Take Harvard's Online Course in Digital Photography for Free | ArchDaily

what is photography?

Photography has evolved throughout history, whether it be capturing moments and memories, creating visual art, helping scientific research or promoting various products.

ColouriseSG
Old images can be restored to colour

Photography has adapted to the modern age- scientific photography (including forensic) has never been such high quality, mass consumerism means advertising and promotion is consumed on a global basis and photography as an accessible art form is blooming with the introduction of smart phones and new hyper-quality cameras available to everyone.

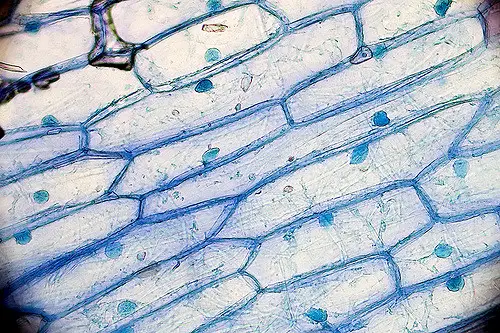
Onion Cells Under a Microscope - Requirements/Preparation/Observation
Magnified image of an onion cell

Photography being used as an art form grew from technological developments where images are now able to be manipulated by photographers into ways that fit their artistic expressions. Modern photography is also influenced by photoshop, deception is easier to create which can be used for both benefits and disadvantages. Distrust in news sources, false advertising and the creation of photos where the viewer is deceived is a risk of photoshop as some people use photoshop in a harming way.

I'm Just Going to Leave these Photoshopped Animal Hybrids Here (17 Photos)  » TwistedSifter
photoshopped image of an elephant

Studying photography is gaining knowledge about photographic elements and techniques. It is where you will learn how to take a “good” photo in a literal sense, with balanced light, a good composition, etc.

To practice photography means is creating art through application and creating good, interesting images. Practicing photography helps us to capture memories throughout life, recreating events, changing how people see things and becoming part of the crucial documentation of history.

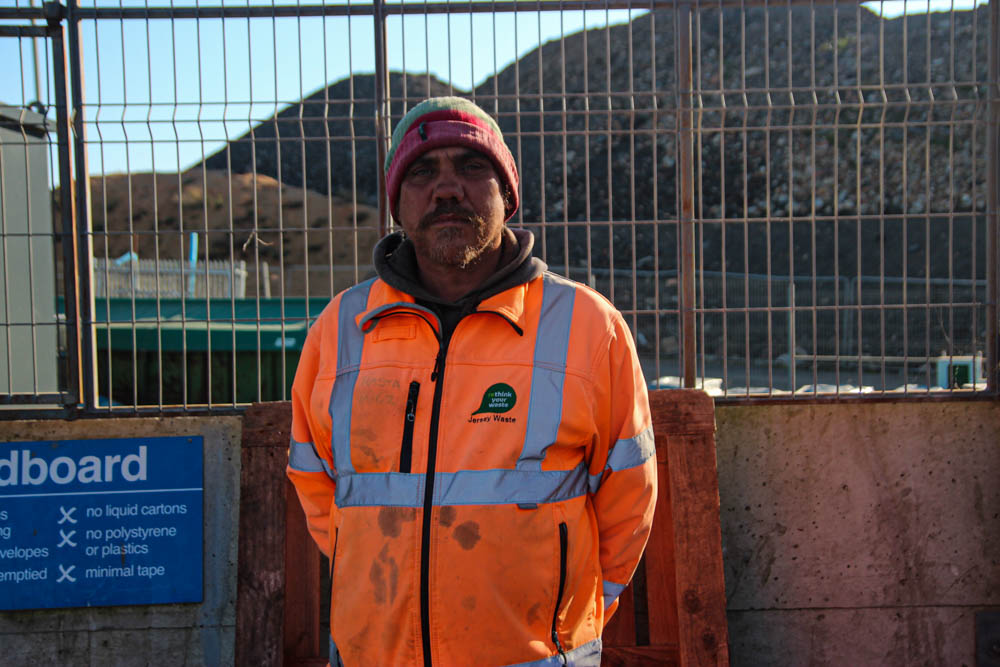
environmental portraits – best images and editing

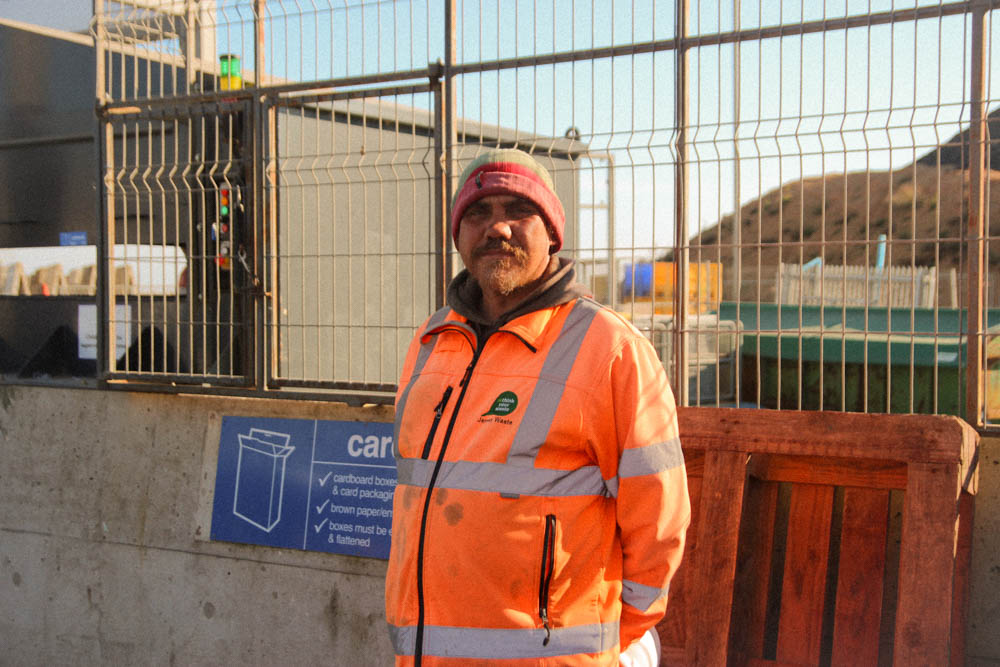
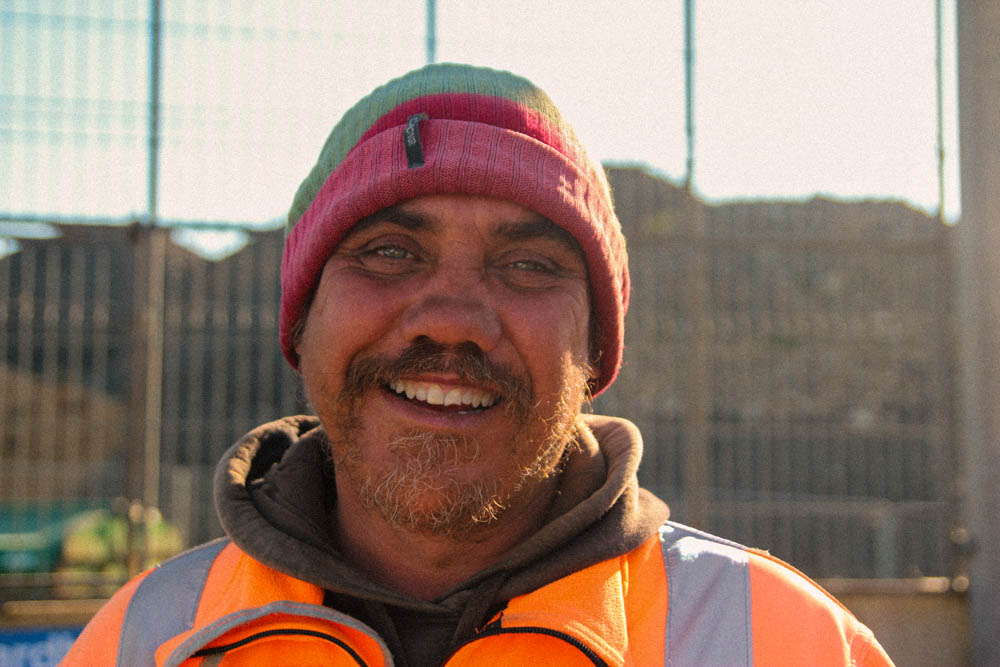
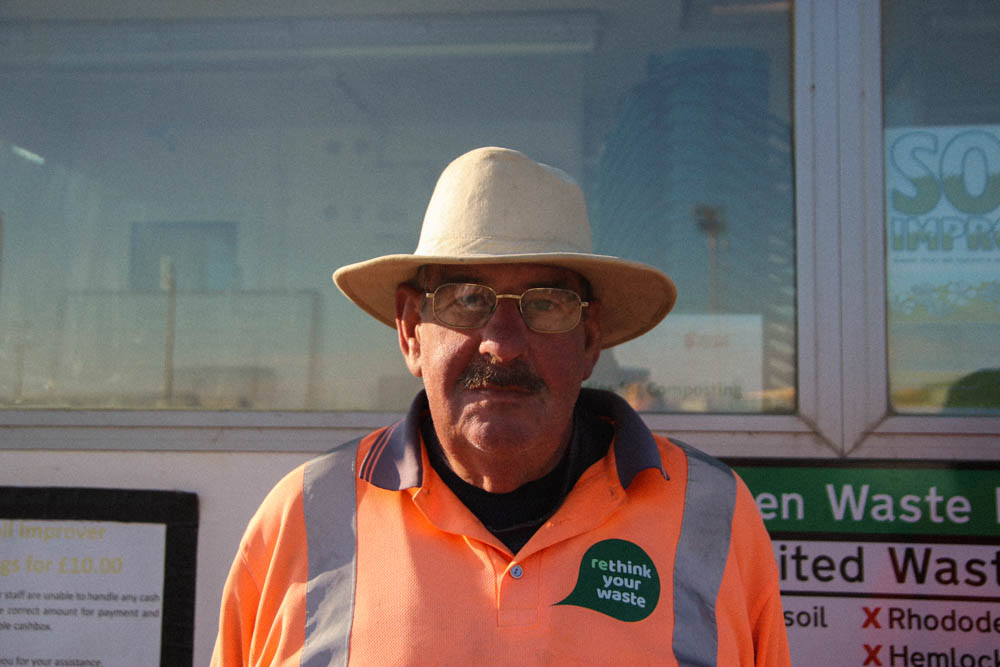
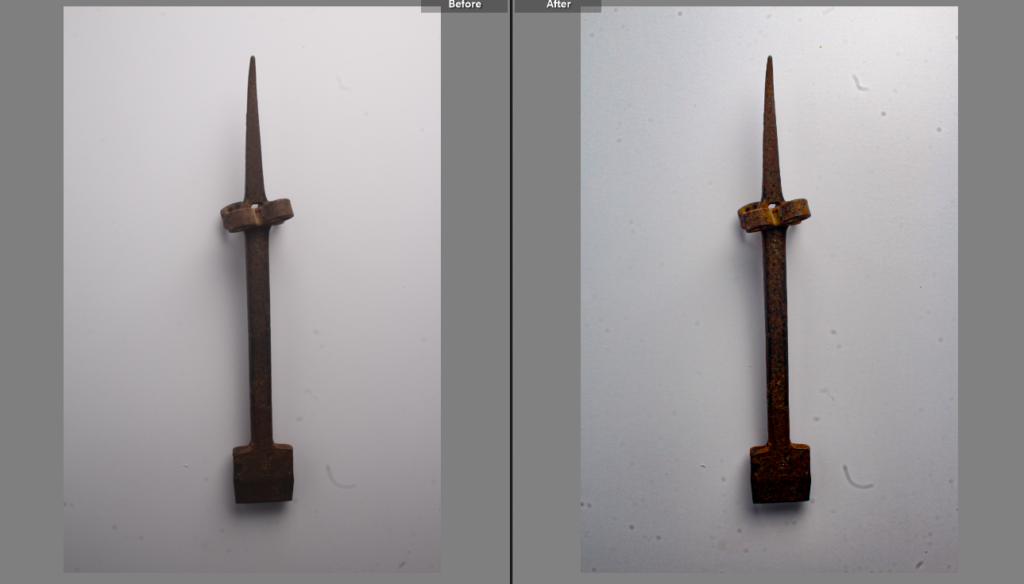
I edited all my images in Lightroom, after organising them.

First shoot

Due to the lighting and weather conditions on the day, many of my images were quite overexposed – I combatted this in my editing by increasing g shadow and contrast as well as decreasing exposure.

3/4 shot

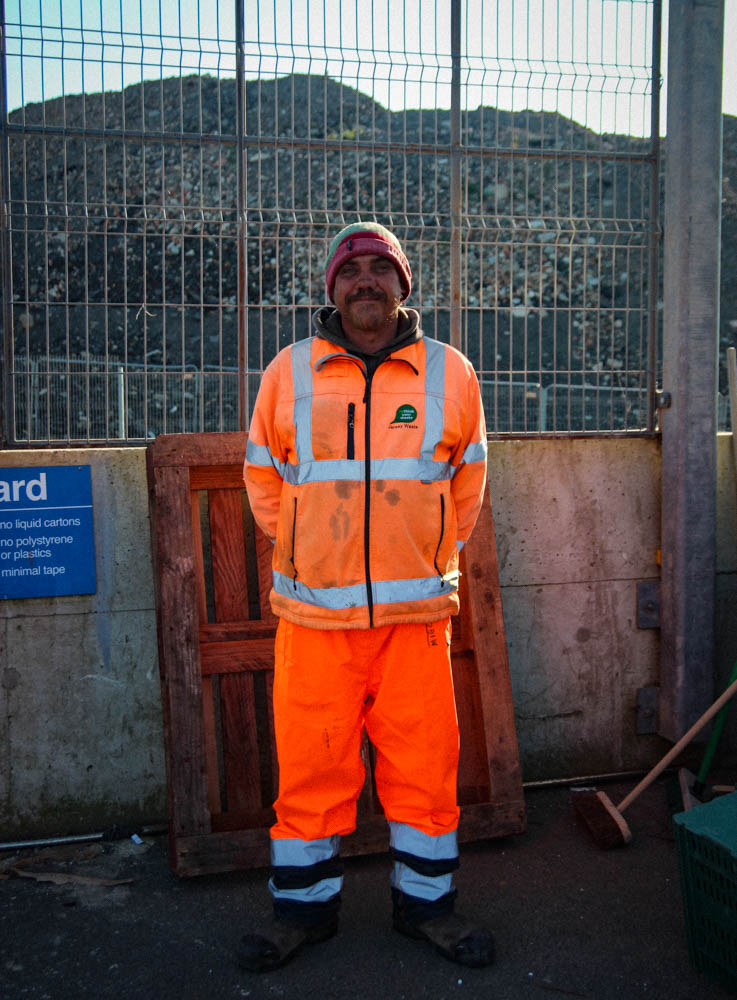
Full body shot

In this image, slightly different to the others, I added warmth and slight fade to increase the blue and yellow tones.

Headshot

2 people

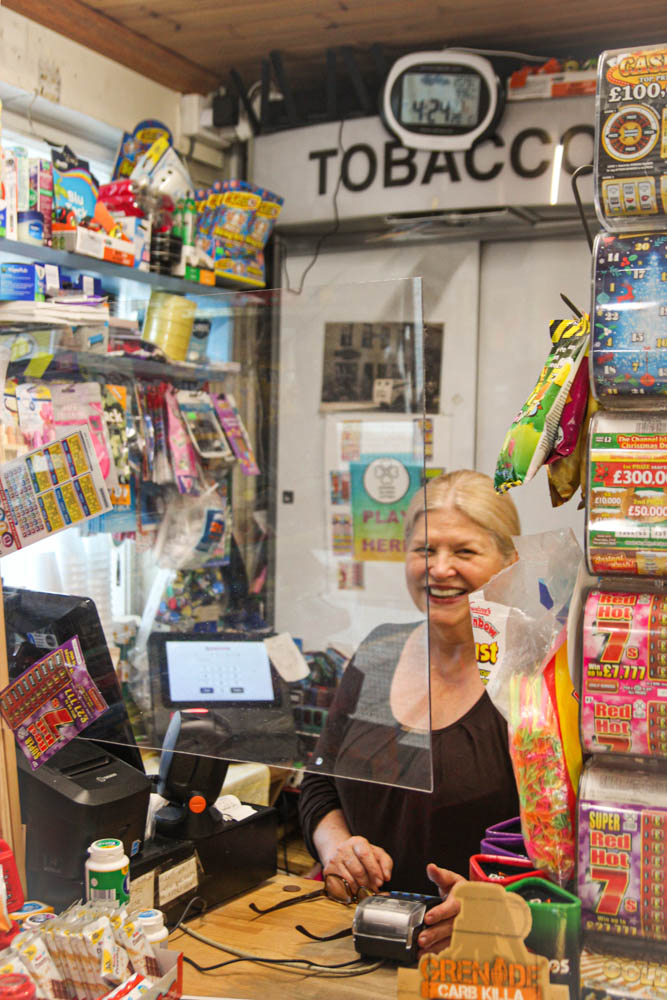
Second Shoot

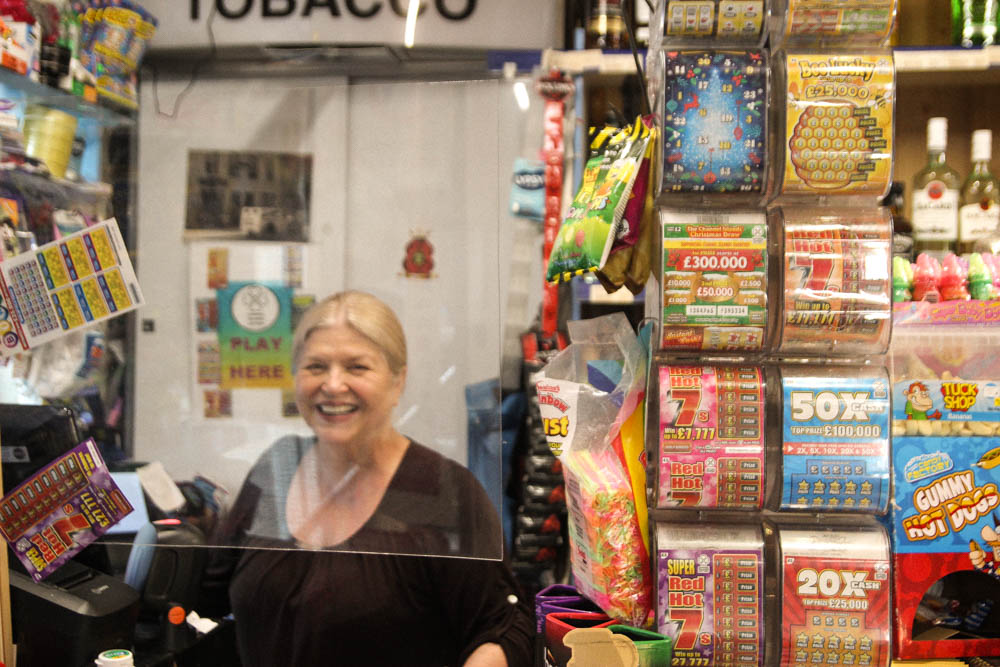
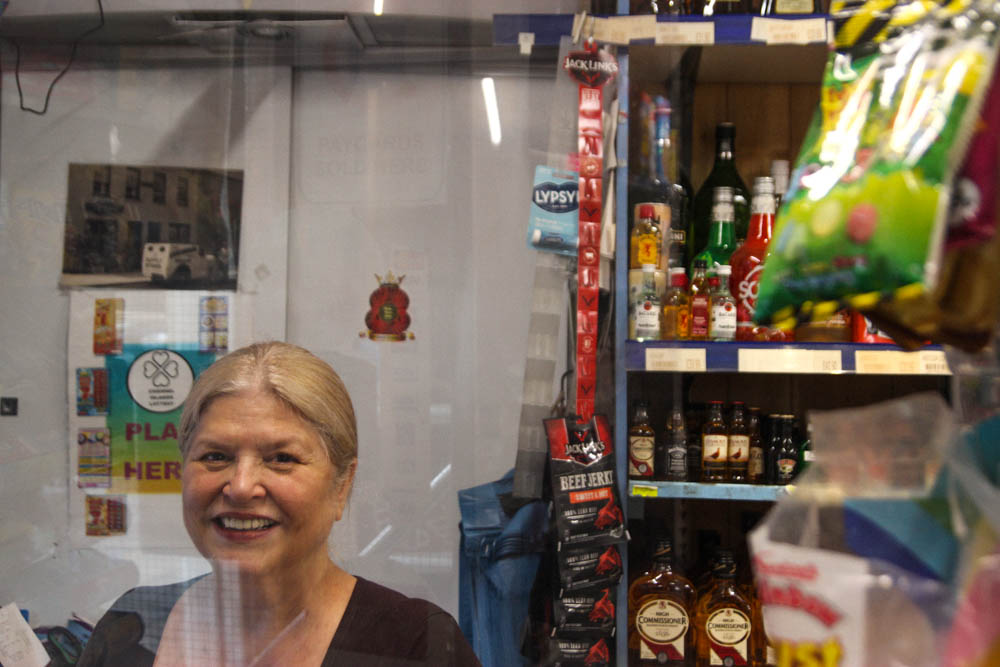
In this shoot I had difficulty with the screens in front of the tills – they added unwanted shadow to the image which made them quite tricky to edit – to combat this in the future I would maybe take the images from a different angle or in a different area.

Adding saturation and contrast to bring out the vibrant colours of the sign and items in the background.

Adding warmth and increasing contrast

Third Shoot

In this shoot, the same as the last, I had to trouble with the screen in front of the till. To combat this I tried to shoot slightly to the side of it. In my edits, I added contrast and warmth as well as saturation and vibrance to bring out the vibrant colours in the products inside the shop.

still life/studio photoshoot

what is still life photography?

Still Life is the art of photographing inanimate objects which can be natural (flowers, food, plants, rocks, etc) or man-made (books, vases, glasses, jewellery) typically arranged in small groups. There are two types of still life photography: found still life and created still life. Found still life photographs are random collections of things that are arranged without any outside help, meaning you don’t move them to make your picture look the way you want it. Created still life photographs, on the other hand, are photographs of objects that have been arranged to look a certain way. The painting generally considered to be the first still life is a work by the Italian painter Jacopo de’Barbari painted 1504. The “golden age” of still-life painting occurred in the Lowlands during the 17th century.

Paintings with aspects of the natural world were so common in the Netherlands that, during the seventeenth century, the Dutch words stilleven and landschap were adopted into English as “still life” and “landscape.” Before the mid-1600s, though, the Dutch usually referred to pictures by their individual subjects such as “breakfast piece” or “winter snow scene.”

Found still life examples..

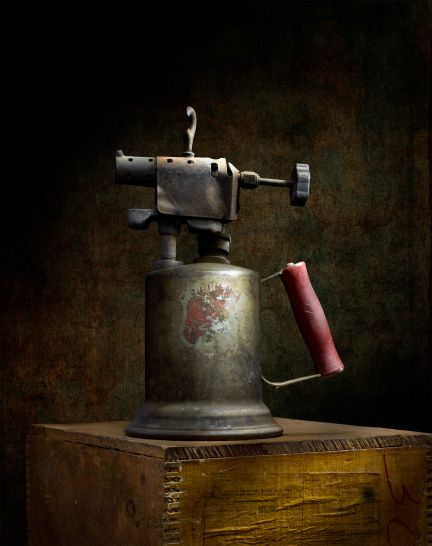
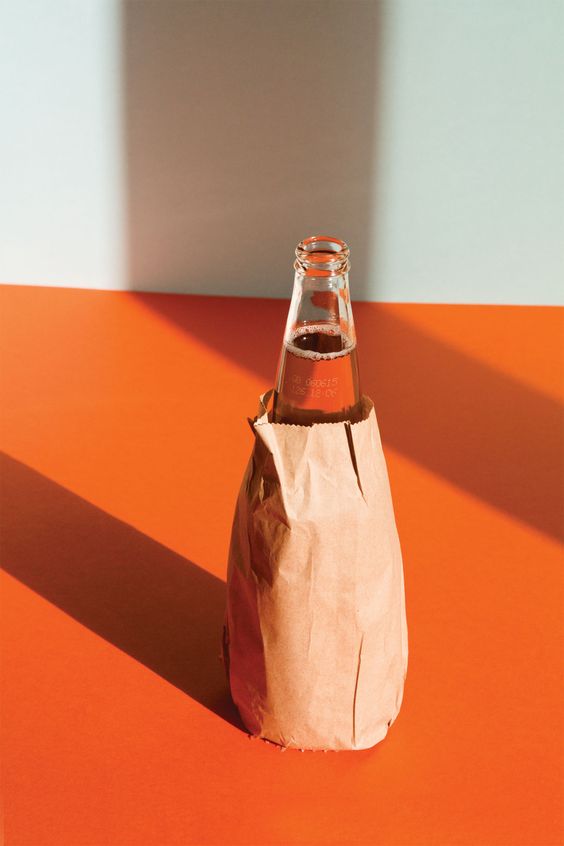
Created still life examples…

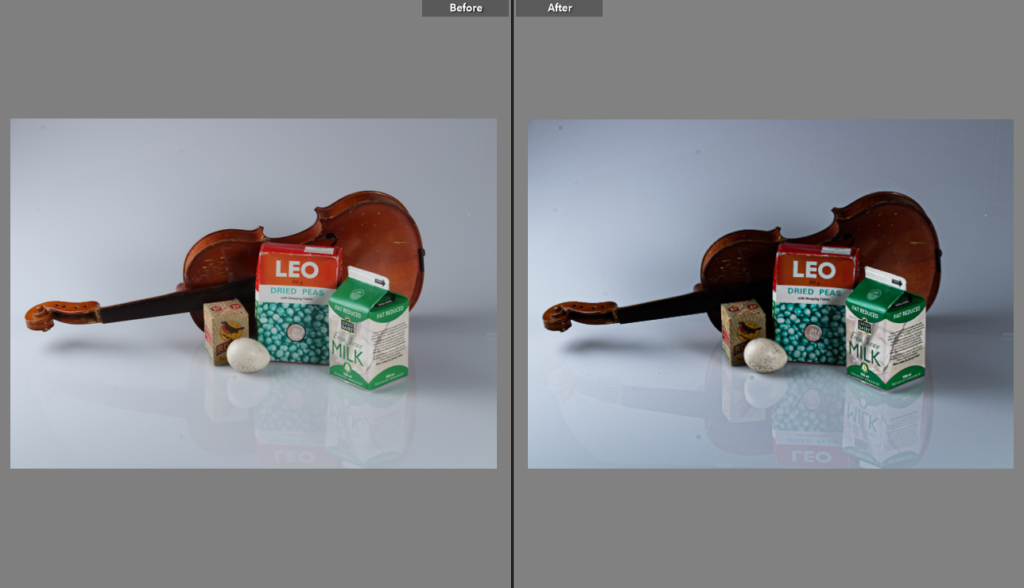
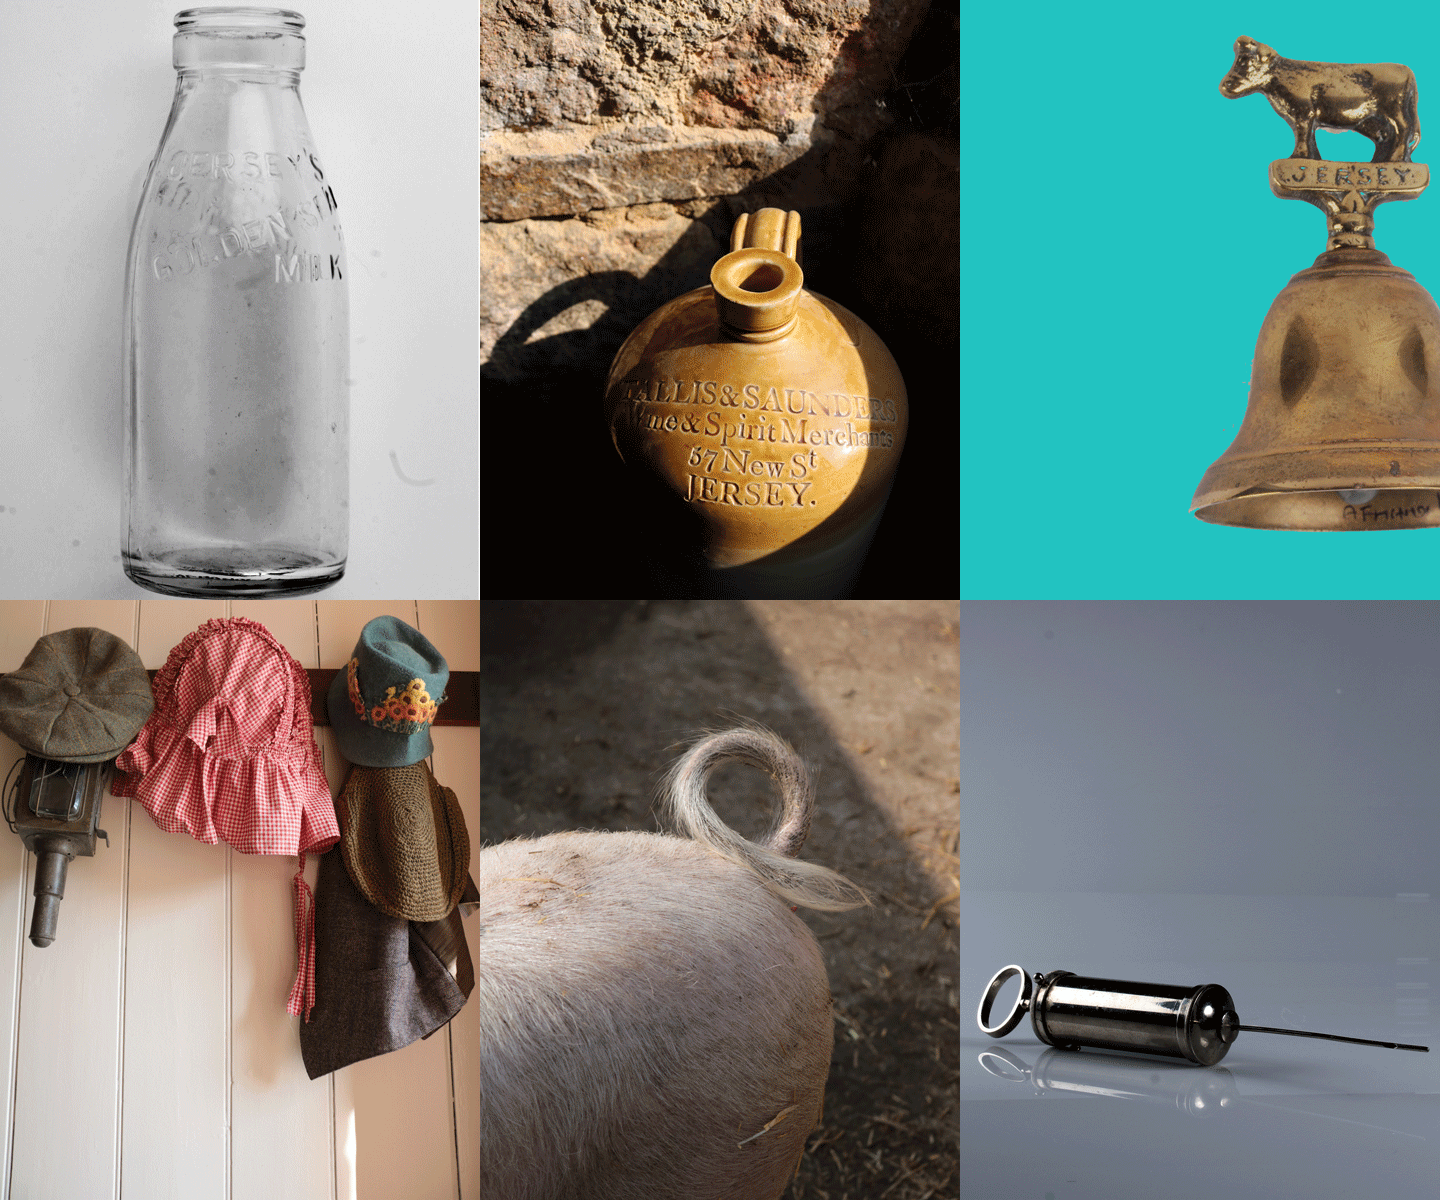
My still life photos

What did equipment did I use to take my photos?

Infinity curve

An infinity curve, also sometimes called an infinity cove, is used to create a stage with a plain, single-colour background. This approach serves several purposes. It’s popular with product photographers because it allows them to clearly define the subject of an image by remove the appearance of a background of any kind. The defining feature of an infinity curve is a lack of angles. Since an infinity curve doesn’t have any corners, shadows don’t gather in the background. The end result is a finished image where the subject appears to have been placed on plain white paper or a blank canvas.

Photo taken on the infinity curve – we used this for our photoshoot so it would bring the focus to the objects as the background is just plain white with no angles/corners.

Overhead setup

The overhead shot is a high angle shot almost directly (or literally directly) above the subject. It allows the viewer in on the action but still maintains character detail. It’s most commonly used in food photography to take photos/videos whilst cooking or preparing food.

We used an overhead setup during our photoshoot to capture a clearer photo and prevent us from moving the camera around.

Hamptonne Final Images – Interiors

While at Hamptonne, I saw several interesting perspectives from inside the historical buildings on the site and wanted to capture those perspectives.

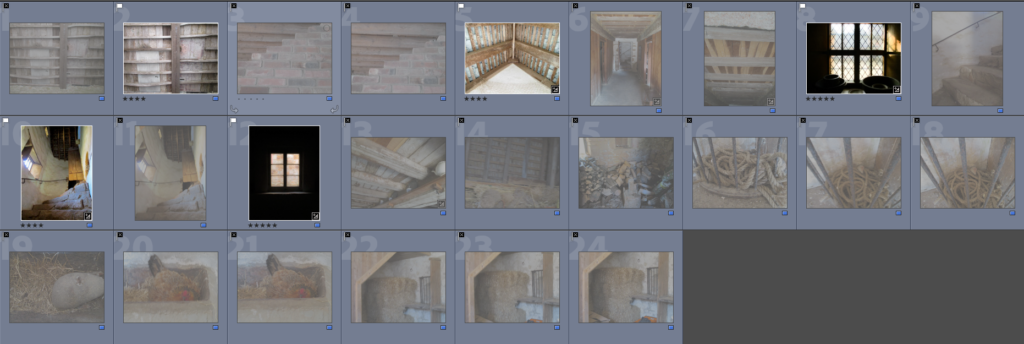
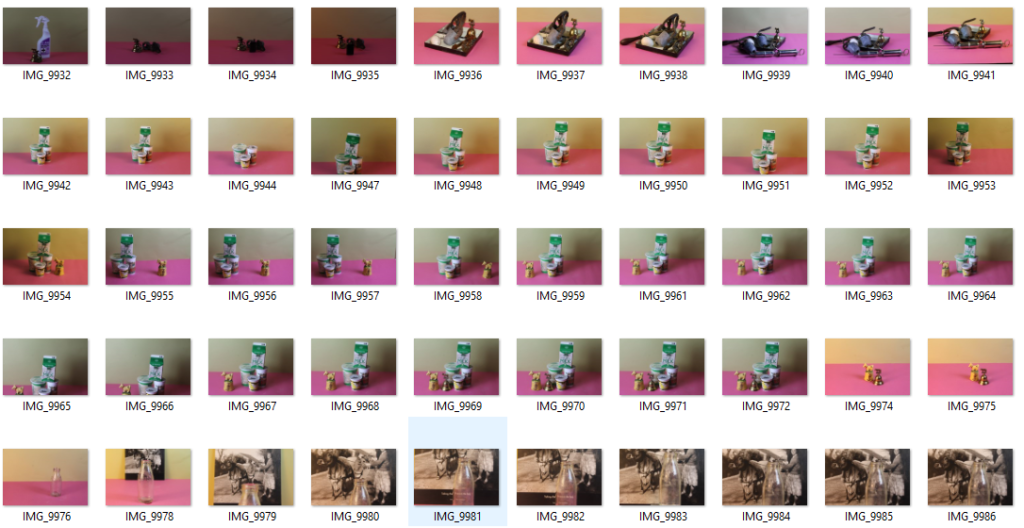
A contact sheet of the images I took of interiors.
These are the unedited versions of my final interior images

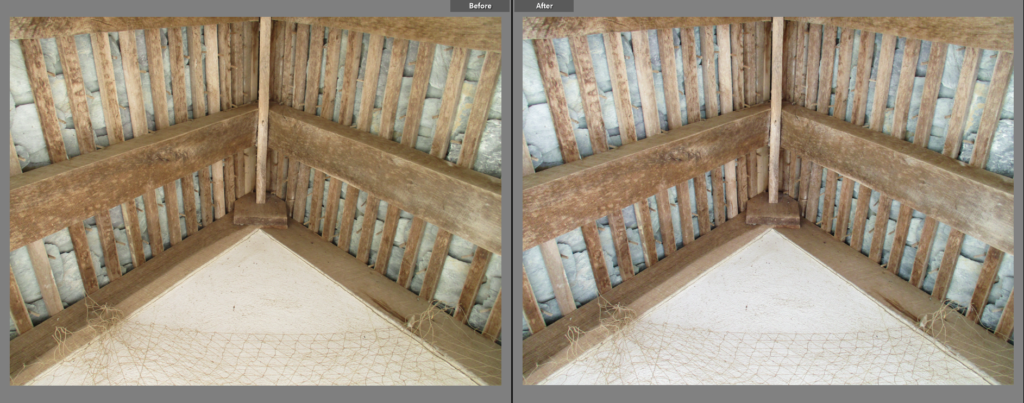
I chose this image as a final image because I like the way shape and line is used in it: with the several rectangles that look as if they were stacked on top of each other, which creates a triangular shape. Because there are many (leading) lines in this picture, the focal point could be either the beam in the centre (with the horizontal beams acting as the leading lines) or the white triangle at the bottom of the image (with the cage bars pointing downwards). Colour in this image is fairly limited, being made up of mainly browns, however, I think this makes the image look more rural and thus effective. I like how the slate has been positioned behind the bars of wood as it gives them a nice pattern that you do not see at first glance.
I think this image is effective because of how the light creates a silhouette from the frame and cage on the window, as well as how that light creates a shadow off to the right and how the objects at the bottom are lit in a way which creates a clear shadow. I wanted to slightly enhance the intensity of the light so that the outside cannot be seen, I think this makes the image look more interesting as it makes the objects and reflection on the wall brighter. The focal point in this image is the window because of the light seeping through it. This image mainly makes use of yellows and browns, giving the image a warm tone. However, if I had the opportunity to re-take this image, I would stand back slightly to make it less cluttered.

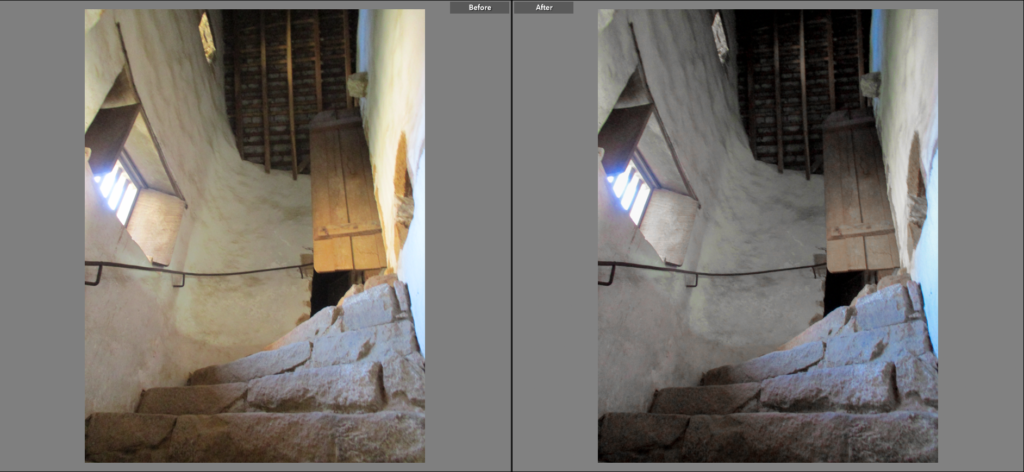
I think this image is interesting because of the different shapes of the stairs, door, window and roof, as well as the low point of view which makes the room seem taller and manages to capture the stairs and roof in the same shot, which, to me, gives it a Hockney-esque look. The focal point is the window because it is the direct source of the lighting and is the brightest part of the image. The colour in this image mainly consists of blues from the window light and yellow/brown on the wooden parts like the door and roof. I like the image has both smooth (the wall) and rigid (the stairs and roof) sections, this in itself creates a contrast.

This image is similar to the second image on this post, however this image I think is laid out better because there is more space for the window to breathe. I like the warmth of the lighting coming through the window. The light shining on the window-sill creates a nice effect with the black surroundings, I think it is interesting how it suddenly stops when the sill ends. I think the shape of the window is interesting as it creates squares of light which emerge from the dark background, creating a harsh difference in tones.

I chose this as a final image because I like the way it is laid out and how there is a sense of space within it. When editing, I wanted to make the image slightly colder in tone and reduce the warmer colours’ saturation because I thought it would not only make the image stand out from the rest of the interior images, but also enhance the white of the pottery and grey of the beams. The focal point in this image is the closest beam because it has a bright colour and has leading lines from the meeting of the planks above it. I like the way colour turned out in the image, by making the image colder, the blue patterns on the pottery are more noticeable.

TASKs Mon 8 Nov – Fri 12 NOv

  • Your Environmental Portraits – show and discuss – critique
  • Select and edit a range of images from your still life photo-shoots and CREATIVELY ADAPT using cut-n-paste techniques and Adobe Photoshop
  • Look carefully at this blog post for ideas, research and theory
  • Create YOUR OWN 3 x blog post(s) that clearly shows your selection process and a range of final images from the objects
  • Remember to describe and explain your process, connecting your ideas to your artist references.
  • Use your study periods and time at home for independent study wisely…some experiments must be done out of school !
  • Remember when EXPORTING from Lightroom you must adjust the file size to 1000 pixels on the Long edge for “blog-friendly” images (JPEGS)
  • BUT…for editing and printing when EXPORTING from Lightroom you must adjust the file size to 4000 pixels on the Long edge for “high resolution” images (JPEGS)
  • Refer to THIS BLOG POST… for help and guidance in the studio
  • Camera handling skills support is here

Deadline for current unit is Friday 12 Nov

Ultimately , you are aiming to produce a range of high quality images that will be printed professionally. These are your final outcomes (Assessment Objective 4) You must add your high resolution files to the print folder…found here

M:\Departments\Photography\Students\Image Transfer\PRINTING Yr 12 Heritage Nov 2021

What you should be printing…

  1. 1 x Hamptonne Portrait
  2. 1 x Hamptonne object / equipment
  3. 1 x Hamptonne Building / landscape
  4. 1 x Heritage Still life (product table)
  5. 1 x Vanitas Still life (skulls, flowers etc)
  6. 1 x Photo-montage / cut-n-paste
  7. 1 x Walker Evans inspired / spliced object inspired by Darren Harvey-Regan
  8. 1 x Environmental Portrait

This week ensure your process looks like this…

  1. Mood-board, definition and introduction (AO1)
  2. Mind-map of ideas (AO1)
  3. Artist References / Case Study (must include image analysis) (AO1)
  4. Photo-shoot Action Plan (AO3)
  5. Multiple Photoshoots + contact sheets (AO3)
  6. Image Selection, sub selection (AO2)
  7. Image Editing/ manipulation / experimentation (AO2)
  8. Presentation of final outcomes (AO4)
  9. Compare and contrast your work to your artist reference(AO1)
  10. Evaluation and Critique (AO1+AO4)

still life research

Mood Board

Walker Evans

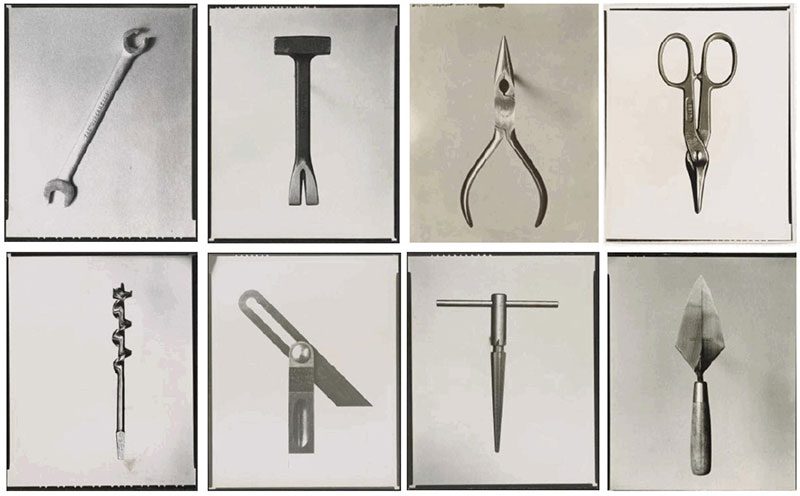
Walker Evans was an American photographer and photojournalist best known for his work for the Farm Security Administration documenting the effects of the Great Depression. Much of Evans’s work from the FSA period uses the large-format, 8×10-inch view camera. Evan’s style of work is social realism and and today his works are held in the collections of The Museum of Modern Art in New York, the Art Institute of Chicago, and the J. Paul Getty Museum in Los Angeles, among others. He is thought of as a pure documentary photographer as His precisely composed, intricately detailed, spare photographs insisted on their subject matter, and his impartial acceptance of his subjects made his work seem true and aesthetically pure–qualities that have been the goal of documentary photography ever since.

Walker Evans (1903-1975, American) at The Great Cat

Examples of his work

Evans was inspired by his French cultural heroes, Evans set out to document the authentic, ordinary, and transitory details that he now saw in his homeland. It was in Fortune magazine, the publication founded in 1929 to cover “Industrial Civilization,” that Evans shared many of his cultural observations. He could not use a flash, because it would alert his subjects to the presence of the camera. In order to compensate for the lack of a flash, the shutter speed was slowed.

Boring things

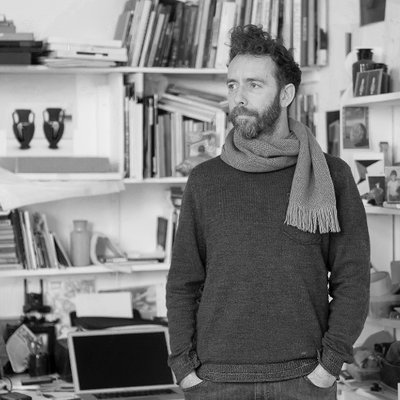
Darren Harvey-Reagan

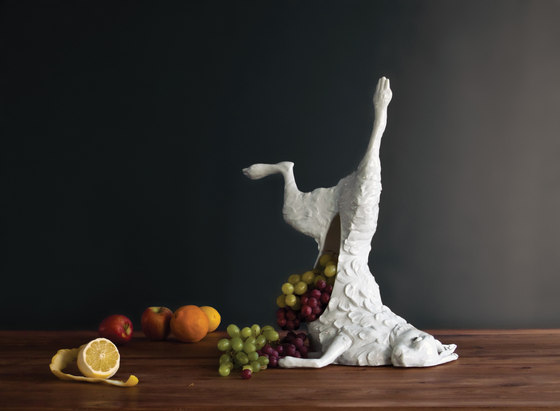
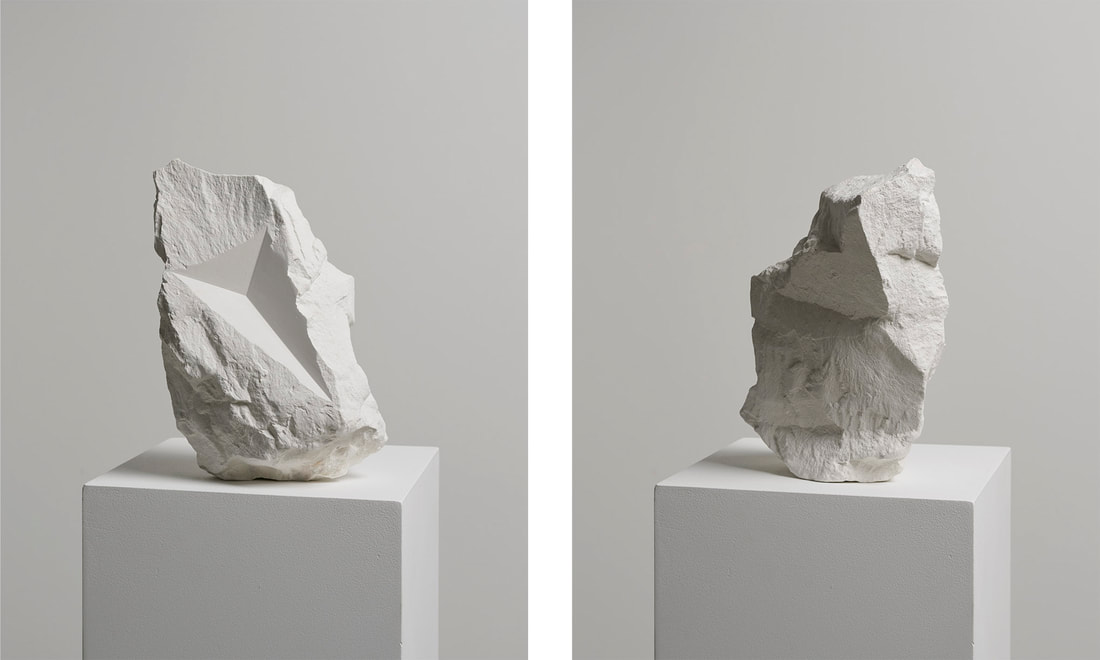
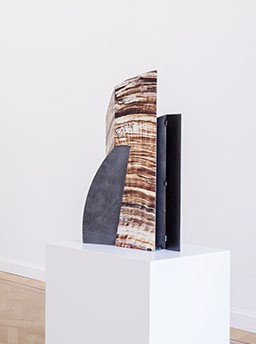
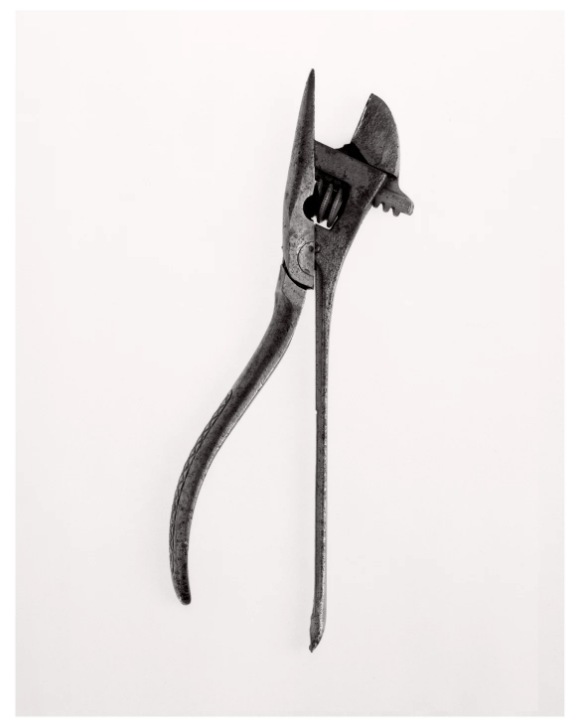
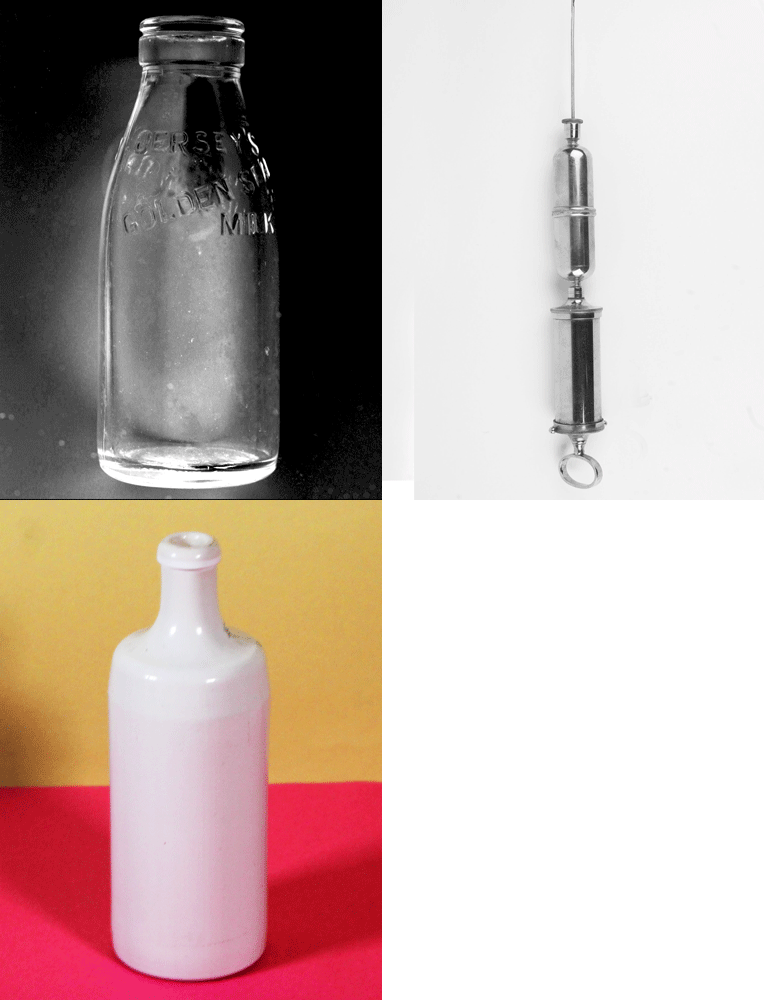
Harvey-Regan first constructed a montage of Evans’s images to make new forms. He then sourced matching tools, cut them in half and re-joined various halves together, with the resulting physical objects being photographed to create his final work. The montaged tools become both beautiful and bizarre objects, in which a ratchet wrench is combined with a pair of pliers and a Mason’s trowel joined with a pair of scissors.

Darren Harvey-Regan (@D_Harvey_Regan) | Twitter

On initial viewing, one may consider the works to be surrealistic, but Harvey-Regan refers to the works as ‘phrasings’, “different versions of a visual question or proposition”. He further elaborates: “If you take, ‘what happens if’…” as the beginning of the exhibition’s question, then the works explore how that question ends, by using the elements of the photographic material, the image, and the original object and shuffling these three around, giving different emphasis to each, in which each has a different phrasing”.

Darren Harvey-Regan: Erratics - C Ø P P E R F I E L D

Artist reference

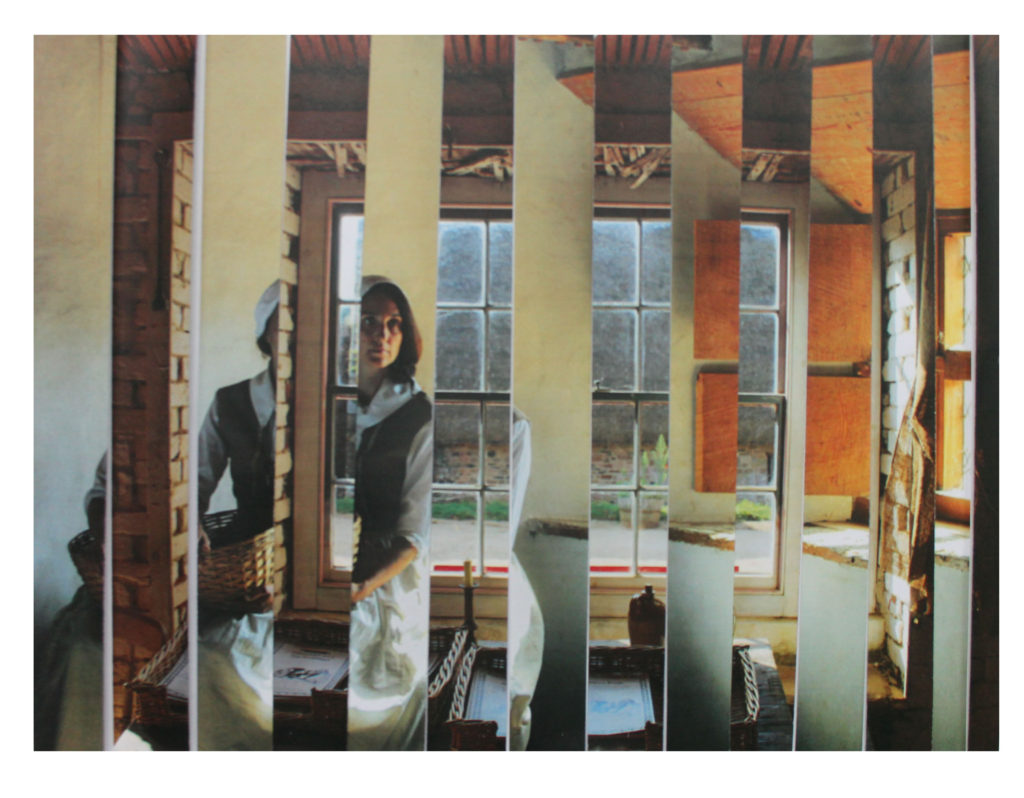
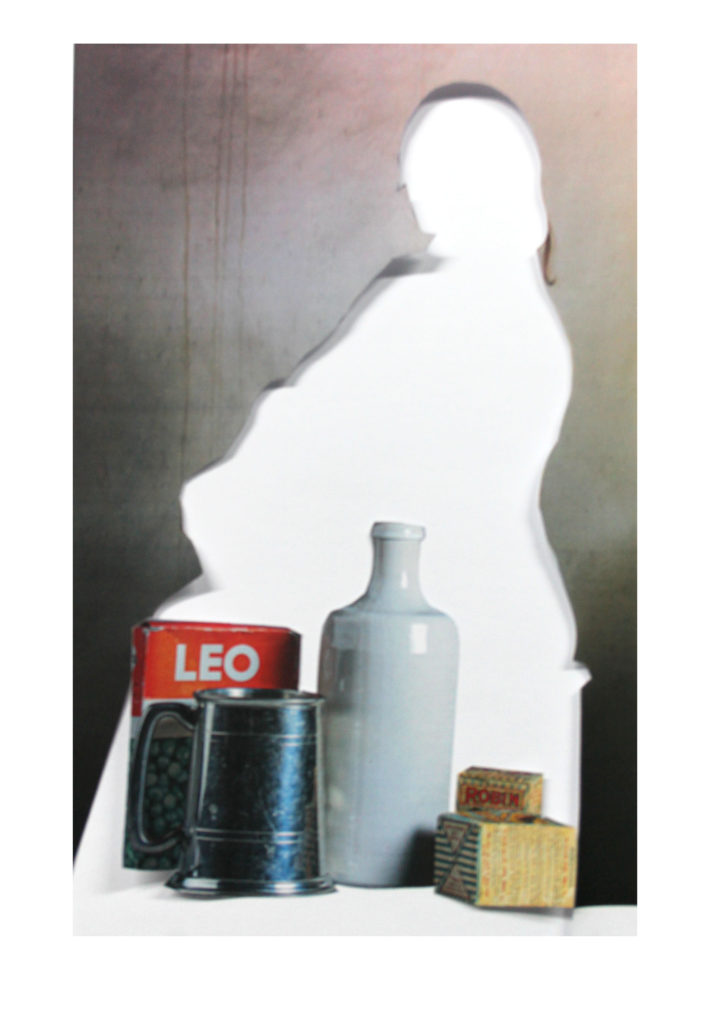
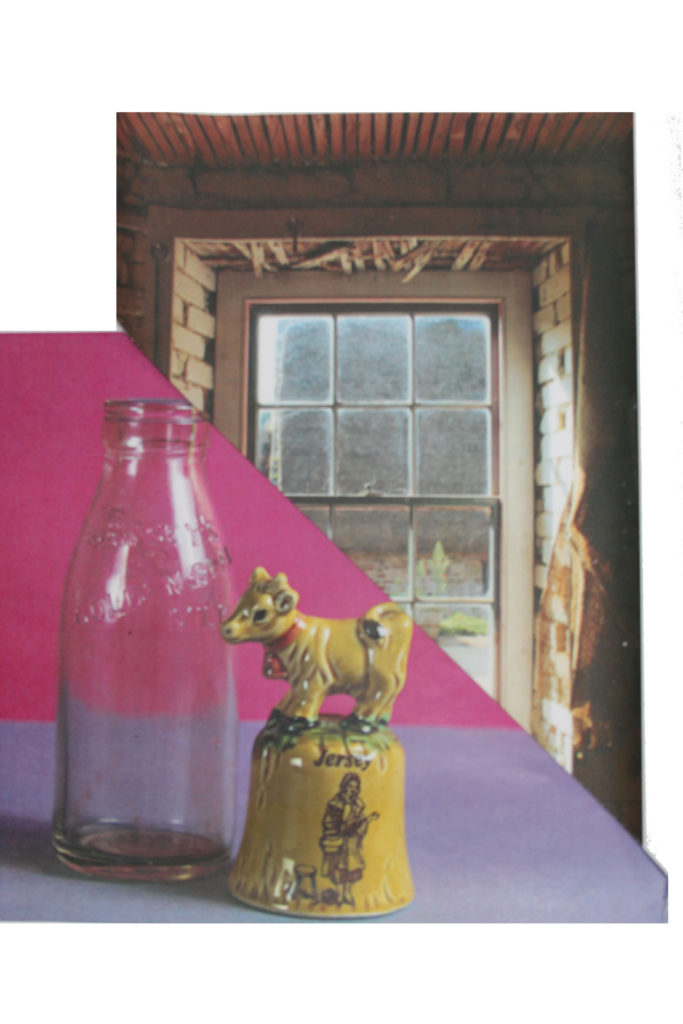
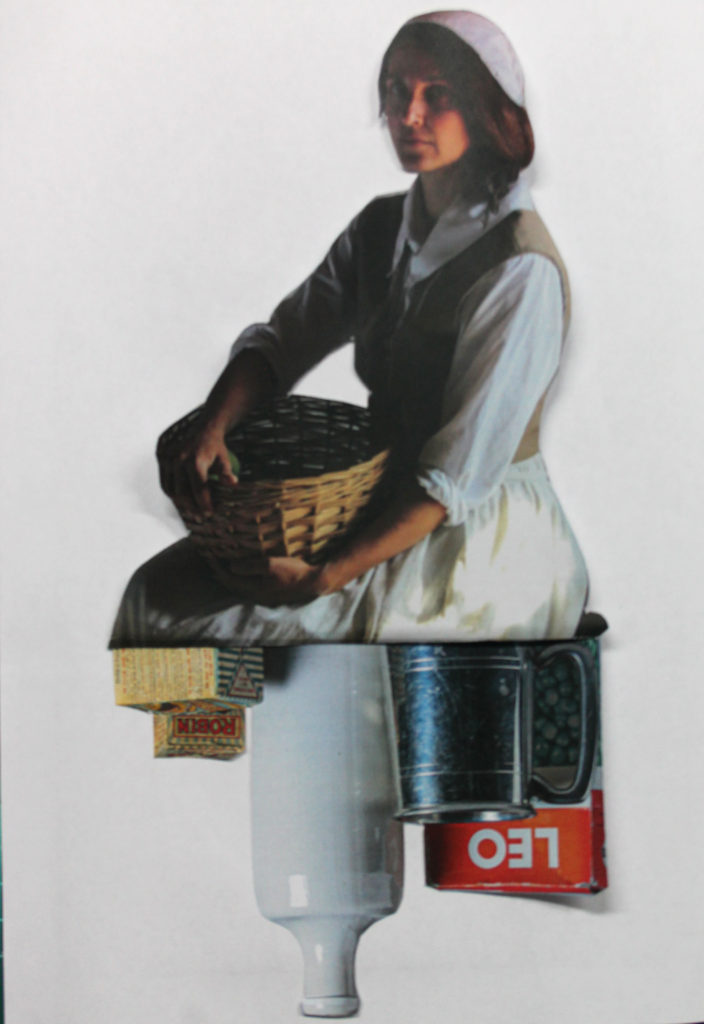
I have included an artist reference below to demonstrate how I took inspiration from other artists to assist me in creating my experimentations using the still life object photographs, Hamptonne portraits and Hamptonne images. I have chosen to compare this image of Reagan’s as it was the best to recreate as so many of my images could be adapted just like this one.

EXPERIMENTATION – cut’n’paste / photomontage

You’re going to utilise your images from the studio object shoot and the Hamptonne shoot.

Using your OBJECTS & PORTRAITS photographs to create experimental new images either by hand or using image manipulation software OR both!!!

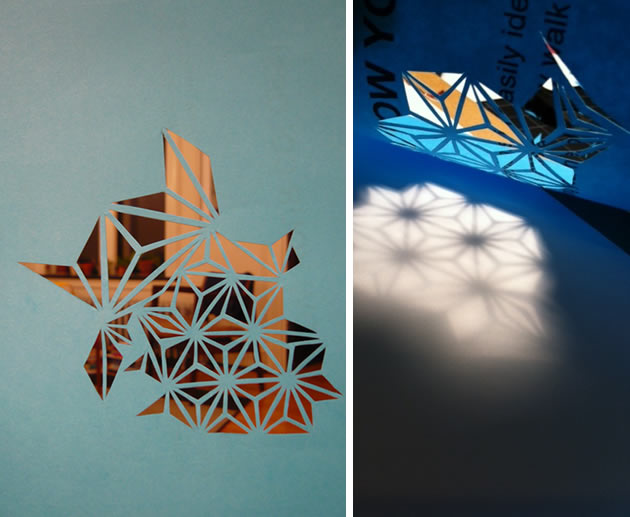
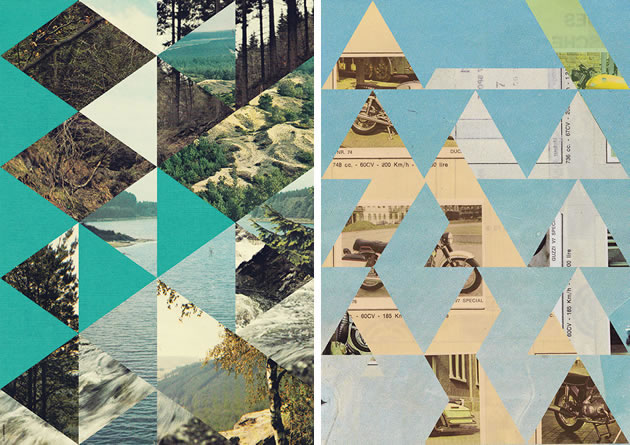
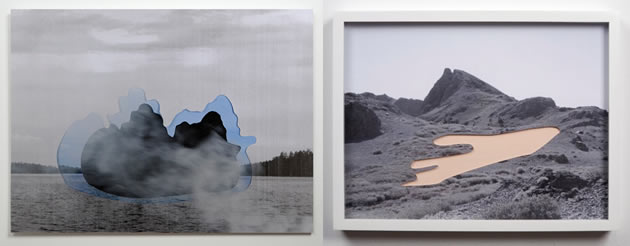
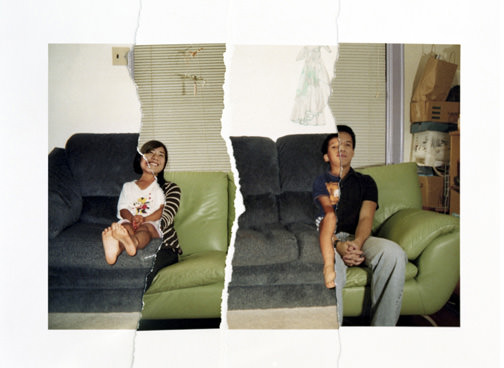
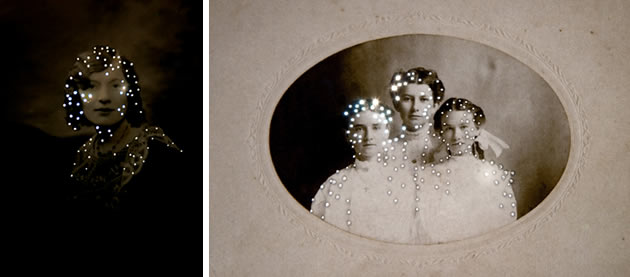
Cut / Slice / Trim / Slide / Join / Add / Combine / Match /  Mix / Tear / Scrunch / Fold / Stick / Stitch / Sew / Weave / Holes / Burn / Singe / overlap

Stitching Photographs: Various Approaches | Photo art, Embroidered photo,  Art inspiration

Photographers you could look at include:

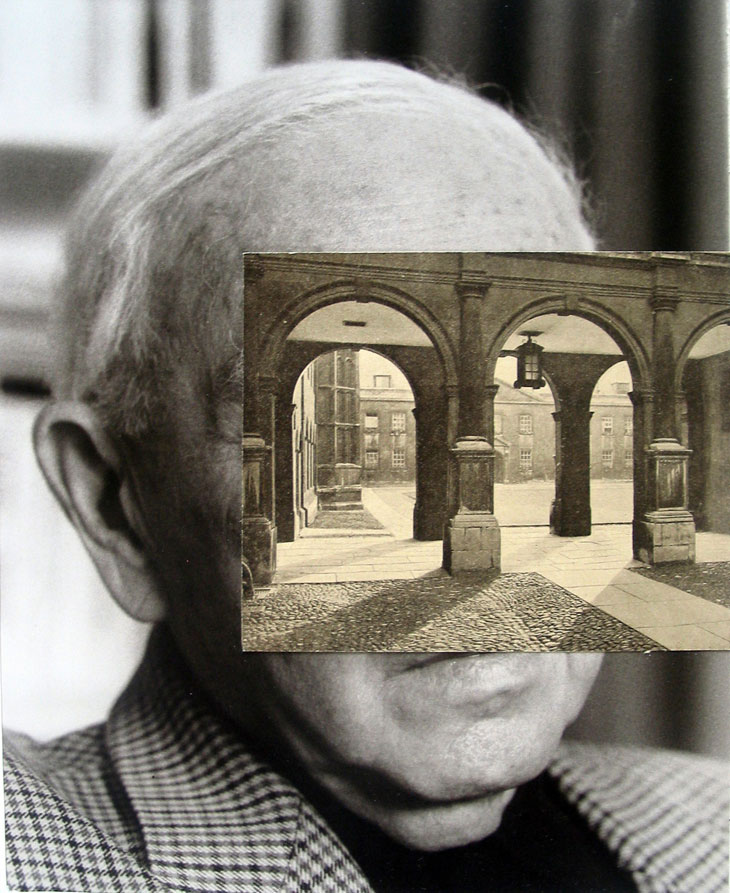
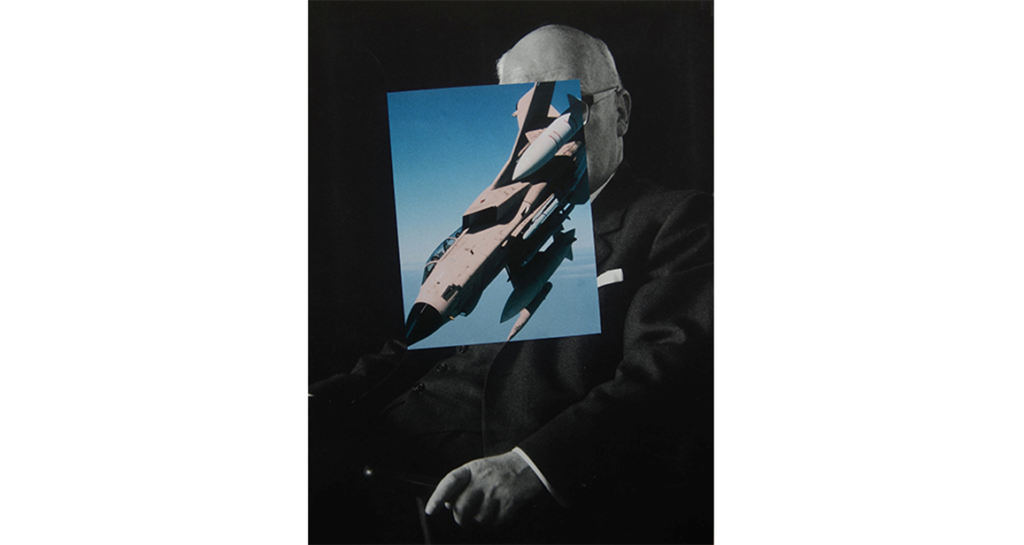
•John Stezaker •Bobby Neal Adams •Linder Sterling •Johanna Goodman •Max-o-matic •Luis Dourabo •Joe Castro •Bela Borsodi / Kensuoke Koike / Sarah Eisenlohr / Jesse Treece / Jesse Draxler / Joachim Schmidt /

http://www.artnet.com/artists/john-stezaker/

https://www.bobbyneeladams.com/

https://www.tate.org.uk/art/artists/linder-10844

http://www.johannagoodman.com/#/

https://www.belaborsodi.com/

SOME EXAMPLES – CUT N PASTE

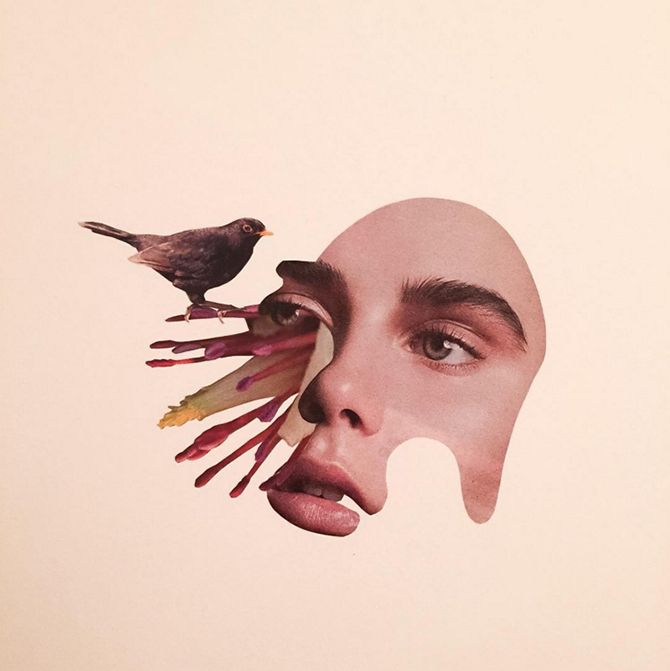
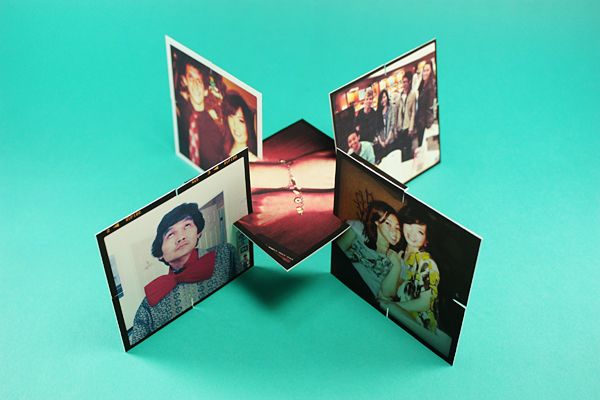
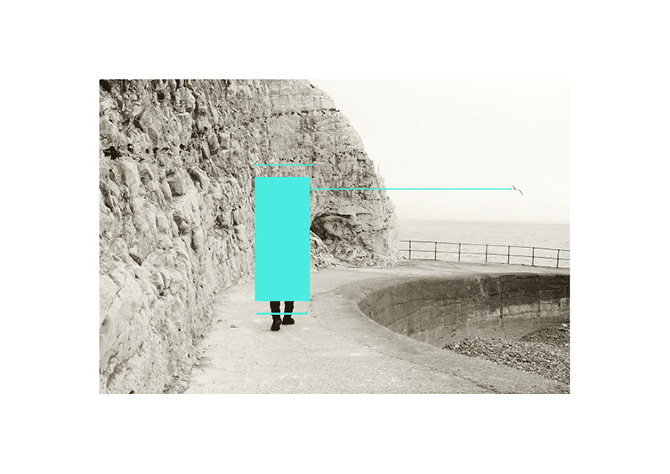
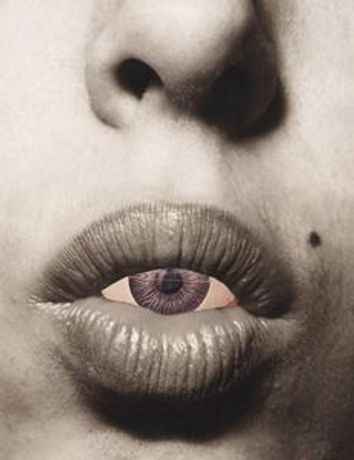
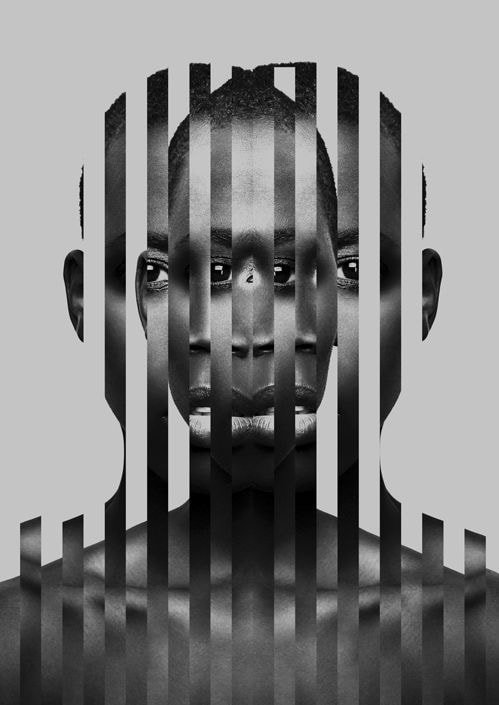
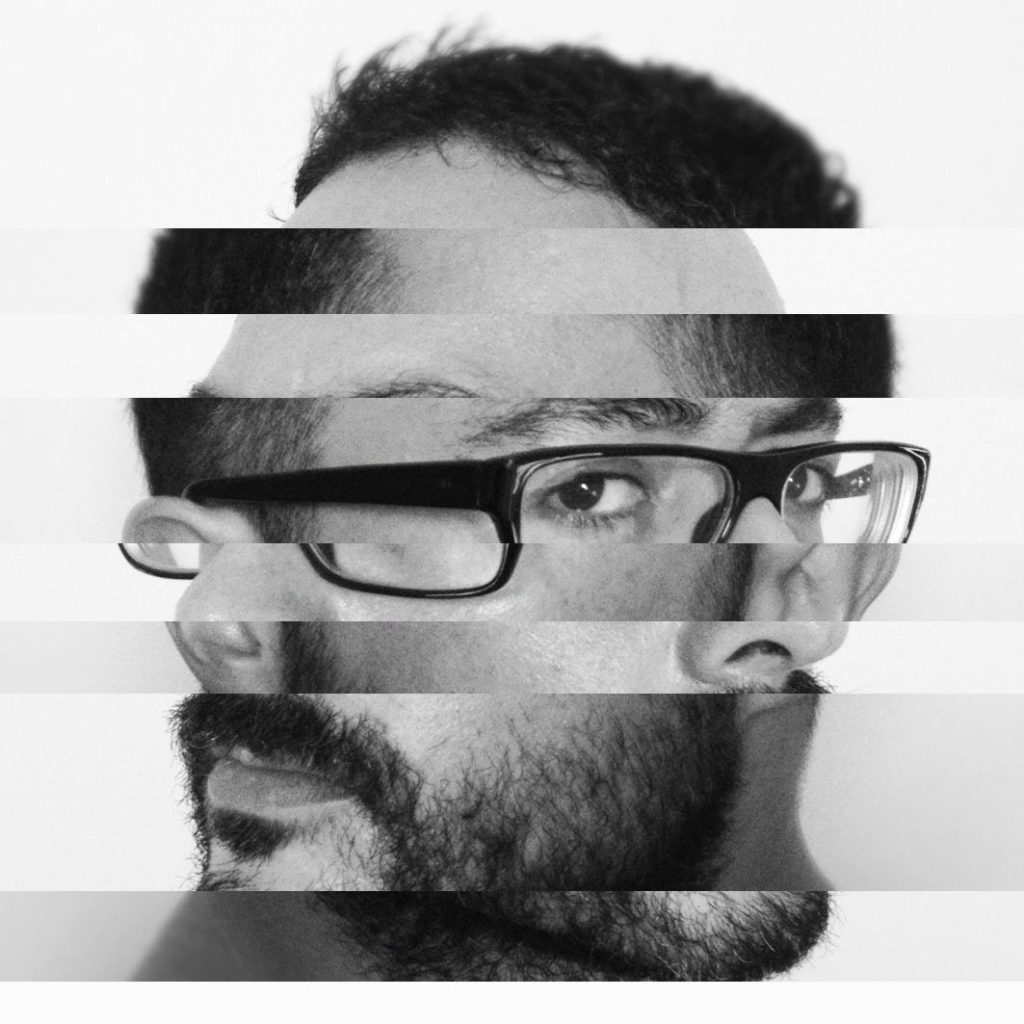
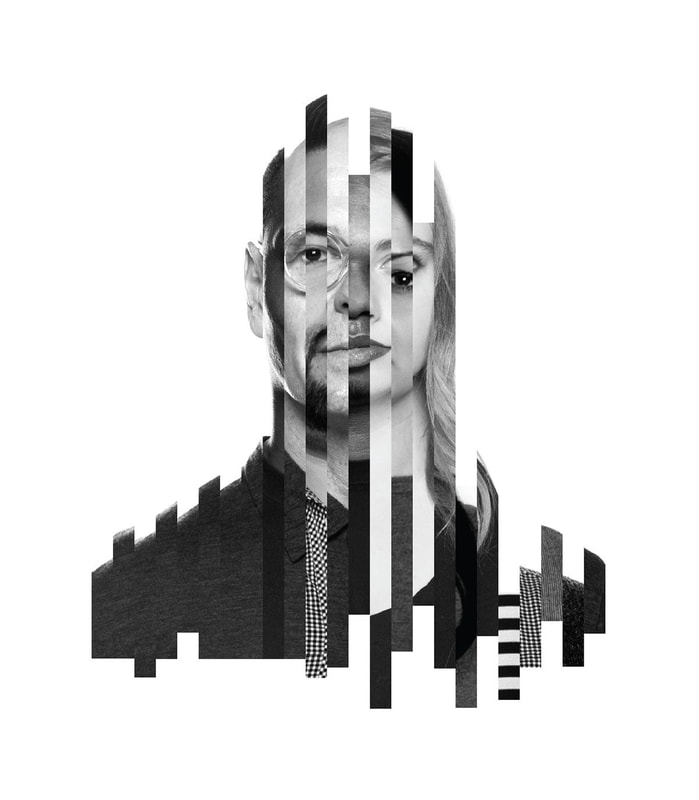
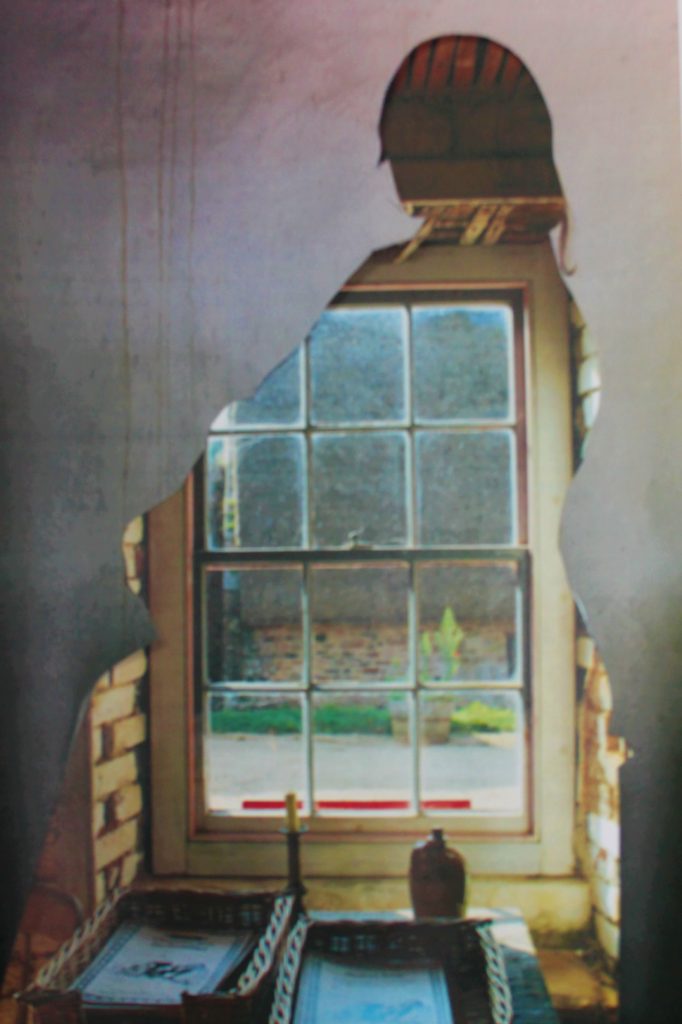
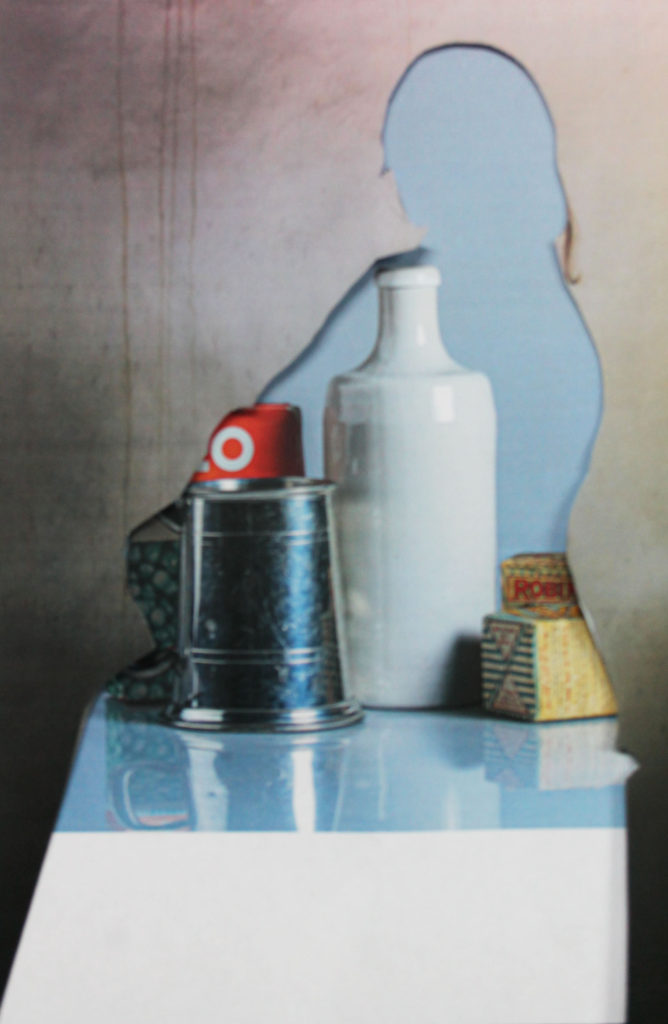
The examples below were created using five images. The figure was cut out leaving an interesting negative shape and outlined. Other images could be slid underneath until connections and interesting compositions started to occur.

Photomontage

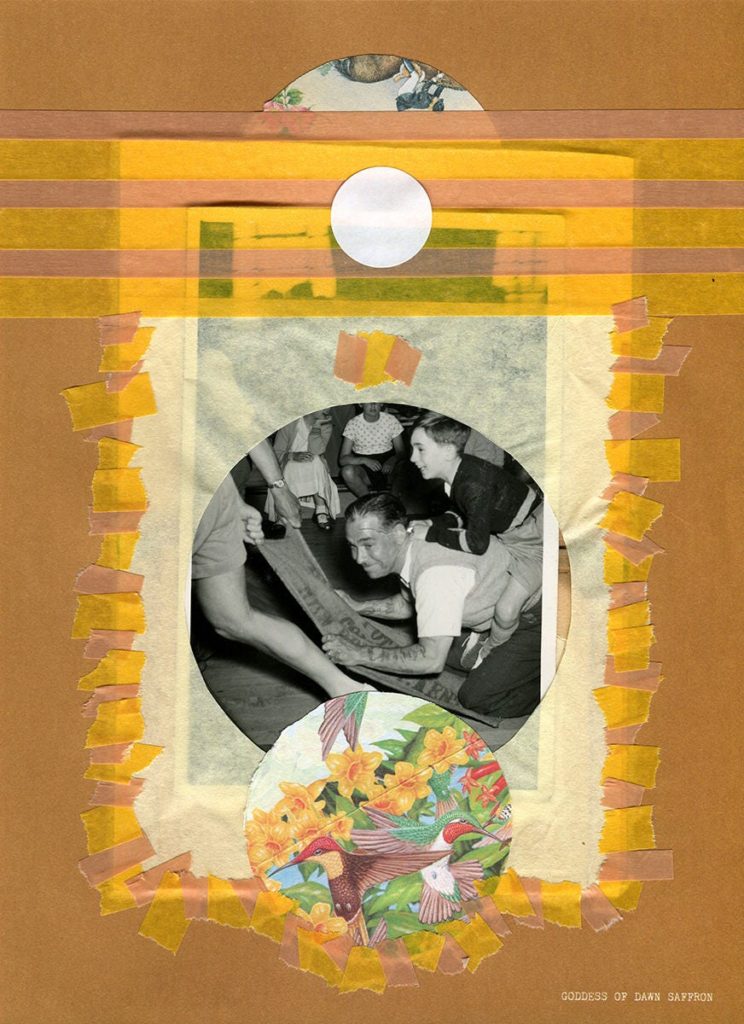
  • photomontage is a collage constructed from photographs.
  • Historically, the technique has been used to make political statements and gained popularity in the early 20th century (World War 1-World War 2)
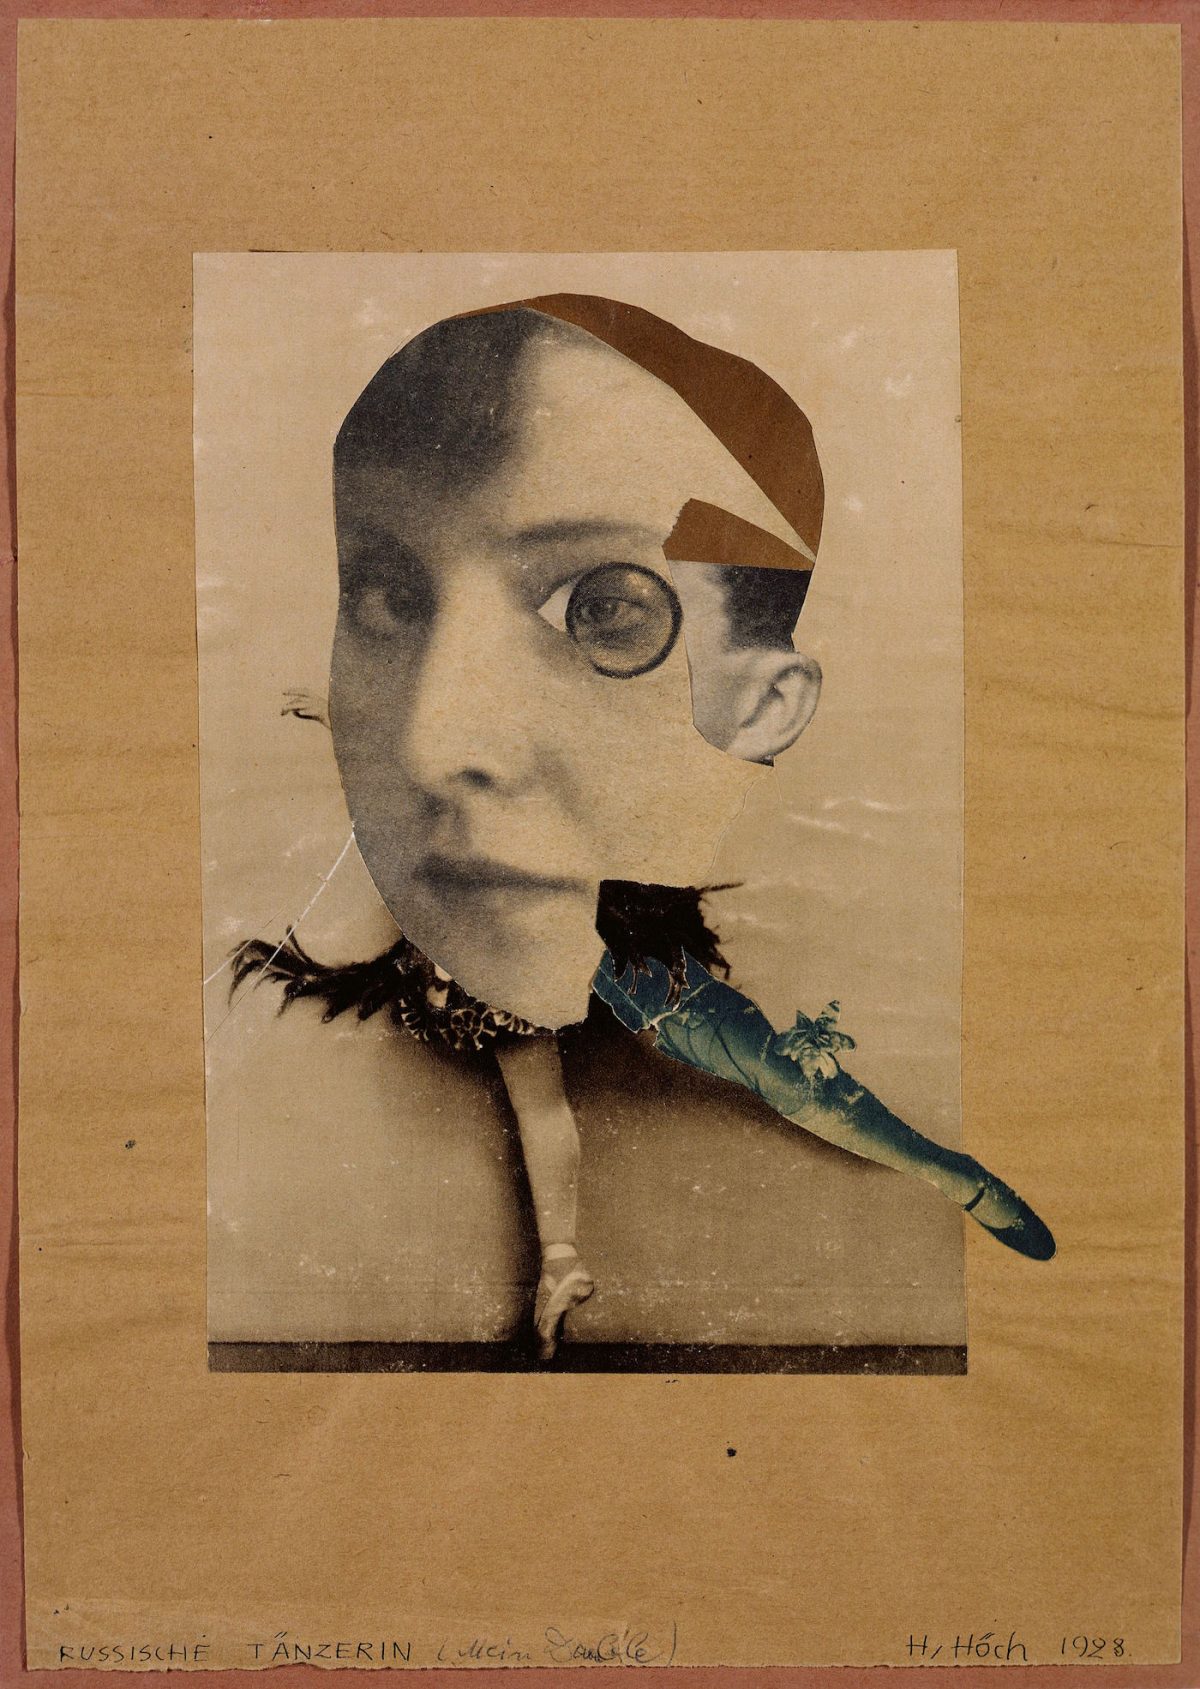
  • Artists such as Raoul Haussman , Hannah Hoch, John Heartfield employed cut-n-paste techniques as a form of propaganda…as did Soviet artists like Aleksander Rodchenko and El Lissitsky
  • Photomontage has its roots in Dadaism…which is closely related to Surrrealism
Hannah Höch, The Artist Who Wanted 'to show the world today as an ant sees  it and tomorrow as the moon sees it' - Flashbak
Hannah Hoch

MORE ON PHOTOMONTAGE FOR YOU HERE

Extension Experiment

How to make a GIF in Photoshop
1. Create layer for each image
2. Window > timeline
3. Select > Create Frame Animation
4. Drop Menu > Make frames from Layers
5. Timeline > select Forever
6. File > Export > Save for Web Legacy > reduce image size to 720 x 720 pixels

A gif created using just three images.

A gif using 6 images.

Just another Hautlieu Creative site