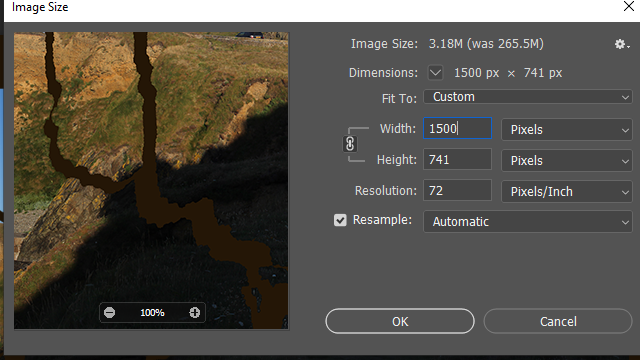
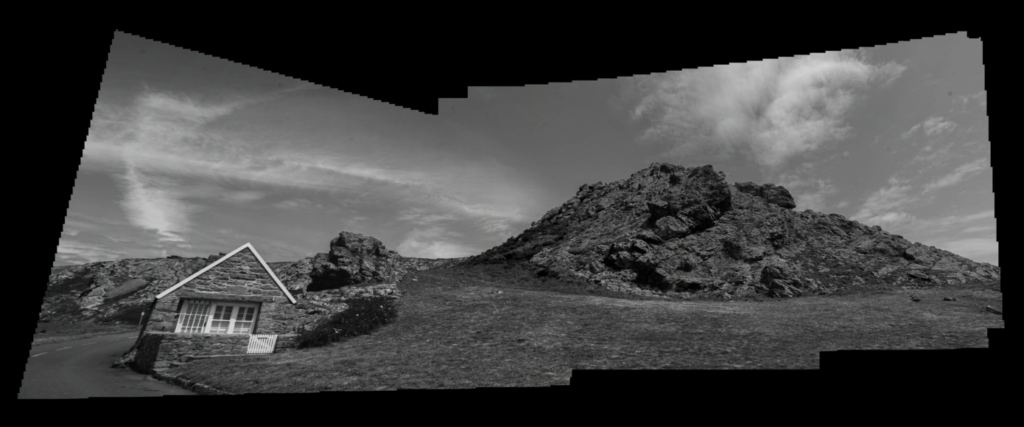
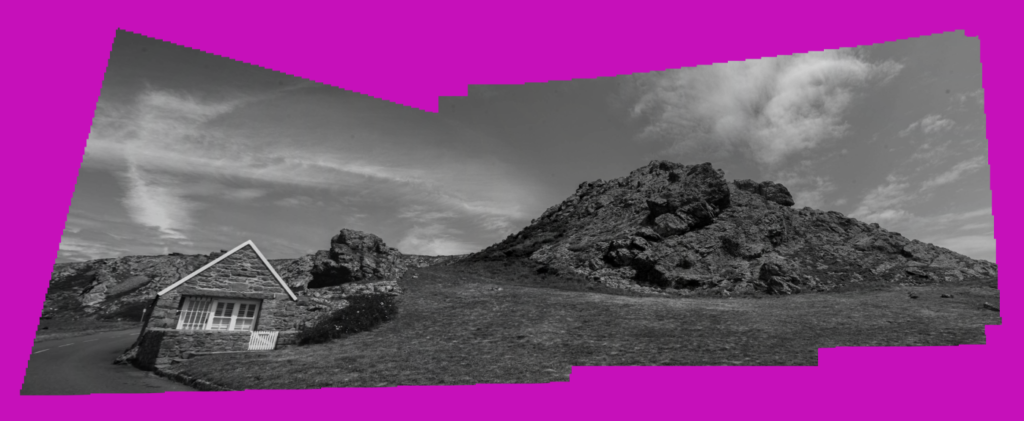
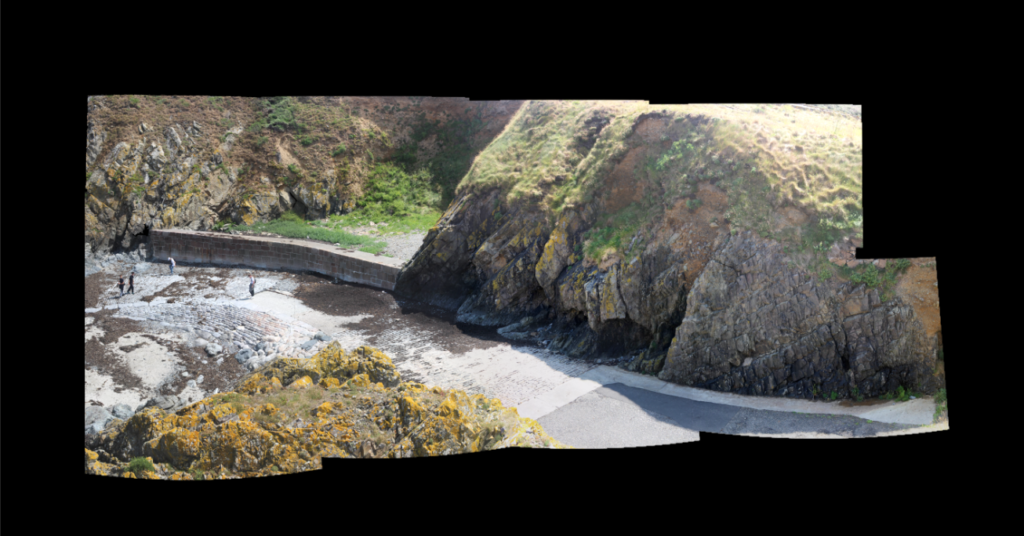
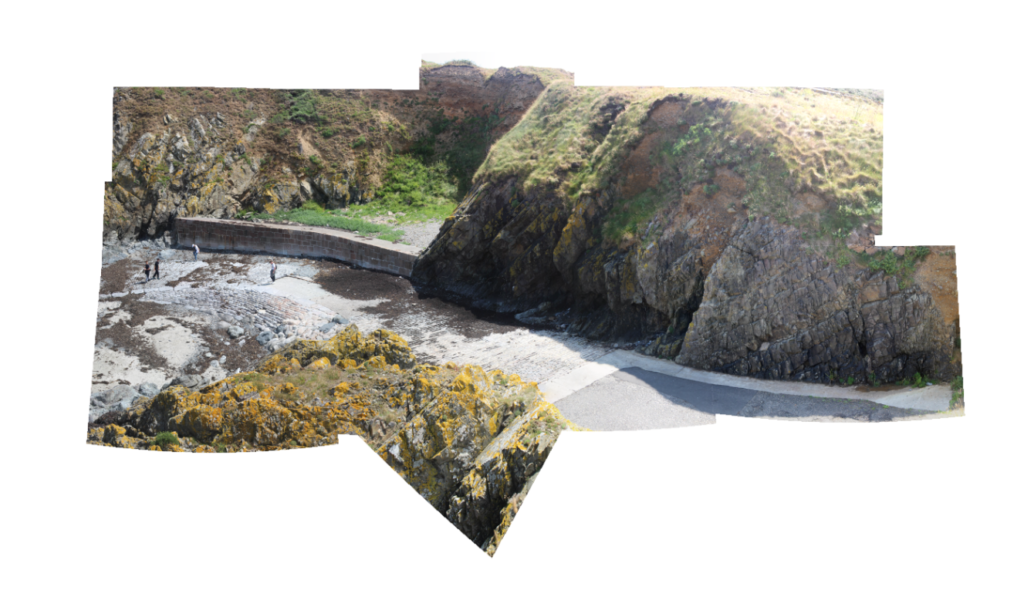
To upload to the blog i changed the pixels so that the image would be able to fit, and i edited it for there to be a clearer resolution so the image is sharper.
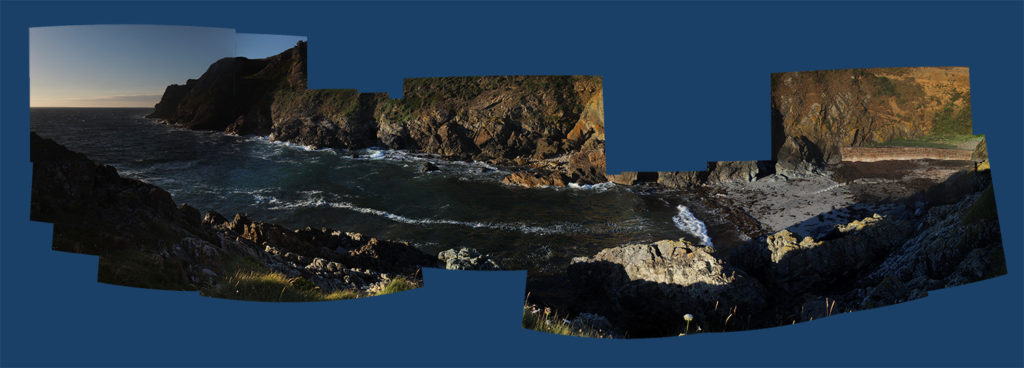
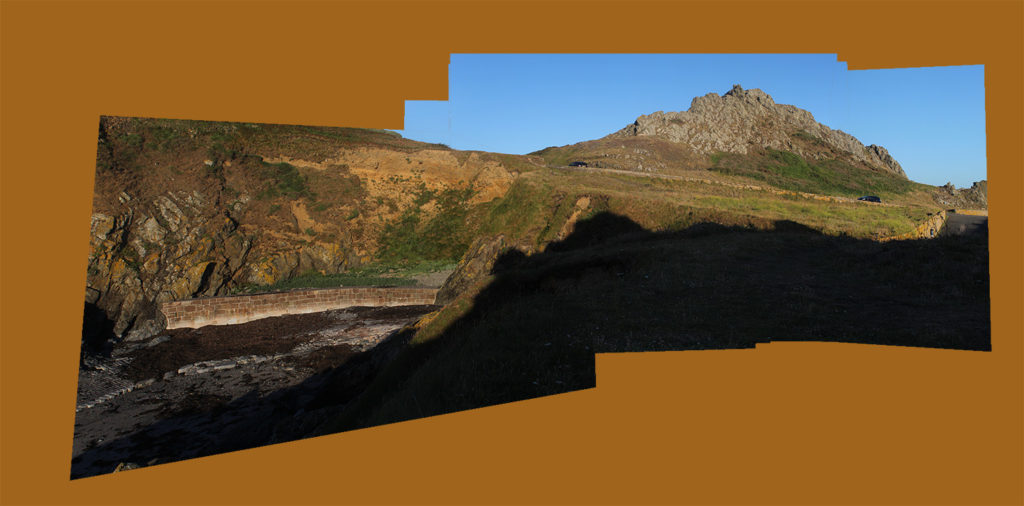
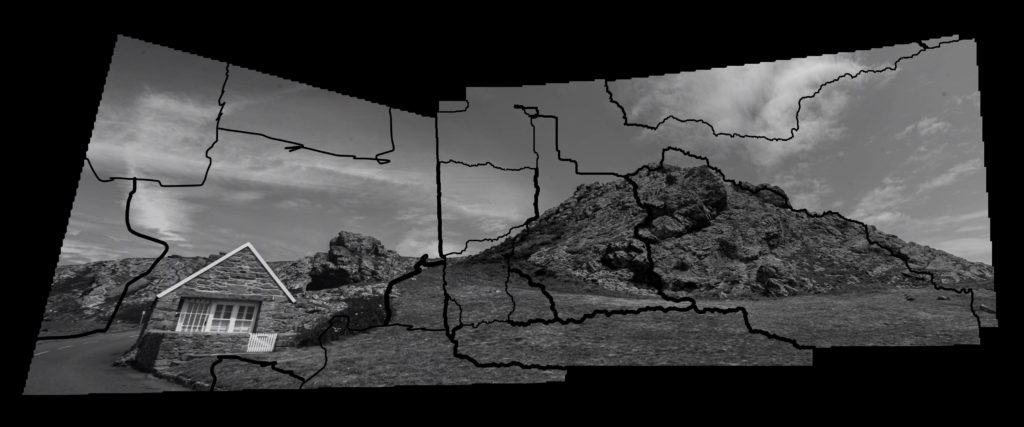
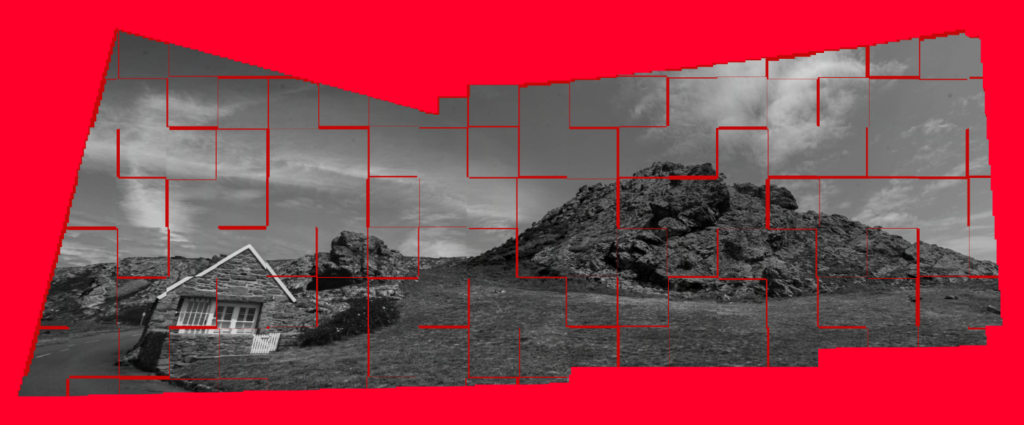
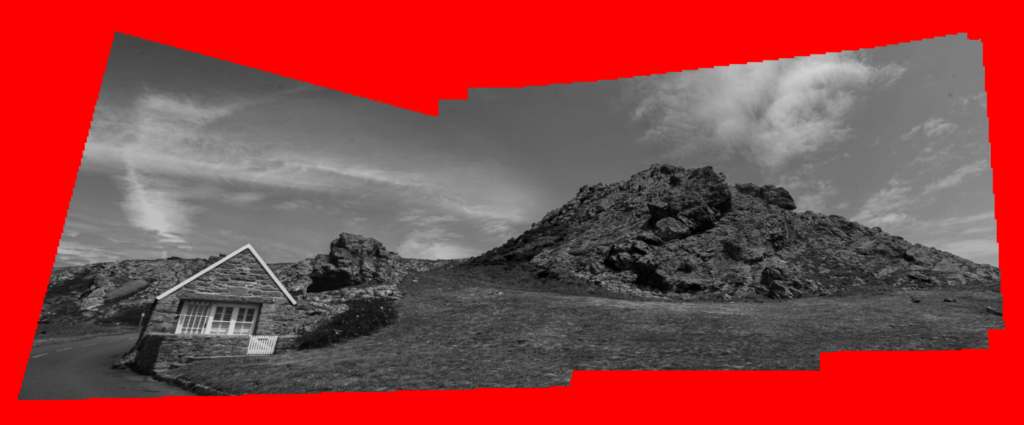
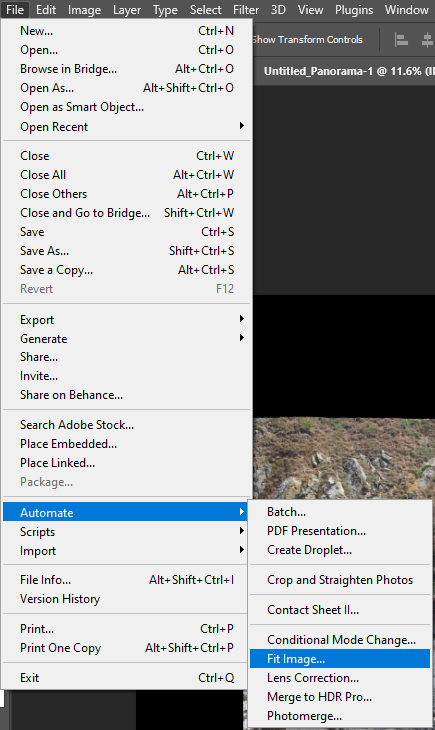
This is how i merged all of the separate photos together to create the joiner.

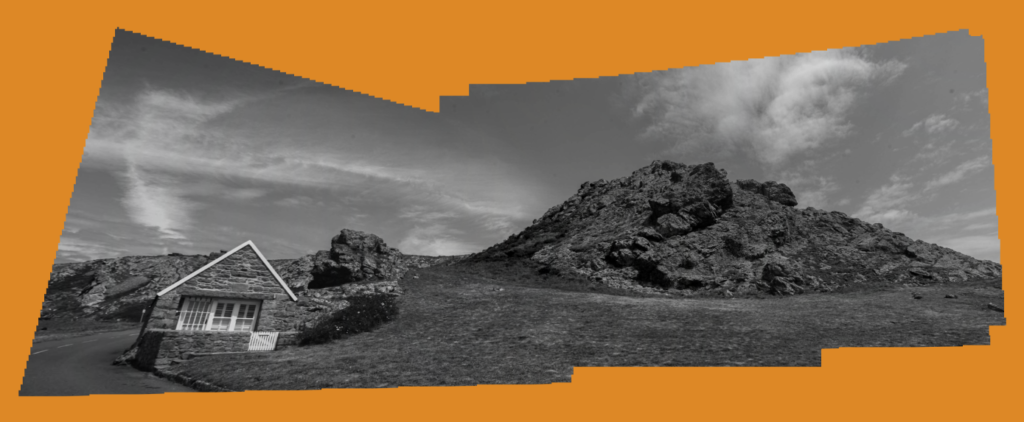
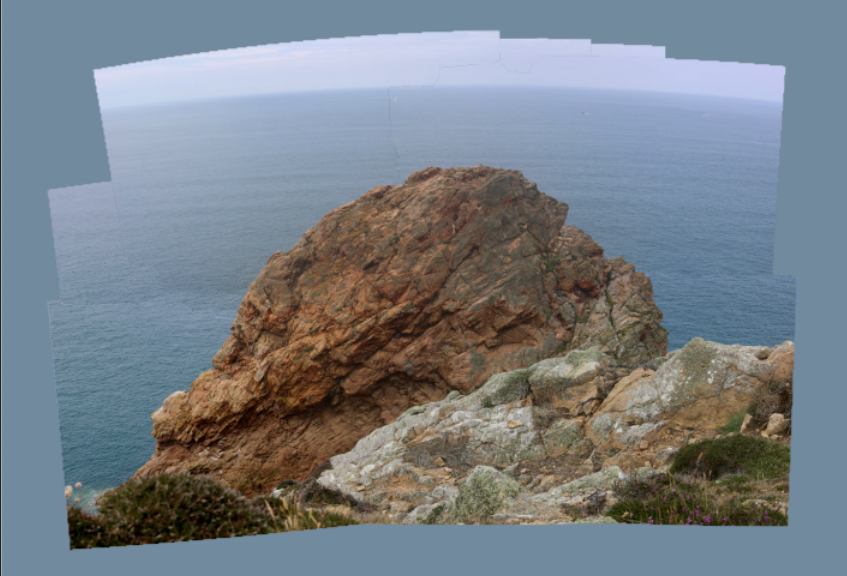
To upload to the blog i changed the pixels so that the image would be able to fit, and i edited it for there to be a clearer resolution so the image is sharper.
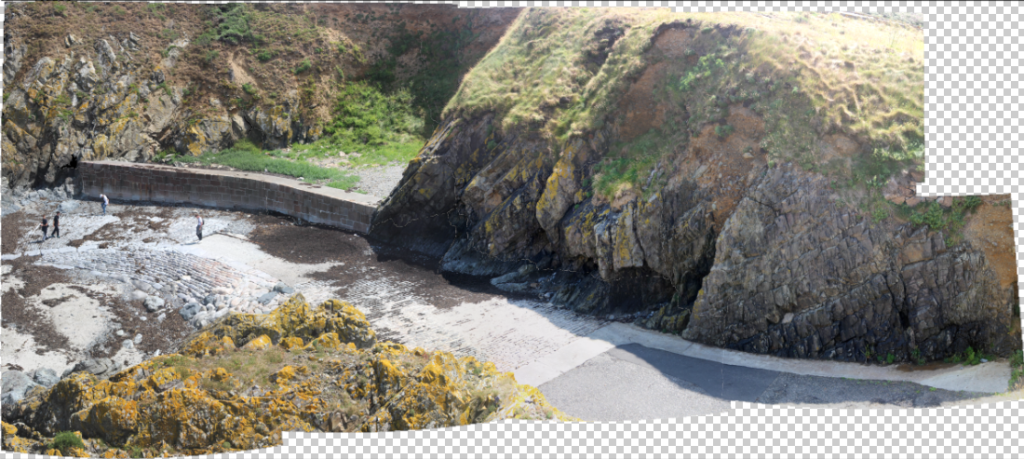
This is how i merged all of the separate photos together to create the joiner.
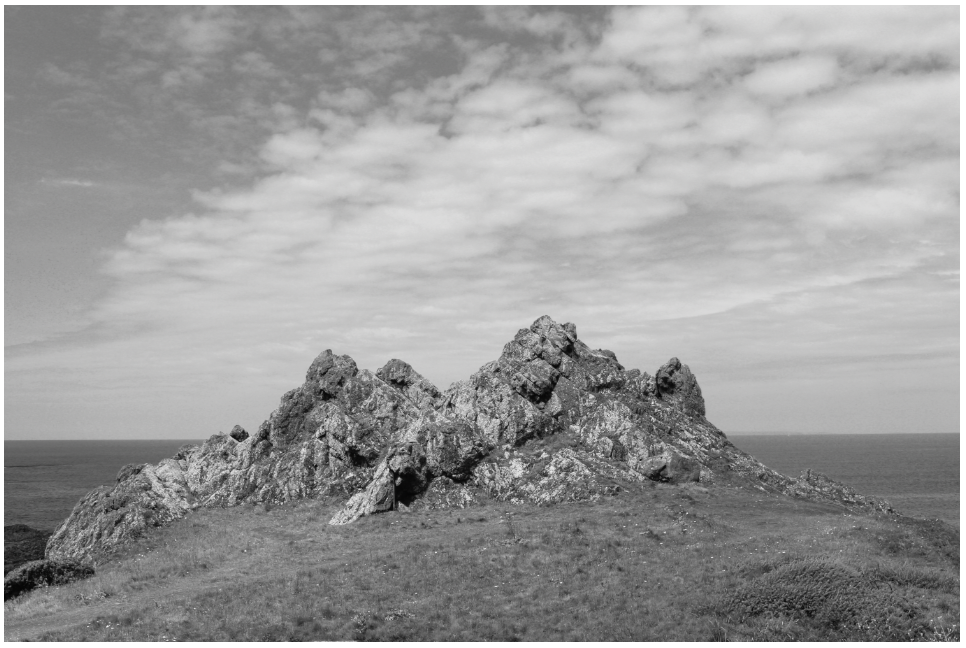
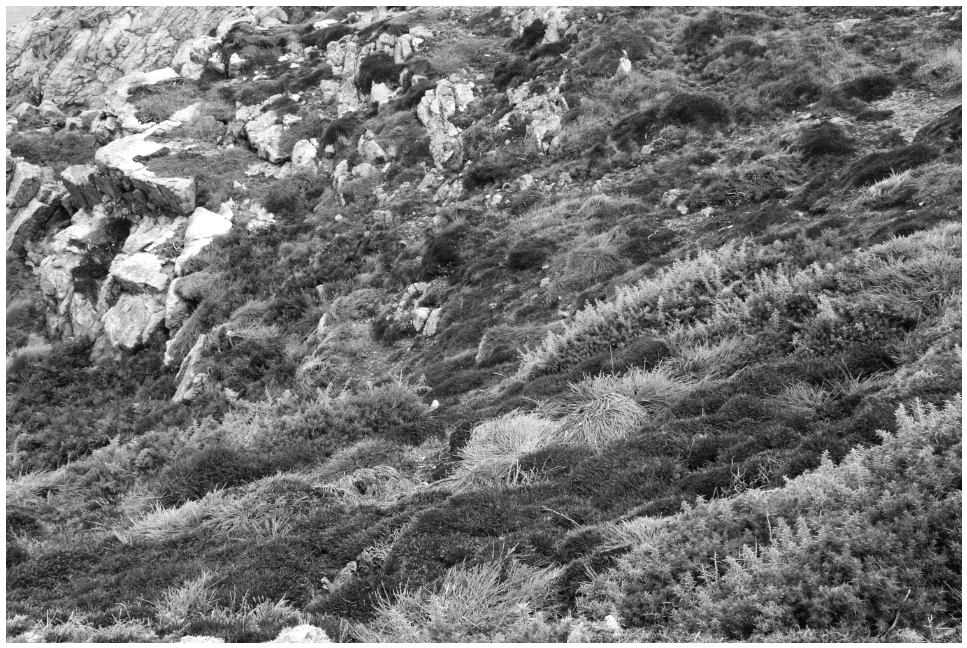
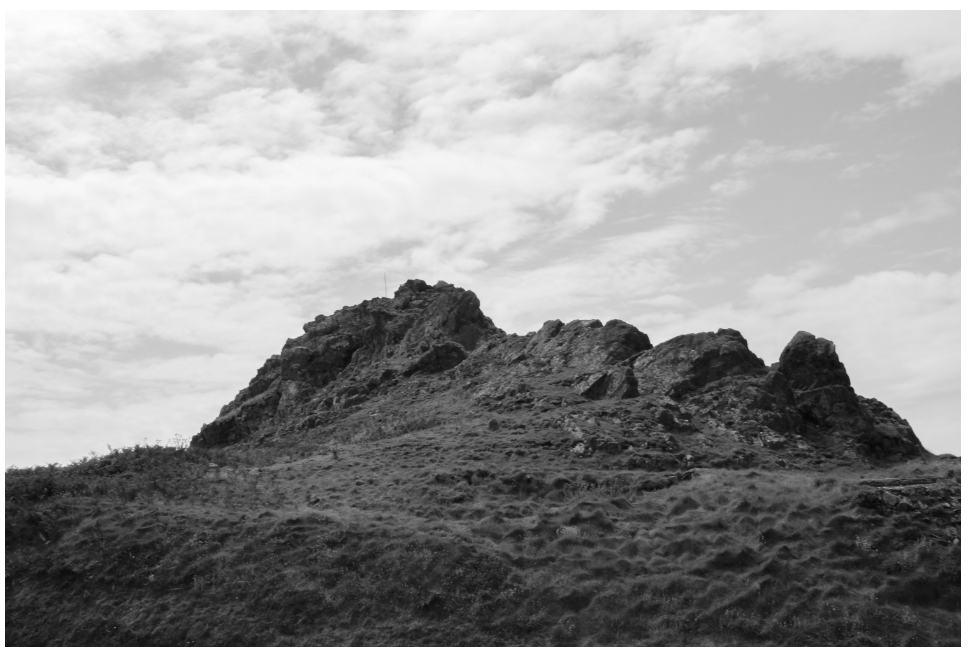
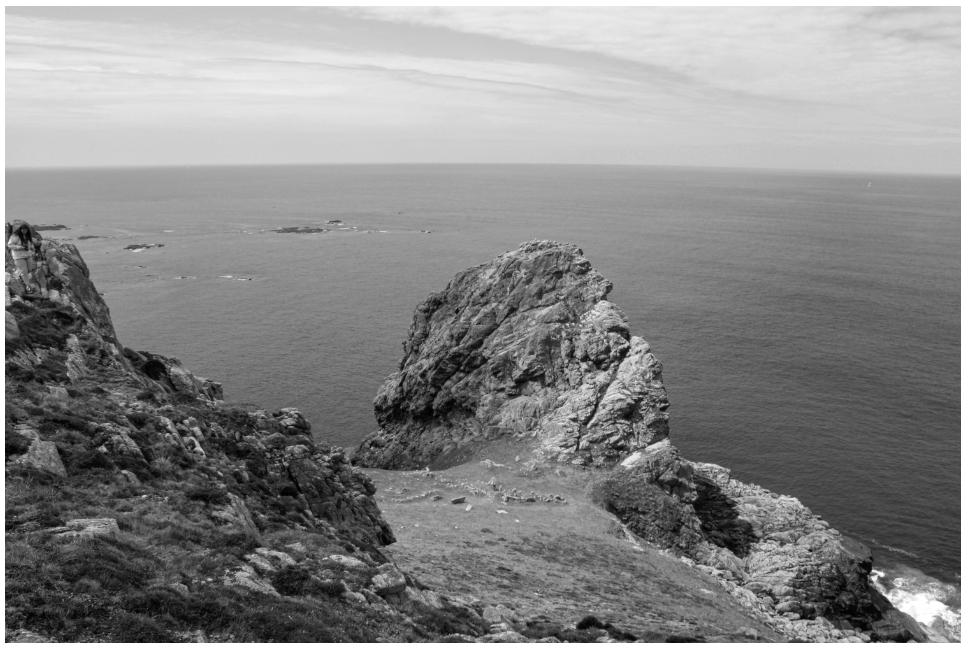
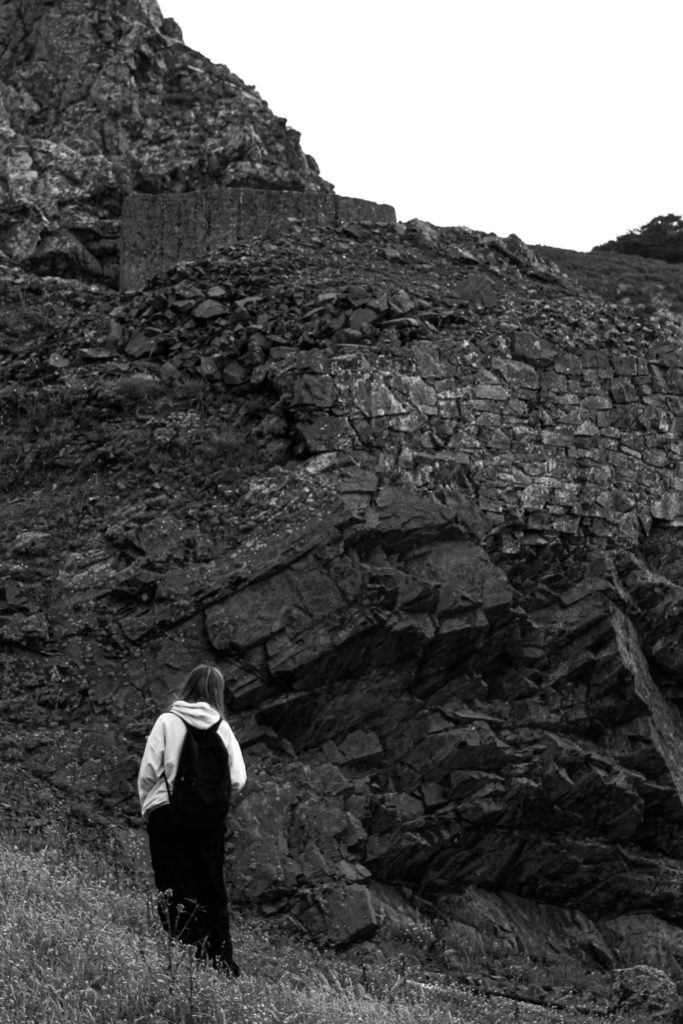
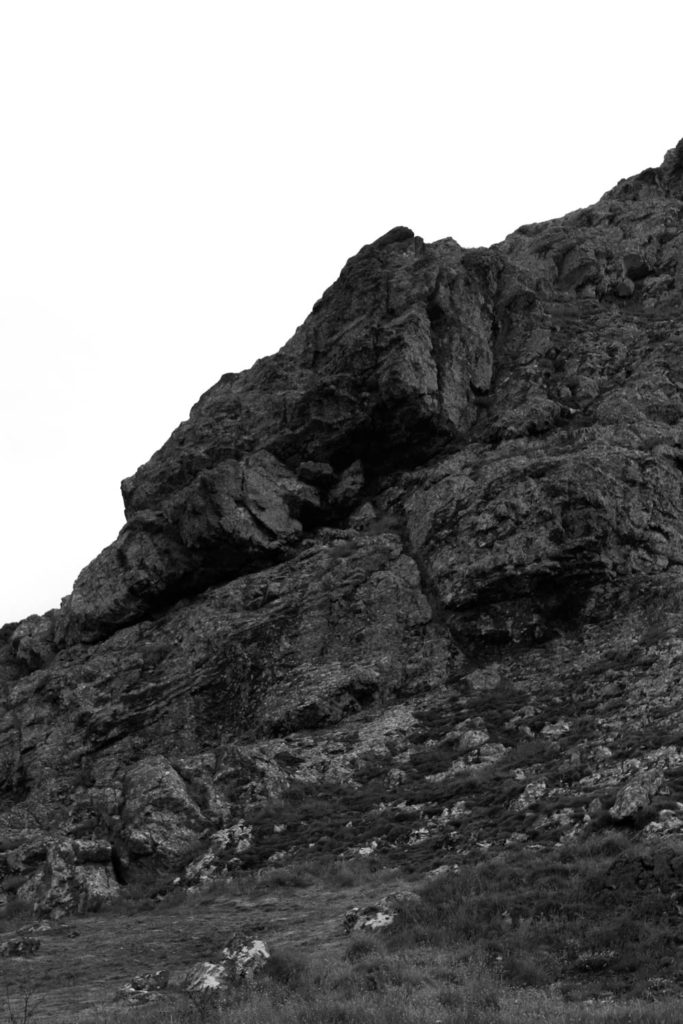
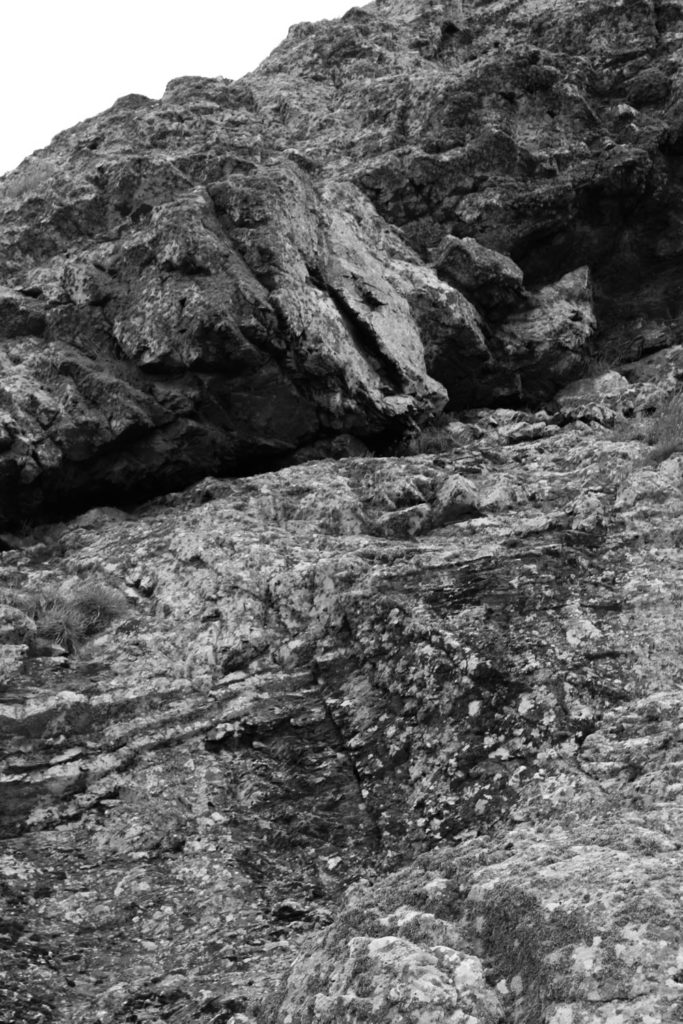
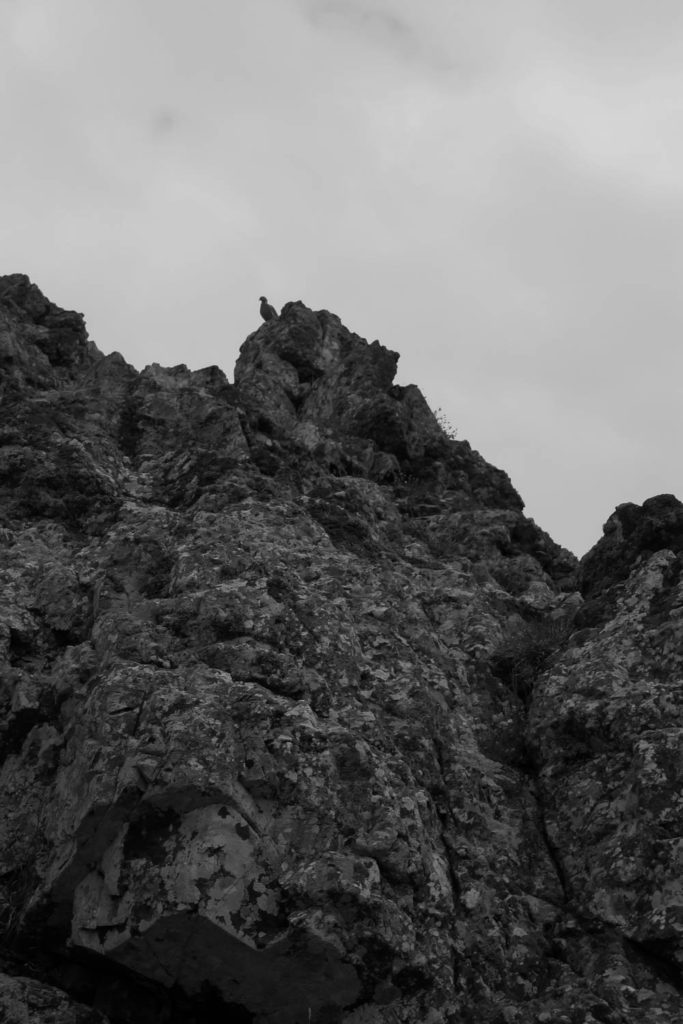
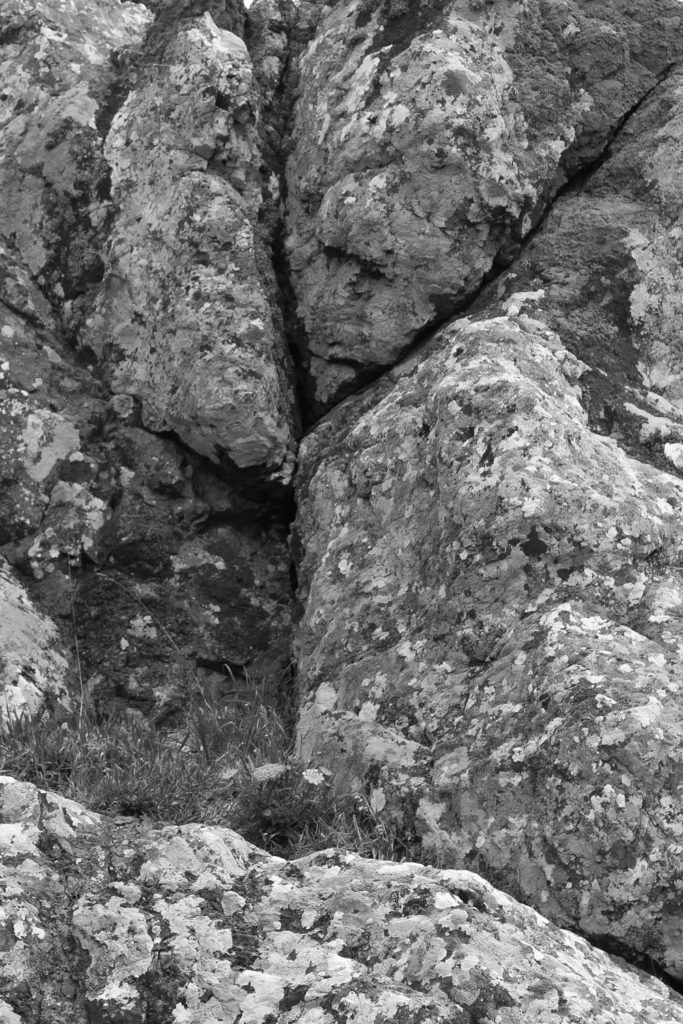
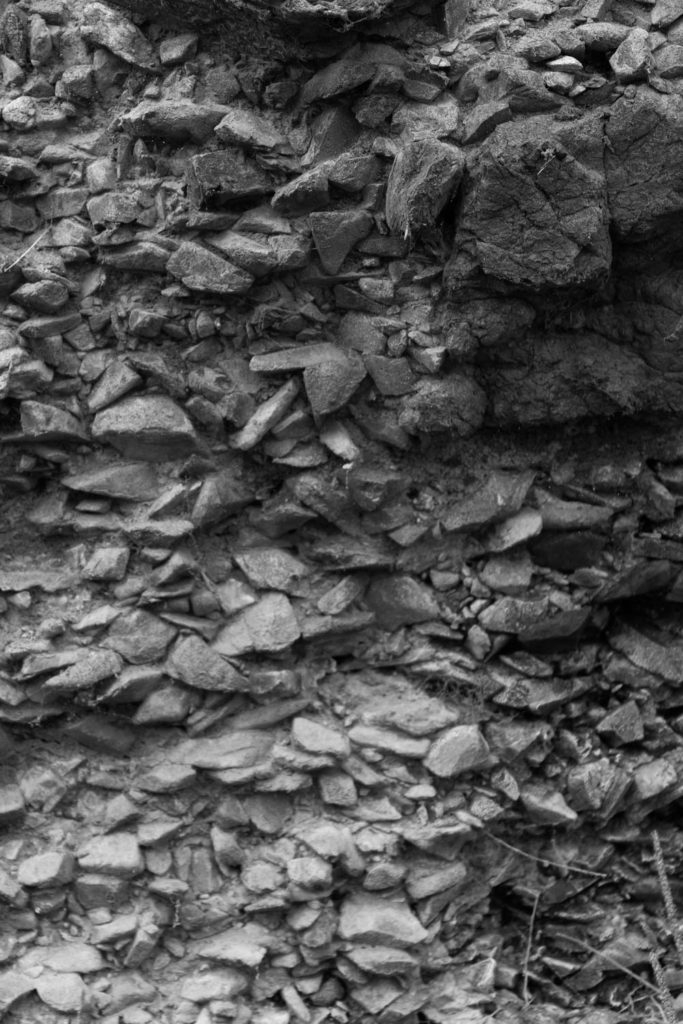
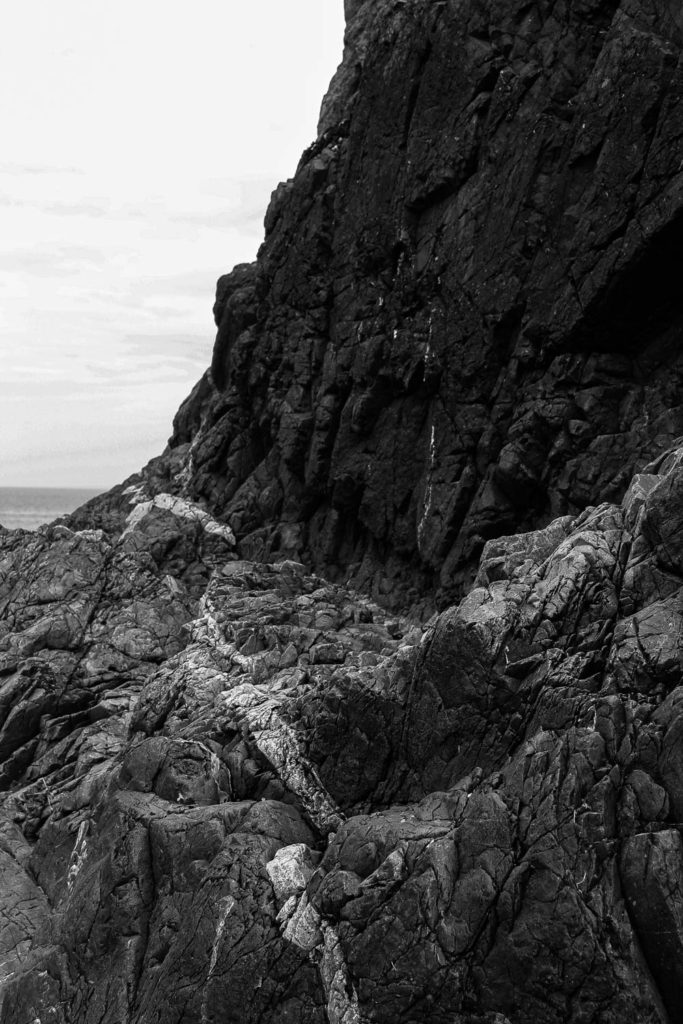
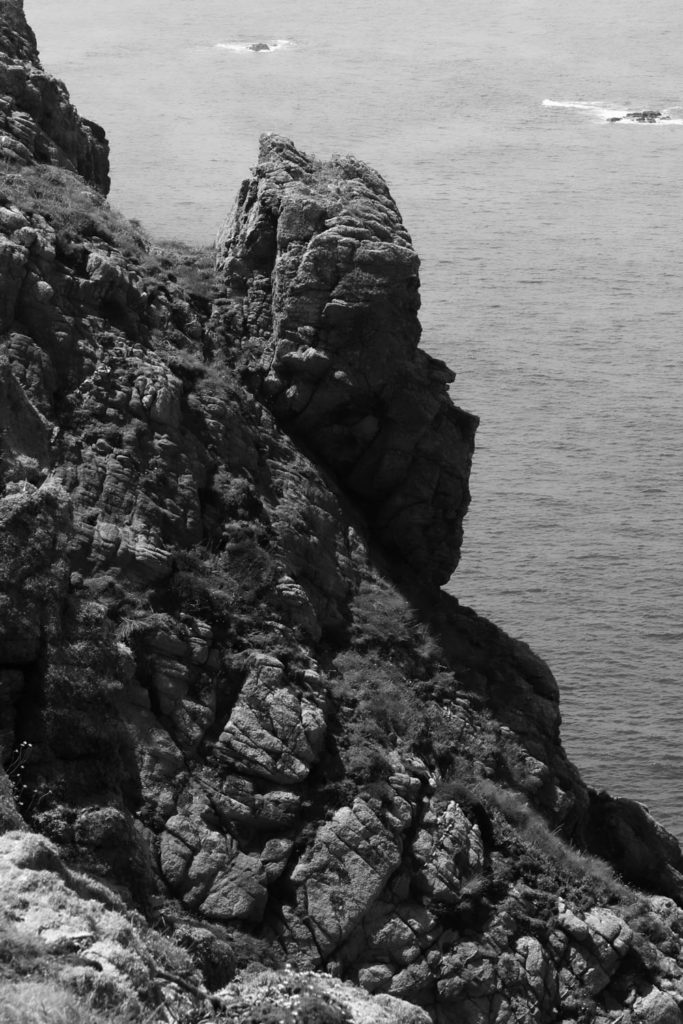
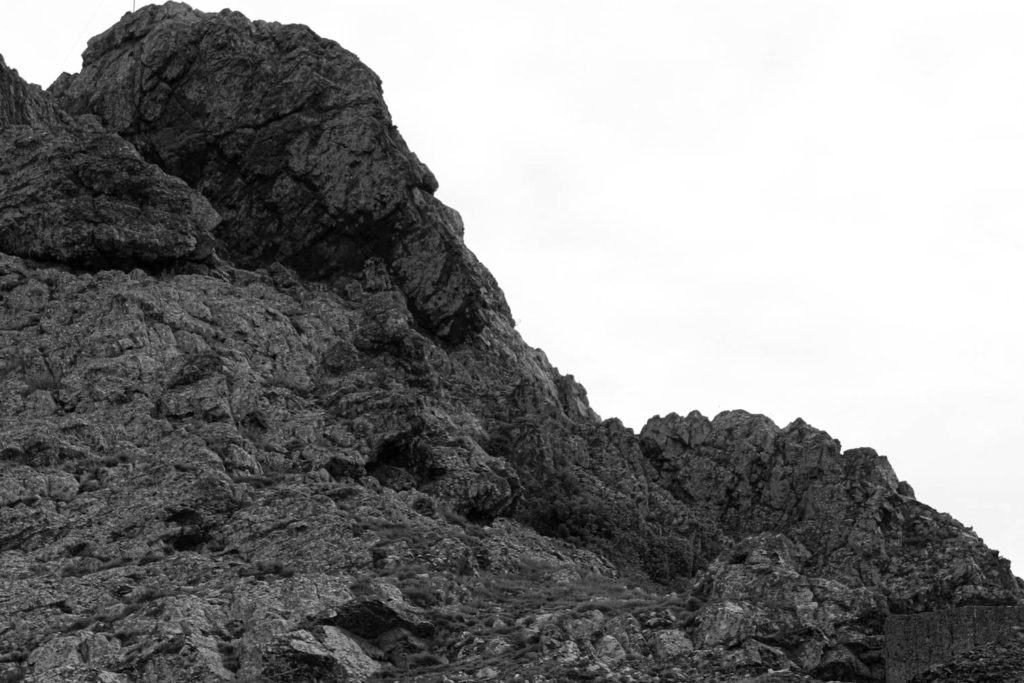
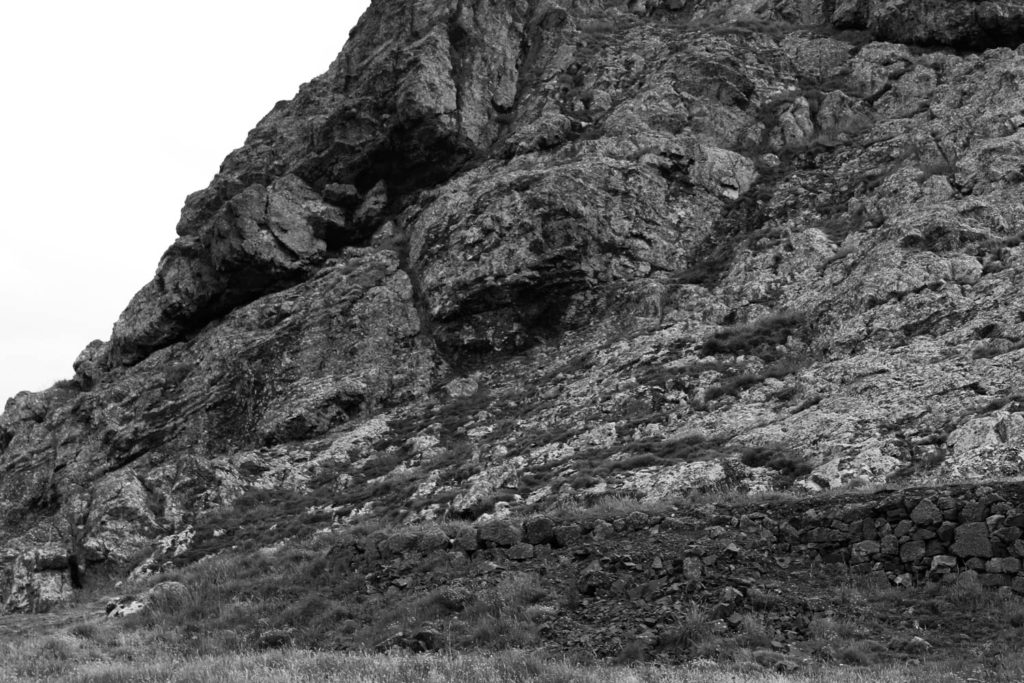
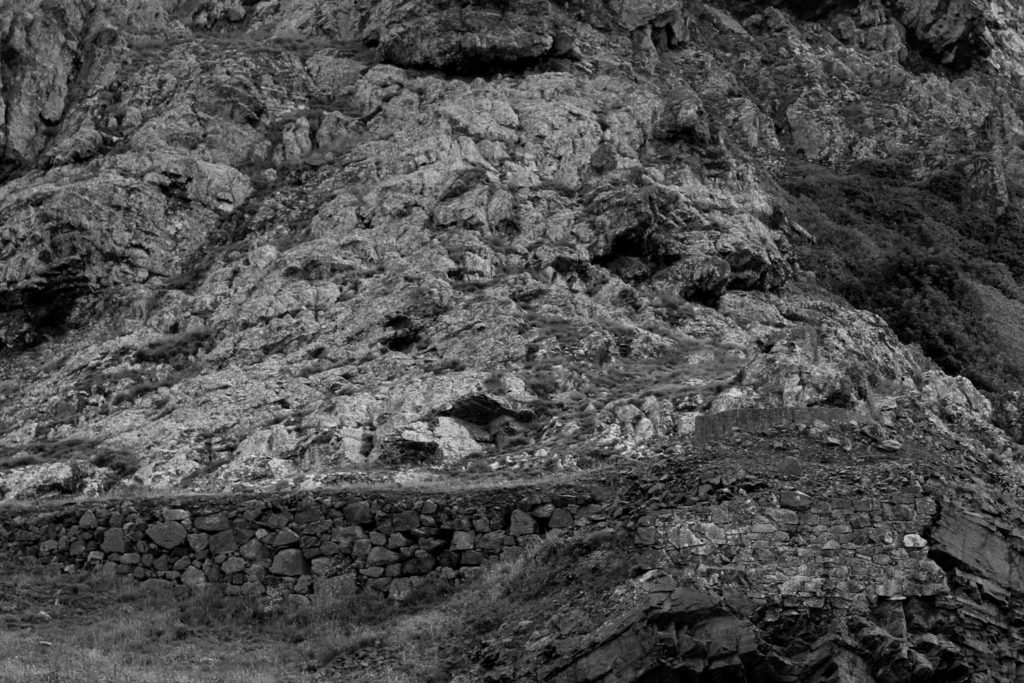
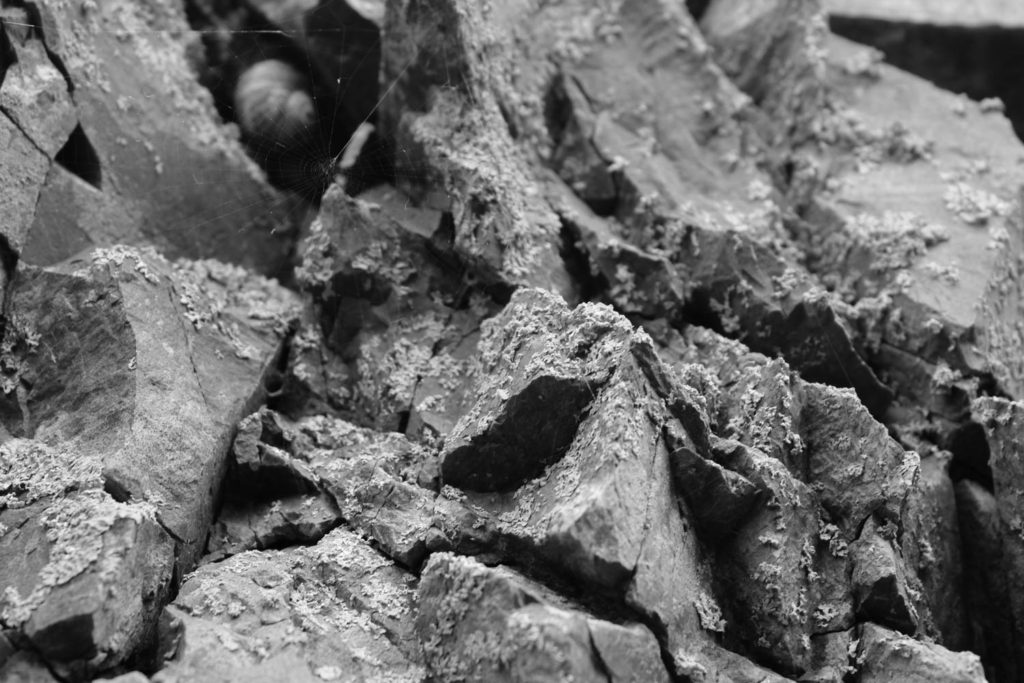
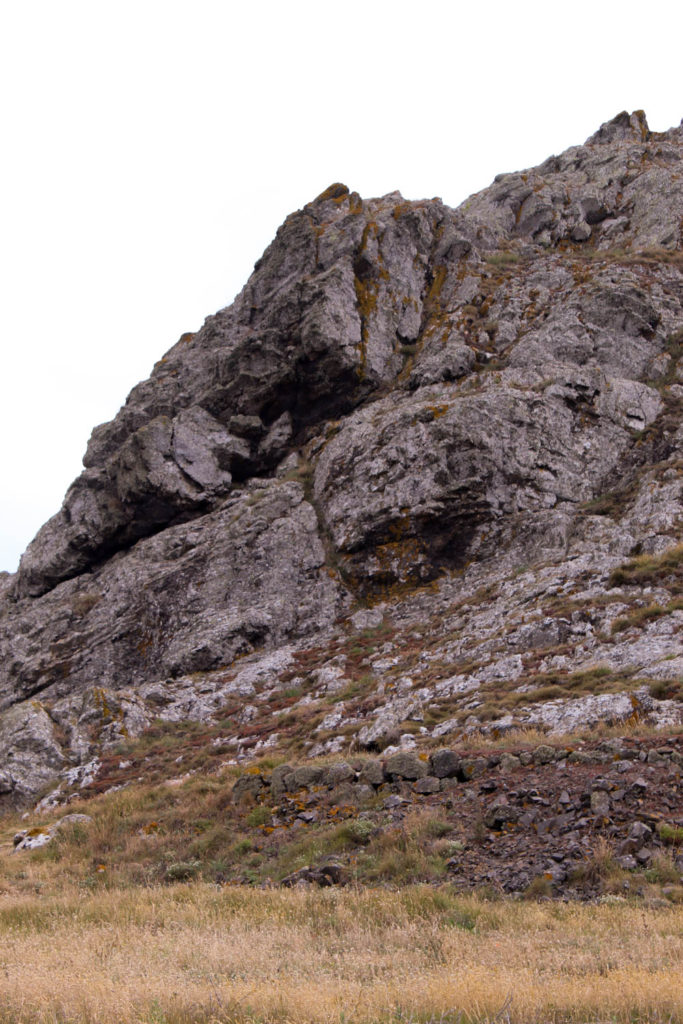
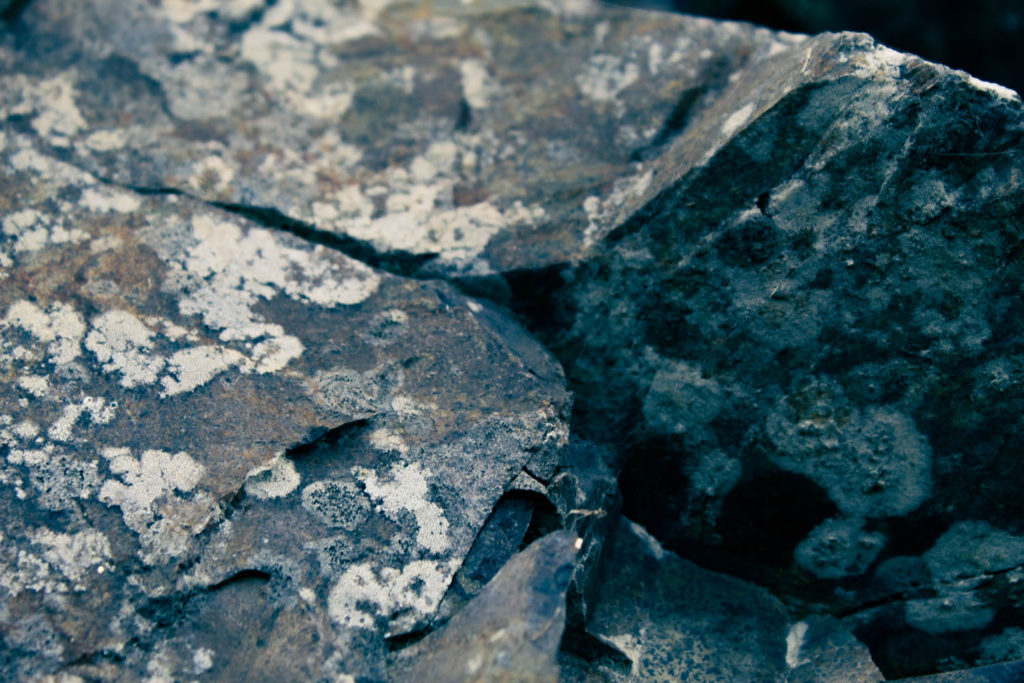
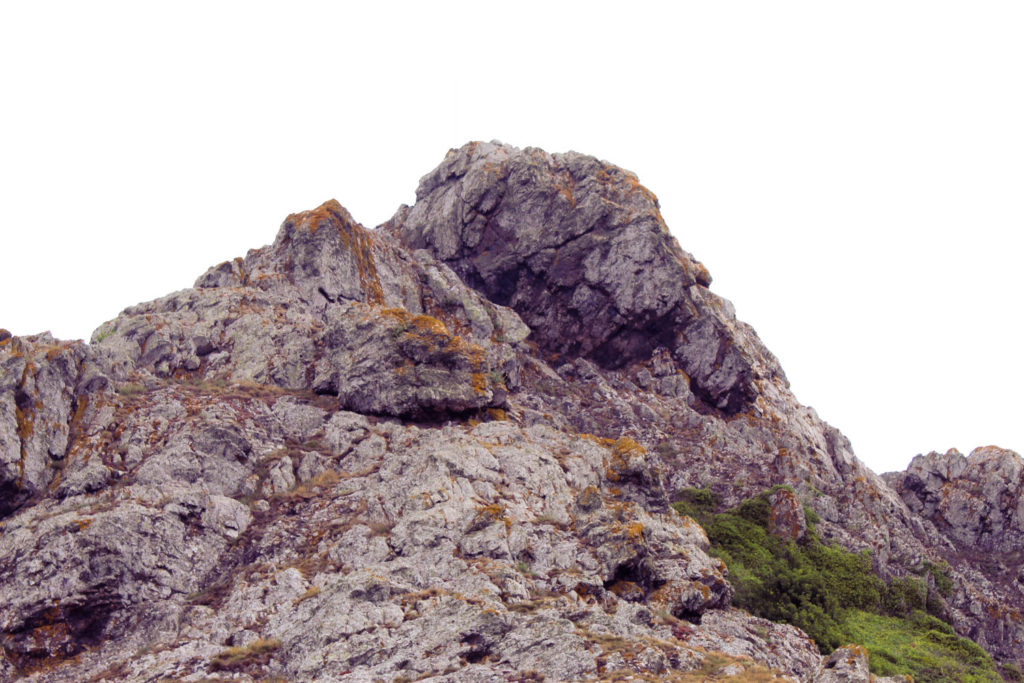
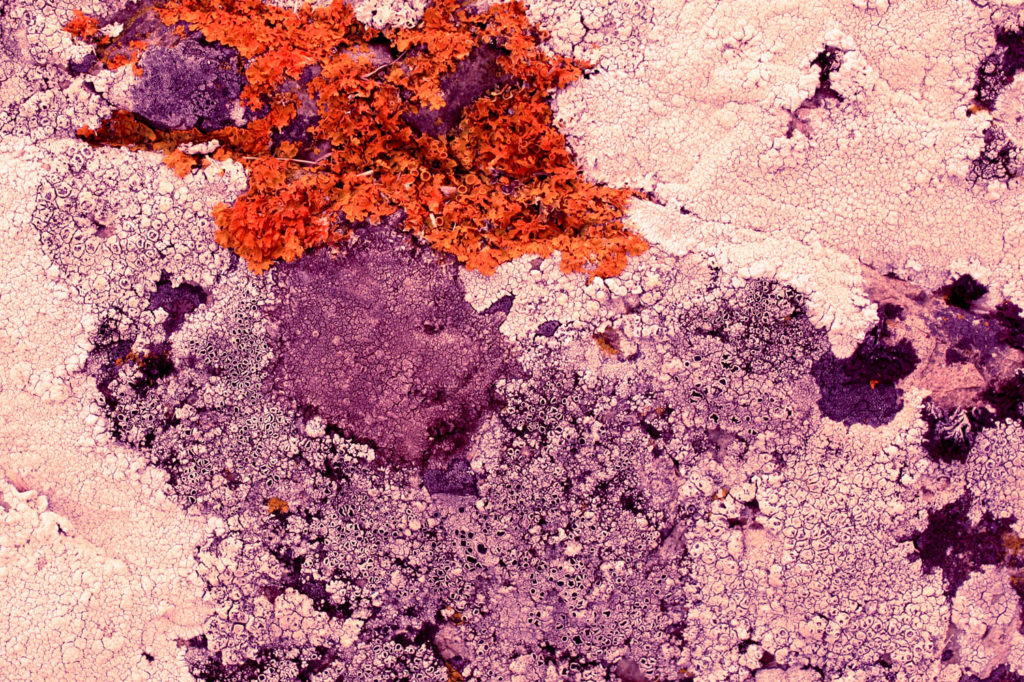
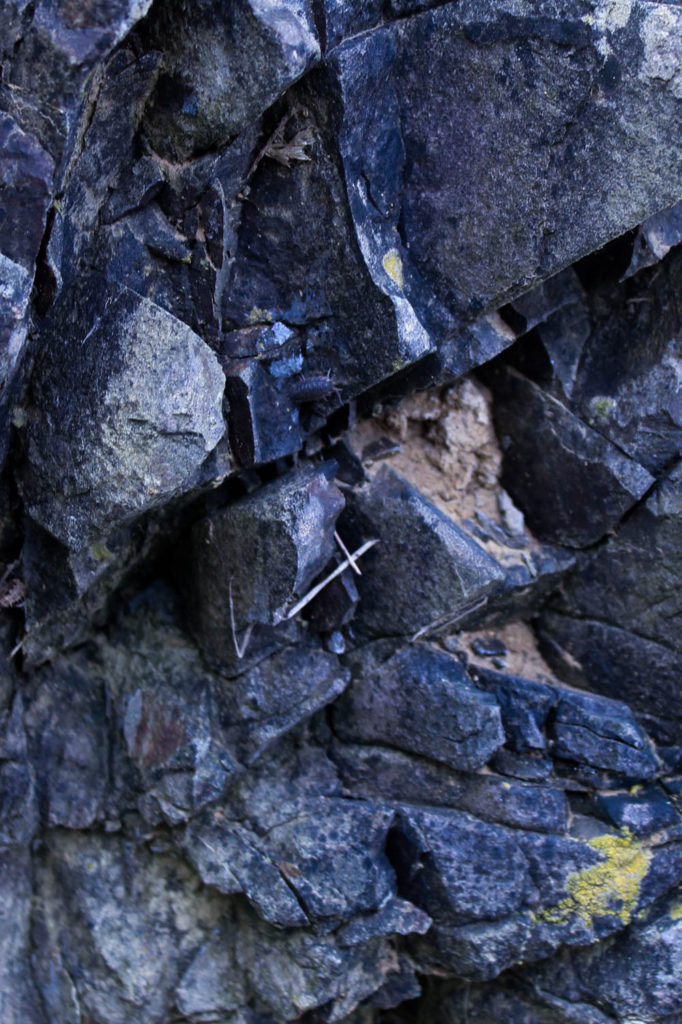
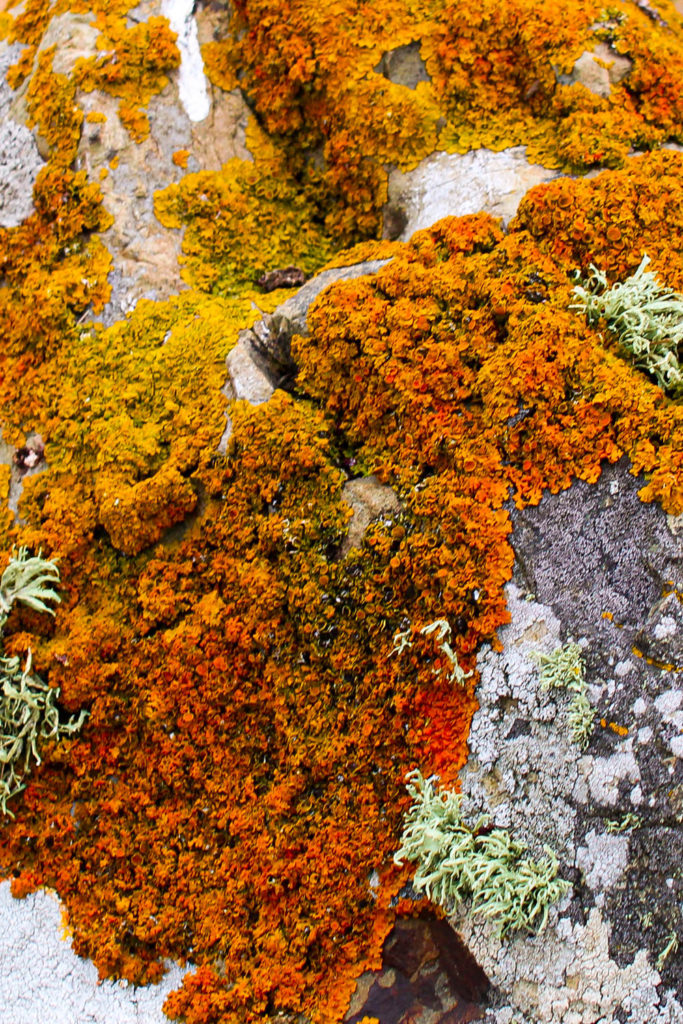
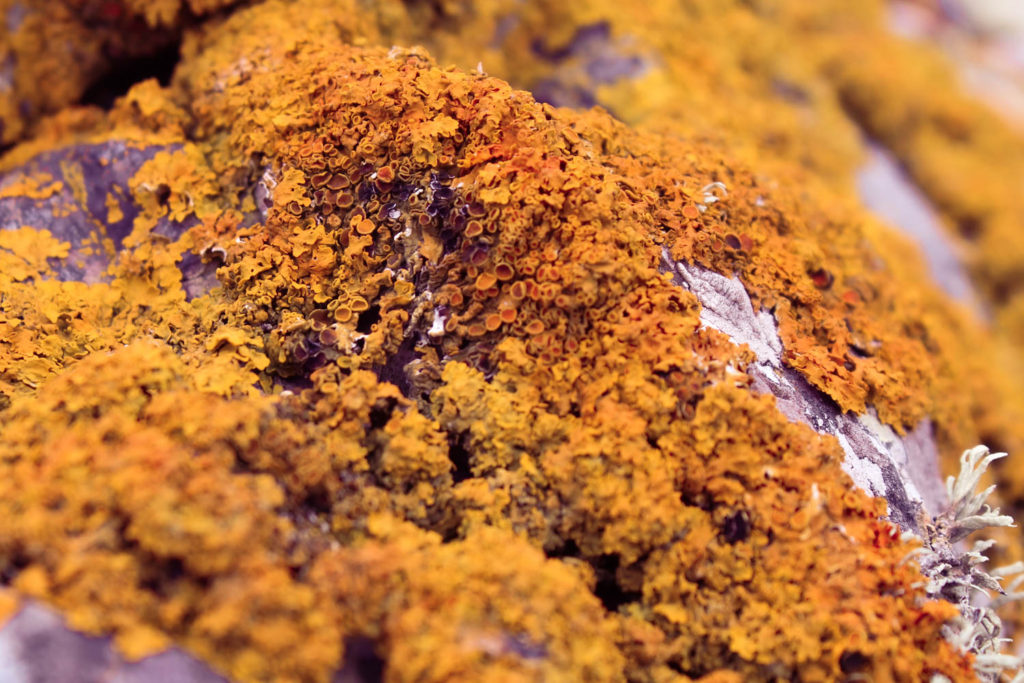
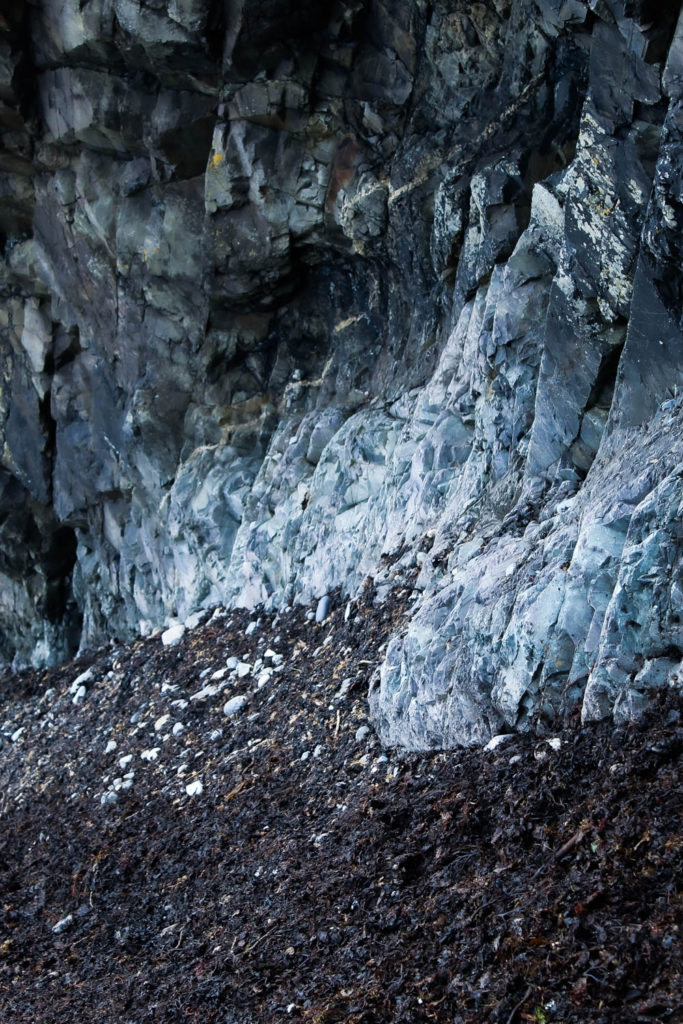
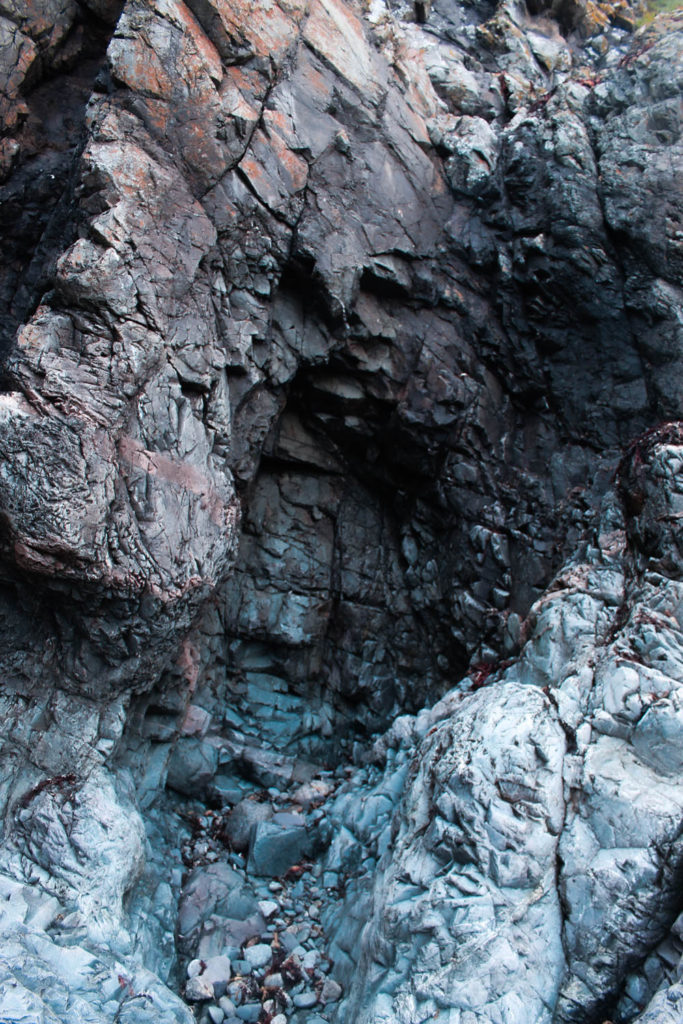
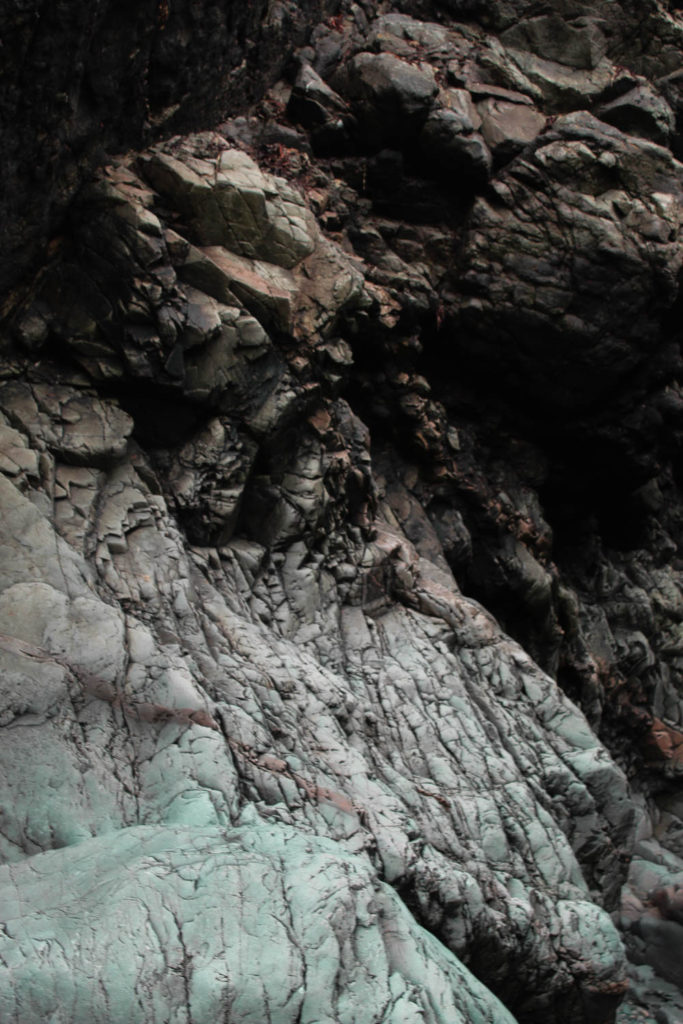
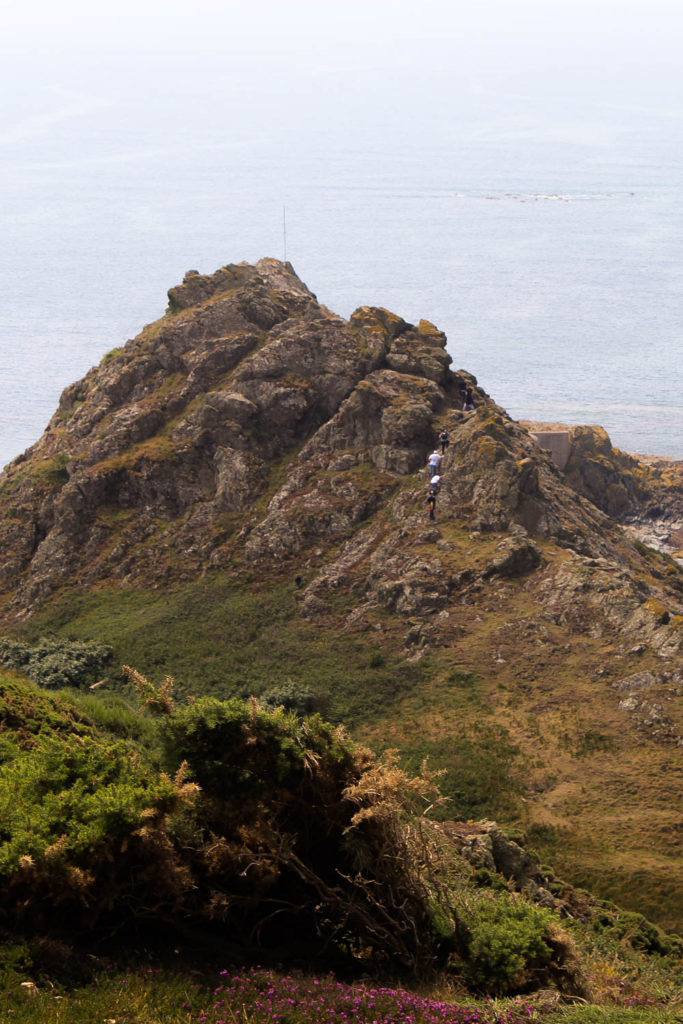
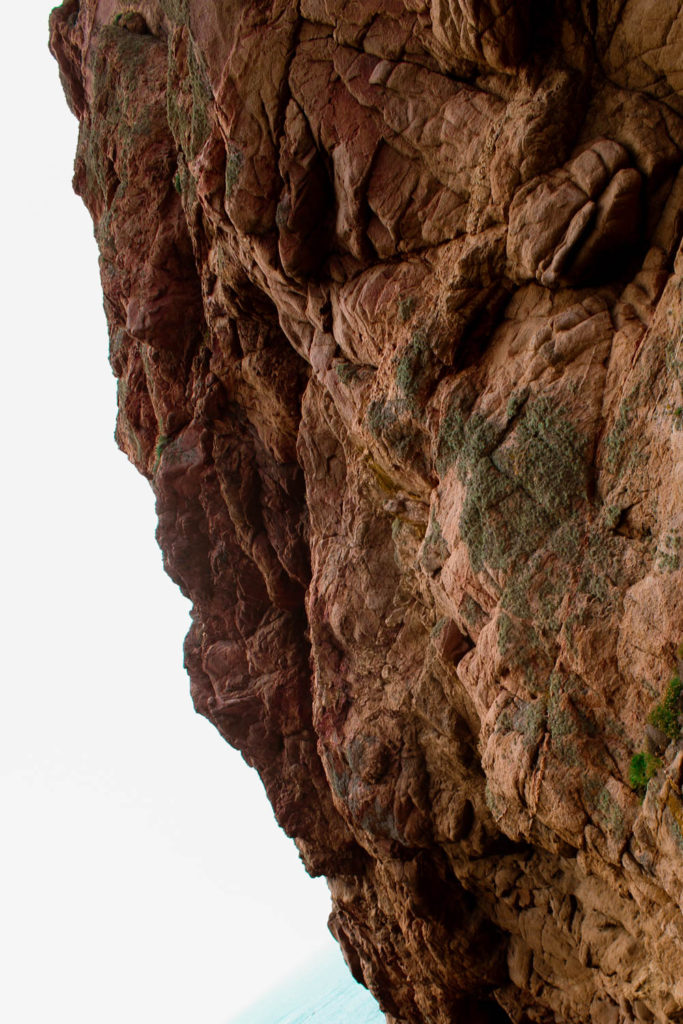
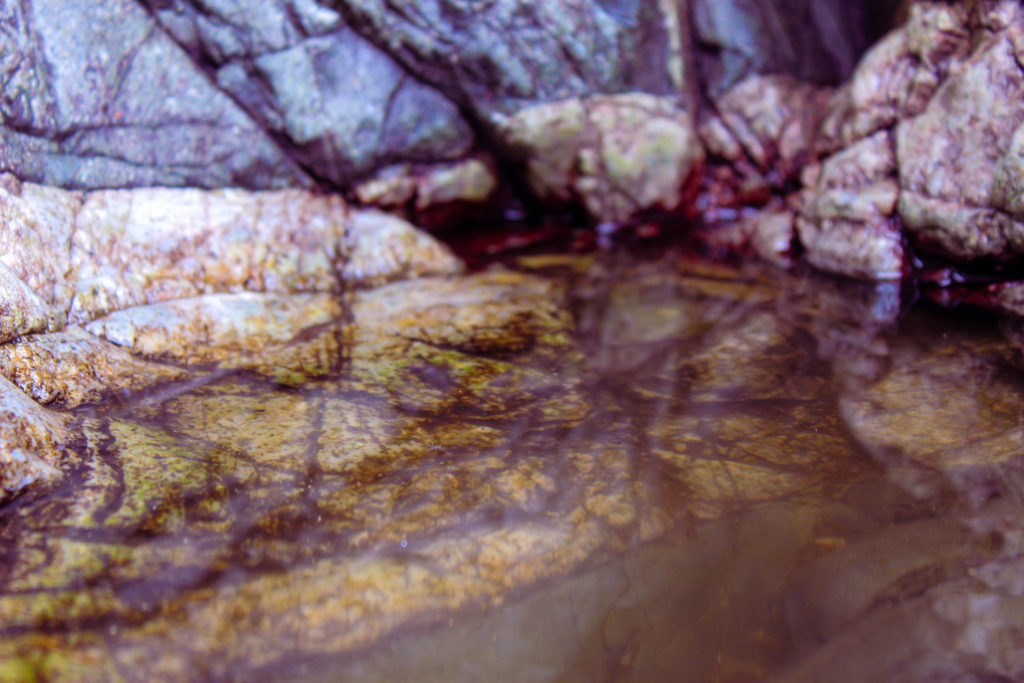
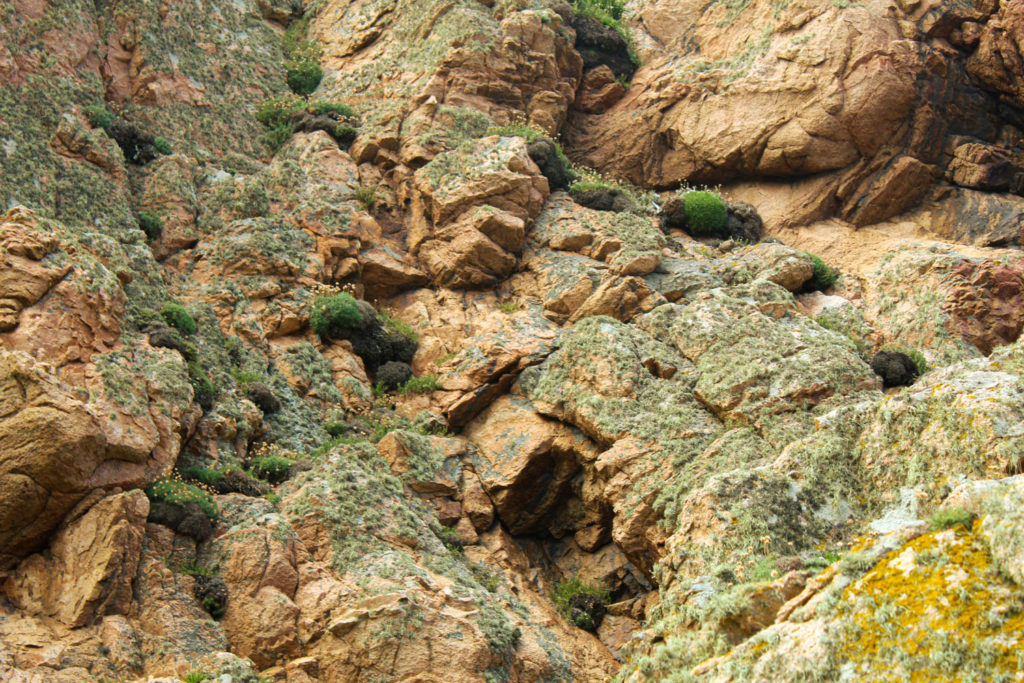
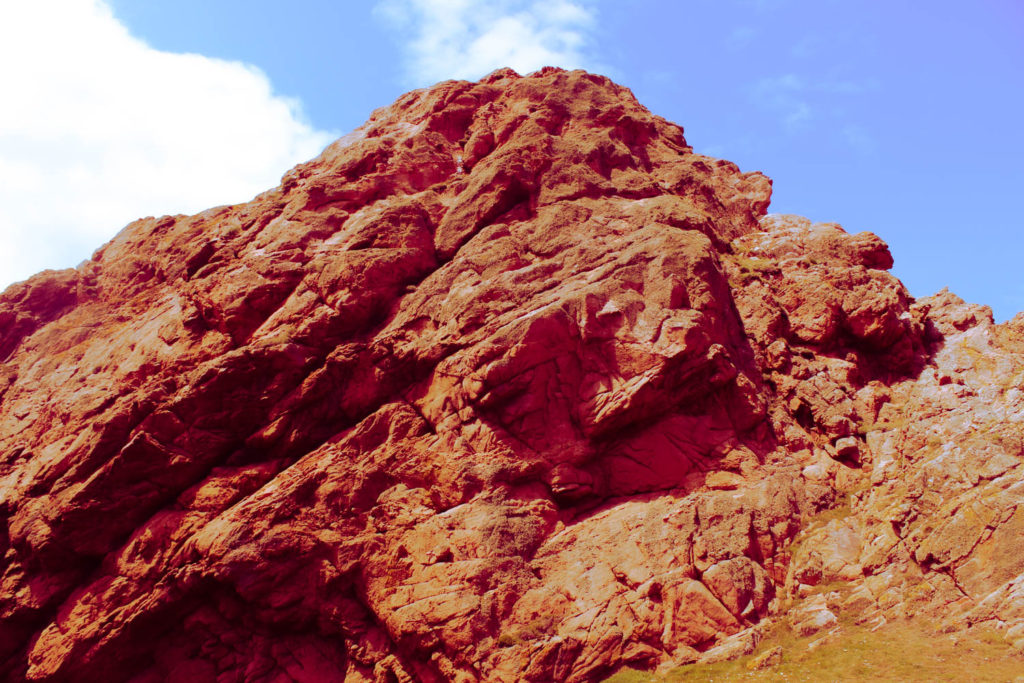
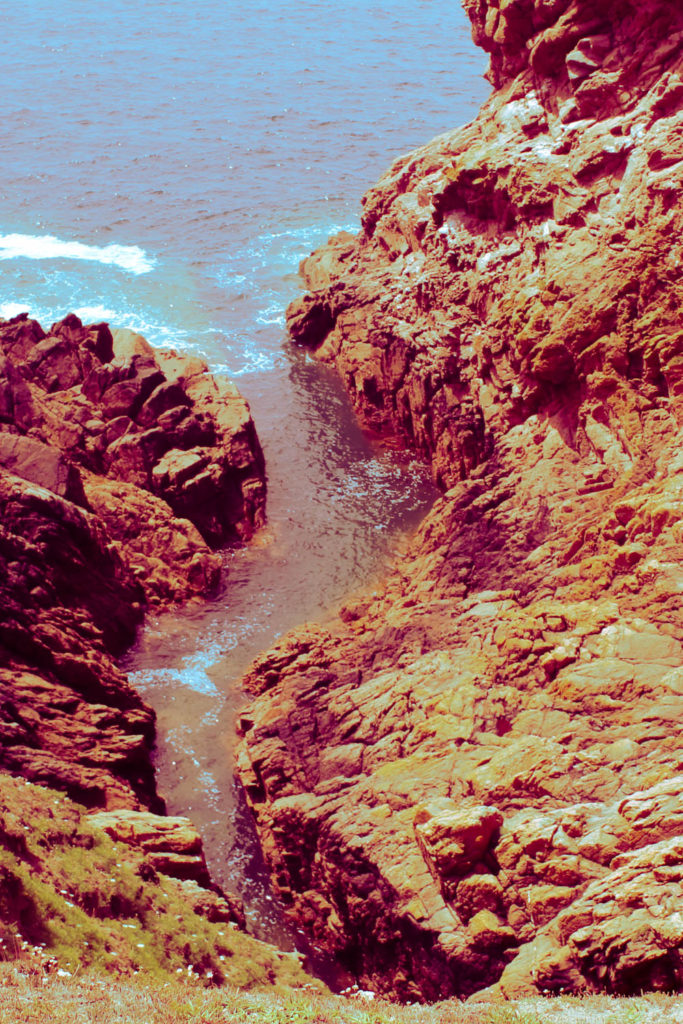
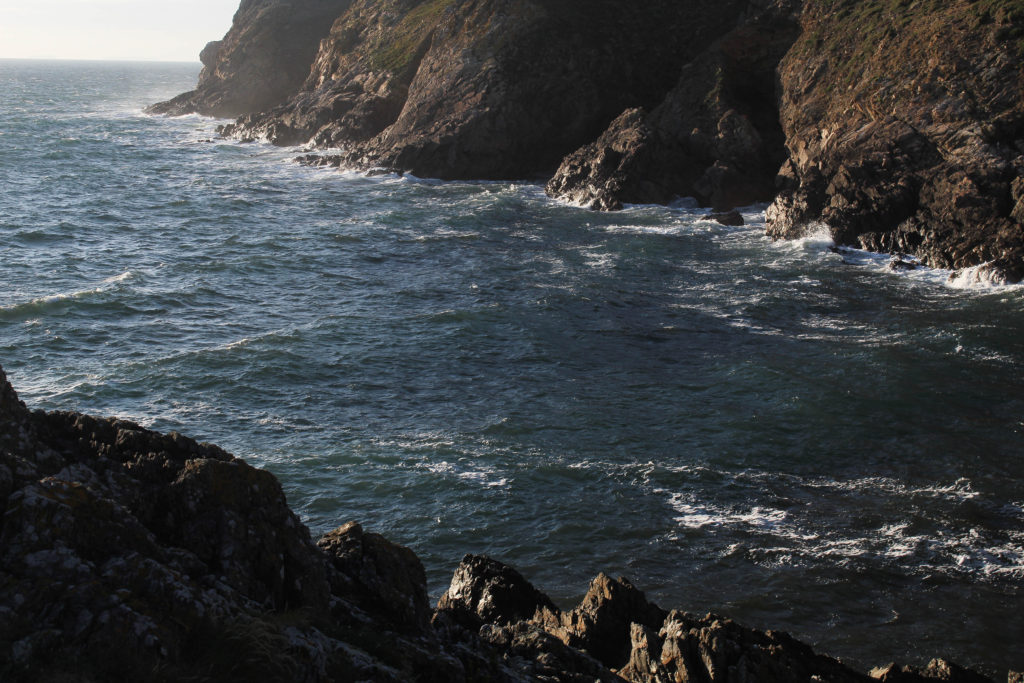
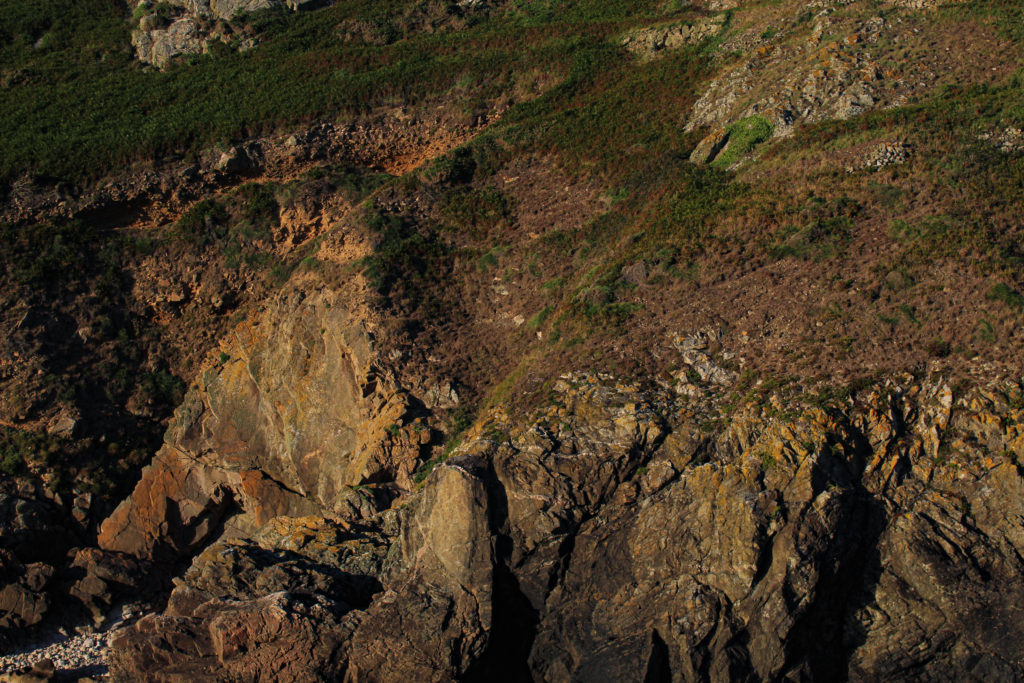
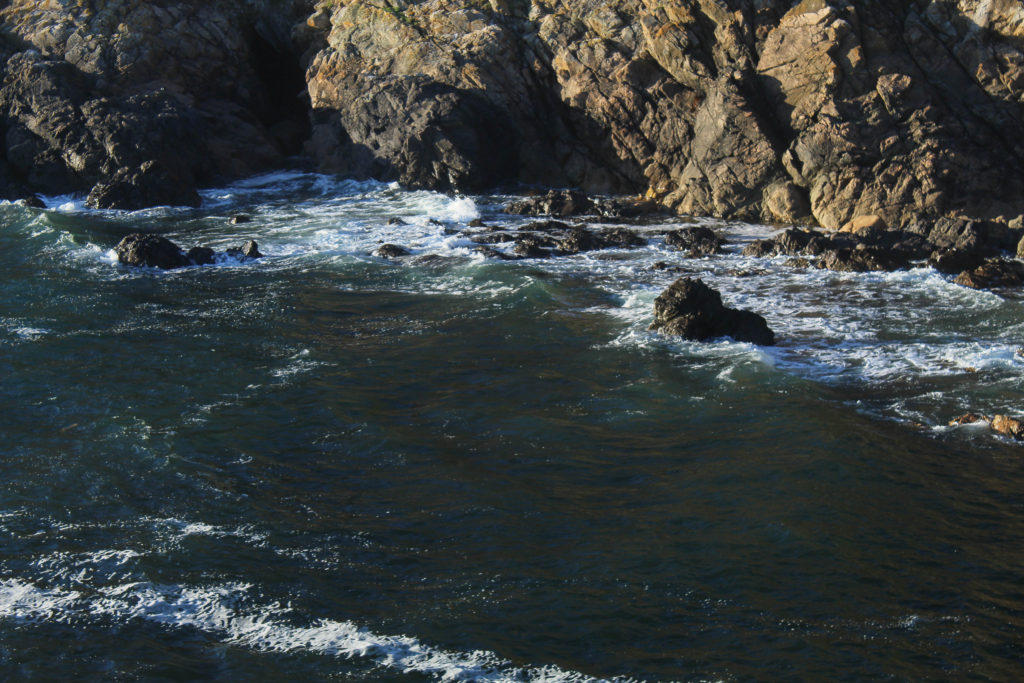
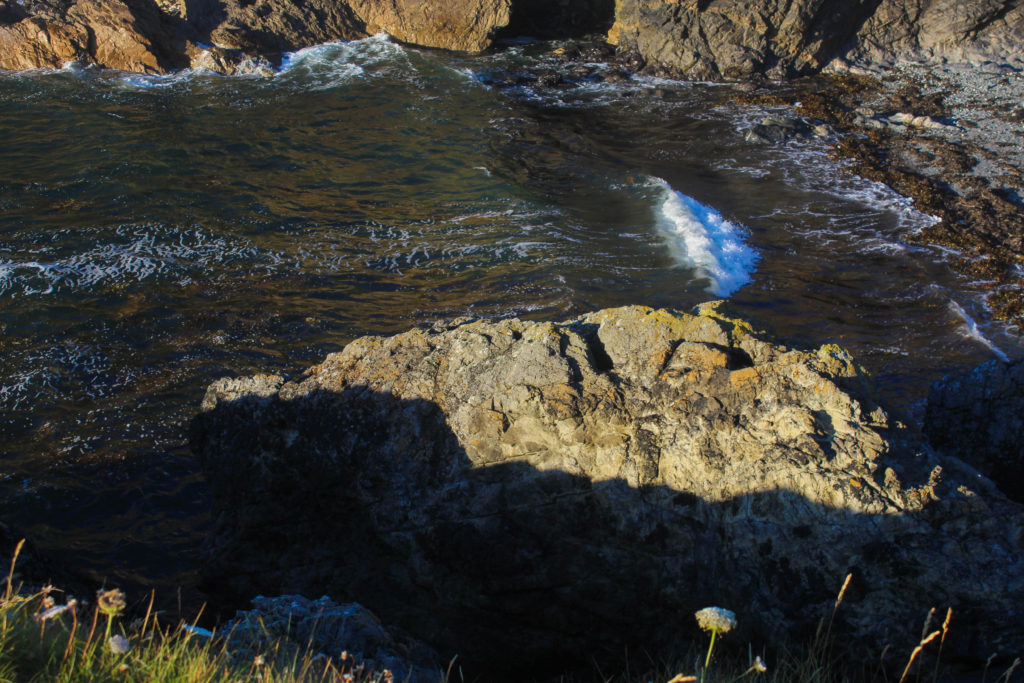
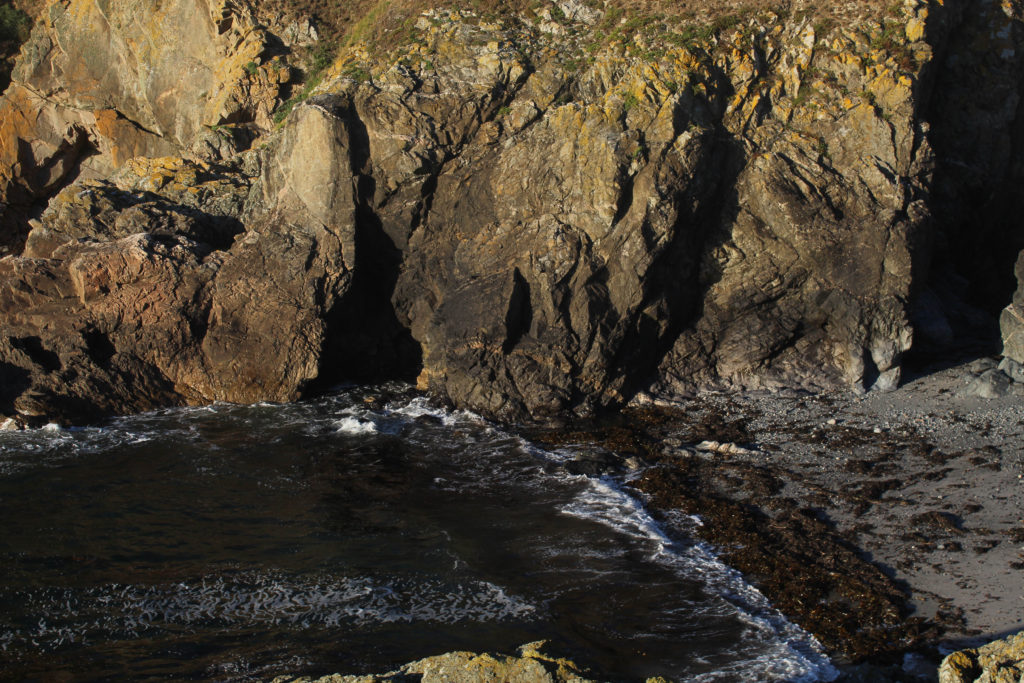
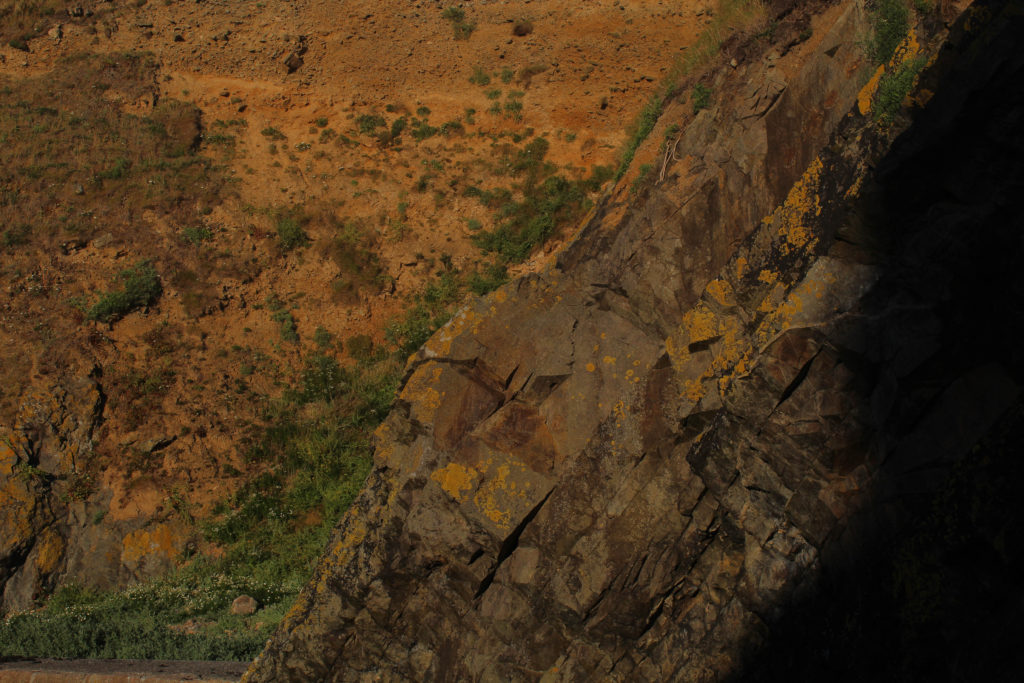
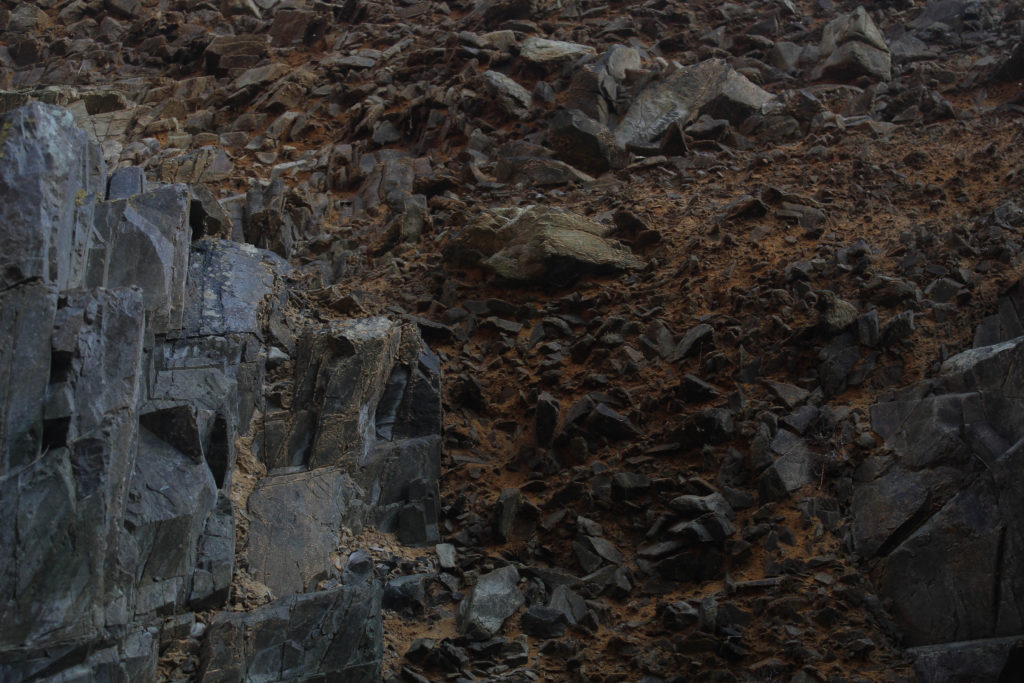
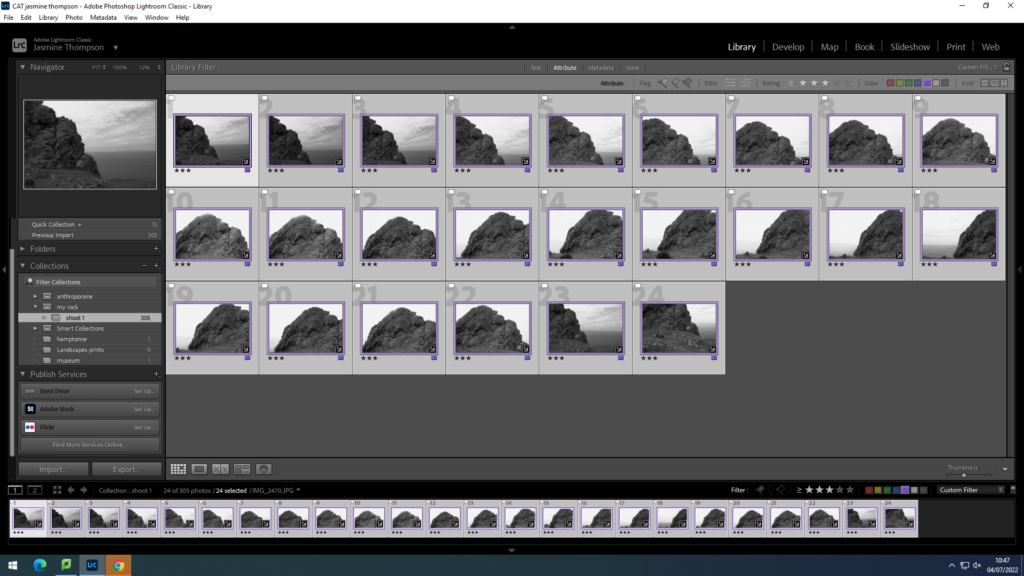
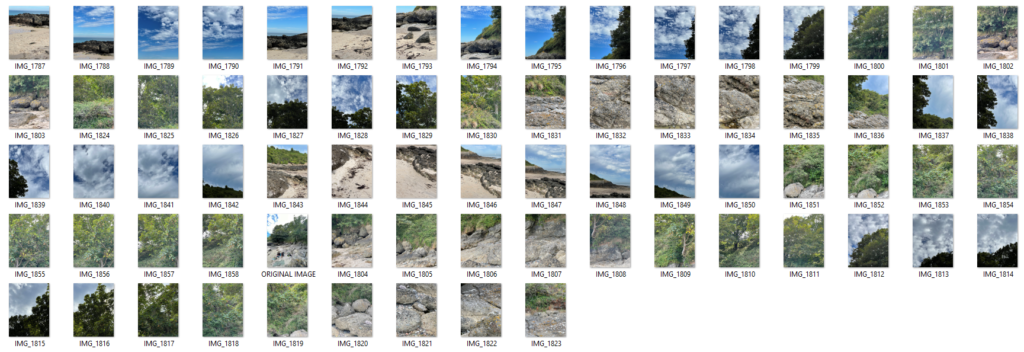
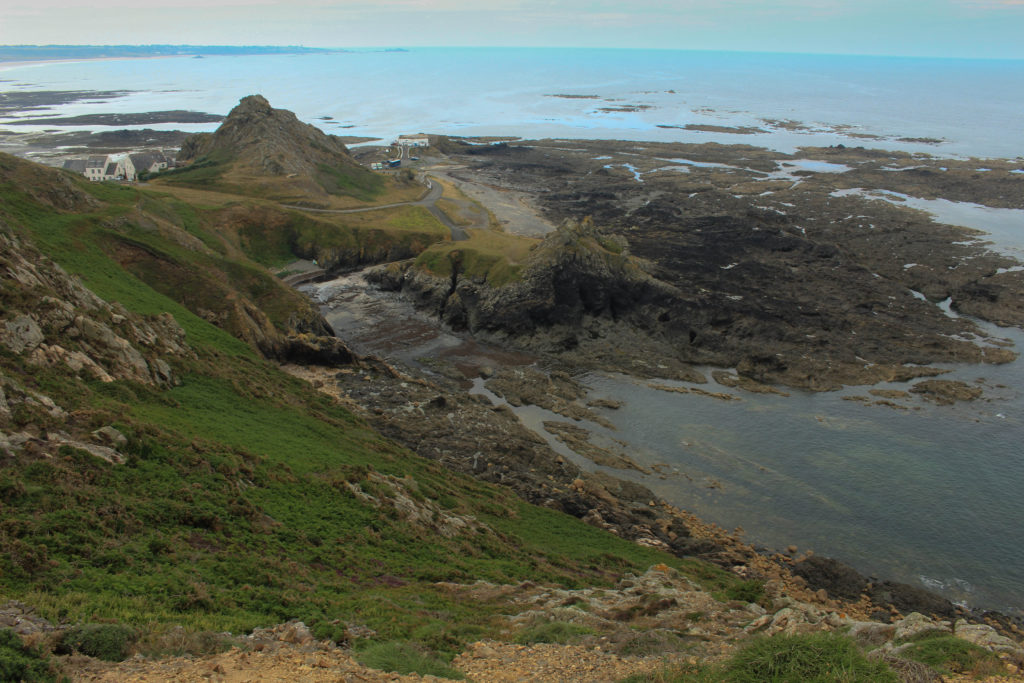
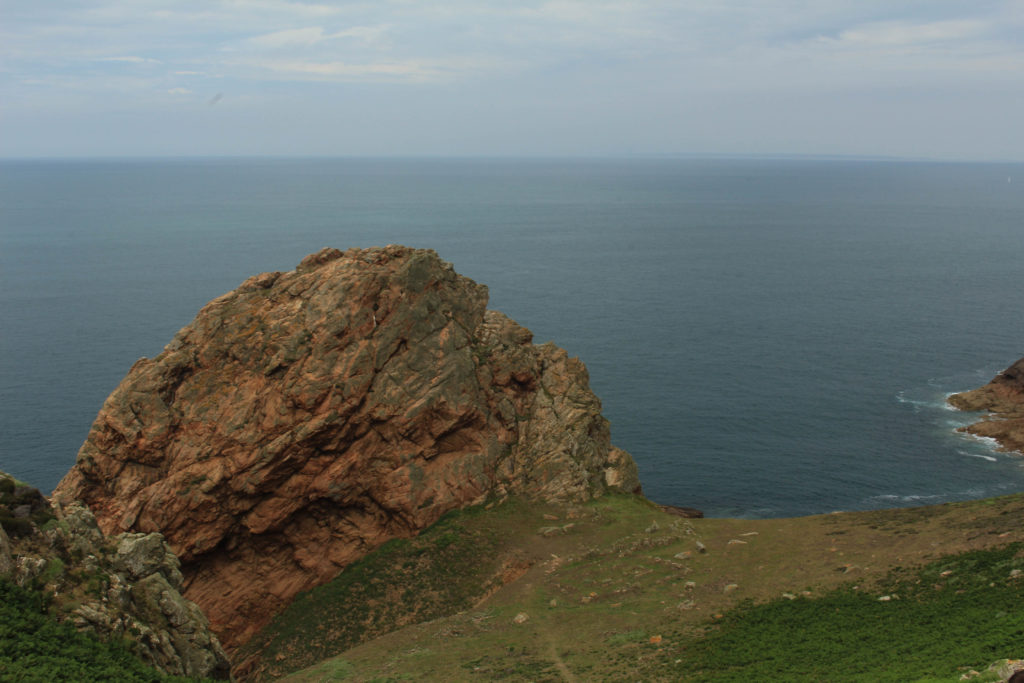
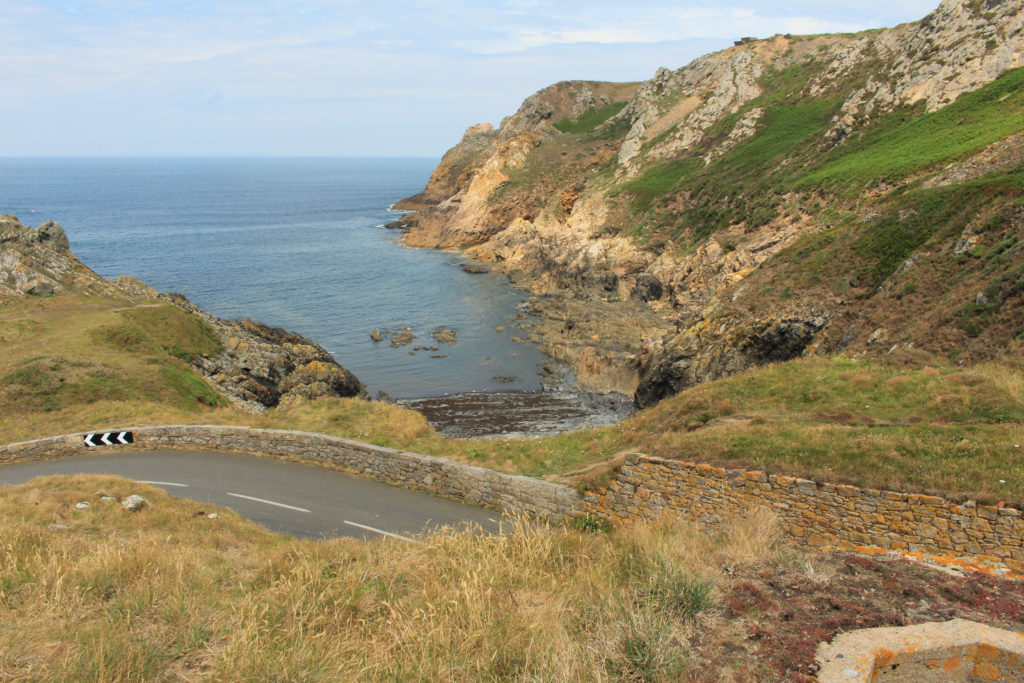
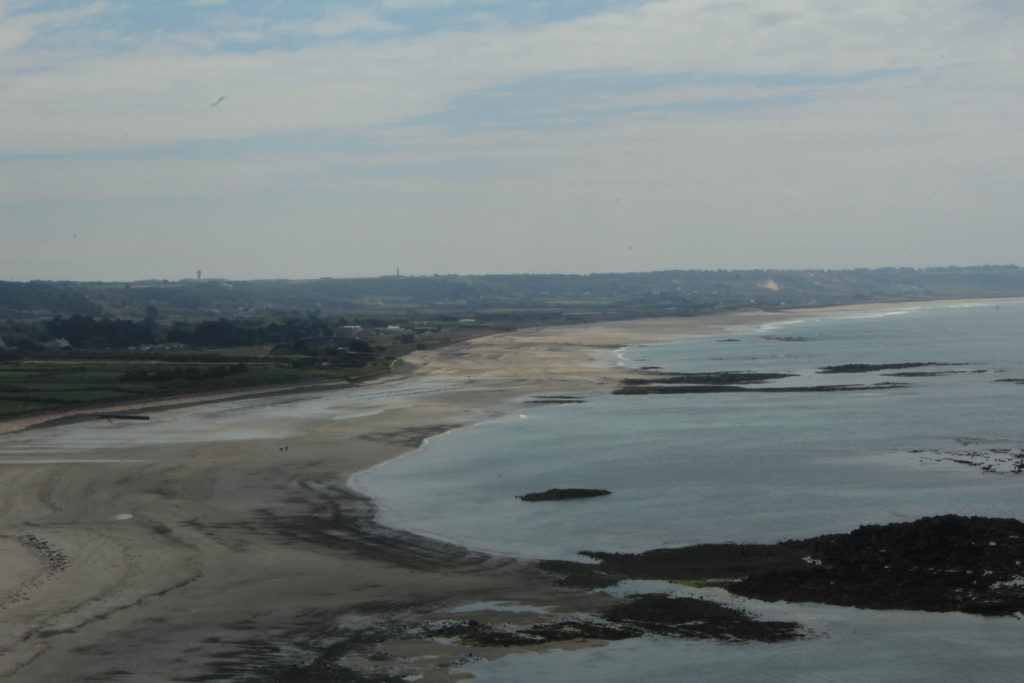
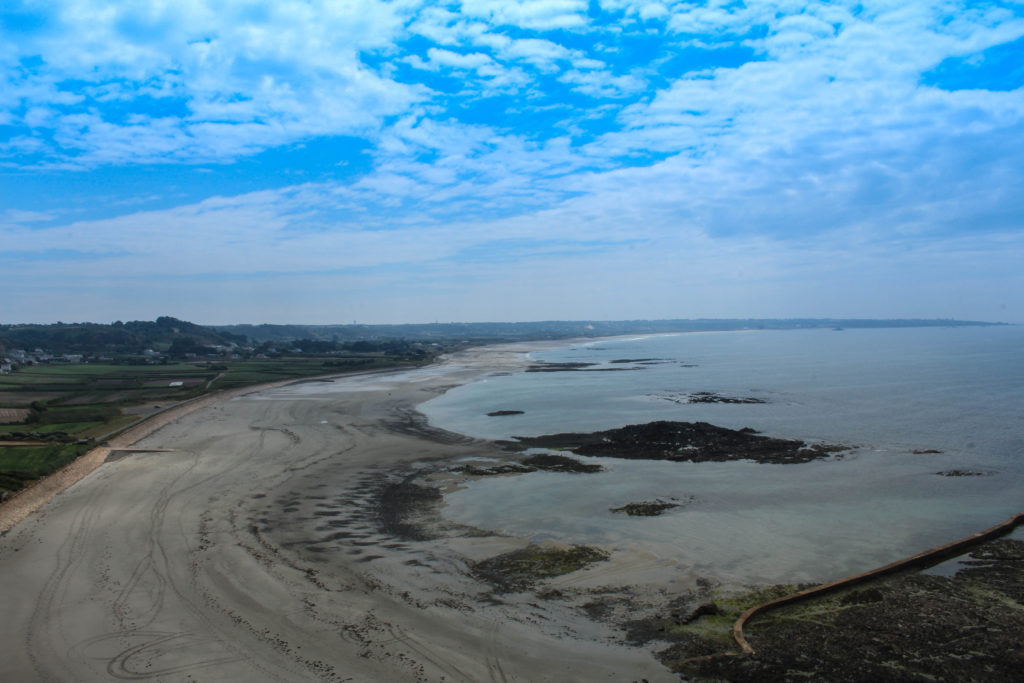
My first shoot was conducted at areas surrounding L’ Etacq, Le Pinacle and Stinky Bay, We walked around the headland but focused on taking photos of rocks- whether close up or far away.
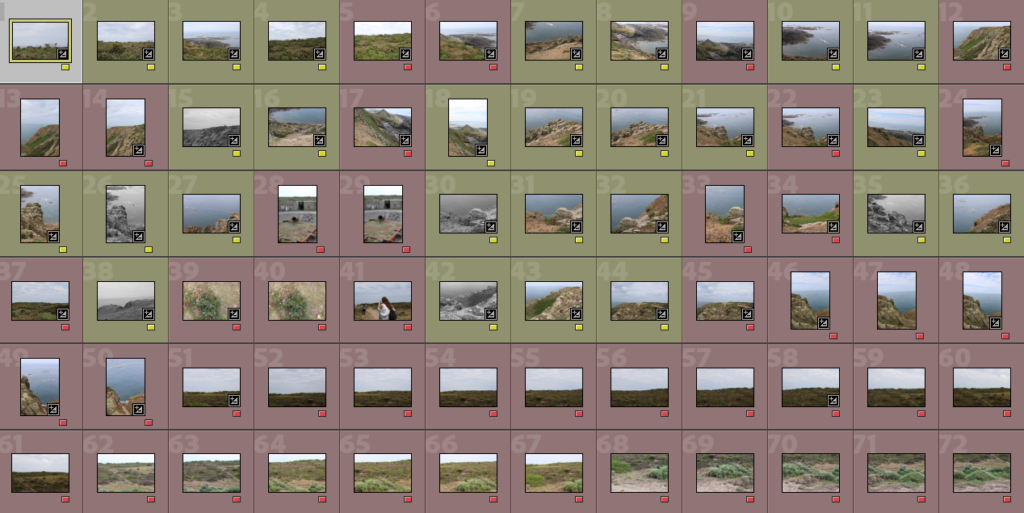
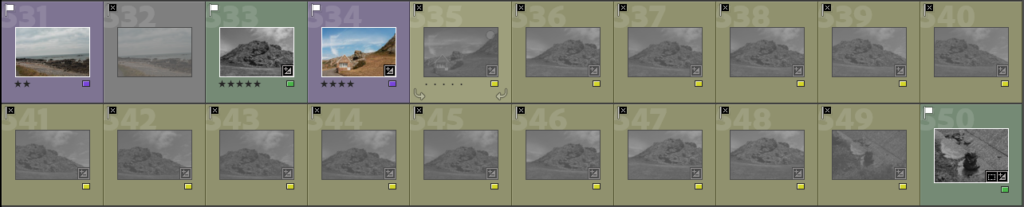
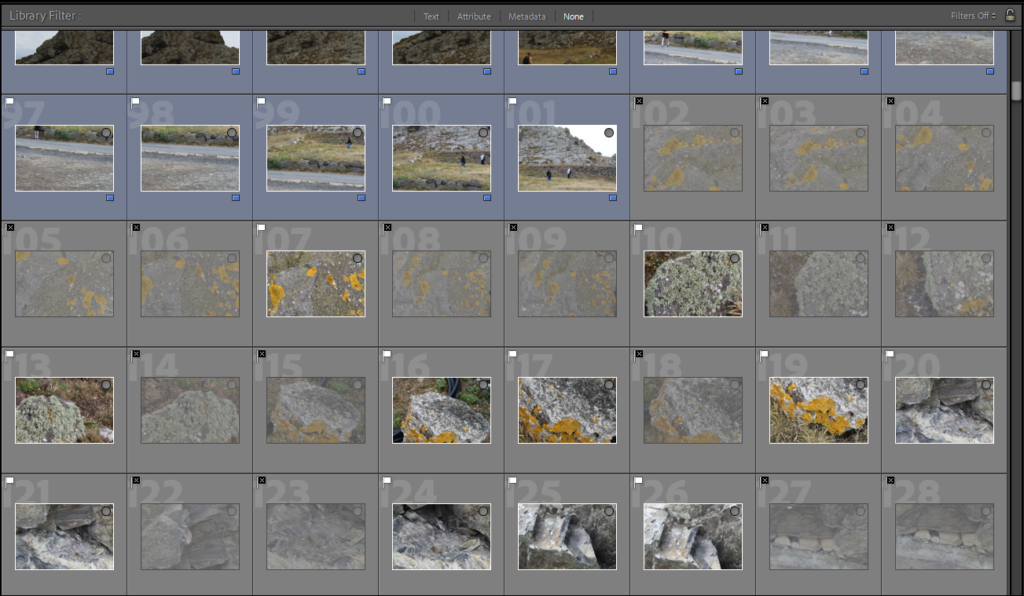
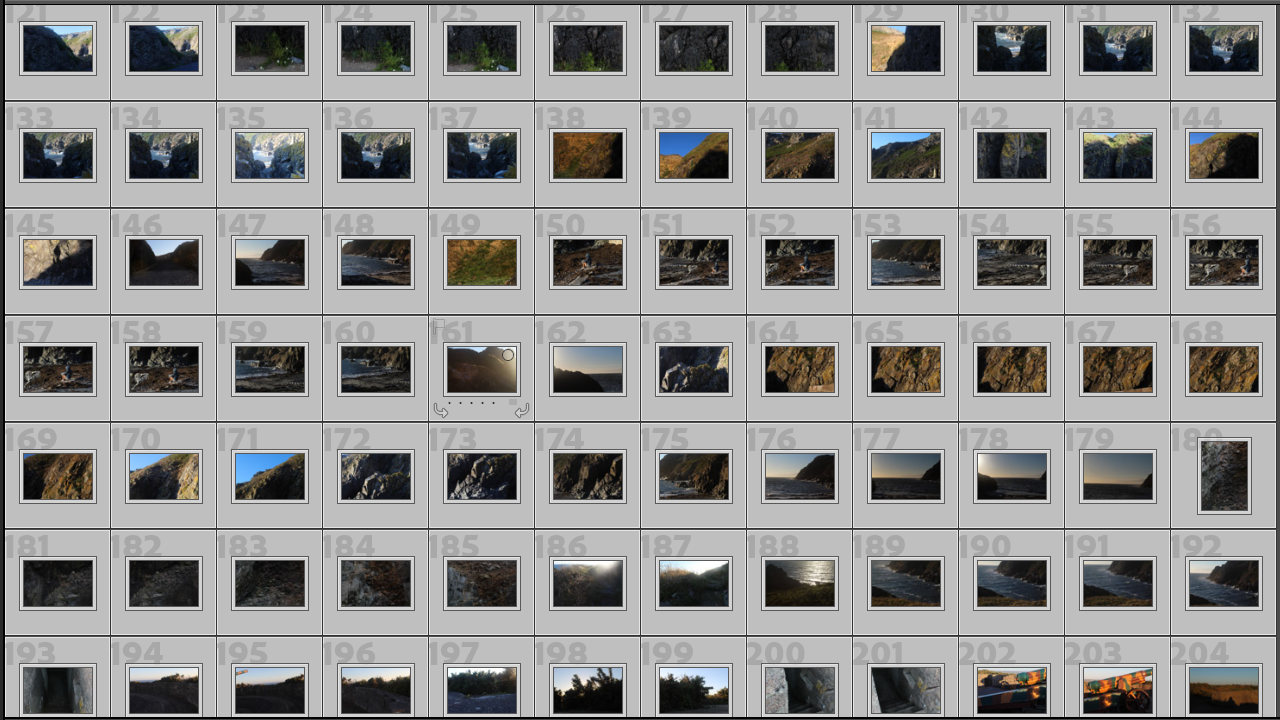
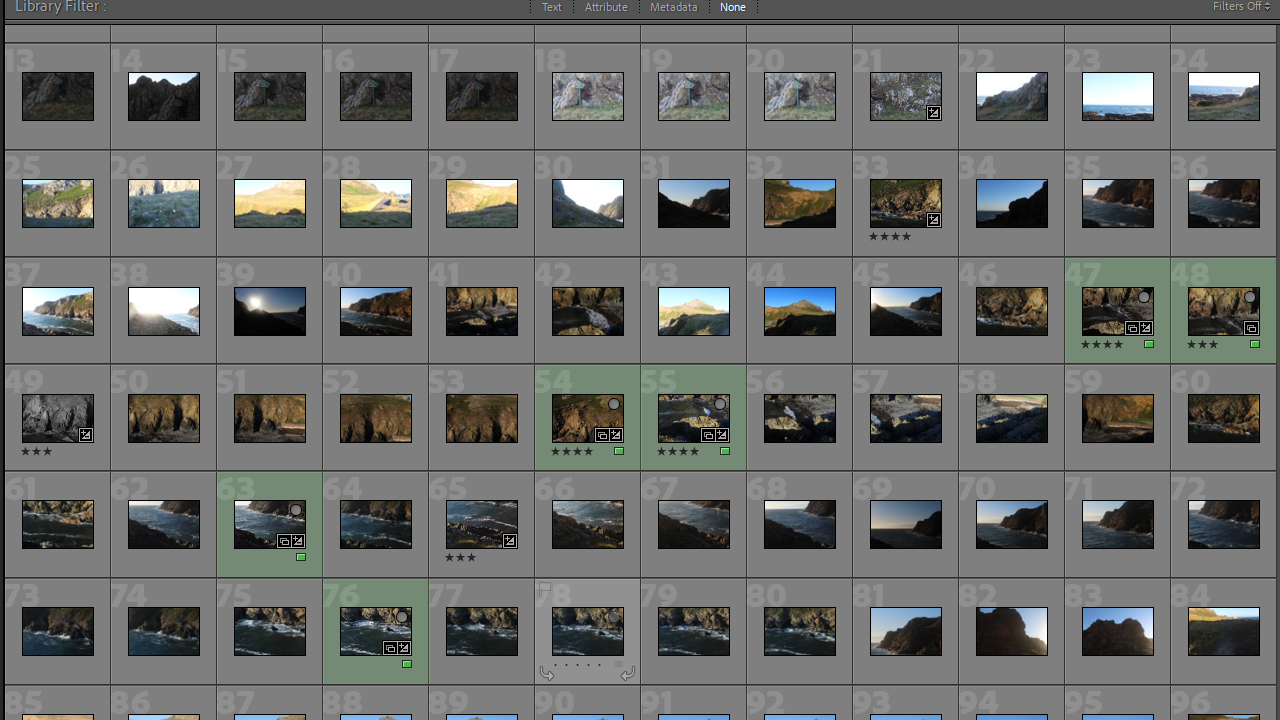
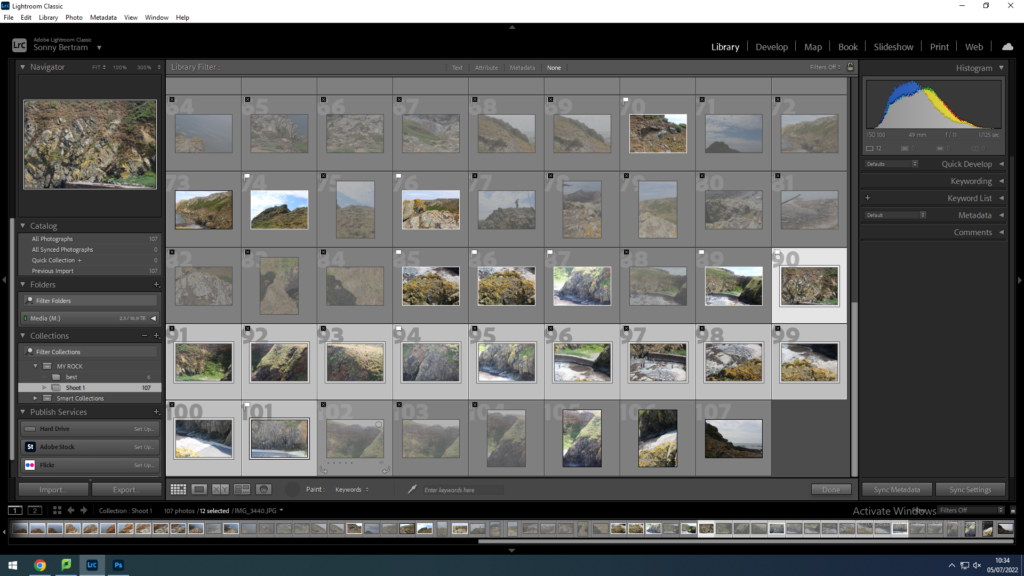
First I separated my images by colour- red meaning I am least likely to use them while yellow meaning I believe they have potential.
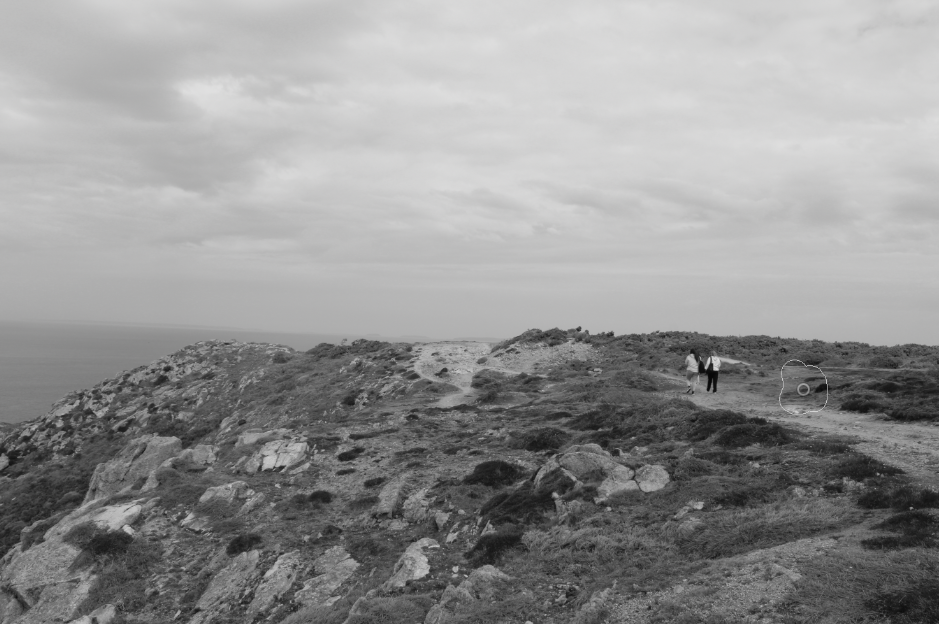
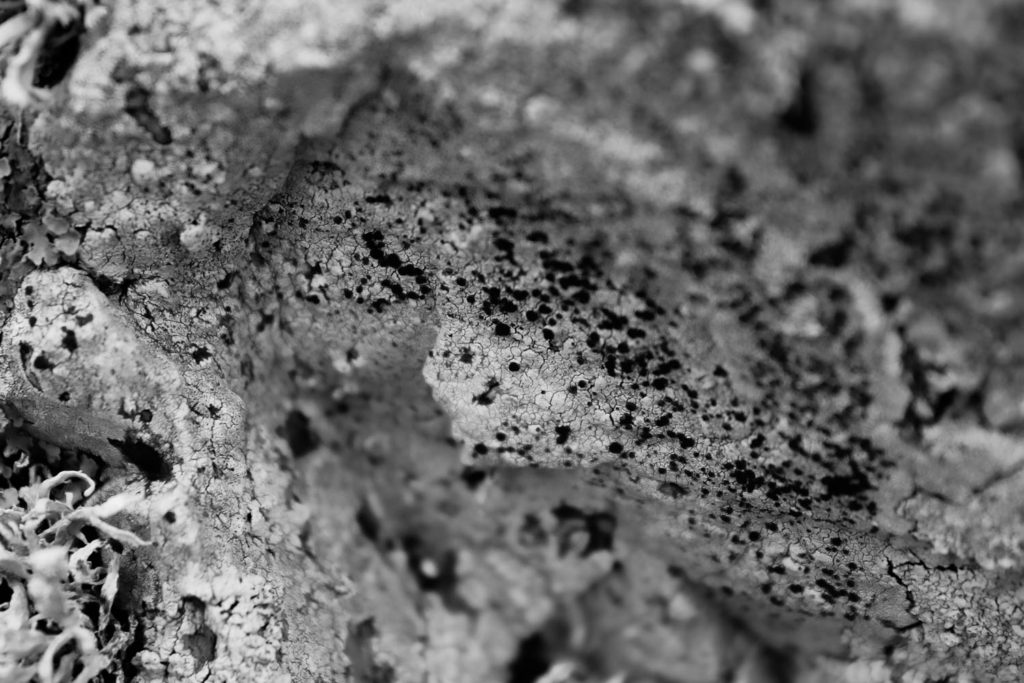
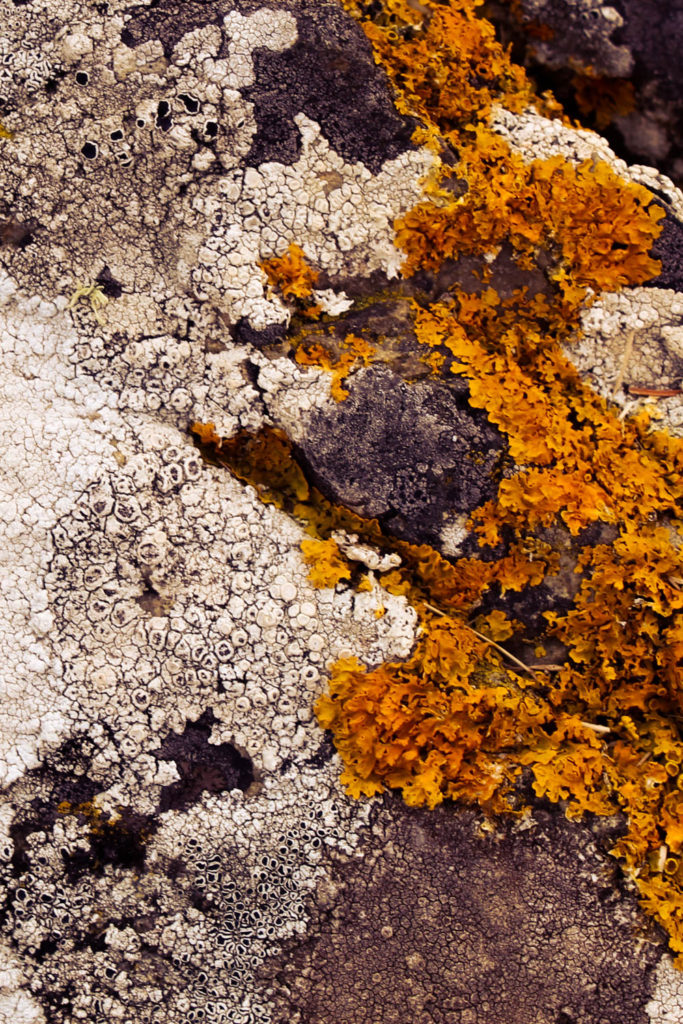
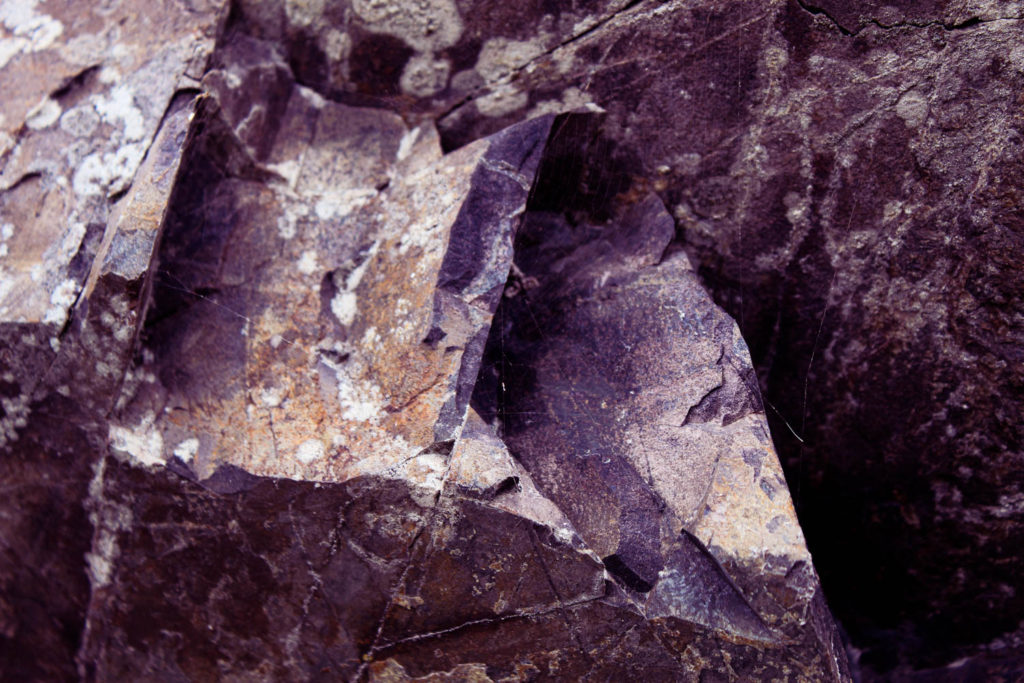
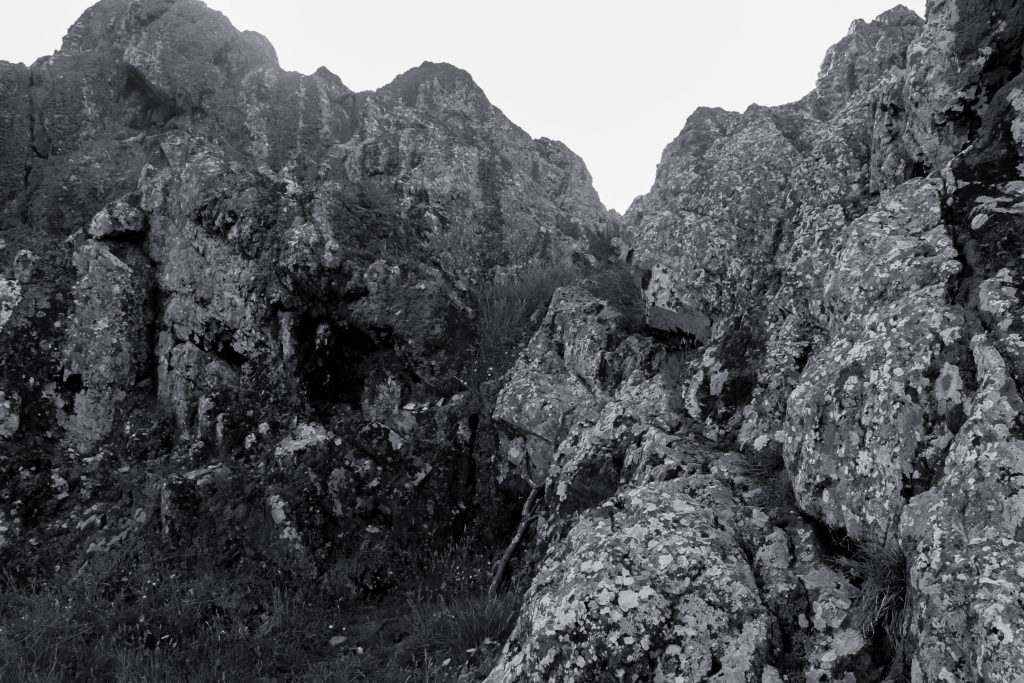
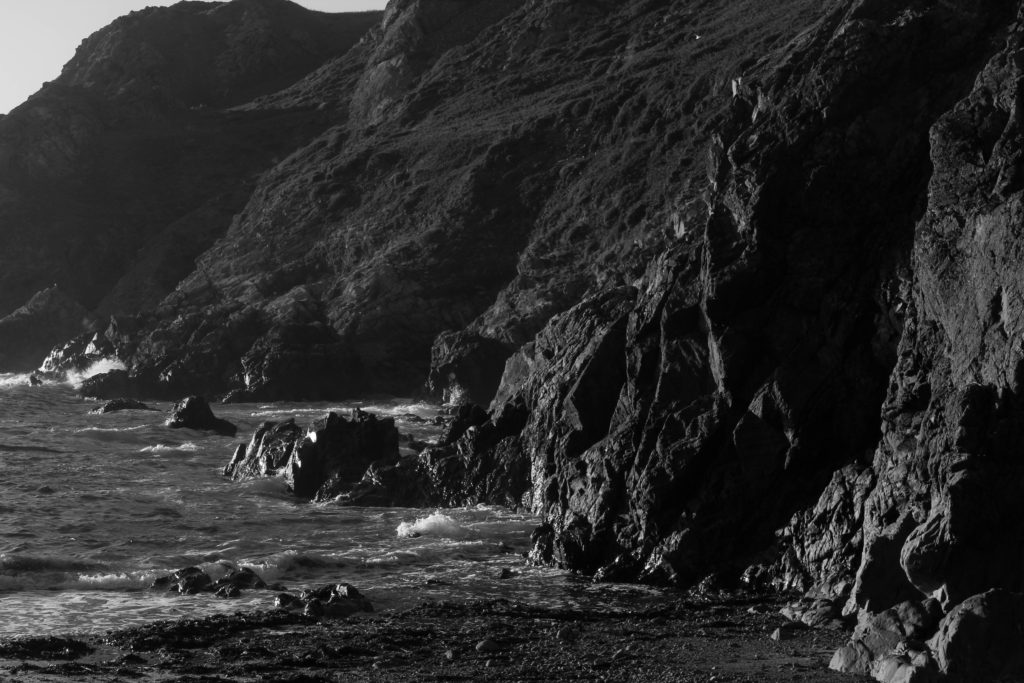
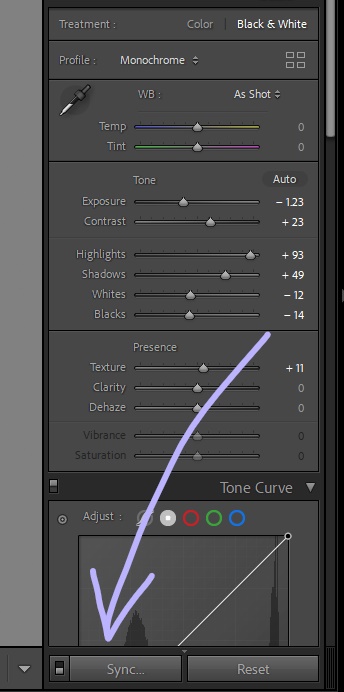
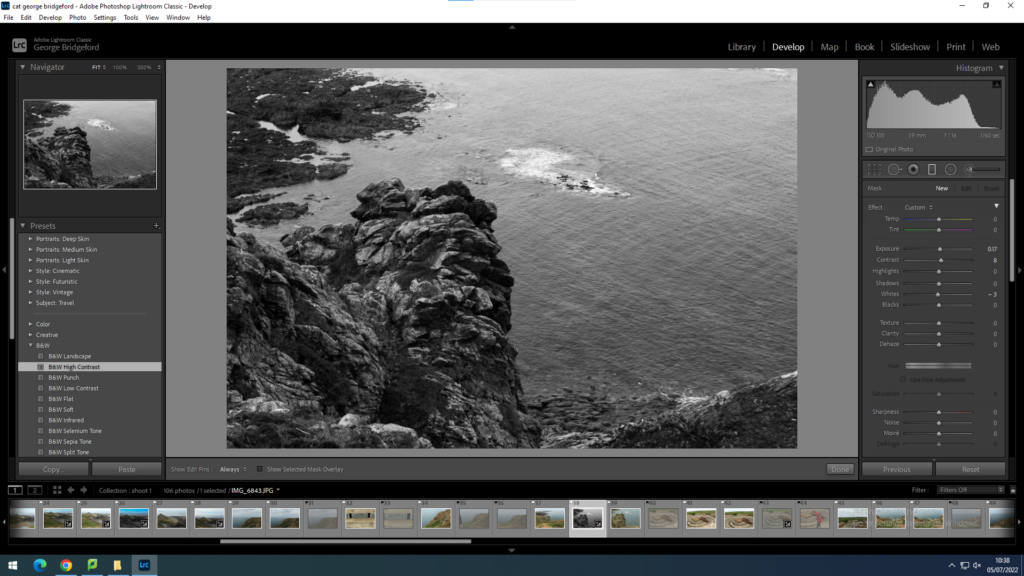
I edited all my images the same way, turning them to black and white then syncing the settings, I then went through each image individually and edited it so it suited the light etc. I also did some spot removal in some of the images as some of them had people in them (spot removal seen below)


While going through and individually editing each image, I did another sub-selection, changing images I believe are my best to green.
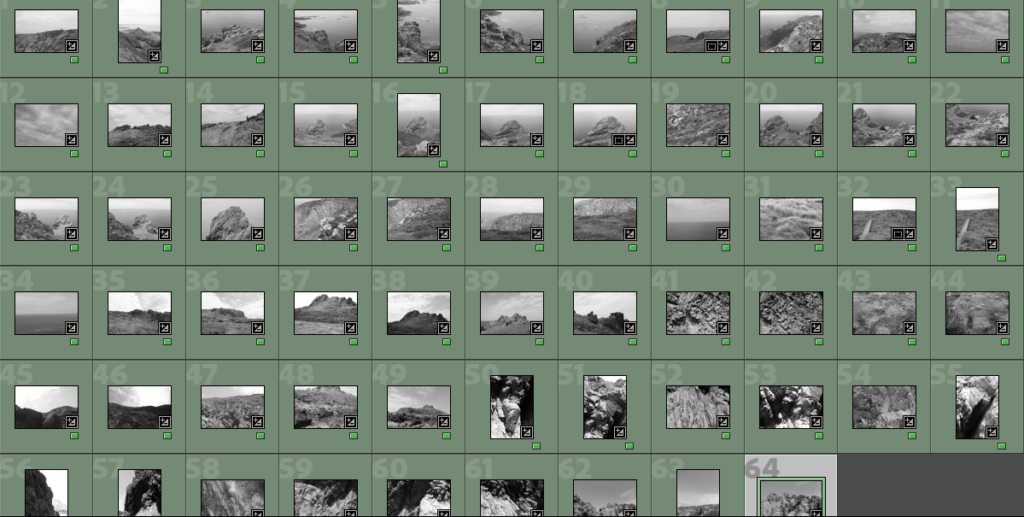
After this I then did a further sub-selection as I had ended up with 64 images I liked, this final sub selection lead me on to my best images.
BEST IMAGES FROM THE SHOOT


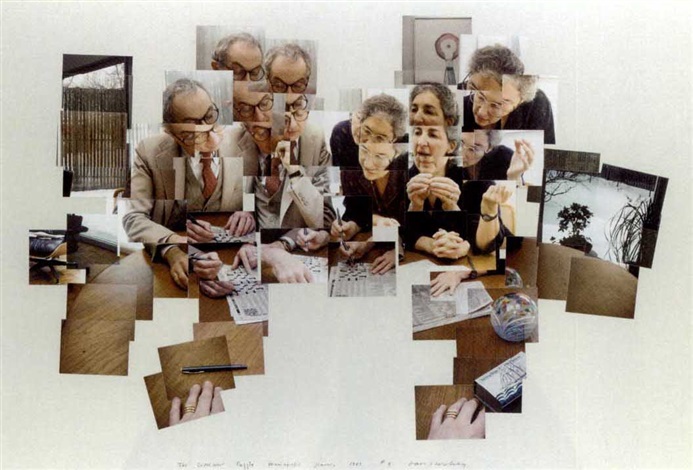
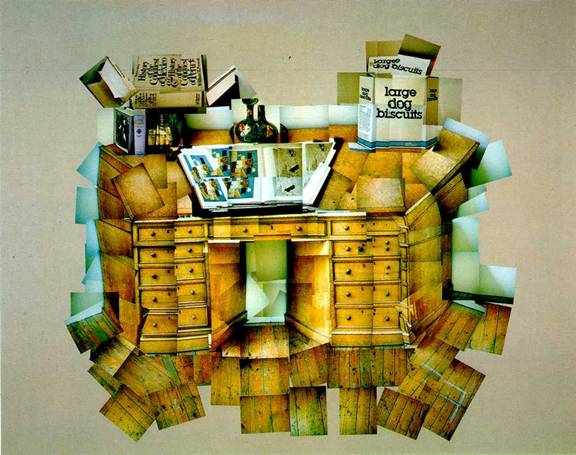
David Hockney is an English photographer and artist who was born in 1939. He is well known for his many influential pop-art pieces throughout the 60’s and his original photocollages he manually created throughout the 80’s called ‘joiners’.
Hockney’s joiners use a distinctive style, making his final piece look similar to a painting due to the way he’s chosen to piece them together. He chooses to combine his photos and alter the original landscape to his liking rather than recreating the subject exactly. He likes to focus on the space in each joiner and rearranges objects as he sees fit, the most famous example of this being his joiner ‘Pearblossom Highway No. 2’.

The image at the top is Hockey’s famous joiner ‘Pearblossom Highway No. 2’, a photocollage he created of the actual Pearblossom Highway [which can be seen in the image underneath it]. In order to create the joiner, Hockney took photos using a variety of perspectives over the course of multiple days with a film camera and post-development stuck each image together. He changed the positions of some of the objects to make the image his own, trying to represent the passing of time rather than just remaking the real location by hand.
Hockney’s method takes a lot of time and careful placement as he used hundreds, if not thousands, of images in this piece alone, all of which he stuck down manually over a series of days.
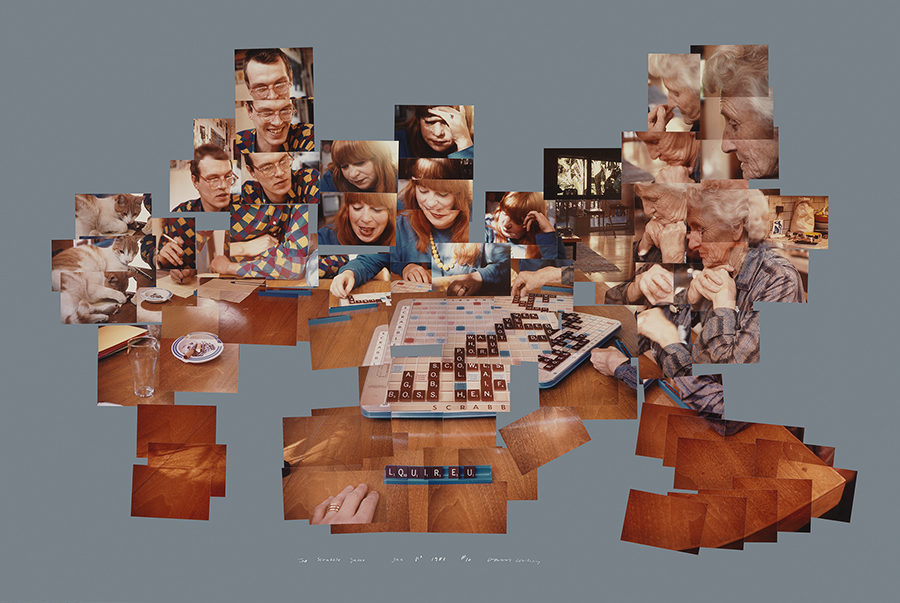
Some more of David Hockney’s joiners:
To begin making my Joiner I selected around 15 images from Lightroom and exported them into a specific joiner folder. I colour co-ordinated my joiner images into a yellow collection so I can be more organised. I made sure all selected image were applied with the same editing tools to not ruin my joiner by having coloured images involved.
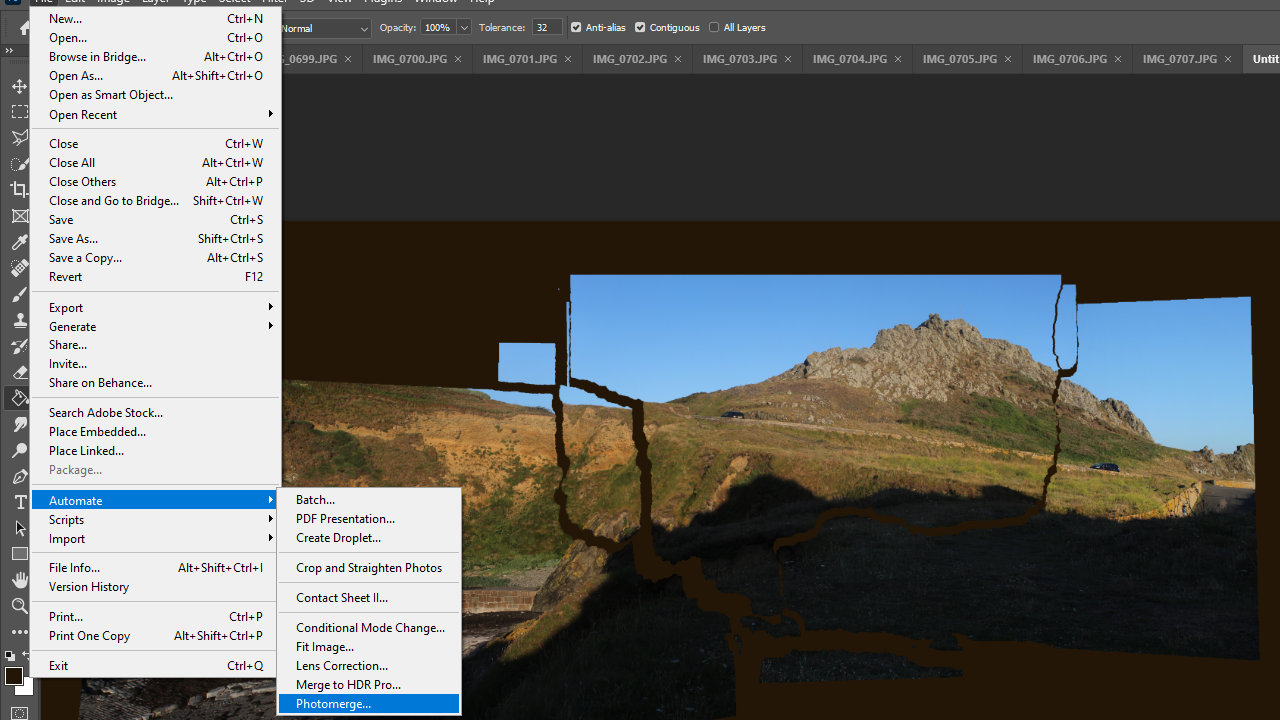
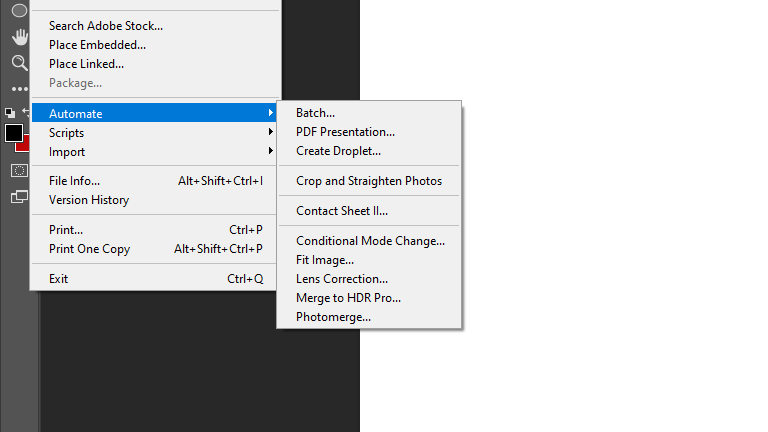
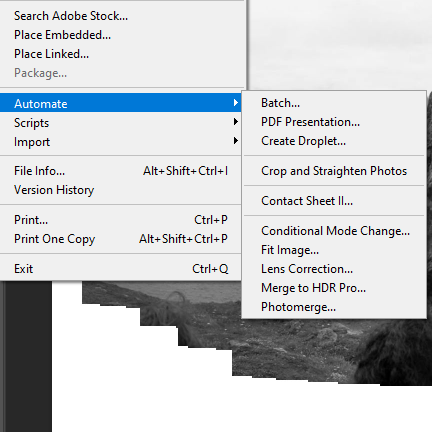
I exported my joiner images into photoshop through the Photomerge tool to create my joiner. I believe this is the most effective way of creating a joiner instead of using the manual way because it neatly forms all the other images together in a very effective way.
Here is how it created my joiner:
Simple edits:

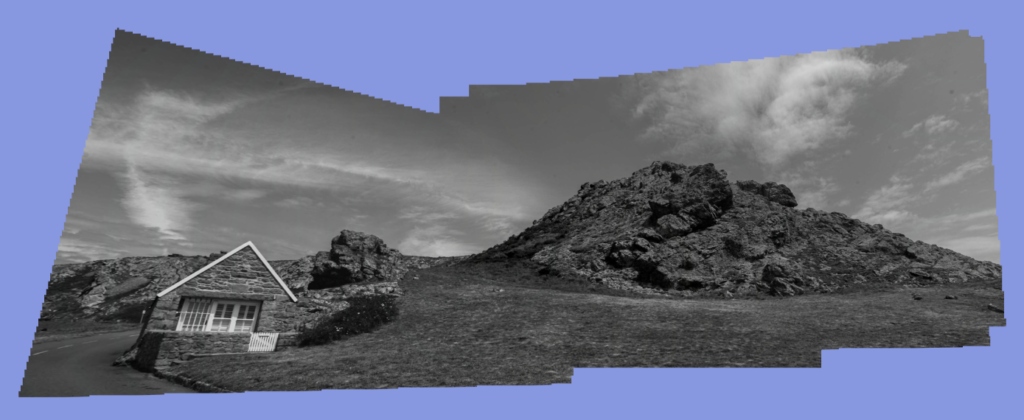
Background colour experimentation:

Evalution
I like the way most of these joiners turned out especially the ones with simple effects. During my experimentation I focused on using one main image that I chose to use throughout all my experiment. I chose this joiner because it was the best out of all the other outcomes I tried to produce due to the wide span of scenery. The use of the bright and vibrant colours made the joiners seem more ‘joyful’ and makes the monochrome joiner have great contrast towards the colours. For the next time I create a joiner I am going to experiment further with 3d objects and creating my own joiner manually instead of the automatic photoshop way.
I decided to have a range of highly saturated images and black and white images.


My selection process
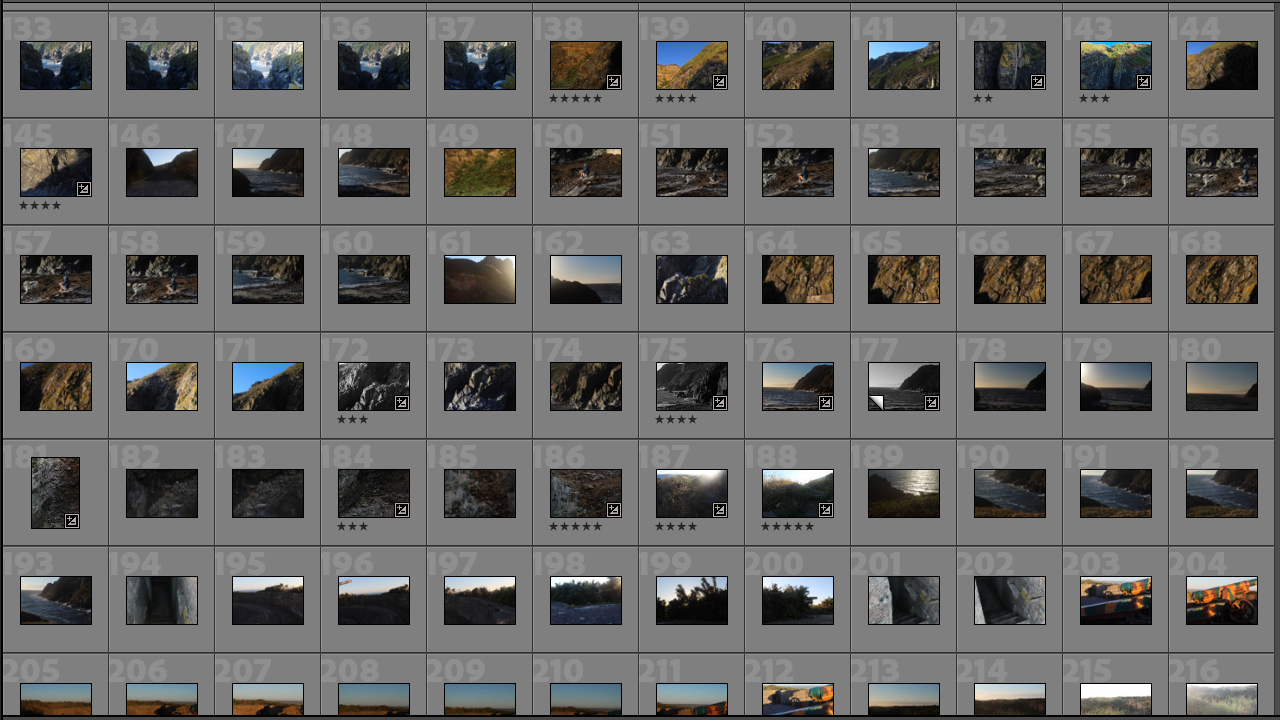
I rated my images ranging from 2-5 stars based on how good the image is, after i edited my images i then changed my ratings to the photos i will use for my best images so it is easier and clearer for me to see which ones i will use.
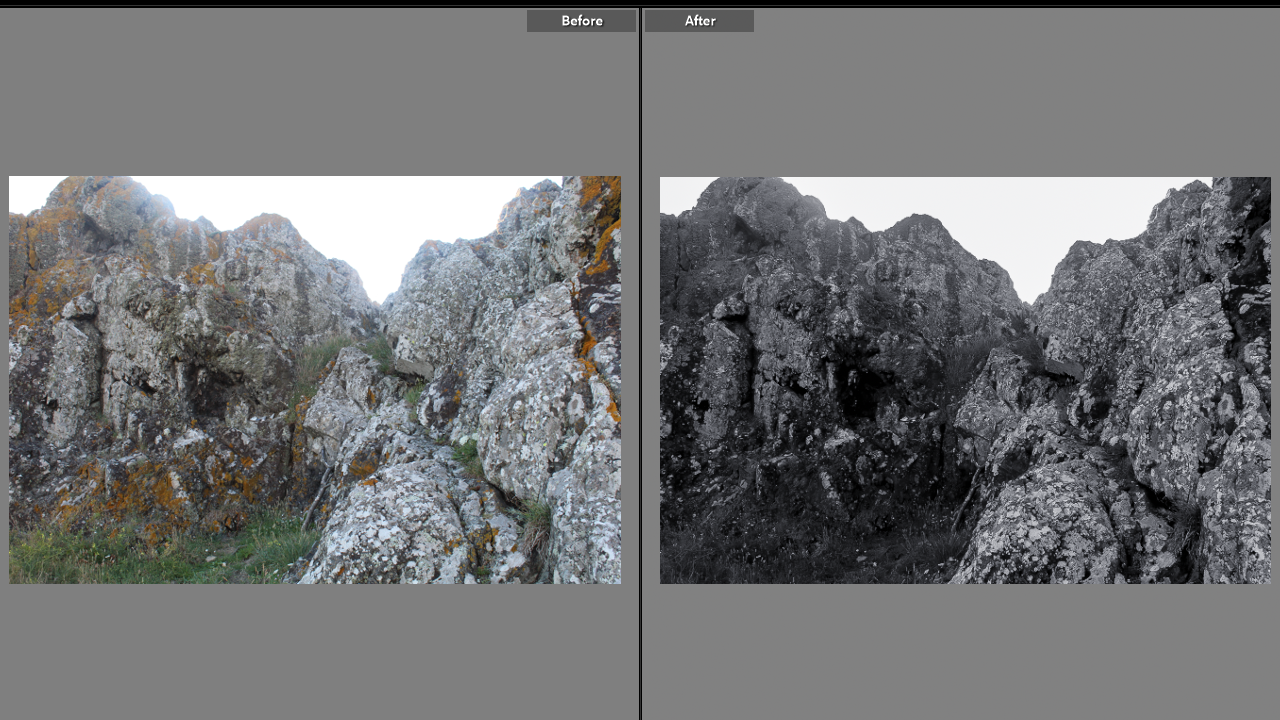
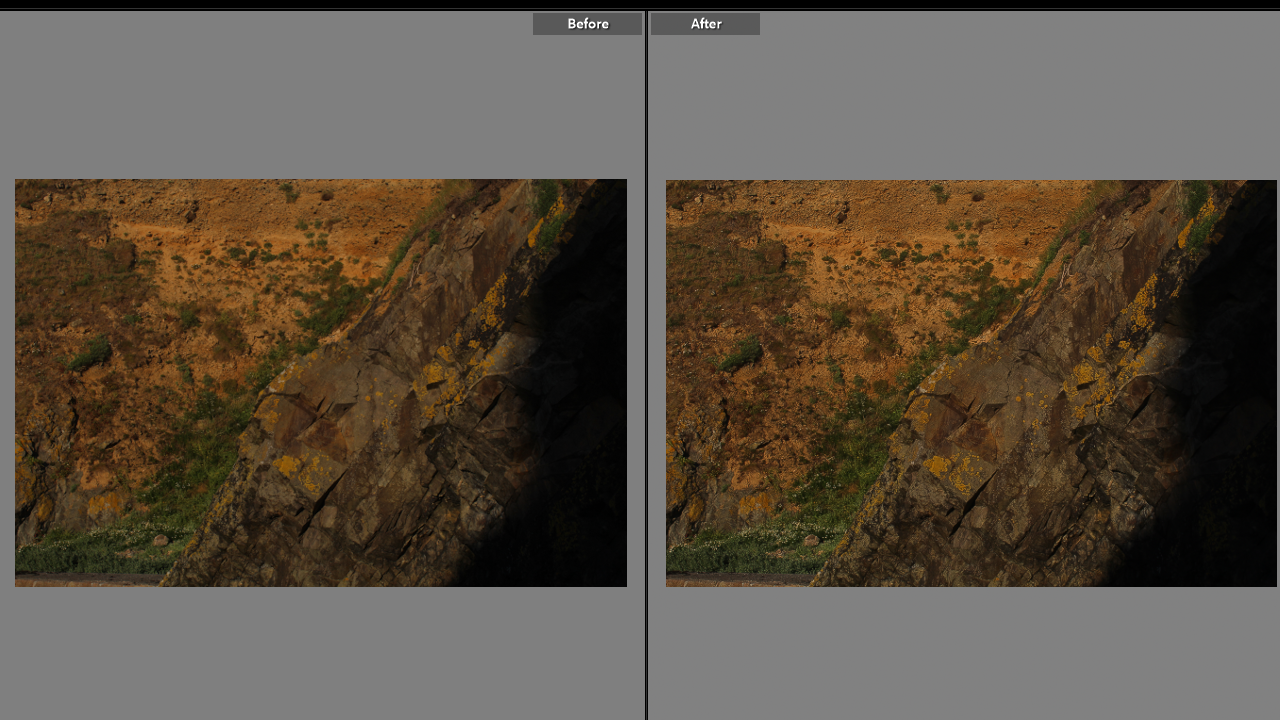
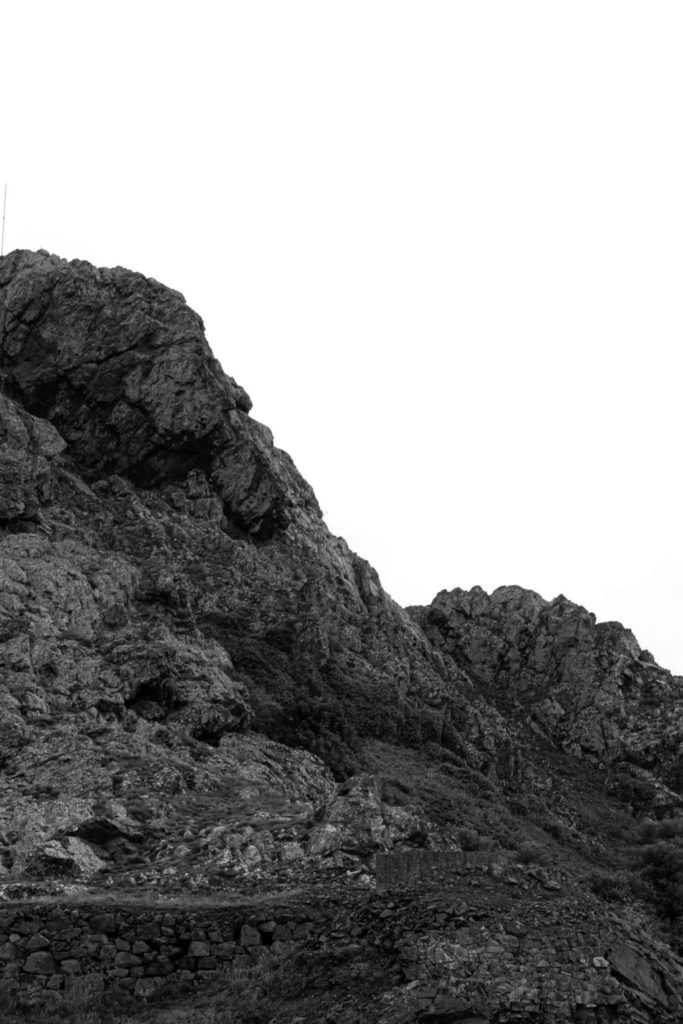
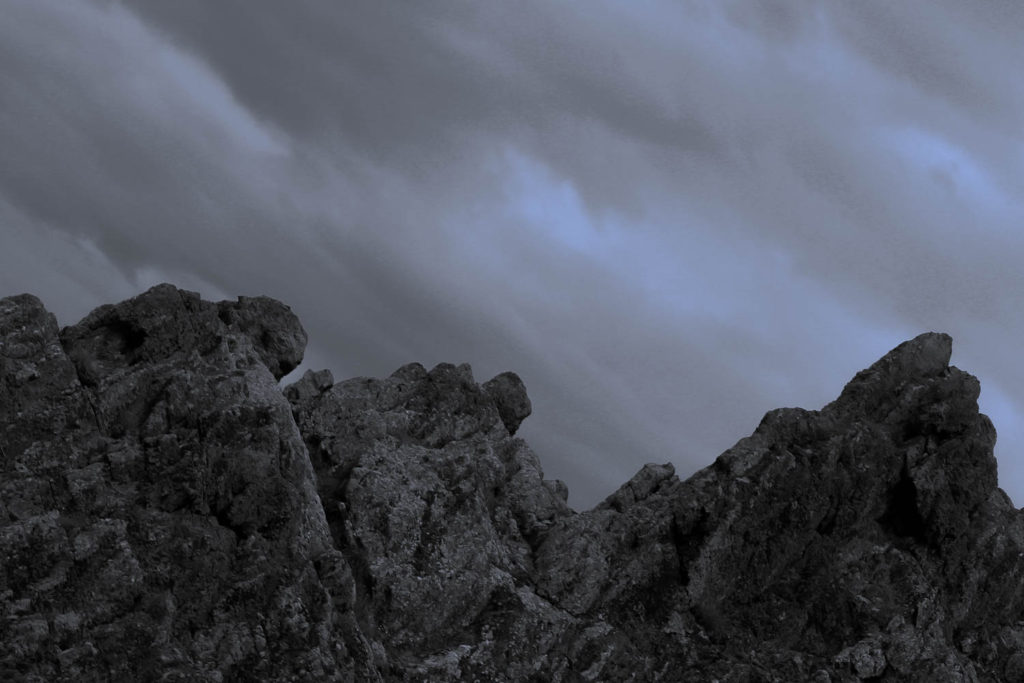
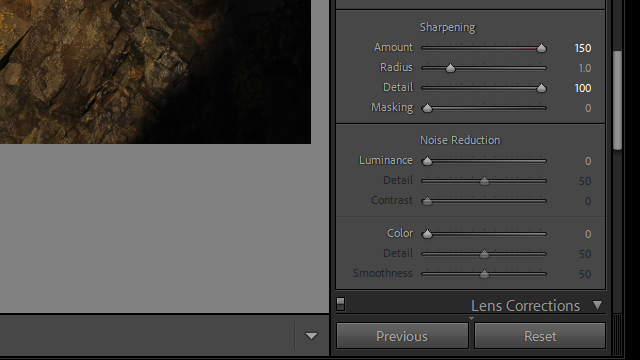
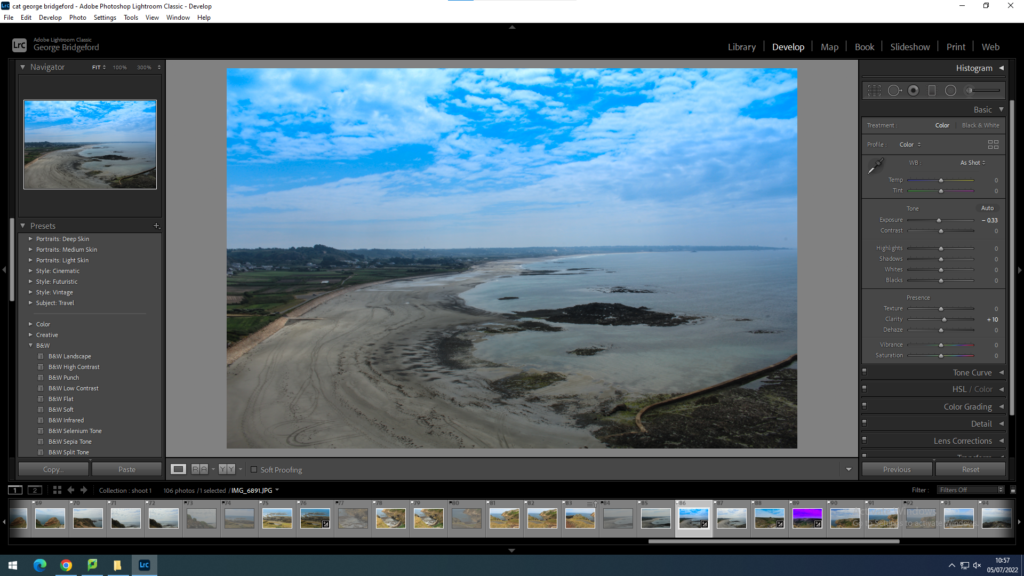
Here is just a couple of examples of adjusting the images to look more presentable and how i edited the majority of my images by adjusting the exposure, contrast and sharpening the image for a cleaner outcome. Some images i made black and white because if the image has a darker contrast i feel black and white enhances the photo better and makes it more dramatic.
My best images


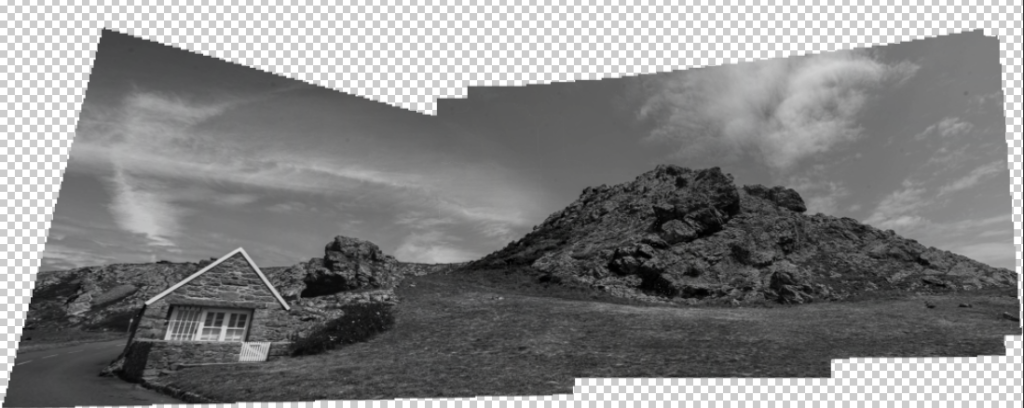
My Joiner
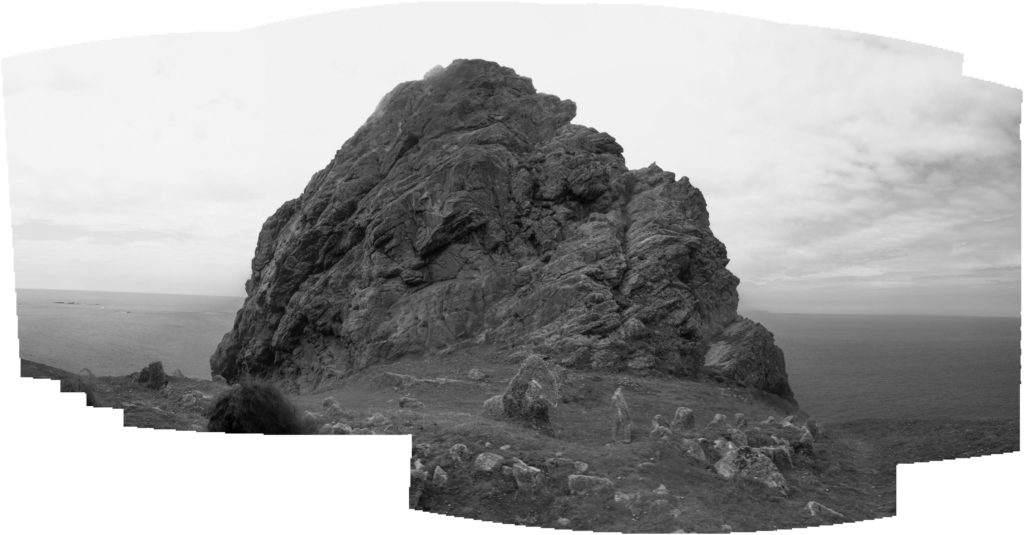
This is the first joiner i made, i decided to make the images black and white to capture the depth and shadows within the rock. I also feel the black and white compliments the solitary feeling of the lonely rock.
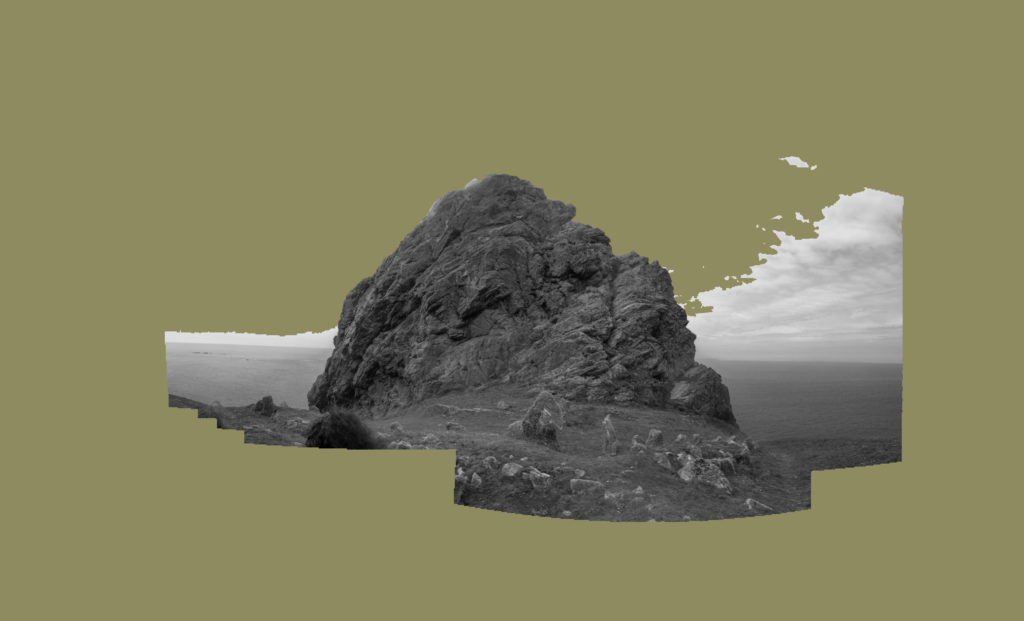
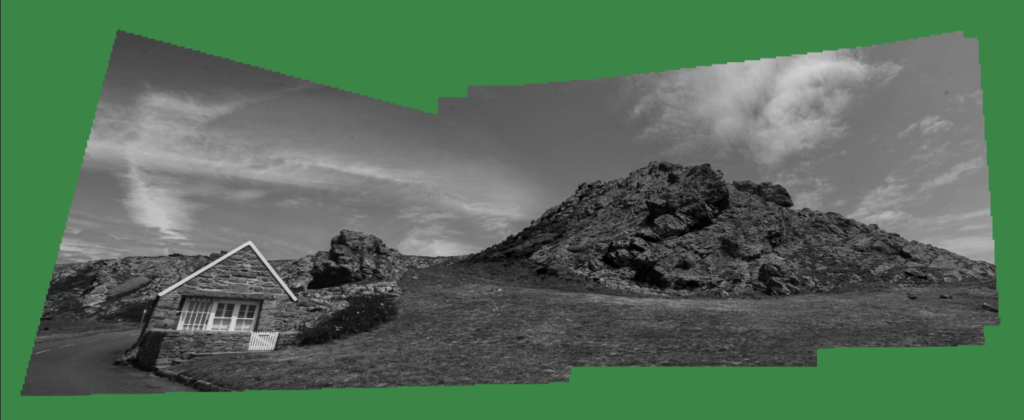
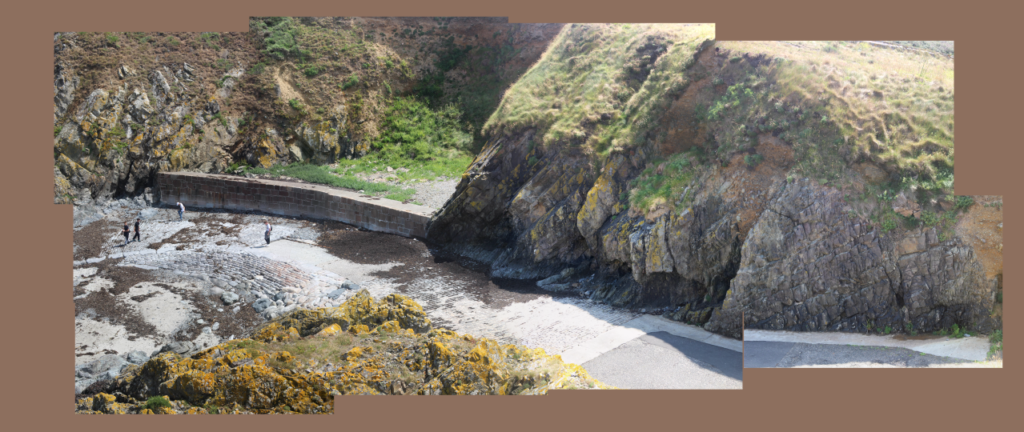
I decided to include a muted green background to emulate the style of Hockney.

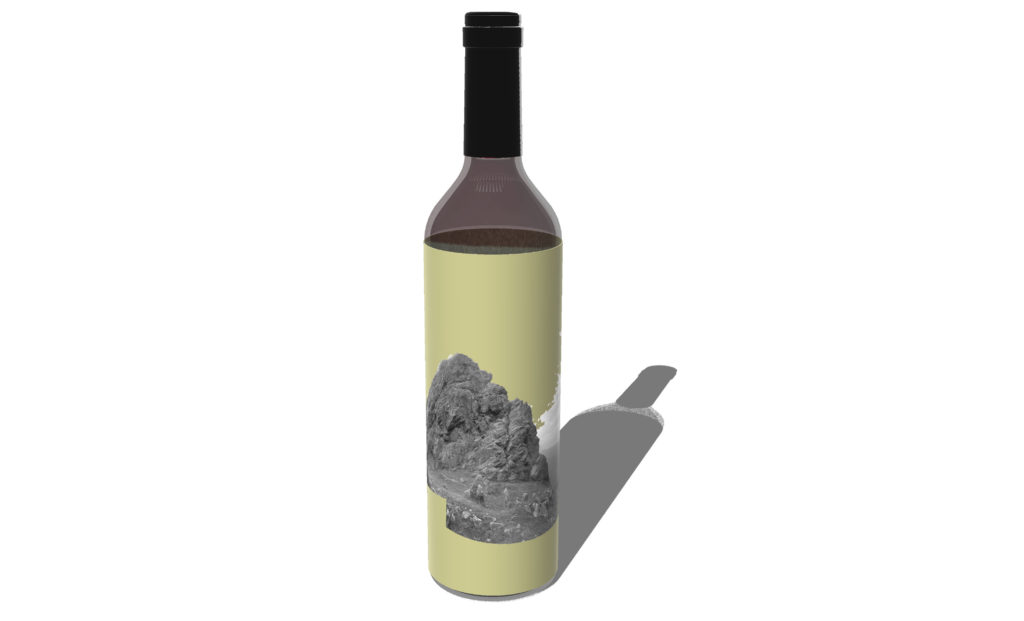
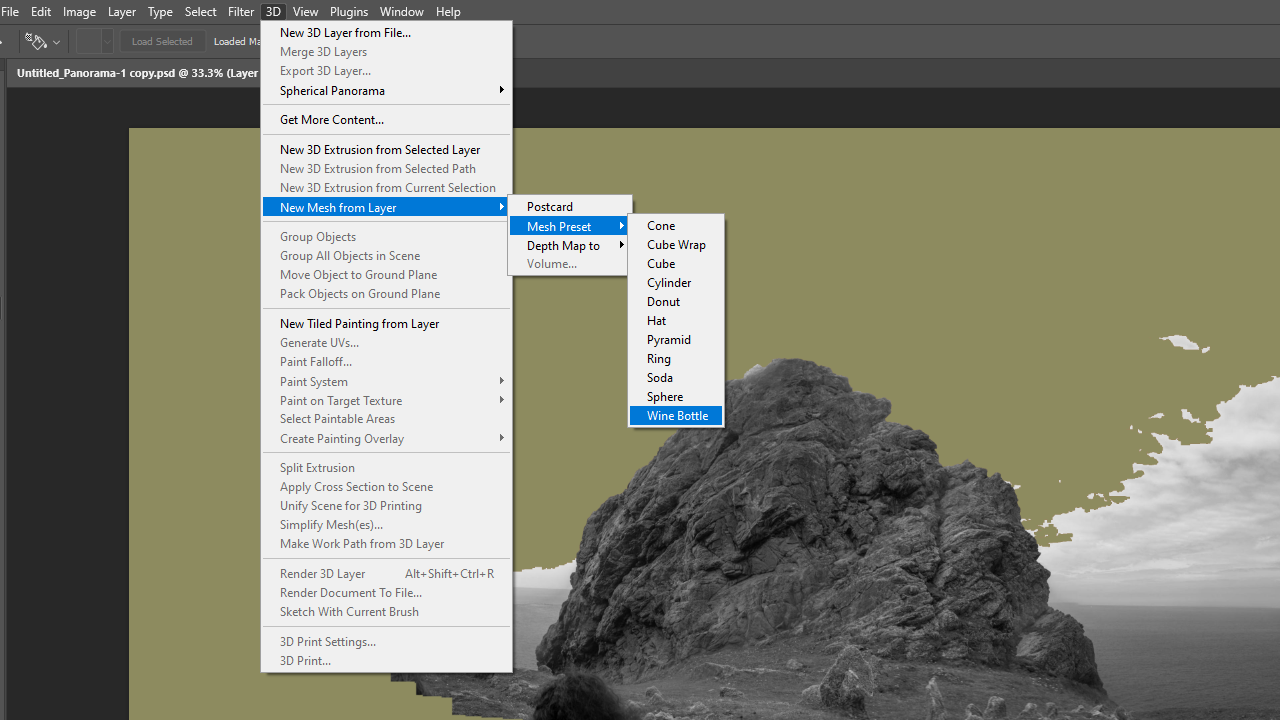
Using photoshop i created a mock up of what my image would look like on a wine bottle.
Overall, I believe my joiner turned out well, however, to improve I would take more images so i could make more joiners and test different editing styles. I would also make sure I capture more of the landscape such as the grassy and rocky surface in the foreground.
After creating this first one I decided to add in more photos because I noticed how good photoshops algorithm is at piecing them together.

After analysing and comparing my previous experiments I went out to a different site and took a lot more pictures than I previously had as I could see how the more photos you use the more interesting the image comes out.

After waiting 20 minutes my image didn’t come out exactly as planned so I went back to the site to take the images again from different angles.


For my black and white images I used the black and white filter selection
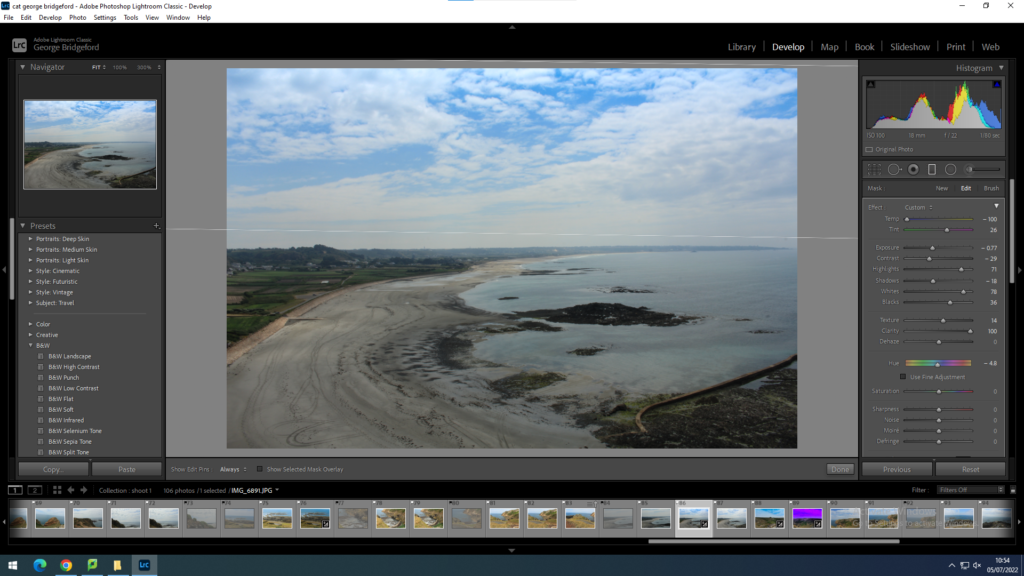
For this image I used the graduated filter tool to create an effect on the sky
What is a geopark
a UNESCO-designated area containing one or more sites of particular geological importance, intended to conserve the geological heritage and promote public awareness of it, typically through tourism. UNESCO Global Geoparks are single, unified geographical areas where sites and landscapes of international geological significance are managed with a holistic concept of protection, education and sustainable development.
Jersey geopark
Geosites are places around the Island with special significance. A Geopark is about more than rocks. Jersey is a strong contender for this special designation because of our Island’s exceptional geology and our important cultural heritage which forms the outstanding surroundings we enjoy every day. Whether exploring Jersey’s diverse landscapes or seascapes there is lots to discover and inspire you.