Category Archives: Uncategorized

Filters

Author:
Category:

Experimentation – Joiners

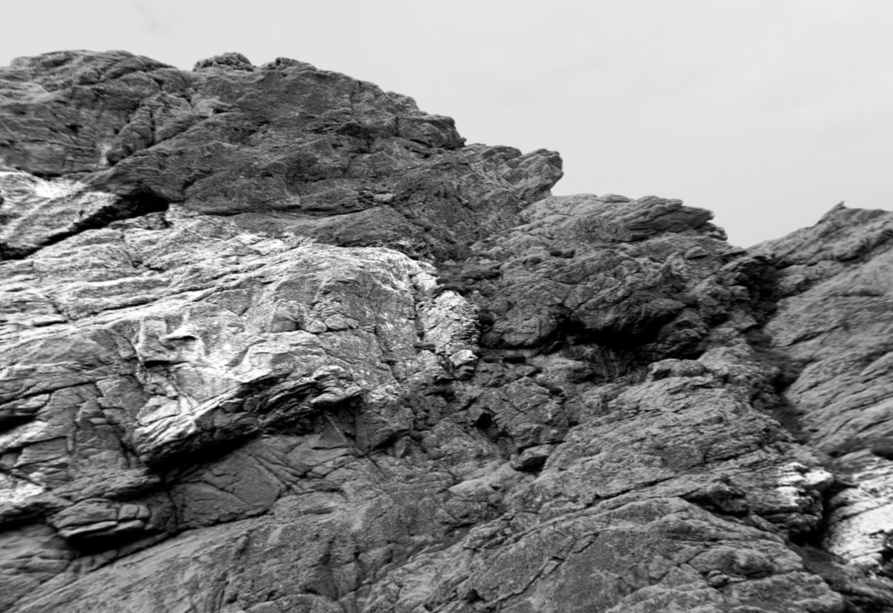
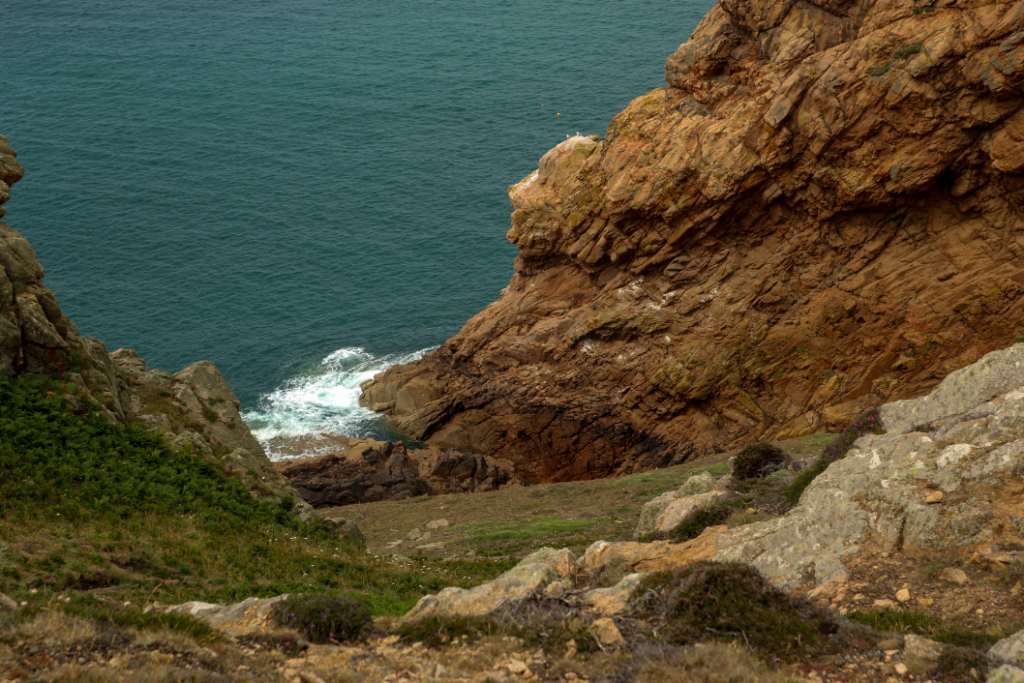
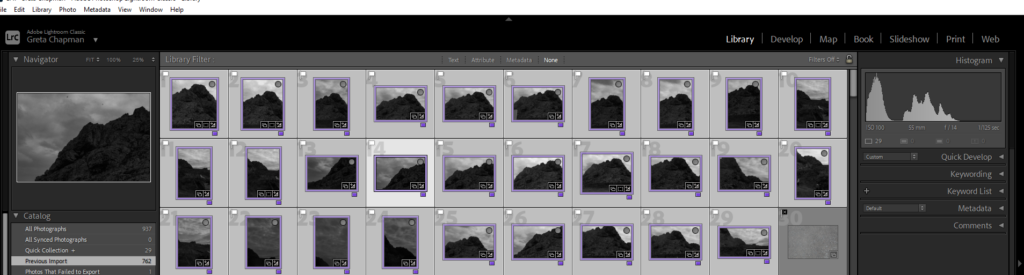
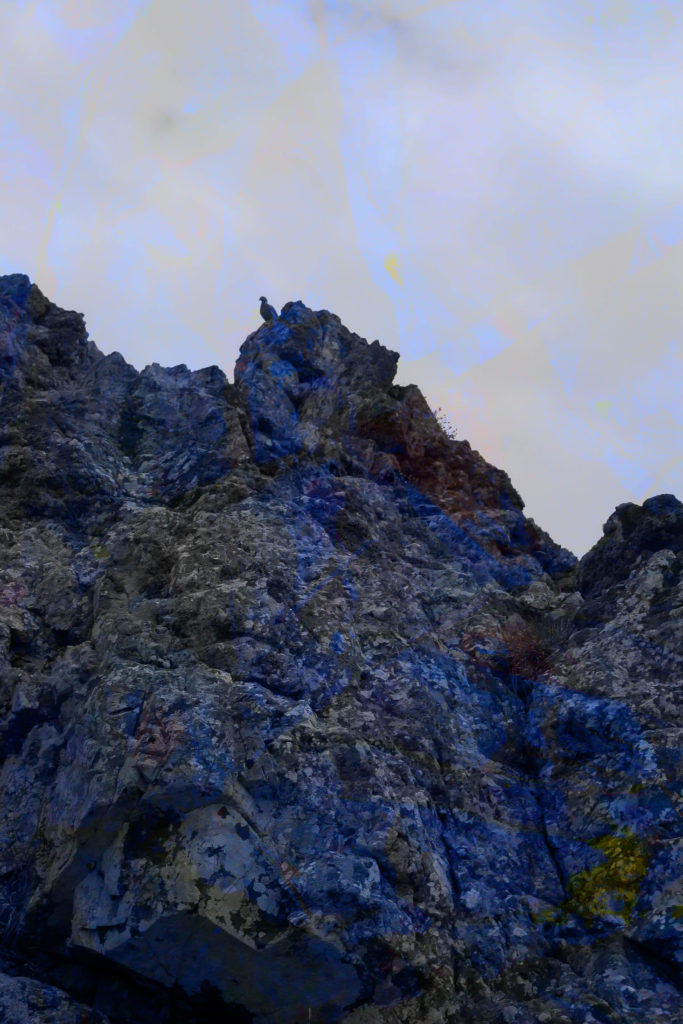
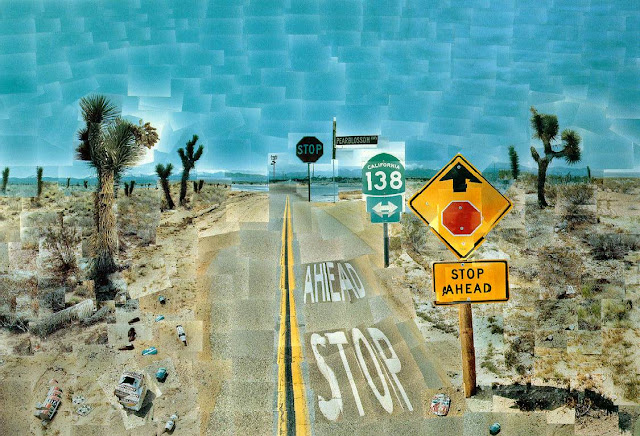
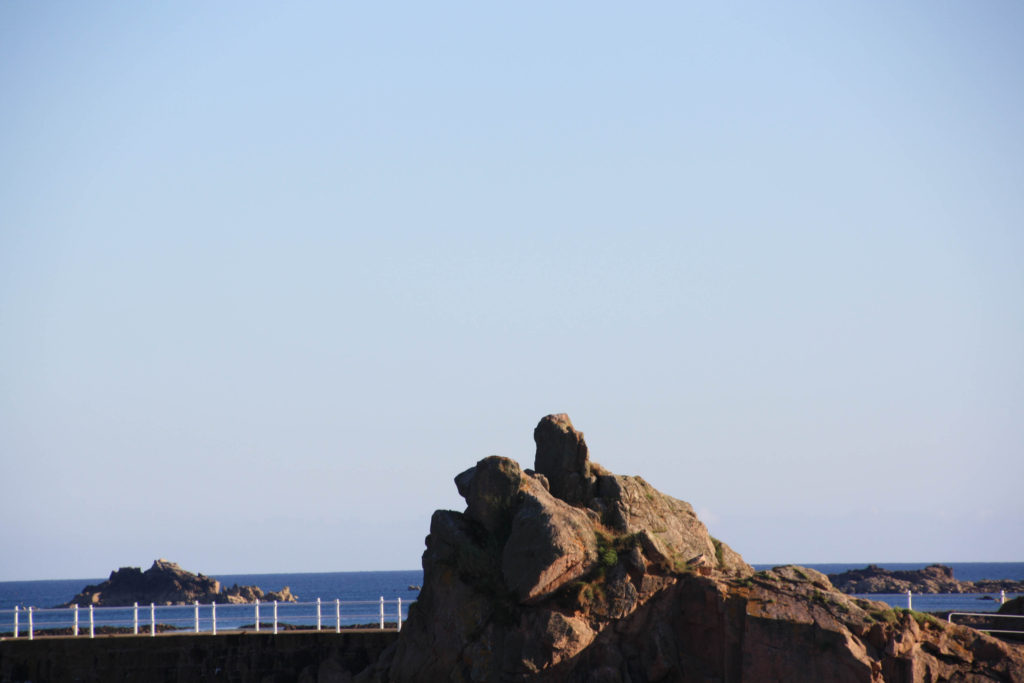
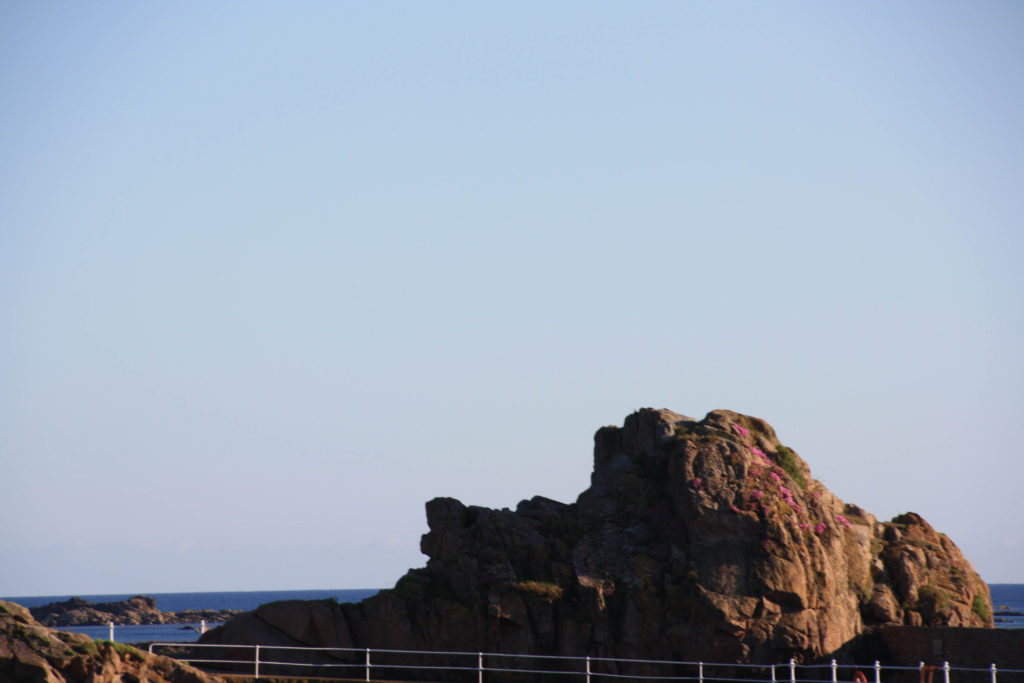
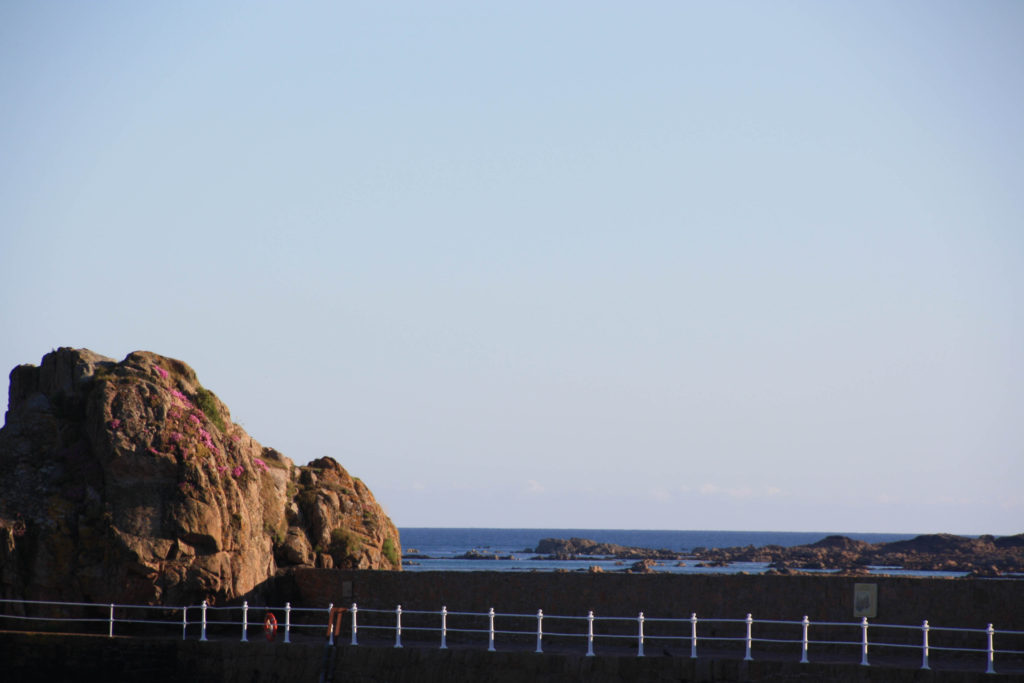
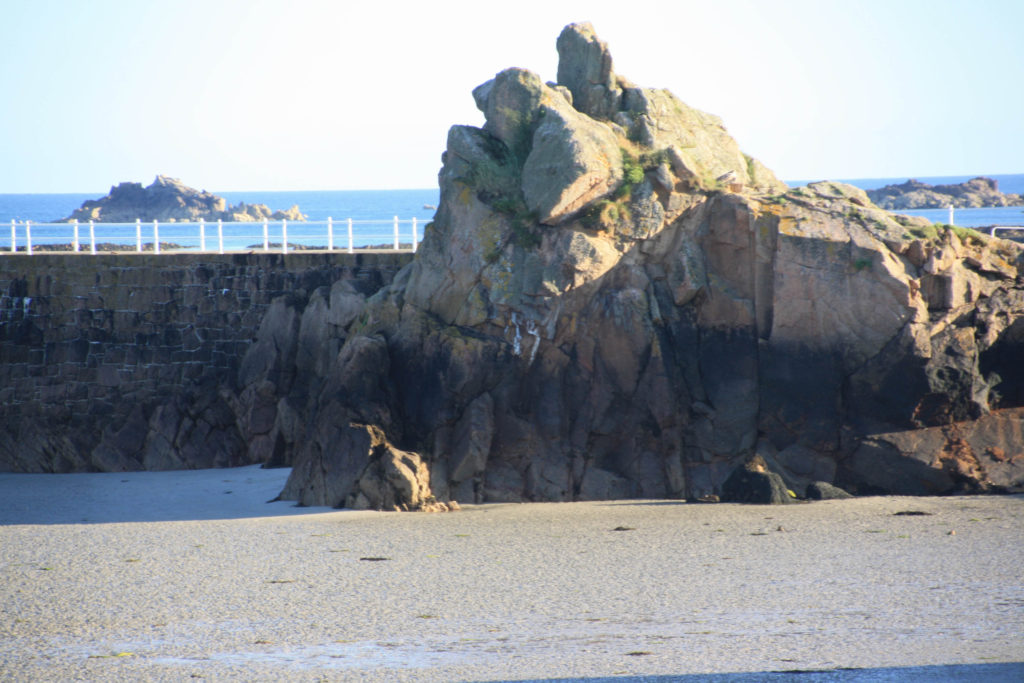
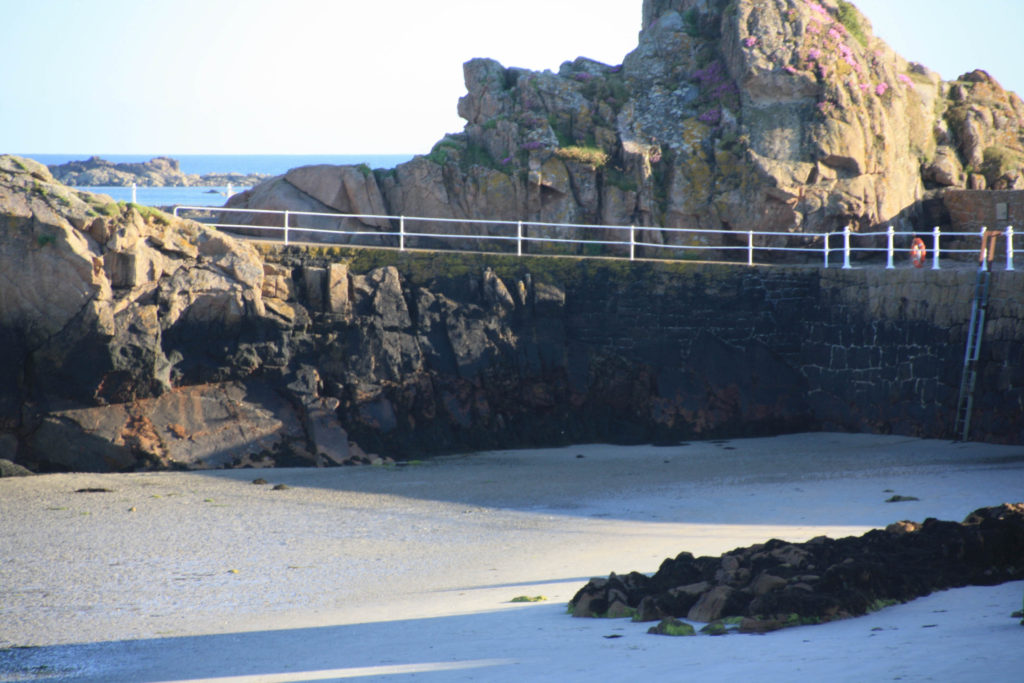
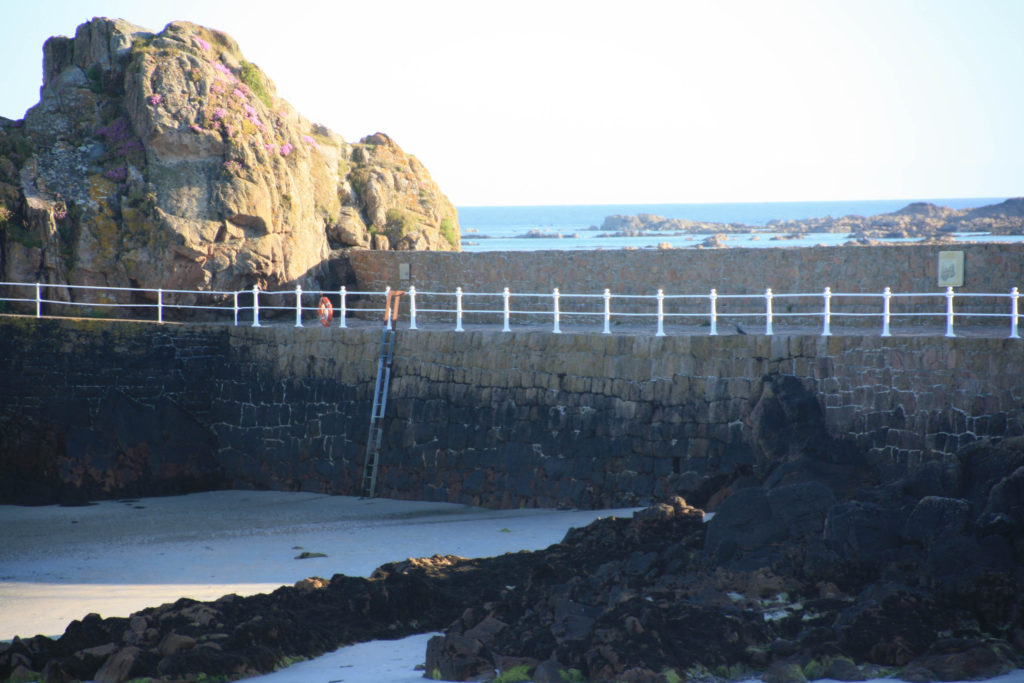
For my first experimentation, which I will do in the style of David Hockney, I will use the photos which I took during the photoshoot in L’Etacq. I began by selecting the images which I took to create a joiner and began by adjusting the settings of one image and this is where I was able to fix the lighting where it may be slightly overexposed, define the details of the rocks and turn into black and white.

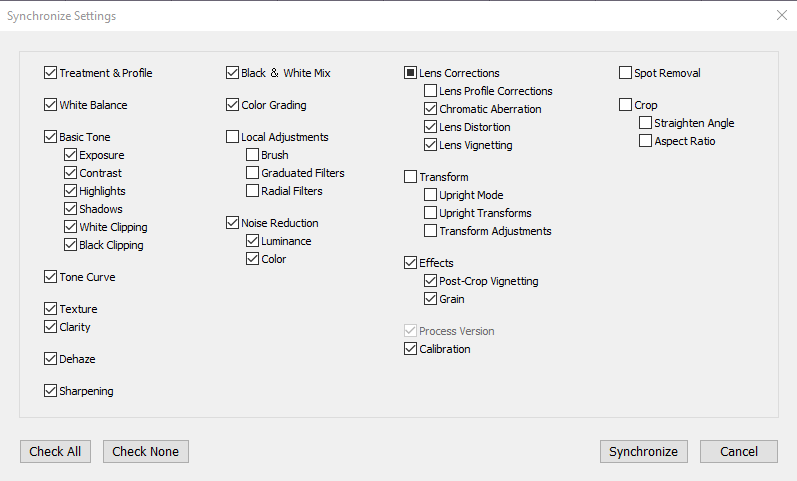
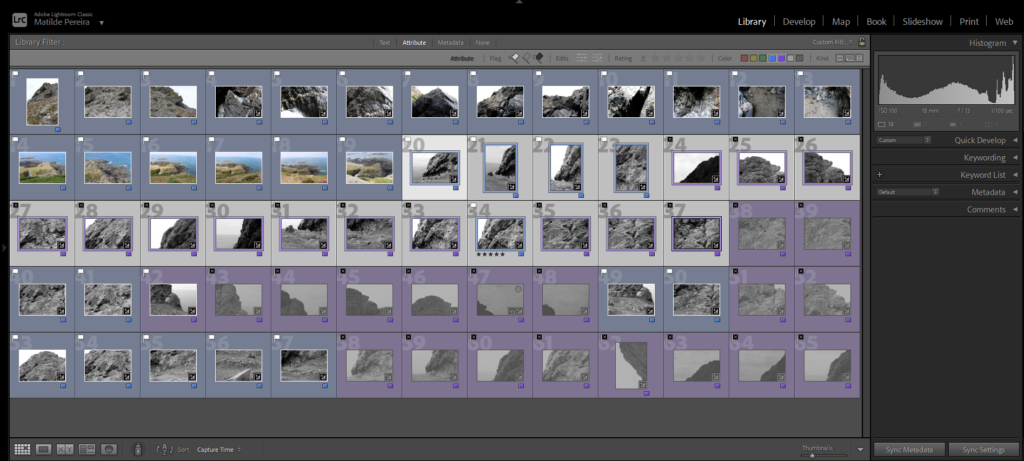
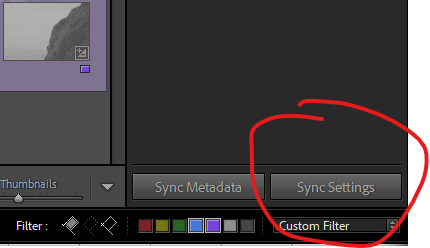
After editing one photo, I then selected all the other images which I will use and selected the ‘Sync Settings’ button which applied all of the edited settings from the first image to the others, which you can see ticked in the boxes above, so that when I create the joiner on photoshop they will all look similar and this will help them to work well together as they will all be synchronised.

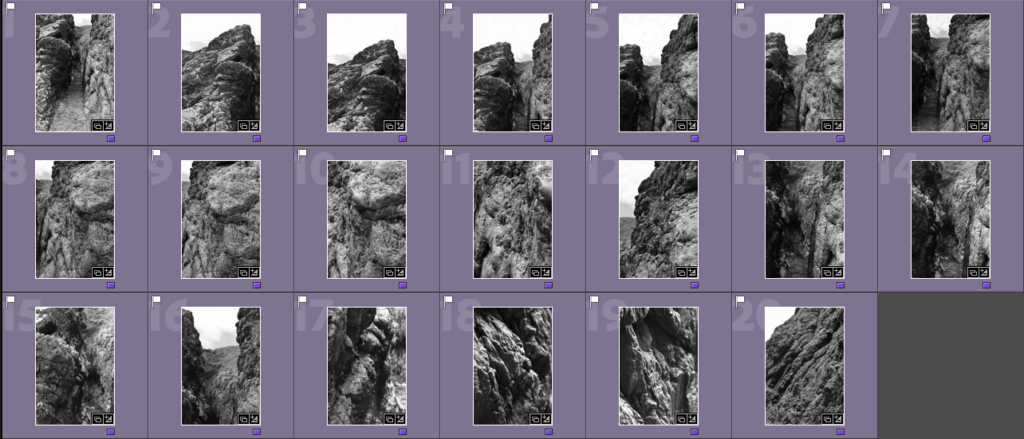
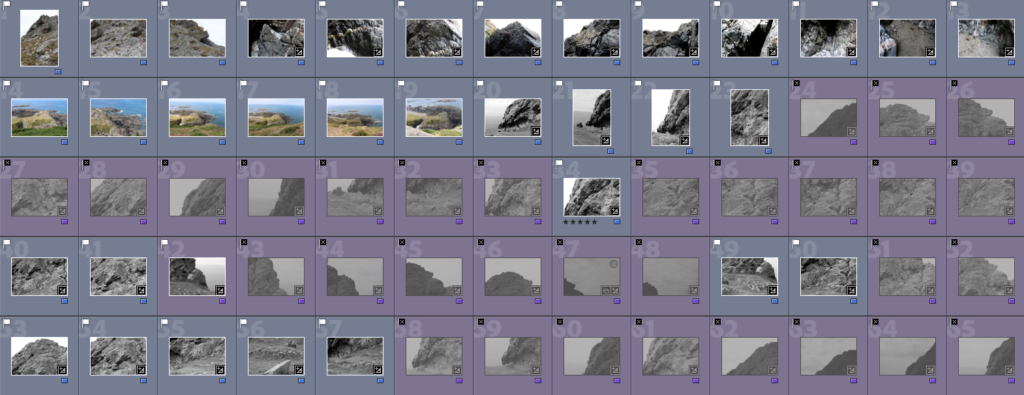
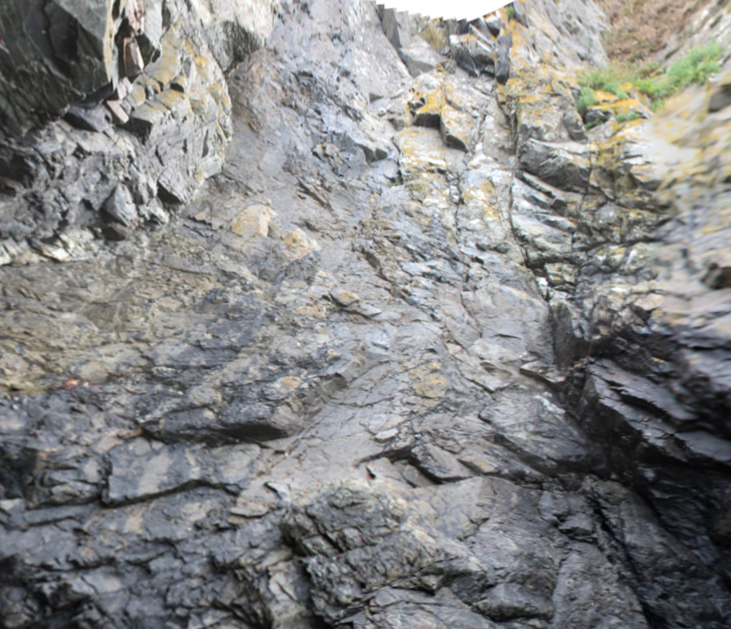
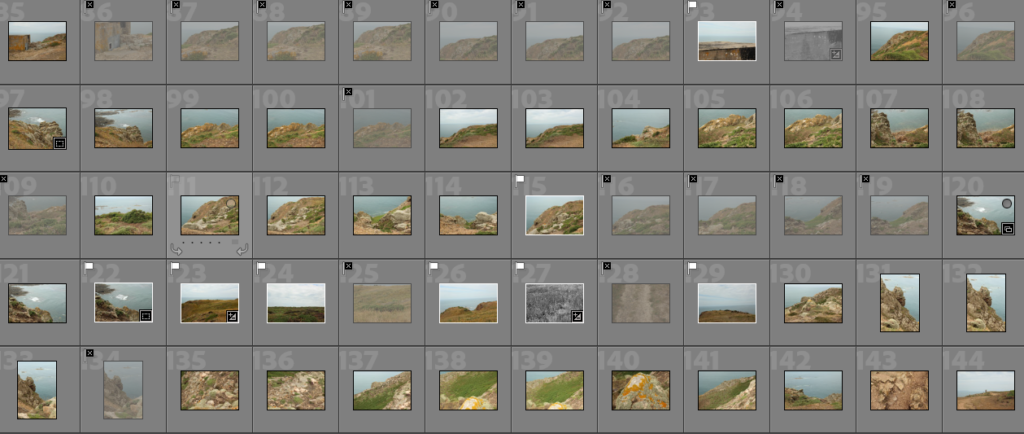
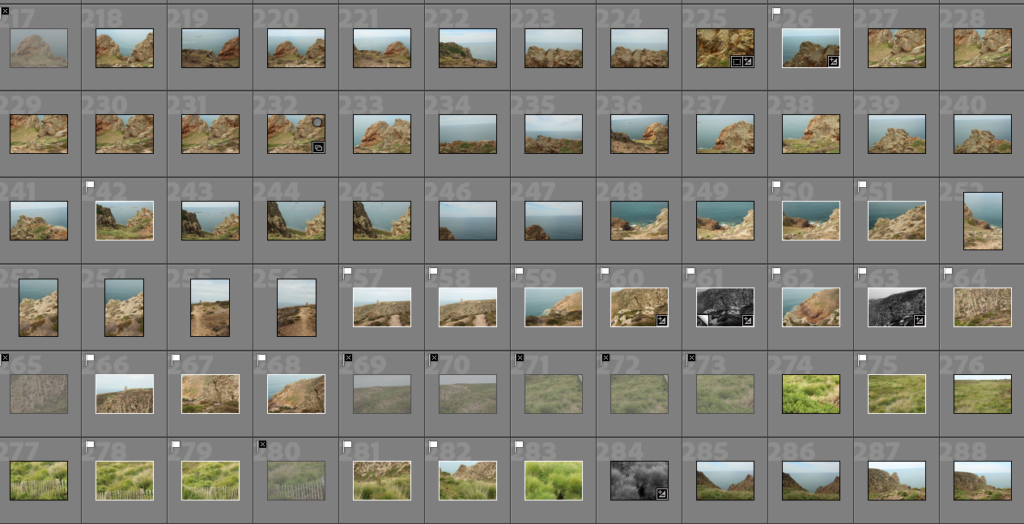
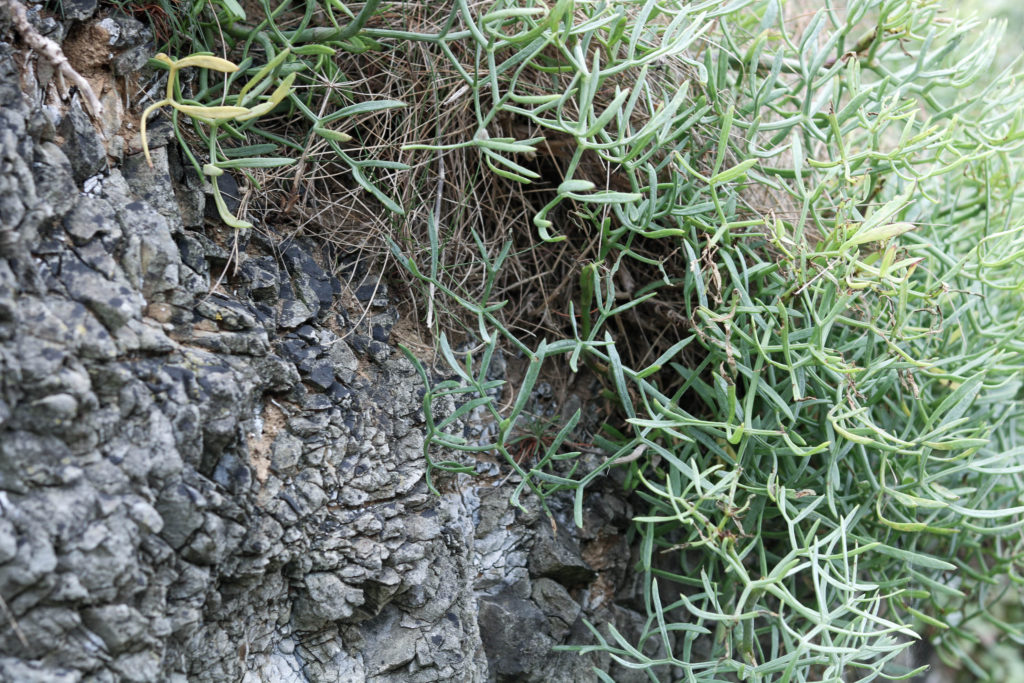
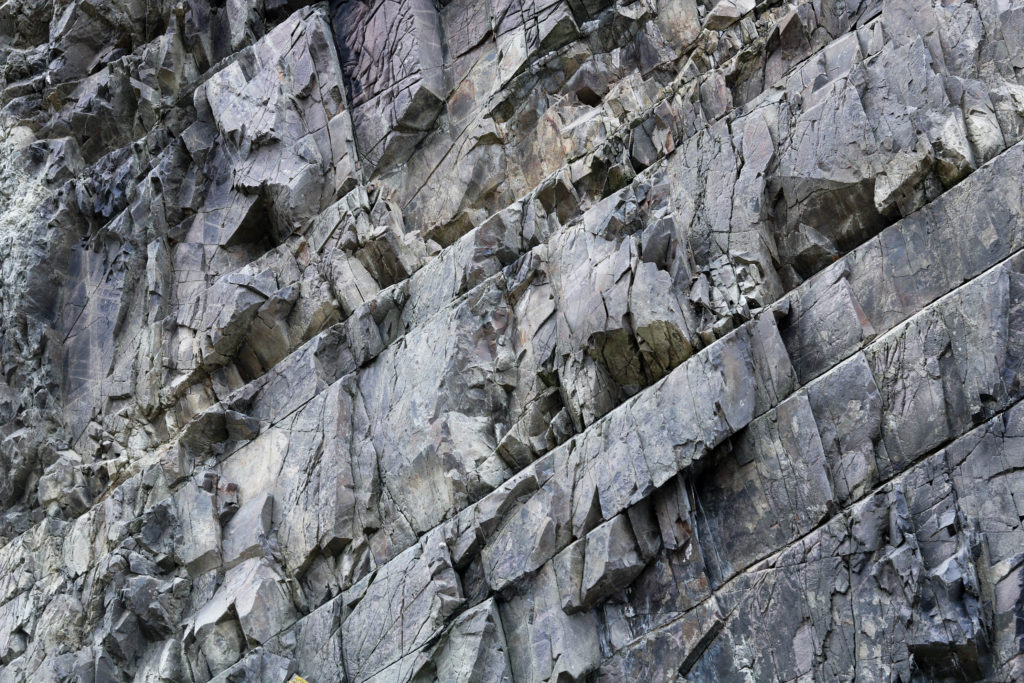
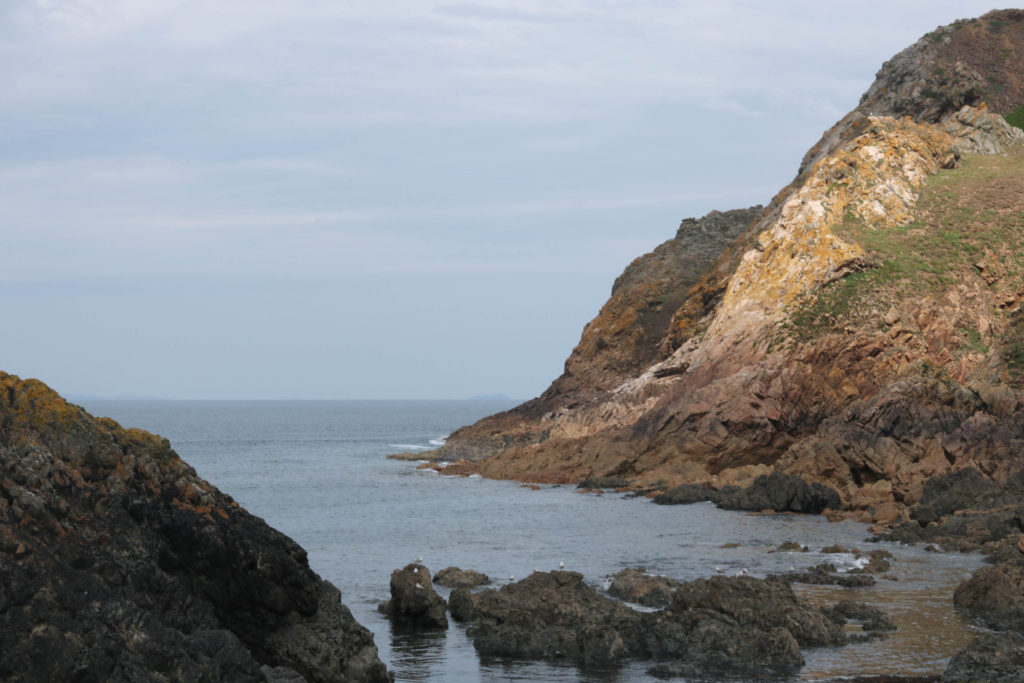
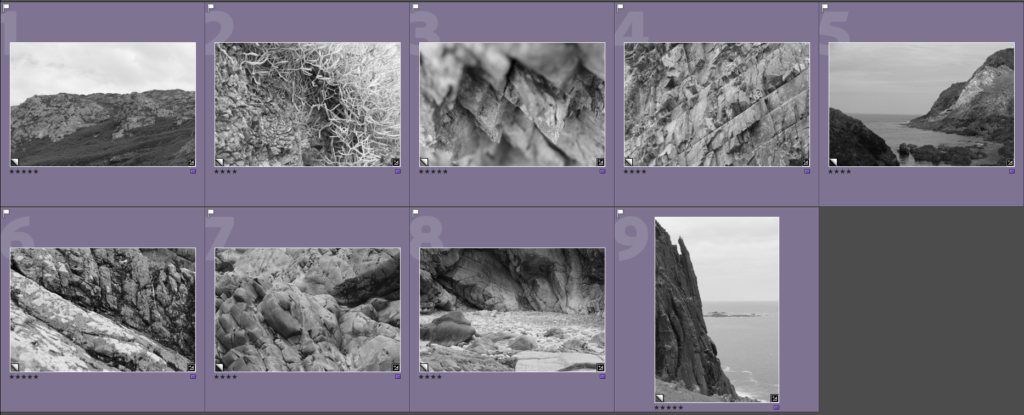
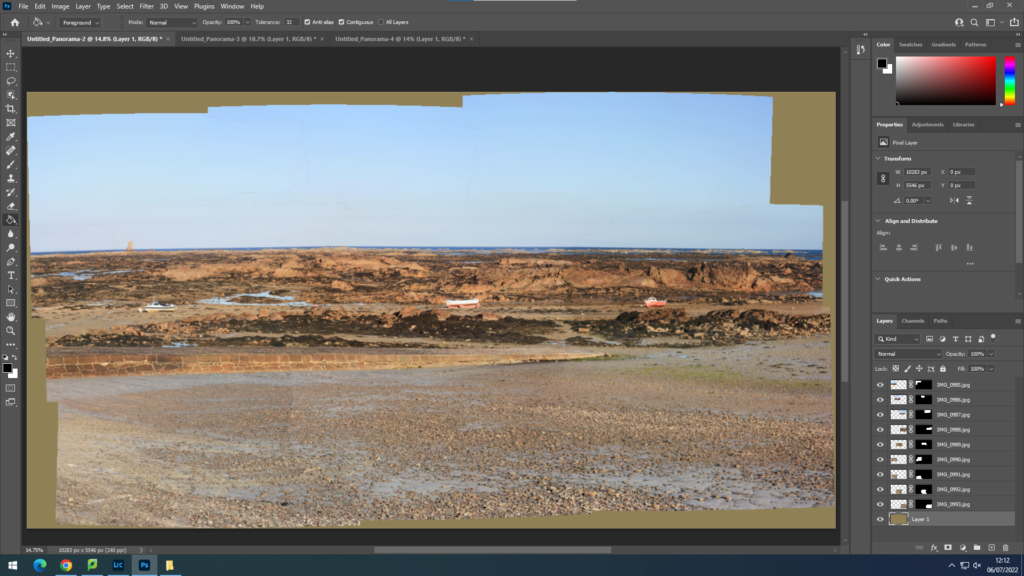
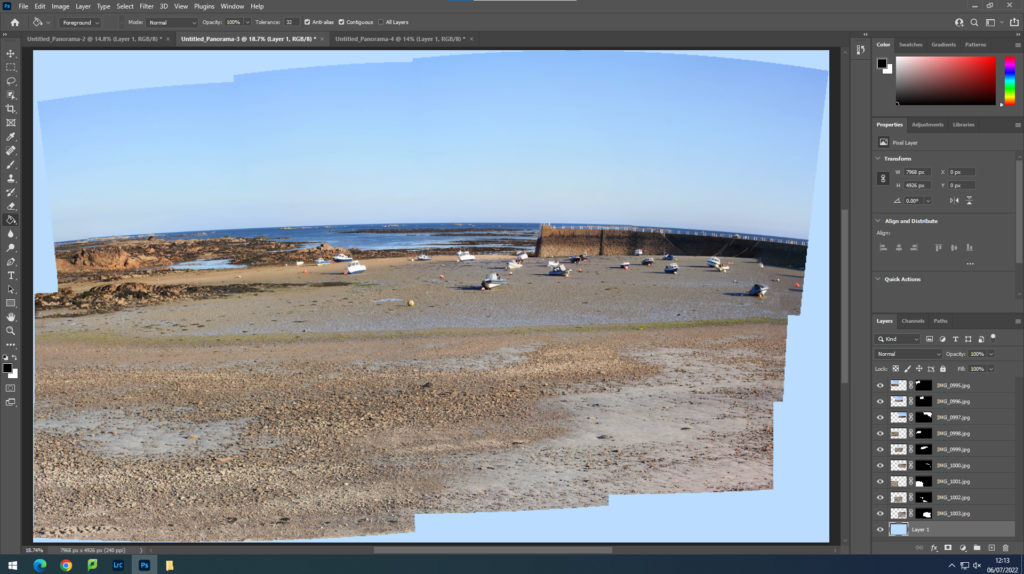
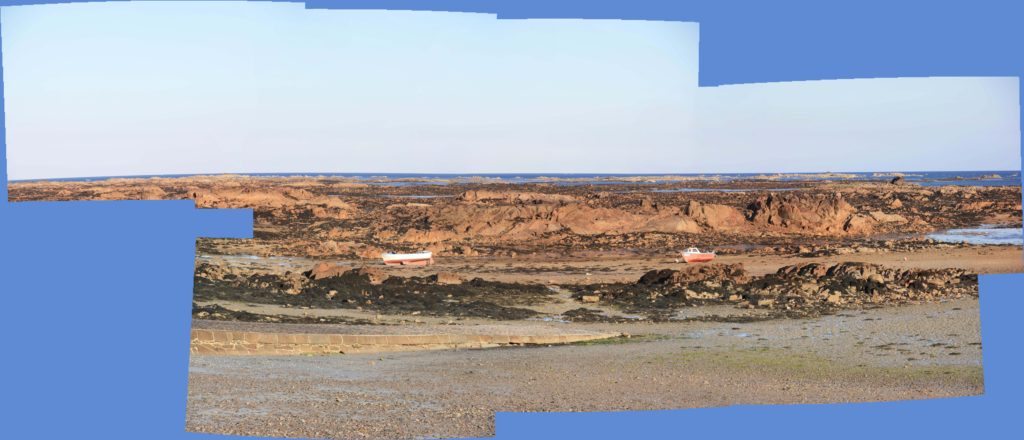
Here is all of the 20 images which I will use for my joiner having the applied settings from the first image to them. I think that these came out quite successful as the smaller details of the rocks are defined, which I wanted to do as it will add a layer of depth into the joiner and the contrast of the black and white filter helps this effect too. I then made a ‘joiner’ folder in Adobe Lightroom which helped me to organise them clearly, and exported them into a folder on the media drive so that I can access them easily when I go to create the joiner on photoshop.

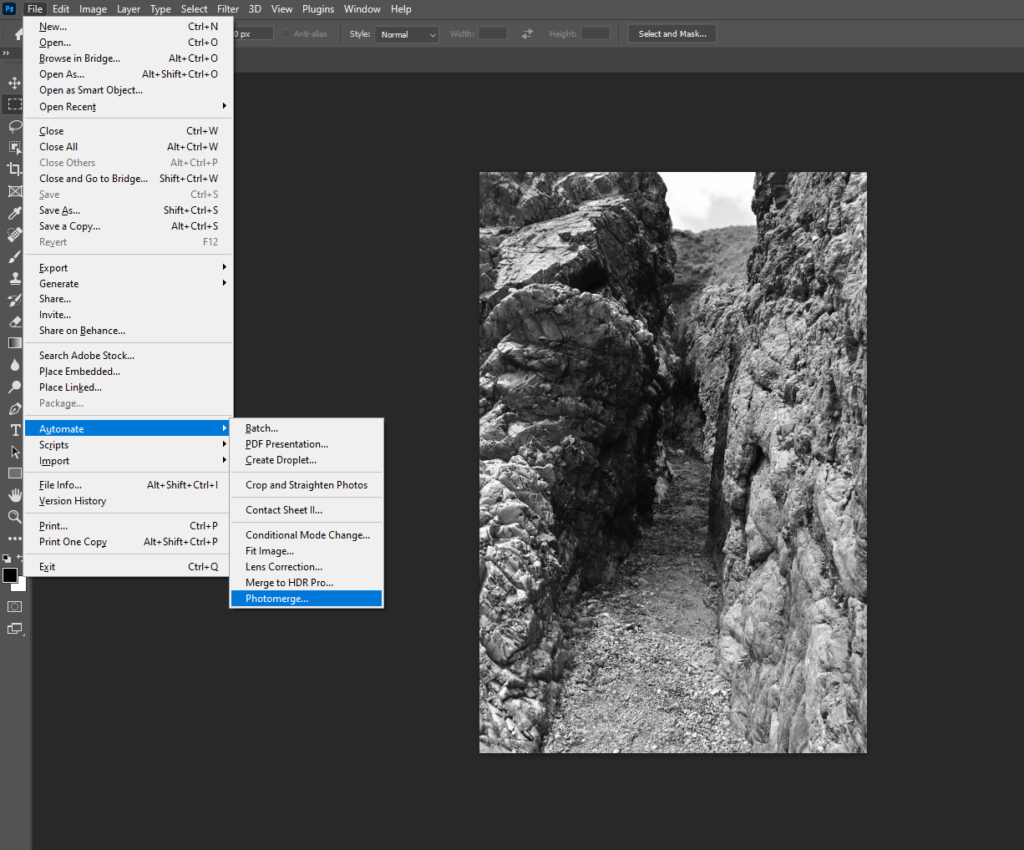
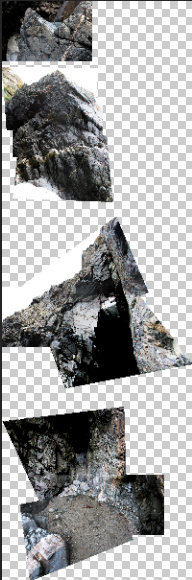
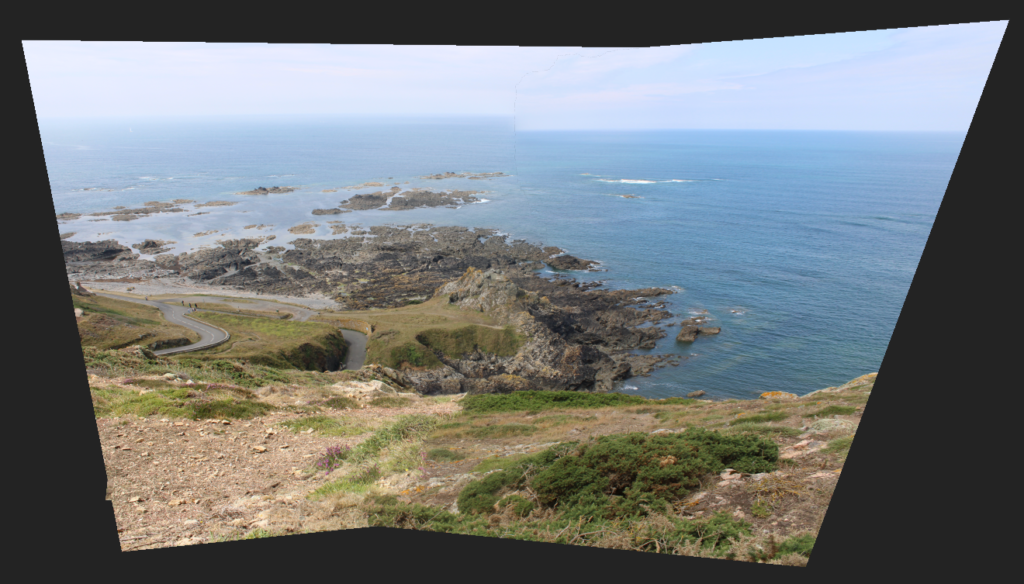
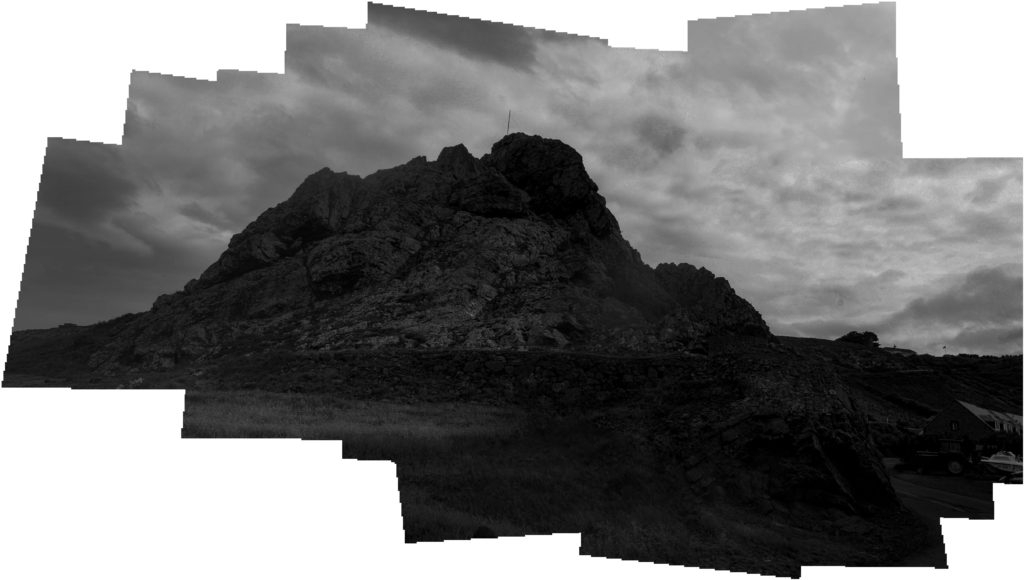
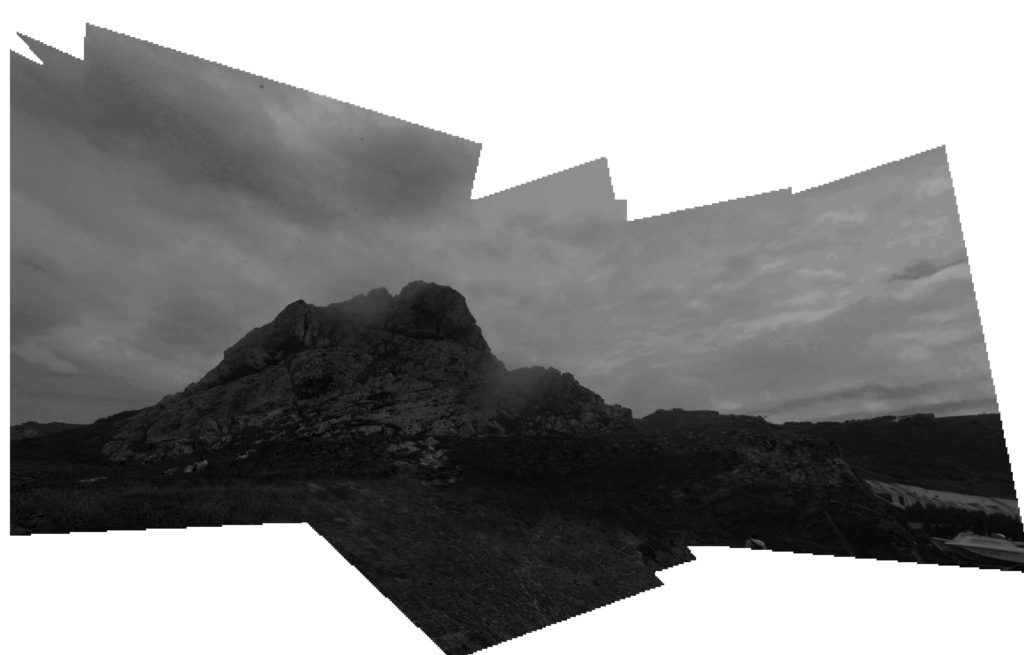
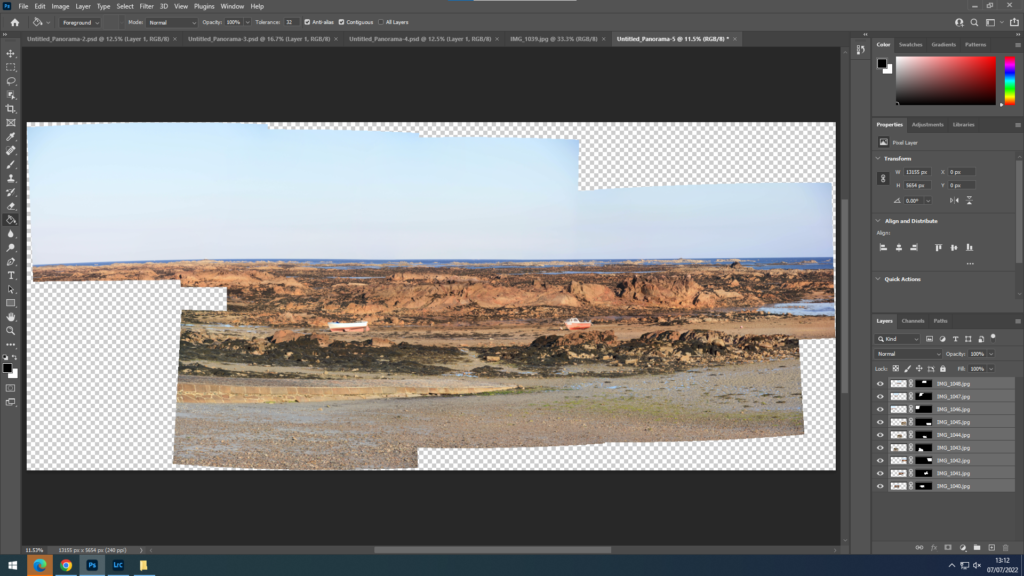
Once in photoshop, I chose ‘File’ then ‘Automate’ and then ‘Photomerge’ where I select all the images which I placed into a folder beforehand as it makes my work more organised. After selecting the 20 images which I will use, I selected the normal joiner effect from the selection there was and then Adobe Photoshop begins to put the photos together.

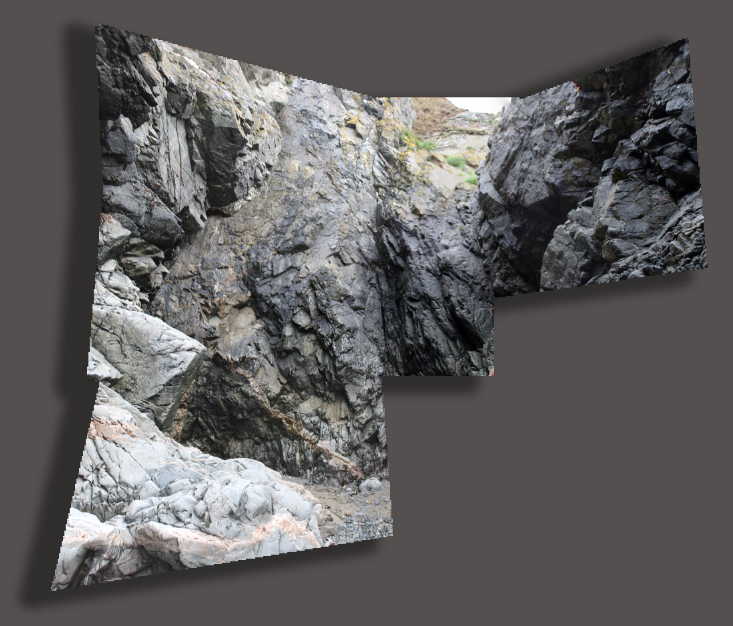
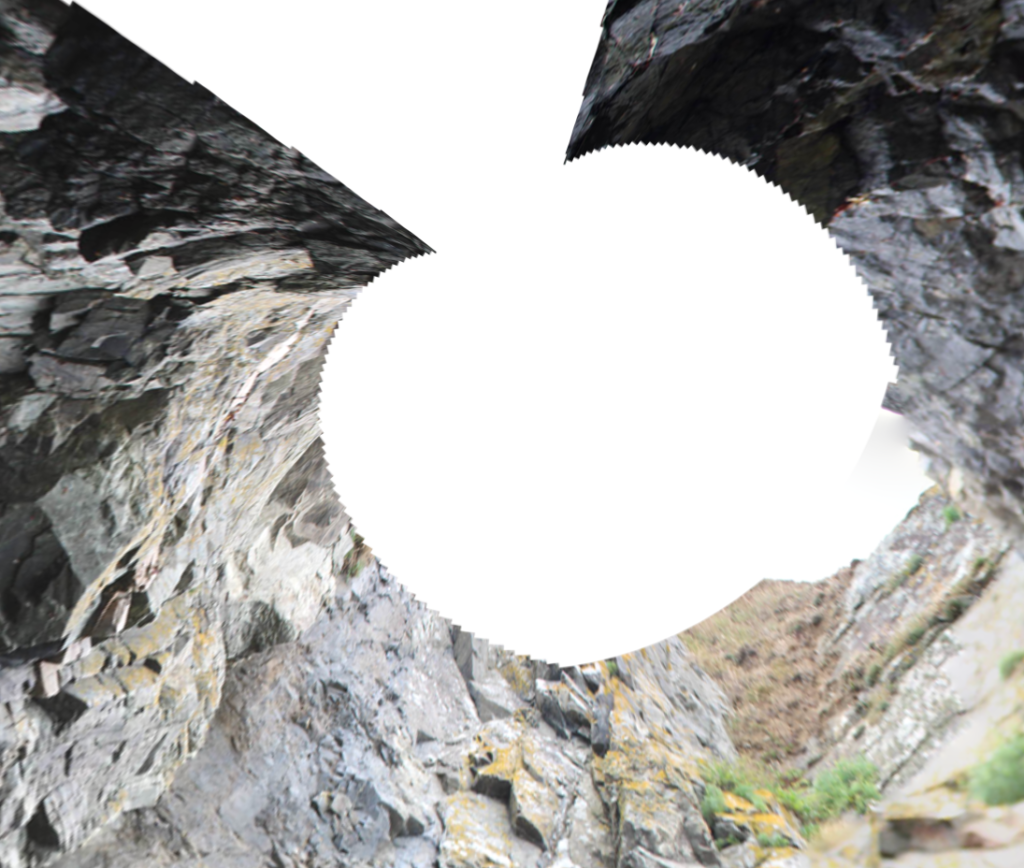
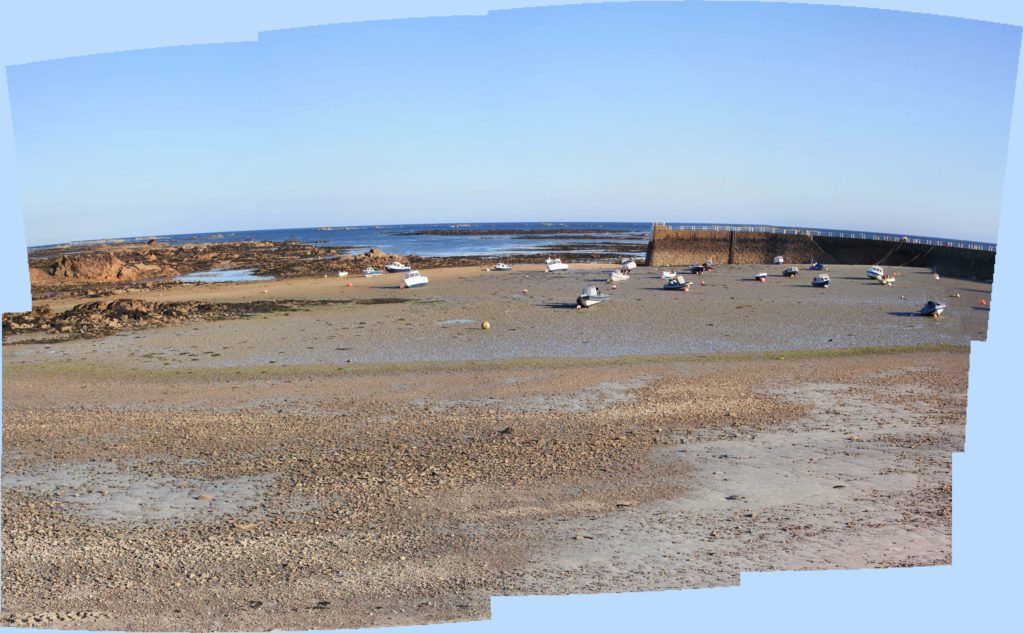
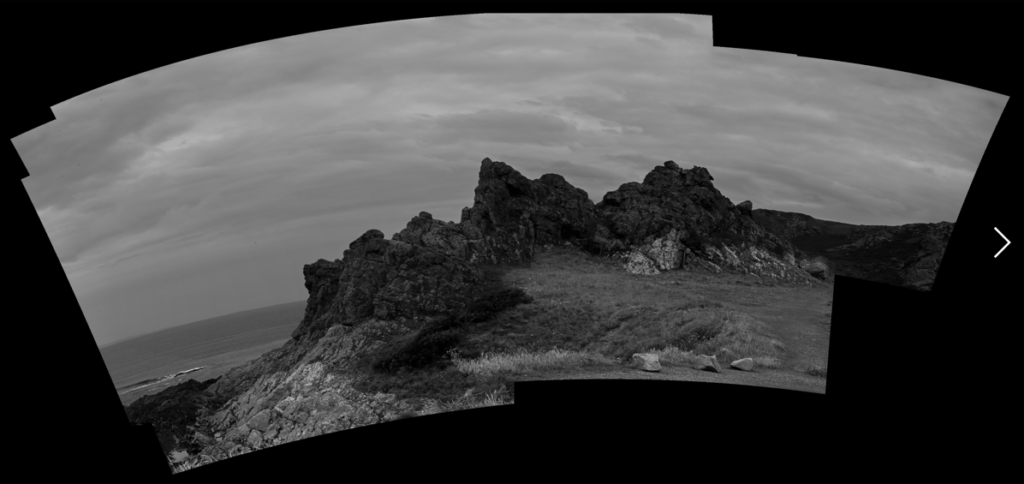
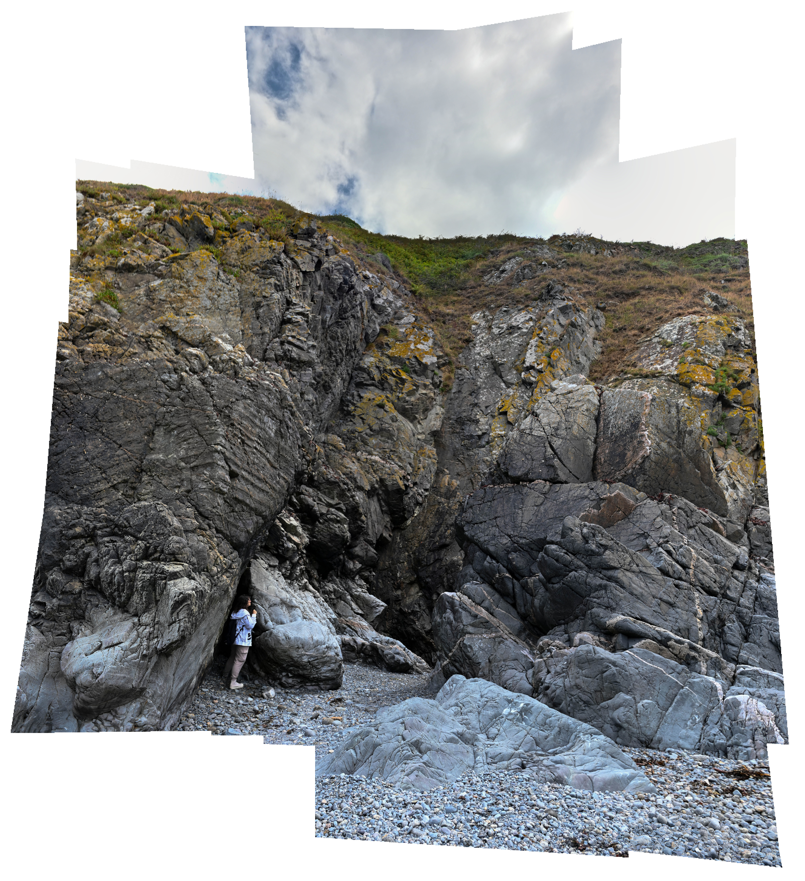
After it has loaded, this is what is created and I think that the computer wasn’t able to locate where the photos at the top are supposed to go as they are quite detailed that is why they have been placed at top. When making my next few examples of experimentation of joiners in different ways, I will consider what photos I will use more and make sure there is a clear link between them so that they can be joined together on the computer easier.

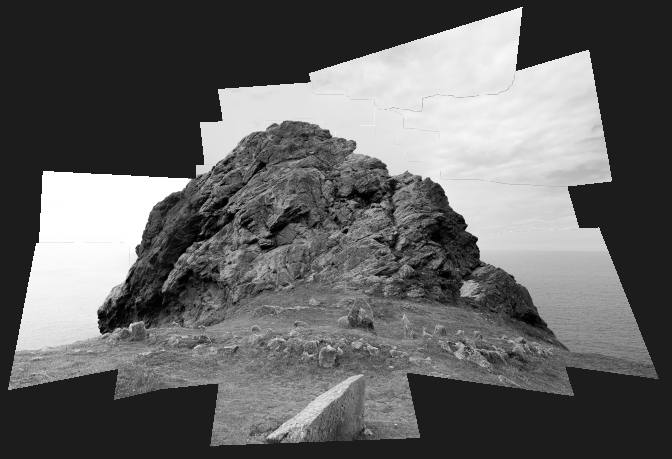
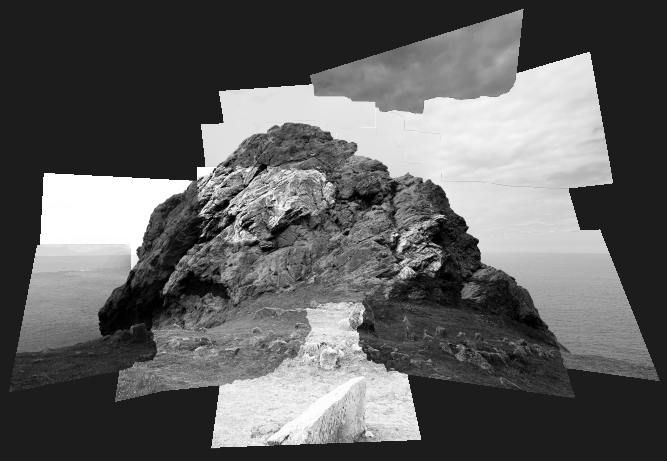
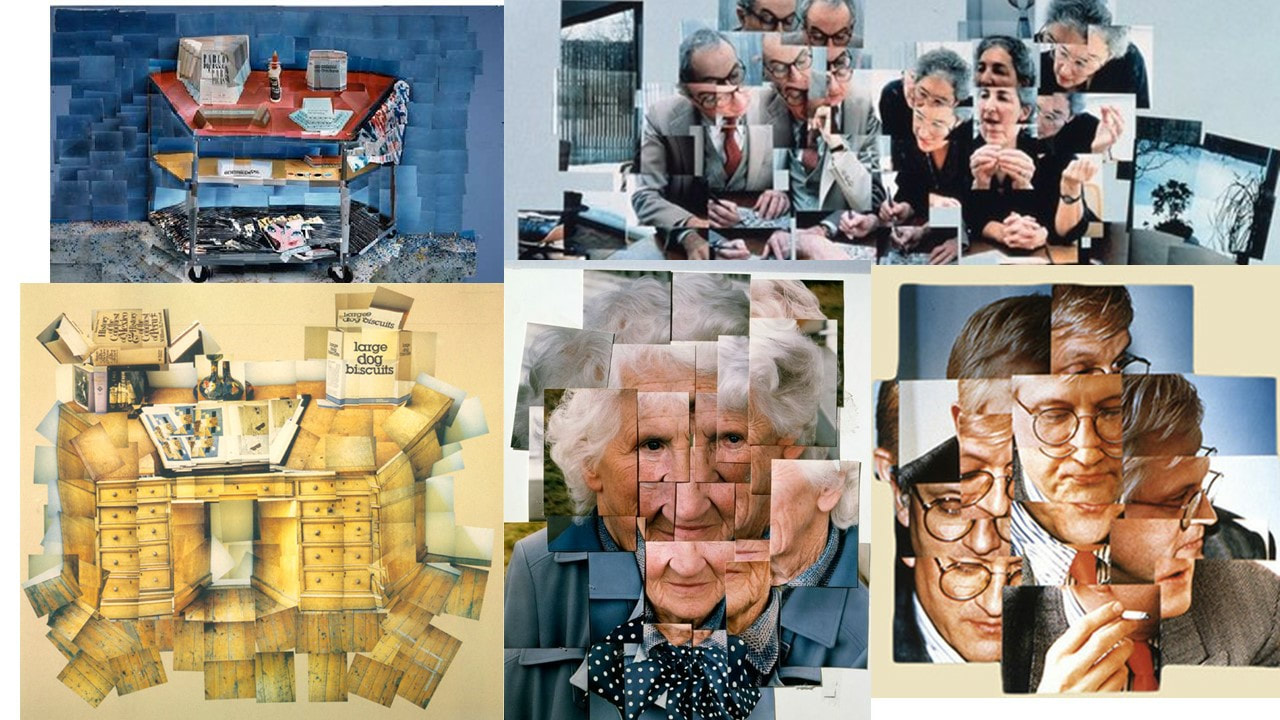
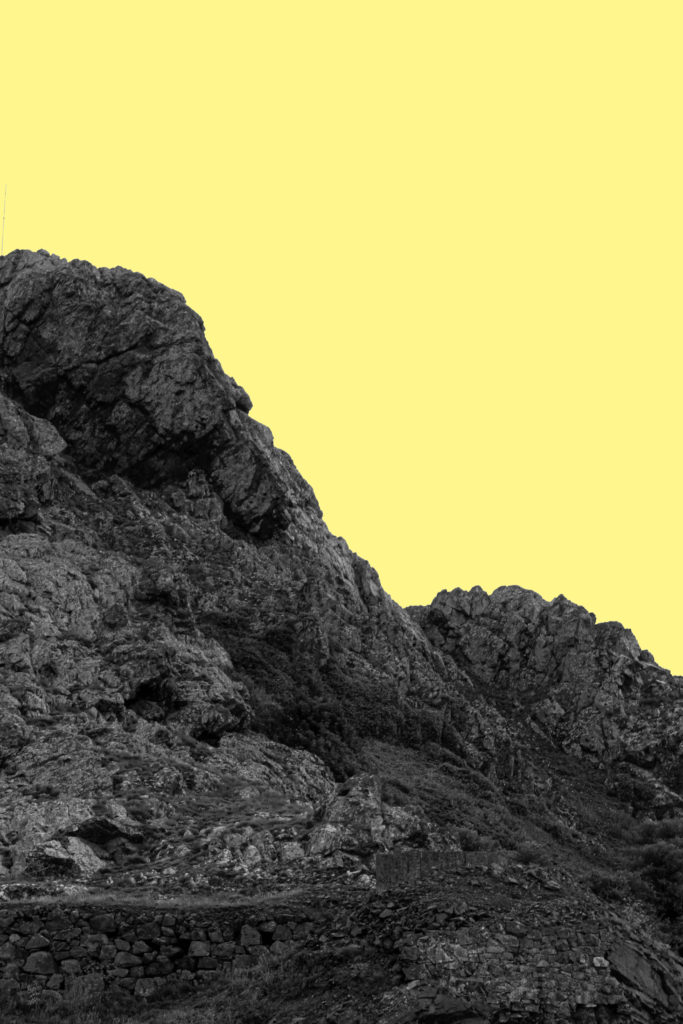
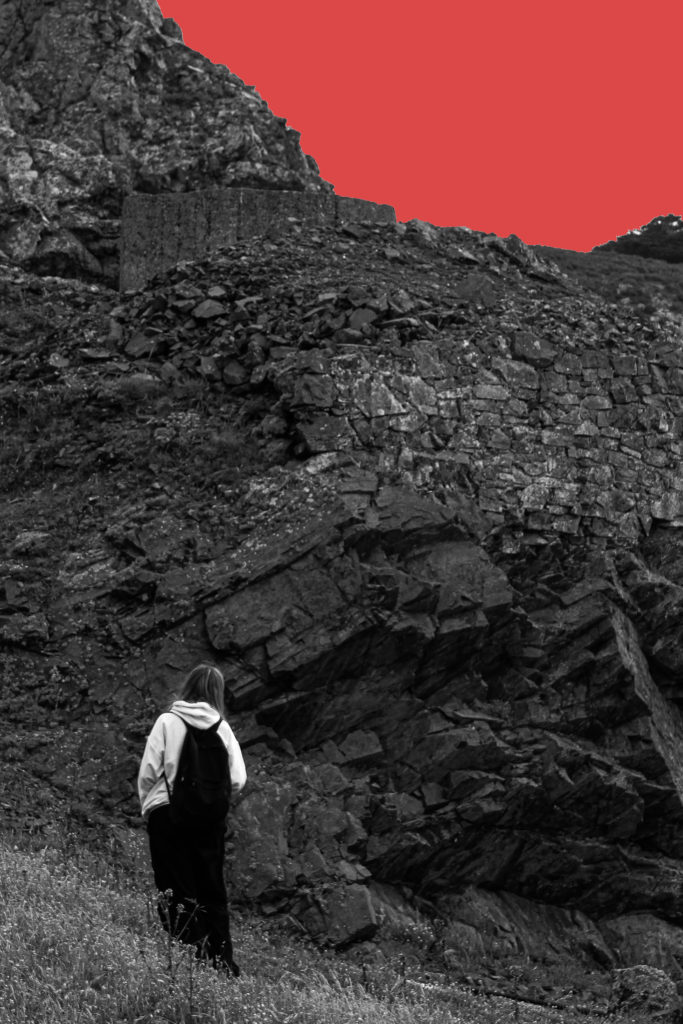
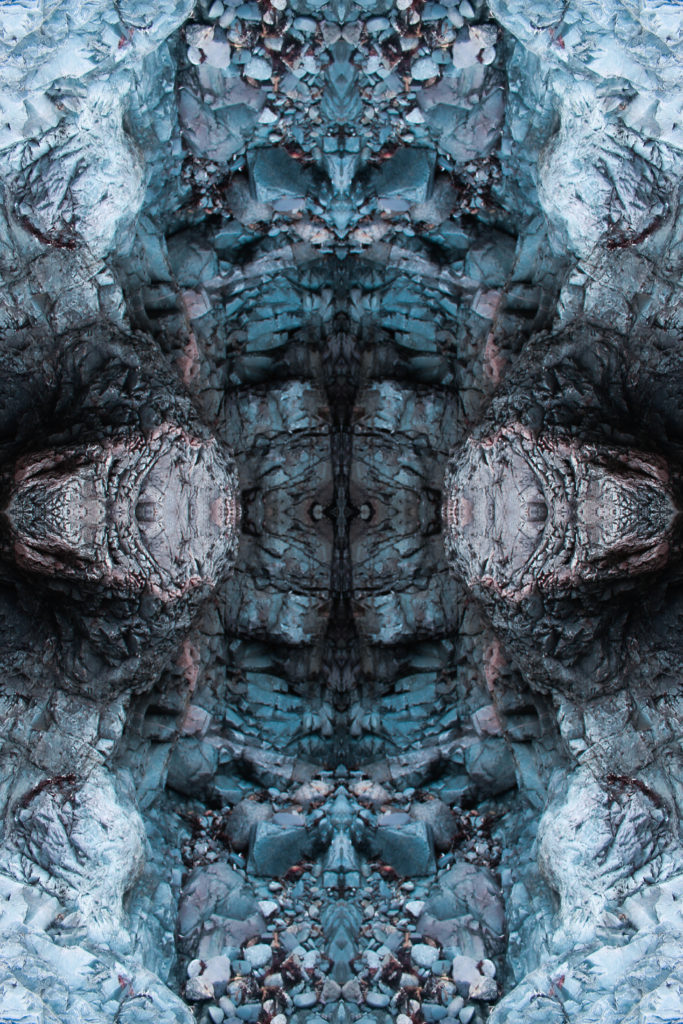
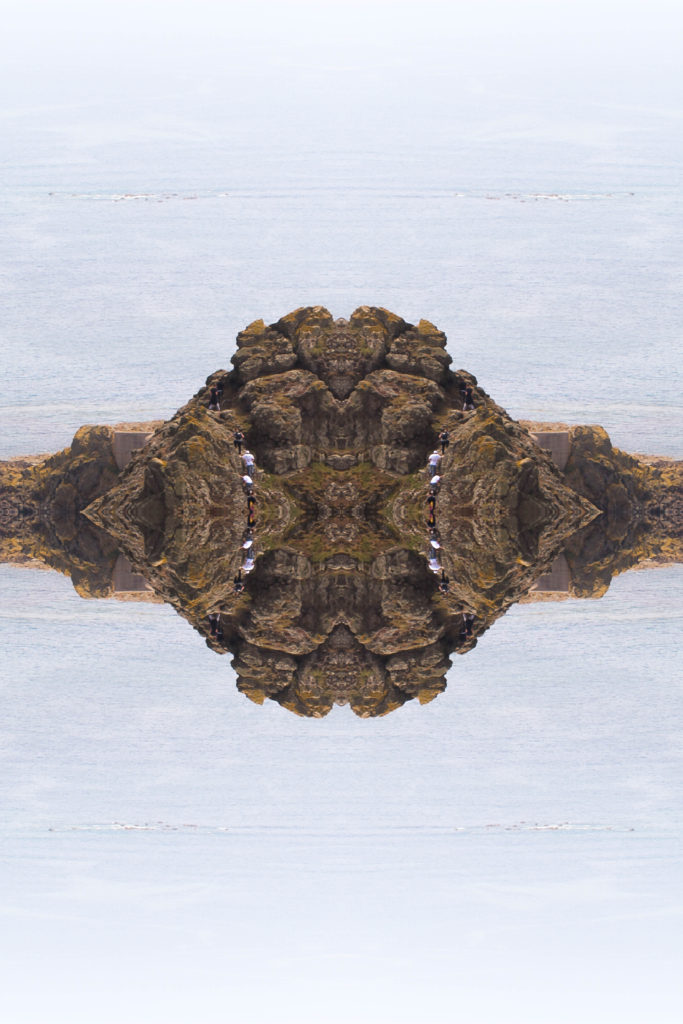
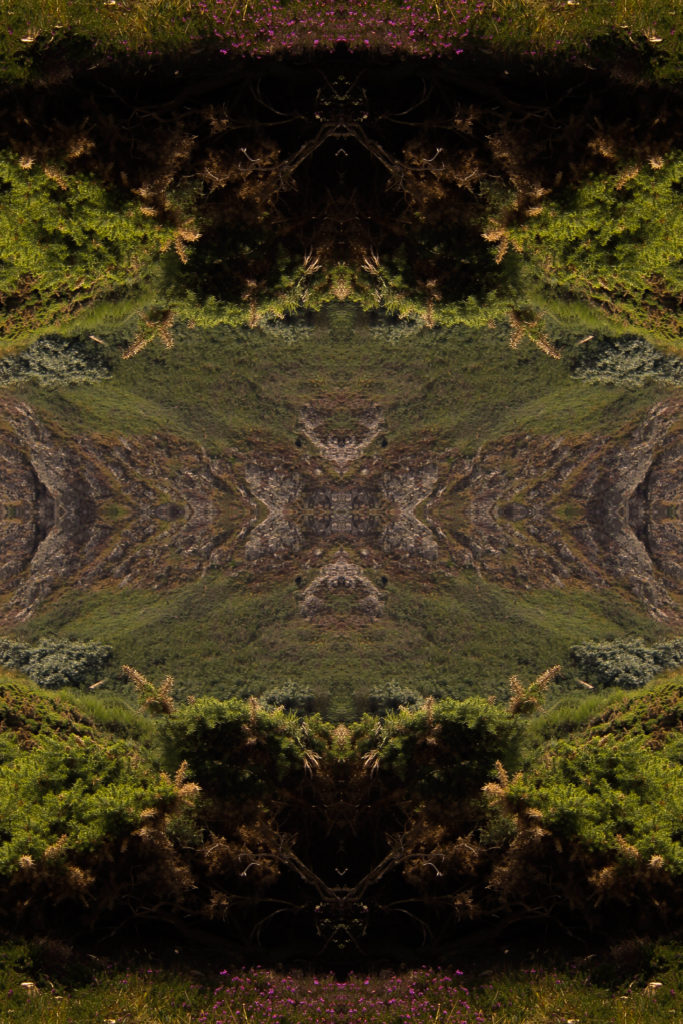
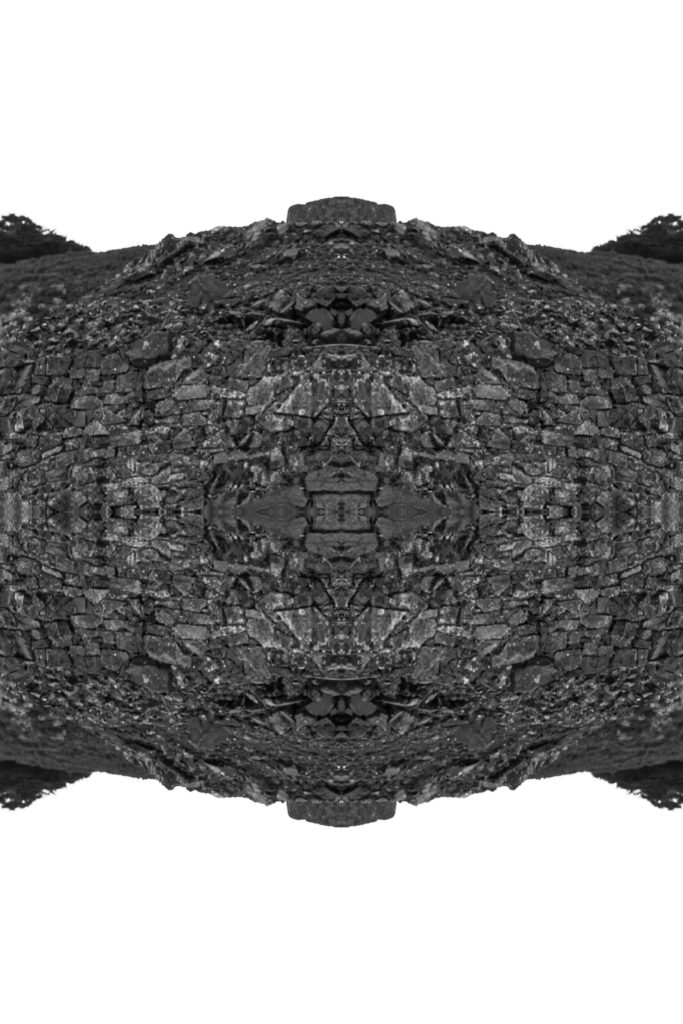
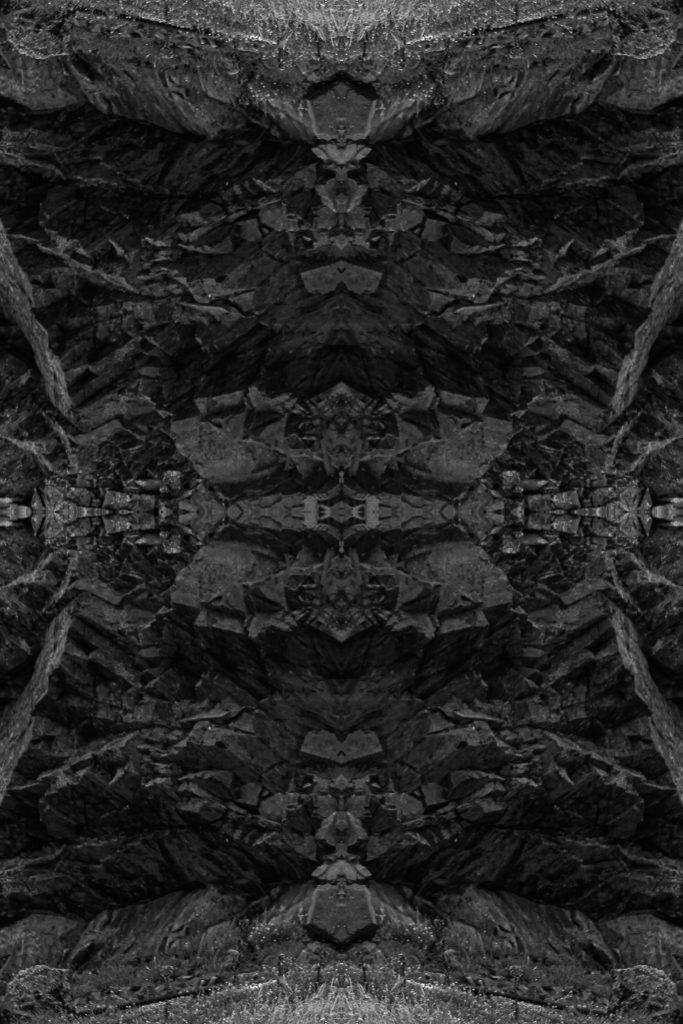
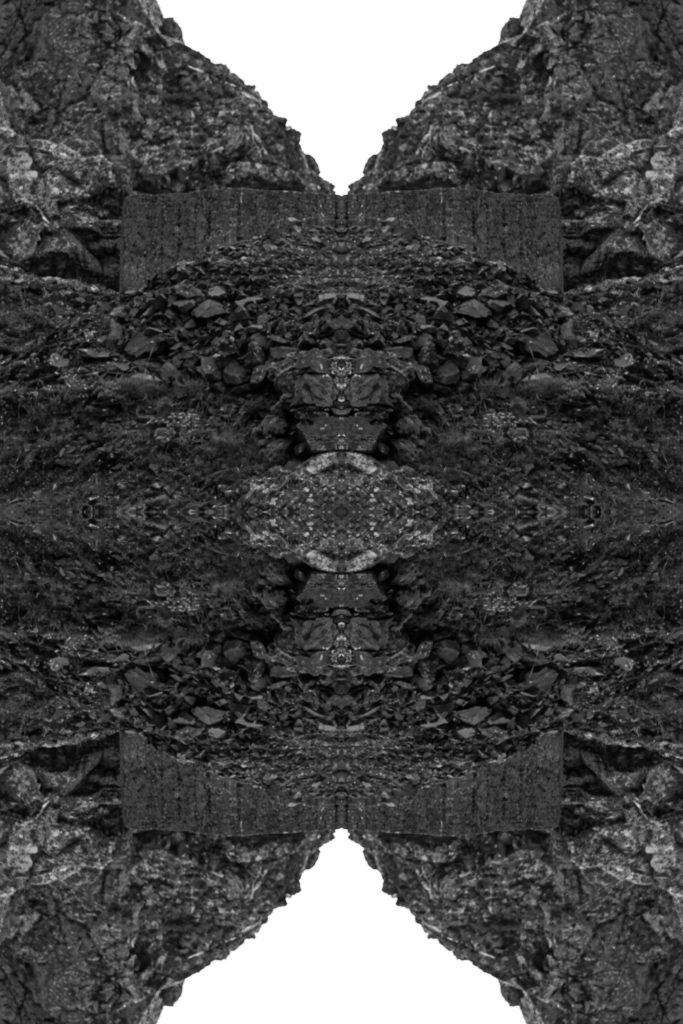
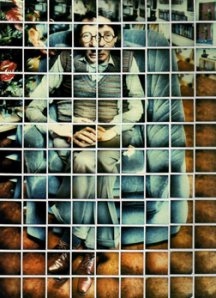
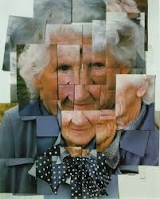
More examples of joiners –

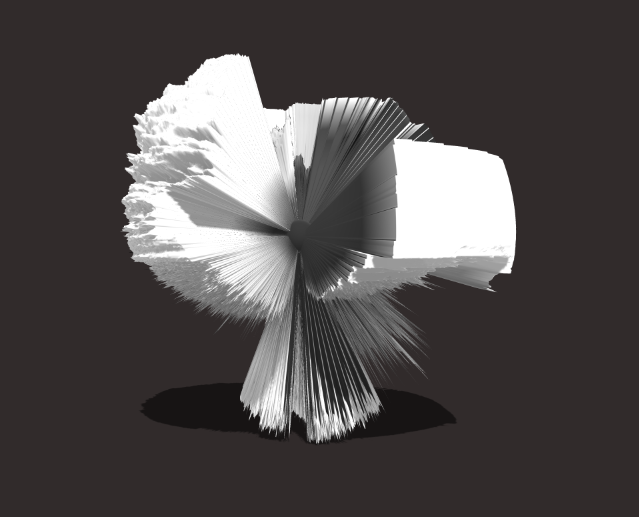
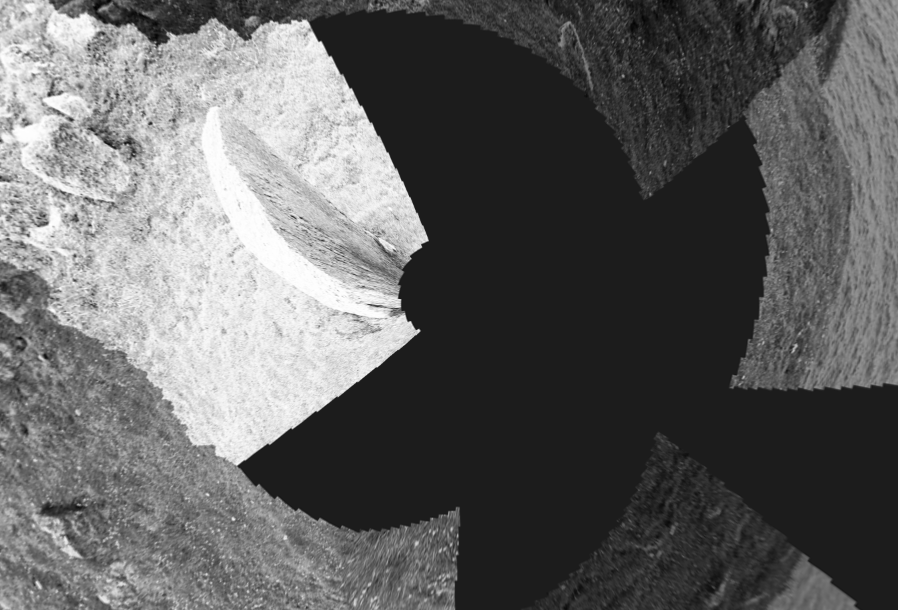
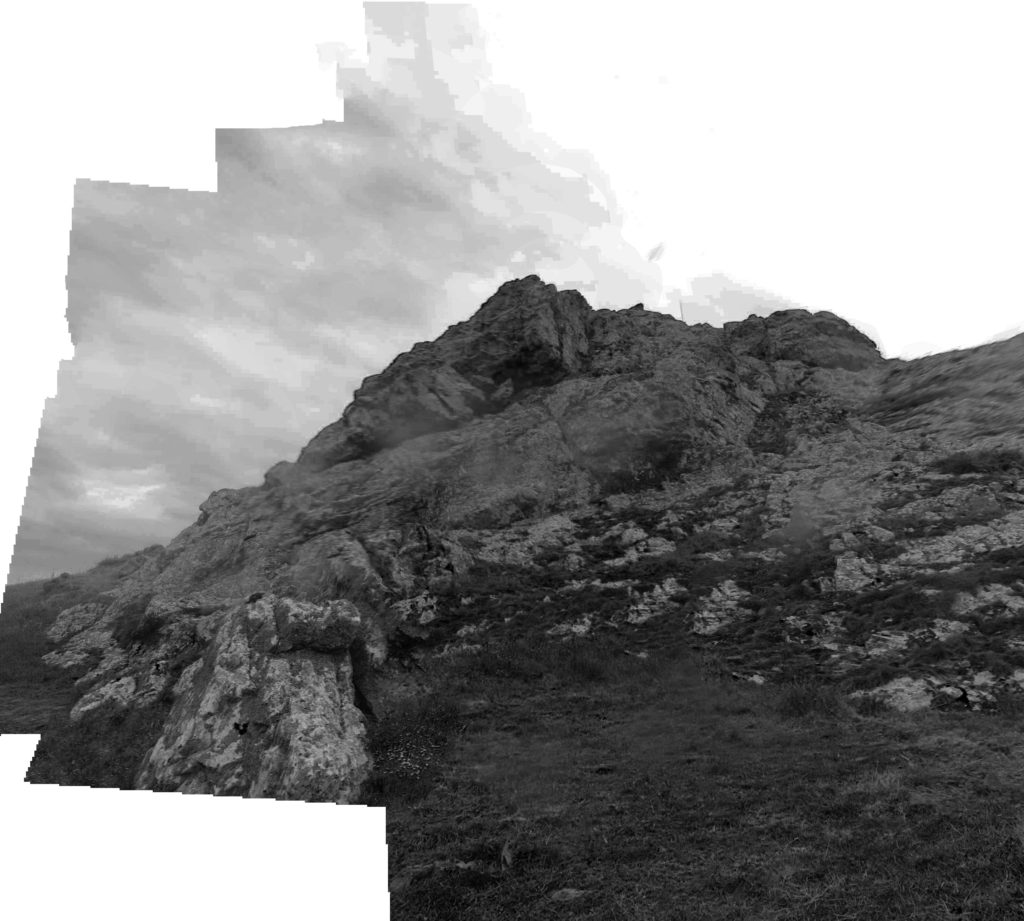
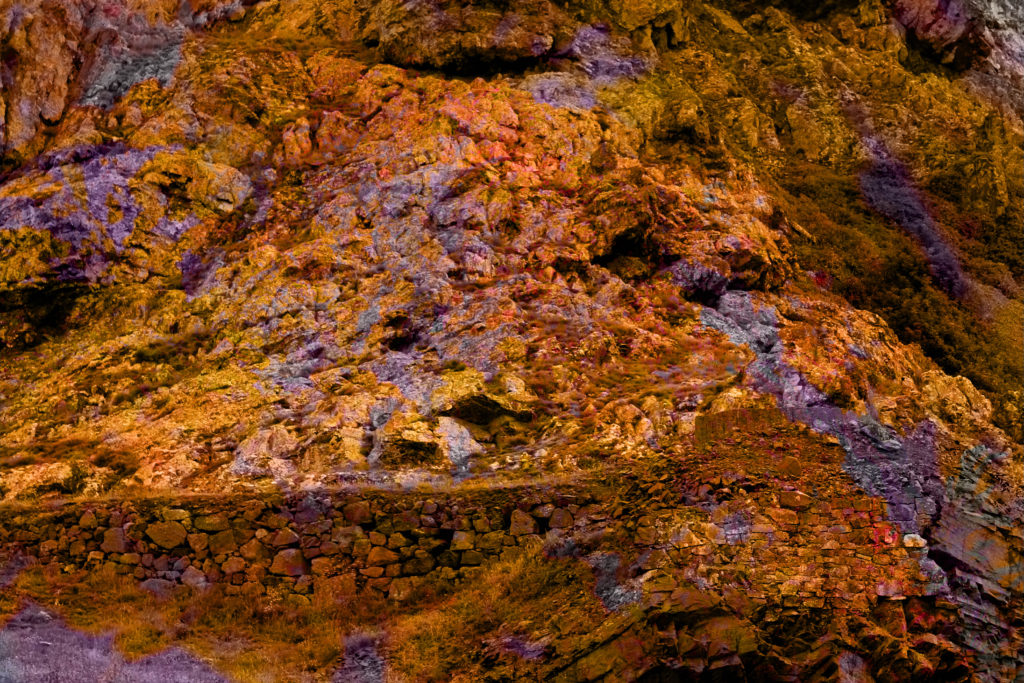
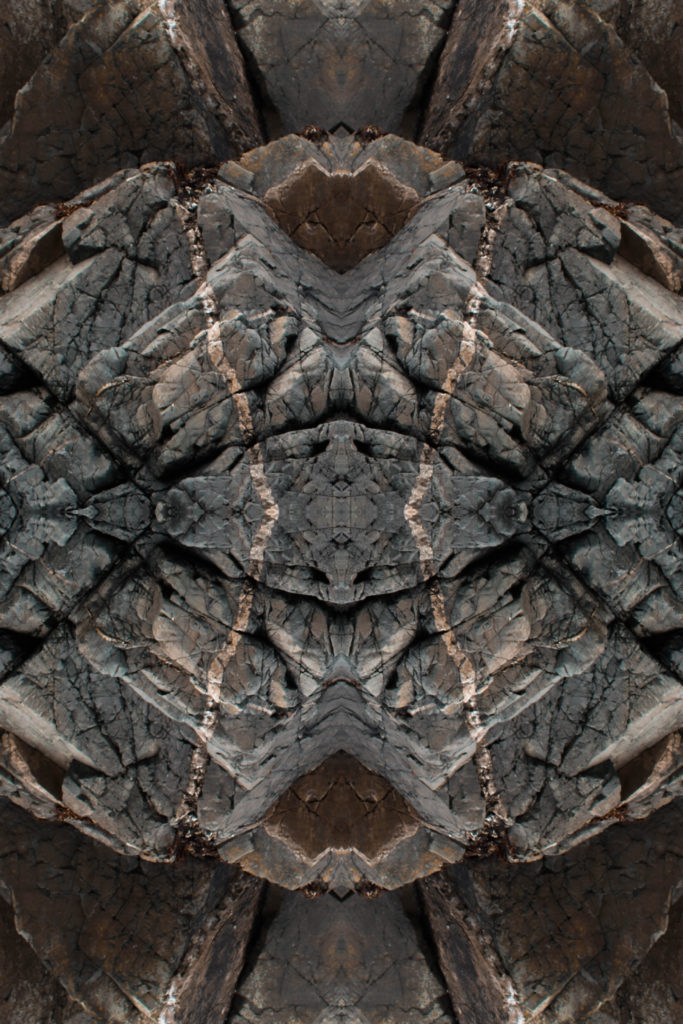
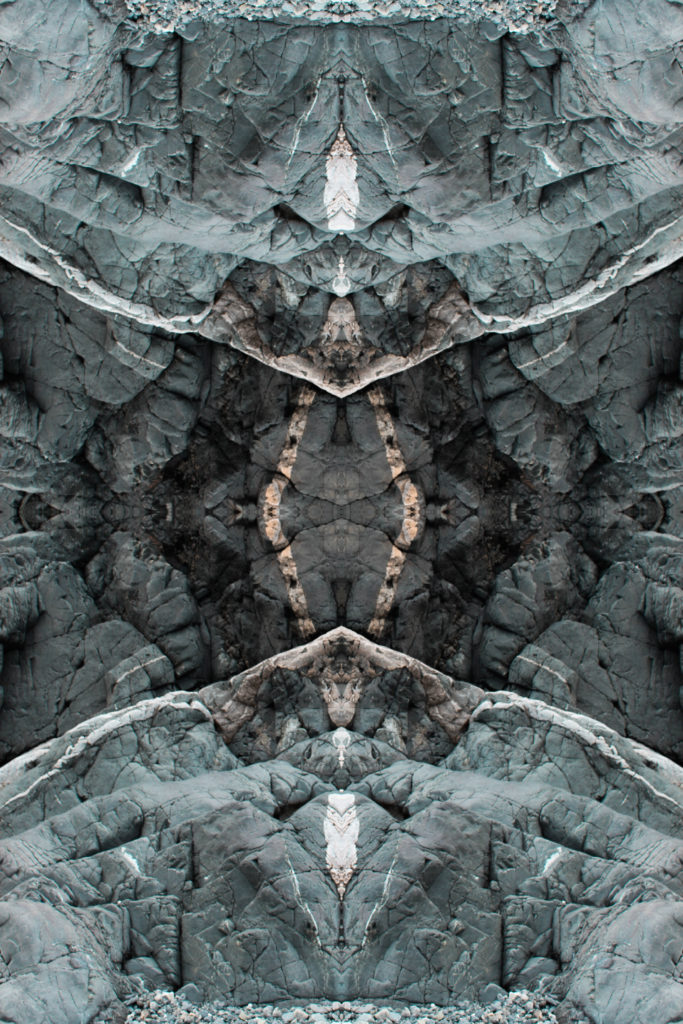
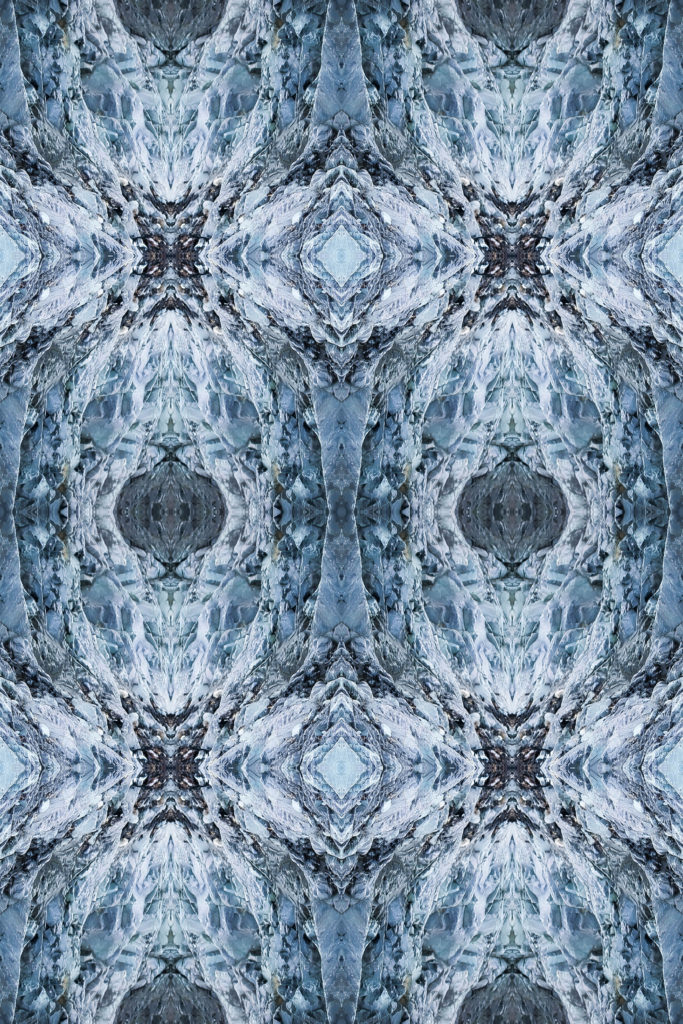
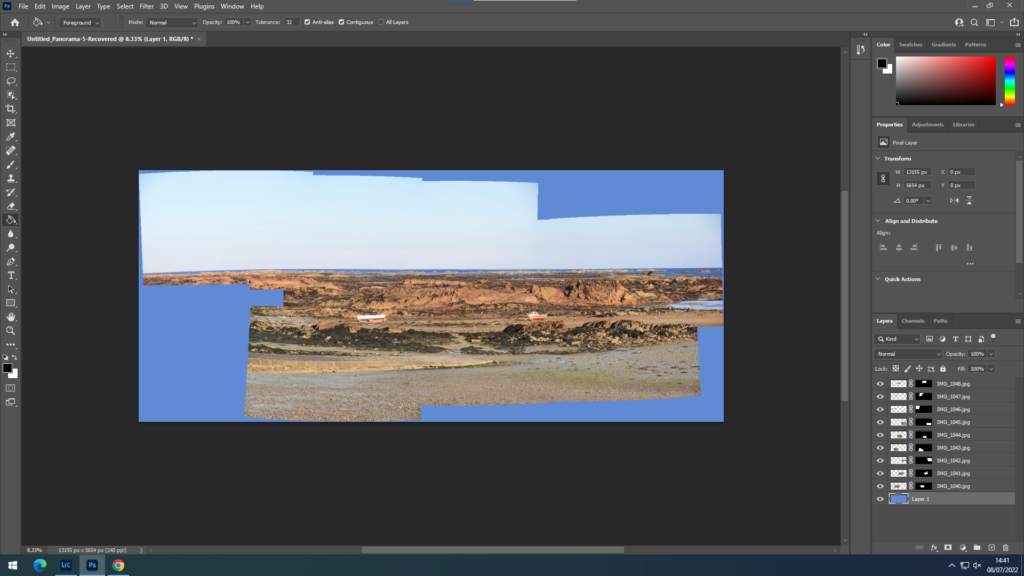
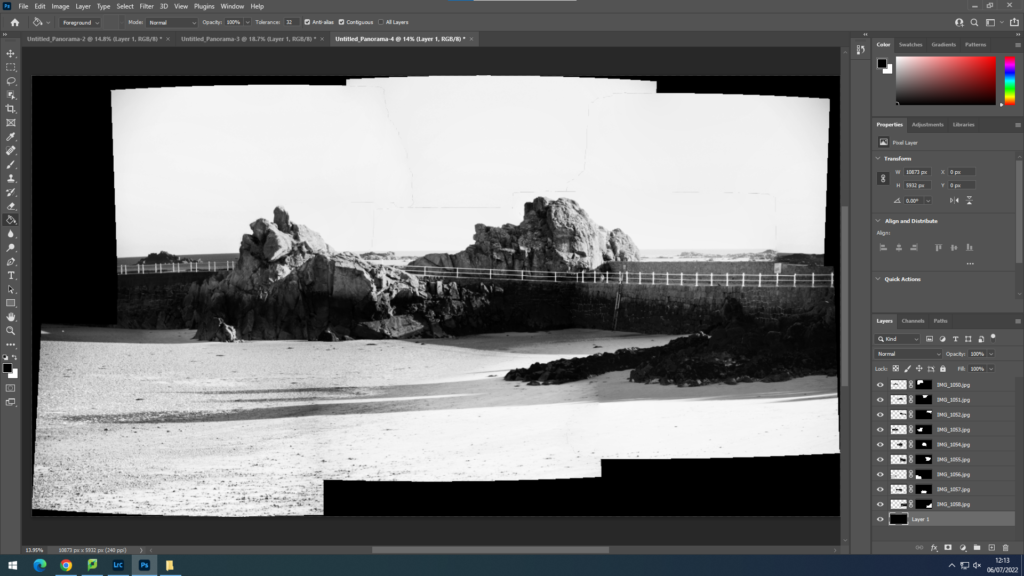
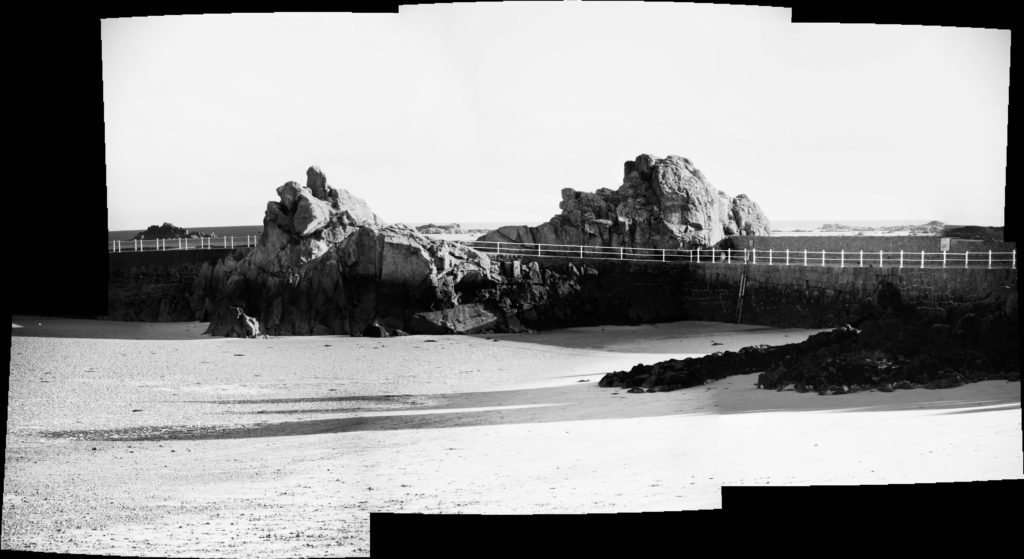
I repeated the process above to create these joiners with a different selection of pictures in black and white and colour, I was also able to select different options for the way the joiner turned out, such as: adding a background colour, changing it into a 3D effect and changing the depth/perspective.

1)

2)

3)

4)

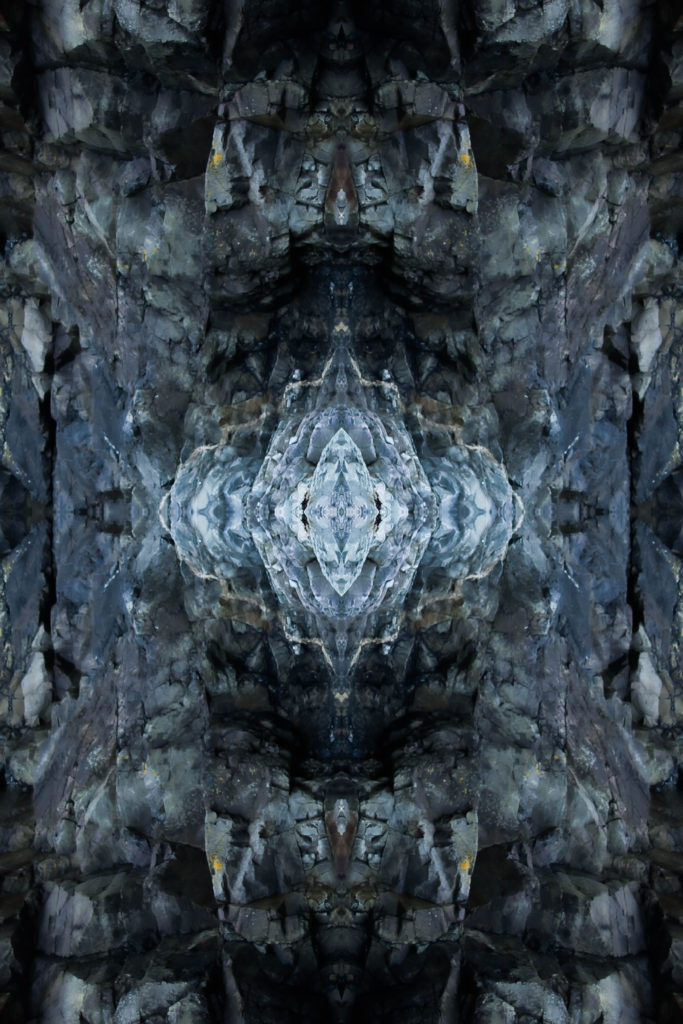
Images to use for exhibition –

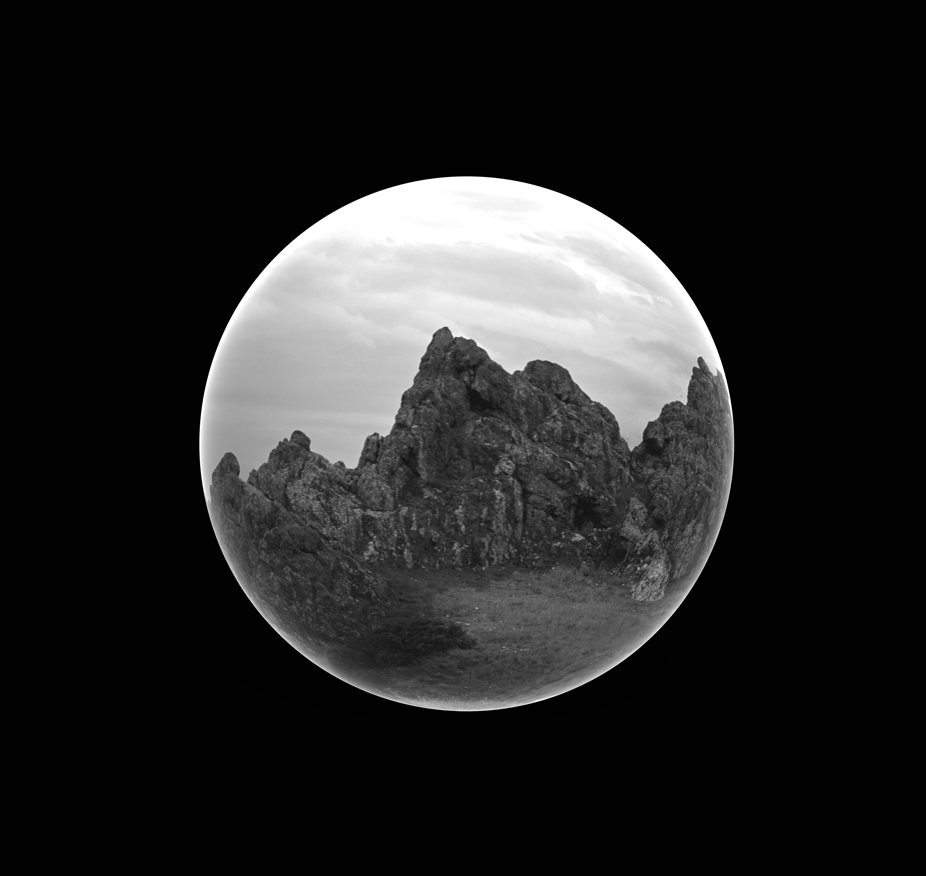
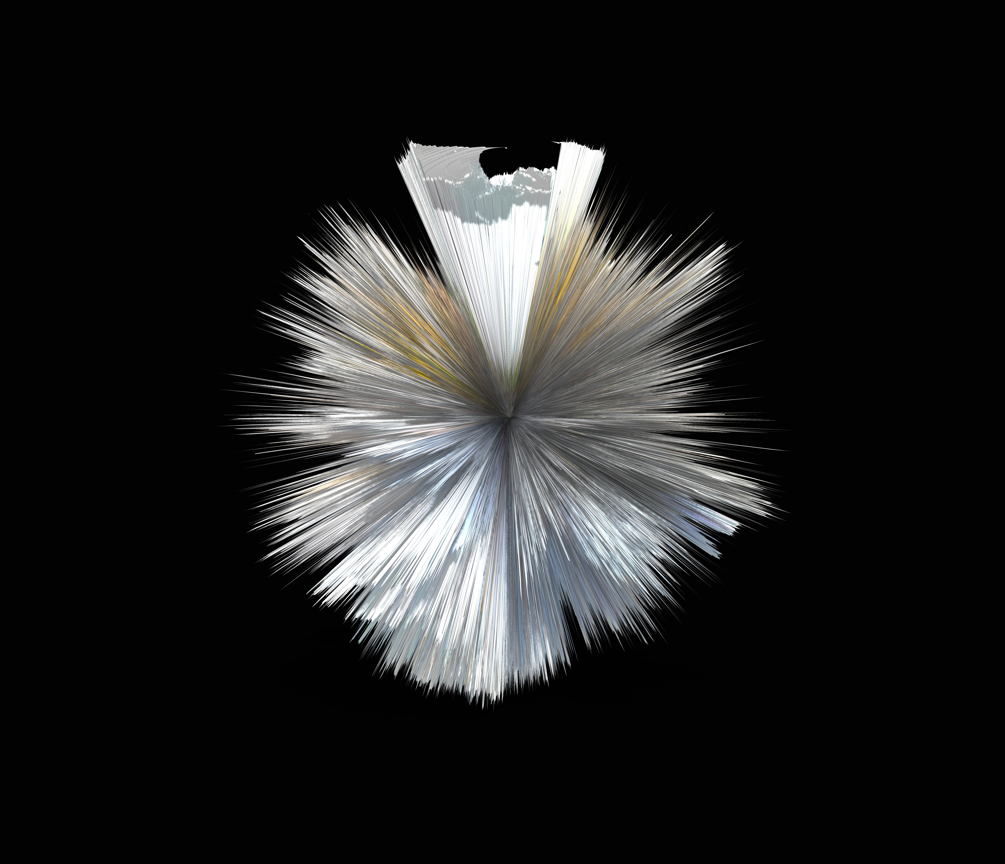
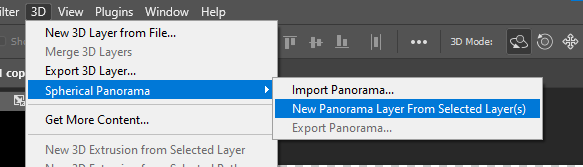
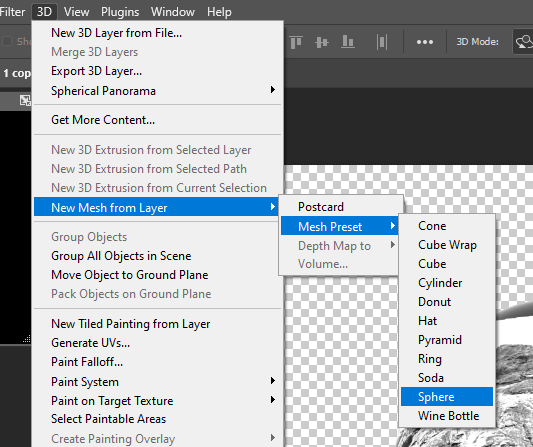
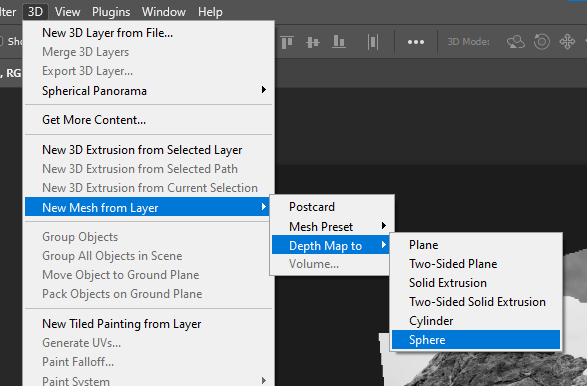
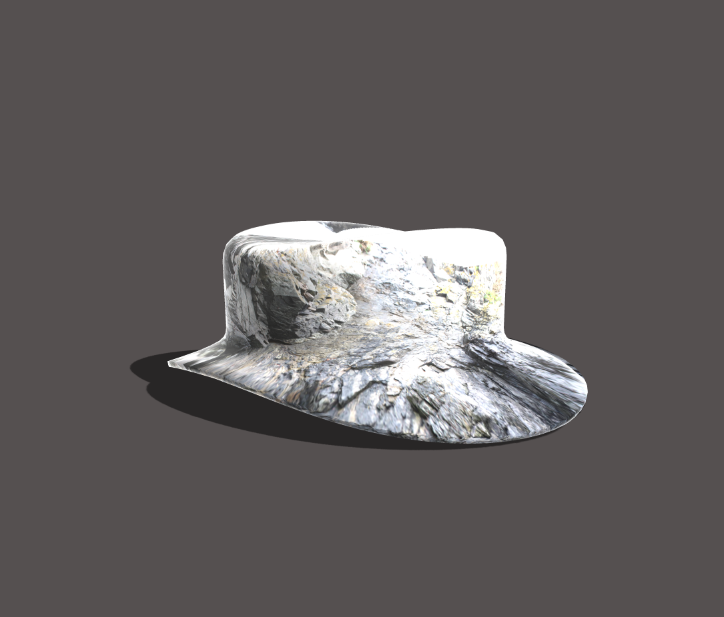
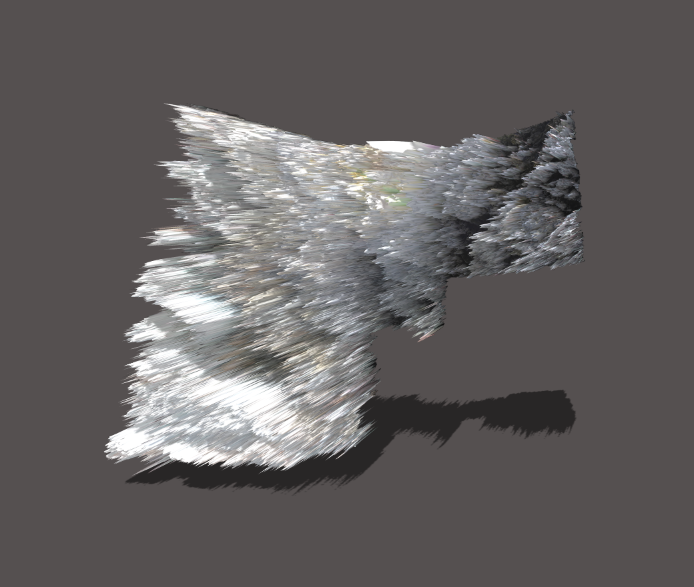
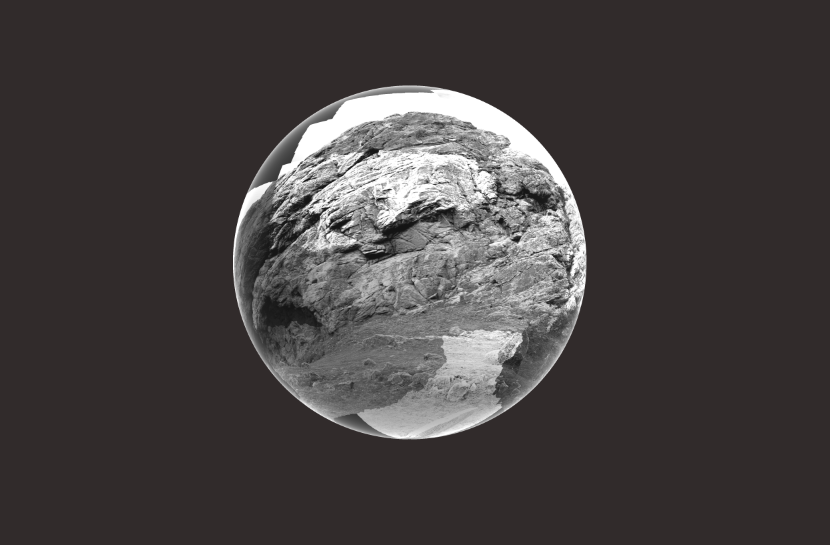
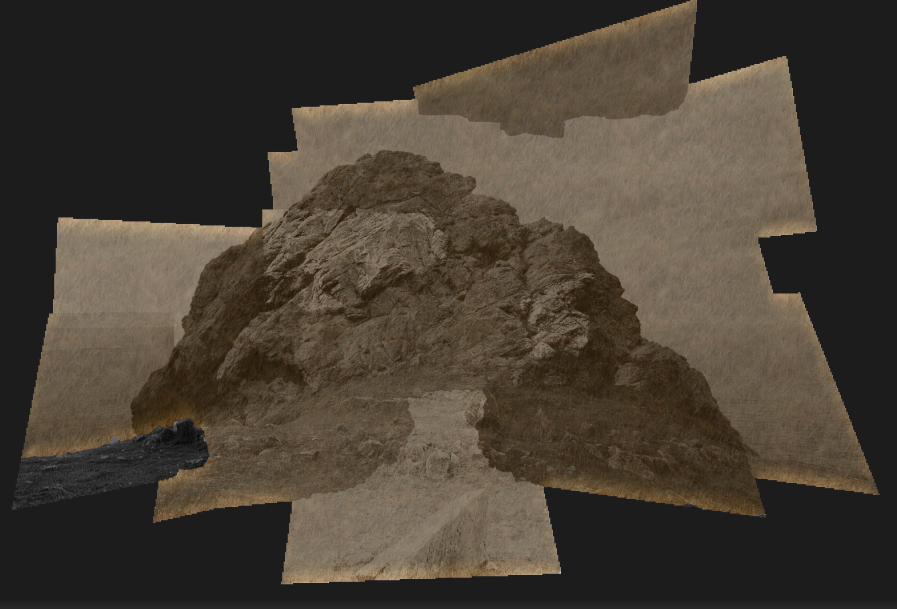
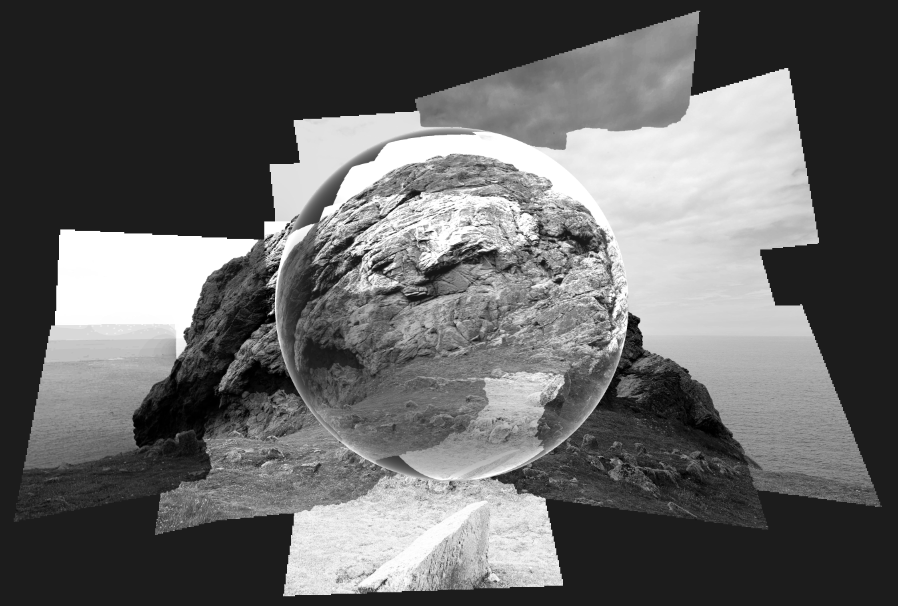
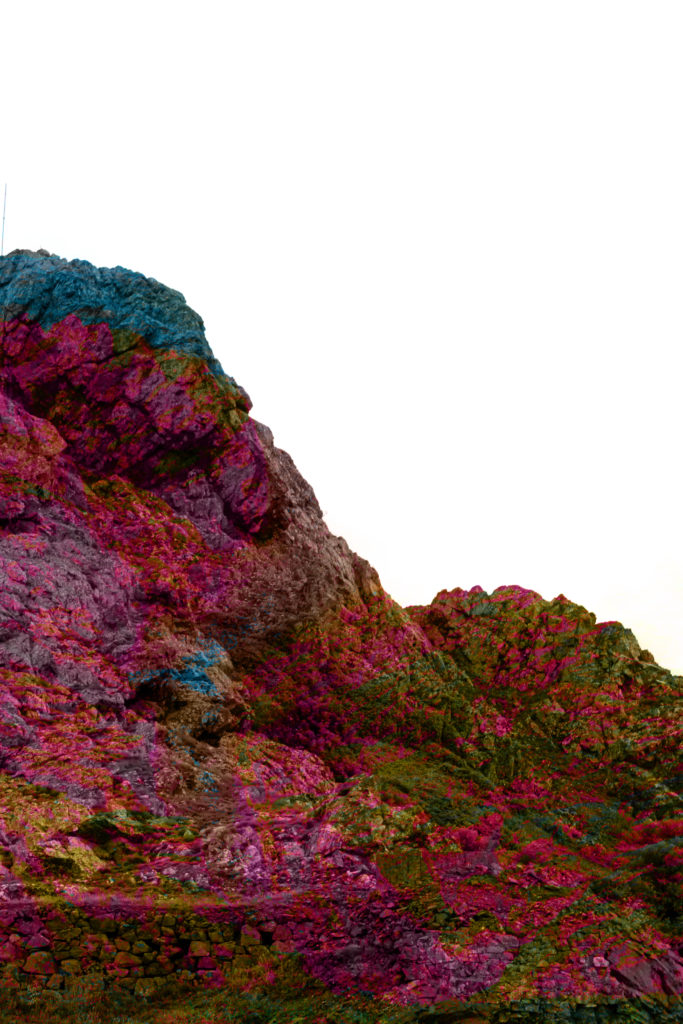
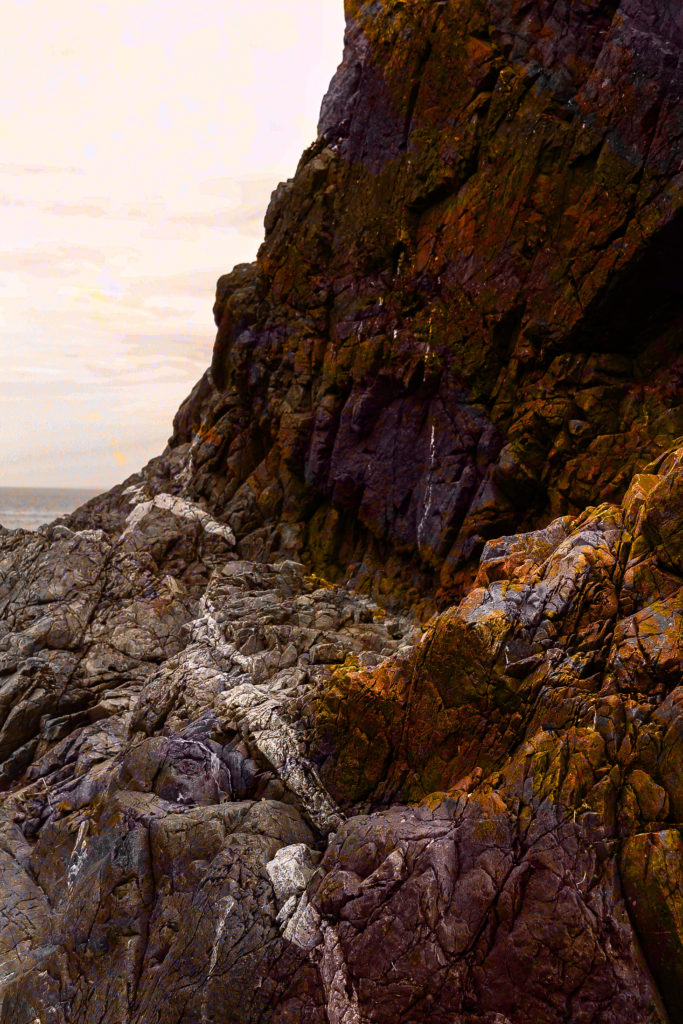
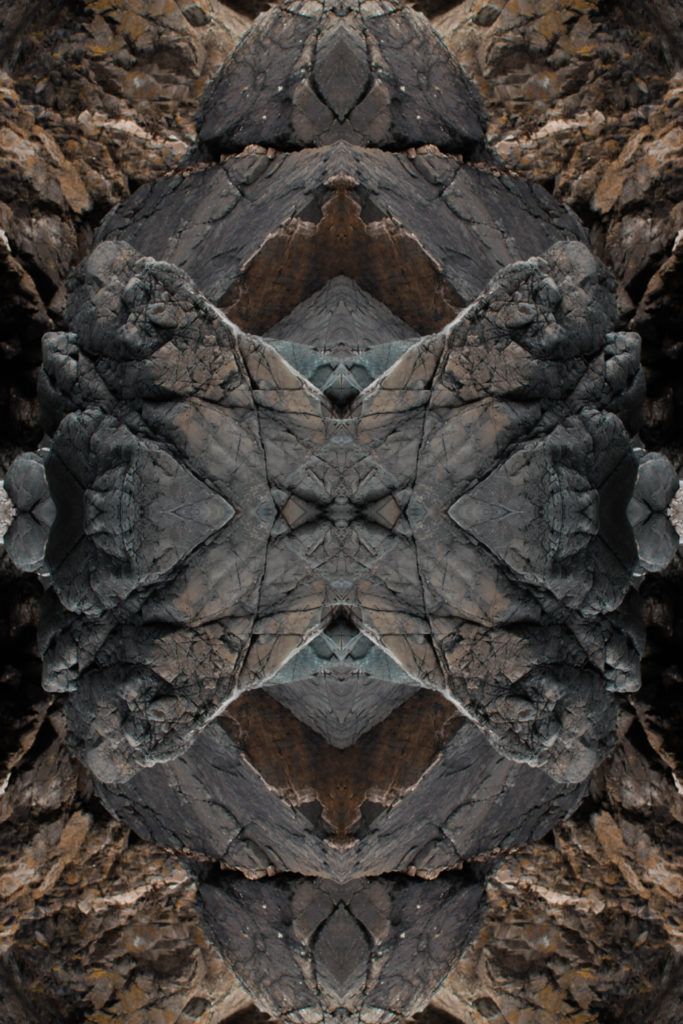
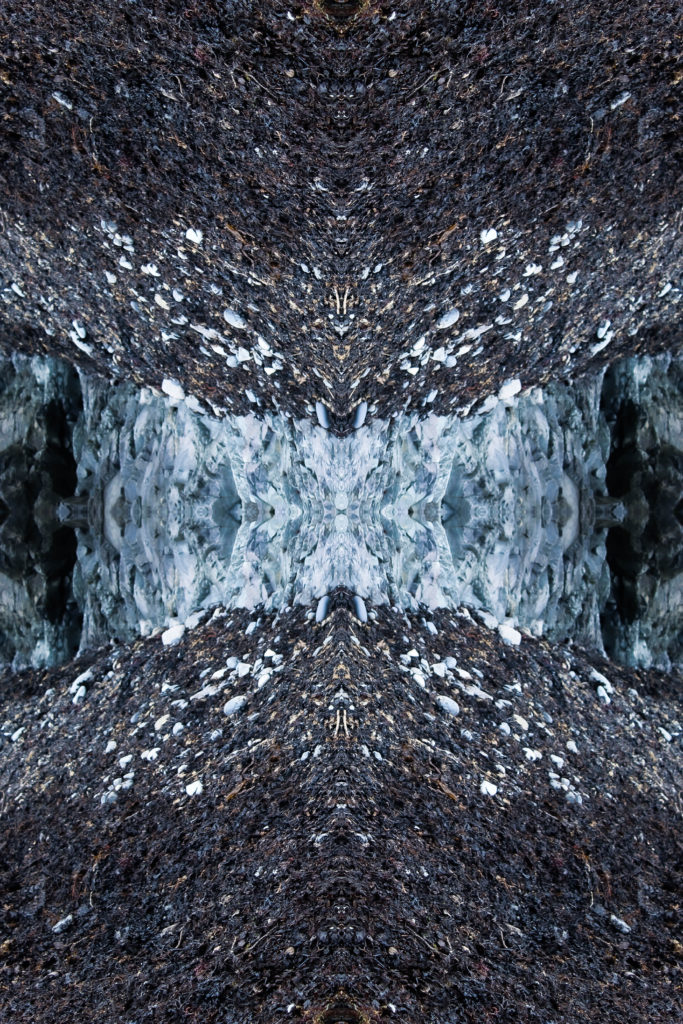
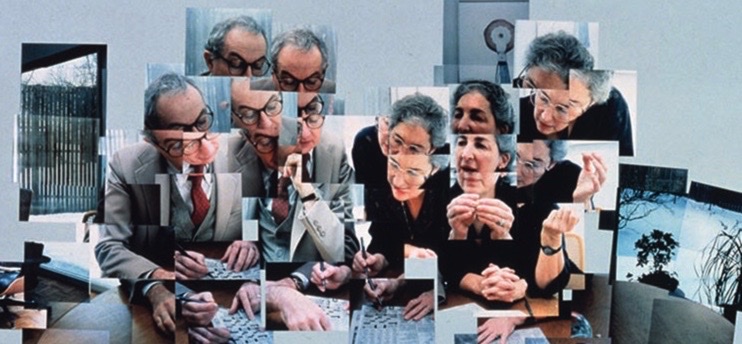
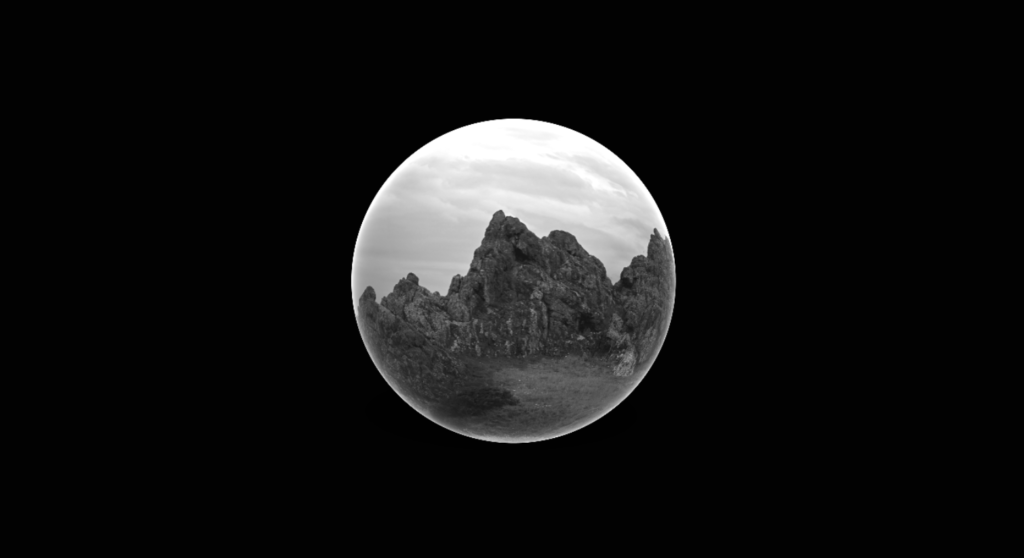
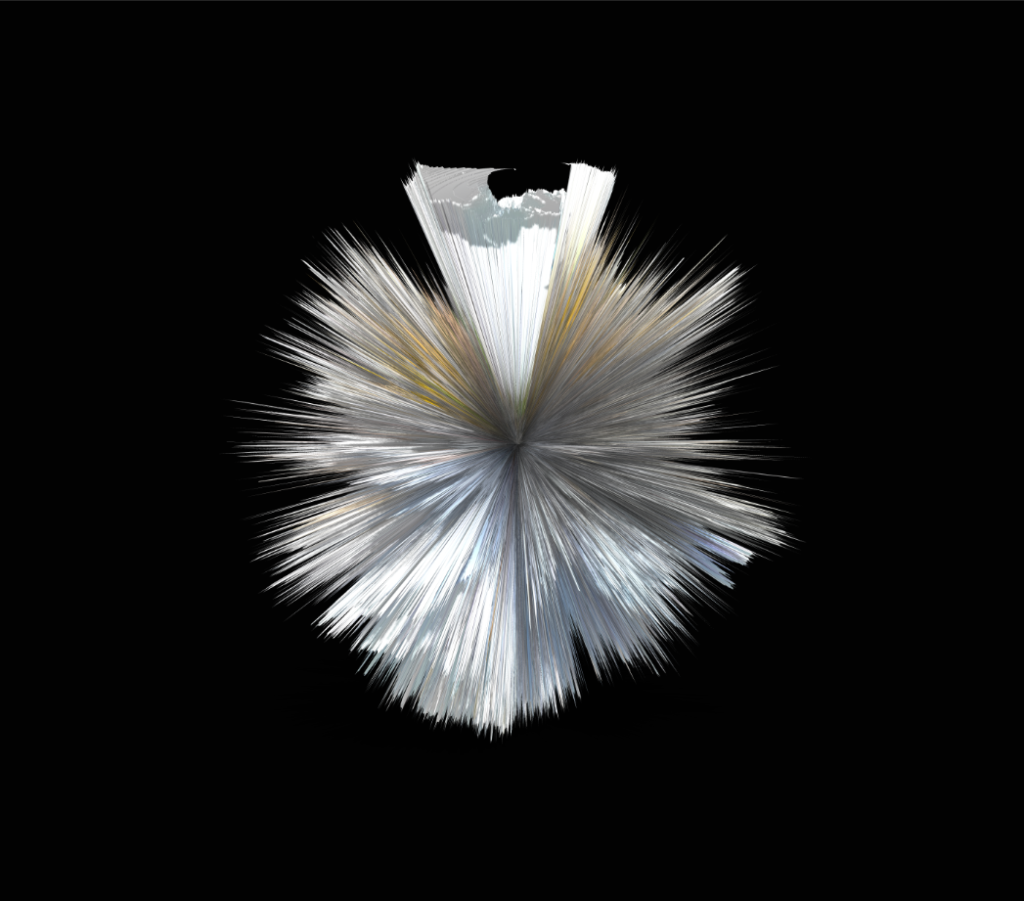
These are the two images which I have chosen to be a part of the exhibition ‘My Rock’ that is taking place for the Link Gallery at the Jersey Museum. I edited these two images beforehand on Adobe Lightroom then brought them into Photoshop. This is where I was able to transform the top photo, of a rockface, into a joiner then use a ‘Mesh Pre-set’ of Sphere, which I really like as it can resemble a snow globe which are used to represent different places and their scenery. Then for the photo below of a morphed rockface I used a ‘Depth Map’ which distort the photo into a sphere which has all different angles from the photos which I have used. I liked this pre-set depth map because it is unusually shaped and if you saw the photo before it was transformed you would be able to see the different aspects of the photo.

Joiners

In order to create my joiners, I began by looking through all of my photos and giving them a colour label of blue or purple, I used blue to label the photos that are in focus and purple to label the blurrier image. I did this to make it easy to differentiate the photos I wanted to turn into joiners from my other images.

Contact Sheet

I then edited an image per joiner and used the ‘sync settings’ tool on Lightroom to ensure all the photos in each joiner would be edited the same way, therefore making each joiner have the same look. This ensured that each photo within the joiners wouldn’t be overexposed and would be ready to export into photoshop.

Contact Sheet

Making My Joiners

Some of my experiments did not go well as photoshop separated my photos into different mini joiners instead of creating one full landscape. However, I did managed to make some successful joiners which I like after being more selective with my images.

A not so good experiment
A successful joiner
A successful joiner
Using the previous joiner, I decided to expand upon it by increasing/decreasing the brightness of certain parts of the joiner to make it more visually interesting
This image has an empty alt attribute; its file name is image-162.png
A successful joiner that I decided to add a drop shadow to

3d Experiments:

I decided to make some 3D experiments using photoshop using their 3D options which included making spherical panoramas, making mesh presets and making depth maps in order to make my joiners to look more interesting.

—– Experimenting with one joiner: ——————————–

This image has an empty alt attribute; its file name is image-162.png
My Original Joiner
My joiner as a hat
My joiner with a lot of depth
My joiner curved into a spherical panorama

—– Experimenting with another joiner: ——————————–

This image has an empty alt attribute; its file name is image-127.png
My Original Joiner
My joiner as a sphere
My joiner with a lot of depth
My joiner with a pattern overlay
My joiner curved into a spherical panorama
My joiner as a sphere with the original joiner in the background

artist references

David Hockney

David Hockney (born 9 July 1937) is an English painter, draftsman, printmaker, stage designer, and photographer. As an important contributor to the pop art movement of the 1960s, he is considered one of the most influential British artists of the 20th century.

David Hockney: Drawing from Life review – stripping subjects down to their  gym socks | Art | The Guardian

On 15 November 2018, Hockney’s 1972 work Portrait of an Artist (Pool with Two Figures) sold at Christie’s auction house in New York City for $90 million (£70 million), becoming the most expensive artwork by a living artist sold at auction. This broke the previous record, set by the 2013 sale of Jeff Koons’ Balloon Dog (Orange) for $58.4 million. Hockney held this record until 15 May 2019 when Koons reclaimed the honour selling his Rabbit for more than $91 million at Christie’s in New York.

Joiners

Joiners - Michael England Art .com

David Hockney’s creation of the “joiners” occurred accidentally. He noticed in the late sixties that photographers were using cameras with wide-angle lenses to take pictures. He did not like such photographs because they always came out somewhat distorted. Working on a painting of a living room and terrace in Los Angeles, he took Polaroid shots of the living room and glued them together as a preparatory work, not intending for them to be a composition on their own. He realised this picture created a kind of story, as if the viewer was moving through the room. He began to work more and more with photography after this discovery and even stopped painting for a period of time. Hockney had always been interested in Cubism and the idea of multiple perspectives and viewpoints so this was another way for him to explore this way of looking.

Emily Allchurch

Emily Allchurch, born 1974 in Jersey, Channel Islands, lives and works in Hastings, East Sussex. She trained as a sculptor, receiving a First Class (Hons.) degree in Fine Art from the Kent Institute of Art & Design – Canterbury in 1996, and an MA from the Royal College of Art in 1999, where she began working with photography as a material. Since then, she has exhibited regularly in solo and group shows in the UK and internationally.

WATCH: Old world gets modern shake-up in Jersey artist's digital collages |  Bailiwick Express

Allchurch uses photography and digital collage to reconstruct Old Master paintings and prints to create contemporary narratives. Her starting point is an intensive encounter with a city or place, to absorb an impression and gather a huge image library. From this resource, hundreds of photographs are selected and meticulously spliced together to create a seamless new ‘fictional’ space. Each artwork re-presents this journey, compressed into a single scene. The resulting photographic collages have a resonance with place, history and culture, and deal with the passage of time and the changes to a landscape, fusing contemporary life with a sense of history.

My rock shoot 1 – L’etacq

Contact Sheets and Selections

Below are contact sheets from the class trip to L’etacq. After importing them into lightroom, I used the P and X tools to filter out images that I didn’t think were as successful.

I found, when taking images inside a cave at low tide, my images were overexposed. This was because the light was streaming into the cave from above, which caused very bright images.

When selecting images, especially in this shoot, I was looking for clear and well composed images. This was especially important with the rural landscapes in this shoot, as I wanted different elements of rock to be included well in each image.

Here I have selected in yellow and red my images for my joiners, in order to separate these from my normal photos.

Best Images

Below are my best images, edited using Abode Lightroom.

I chose this image as one of my best images due to the strong leading lines and balanced composition. The leading lines take the eye from the middle of the image upwards to the left middle and top of the hill. I also like the different textures and tones within this image (enhanced by my editing), such as the different green tones of grass and vegetation, and different types of rock.

I chose this image as one of my final images due to the different textures and shadows on the rock face. I think editing in black and white helped to enhance these features was very effective, as the added contrast helped to increase the darker tones in the crevices of the rocks.

I like the interesting composition in this image, as well as the deep and moody tones. I like the composition in this image because of the three parts that are each distinctly different – to the left there is a small rock with vegetation, the right a more intense, orange rock, and finally to the right in the foreground a grey rock with little vegetation. These parts act as a frame for the other parts of the image, for example the whitewash at the bottom of the cliffs, which becomes a natural focal point.

Here I produced two different versions of one image – a black and white edit and one in colour. I think that producing two edits for this image was a good idea as in black and white, the crevices and details of the rock are more prominent than in colour, due to the high levels of contrast and texture. However, in colour (below) I think this image works well as it shows the different variations of colour and texture in the whole image – the grass, the rock, the sky, and the sea. Whereas, in the black and white image, the darkness of the rock kind of takes over the whole image more, making the other parts more insignificant.

Evaluation

What went well: In this shoot, I think I produced some well composed images. I didn’t deal with much over exposure, except when shooting in the caves. I changed my settings especially for the location before I started my shoot which really helped with this.

What I could do better: If I was to do this shoot again, I would maybe shoot the caves on a darker day, to ensure the exposure was balanced in those images. Furthermore, I would make sure to hold my camera steady, or even use a tripod like David Hockney, to take my joiner images, as quite a few of them came out blurry. This was because I was taking so many images so quickly. Next time I take joiners, I will take my time more when taking the images to achieve clearer, more successful images for my joiner.

Photoshop Experiments-

I decided to do a range of experiments on my final images from the field trip.

David Hockney

Who is David Hockney?

David Hockney (born 9 July 1937) is an English painter, draftsman, printmaker, stage designer, and photographer. As an important contributor to the pop art movement of the 1960s, he is considered one of the most influential British artists of the 20th century.

Hockney has owned residences and studios in Bridlington, and London, as well as two residences in California, where he has lived intermittently since 1964: one in the Hollywood Hills, one in Malibu, and an office and archives on Santa Monica Boulevard in West Hollywood, California. On 15 November 2018, Hockney’s 1972 work Portrait of an Artist (Pool with Two Figures) was sold at Christie’s auction house in New York City for $90 million (£70 million), becoming the most expensive artwork by a living artist sold at auction. This broke the previous record, set by the 2013 sale of Jeff Koons’ Balloon Dog (Orange) for $58.4 million. Hockney held this record until 15 May 2019 when Koons reclaimed the honour of selling his Rabbit for more than $91 million at Christie’s in New York.

David Hockney

Hockney was born in Bradford, England, on July 9, 1937. He loved books and was interested in art from an early age, admiring Picasso, Matisse and Fragonard. His parents encouraged their son’s artistic exploration and gave him the freedom to doodle and daydream.  Hockney attended the Bradford College of Art from 1953 to 1957. Then, because he was a conscientious objector to military service, he spent two years working in hospitals to fulfil his national service requirement. In 1959, he entered graduate school at the Royal College of Art in London alongside other young artists such as Peter Blake and Allen Jones. He experimented with different forms, including abstract expressionism.

One of David Hockney’s early works “we 2 boys clinging together”

He did well as a student, and his paintings won prizes and were purchased for private collections. In addition to pools, Hockney painted the interiors and exteriors of California homes. In 1970, this led to the creation of his first “joiner,” an assemblage of Polaroid photos laid out in a grid. Although this medium would become one of his claims to fame, he stumbled upon it by accident. While working on a painting of a Los Angeles living room, he took a series of photos for his reference and fixed them together so he could paint from the image. When he finished, however, he recognised the collage as an art form unto itself and began to create more.

A video on the life of David Hockney
Joiners

During the early 80’s Hockney began to create ‘joiners’, now they are photo collages. When he first began to produce these he did them with Polaroid prints and later on he did them with 35mm, commercially processed prints. He created joiners by taking multiple and varying Polaroid shots or photo lab prints of just an individual subject. Then with these shots, he would arrange them into what almost looks like a patchwork, to create an overall image. One of Hockney’s first ‘joiners’ was a photomontage of his mother. A big aim for Cubist feel, he established this through taking shots at different perspectives and at different times. His work ranges from Landscape, Pearblossom Highway #2 to portraits,  Kasmin 1982, and My Mother, Bolton Abbey, 1982.

This is one of Hockney’s most famous Joiners of an American Highway. This image is made of thousands of photographs and is almost 2 meters high by 3 meters wide. When seen in real life your eyes can explore it from corner to corner. Hockney would have had to bend down to photograph the floor, climb up ladders to photograph the street signs and walk down the highway to photograph the horizon. All this took him 8 days so he not only warped space and distance but also showed the passing of time in one image. The image also showed the scene from multiple viewpoints – just like the way we see the world.

Below is my analysis of the image

This is another one of Hockney’s famous joiners, taken with his two friends. He took this over about an hour, as his friends completed the crossword. The colour in this image is muted, and the image is slightly grey/blue-toned. This is influenced by the high amounts of grey and blue in the image: the walls, the hair of both people, and objects on the table. – The white balance in this photo is cool-toned, however, there are warmer tones in the faces of the two people. The image is mostly balanced in exposure, but slightly overexposed in some parts of the photos of the subjects – this is a sign of time passing in this piece as the light was changing throughout the shoot. The lines of every image placed together created shape within the piece, and create a natural focal point in the centre of the image. The background is much plainer than the foreground: it only really features a wall and manipulated placement of two windows, one to the left and one to the right – The background’s plainness enhances the business of the foreground and centre of the image. There is an influence of cubism in this image, which is a huge part of David Hockney’s influence on his joiners. The way the image’s shape and look have been altered from what the real view of the picture would have been related to the key themes in David Hockney’s joiners: Time, because of the different obvious time and lighting points in the piece and space, because of all of the different angles and altered placement of images.

L’etacq Photoshoot

As a class, we took a trip to L’etacq to visit the four geopark sites around that area: Le Petit Etacquerel, Le Grand Etacquerel, Le Pinnacle, Le Pulec.


Editing

For my first round of editing, I used the ‘pick’ and ‘reject’ function on lightroom to narrow my image selection down to around 30 images.

Next, I went through these images and rated them out of 5 using the star rating function in lightroom.

After, I assigned a colour to each image further narrow down my selection. (I used blue for the images I plan on using for the Joiners I will make).

At this point, I have narrowed my image selection down to 9 images which I consider to be the best from this photoshoot. I will take these images into further editing/experimentation


Final Edits

These are the edited versions of my best images from this photoshoot.

I have made Black and White versions of each image as I think it complements the overall lighting and form of each image.


Best Final Images

I selected these two images as my best final images from this photoshoot. I think these images are a good representation of both the more traditional landscape images and the more abstract, close up images that I took during this photoshoot.

This image was taken around Le Pulec, displaying the headlands and rock formations seen around that area, being one of the reasons why this area is considered a geopark/SSI. The tone in this image is fairly dark, when editing I made the image ever so slightly darker in tone to complement the darker greens, greys and browns in the image. There are several patterns in this image, such as the soft pattern of clouds in the sky, the denser pattern of plants on the headlands, and the rigid, angular patterns seen on the rocks. These patterns help give the image an organic feel, while also separating those separate parts of the image more. The shapes created by the rocks and plants are fairly angular yet natural.

This image was also taken around Le Pulec, around the slipway down to the beach itself, the image clearly shows a unique example of geology in that area, once again showing why the landscape in this area is protected and considered a part of Jersey’s heritage. The tone in this image is slightly brighter than the first image, I made this decision while editing as I thought it would allow the edges of the rocks to be seen more clearly. I like this image as it is made up of very simple shapes, mainly triangles, that give the image a very uniform look. This contrasts with the natural subject matter of the image. This image is made almost entirely of nearly-straight lines, giving the image a strangely unnatural, yet natural look.


Photoshoot Evaluation

I think this was a successful photoshoot, in the sense that I thought my final images were strong images, and I felt I learned more on how to look deeper into the landscapes, as seen in the images where I went particularly close to a certain rock face or feature, as well as wider, more traditional landscapes. I think the rock formations in and around Le Pinnacle, Le Pulec and Le Petit/Grand Etacquerel provided a familiar landscape for me, while also providing a new opportunities to photograph things I may not have seen in the past.

What Went Well:

I feel like I was able to develop my skills in landscape photography, as this photoshoot has given me more experience in taking images to create photo joiners, as well as more traditional images.

How I can Improve:

I found some of my images came out slightly blurry, I don’t know if that was something to do with the camera/settings itself or my own camera handling, next time I will try to ensure my images come out as best they can by making sure the settings on the camera are correct, and I go a bit slower while taking my images.

joiners

A joiner is a large image made up of smaller images.

I took photos for my joiners at La Rocque because there are rocks that represent Jersey’s geopark

The first step of making a joiner is to take the photos. I chose what to photograph and took nine zoomed in images that roughly show the main image when put together.

The next step is to choose the right images from the joiners to export in Lightroom. I made folders for each joiner and exported the 9 images for each one.

Then in photoshop I used the automate tool to create my joiners.

Then I used the fill tool to create a coloured background

Final product: