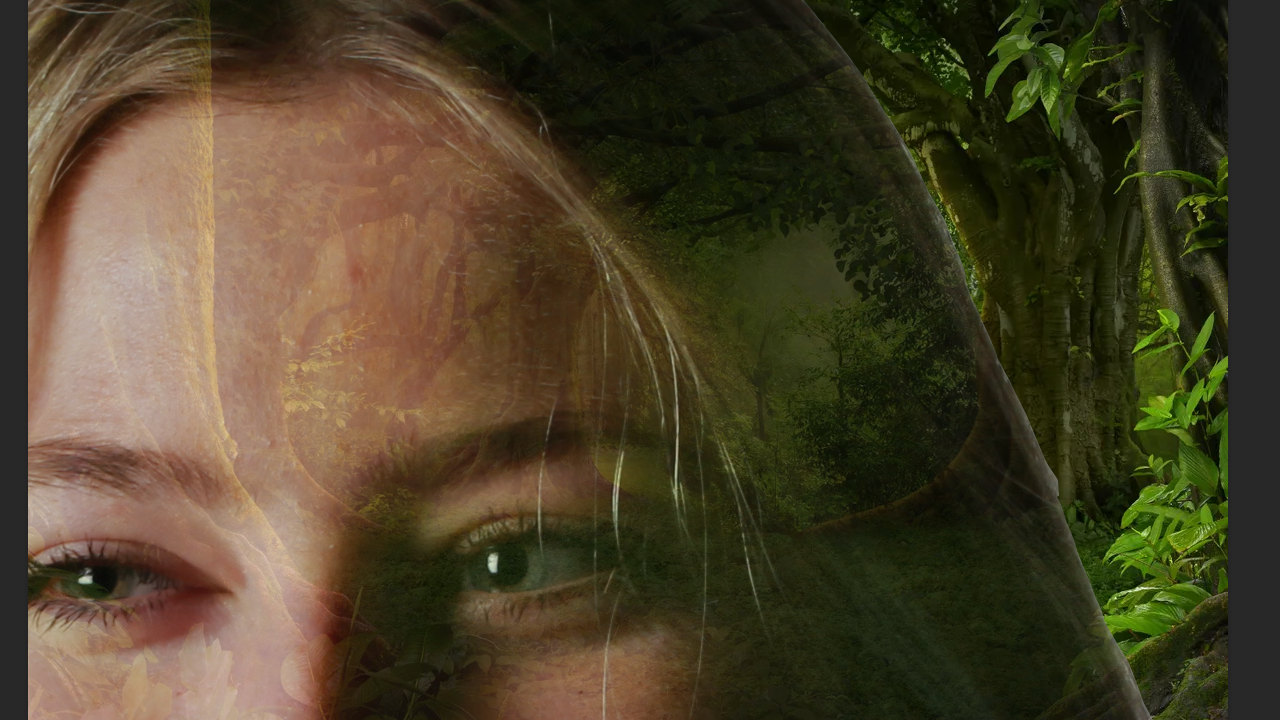
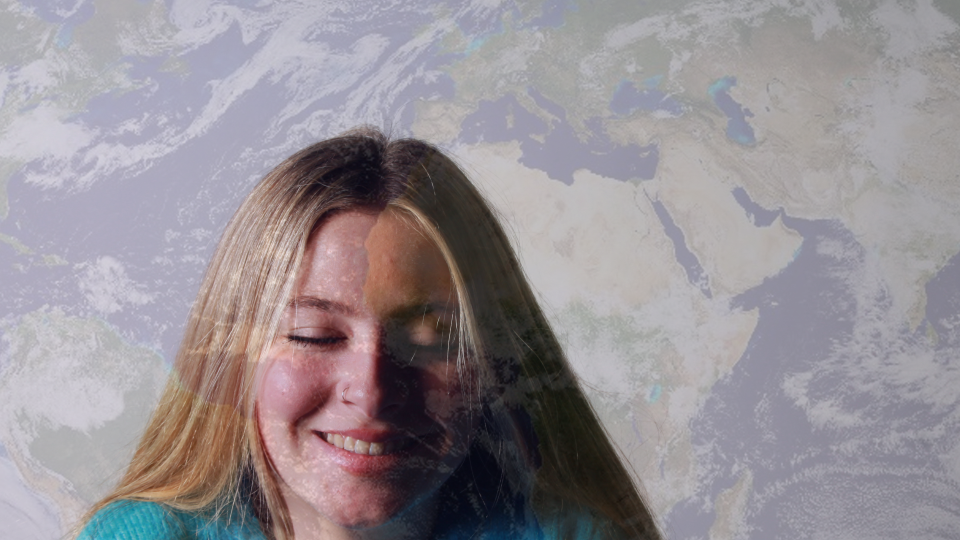
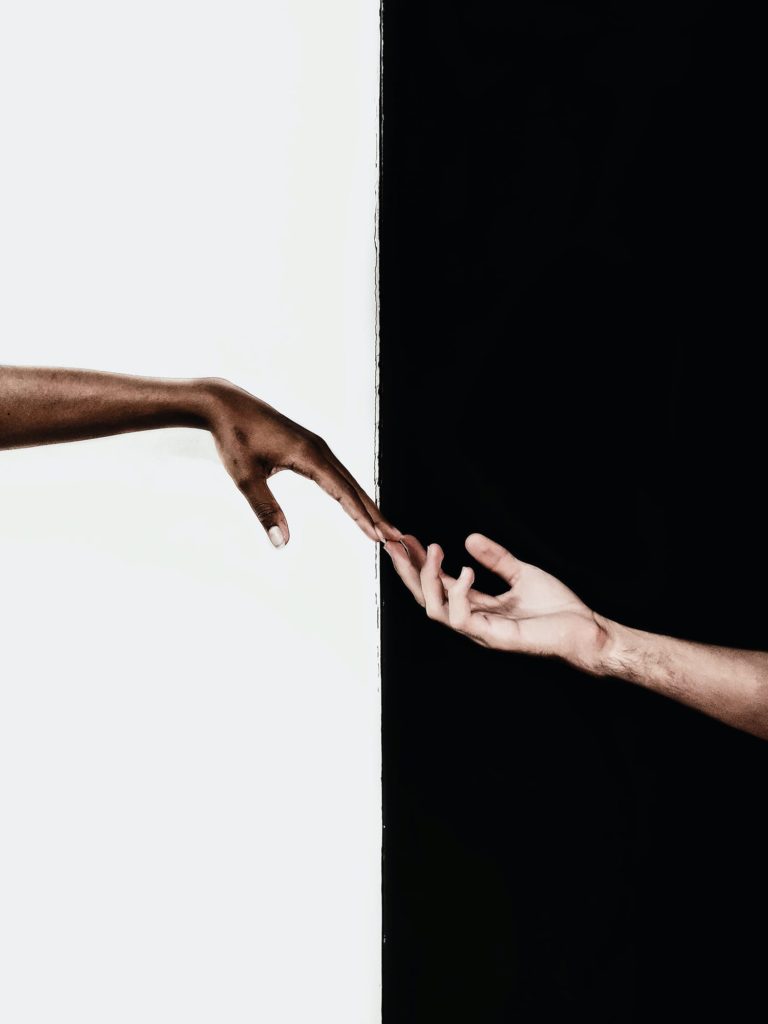
In photography, juxtaposition is the act of placing two images close together or side by side. This is often done in order to compare/contrast the two, to show similarities or differences and tell some kind of story.
My Edits
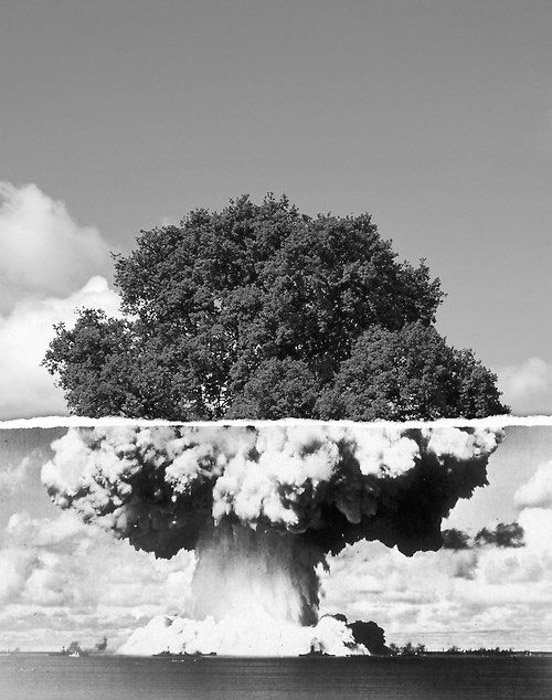
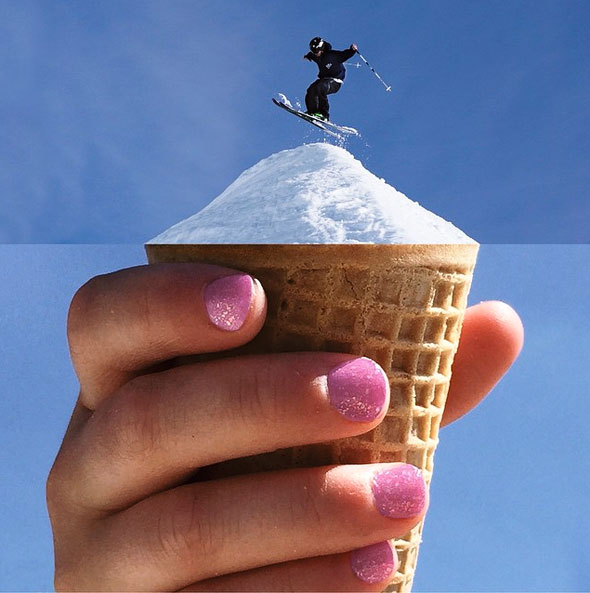
In photography, juxtaposition is the act of placing two images close together or side by side. This is often done in order to compare/contrast the two, to show similarities or differences and tell some kind of story.
My Edits
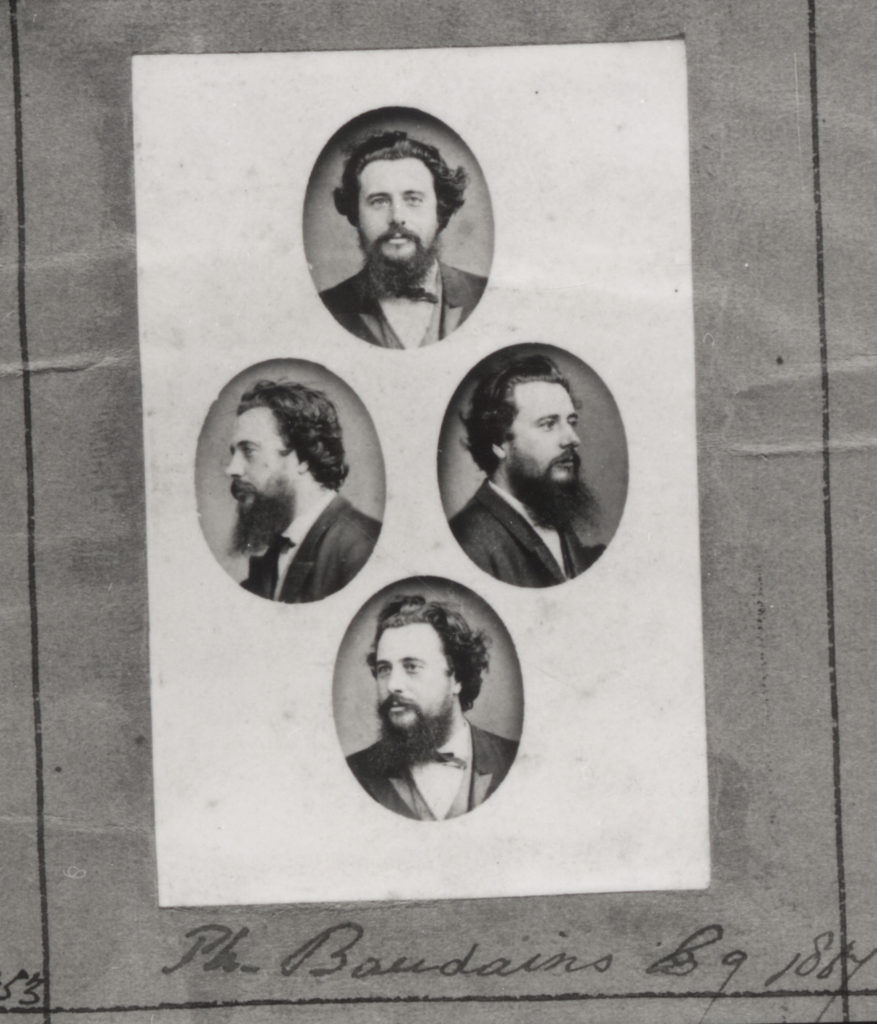
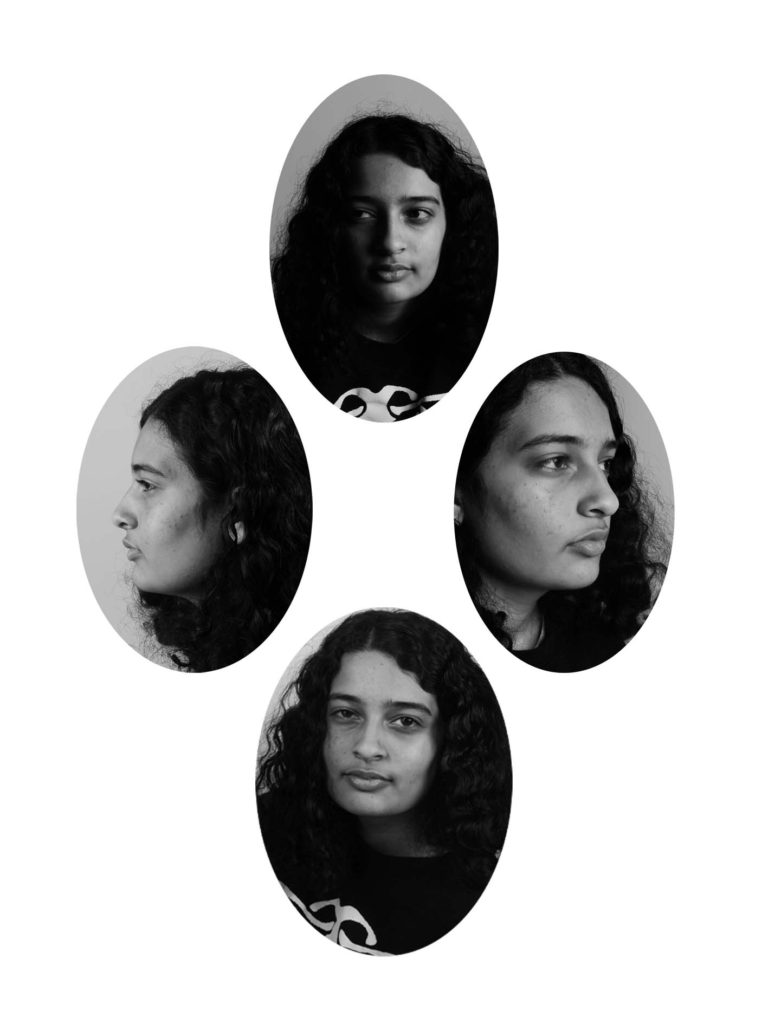
The (patent) diamond cameo photograph was registered by F.R. Window of London in 1864. Four small oval portraits (1″ x 3/4“) were placed in the shape of a diamond, each portrait being of the same person photographed in a different position. A special camera made by Dallmeyer was used in which the one glass negative was moved to a new position in the back of camera after each portrait had been taken, and when the paper print had been pasted on the card a special press was used to punch the four portraits up into a convex cameo shape.
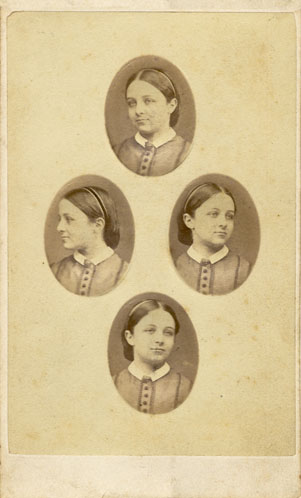
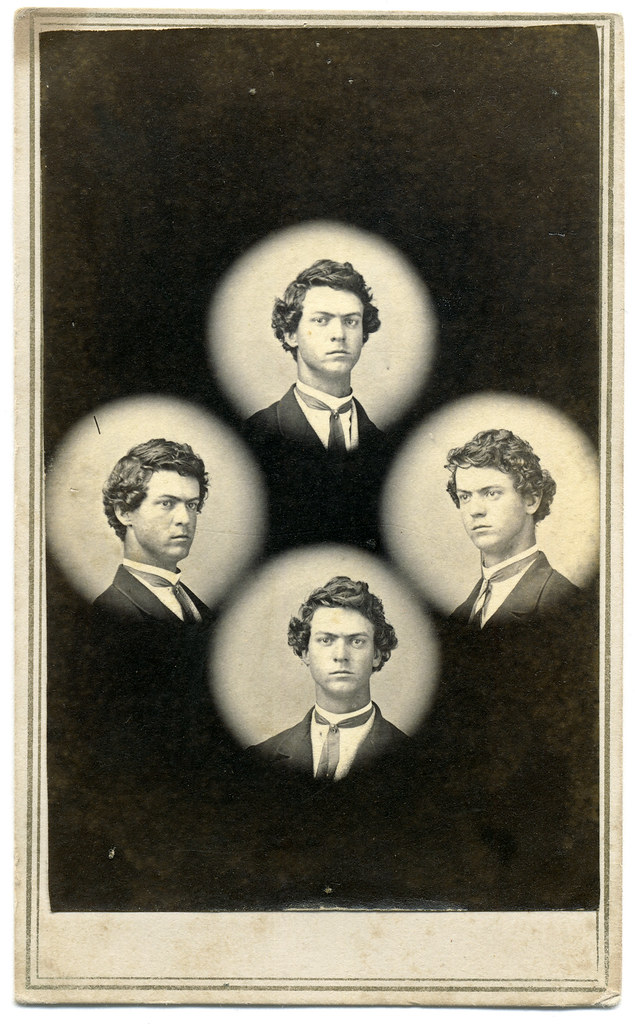
Final Edits
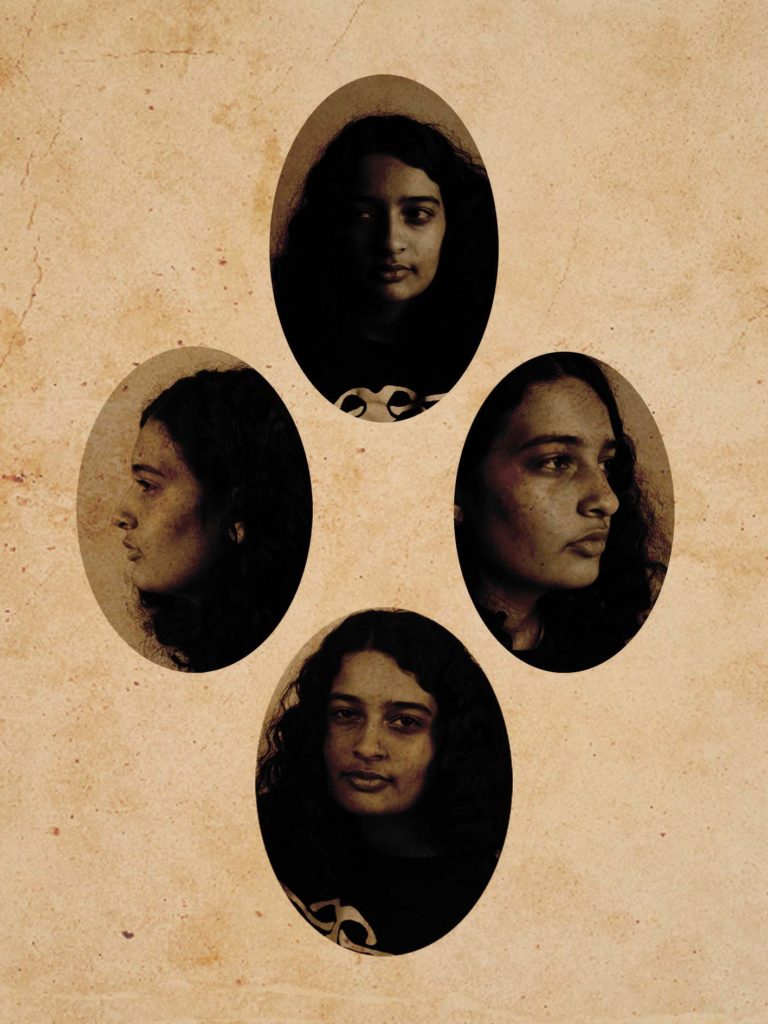
I used the photographs from two of my photoshoots and experimented with a diamond cameo. I did this in order to make my images look older and more interesting. They would’ve probably looked better if I had taken more pictures of the face from more angles.
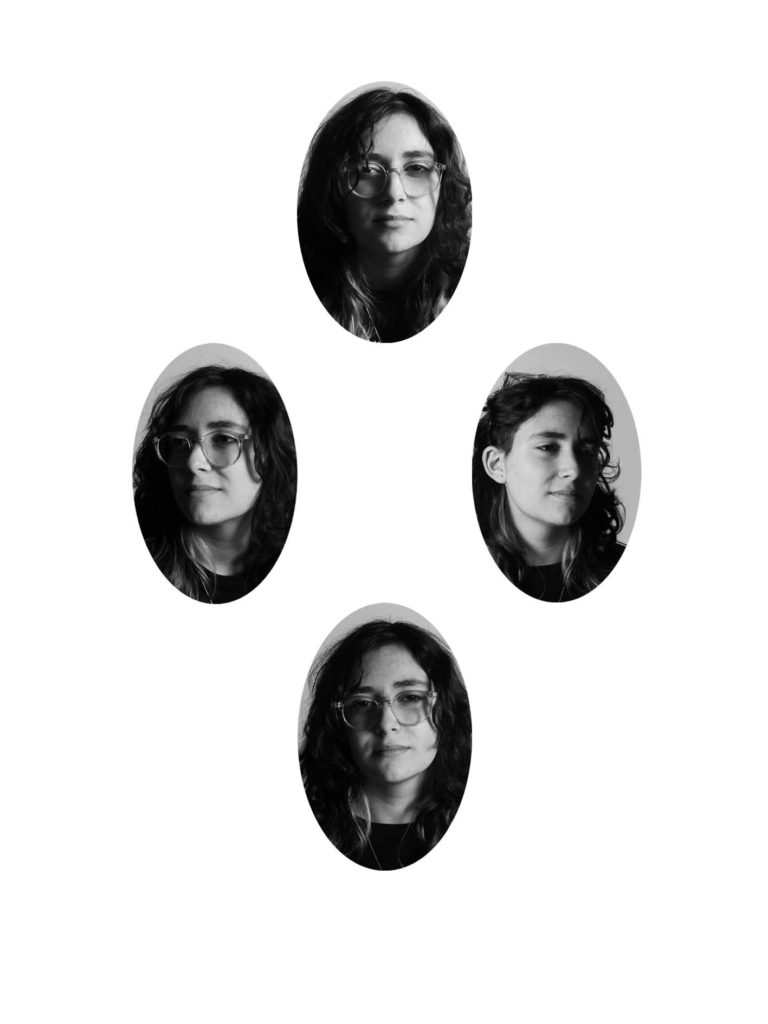
For this edit I did a diamond cameo by selecting four pictures o the same person and placing them in a diamond shape (one at the top, bottom and both sides). The top pictures is them facing forward with the light hitting the right side of their face and making it more visible than the other. In the bottom image, their face is slightly tilted to one side and the whole face is visible because the light is inn front of them. On the right, there’s a picture of them without their glasses and facing that direction and on the left there’s another side profile but with glasses this time. I did this in order to show all of the sides of the person’s face. I like how it turned out and I think it’s interesting.
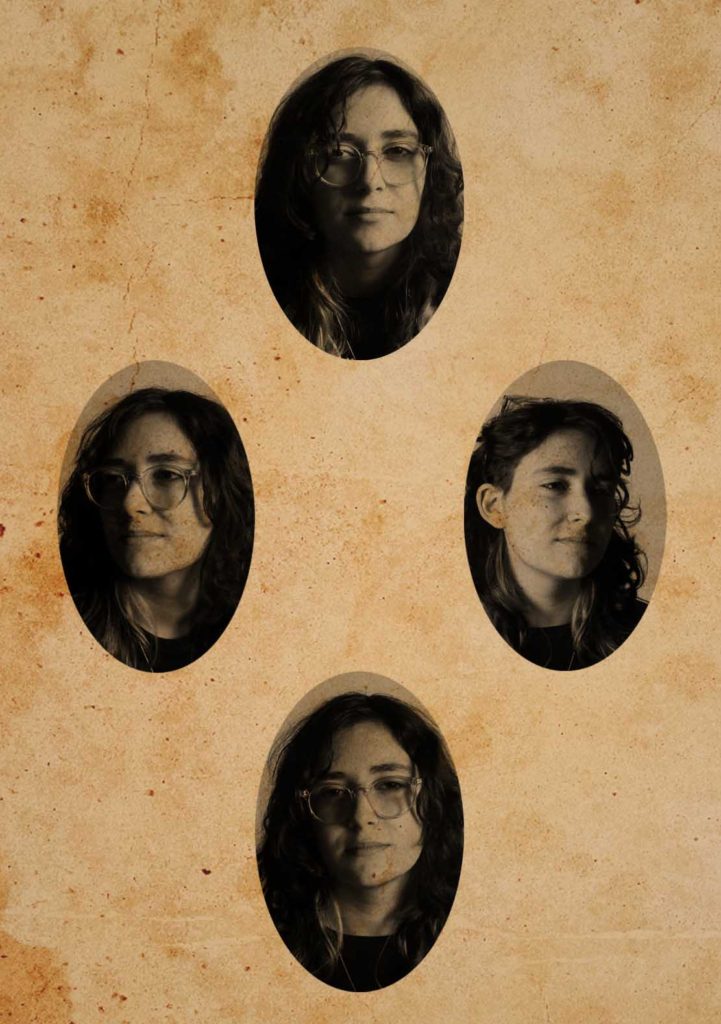
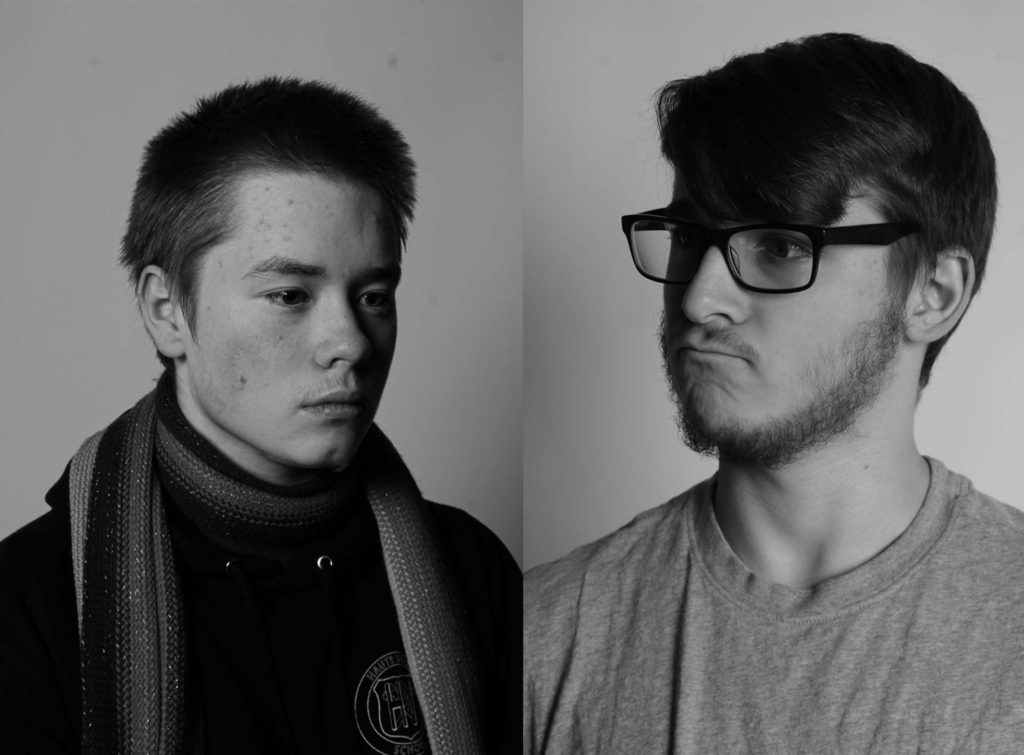
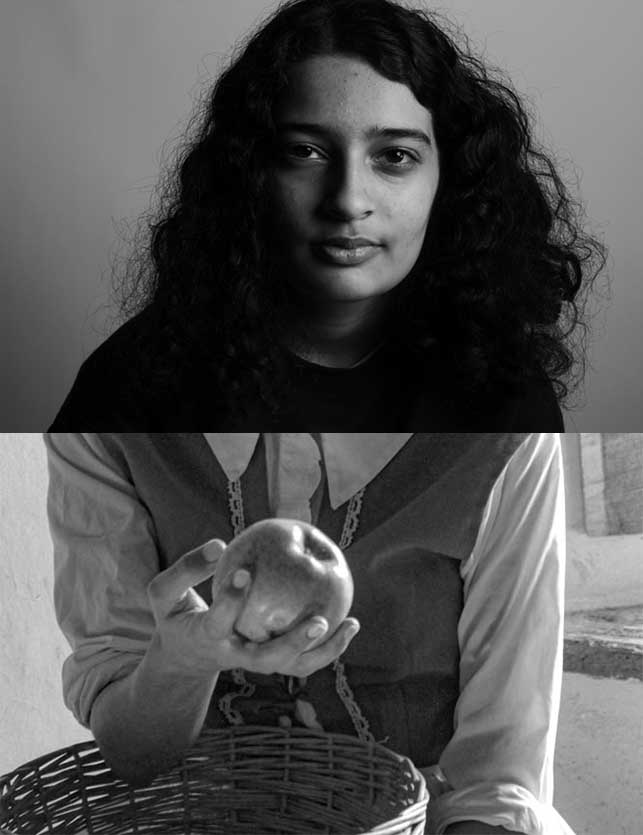
I made another diamond cameo using a different person and the same technique. I like how it turned out however, I don’t like how the left and right picture look together even though they’re both side profiles. I think they don’t go well because on the one on the right you can see a bit of the other side of the face and I don’t like the way it looks. I should’ve asked them to turn their head all the way and then taken the picture.
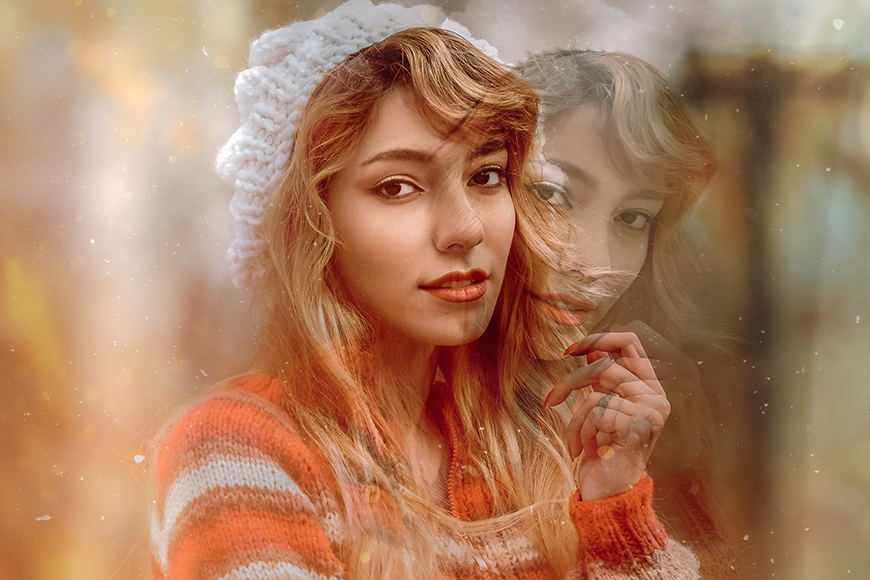
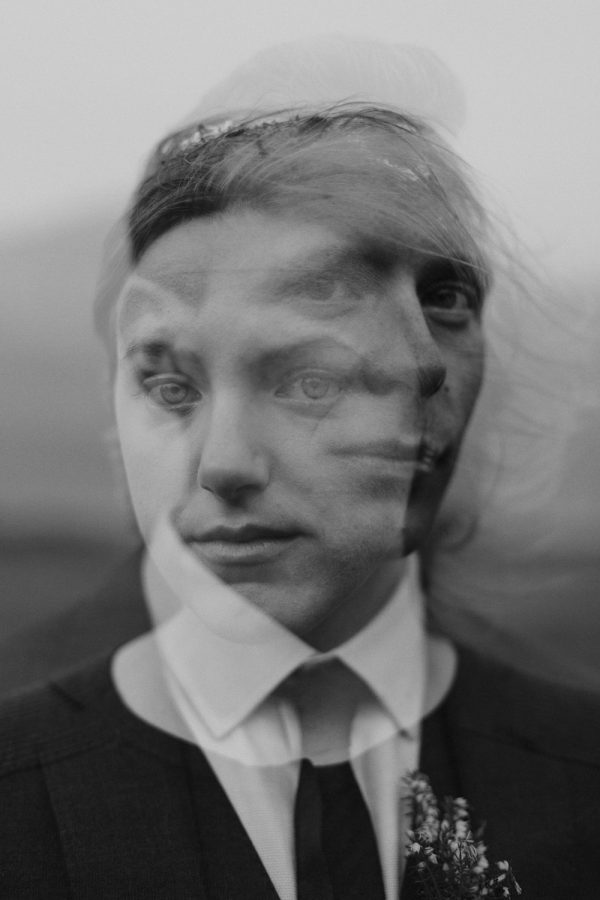
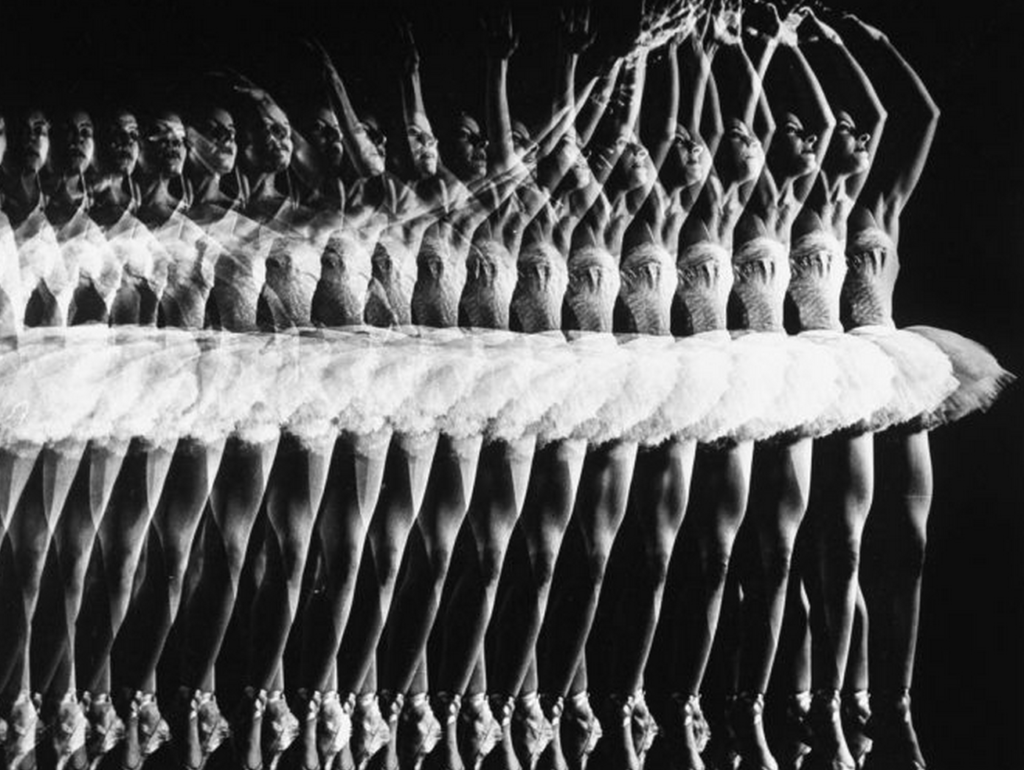
In photography and cinematography, a multiple exposure is the the placing of one image on top of another to create an exposure and a single image. You can use as many images as you want and they can either be identical to each other or not.
Final Edits
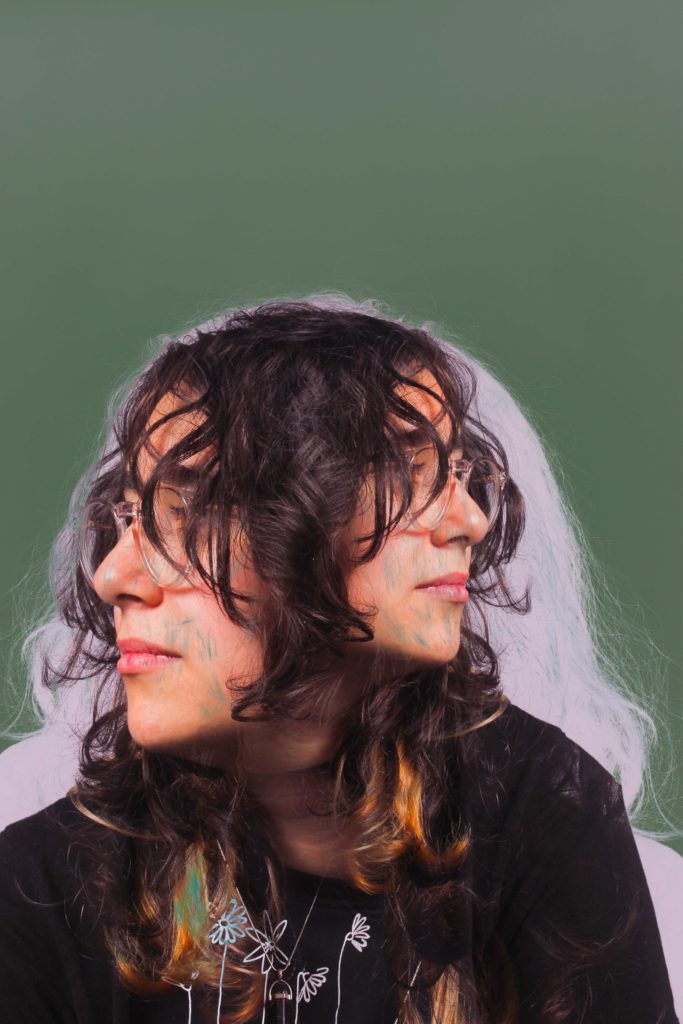
I used the photographs I took in my last 3 shoots and experimented with different photography techniques like: multi exposure and diamond cameo. I did this in order to make my images look more interesting and give them personality. I found it quite fun as I was able to experiment and get different outcomes each time.
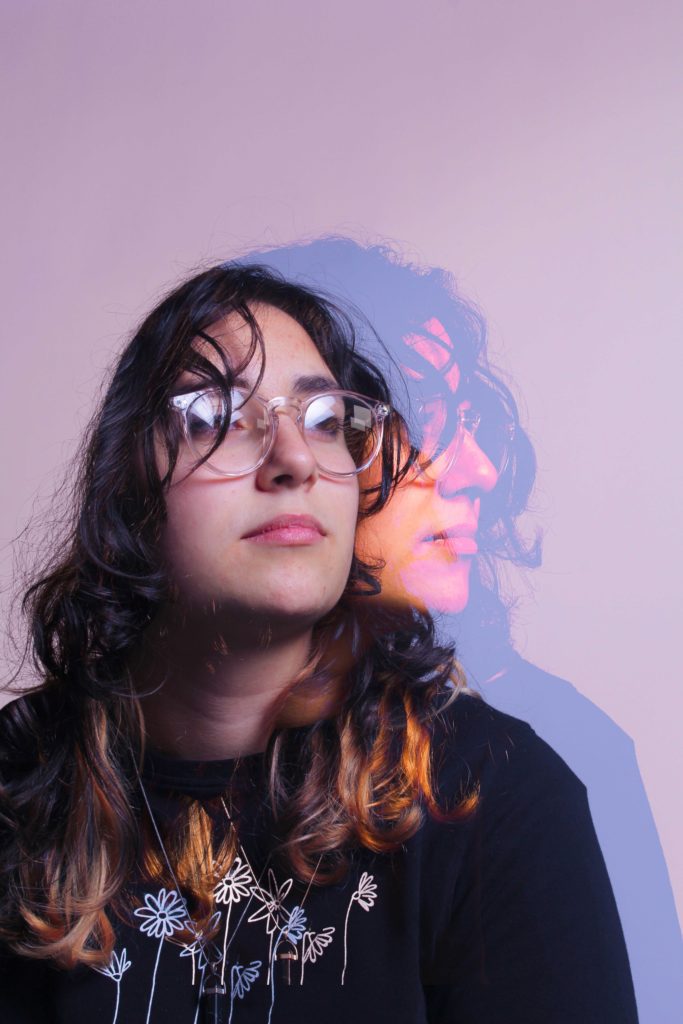
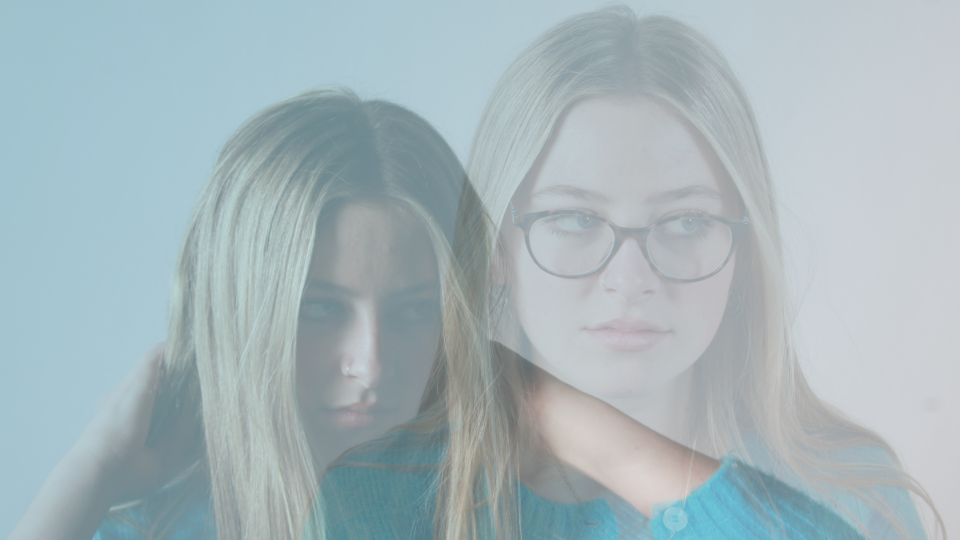
For this edit I did a double exposure using two pictures on photoshop. The base photograph is one of them looking to the top right (image had a slight blue colour because I turned the temperature down in order to get a blue background) and the top layer is their side profile (this one was purple/pink because the tint was increased to get a softer look). I simply just took the second image (made it bigger) and placed it on the background. I moved it higher up so that the face aligns with the other image then used ‘lighten’ for the exposure. I like how it turned out because it almost looks like their soul is leaving their body.
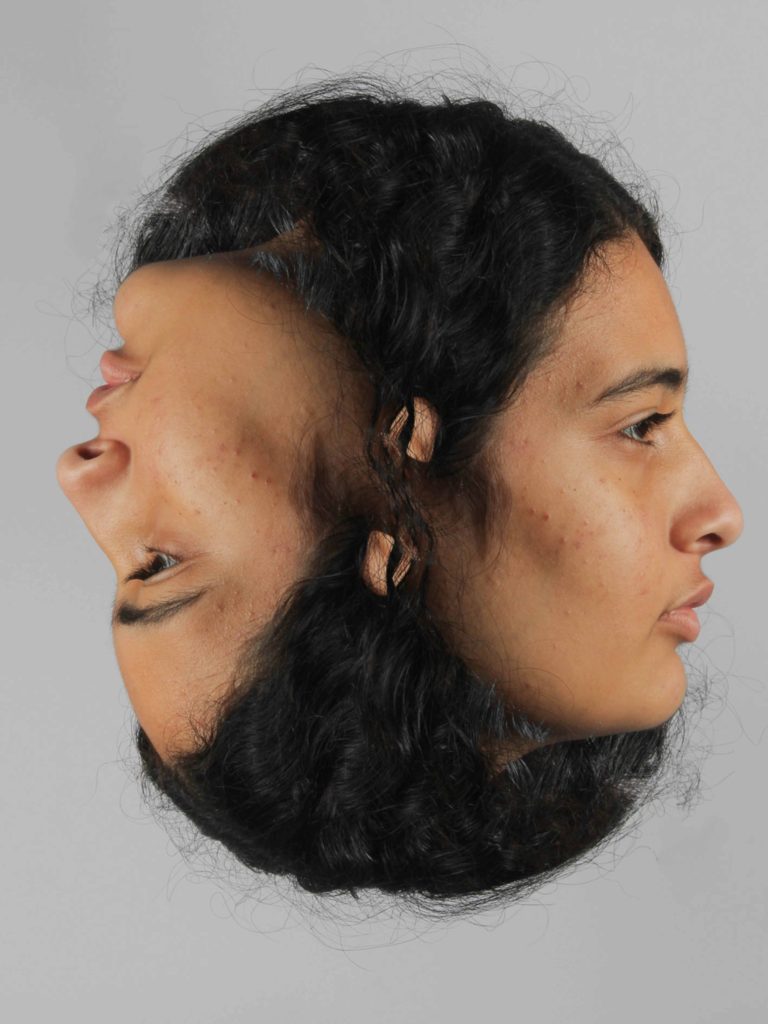
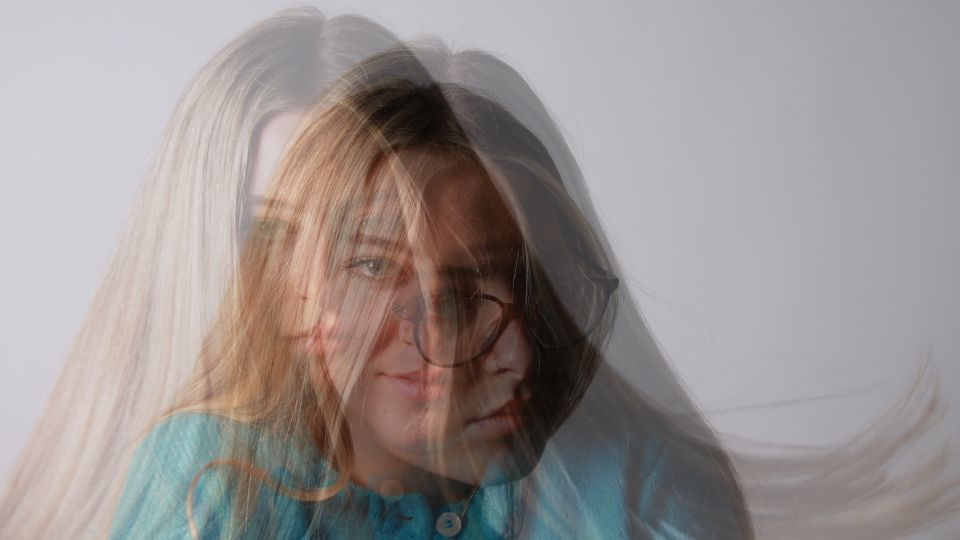
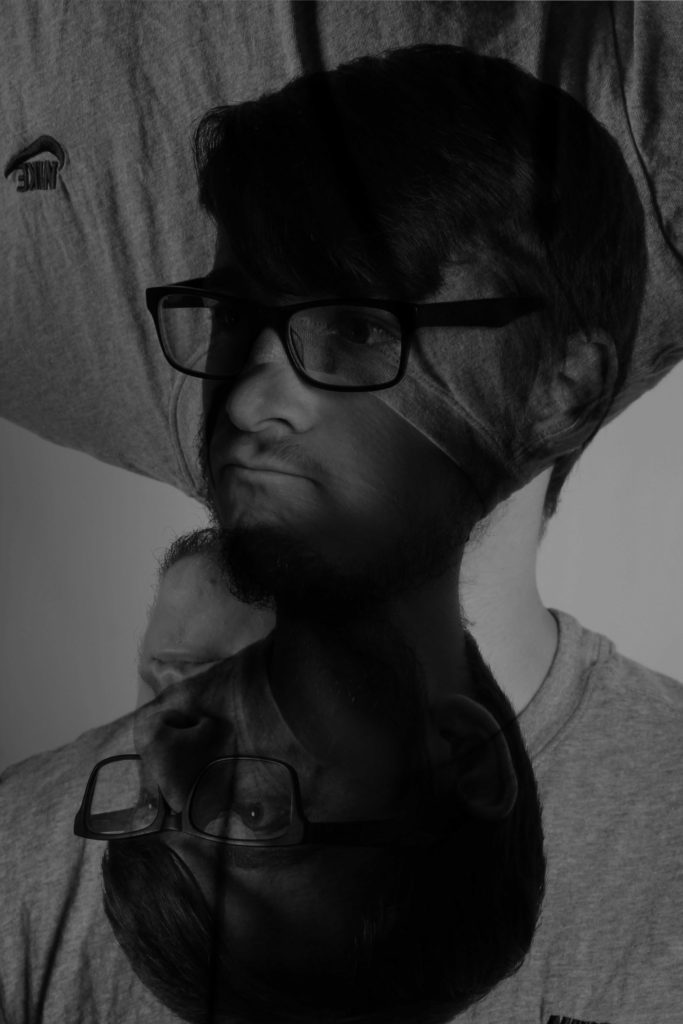
I made this edit by using the double exposure technique in order to get something that looks interesting and different. I used the same image twice and placed one of them upside down. I turned the opacity down (in order to see both images) and moved the image so that it would line up with the other one and then I used the ‘lighter colour ‘ multi exposure setting. I used this specific one because it got rid of the background and made only the two heads visible. Then I went over some areas with the patch tool and spot cleaning brush to clean the background.
Camera settings (flash lighting)
Tripod: optional
Use transmitter on hotshot
White balance: daylight (5000K)
ISO: 100
Exposure: Manual 1/125 shutter-speed > f/16 aperture
– check settings before shooting
Focal length: 105mm portrait lens
Camera settings (continuous lighting)
Tripod: recommended to avoid camera shake
Manual exposure mode
White balance: tungsten light (3200K)
ISO: 400-1600 – depending on how many light sources
Exposure: Manual 1/60-1/125 shutter-speed > f/4-f/8 aperture
– check settings before shooting
Focal length: 50mm portrait lens
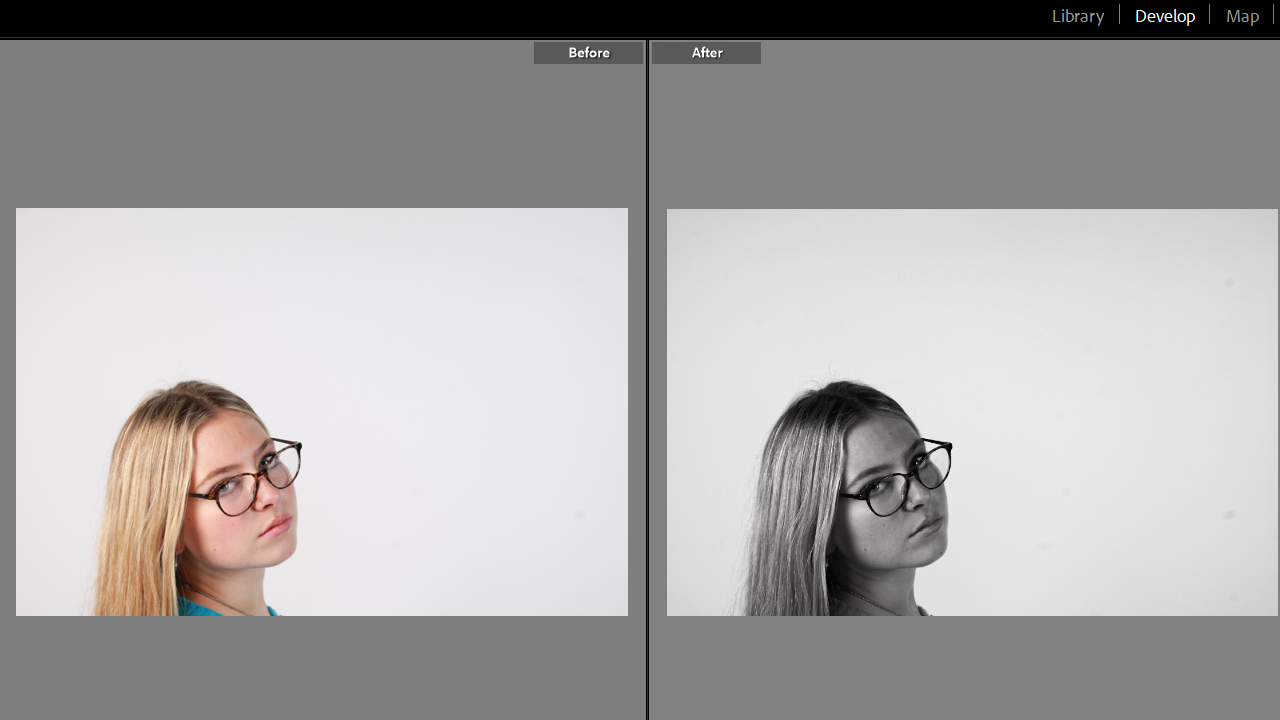
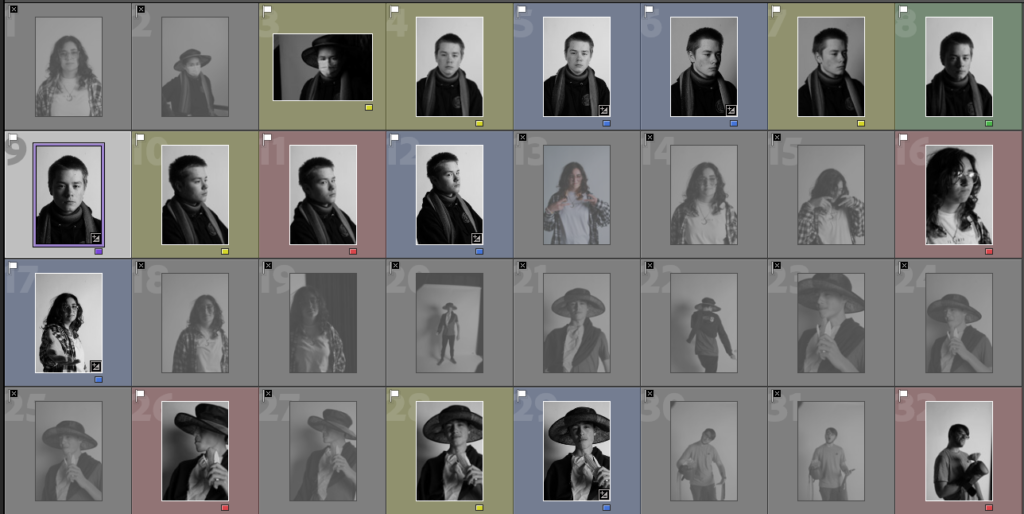
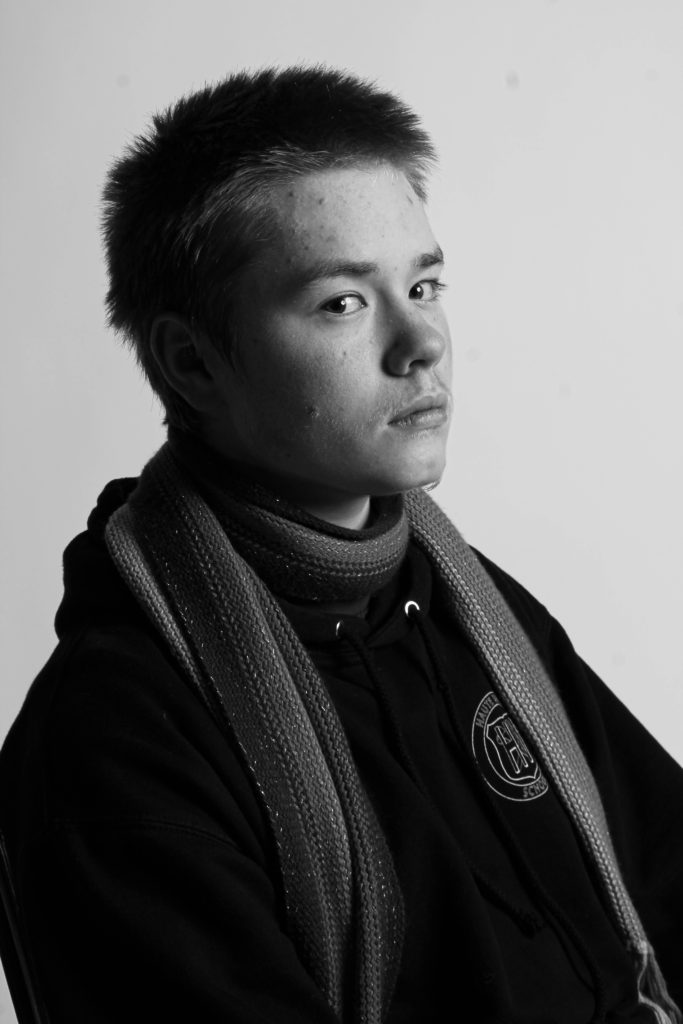
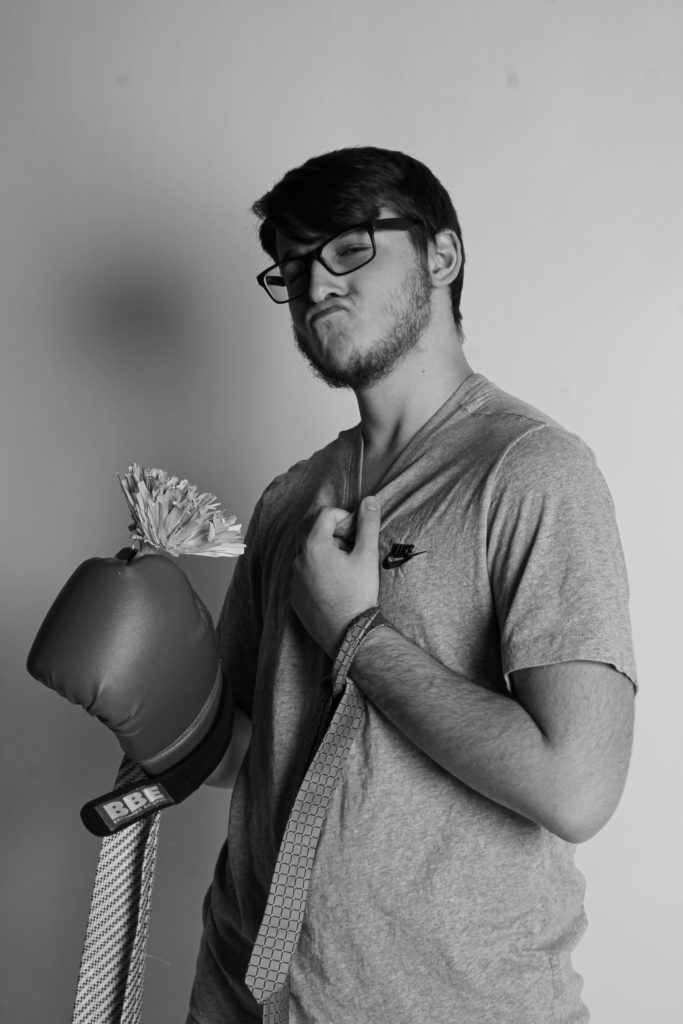
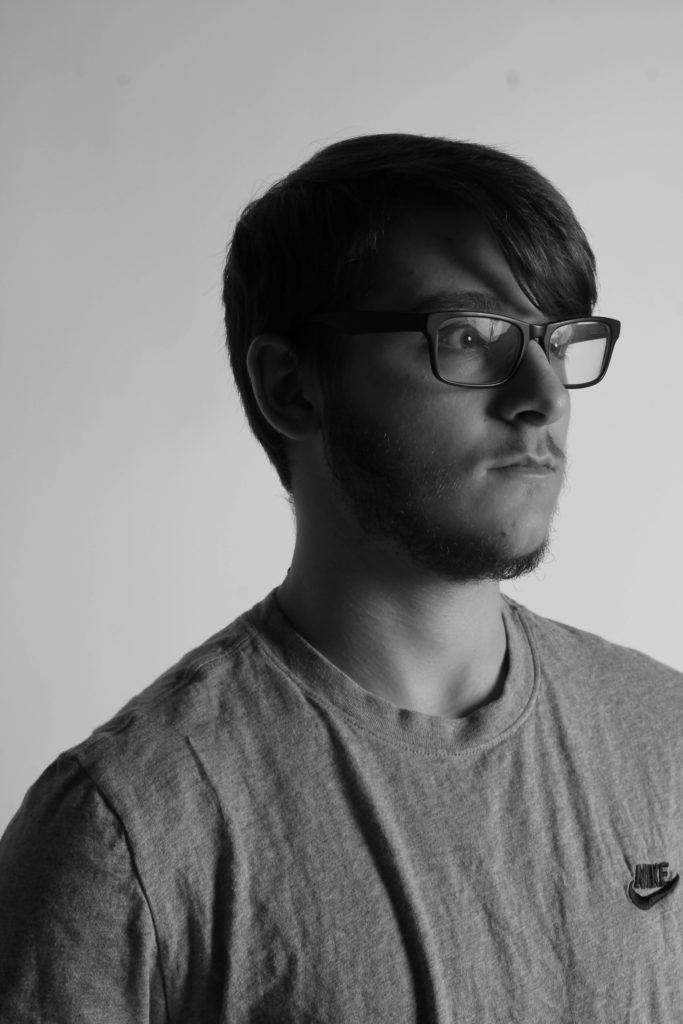
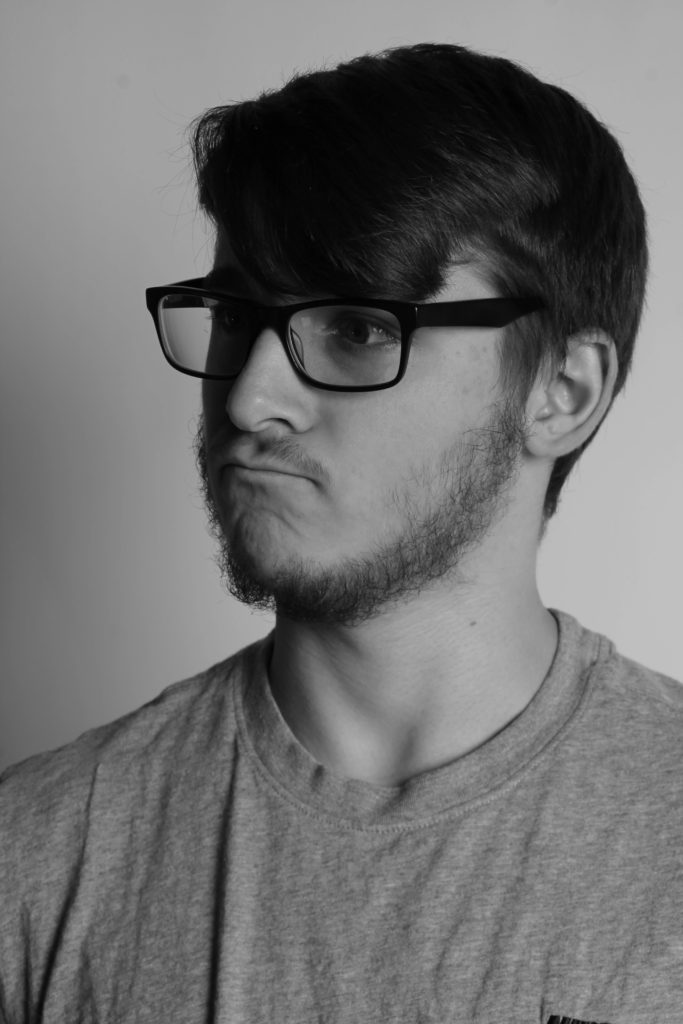
I took some headshots in black and white of four of my friends using a side light and rembrandt. For this they were either sat down on a stool or stood up. I took some pictures of them looking straight at the camera and some of them looking to the side. I also took some photographs from the waist up. We used different crops like scarves and hats in order to make the pictures look more interesting. If I were to re do this photoshoot I would make sure to take more images and use more lighting set ups, as well as camera set ups.
Contact Sheet
Final Edits
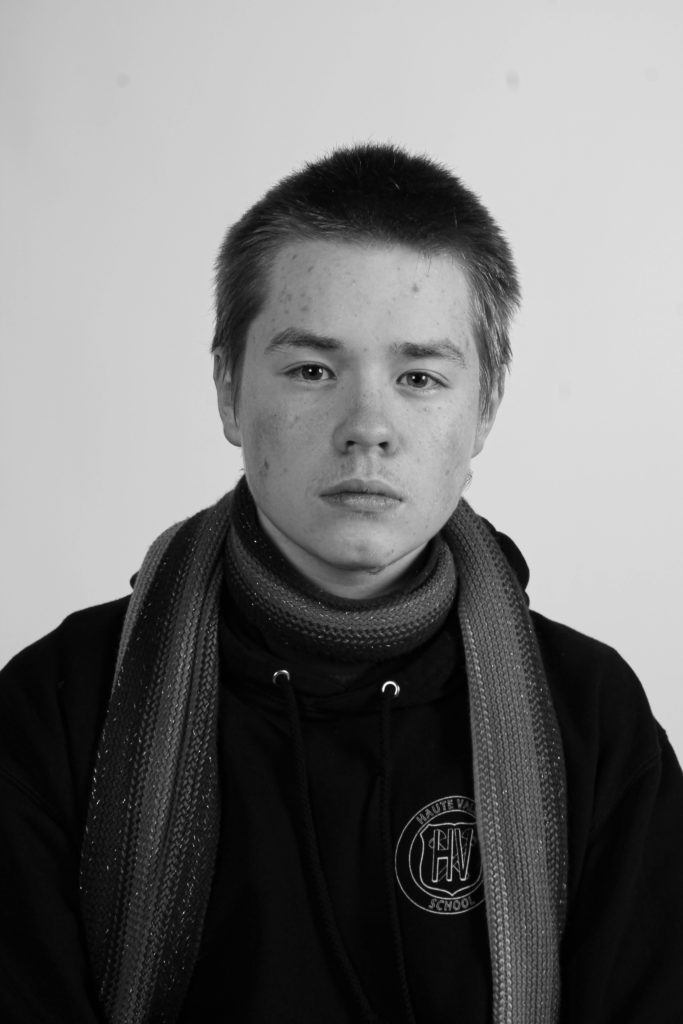
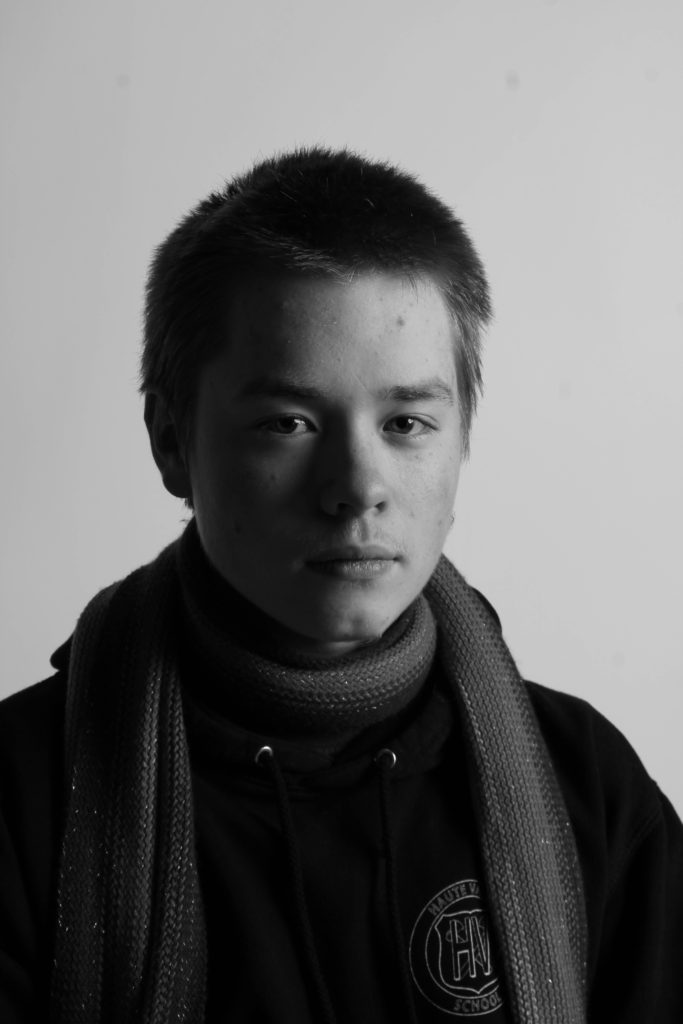
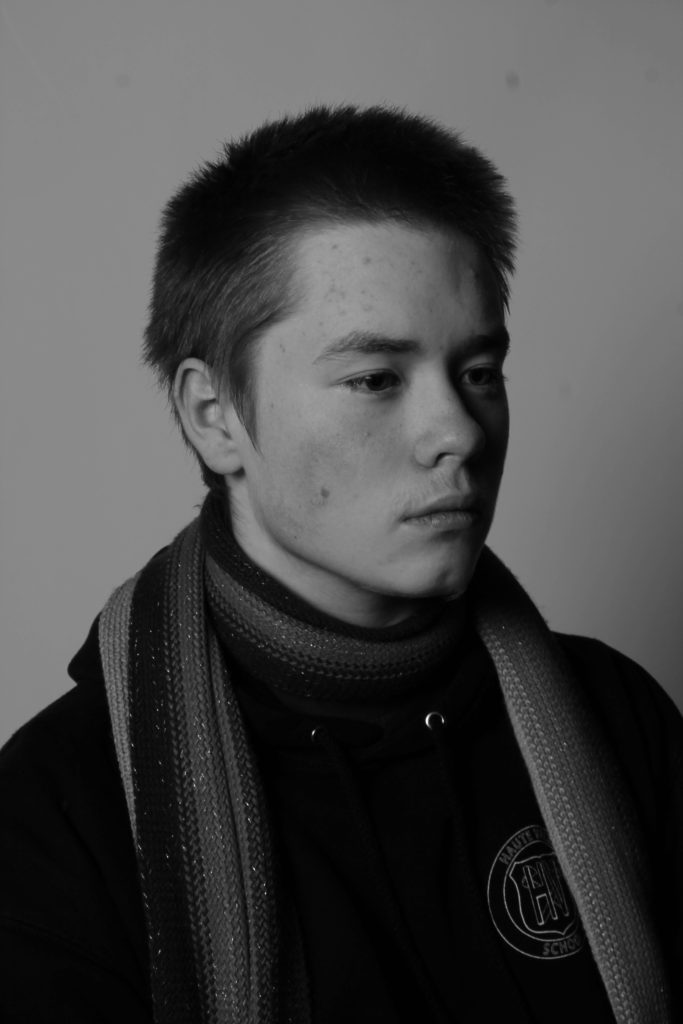
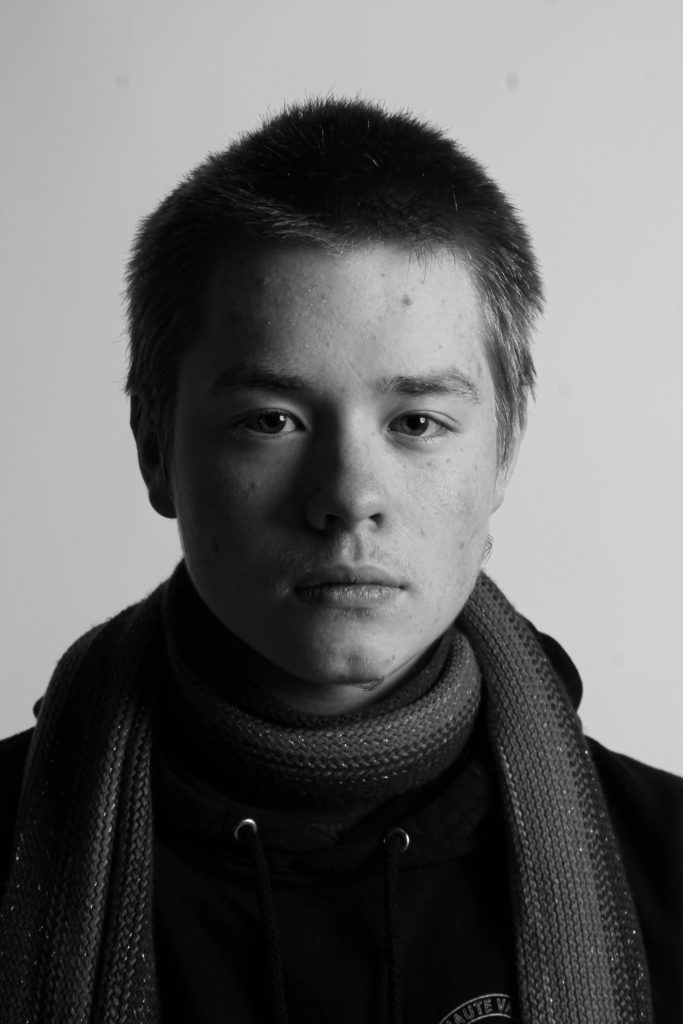
Camera settings (flash lighting)
Tripod: optional
Use transmitter on hotshot
White balance: daylight (5000K)
ISO: 100
Exposure: Manual 1/125 shutter-speed > f/16 aperture
– check settings before shooting
Focal length: 105mm portrait lens
Camera settings (continuous lighting)
Tripod: recommended to avoid camera shake
Manual exposure mode
White balance: tungsten light (3200K)
ISO: 400-1600 – depending on how many light sources
Exposure: Manual 1/60-1/125 shutter-speed > f/4-f/8 aperture
– check settings before shooting
Focal length: 50mm portrait lens
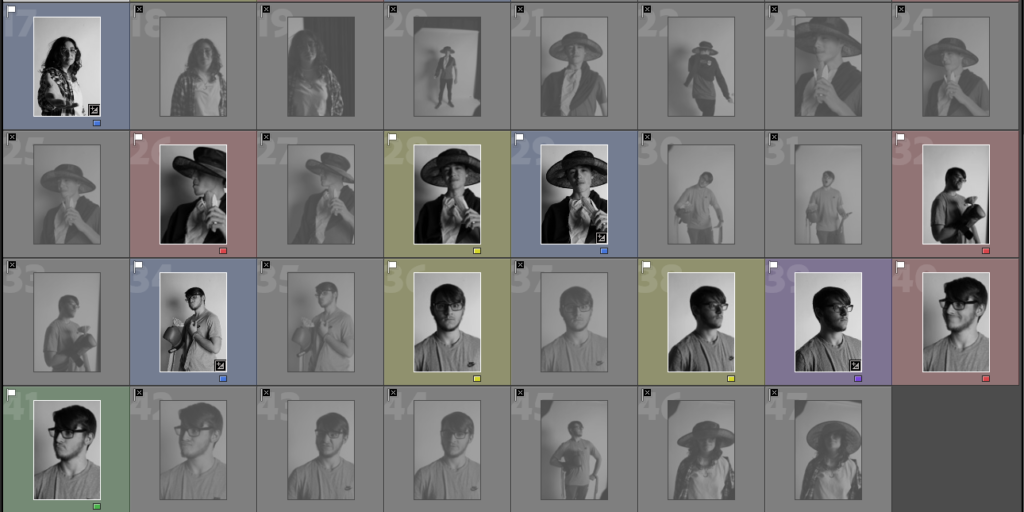
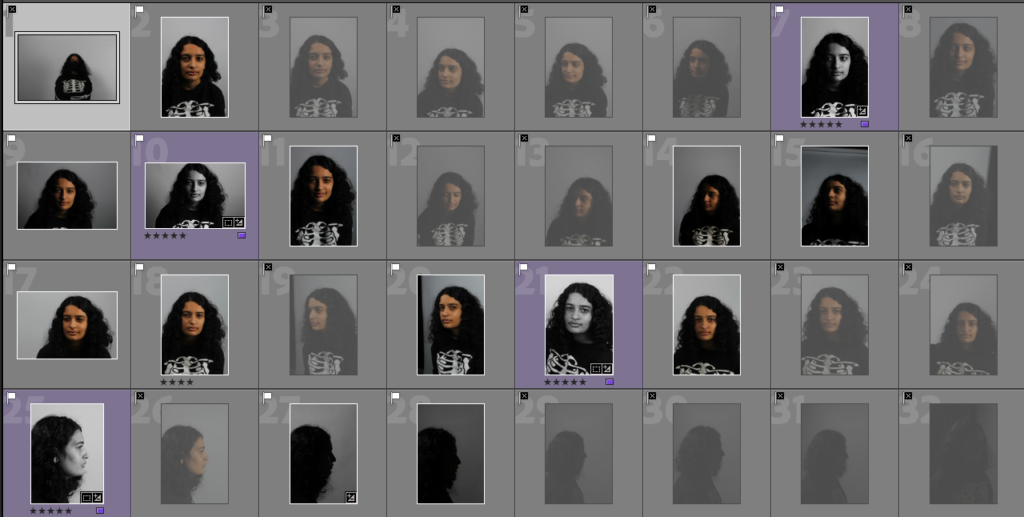
For my second photoshoot, I took full face photographs and side profiles, as well as some silhouettes. I also tried a different camera setup with a black background. If I were to re do this photoshoot I would spend more time on taking photos in order to have a bigger selection.
Contact Sheet

Final Edits
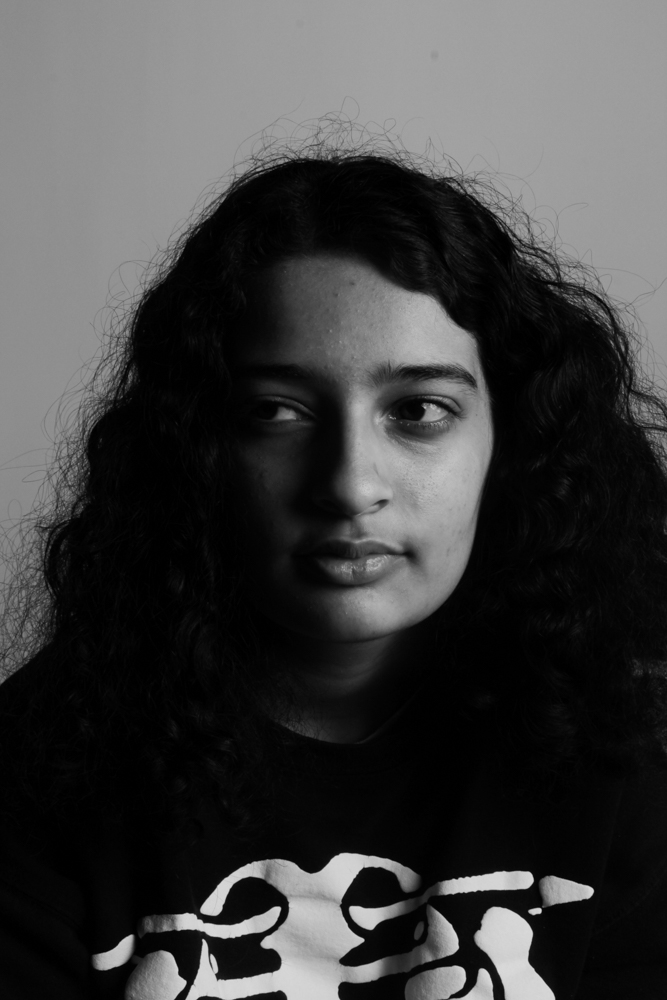
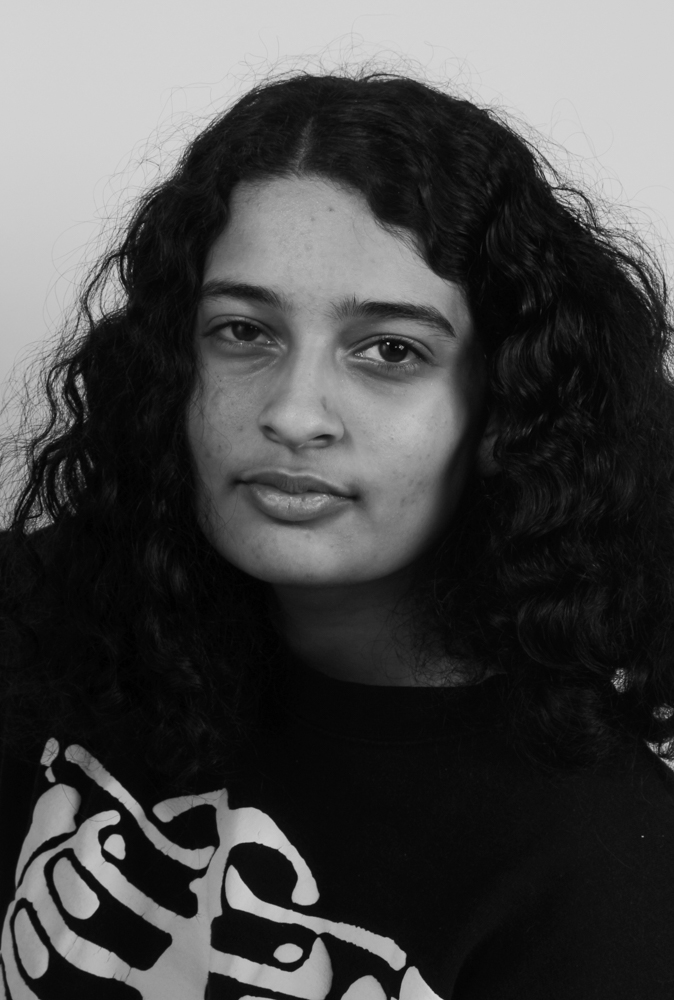
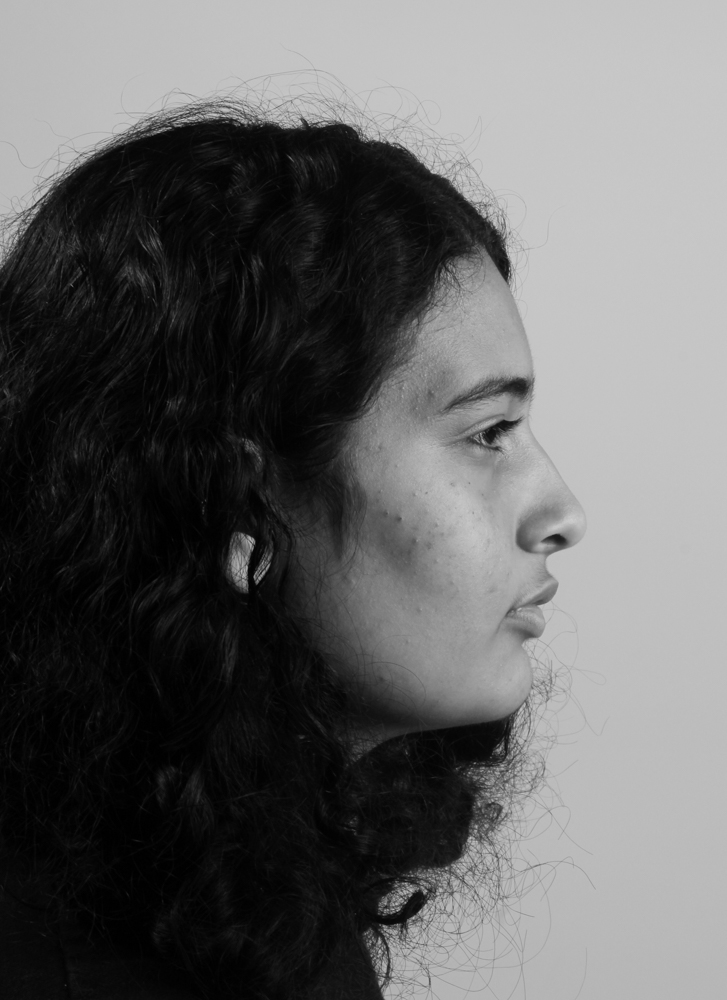
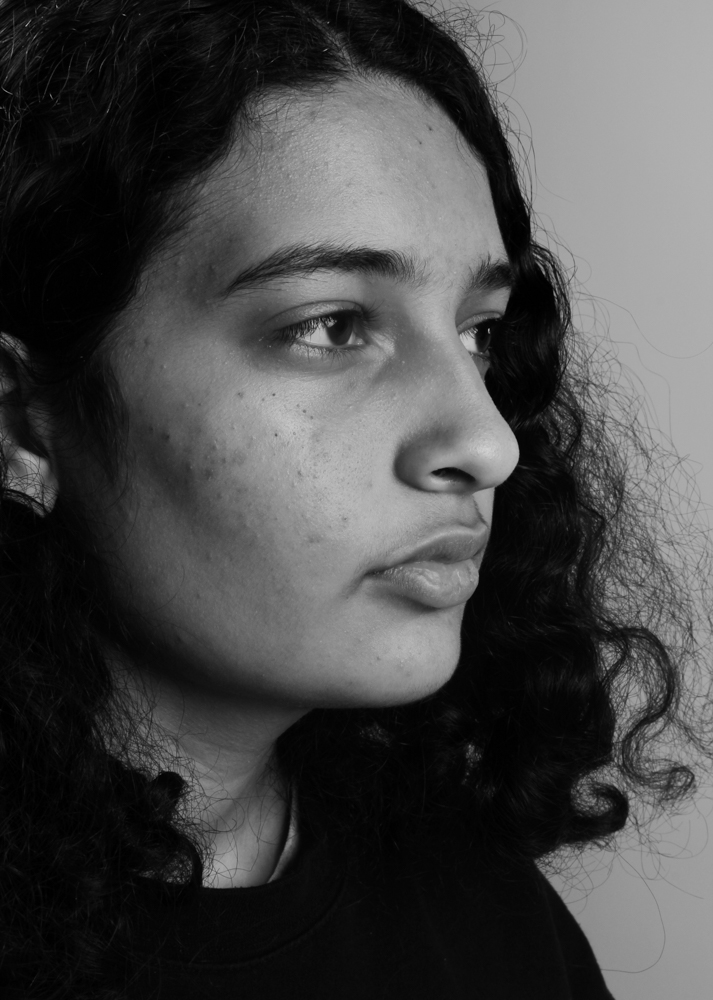
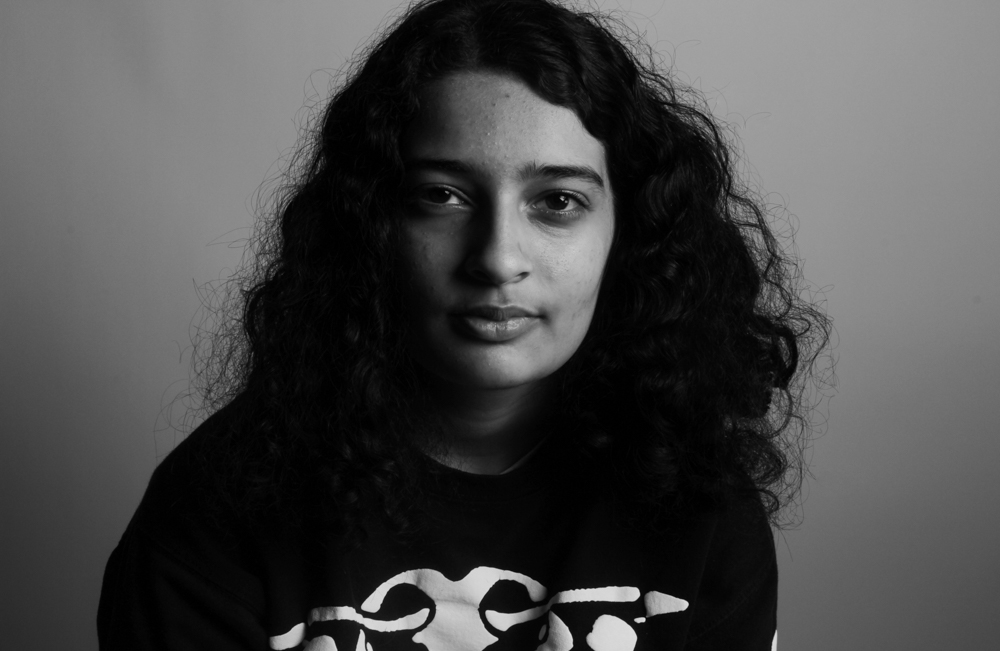
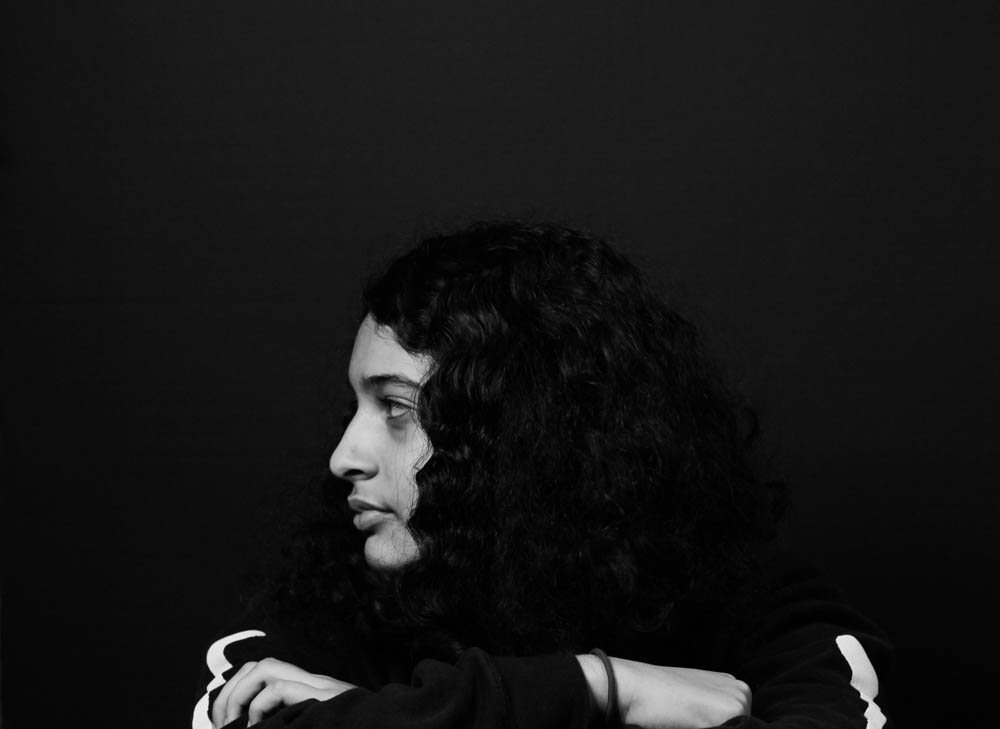
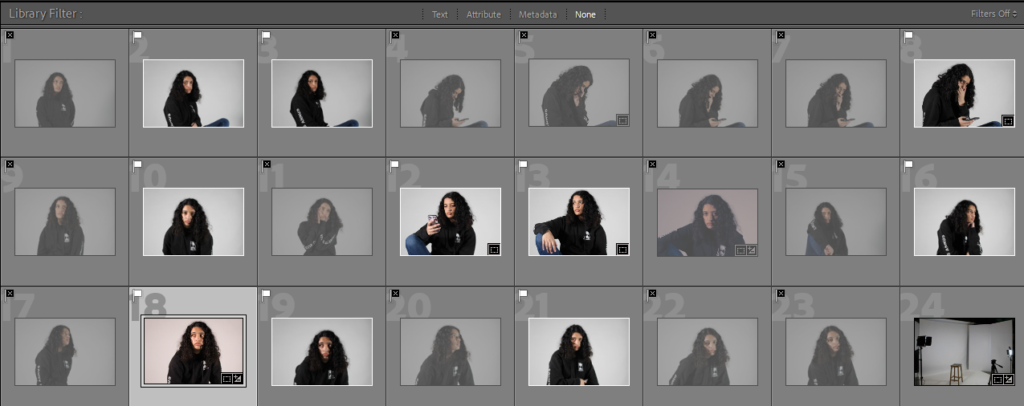
I carried out a photoshoot using 2 point lighting, a lighting setup that includes a Key Light and a Fill Light. The Key light is for the basic lighting, whilst the fill light is used to fill in shadows out of reach of the Key light. These two lights are placed opposite each other so the subject is lit from both sides.
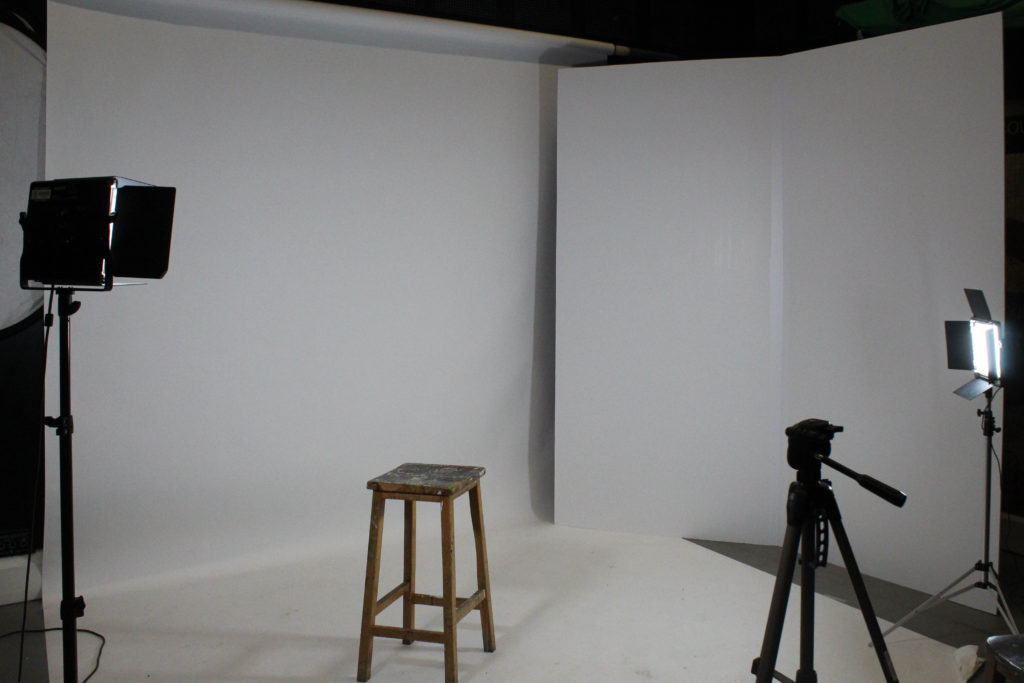
Because I did not have someone else in the studio with me, I set up my camera so my phone could be used to as a remote to take the shots.
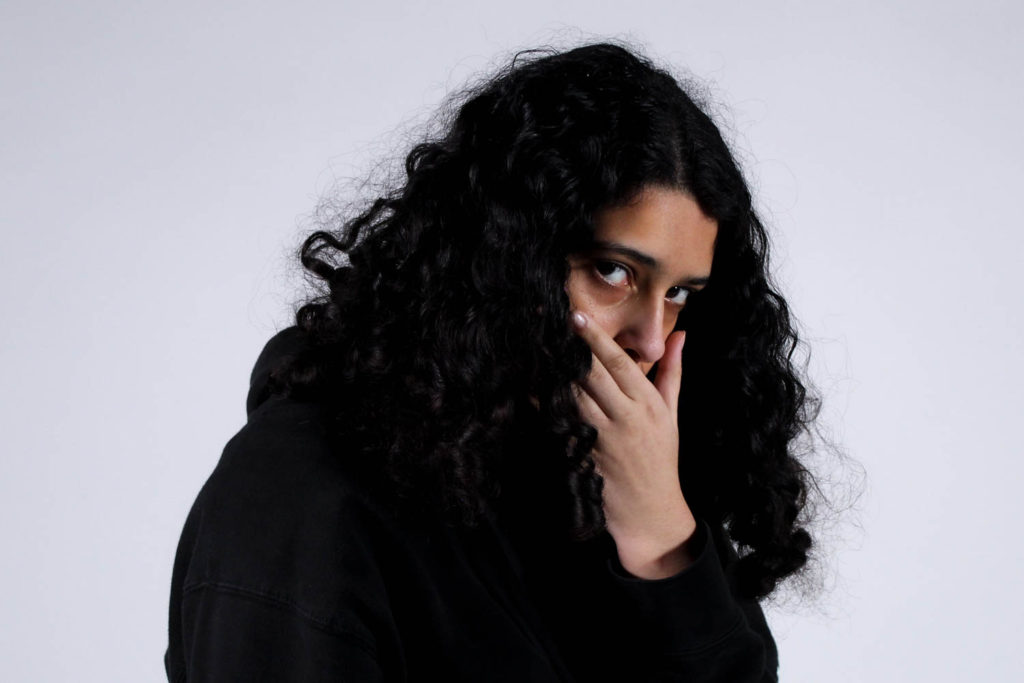
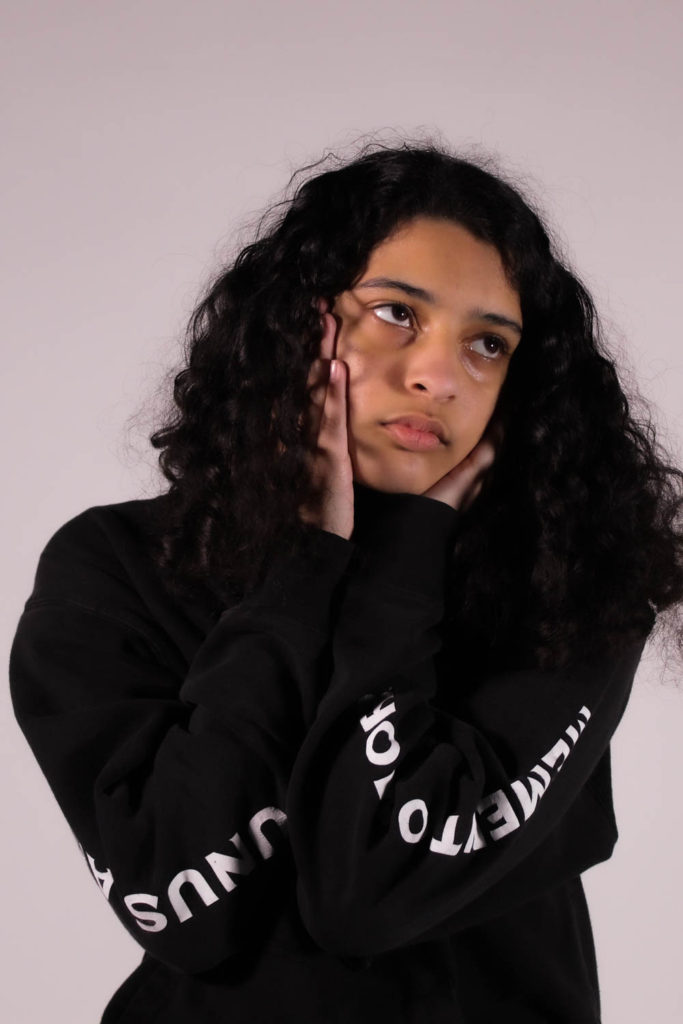
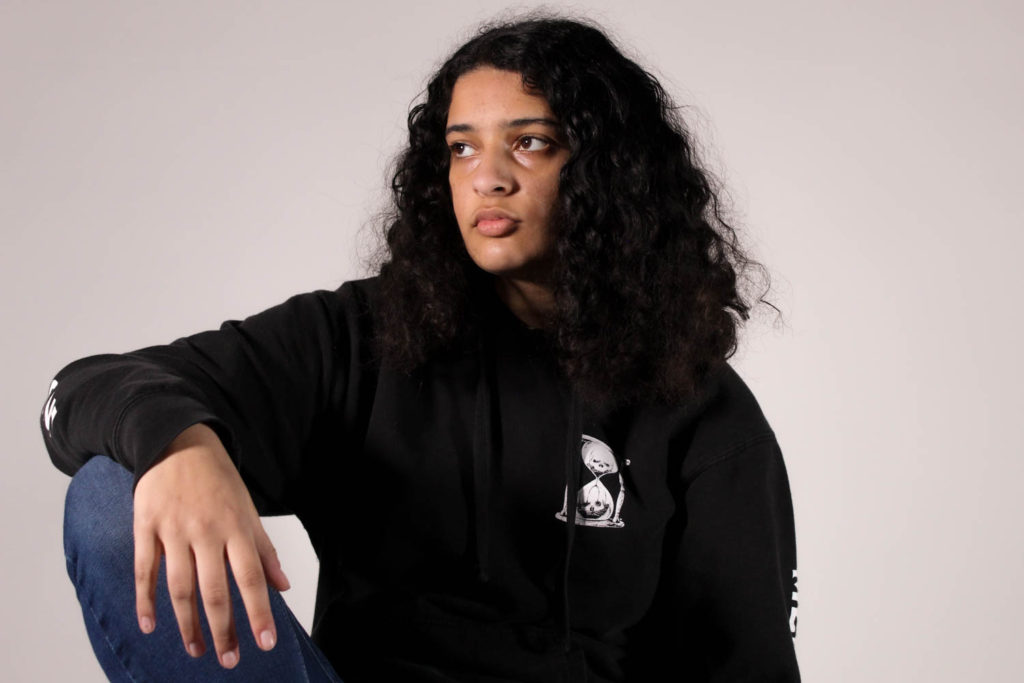

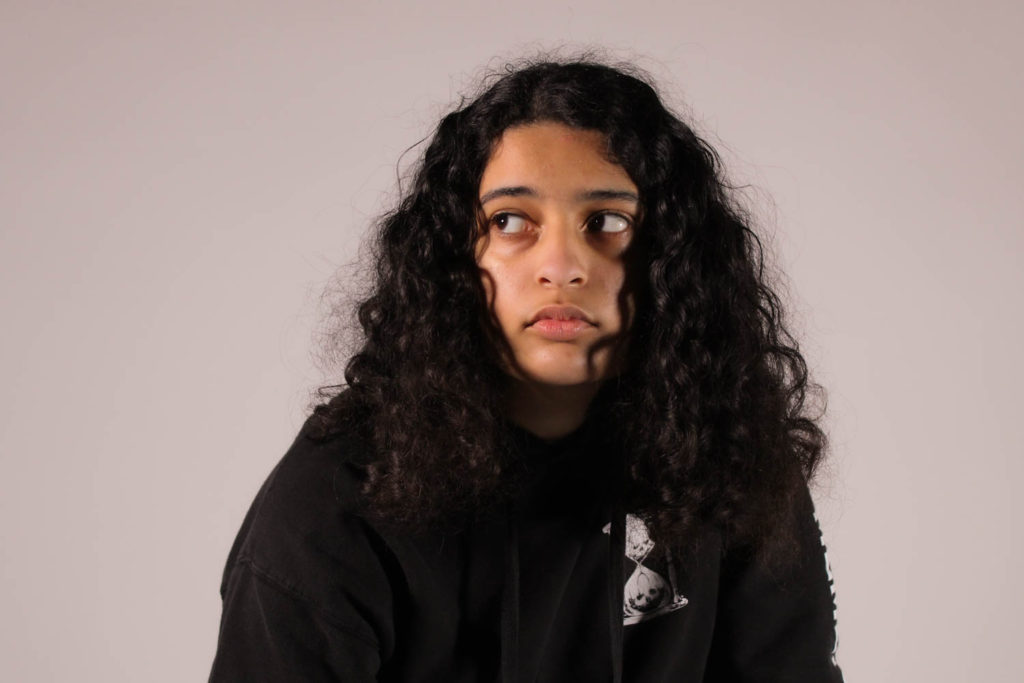
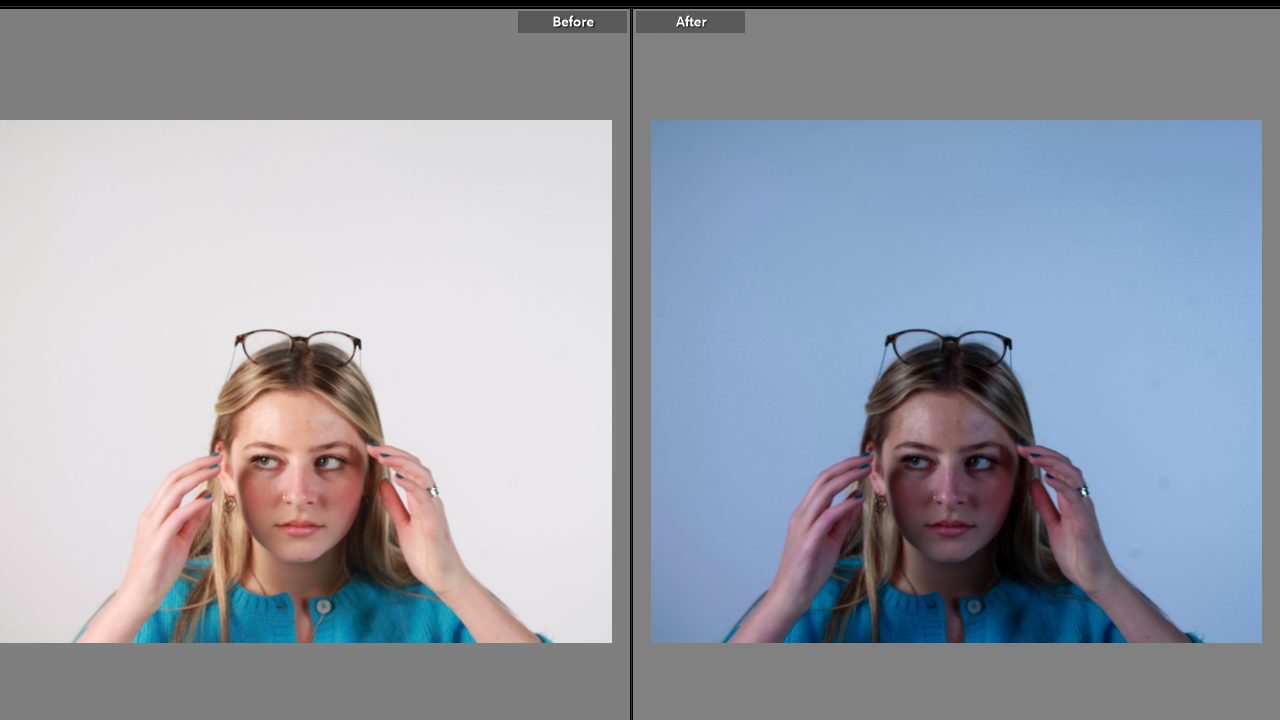
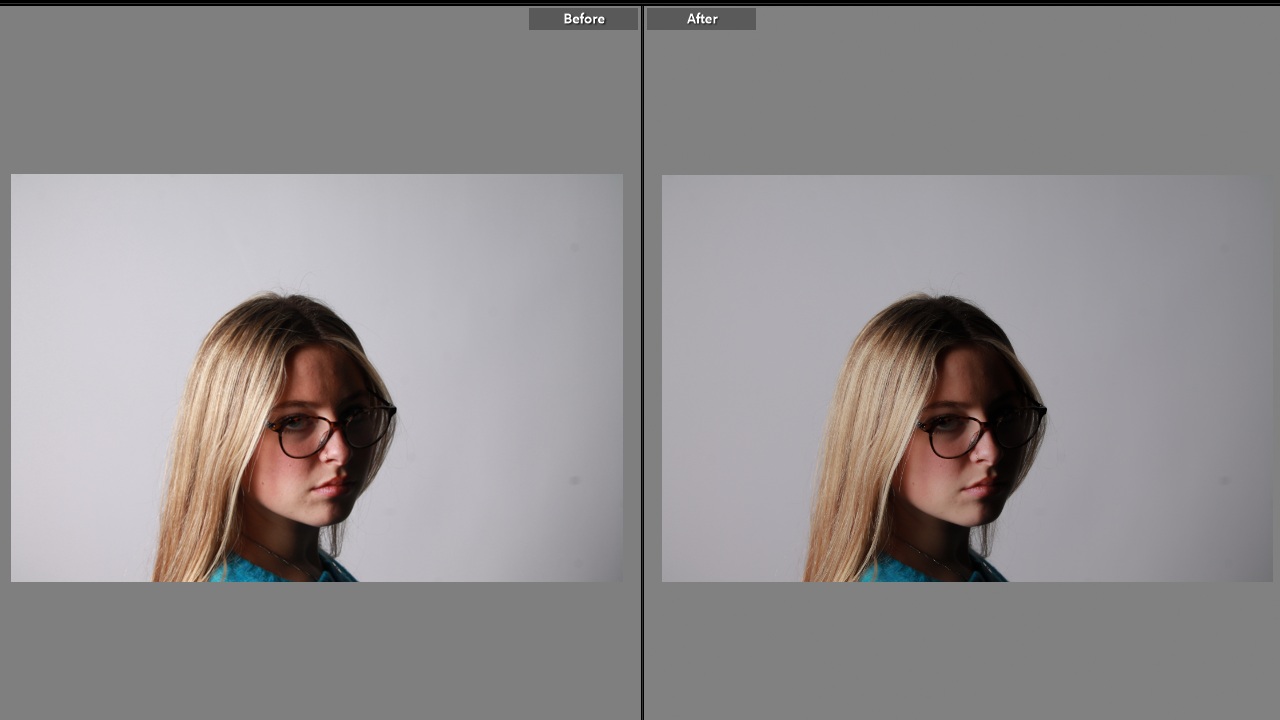
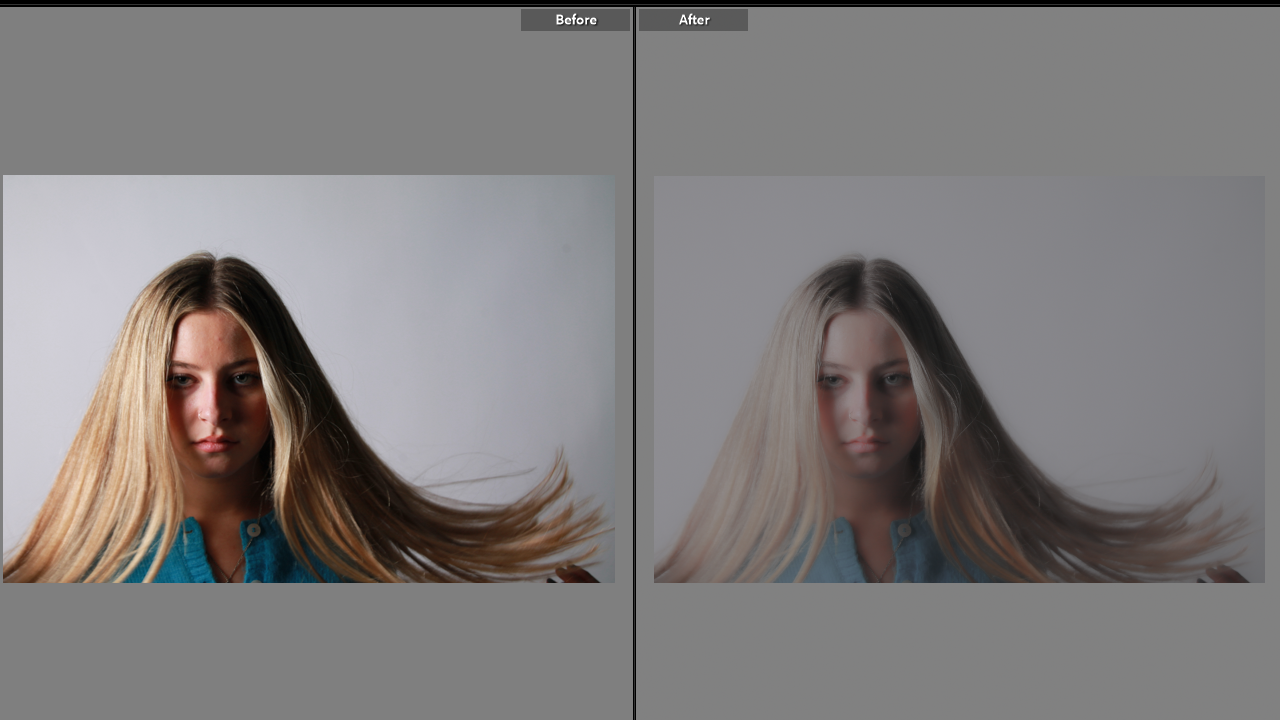
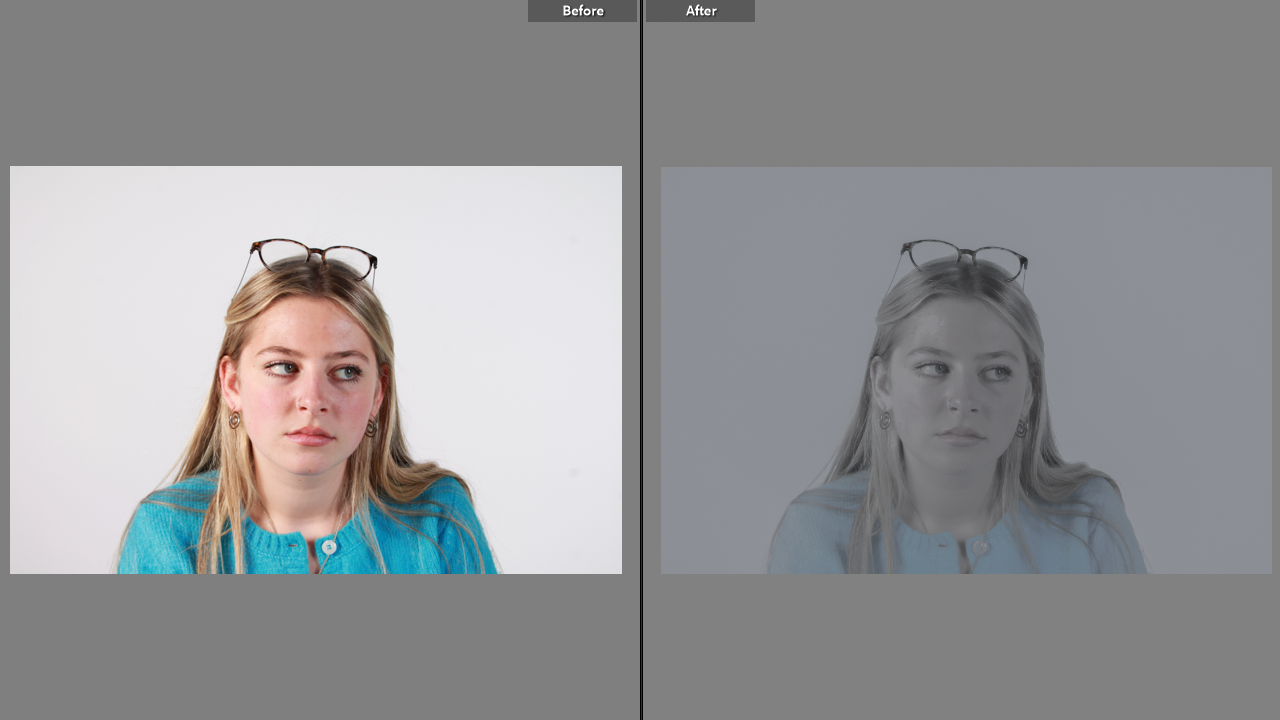
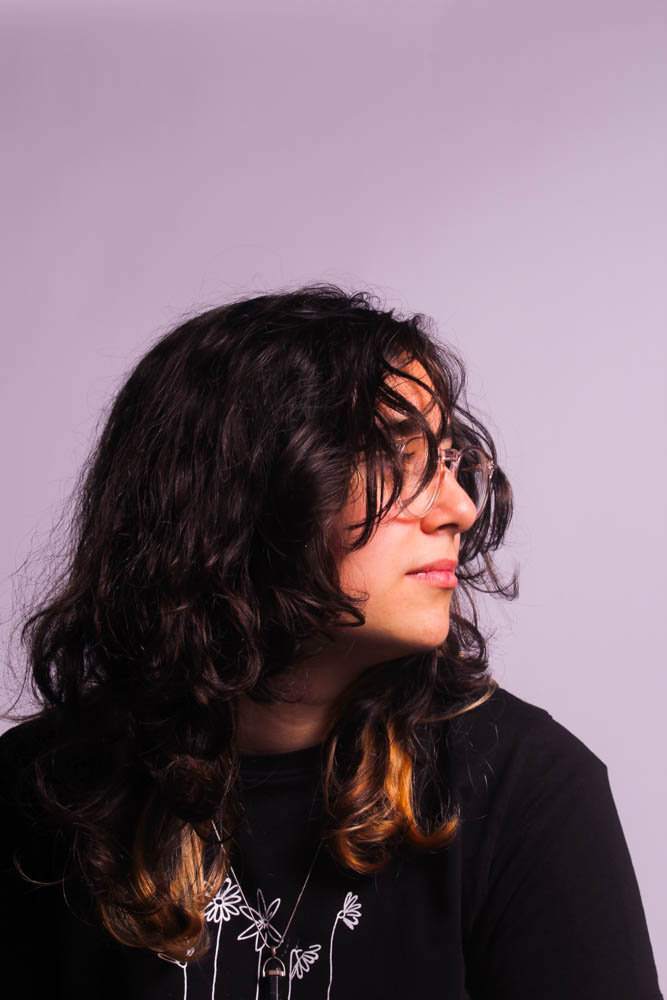
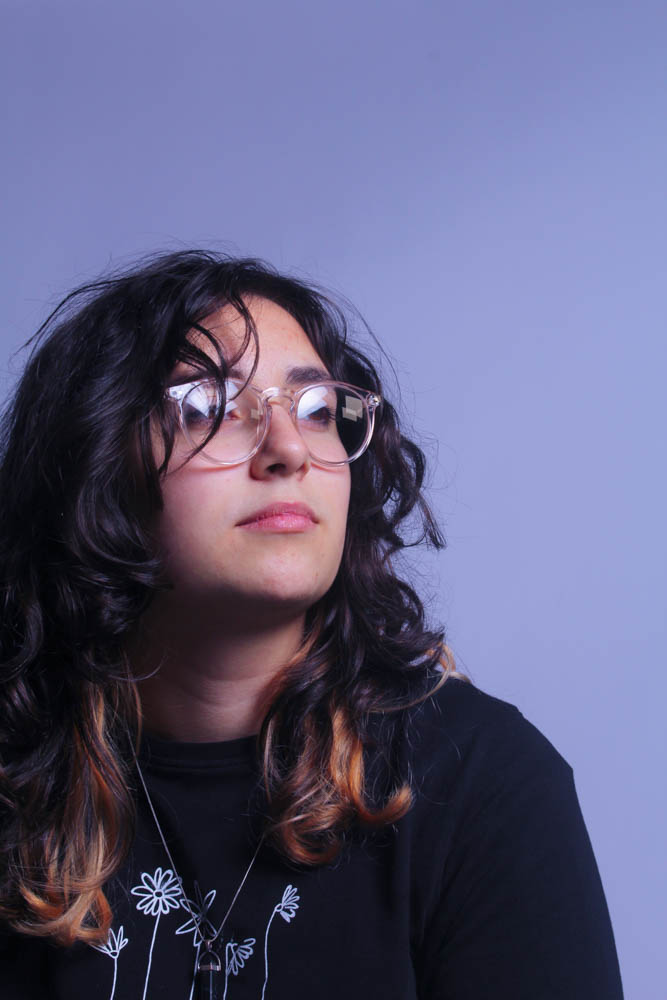
My Final Images- I edited them slightly, adjusting the colour balance to make them warmer or cooler depending on the mood I felt fit best.
Camera settings (flash lighting)
Tripod: optional
Use transmitter on hotshot
White balance: daylight (5000K)
ISO: 100
Exposure: Manual 1/125 shutter-speed > f/16 aperture
– check settings before shooting
Focal length: 105mm portrait lens
Camera settings (continuous lighting)
Tripod: recommended to avoid camera shake
Manual exposure mode
White balance: tungsten light (3200K)
ISO: 400-1600 – depending on how many light sources
Exposure: Manual 1/60-1/125 shutter-speed > f/4-f/8 aperture
– check settings before shooting
Focal length: 50mm portrait lens
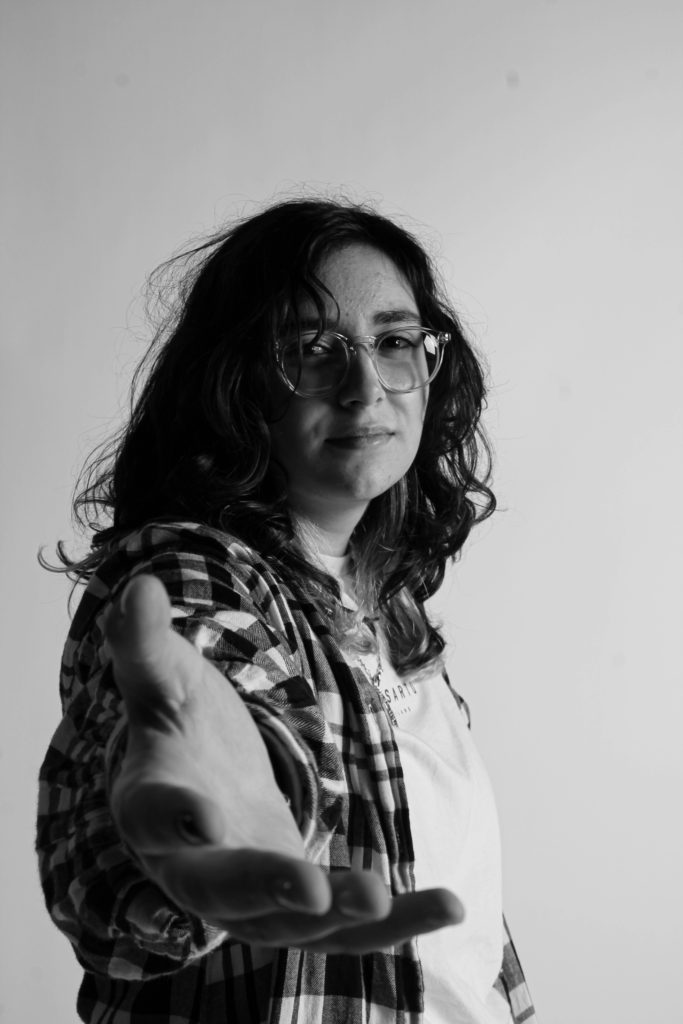
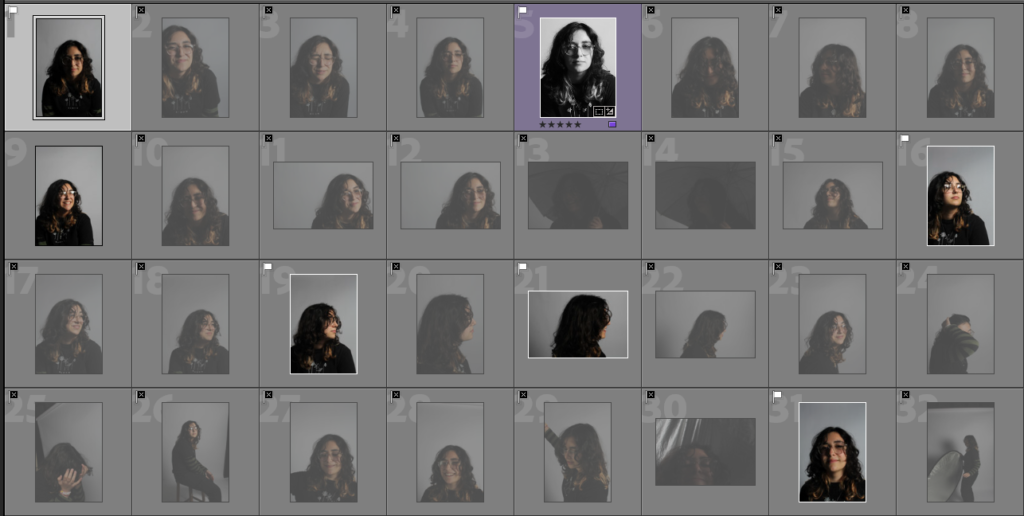
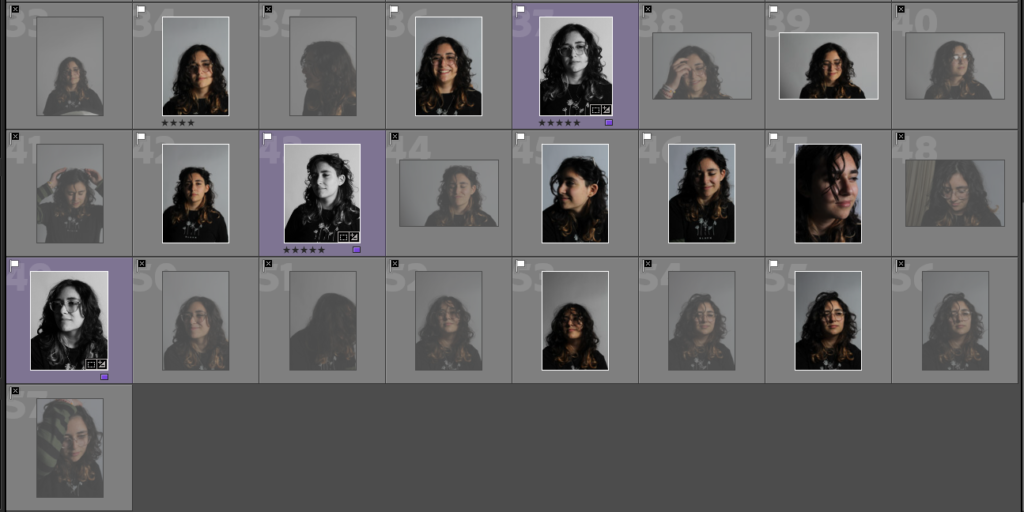
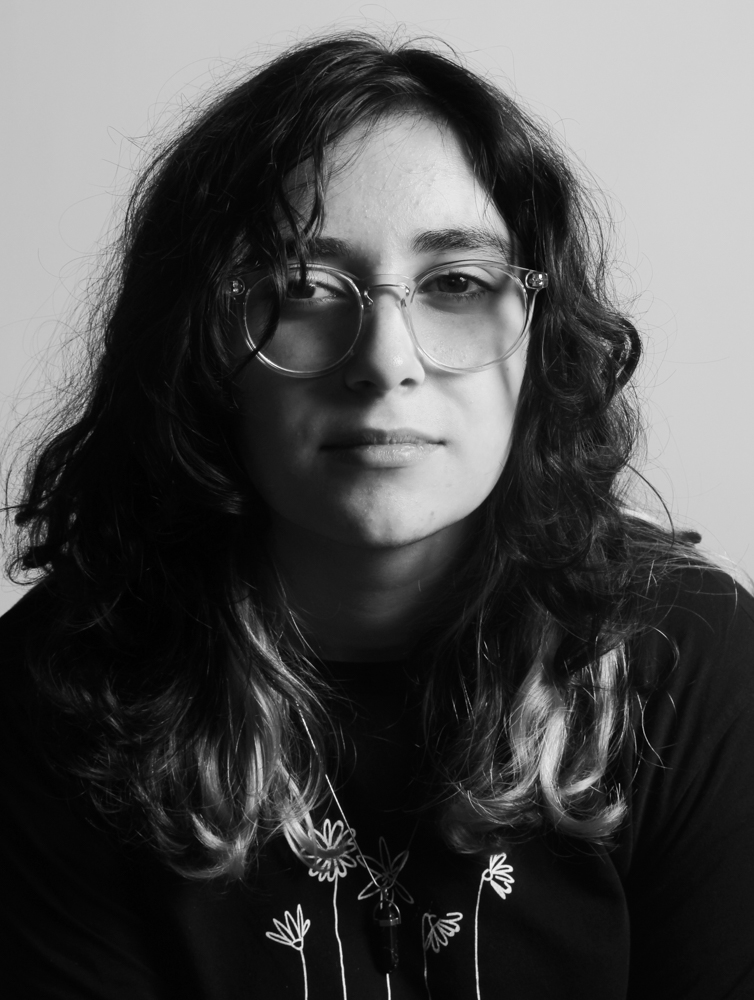
During my first photoshoot, I focused more on the whole face and used a side light. My model sat on a chair and I took pictures of them while they looked straight at he camera and sometimes to the side. I tried keeping it simple and in the style of Oliver Doran by using only one lighting set up. If I were to re do this photoshoot I would make sure to take more images so that I can have a bigger range of options. I would also try different set ups and more poses.
Contact Sheet – 1st Photoshoot
Final Edits
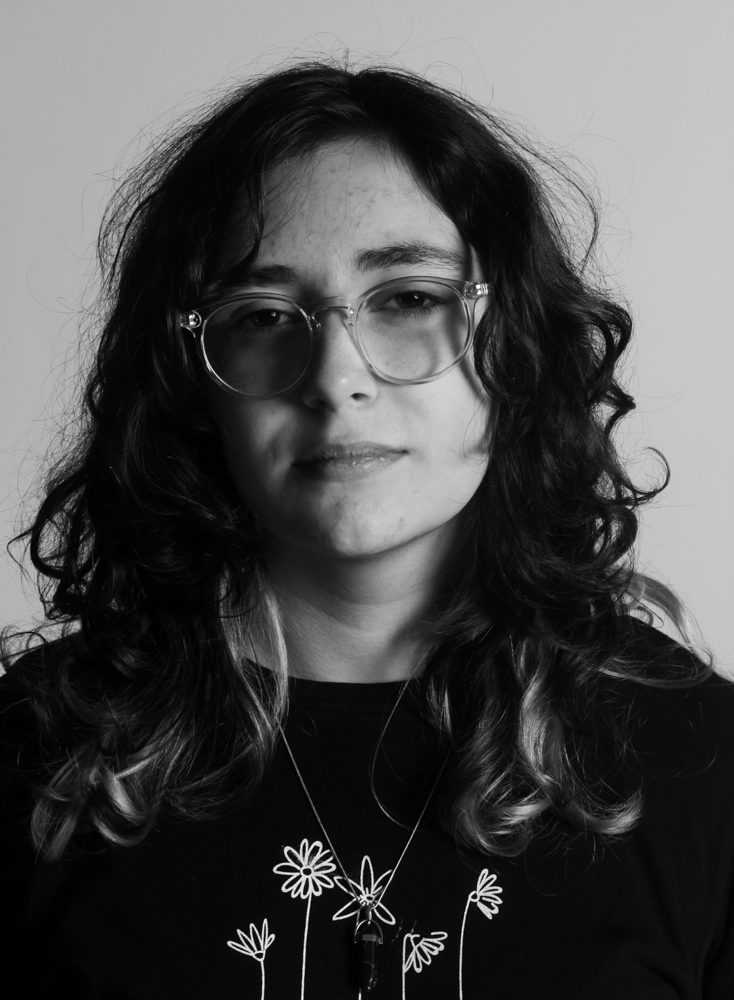
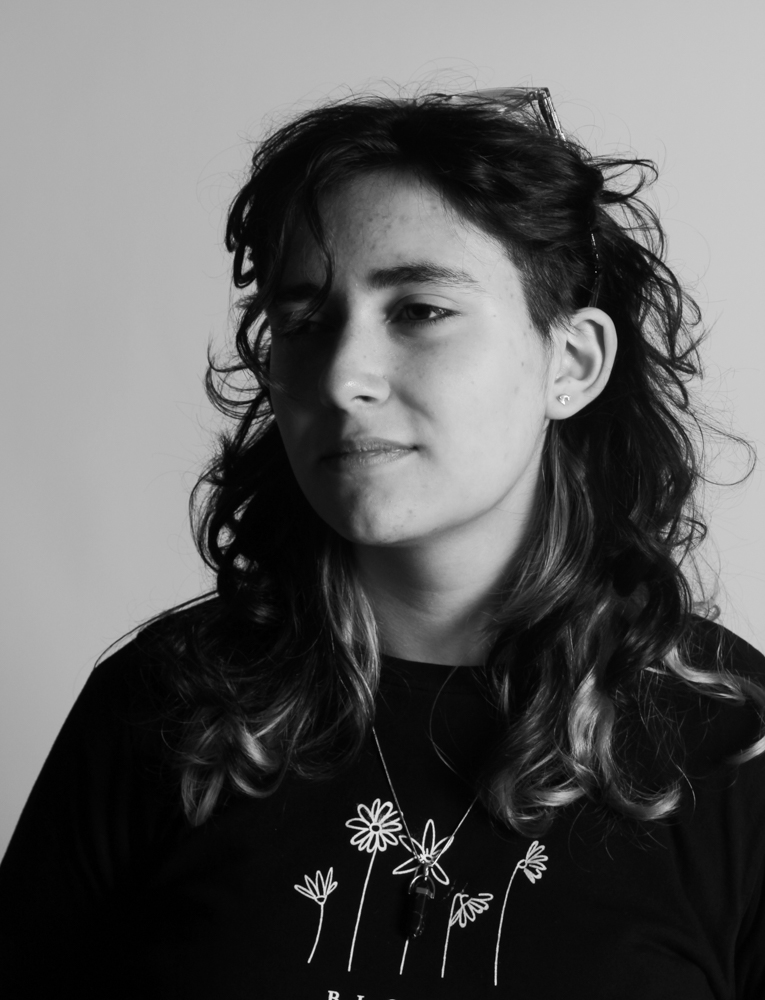
Oliver Doran had come to show us and teach us how to get the best lighting and angles for taking a portrait, he also showed us how to make the subjects feel comfortable by interacting with them before he took their portrait. Oliver demonstrated how to use 1,2 and 3 point lighting to create portraits that made the model look best, along with putting the images in black and white. Furthermore, he showed us how to angle models to suit their facial features and how light can create shapes on the face such as the butterfly effect, which is when shadows are created under the nose.
Rineke Dijkstra
Rineke Dijkstra is a contemporary Dutch photographer. Known for her single portraits, usually working in series, she often focuses on particular groups and communities of people, such as mothers, adolescent and teenage boys and girls, soldiers, etc., with an emphasis on capturing the vulnerable side of her subjects.
Dijkstra is particularly concerned with the representation of youth and the transition to adulthood. Her portraits bear witness to the social pressures made visible on the bodies and faces of her subjects. Dijkstra often works in series, building upon the accumulation of detail and careful attention to minute differences in pictures taken months or years apart
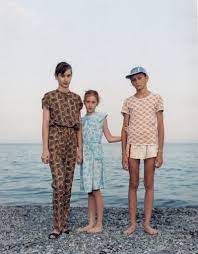
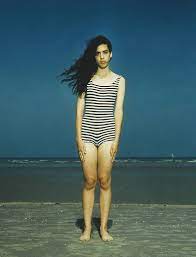
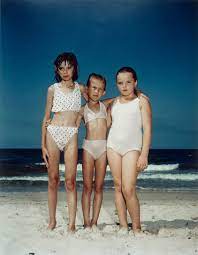
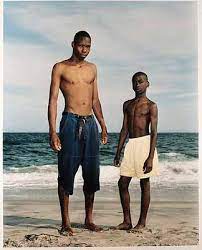
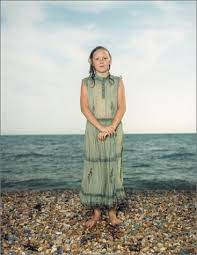
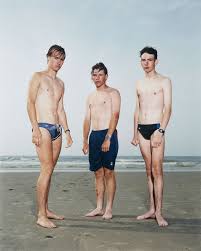
Dijkstra’s seminal series, Beach Portraits (1992–1994), is composed of life-sized colour photographs of young teenagers in bathing suits taken on both American and European beaches.
Dijkstra also did another series called Olivier (2000–03), which consists of seven formal portraits that follow a young man from the day he joins the French Foreign Legion to the day he graduates. Dijkstra had initially conceived the series to focus on a group of new recruits, but as they began to drop out of the project she decided to focus on Silva alone, who ‘stood out because he was so young and because the changes in him were so visible’
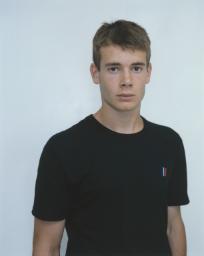
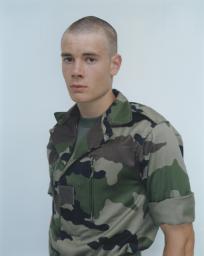
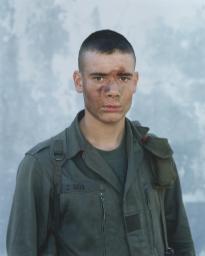
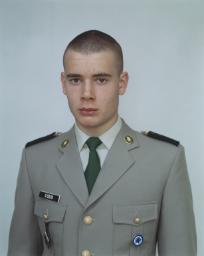
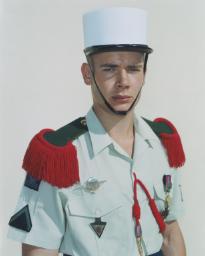
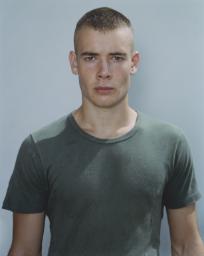
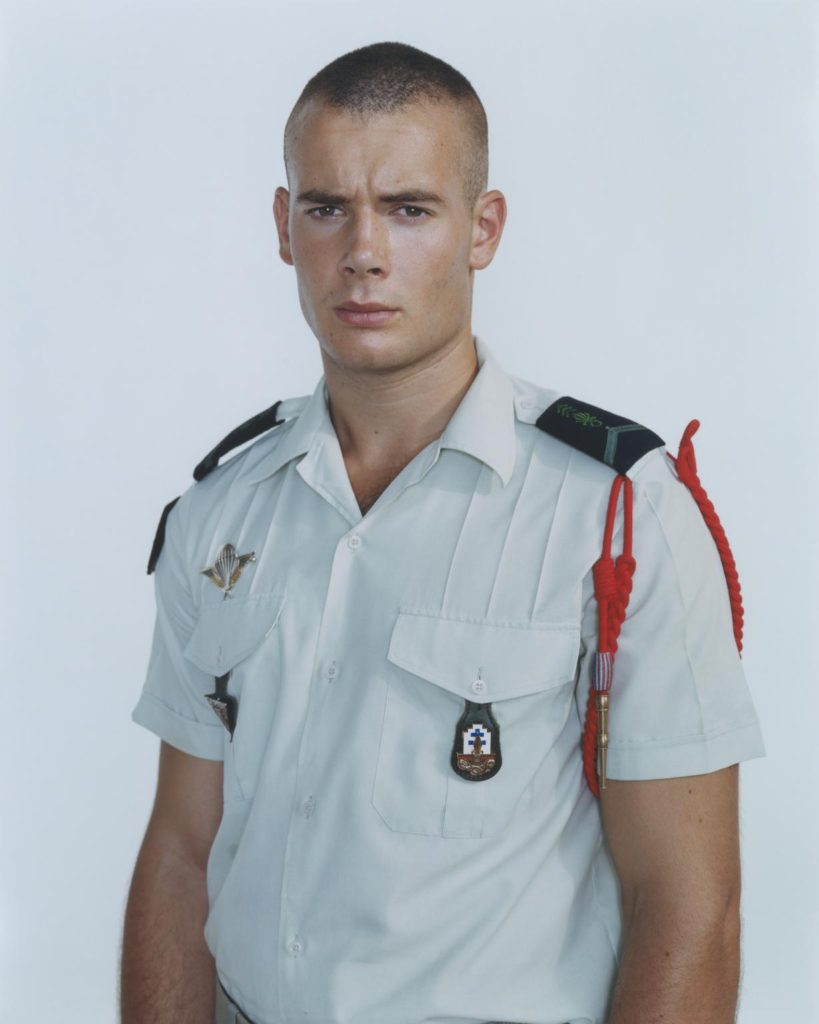
“With young people, everything is much more on the surface—all the emotions,” the artist observed. “When you get older you know how to hide things.”
Rineke Dijkstra has also been the subject of numerous solo exhibitions, including “Rinkeke Dijkstra: A Retrospective,” which was shown at both the San Francisco Museum of Modern Art and the Solomon R. Guggenheim Museum in 2012. She currently lives and works in Amsterdam, Netherlands. Today, her works are held in the collections of the Tate Gallery in London, the National Gallery of Art in Washington, D.C., the Goetz Collection in Munich, and the Walker Art Center in Minneapolis, among others.
In Rineke Dijkstra Oliver series which consisted of her following a young boy from the start of his journey in the French Foreign Legion to the day he graduates. In these 7 photos you can see how much he has changed and grown into his surroundings from 2000-2003. I like how she pictures him in his different uniforms showing the different parts of the job he would be having to do. In the 3rd photo it looks like he has either dirt or paint on his facing which could mean he has just come back from training giving the impression that they are not scheduled photos that he gets cleaned and dressed up for.
My Portraits
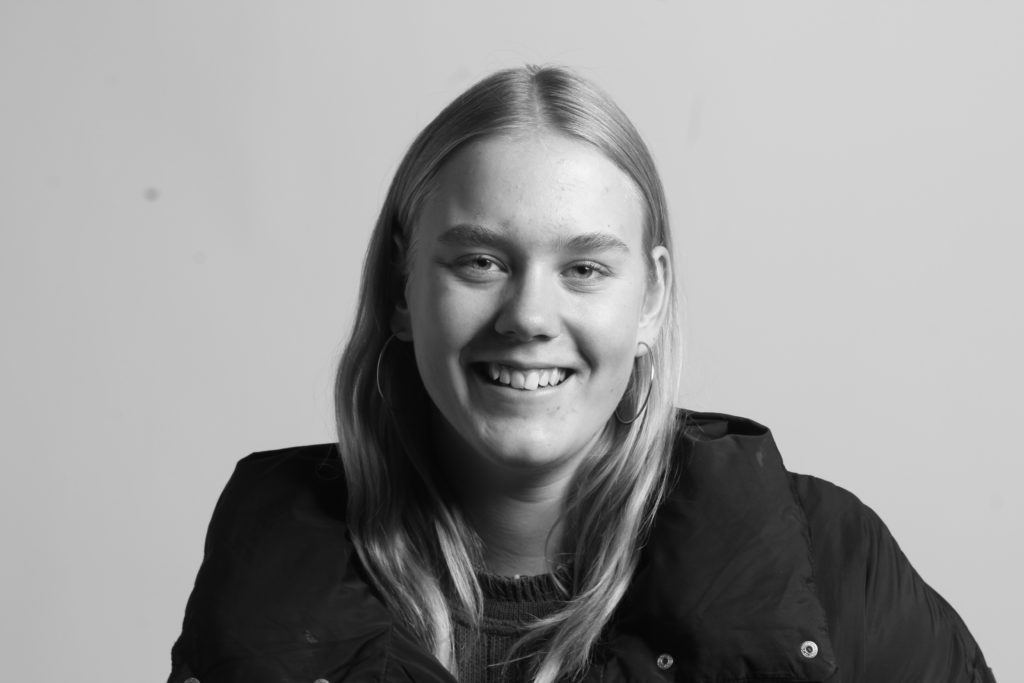
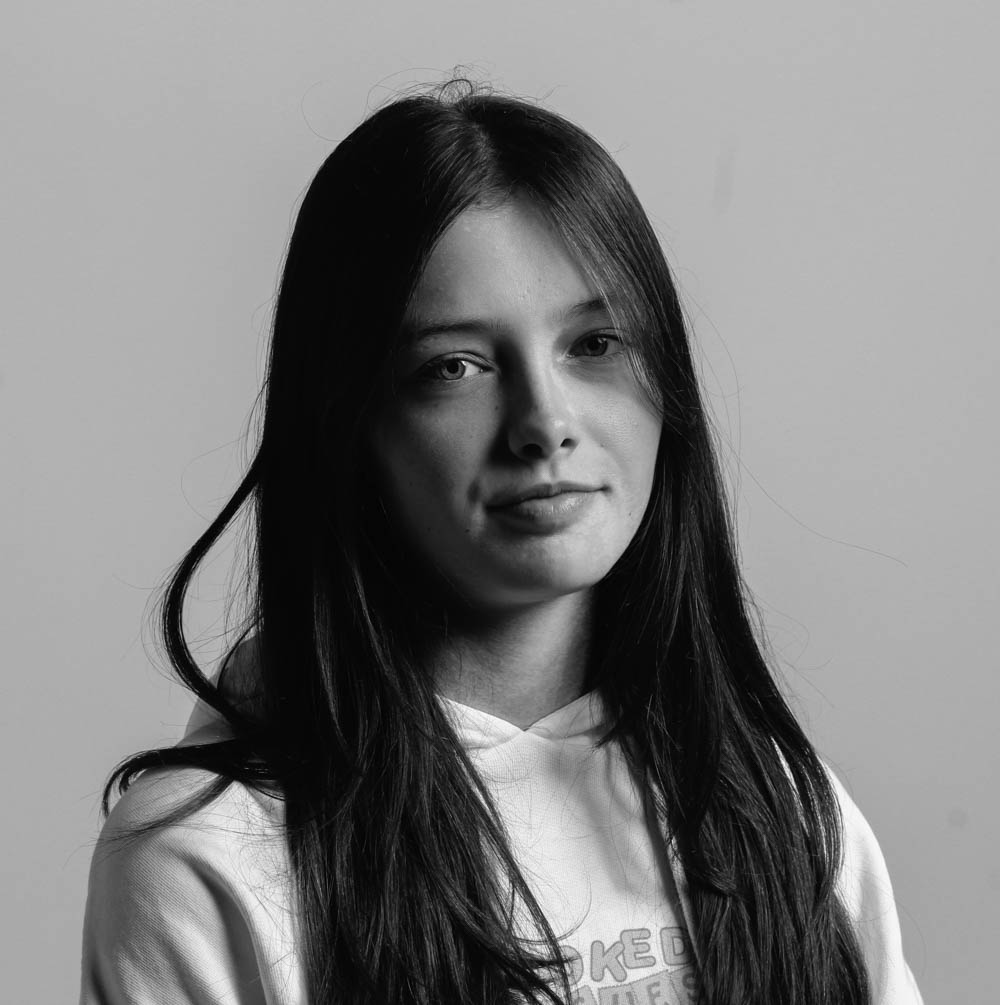
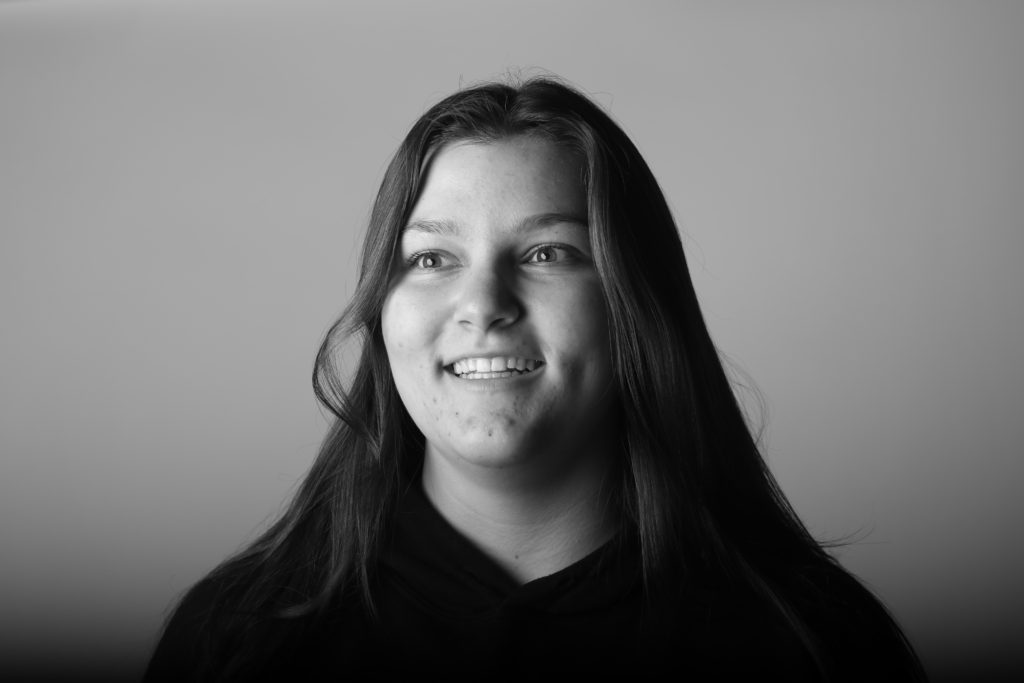
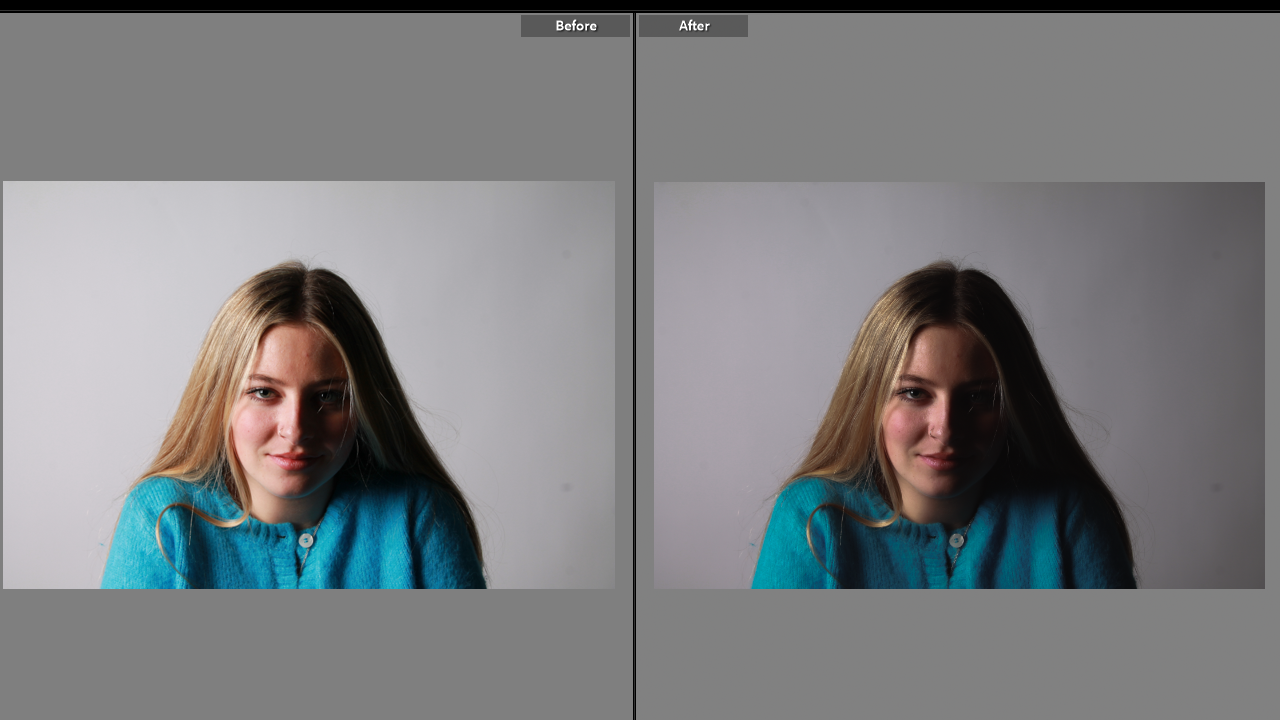
I have attempted to portraits after Oliver Doran had showed us how to used the correct lighting and angles so that we could get different shadows or no shadows at all. In the photos above I like how they have shadowing on the face but none on the background. I think it helps the viewer to focus more of the person and less on what’s around them. Also in all the images there are darker elements which contrast with the lighter background making the photos ‘pop’.
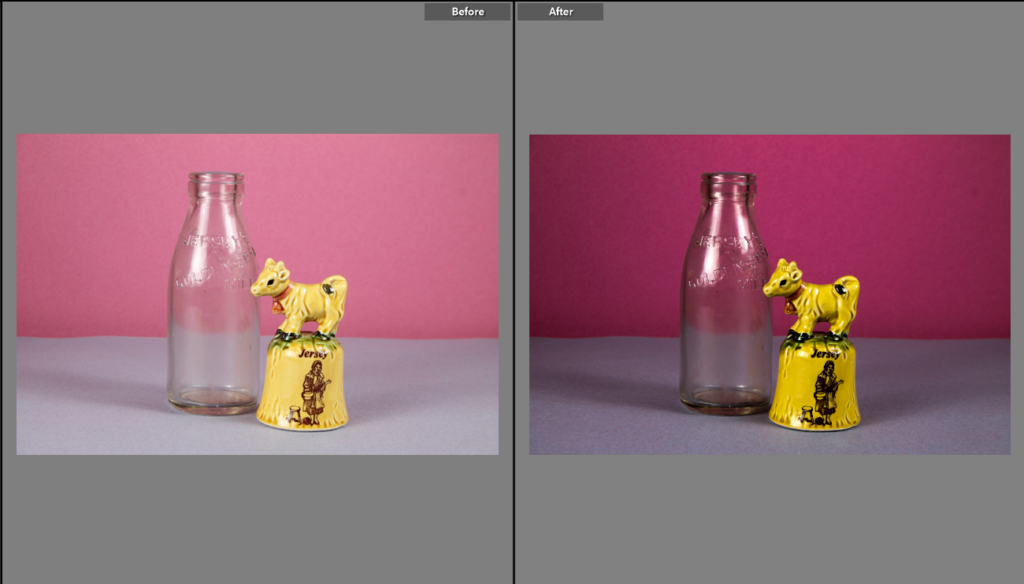
This before and after show that I have edited to bring out the shine of the bottle and the bright yellow of the cow.
