All posts by Zara Currie

Filters

Author:
Category:

my rock- final outcomes and virtual gallery

Final Images

Below I have included a range of my final outcomes, including photographs and a vital gallery. This is good to show as it includes images from all of different photoshoots, including some images and then the virtual gallery to show just some of my final images in an arrangement.

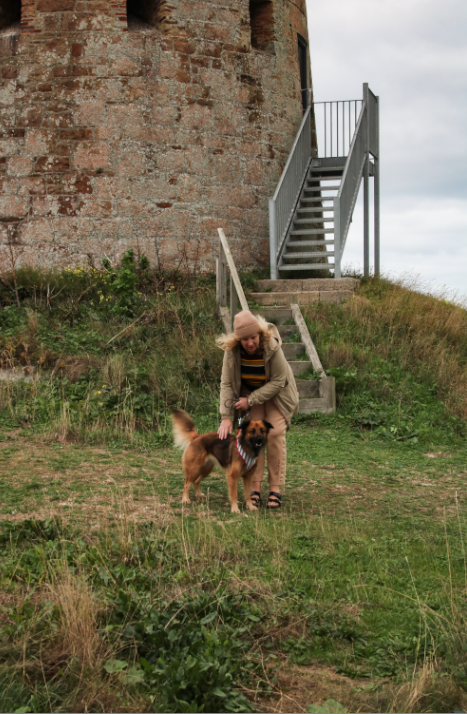
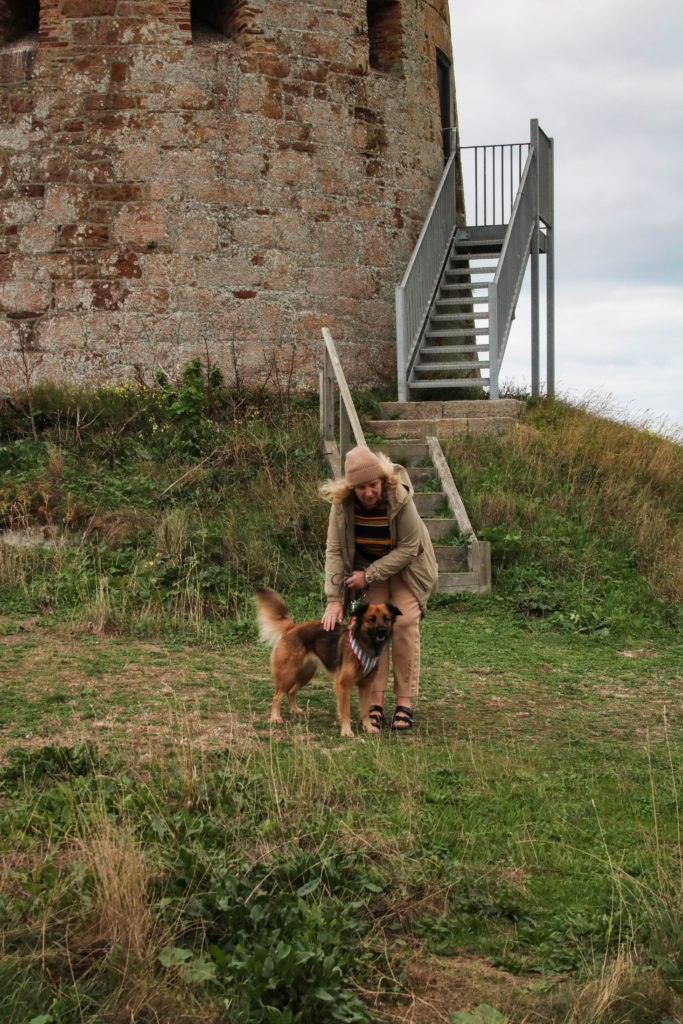
These final pieces have been placed together as I think that they would compliment each other well together as they tell a mini story within only two photographs. With the first being a lot more zoomed in, focusing on one thing that happened outside of this castle, the lady with the dog is just one example of something that has occurred here, maybe making us think about what else may had happened here, such as war and conflict. The second image is placed here in order to put the first one into perspective as its a different point of view from the first. I think that the second photograph is of very high quality because of the clarity of it, with the bricks and grass being filled with texture and depth because of the clarity of the original image. However, in my opinion, this piece could be improved by adding more images to the sequence, as this would make the mini story more detailed and vivid.

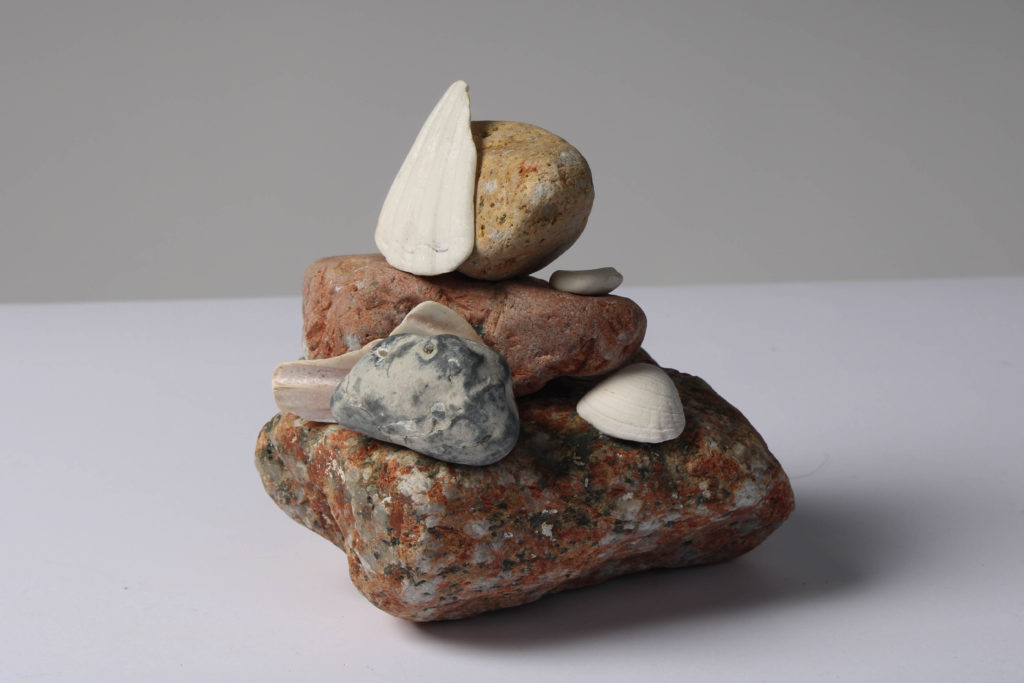
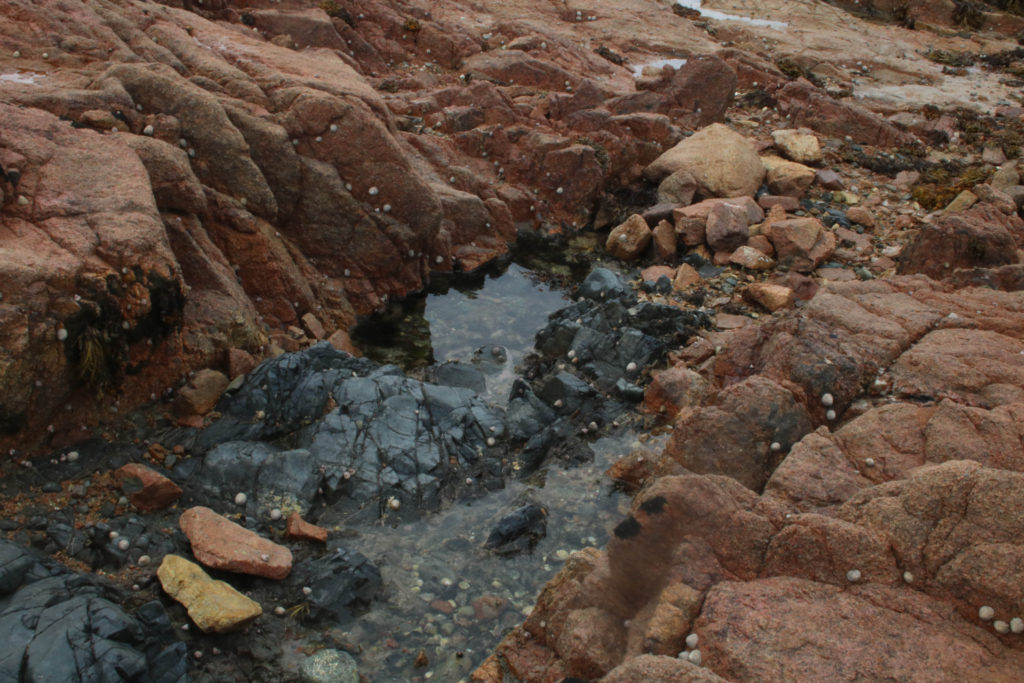
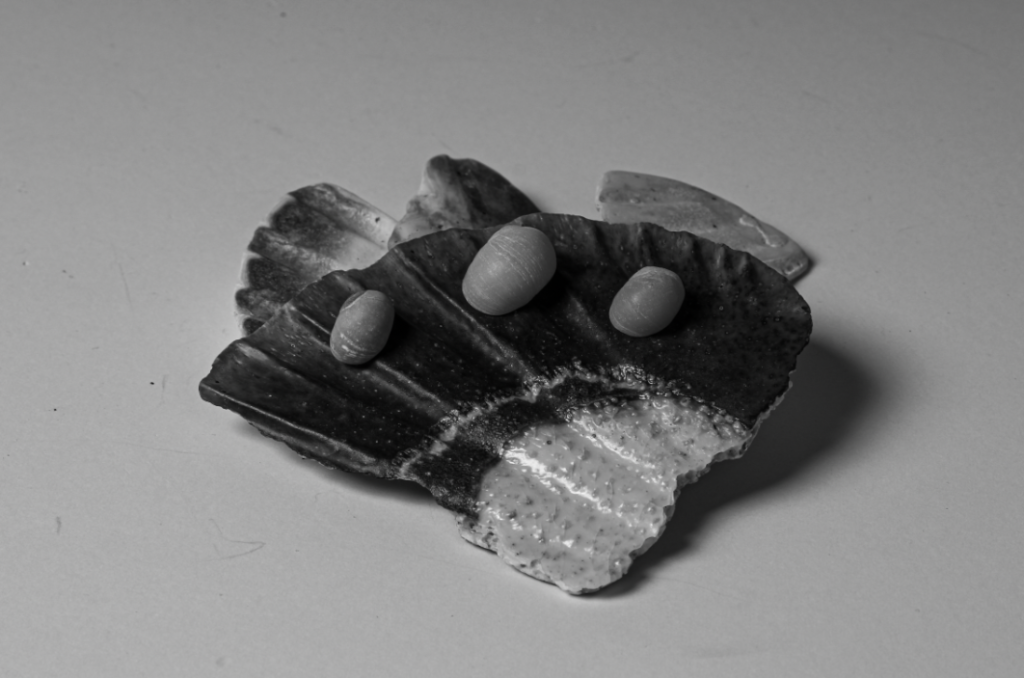
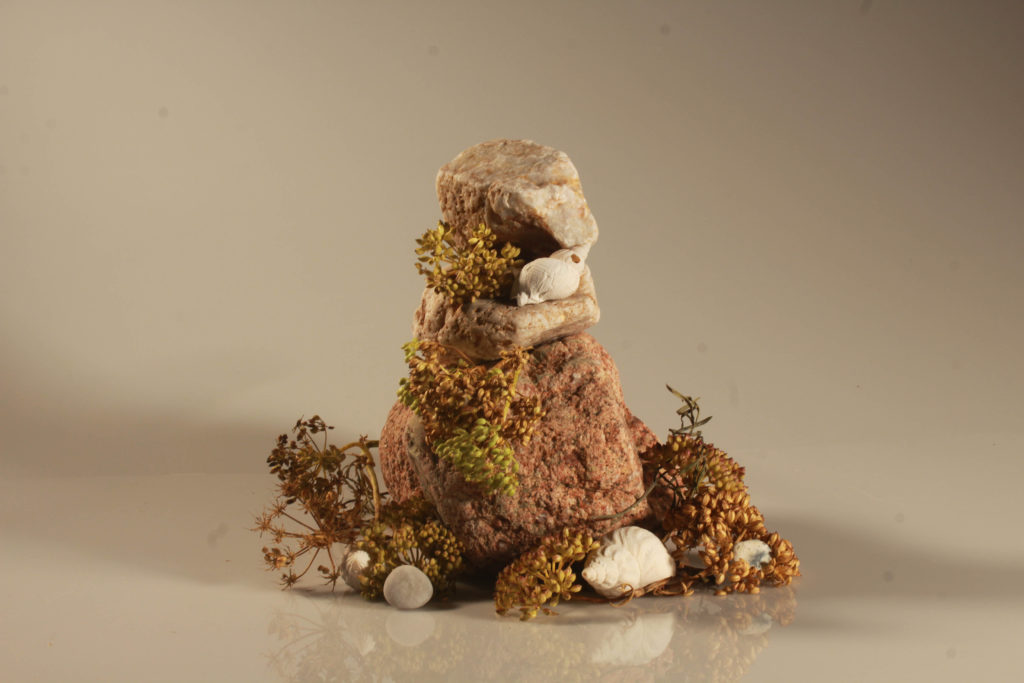
I think this is my strongest final image as it many different visual components to it, this makes it more successful as the whole image is more eye-catching. The composition of the image means that there is many layers filled with different colours, the white shells have been placed so that they break up the colours in the composition so its not too busy. Furthermore, the textures in the image mean that the plain white matches with the arrangement of the rocks. To achieve this image we had to keep changing the angle of the camera on the tripod and this meant that some came out more blurry, however I think this image turned out to be high quality. The weaknesses of this piece include the fact that it could be viewed as a composition which is too simple, making this still life piece slightly boring, however I think that it links really well to the theme of ‘islandness’.

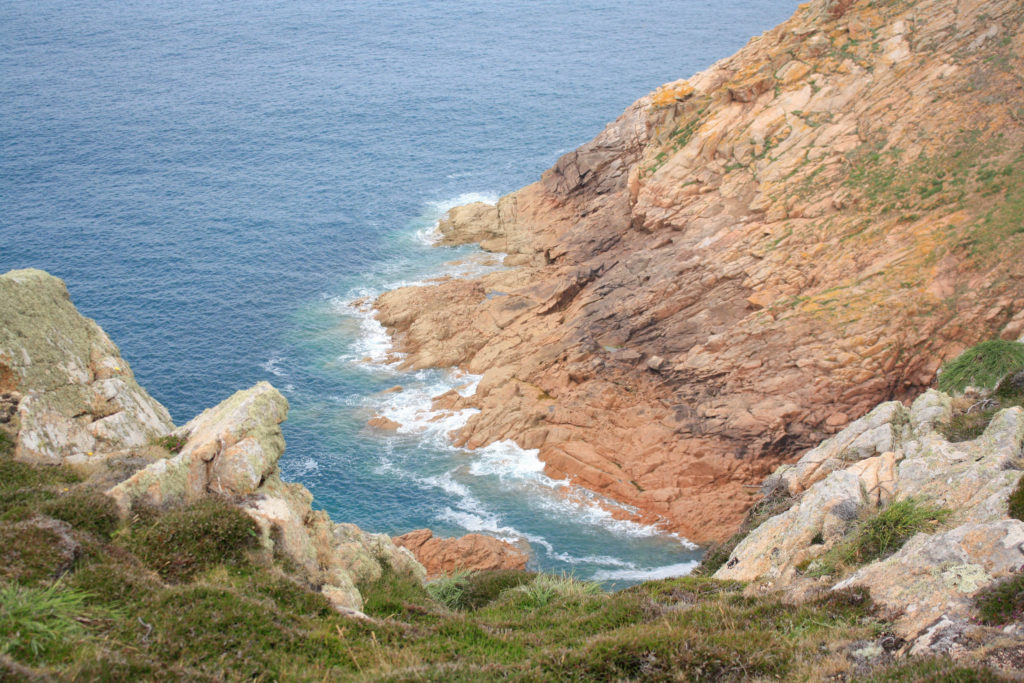
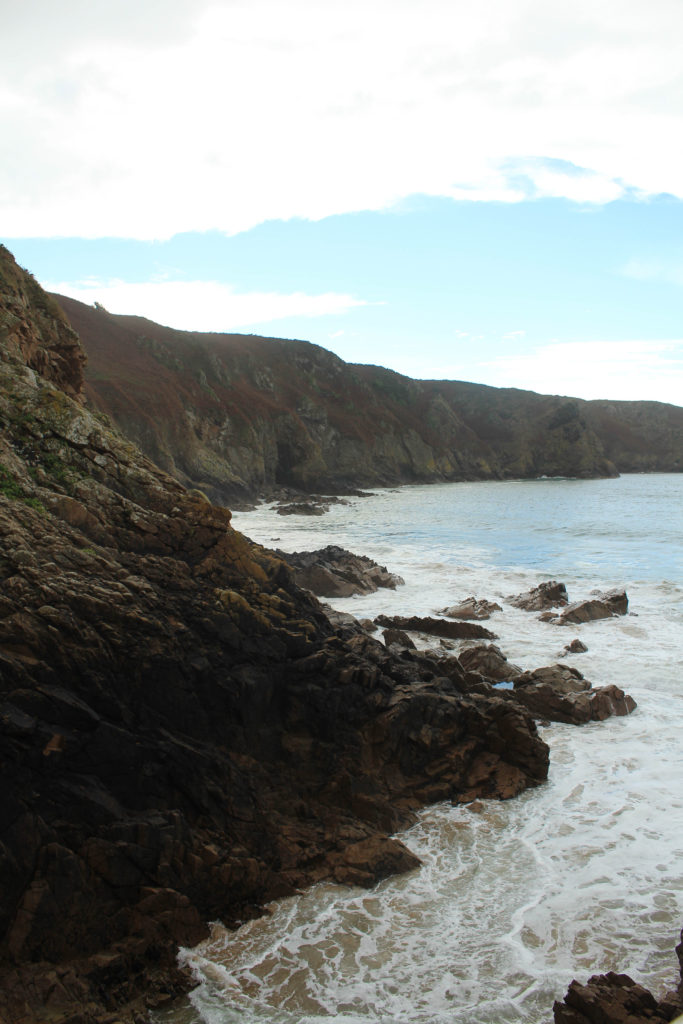
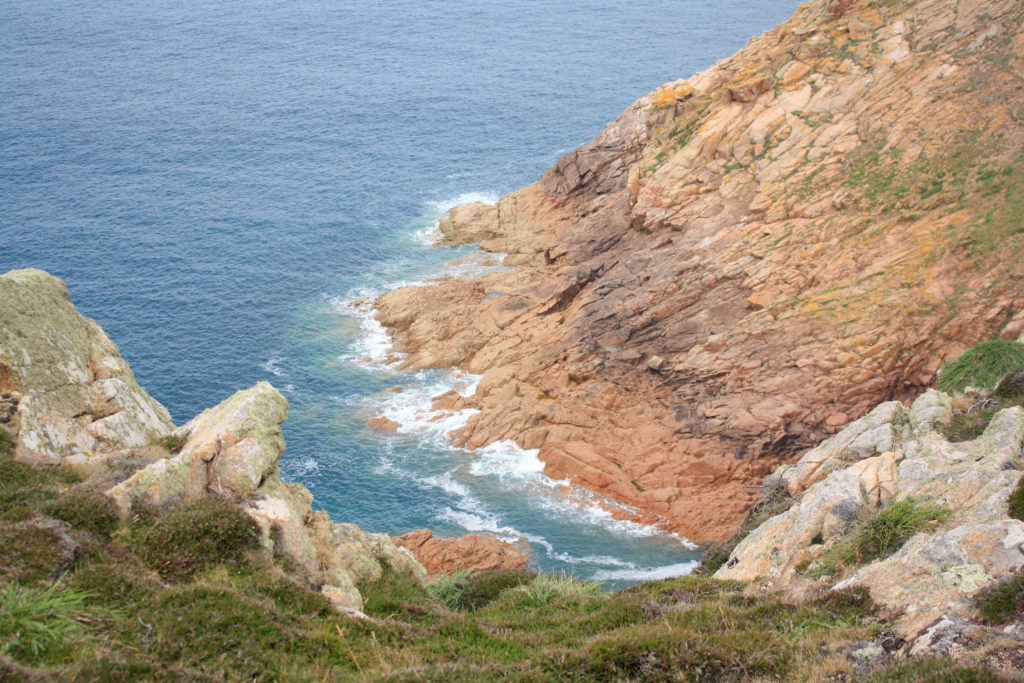
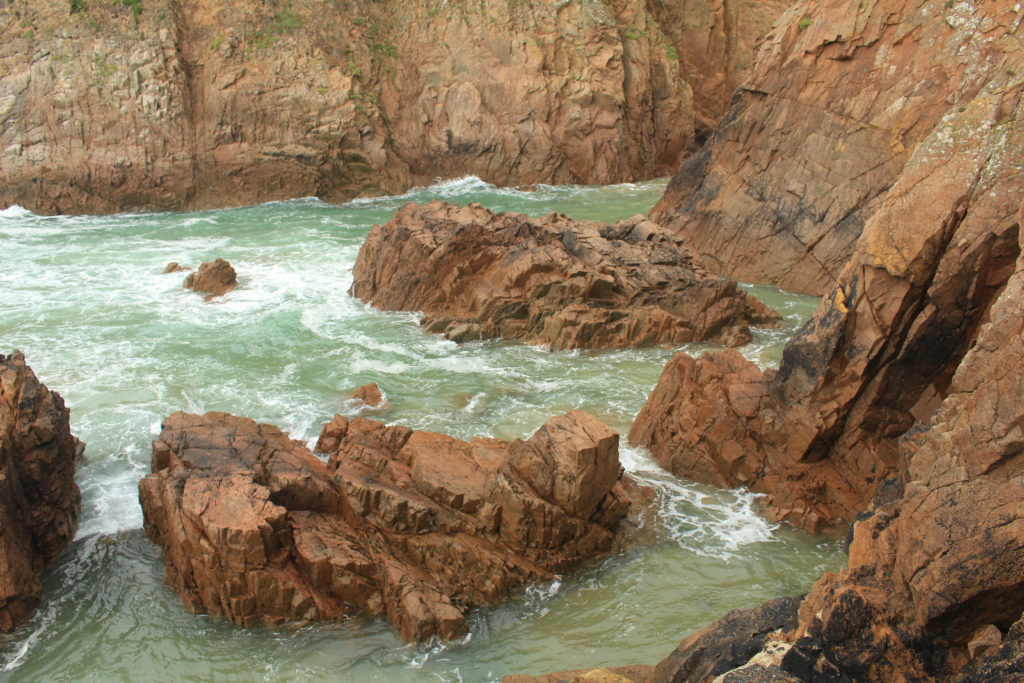
I have selected this as my first final image as I think that the composition of this photograph is it’s strongest point. Additionally there is lots of contrast within this piece, firstly with the warm tones of red and orange amongst the rocks in contrast with the blues in the sea. Also, there is a difference in texture between the smooth sea and the rough rocks, this means that the photograph is more eye-catching and there is more depth within the image. In my opinion this is my strongest out of all of my final images and this is mostly because of the clarity of the original image, meaning not much drastic editing was needed in order to make it successful.

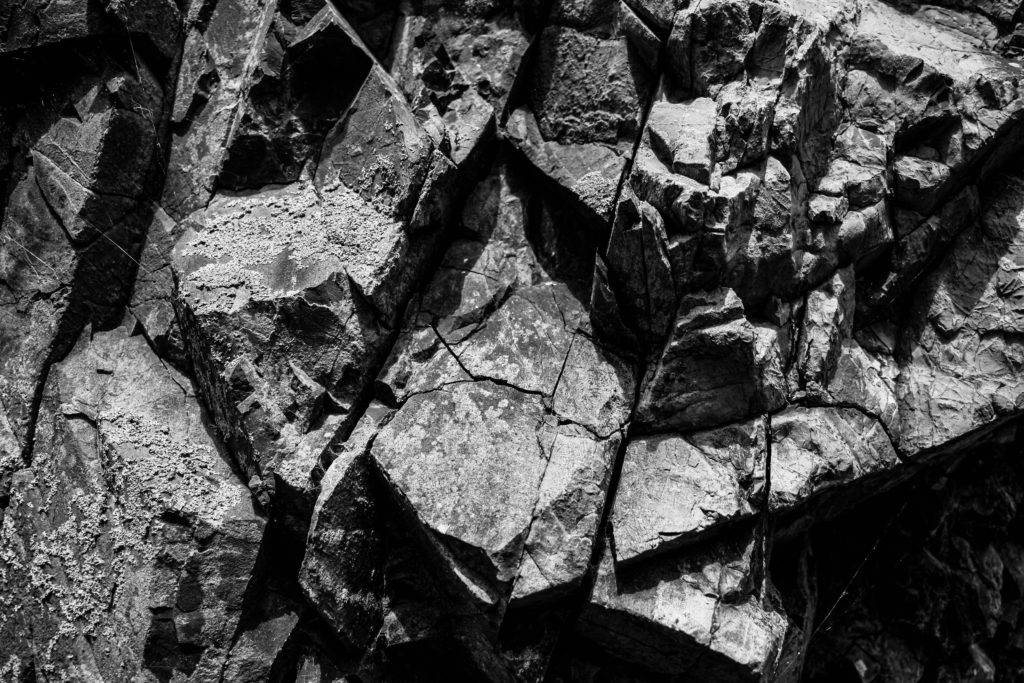
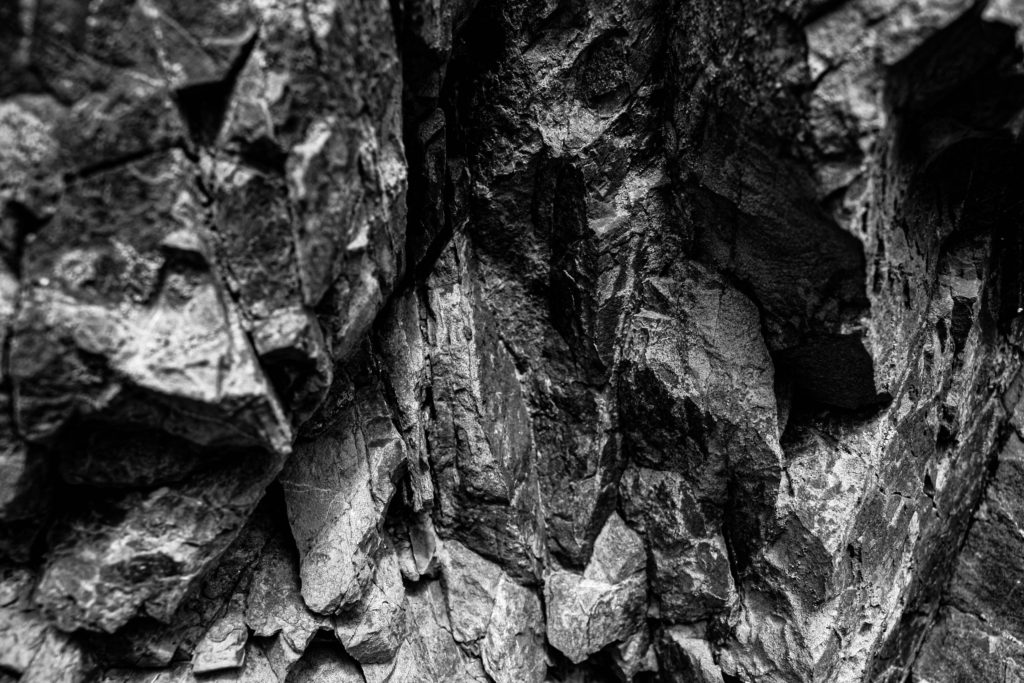
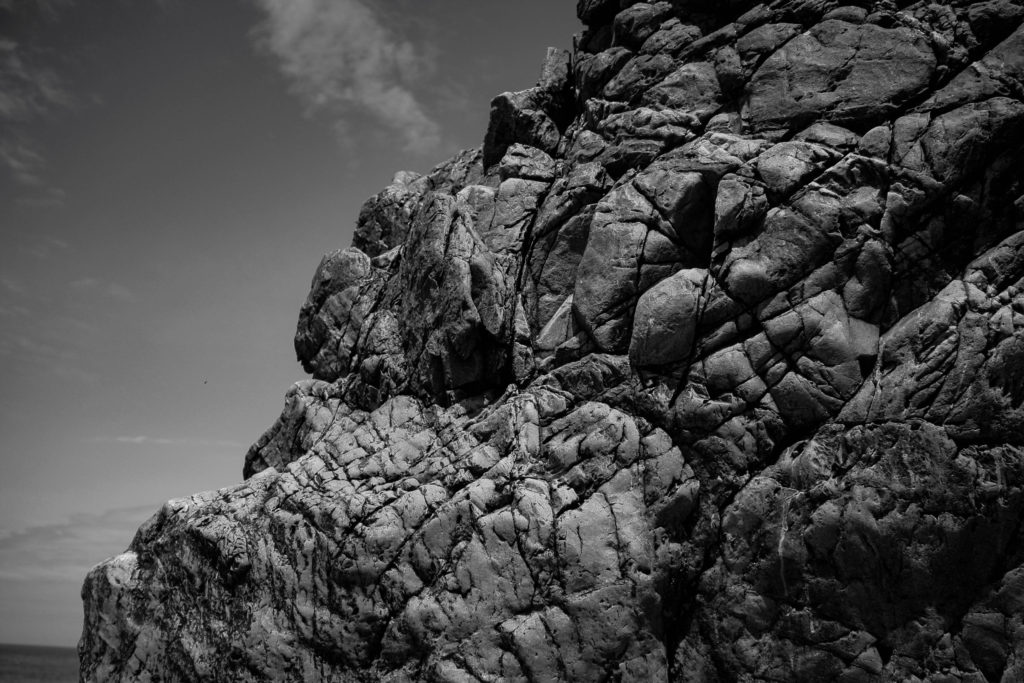
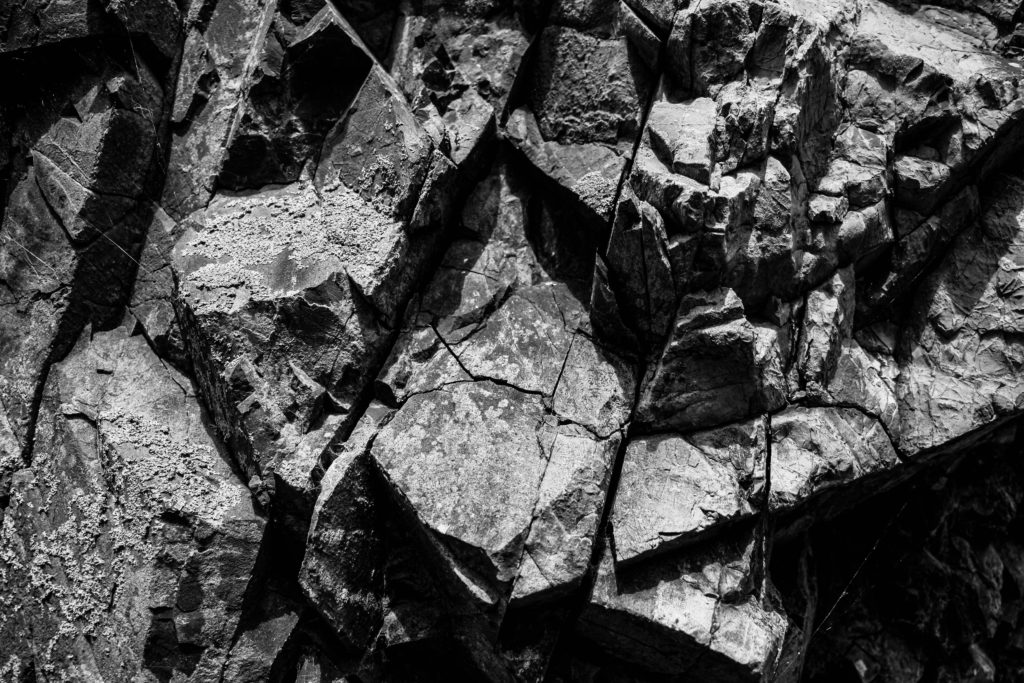
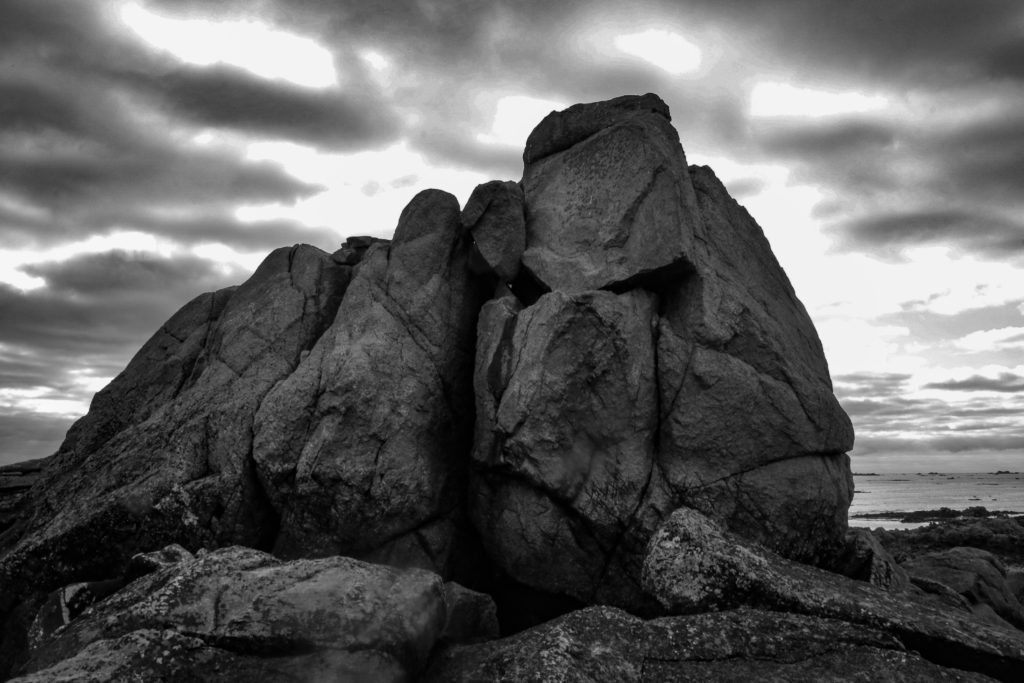
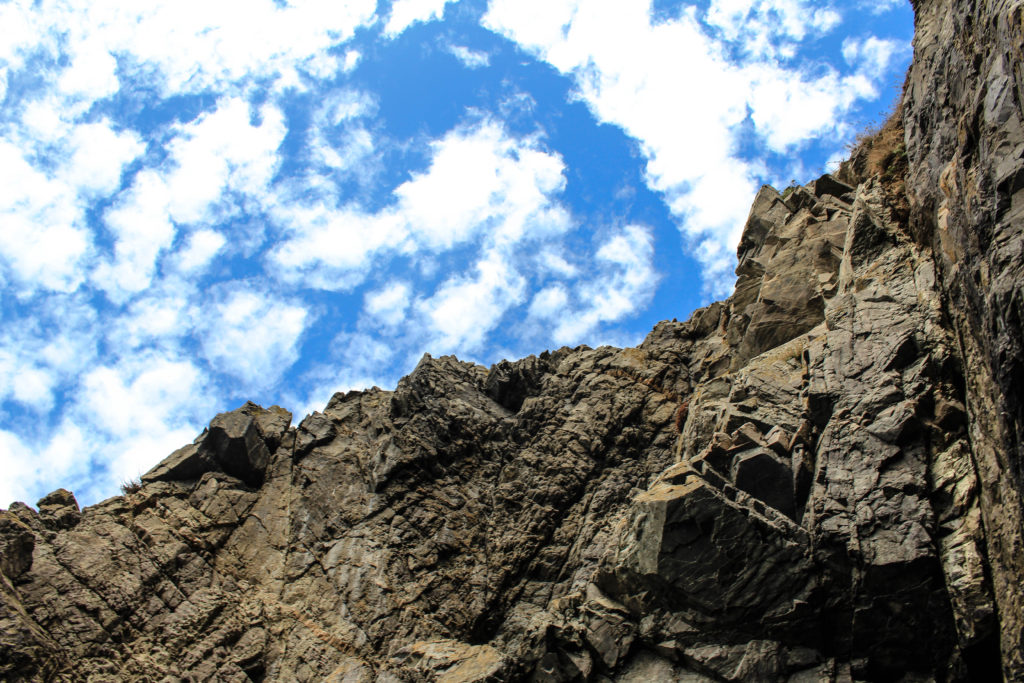
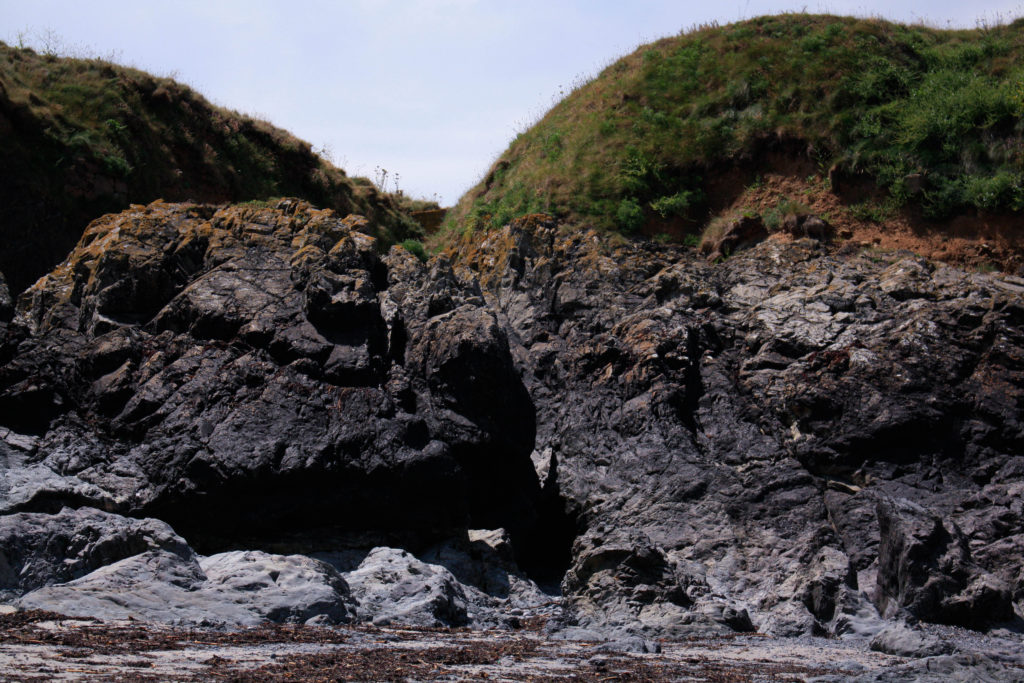
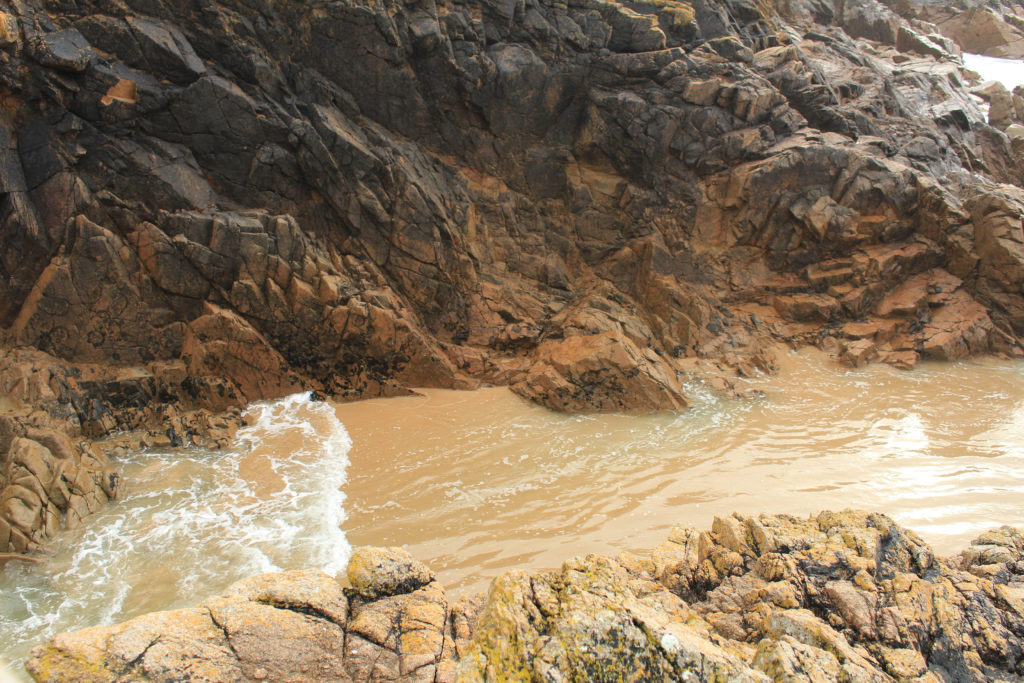
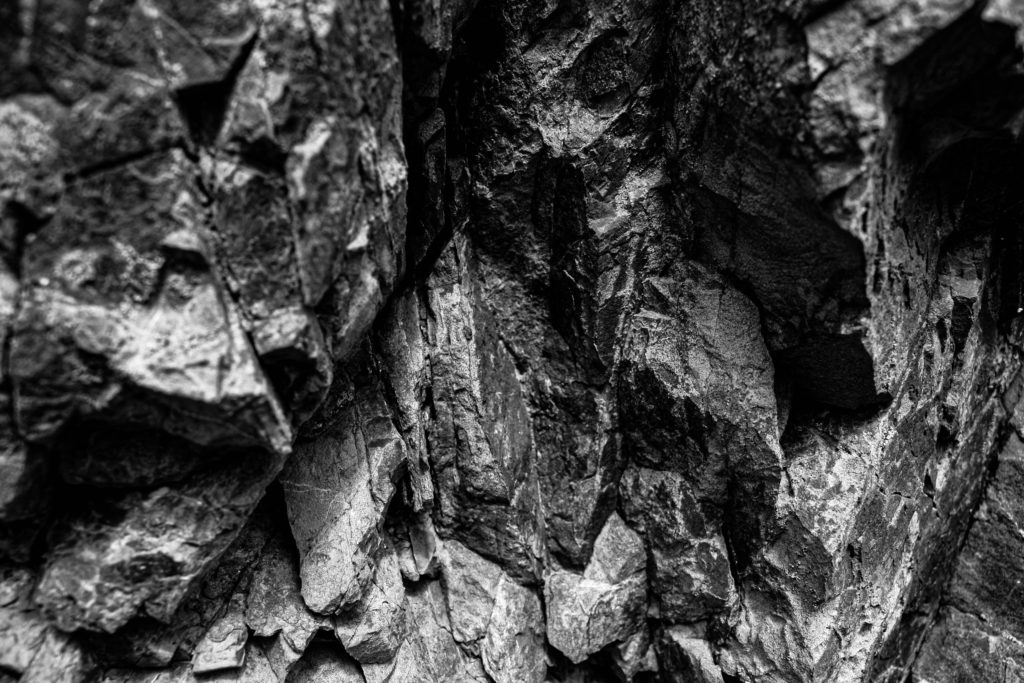
I have put all three of these final pieces together, arranged in this order as I think that if they were printed out onto materials such as foamboard they would look best this way. The most prominent feature of all of these images is the high contrast and increased clarity. They have all been edited to black and white so that this is more obvious, and I think that these are my most successful three images as they all link well, with the bottom one being slightly different yet still being linked through the ‘My Rock’ project. Furthermore, its important the note that the perceptive all of these images makes them more unique and I think this adds to the successfulness of these pieces. Alternatively, they could be viewed as more boring or generic as they are monochromatic, however, I think this reminds us of how old these rocks are.

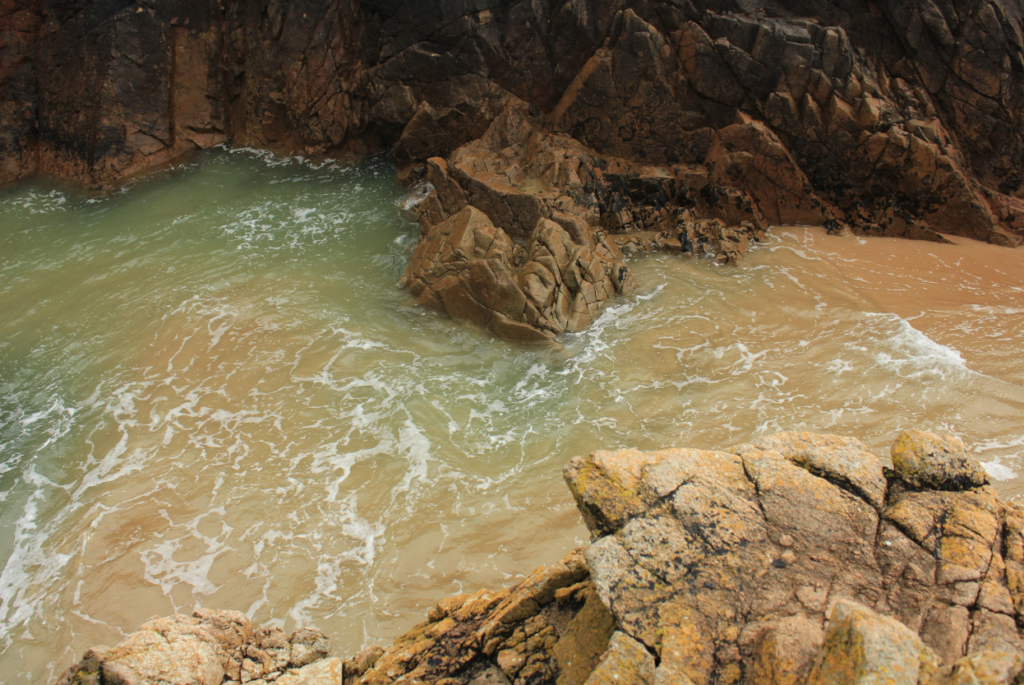
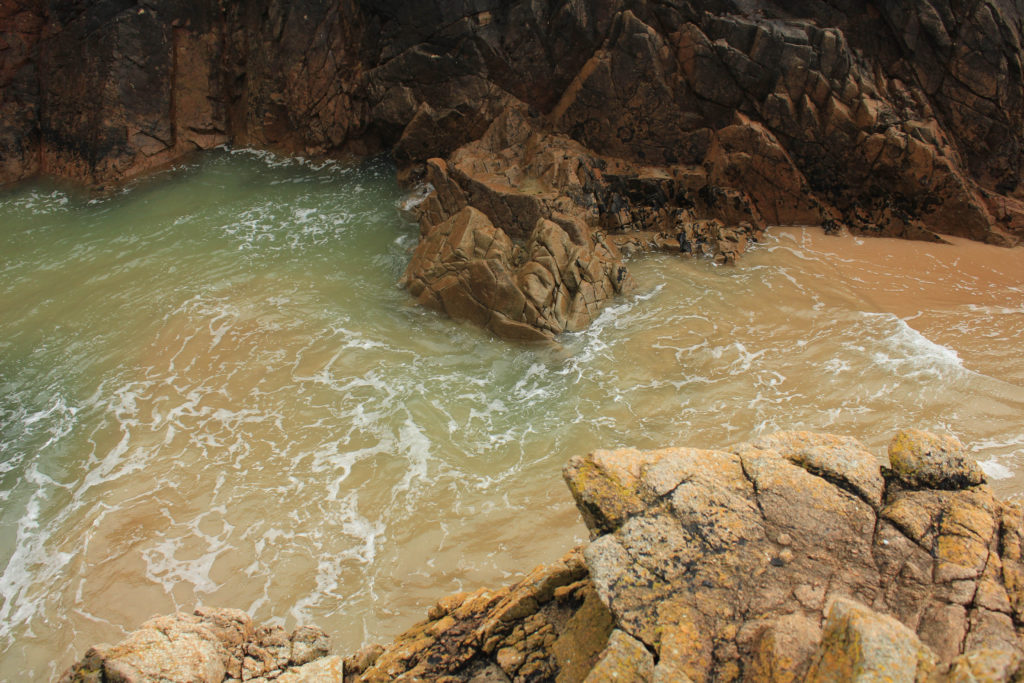
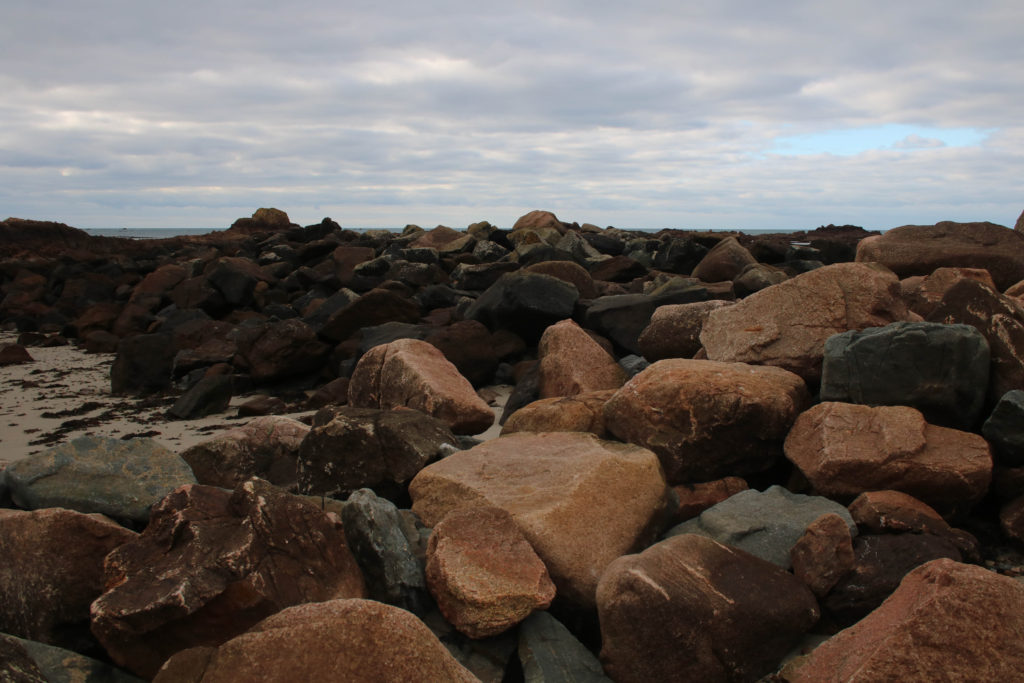
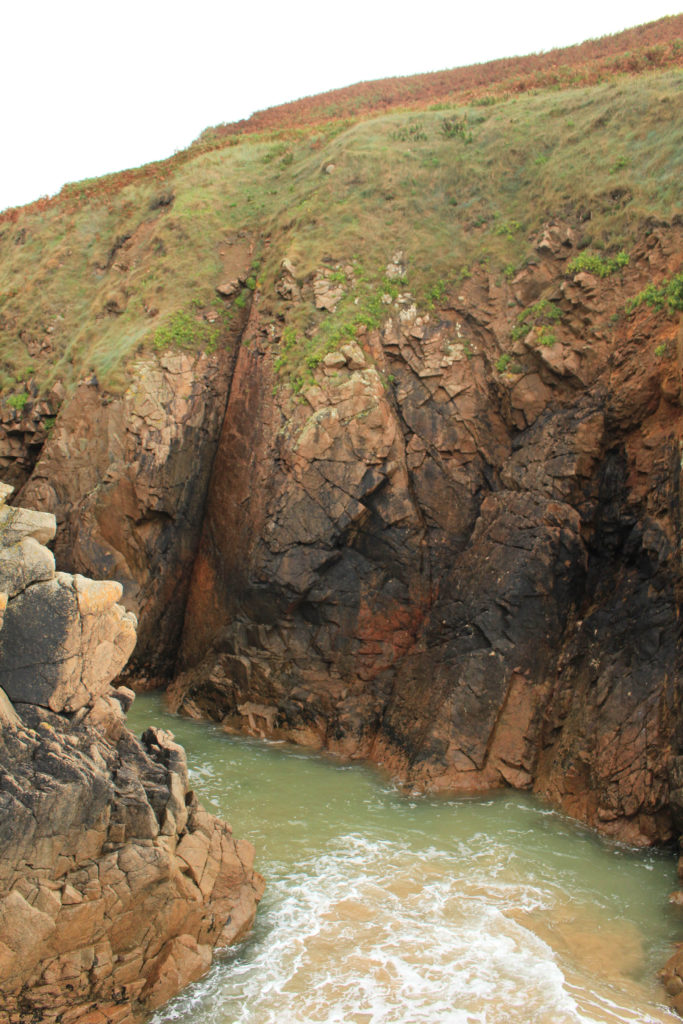
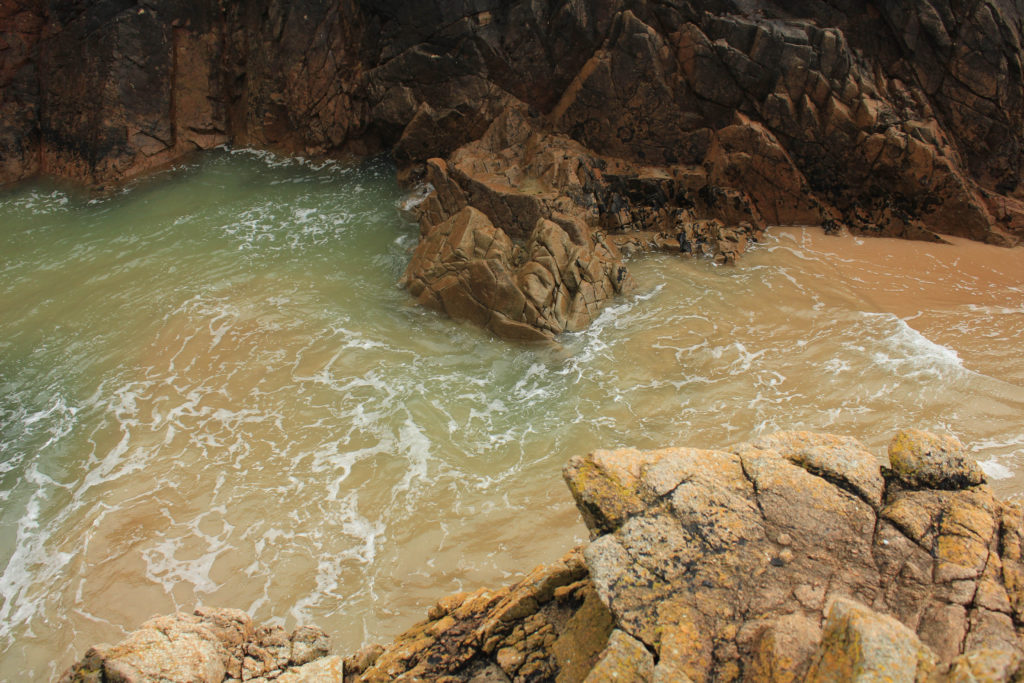
I have selected this as a final image as I think that the colours of this image are very aesthetic, this is captured by the original composition of the photograph as the yellow rocks in the foreground and the green and blues tones in the background, captured in the sea compliment each other well. Additionally, I like that the perceptive of this image is quite unique, this along with other features such as the rule of thirds, created by the outlines of the rocks all make this final piece successful. Alternatively, the weakness within this image is that the piece isn’t filled with interesting components, so they could be seen as boring or uncreative.

final zine

Story/ Purpose behind my zine

Throughout my zine I have attempted to create a visual story which illustrates the importance of Jersey’s Sites of Special Interest (JSSI), to create this I visited the sites of Plemont, La Hocq and Stinky Bay. This was in an attempt to show multiple different parts of the island, as Plemont in the north is filled with a variety of different rock formations compared to La Hocq in the east. This helped me to create my story as I could show the natural beauty of the island throughout my photographic/ zine work. The purpose of my zine is not just to show off ‘Islandness’ but to try and get people to understand that Jersey may not be like this forever, as uncontrollable movements such as erosion means that these rocks are going through constant change. However, I am also attempting to help people realise that controllable aspects affect our island life as well, despite Jersey being considered more environmentally friendly, with places such as reservoirs to prevent water waste, human life will forever continue to affect out island. My zine illustrates the untouched parts of the island that everyone would like to preserve, this is vital as it demonstrates that we must keep our island this way and try to maintain the island we live on in a sustainable way.

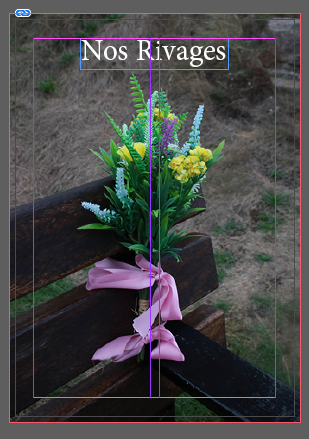
Explanation behind my title: ‘Nos Rivages’ is a direct translation of ‘my shores’ in French. I have translated it as I thought it made the lettering look more aesthetic. Additionally, the typography I picked made the lettering look the best on the front cover of my zine, along with linking well with the story behind my zine. This is really important as it shows I have considered the context of my work when titling my zine.

Layout

Analysis

Overall, I think that the story behind my zine is illustrated well throughout my zine, a lot of my images have been heavily edited and some unchanged, this links with my story, as the purpose of my story was to show unchanged parts of the island and show how humans may change it for the negative in the future. This is reflected in the editing of my zine as the unchanged images reflect my zine itself, and the edited images could be a reflection of the future to come if humans continue to use the island unsustainable resources. Altogether, I like the final outcome of my zine, as the layout means that overall, it is aesthetic and catches your eye. The front cover is very important as it draws you in and makes you want to look through the zine, but I think that I have bolder and more adventurous images inside of my zine, which makes the view want to keep looking through it.

In my opinion, I think my final zine was a success, I am happy with my result, I still think that my main strength is the composition of my work. This is because I took me a lot of time to think about the arrangement of my images, meaning that each page too me a lot of time. However, this was a positive as it meant that I had time to probably think about the arrangement of my pages. Another aspect that I like about my zine is the balance between monochromatic and colour images, I tried to do this so that my zine had more depth to it, along with the fact that photographs of rock formations being edited in black and white means that a lot of texture becomes more present.

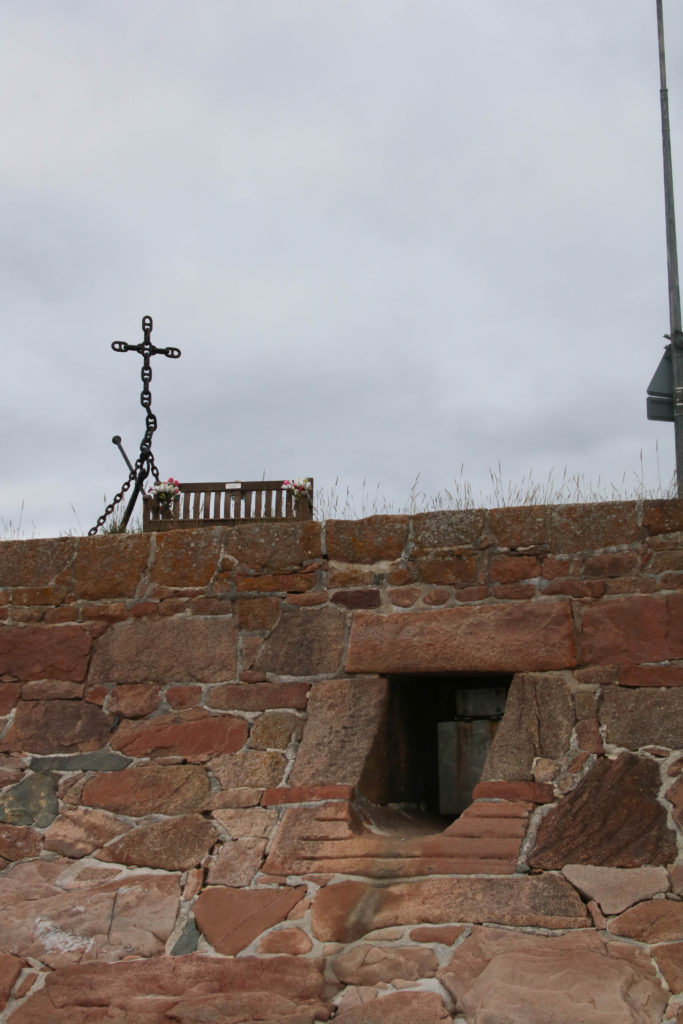
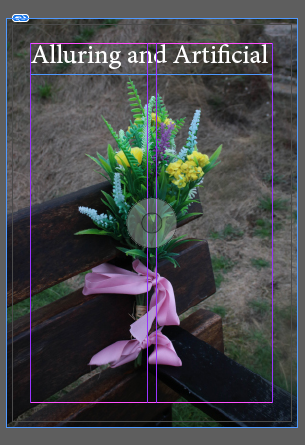
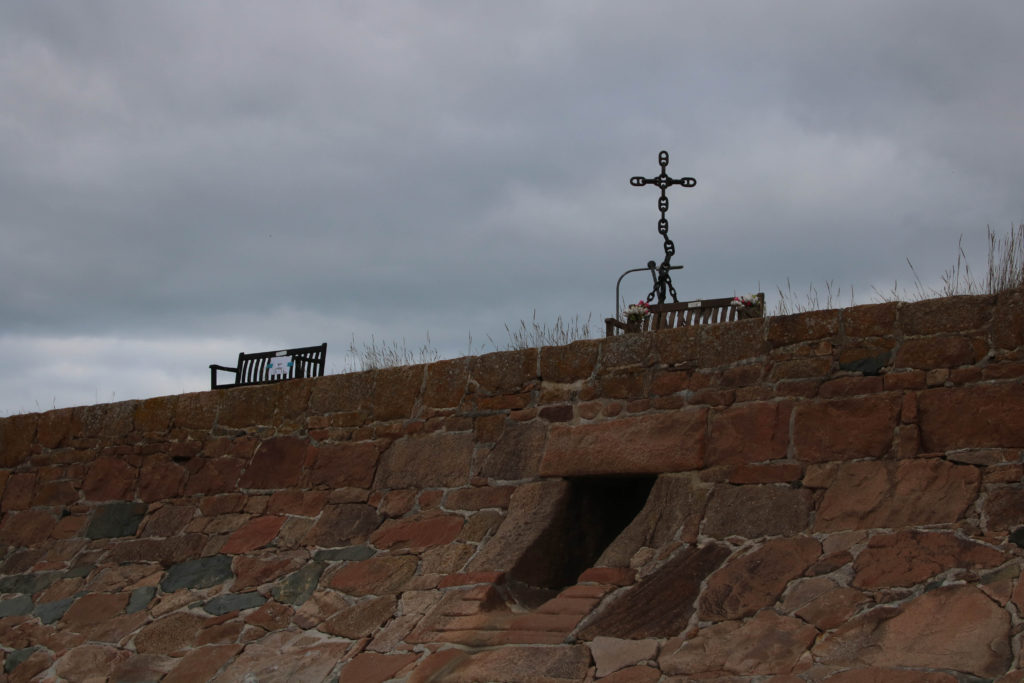
Lastly, I like that my zine matches well with my storyline/ purpose of my zine which can be seen above. I think this is important as it shows that my piece of work is a reflection of all the time, I have put into trying to illustrate the important of maintaining our Island’s natural features. Furthermore, my zine links well with the overall purpose of the project and is a positive reflection of my work from the multiple photoshoots. Despite the variety of images, the front and back cover were taken during the same photoshoot, and I think that they link very well together as they both have this idea of death. As the flowers represent someone who has just passed away, and how fresh their memorial is, and in contrast with this, the cross is usually a representation of someone or a group of individuals who have passed many years or even decades ago. This is important and it creates a cyclical narrative to my zine story (as they start and finish with the same concept).

Critique

However, there are some weaknesses throughout my final zine, I could be thought that the quality of some of my images is not as good as other, and this is distracting, and it makes for a negative contrast throughout my whole zine. As there is a constant change from very high-quality images to slightly blurry ones, however, I was more focused on my story rather than my images, this could be seen as a hinderance to my work. I even had to edit some of my images in Photoshop in order for them to be good enough to put into my zine, this was because I didn’t have enough photographs to begin with when starting this project and I should have gone to the same sights and taken more images to solve this problem.

Looking through my zine there is no clear colour scheme of arrangement throughout my images, this could be seen as another weakness as there is a balance between the arrangement of the images, but no link between aspects such as warm and cooler toned photographs. This means that my piece is filled with mixed pieces that in some people’s opinions this could mean it lacks smoothness.

zine experimentation

Images Used in My Zine

Below I have included some galleries of the images that I used in my zine, this is to show that all of my photographs do work together, and this helped me see which images which I liked the most and which were linked in the most with my zine and the context of its story versus its final outcome.

This was important as I can visualise what all of my images look like together before putting them into InDesign or printing out my photographs to experiment with. This helps me think about which images look aesthetic together, and others which contrast each other.

Title Experimentation

I have included some examples of me experimenting with my title, included the title words itself and then other aspects such as the font and arrangement of the typography on my front cover. I think it’s clear what style of fonts look best with the image in the background of my front cover. In this case I think that

I think that these titles are okay but probably not good enough to put on the front cover of my zine, this is because I think the words are good, but the text doesn’t look aesthetically pleasing enough to be on the front of my zine, its only important because it’s the first thing you see when you look at my zine, creating a first impression of my work.

There I have selected the words that will be in my title, and I have demonstrated that I have experimented with the font and size of the title of my zine. this is important as certain letters look better with specific fonts. I think that the final font and size I selected looks good on the front of my zine as the white writing really stands out being in the centre of the darker image.

Process of Creating a Zine

Below I have created a first draft at my zine, this may be changed in the future when analysing my final zine, and when I do the final analysis of my work. This was a good opportunity to use many different of my best images from all of my photoshoots. To create the first outcome of my zine I used a software called InDesign, to use this we set up the zine template and then imported our photographs into the app. Using Ctrl+ D to place the images on top of the outlines for the images, I then altered the size of the photographs so that they would fit the way I wanted them to.

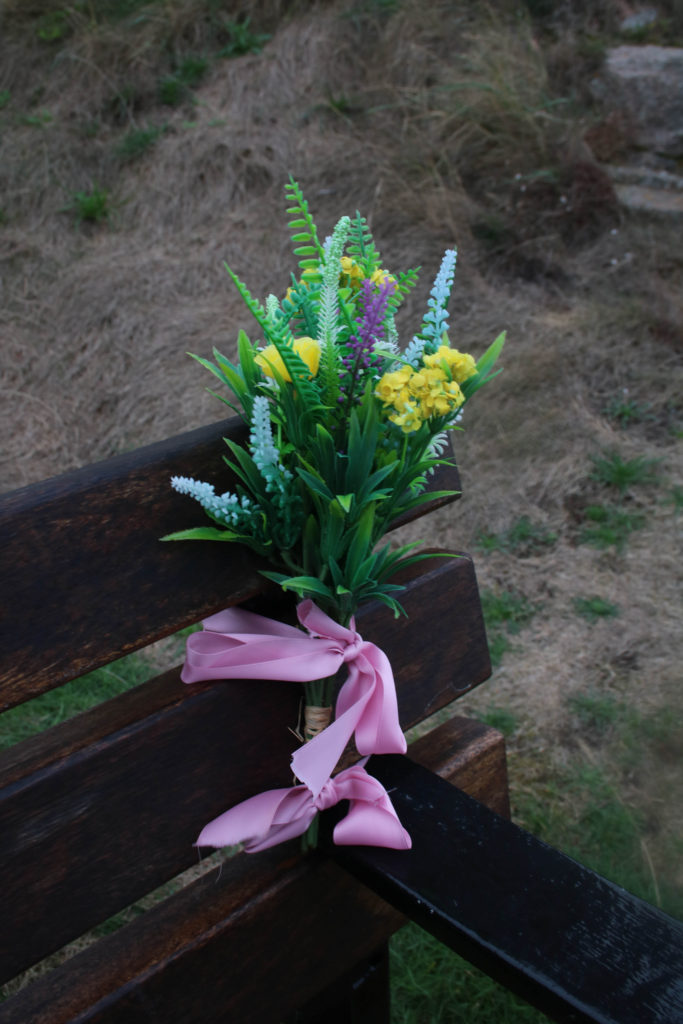
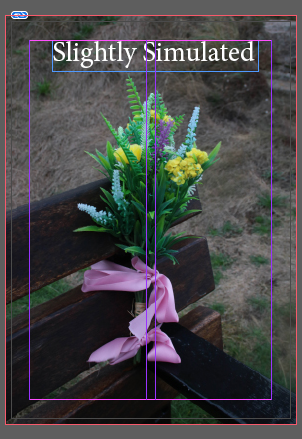
I have selected this as the front cover of my zine as I think it’s a good example of an eye-catching photograph, with the wide variety of colours present in this image means that contrast is created as the flowers and bow are filled with vibrancy and then the bench is dark brown, along with the plain grass background. This means that attention is drawn to the front cover of the zine, making people want to look through it.

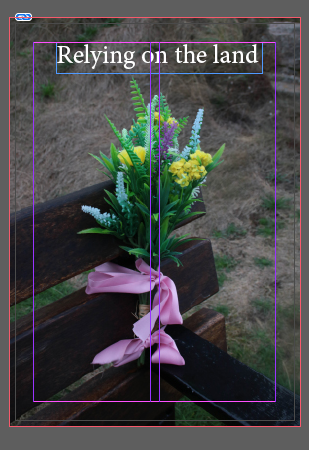
The left section below is an example of how this image would have a white boarder and the bleed would be kept to the set 3mm, whilst on the right side there is no bleed to the photograph. This means that the image fills the page to all of the corners of the page, creating different affects for each side of the pages. I have arranged my photographs this way as it draws the viewers attention into the middle of the page, with their being the same features within both of these images it means they compliment each other well.

I have selected this as the 4th and 5th pages of my zine as I think they provide a break, as the double spread contrasts with the separate images previously. Furthermore, the warmer tones throughout this image means that it creates a balance of a variety of different tones throughout my zine as its good to creates a whole piece that links well together whilst still linking to the task. However, this image has been taken from my Plemont photoshoot so I’m not sure how well it links well being placed here in my zine.

This is my favourite pages out of my whole zine, this is because they the images link so well, they are from the same locational shoot at La Hocq, many components throughout these images are the same, such as the boys as the texture and temperature of the sane, making them look very aesthetic together. I have placed the landscape image first as it breaks up the composition from the double page spread before, and the second image filled up to the bleed of the page means that there is more attention drawn to the first image.

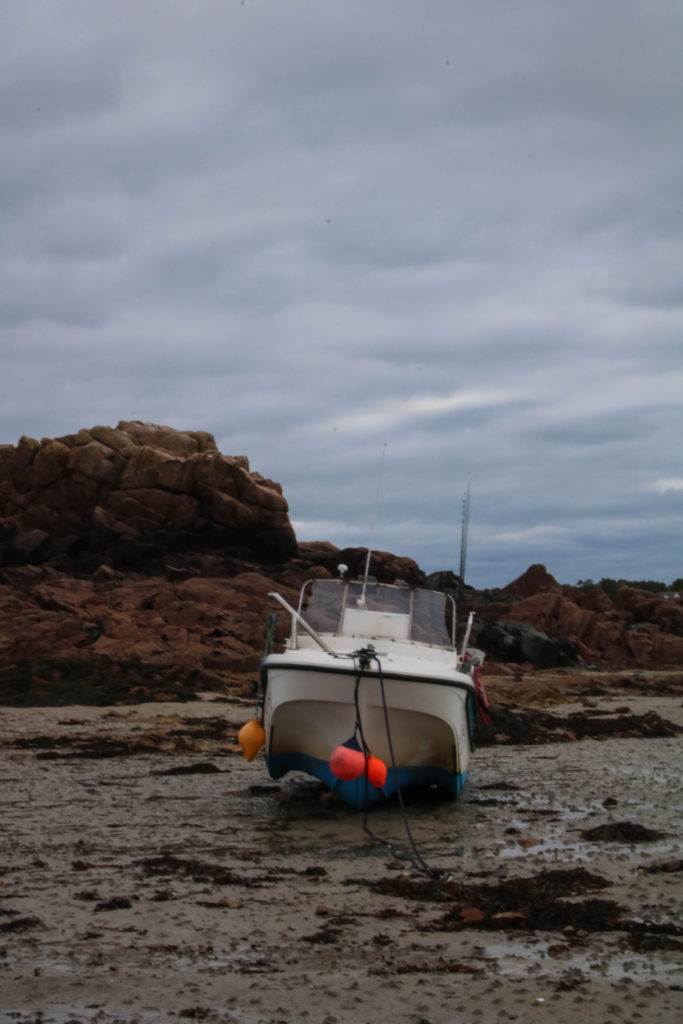
I have purposefully kept lots of white space on the left hand side of the page as my last pages were very cluttered, and the white space after that means that there is a balance between page 6 and page 5. I have placed the photograph of the boat afterwards as it links to the image before and creates the effect of my story by still using plainer images yet still trying to link them together.

In my opinion, these two images compliment each other well, being rocks from different locational shoots means that there is a clear difference between them yet them still link well with the theme and story of my zine. They have been placed in this way as there is huge white space in order to provide a break from the very busy double page spread images before, this is in further attempt to create a flow throughout the zine. I like that one of the images is filled with colour and one is monochromatic because that means there is lots of texture in the two pages.

The composition of these images is the most apparent part of these two zine pages, as the negative space means that more attention is drawn to the right side of the page. I think that the colours throughout these two pages means that they make for an aesthetic layout. I have placed this kind of display here as it creates balance throughout my zine, as creating a zine that is too busy and filled with too many large images distracts from the quality of the individual photographs. My favourite aspect of these images is the flow of colour, as there is green tones flowing from the left to the right image.

This is one of my favourite images that is placed throughout this zine, as the quality of the photograph meant that I thought it would look better as a double page spread rather than a smaller image. This is amongst 3 of my double page spreads throughout this zine draft and in my opinion, this is the most successful as it has a dramatic feel to it, meaning lots of attention is drawn to the image just through monochromatic editing, as it enhances the textures throughout the image.

I have selected this as the back page of my zine as I think that it links nicely with the first page of my zine, as of course they are going to be connected when I print my zine, as the front and back page are from the same photoshoot, this means this is the end of the story and means that the narrative of the story is over, I also think that the front and back pages contrast each other very well.

narrative and sequencing

Stories

A story is any account of a series of related events or experiences, whether nonfictional or fictional. Narratives can be presented through a sequence of written or spoken words, through still or moving images, or through any combination of these. They also can be describe a series of events we either create or remember or imagine which we tell ourselves because we want or need to hear them. Perhaps we create stories because we want or need to know something, or learn something, or answer a question.

24 Children's Stories That Still Give Us the Creeps - Atlas Obscura

Can be described in:

  • 3 words
  • A sentence
  • A paragraph
Story (an acrostic poem) – Never Short On Words

Narrative

Definition: Narrative is essentially the way a story is told. For example, you can tell different narratives of the same story. It is a very subjective process and there is no right or wrong. Whether or not your photographic story is any good is another matter. Additionally, is constructed when you begin to create relationships between images (and/or text) and present more than two images together.

How will you tell your story?

Images > new photographic responses, photo-shoots of objects…
Archives > images from SJ photo-archive, found imagery…
Texts > experiment with typography, key words, poems…

Common types of narrative:

  • Descriptive- is meant to convey an intense description of a particular place, object, or concept
  • Viewpoint- what the storyteller gets to “see” in one or more characters of a story
  • Historical- the practice of writing history in a story-based form
  • Linear- we see the events of the story unfolding in the order in which they occurred

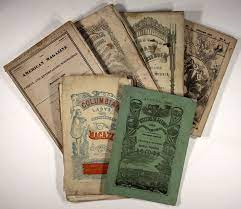
History of Magazines

The first magazine was published in Germany during the 17th century. The success of this publication led to the introduction of magazines across Europe. During the 17th and 18th centuries, publishers founded several different types of periodicals aimed at diverse audiences, including the elite and women.

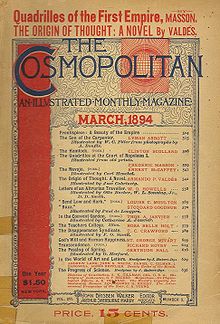
The first American magazines are said to have been published in 1741 by Andrew Bradford and Benjamin Franklin, rivaling printers in Philadelphia. Both folded within the span of six months but, by the end of the 18th century, there were over 100 magazines in the U.S. Other magazines such as Cosmopolitan was originally published in 1886 in the U.S. as a family magazine titled The Cosmopolitan. It later evolved into a literary magazine until eventually becoming a women’s magazine in 1965.

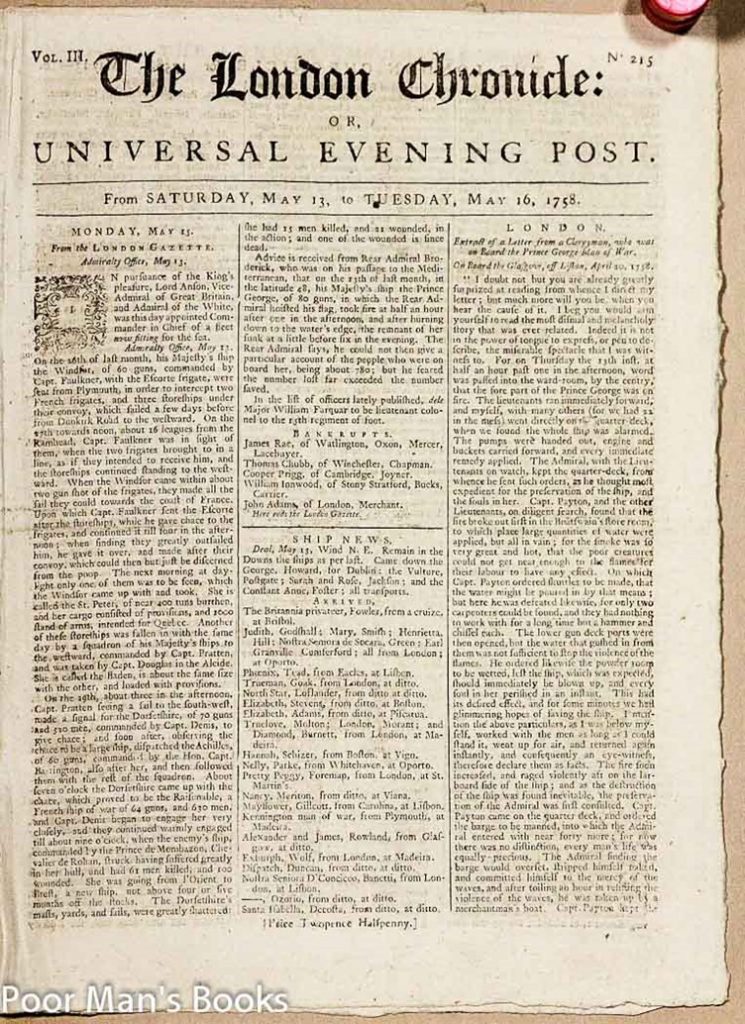
Much as in newspaper publication, Great Britain closely followed continental Europe’s lead in producing magazines. During the early 18th century, three major influential magazines published regularly in Great Britain: Robinson Crusoe author Daniel Defoe’s the Review, Sir Richard Steele’s the Tatler, and Joseph Addison and Steele’s the Spectator.

Group of Seven Young Boys' Early 20th Century Adventure Magazines. | Lot  #90209 | Heritage Auctions

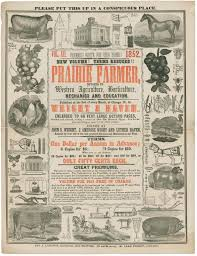
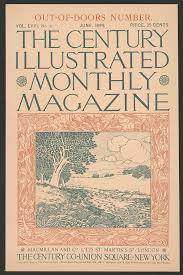
All this changed during the 1830s when publishers began taking advantage of a general decline in the cost of printing and mailing publications and started producing less-expensive magazines with a wider audience in mind. Magazine style also transformed. While early magazines focused on improvement and reason, later versions focused on amusement. No longer were magazines focused on the elite class. Publishers took advantage of their freshly expanded audience and began offering family magazines, children’s magazines, and women’s magazines. Women’s publications again proved to be a highly lucrative market.

Zines

The aim is to produce a 16 page photo-zine in InDesign based around the images you have produced from exploring a bay or geological sites of special interest, that you selected to photograph as part of your Summer Project: MY ROCK. I am looking forward to creating this zine as it means that I will get an opportunity to use all of my best images throughout my whole project and display them in the most fun and creative way.

Before creating my zine, I will attempt to construct a short storyline to base my work off of. This is so that I have some idea of the theme of my zine before I start creating, this helps to get visual ideas and make my zine more aesthetic. I think it’s important to understand how the concept of a storyline works before creating my zine, so this research is very important for my understanding as it helps me understand that without a story my zine will not have as much contextual information put into it, and also hinder the quality of my work.

I also like the fact that Zine design is so subjective and when creating our zines everyone will have vert different outcomes as the styles which influence how we take images has been inspired by a variety of different photographer since starting our course at the start of year 12. Furthermore, I think that zines can show just not stories or narratives, they can illustrate a moment that has occurred in the past and they are a good way of creativity showing how history can be told through images rather than textbooks.

Hamish Fulton

Hamish Fulton (born 1946) is an English walking artist. Since 1972 he has only made works based on the experience of walks. He translates his walks into a variety of media, including photography, illustrations, and wall texts. His work is contained in major museums collections, such as the Tate Britain and MoMA. Since 1994 he has begun practicing group walks. Fulton argues that ‘walking is an artform in its own right’ and argues for wider acknowledgement of walking art.

Hamish Fulton: A Decision to Choose Only Walking

Fulton follows a leave no trace ethic, and does not collect materials on his walks for display in galleries. Instead, his work combines text-based descriptions with a photograph, illustration, or, more recently, vinyl wall texts, to communicate his walks to viewers in a gallery. Fulton has stated that walking is an experience not an art medium, and that what he builds is an experience, not a sculpture.

“Leave only footsteps, take only photographs”

More recently, Fulton has referred to his walks as ‘invisible objects’ and has discussed his group walks as artworks that are created and observed by the participants. Fulton has emphasised the political aspects of his work, particularly in concern to the situation in Tibet and the degradation of the environment.

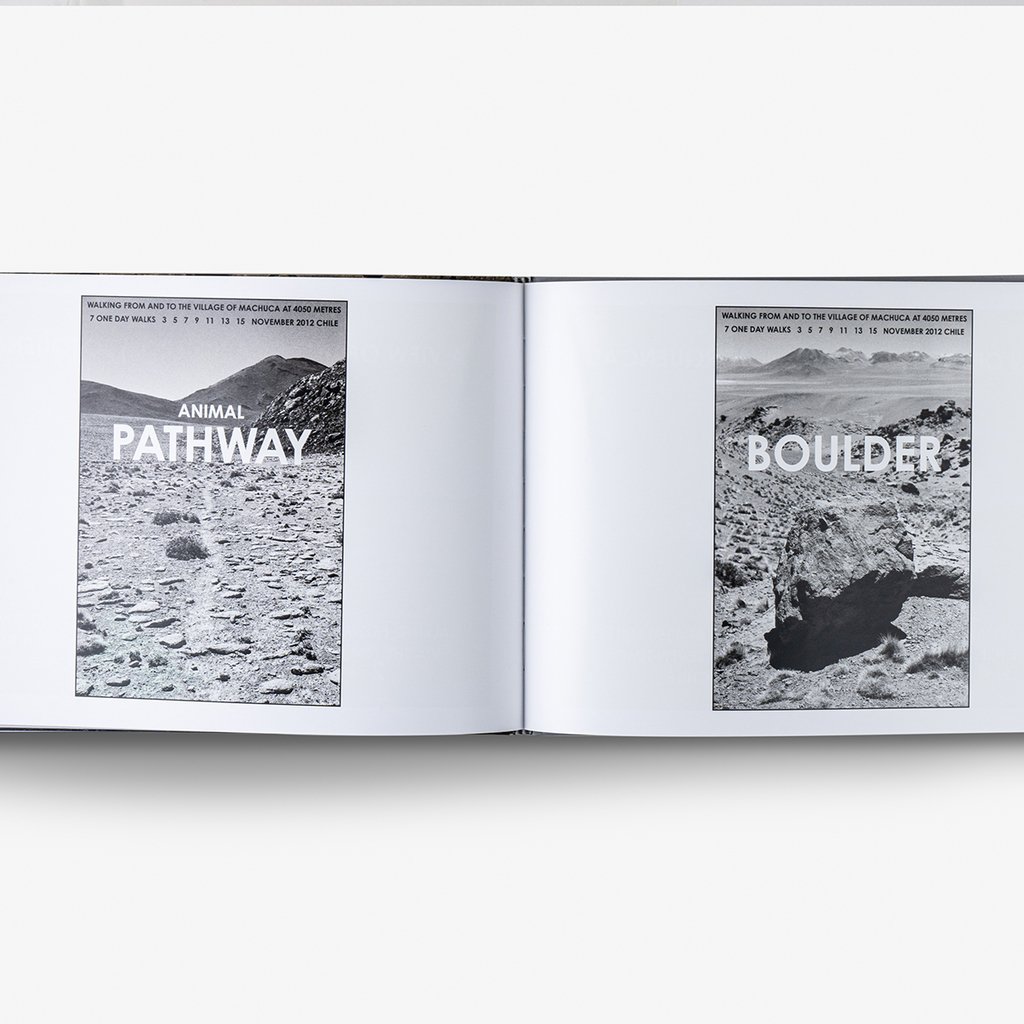
Atacama, Hamish Fulton - Buy in Galeria Nara Roesler

Exhibitions Include:

  • Hamish Fulton – A Decision to Choose Only Walking (2016) Galerie Tschudi – Zuoz, Zuoz, Switzerland
  • Hamish Fulton: Wells of Dee (2015) Galleri Riis, Stockholm, Sweden
  • Walking Transformation (2014) Villa Merkel, Esslingen Am Neckar, Germany

Fulton is interested in exercising total artistic freedom, which he infuses with environmentalism and reverence for nature, not to mention a general dismay for what he sees as a growing disconnect between humans and the natural world. The first time Fulton picked up a camera was quite accidental, being a trained sculptor, but Fulton had the idea of developing an artistic activity based on the act of walking; whereby the walks themselves become the artworks, as the camera documents the land. 

Image Anaylsis

Hamish Fulton en el CGAC | Exit Express

I have selected this image to analyse as I have looked through some pages of this zine and its parts of some of my favourite of Fulton’s work, this is because it captures so many different natural elements in one piece if work. Firstly, I like that this image has a really good focal point which catches the viewer’s attention straight away and makes you want to look through the rest of the zines and attracts you and makes you interested in Fulton’s work. Furthermore, the monochromatic tones within this image means that the clouds become very bright and a better focal point for the middle and top portion of the image, these white tones match up well with some subtle aspects of the foreground.

How do archives function as repositories of knowledge?- essay

Introduction

‘Our mission is to produce and facilitate research on the Island’s history, culture, language and environment; and to share that knowledge with the widest possible audience for the benefit of our island community.’ Reflects how The Société Jersiaise Photographic Archive association is committed to illustrating the island history and the important events that have occurred in time. Furthermore, it demonstrates that they are encouraging the expansion of their knowledge to all groups of individuals as they clearing have a lot of knowledge and understanding that they would like to share with the public.

From looking back at photographic archives from the past we can get a better understanding of the lives of people that have previously lived in the Island and how this is different to our modern lifestyles today. Further evidence that our lives have changed can be found in everyone’s personal archives, for example some carry journals/ diaries to literately document their lives. The easiest modern way we keep an archive of our experiences is our phone albums, as they are easily accessible and can hold ten of thousands of images.

Henry Mullins

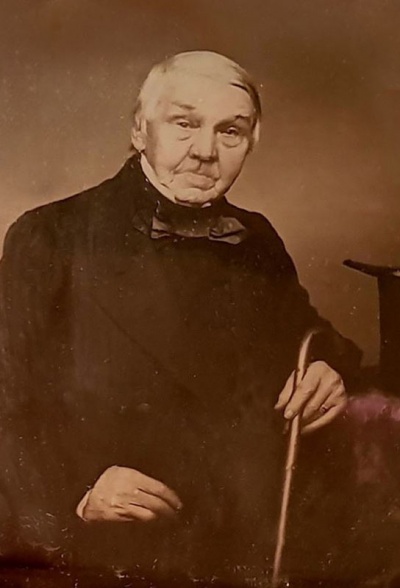
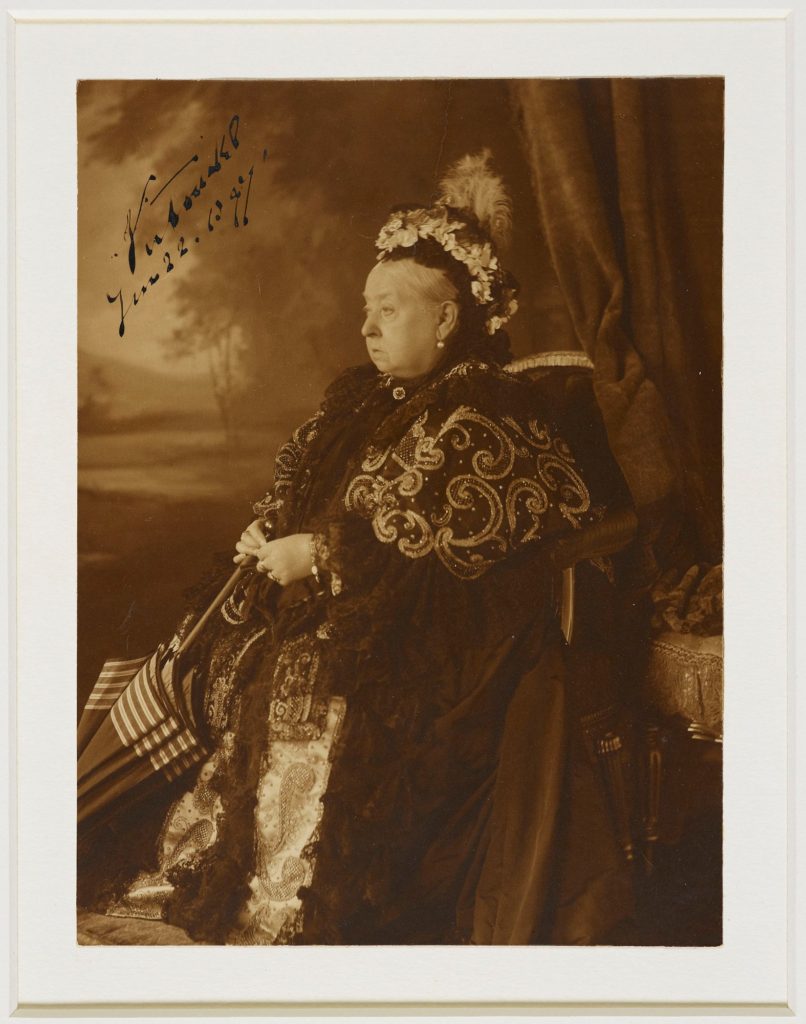
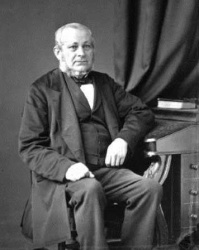
Being one of the first major establishers of La Société Jersiaise, Henry Mullins is one of the most influential members of the association, originally working in London during from 1840 and later moving to Jersey in 1848, Mullins set up his studio at the royal square with his partner Mr Millward. He created his personal Photographic Portrait Room at his archive site at the Royal Square and the purpose of the studio was to span three decades and produce at least 20,000 images, including two albums of Calotypes, containing about 10,000 portraits dating from 1850 to the early 1870s, now in the Société collection. This was only set up as his he originally got members of the public to want their portrait taken by him, this is how Mullins ended up with such a large collection of photographs. From looking and analysing Henry Mullins’ work we can gather an understanding of the different types of people living in Jersey from 1848 to 1883 after he had passed away. There is evidence of a wide variety of lifestyles as Mullins’ photographed individuals in many different professions such as soldiers, nurses and even people in the highest and power. Such as having the honour of photographing Queen Victoria I with the Duke and Duchess of York.

This photo, taken in the 19th century is one of Mullins’ most famous pieces of work, as it documents one of the most influential individuals of the century, and someone with very high power and authority. This demonstrates the lives of members of the royal families and this piece could be showing Queen Victoria in the publics eyes. As it illustrates the high standards that the public would have expected her to practise in her reign, such as always meeting royal expectations and procedures. This is implied as the viewer can see how perfect she is just from evaluating her clothing, hair and even the background of the photograph. The image is filled with evidence, such as the furniture, that helps us imply information about royal families at the time, the setting of this piece is important to note as the wealth is shown not just through the monarch herself, but through her assets.

Archives are valued sources of physical information about the history of Jersey (in this case), they help to tell stories through photographs. These can be stories about individual people, explaining aspects of their lives such as their upbringing, or simple their current identities. Photographic archives provide easy access and materials in order to gather an understanding of the different social class during a specific period of time. For example, the divide between the proletariat and the bourgeoise during the 1910s, at time at which the distinction between employees and employers was exceedingly evident.

Additionally, archives they could represent major events from which have occurred in the past, helping to teach younger people the value of history, including the challenging times their ancestors may have had to encounter. Another positive aspects of learning about archives is they have given me inspiration for my own final project as it helps emphasise the need to learn about the past visually and not just thought written works. This means that I now have a visual understanding of the types of images to put into my own work such as zines and maybe even my own final project if I were to create an archive of my current and past photography work.

Societe Jersiaise Photographic Archive

Introduction and History

The Société Jersiaise Photographic Archive contains over 100,000 items dating from the mid-1840s to the present day and is the principal Jersey collection of nineteenth and early twentieth century photograph. Archives can be a rich source for finding starting points on your creative journey. This will strengthen your research and lead towards discoveries about the past that will inform the way you interpret the present and anticipate the future.

There mission is to is to produce and facilitate research on the Island’s history, culture, language and environment; and to share that knowledge with the widest possible audience for the benefit of our island community. We achieve this through our active Sections, research collections, community outreach and collaboration with local and international heritage partners.

Father Burdo at the cave- 1951

It was with pleasure and relief that members of La Société Jersiaise welcomed the return of Father Burdo from France, where he had endured many dangers and anxieties during the war without, it would seem, having lost any of his old interest in the cave or any diminution of his determination to complete the work he had so enthusiastically commenced.

The enterprise by now has become a “one man show” and from 1950 to the present moment Father Burdo has been in supreme command of the operations. Since, with such a reduced manpower, it could no longer be a question of clearing the whole width of the ravine, he opened a trench at a much lower level, 18 feet below the former cave floor. His first intention was to try and reach inside the cave the rock bottom, which had defied all previous attempts. But he entertained also a secret hope of discovering another stage of human occupation, older than that of Neandertal Man. This hope was fulfilled when, in June 1951, he struck an unquestionable Acheulian layer, vastly older than the previous finds.

The Société’s Sections specialise in various fields of study, from archaeology to zoology. These volunteer sections produce the raw data and research which make long-term studies possible, and at the Société we’ve been doing it since 1873. The Société holds extensive bibliographic, cartographic, photographic and research collections which act as our long-term memory. These collections provide a vital resource informing contemporary study and value for the community through a greater understanding of our shared heritage, identity and environment.

Archives- Emile F Guiton

The surname Guiton is said by the Rev George Balleine’s article on the derivation of Jersey names to come from the old French for ‘page-boy’. However, other sources suggest that while of ancient French origin, this may be an occupational name for a professional guide, a very important role when maps were either non-existent or not to be trusted. This derivation is from the Old French word “gui” meaning a professional guide.

Honorary Curator of the Museum and Editor of the Annual Bulletin, he is considered to be the founder of the Photographic Archive at the Société Jersiaise. Emile was also an excellent photographer making use of a rapidly expanding medium in the early 20th century to record important historical sites, events and objects. The Guiton family were also involved in businesses at 39 and 41 Broad Street.

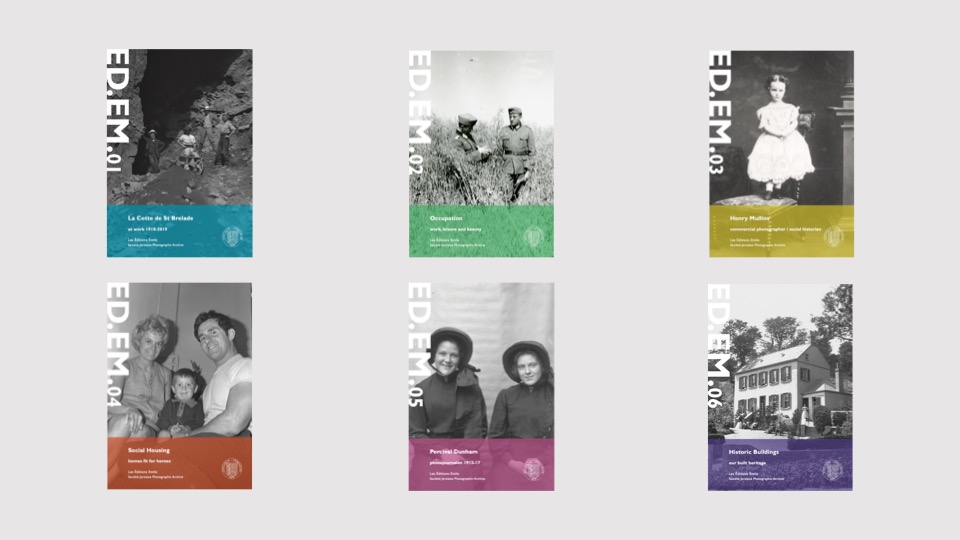
About us — Éditions Emile

The Guiton family had become involved in newspapers just a few weeks after the Jersey Evening Post had launched. The paper had been founded by HP Butterworth, who used Walter Guiton as his printer. Seeing an opportunity, Guiton bought the title and it remained in his family until 2003.

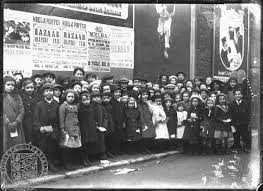
Image Analysis: The main aspect I like about this photograph is the composition and message behind the image. Firstly, I think that the placement of the men is eye catching as its clear who has excavated the cave and who are included in the onlookers. Secondly, I think that the message of a divide in social class is very evident in this image, as some of the gentlemen are dressed in average clothing and some are dressed in smarter attire, this demonstrates the lives of these men in this period as some are clearly wealthy and other not so much. I think that the high levels of contrast in this photograph are important to note as the lightest parts of the image stand out more and this draws the viewers’ attention in and makes them consider the purpose of the rest of the piece.

In 1833 W Marston ran a stationery and bookshop at No 39. He was followed in 1841 by Peter Guiton, a wine merchant, who married Eliza Neel, daughter of Elie and Catherine Perchard in St Helier in 1822. By the 1871 census the Phinns had left and Peter Guiton and family were back living at No 39. He remained in business here and at No 41 until the 1890s. For a time No 39 was divided and the Guiton business was shown at No 39½, with a variety of occupants at No 39, including Miss Le Cordier, who ran a tract repository (religious publications) in 1874. Miss E Fawson had a bakery at No 39 for a time towards the end of the 19th century.

Ernest Baudoux

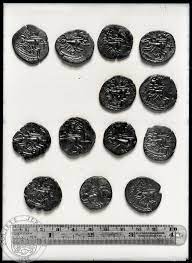
Originally from France, Ernest Baudoux (1828-1897) worked in Jersey from 1869 at 11 Craig Street and 51½, 56 and 59 New Street. In 1885 he was joined in business by his son, but two years later they sold out to John Stroud, a young photographer from London, who in turn sold his business, including many of Baudoux’s glass-plate negatives, to Albert Smith. Some of these photographs have been attributed incorrectly to Smith and the Photographic Archive of La Société Jersiaise have a project under way to attempt to correctly identify who took each of the 3000-plus images in their collection attributed to Smith.

There are 1385 photographs by Baudoux available on line from the Société’s archive. They are mainly portraits, which was the photographer’s speciality. Many of his portraits exist in two versions, one of them retouched to hide facial blemishes and wrinkles. Baudoux also undertook photographic commissions of clients’ houses and, working with his sons, he photographed views of the island.

He was the first significant chronicler of island life in images, a role which was later to be taken up by Albert Smith, which explains why there is doubt over who actually took some of the images attributed to Smith. The gallery below shows the diversity of subjects captured by his lens; from the portraits which were the bread-and-butter of an early professional photographer, to scenes of the island and pictures of major events in the mid-Victorian era.

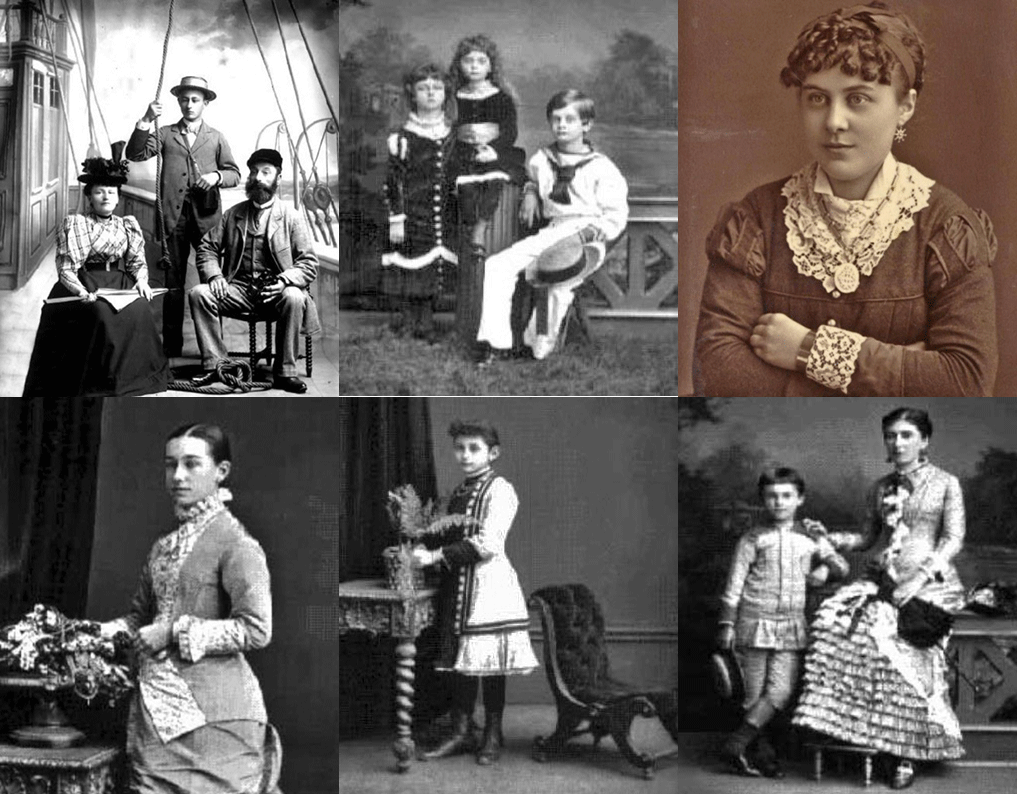
Baudoux images are very collectable, and frequently appear for sale on on-line auction sites. In addition to the Societe Collection, there are two large collections of Jersey photographs and postcards in South Africa and the United States, to which Jerripedia has access. This has enabled us to build up a substantial gallery of Baudoux images, some of which are shown below, others being located on appropriate subject pages. Baudoux’s work was of the highest quality, and many of the surviving images are in superb collection. The portraits, most of which have names inscribed on the backs are supreme examples of the Victorian art of photographic portraiture. They convey the fashions of the time, both in clothing and hairstyles.

Our Gallery

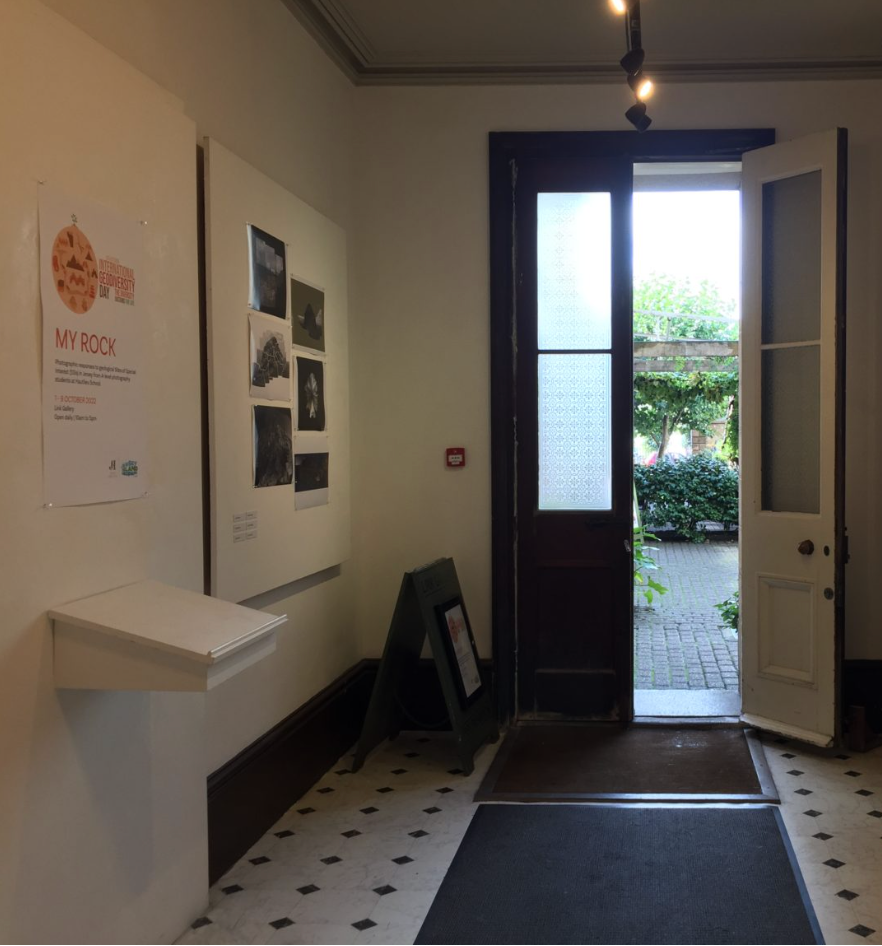
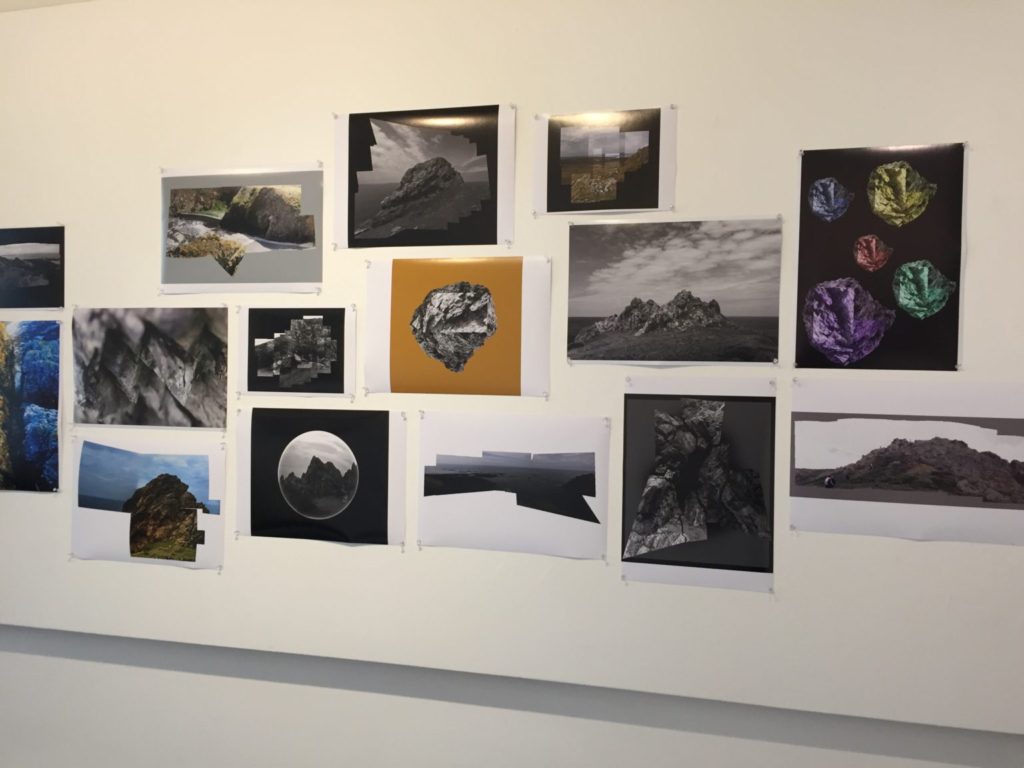
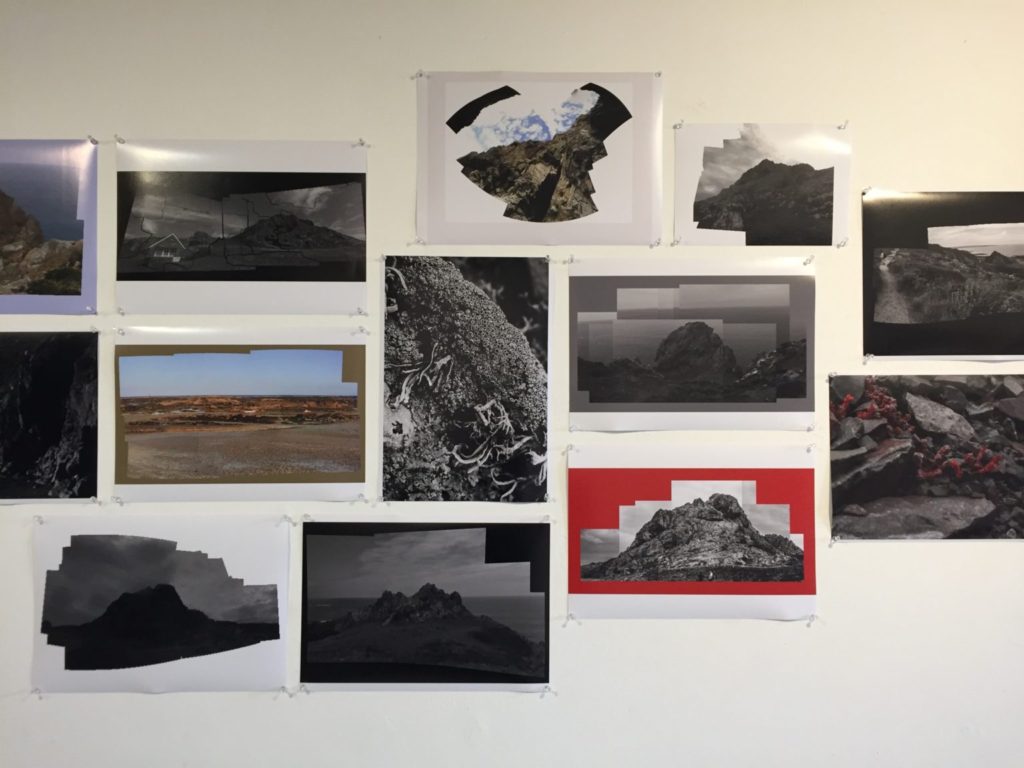
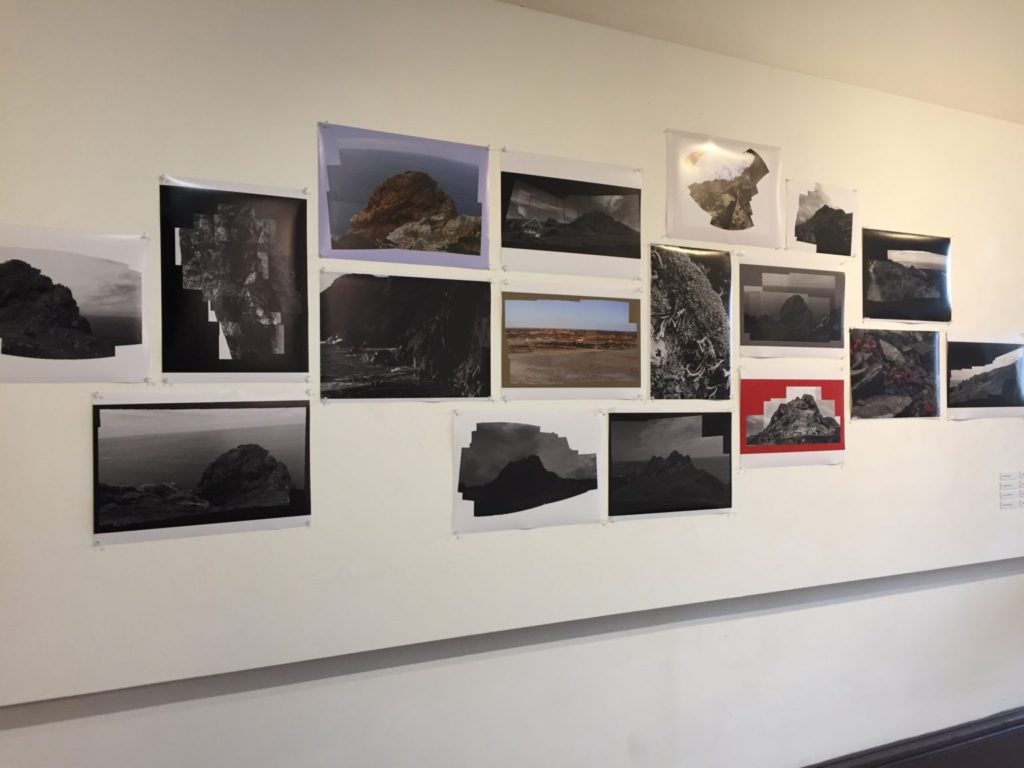
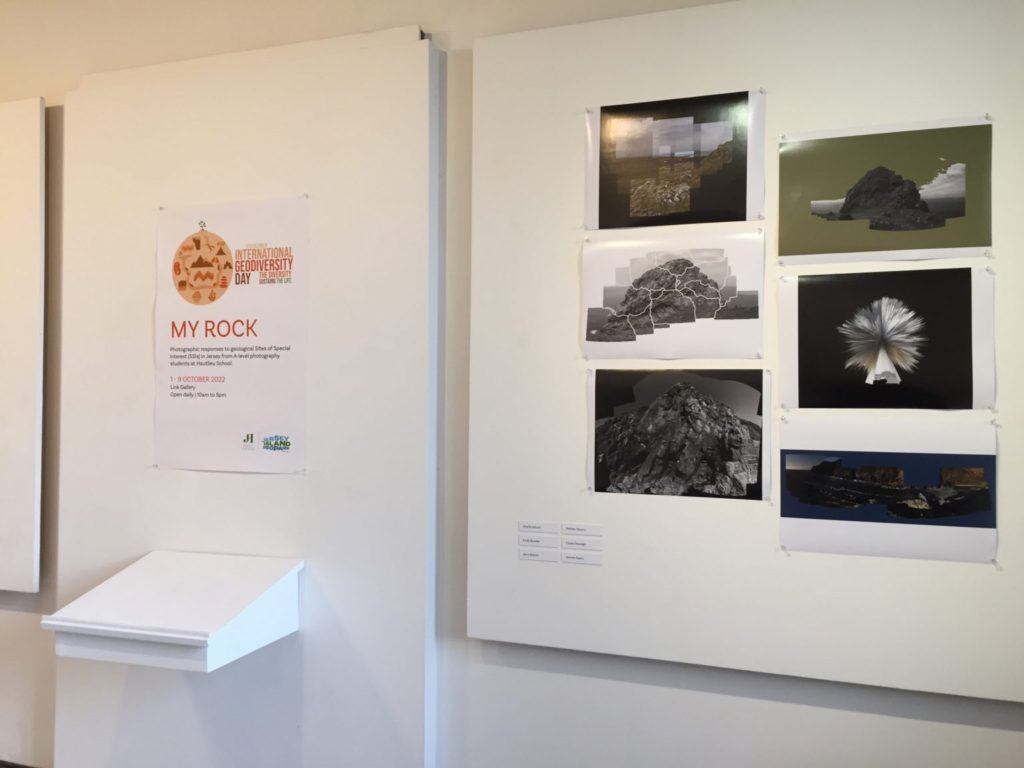
Here I have included images from out gallery at The Société Jersiaise Photographic Archive, this is composed of many different pieces from the Year 13 class work. Containing joiners and images from our ‘Islandness’ project we have been working on. I think this was a good opportunity as it gave us a final project to work to, as we knew our work would be displayed and be visible to the public. I like the way these have been arranged as it’s nice to see the different ranges of work that our year from made out of all of our photoshoots and our class trips. Furthermore, we got to view the display when we went to The Société Jersiaise Photographic Archive and this was a chance to see our work in real life which meant that our creativity was shown.

la hocq photoshoot

Plan

I will be taking photographs at Green Island I would like to take these images round midday to ensure that I can have the best changes of having the correct lighting for this shoot, and making sure its not raining to make sure my only equipment, the camera, doesn’t get damaged.

Contact Sheets

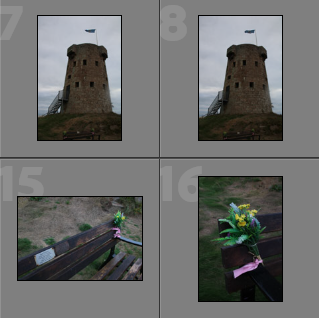
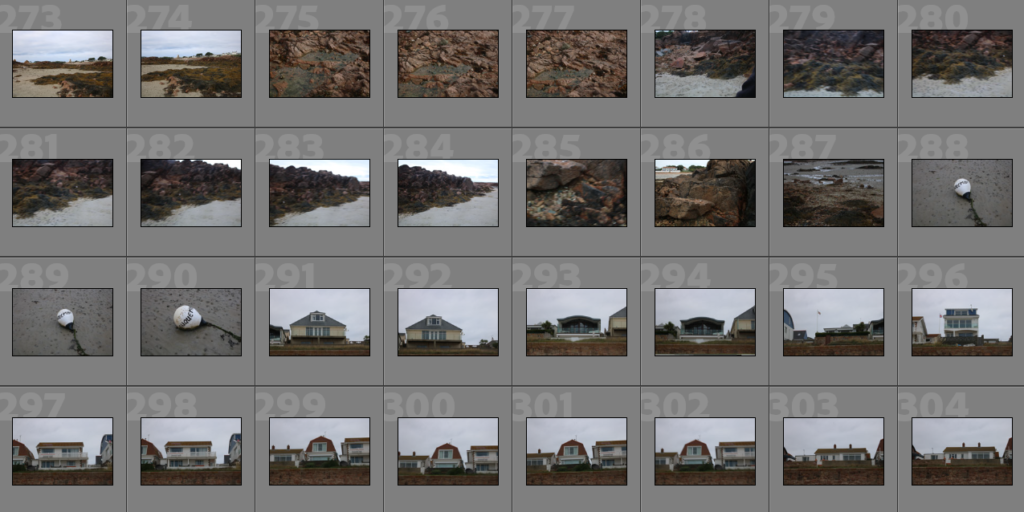
Below I have included some contact sheets displaying the wide variety of images from my Plemont and Stinky Bay shoot, this is important as it gives an indication of how many images I have from each shoot, and helps with the organisation before image sub selection.

Colour Ratings/ Image Sub-selection

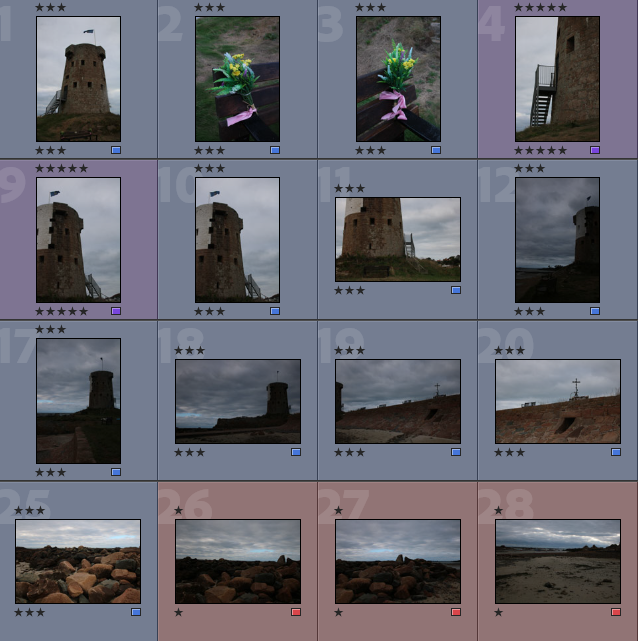
Below I have placed some screenshots of my colour coding my photographs, I have included an explanation of the system and how I have come to the image sub selection process, I really like this system as it ensures that I have a clear plan in my mind of which images I am going to edit. It also helps me predict my final images just from looking through them in Lightroom.

  • Purple- Best images
  • Blue- Average images
  • Pink- Not so good images

Best Images

There I have taken some of the images from my ‘purple’ selection above and placed them in a gallery so that they can be more easily viewed, this also helps me consider whether or not they could be displayed as 9 images or just individually. Furthermore, this is before the editing process so lots of these photographs could be made to be of a higher quality afterwards.

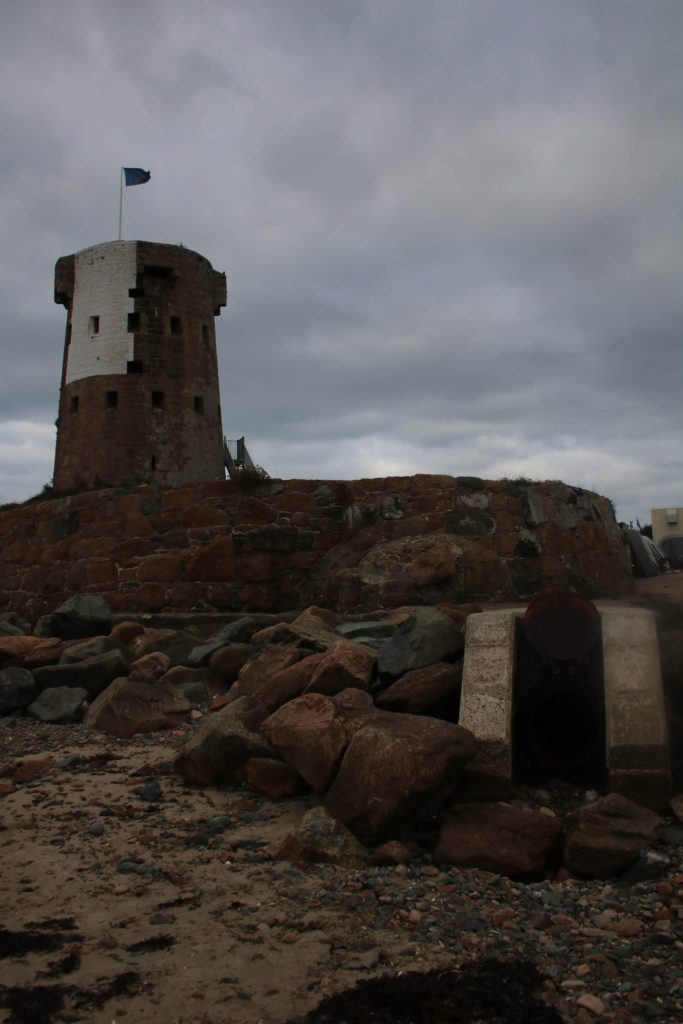
I have organised my best images into mini galleries, this one focusing on the small castle at La Rocq and its area around, I think this is a good way to display images as it helps visualise images in collections and helps when it comes to thinking about the layout of how they would displayed.

These next two mini galleries are much more focused on the beach and the rocky areas around, I like that these images all have very similar tones and brightness’s, meaning that they compliment each other well.

Editing

Below I have included before and afters of all of the images that I have decided to edit, I think that for the most part these images came out very well, I think I didn’t end up with a wide range of good images to edit, however I think the ones that I have are of good clarity and some exposures have been edited so that the images are more legible. Furthermore, I think that changing the undertones of the images to make them appear cooler/ warmer gives them a greater effect.

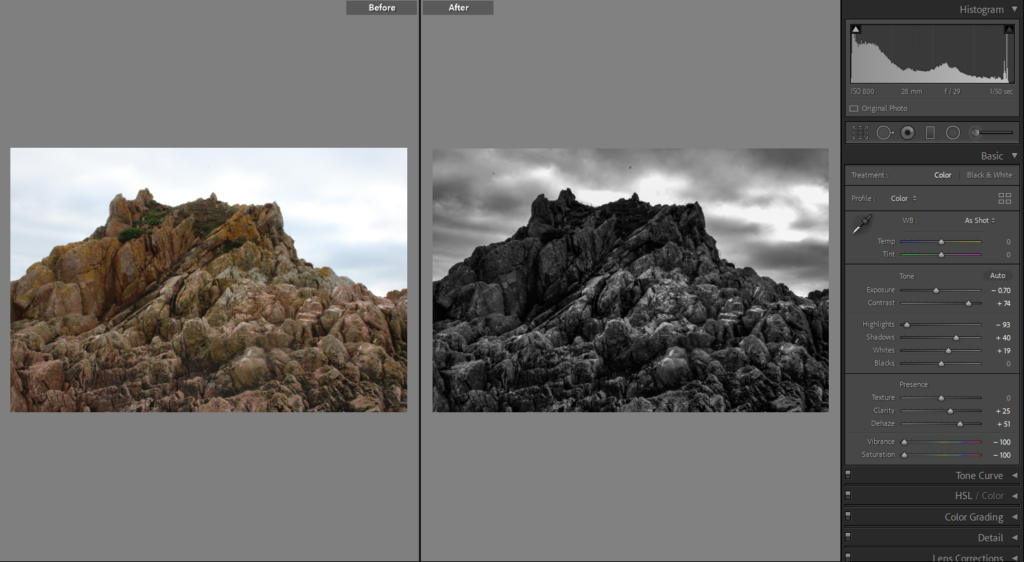
Above I have included an one example of how I have edited my photographs, and below I have included images before and after thee editing so that their differences are more prominent, I think this is a good way to display editing and it helps to make decisions about whether images look better before or after editing.

Final Images

For my final images I have decided that these are my best options, I have included evaluations for each of my images, with explanations for each stating the strengths and weakness of each.

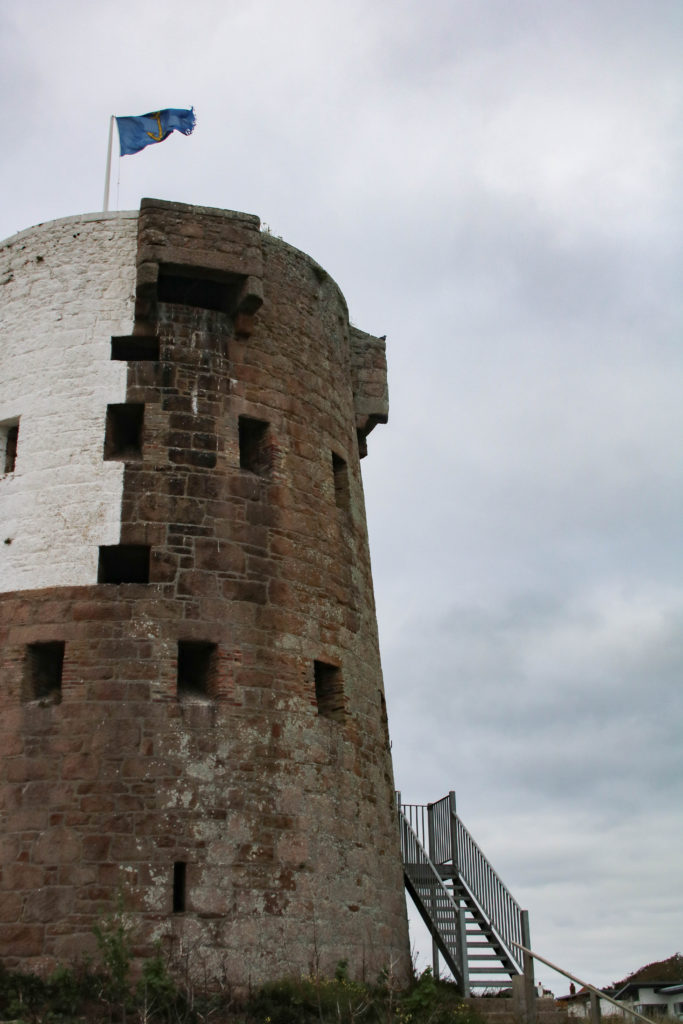
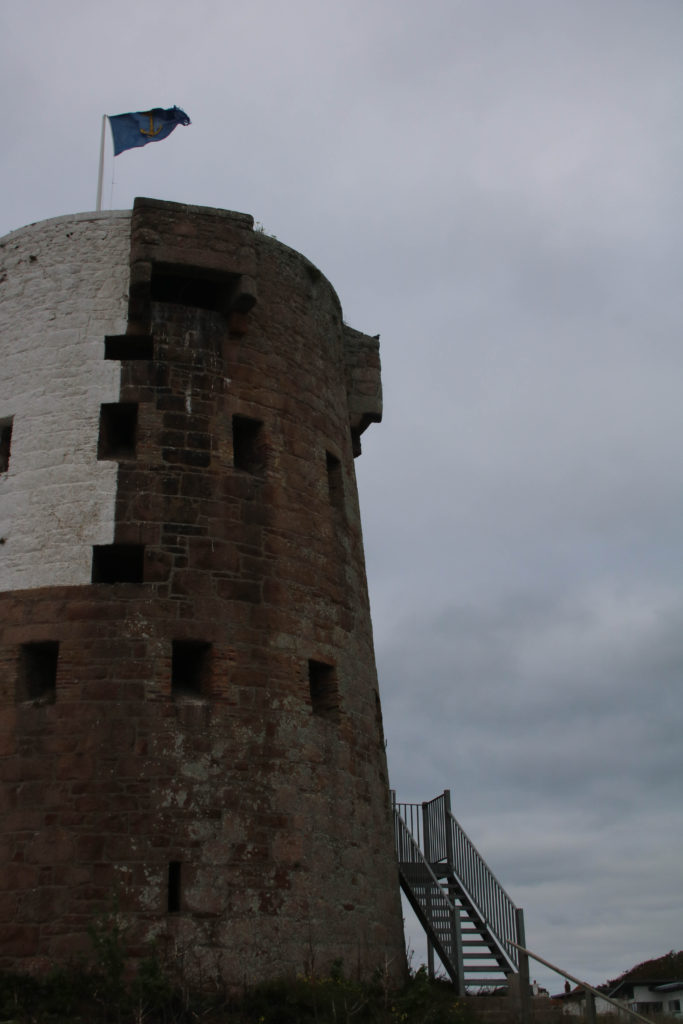
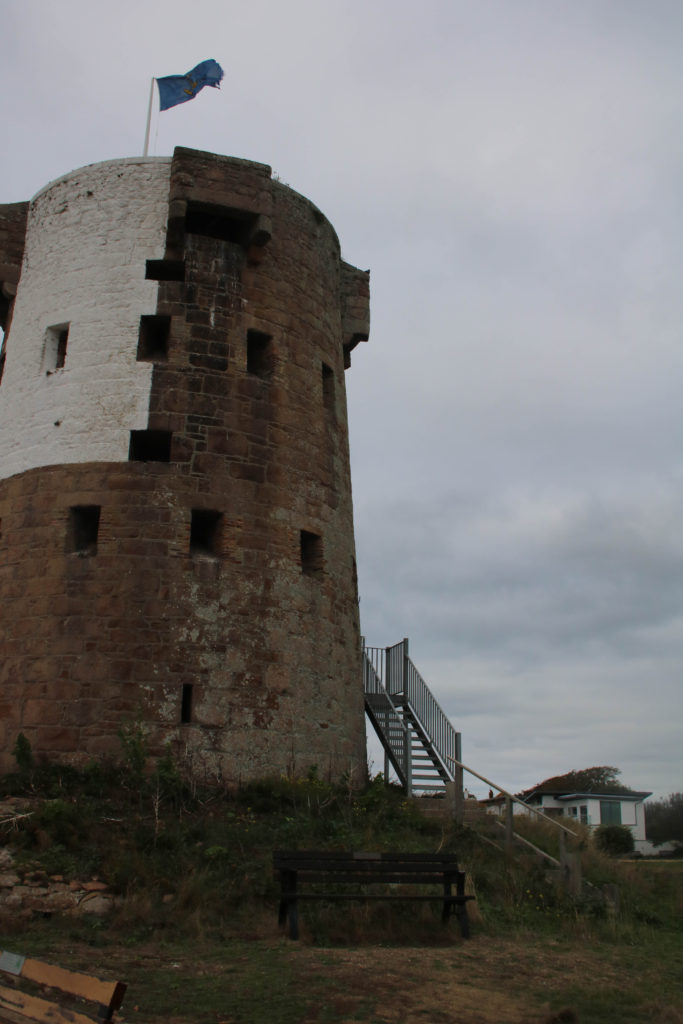
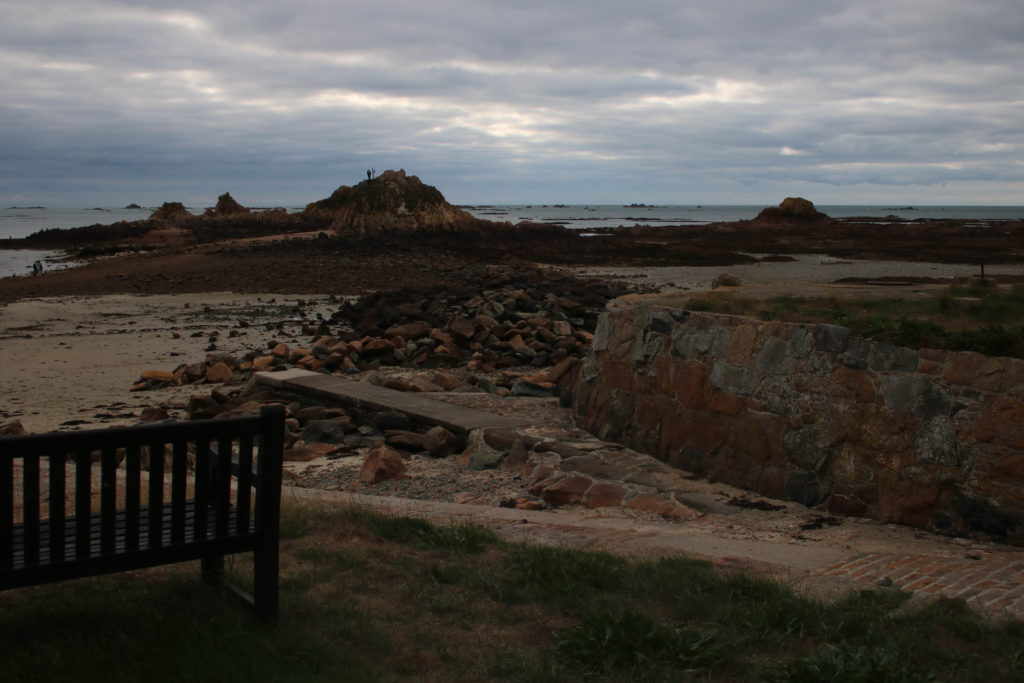
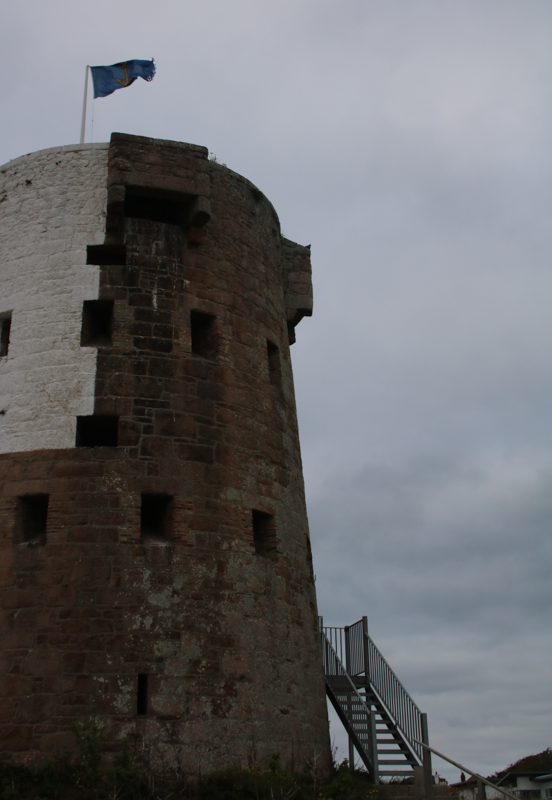
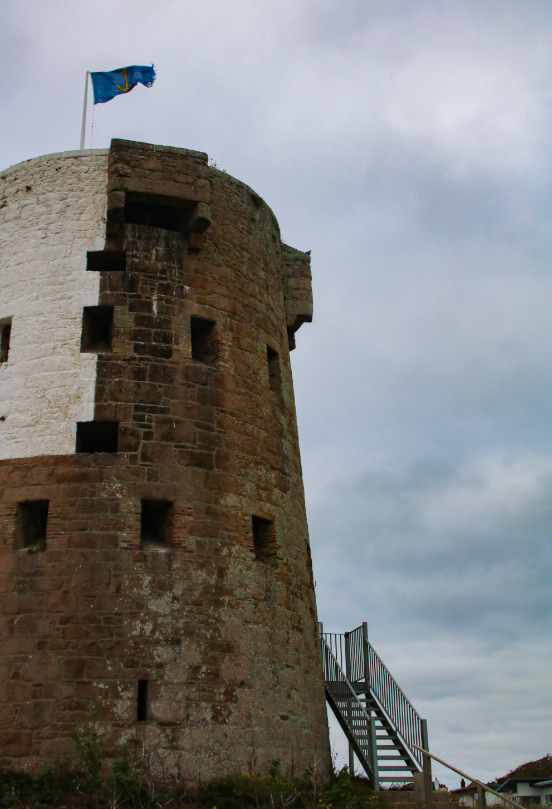
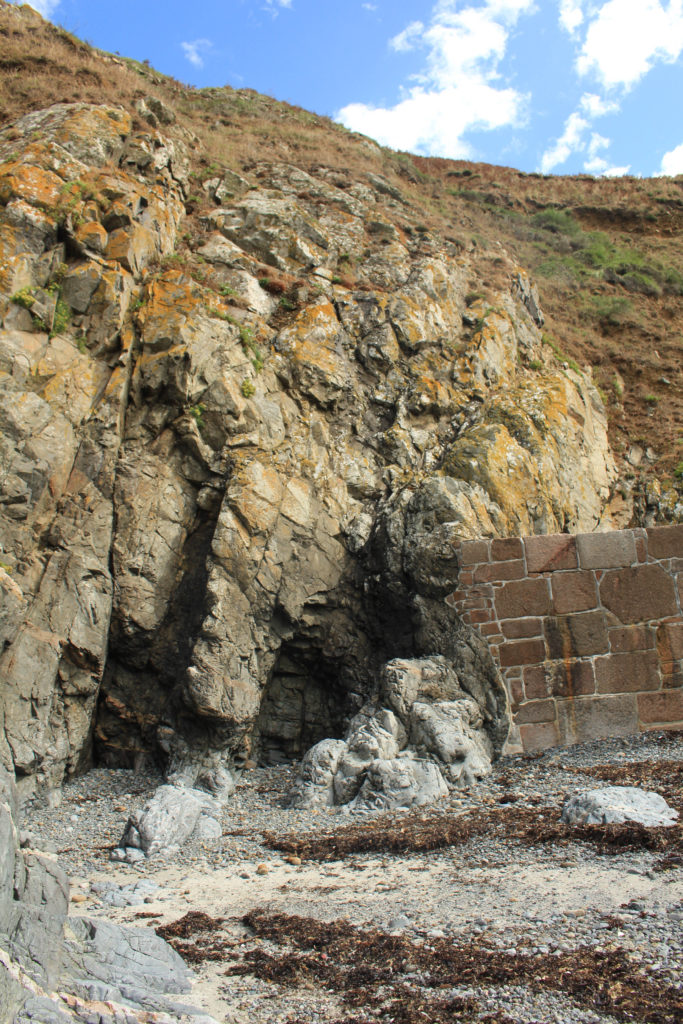
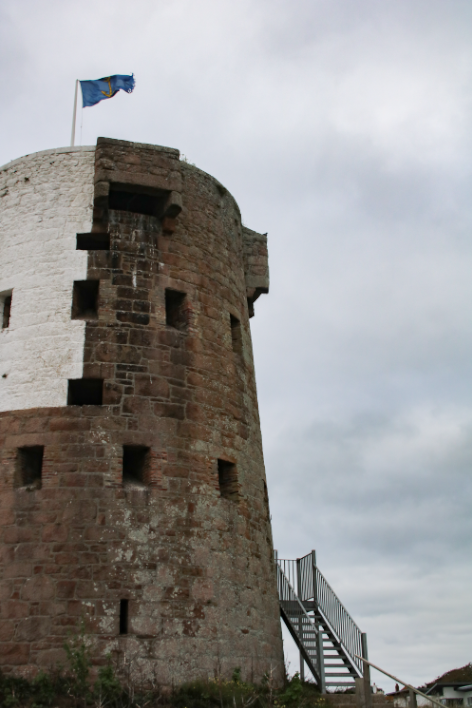
I have selected these two as my first final images as I think that they compliment each other well, when editing these images I tried to make it so they had a similar exposure. This is one of my favourite aspects of these images is that they are both slightly over- exposed, I think this adding a lot of brightness of the sky creates a focal point out of the bricks in the castle, along with helping the photographs to have a cooler toned images. Furthermore, I think that there is a lot of contrast between them, starting with the perspective of them, I put them together as the difference in the angles means that they compliment each other well. Additionally, the materials within the pieces are different, with the new metal stairs leading up to the entrance of the castle contrast with the very old fashioned bricks that compose the castle.

In contrast, there are some downfalls to these photographs, as the fact that they are somewhat over-exposed may hinder the quality of my images, or how well liked they are. Furthermore, I think that the first image is more of a higher quality, especially in contrast with the second, and they may even look better displayed by themselves. The fact that the second image is a lot more warmed toned means that the contrast between the two photographs may mean that the contrast may not be aesthetic.

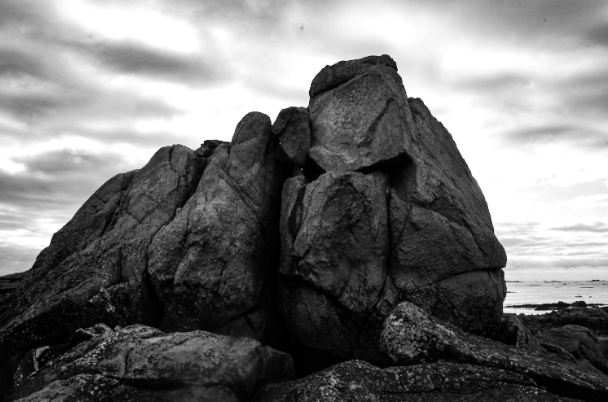
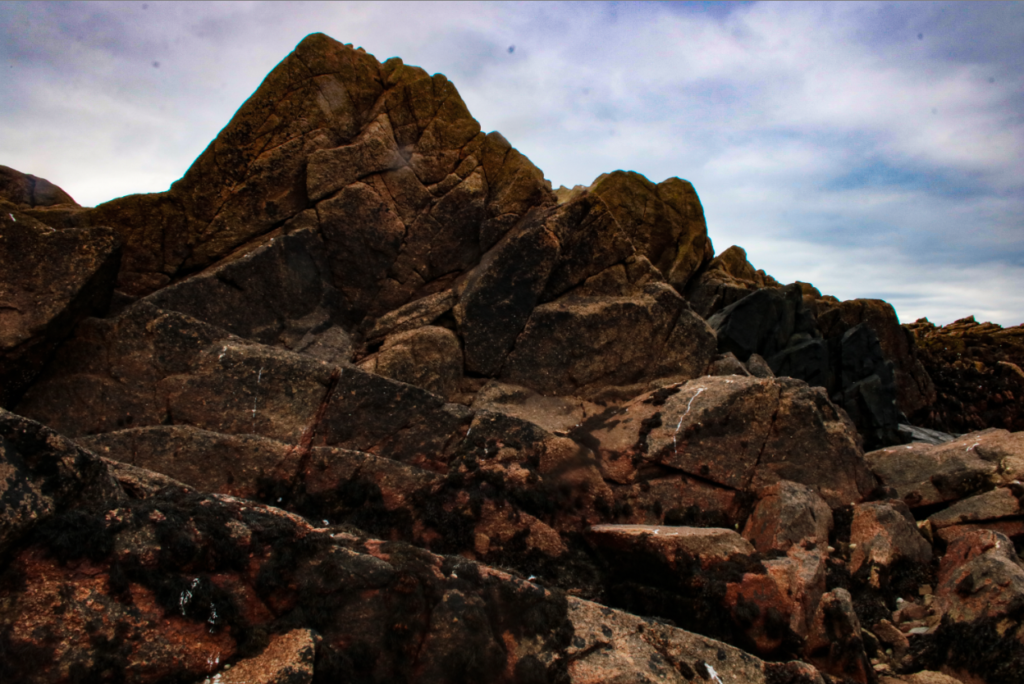
This is my third final piece, this was my favourite to edit as the drastic change made to this photograph made it more interesting. My favourite aspect of this image is the clouds surrounding the rocks in the background as I think this gives the images an eerie affect and the fact that this piece is has been edited in black and white (monochromatic) means that it also adds to the affect. Additionally, I think that there is lot of contrast between the foreground and the background, with the foreground being filled with lots of darker tones, with details such as the lines and textures in the rock. Then the background being filled with highlights which make the central piece, the rock, stand out more. Alternatively, this final piece could be seen as a little boring as there is only one aspect to this image, meaning that its not as catching as my other pieces.

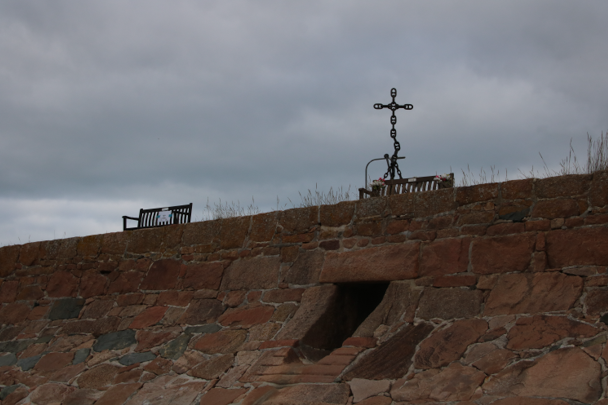
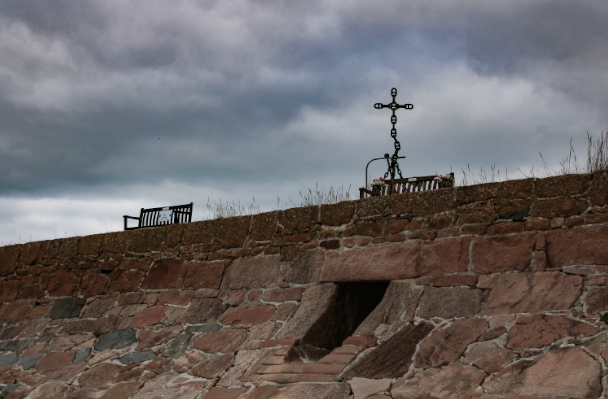
These final pieces have been placed together as I think that they would compliment each other well together as they tell a mini story within only two photographs. With the first being a lot more zoomed in, focusing on one thing that happened outside of this castle, the lady with the dog is just one example of something that has occurred here, maybe making us think about what else may had happened here, such as war and conflict. The second image is placed here in order to put the first one into perspective as its a different point of view from the first. I think that the second photograph is of very high quality because of the clarity of it, with the bricks and grass being filled with texture and depth because of the clarity of the original image. However, in my opinion, these piece could be improved by adding more images to the sequence, as this would make the mini story more detailed and vivid.

I have presented these photographs in this way as I don’t want to cut off some of the first photograph (which is what happens when a gallery on the blog is made). Furthermore, I think that the perspective of the first image is important to note as the image is perfectly half rocks and half sky. To edit these photographs I changed the ‘dehaze’ and ‘saturation’ settings, this was in an attempt to keep the cold and eerie affect throughout many of these photographs. Furthermore, the second photograph is filled with lots of more colour and softer textures, which are present throughout the flowers and grass. The best contrast between these images is the man-made vs natural theme, as the first is filled with all human made features and the second being filled with natural aspects such as the wood, flowers and grass.

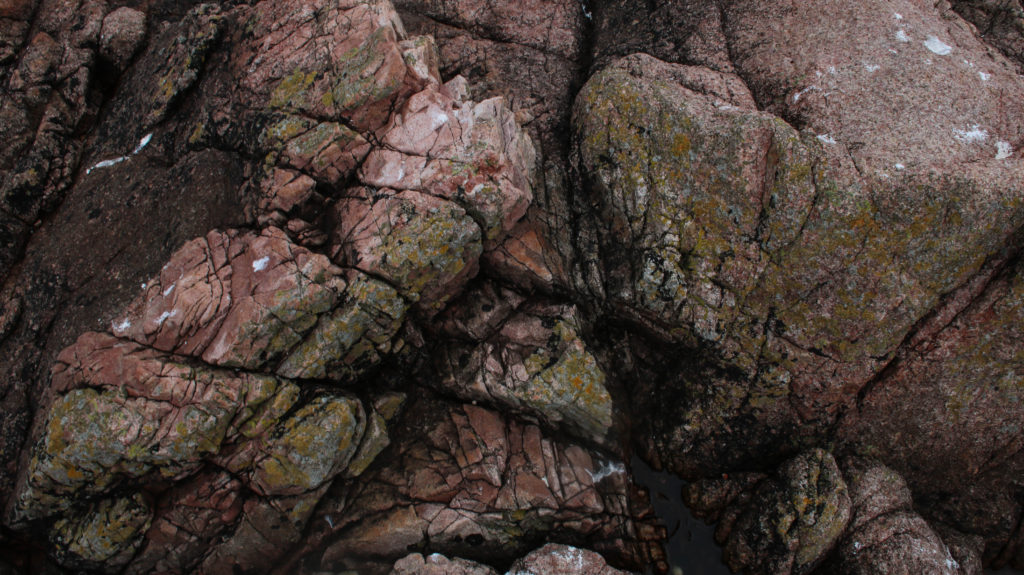
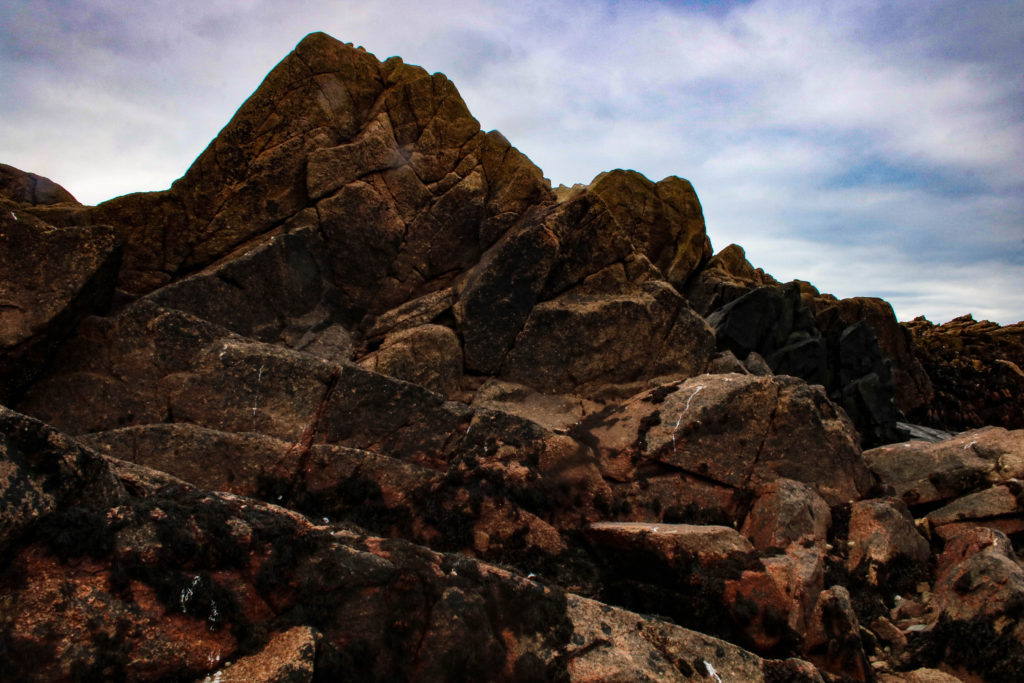
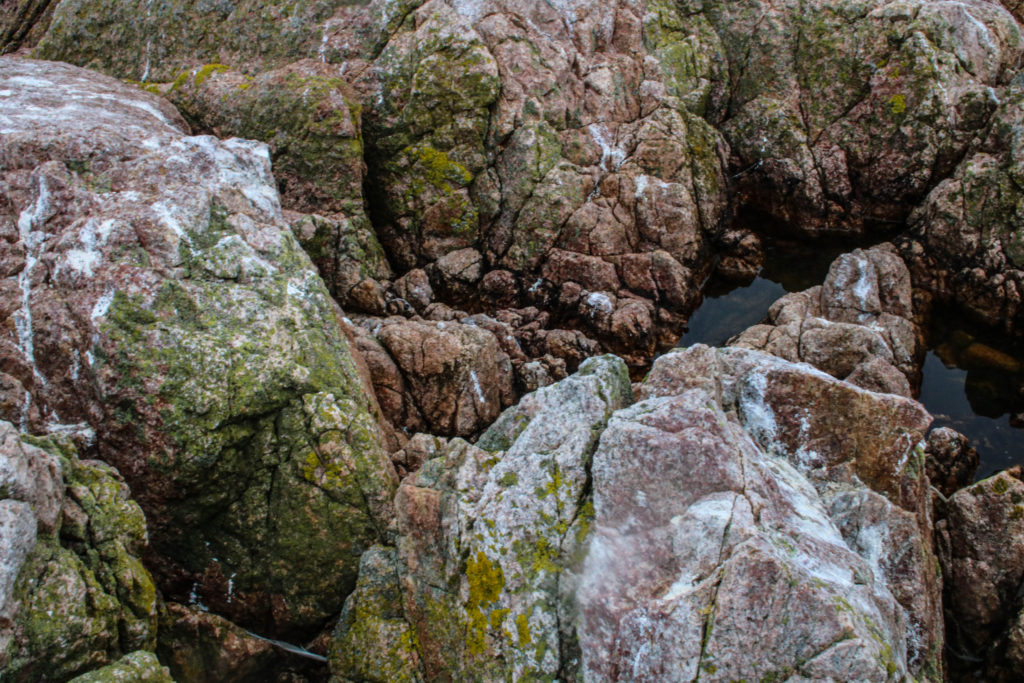
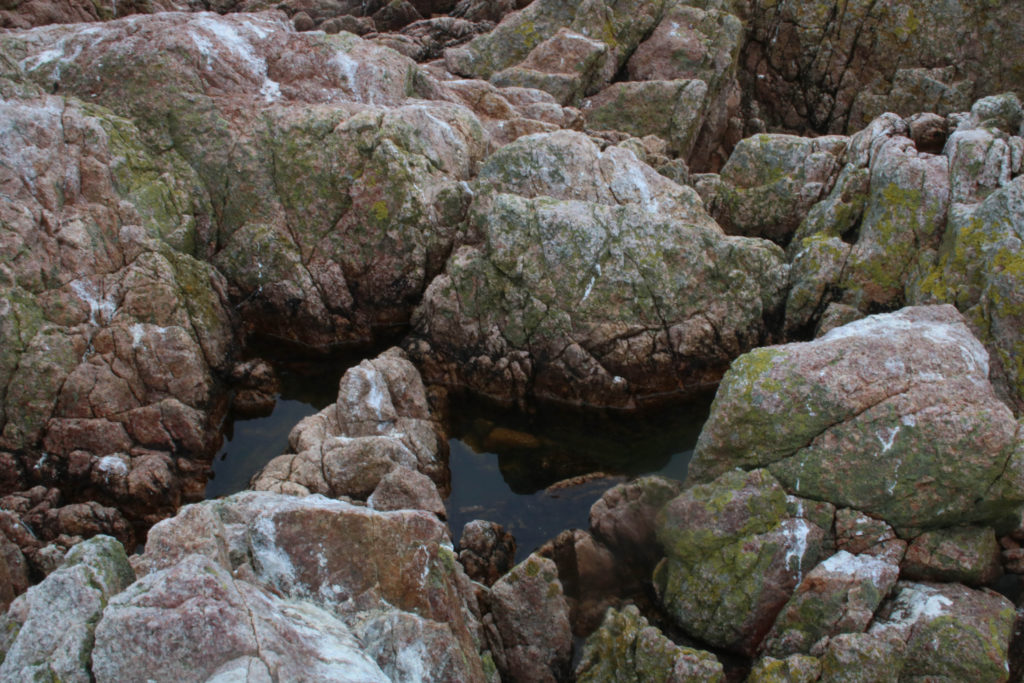
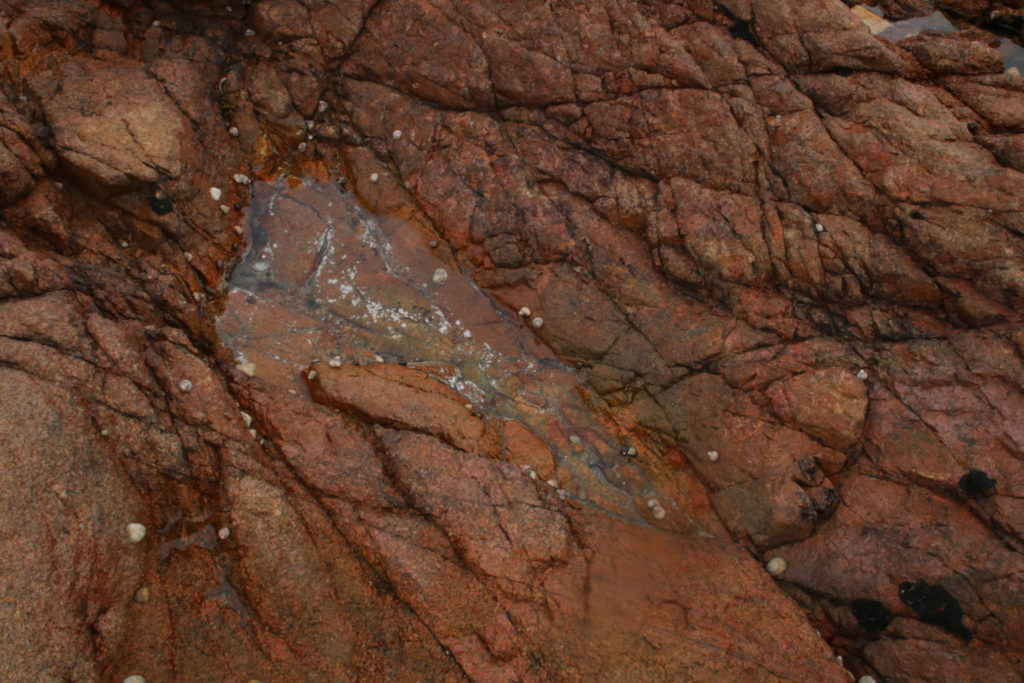
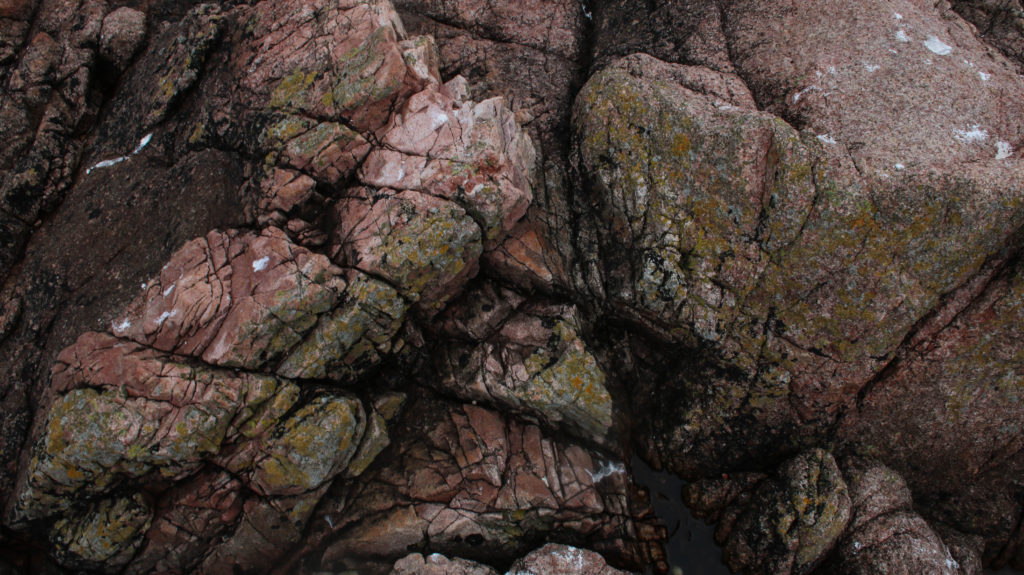
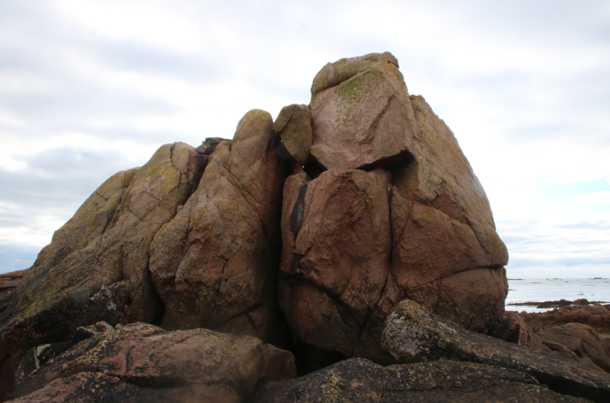
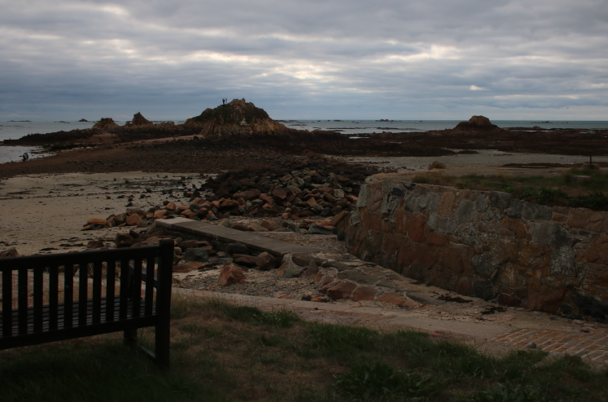
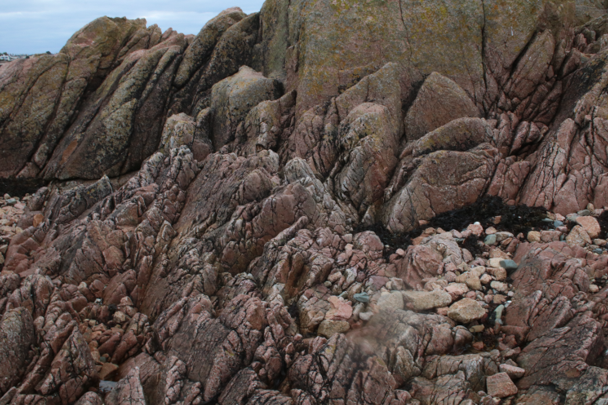
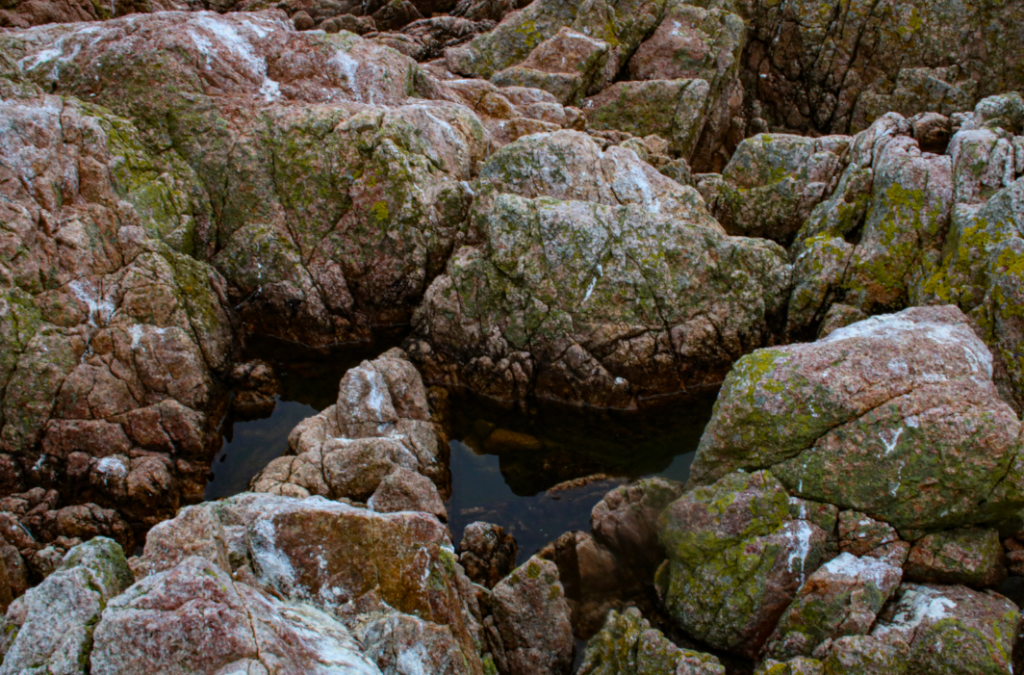
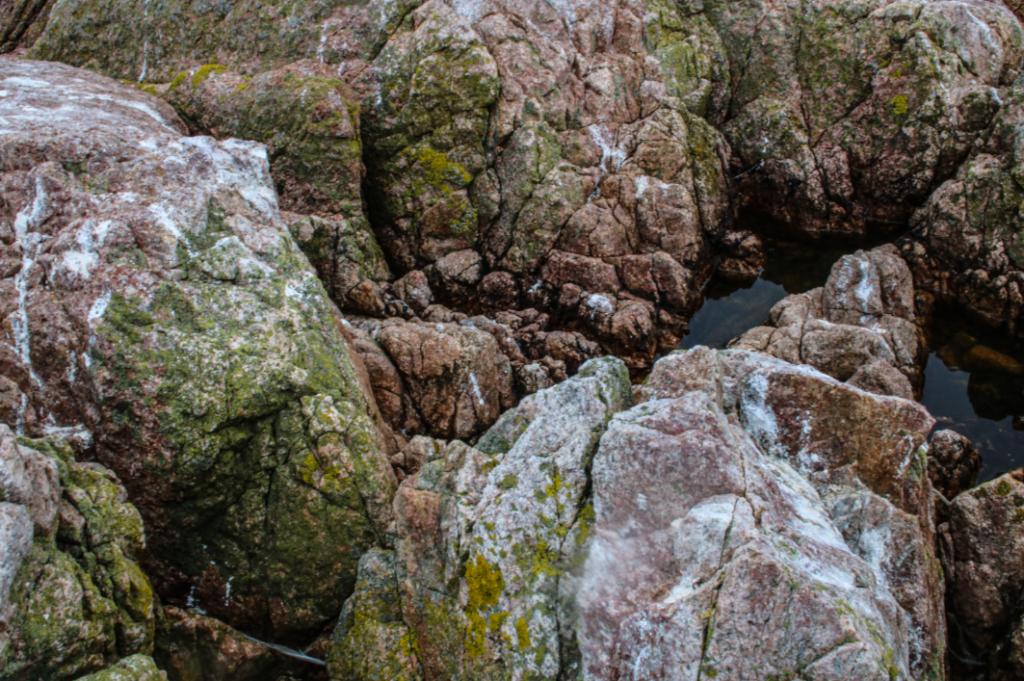
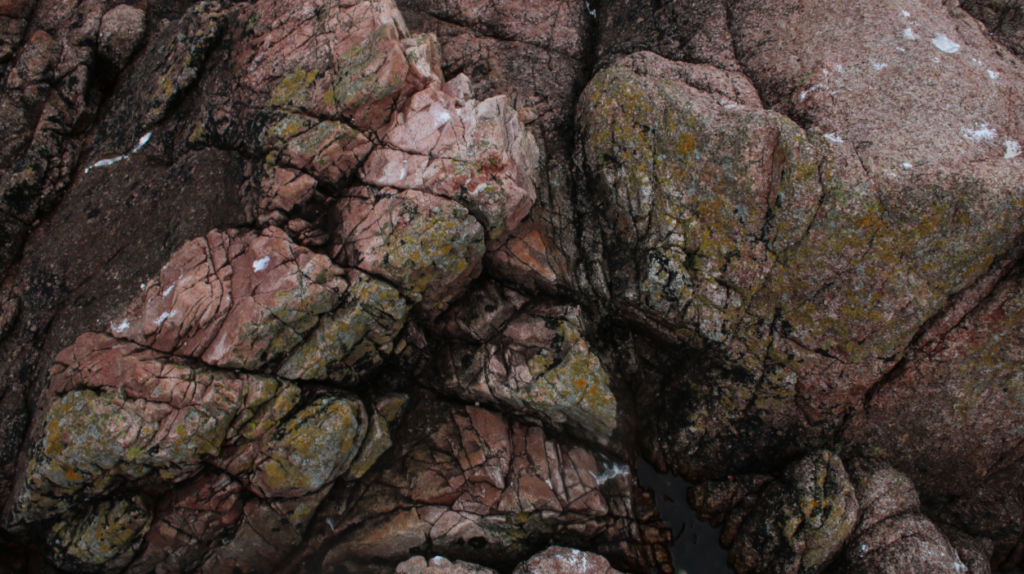
I have placed these three photographs together to produce this final piece as I think this makes these images stronger as they are together. This is because the top two photographs are very similar, and the third/ bottom image being a different perspective of the same face of rocks (as the image was taken from the side). Additionally, I think that these photographs are very aesthetic as the contrasting natural colours throughout the pinks and greens on the rocks help to create depth, along with the browns in the left side of the bottom photograph. All of these images contain the ‘rule of thirds’ which means that horizontally they can be split in three, with different angles and features in each section.

photo structures

Process- Image Selection

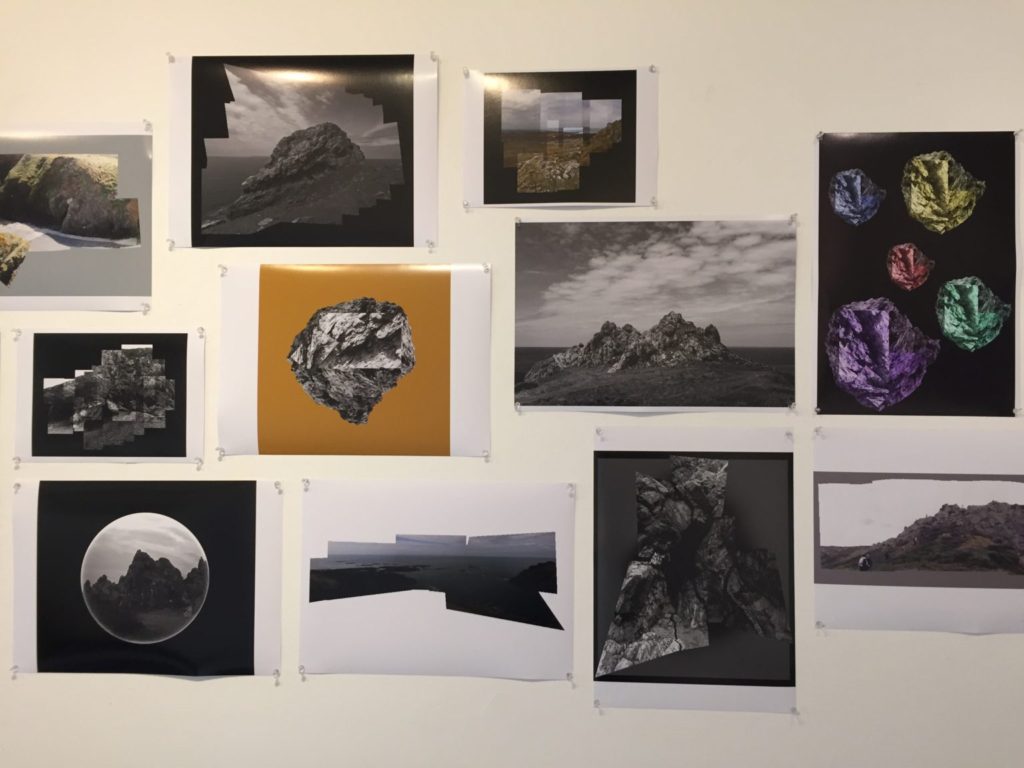
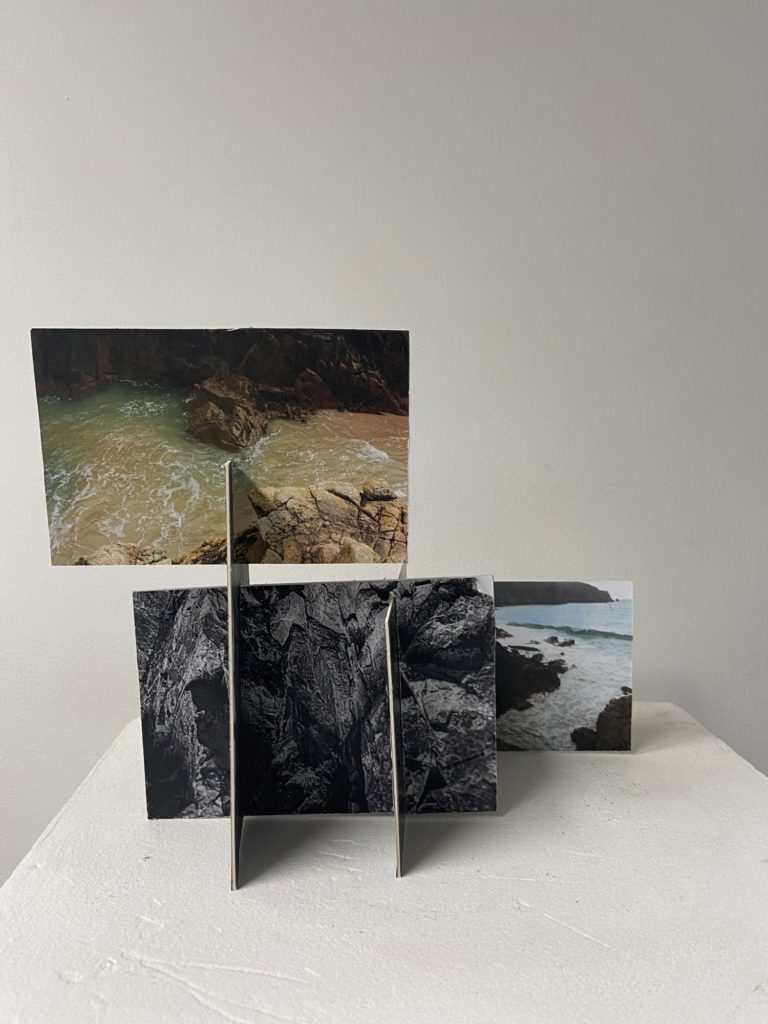
To create my 3D sculptures, I took some of my best images from my Stinky Bay and Plemont photoshoots, then printed them out and attempted to make some successful experiments. Below I have included the images I would like to use in my sculptures, which include my most successful photographs from the shoots.

Materials

  • Photographs
  • Card
  • Tape
  • Scissors
  • Knives
  • Glue

Experiments

After choosing and printing out my photographs, I now had to think about the layout of my sculptures and how I would assemble my work. Below I have included some images of the experiments I created and a visual process of how each of them were made, with explanations and analysis’.

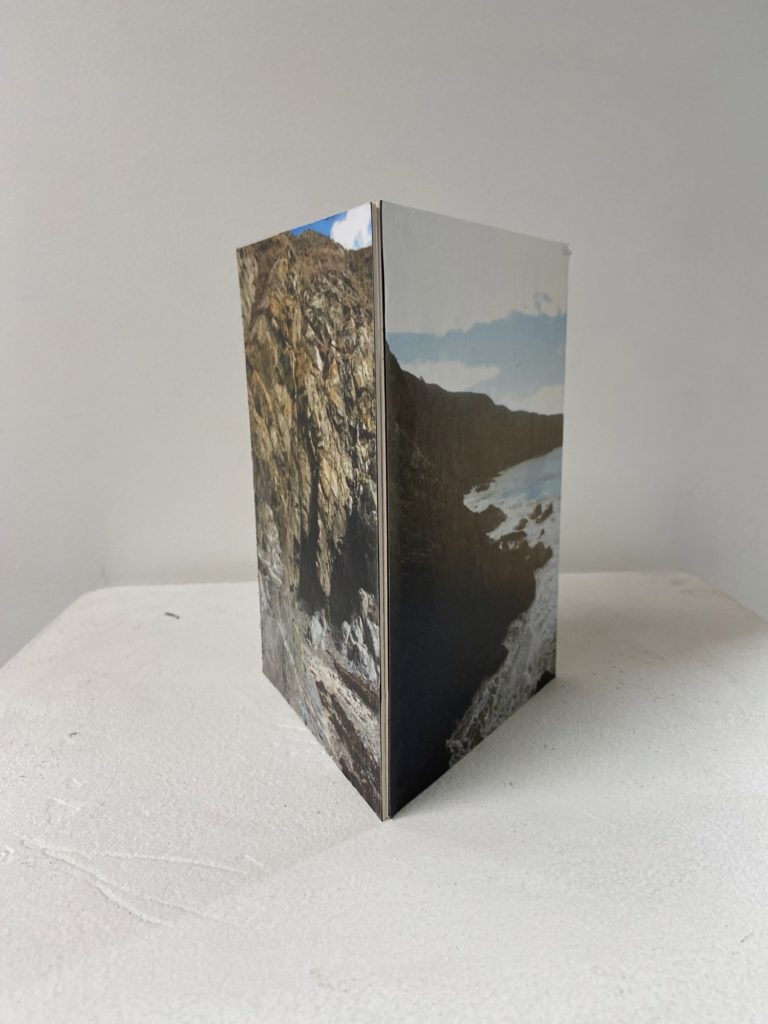
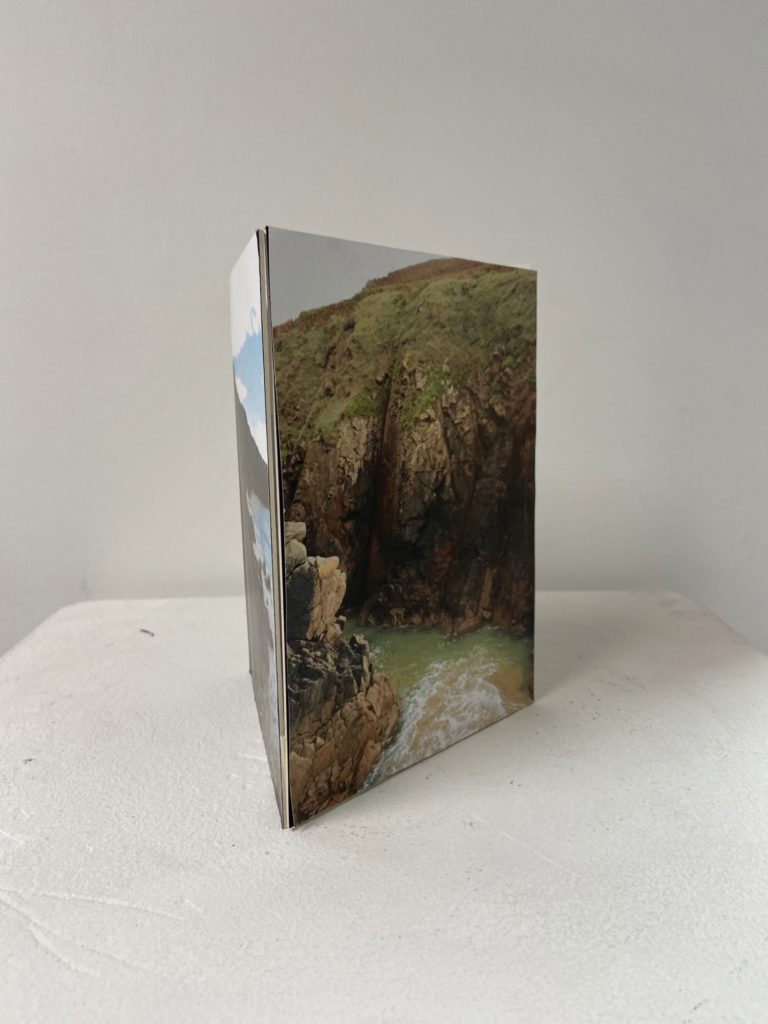
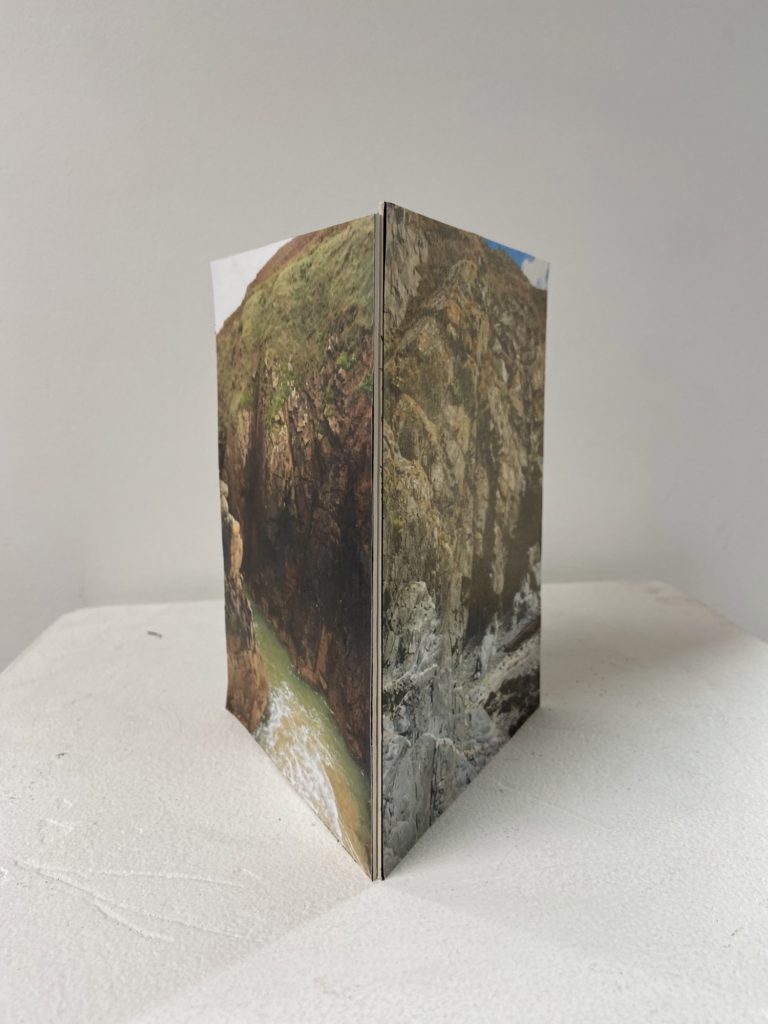
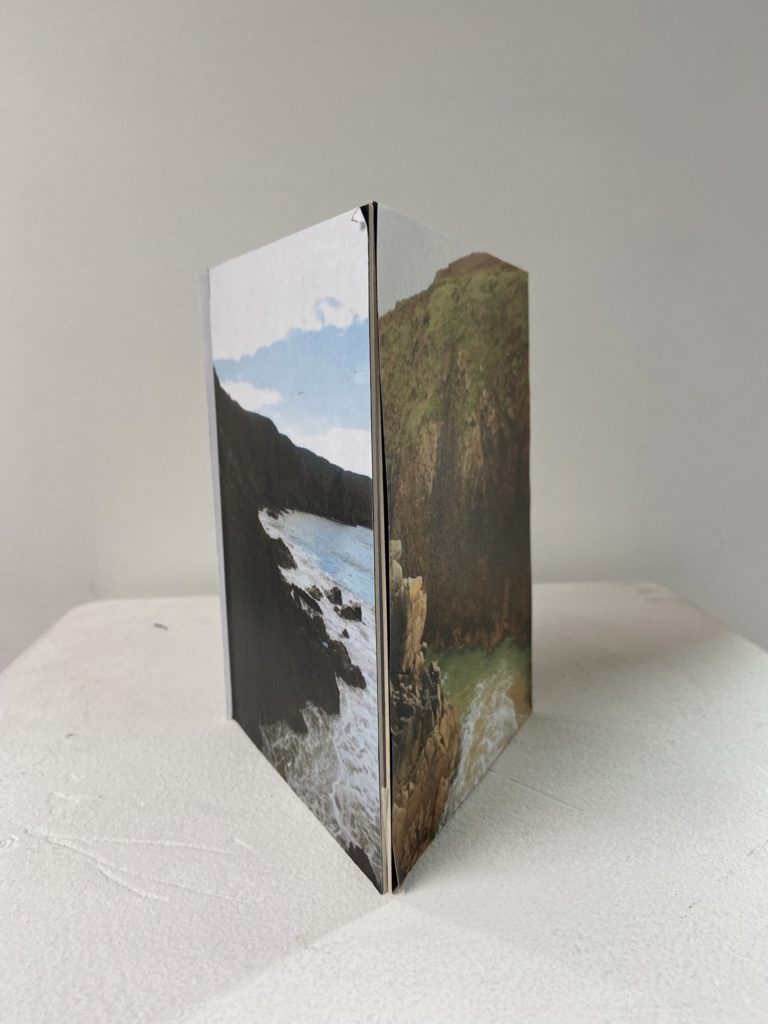
This make this sculpture I just printed out three colour photographs and glued them onto card, afterwards I used tape on the inside of the corners of the card to make this 3D triangle shape. I really like the shape of this sculpture as I think that its one of the easiest and best ways to display successful images. I like how this project lets us experiment and see which structures are the most aesthetic and useful when it comes to making photographs more exciting, and this will also give me inspiration when it comes to exams.

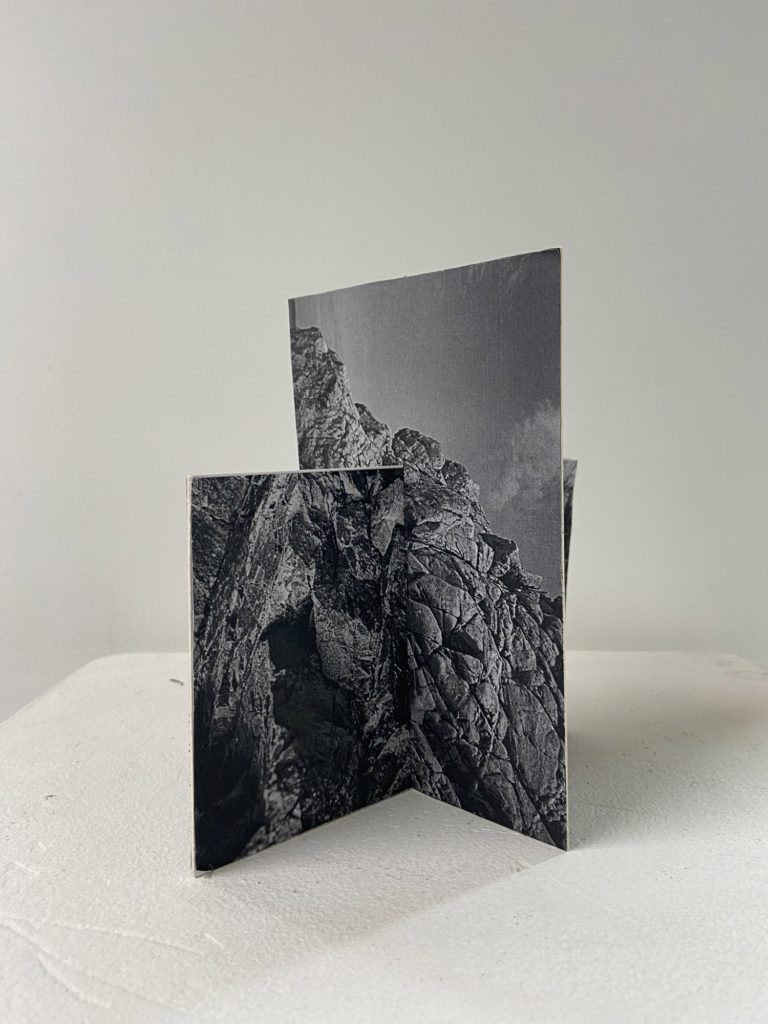
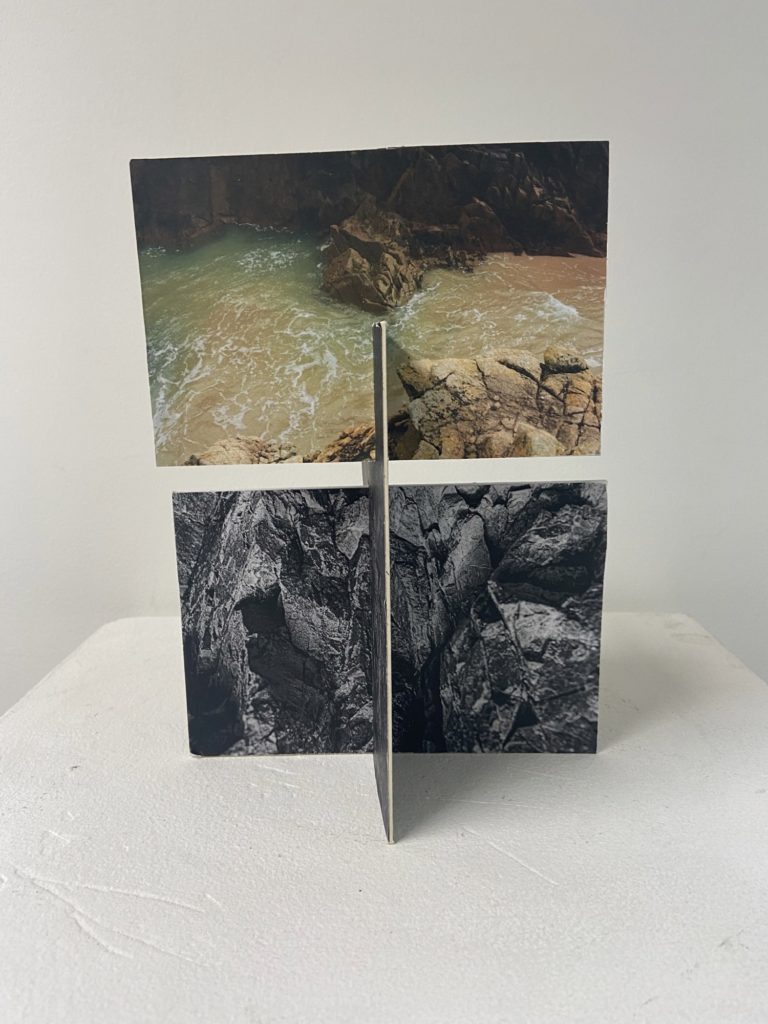
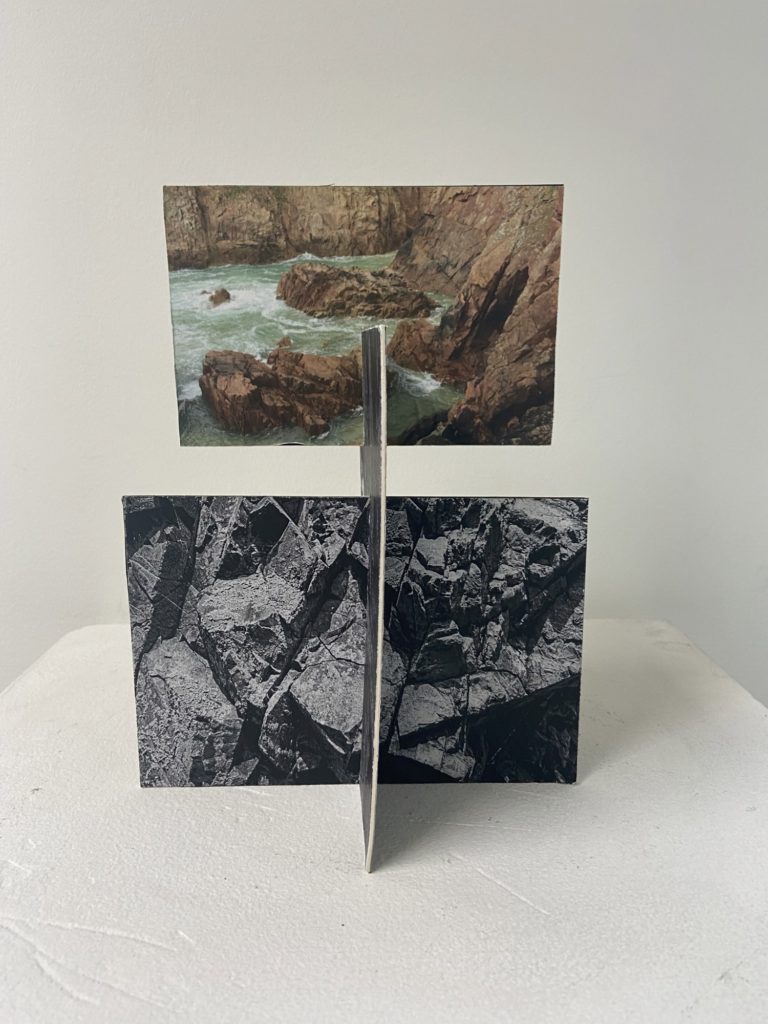
To create my this sculpture I had the simple idea to merge two photographs together by sticking 4 images onto two pieces of card (so each piece of card is double sided). I decided to make this first piece black and white as the contrast creates texture within the rocks and this means that this piece came out successful in my opinion, as this was actually my first sculpture I think that this was a good attempt as making these photographs 3D.

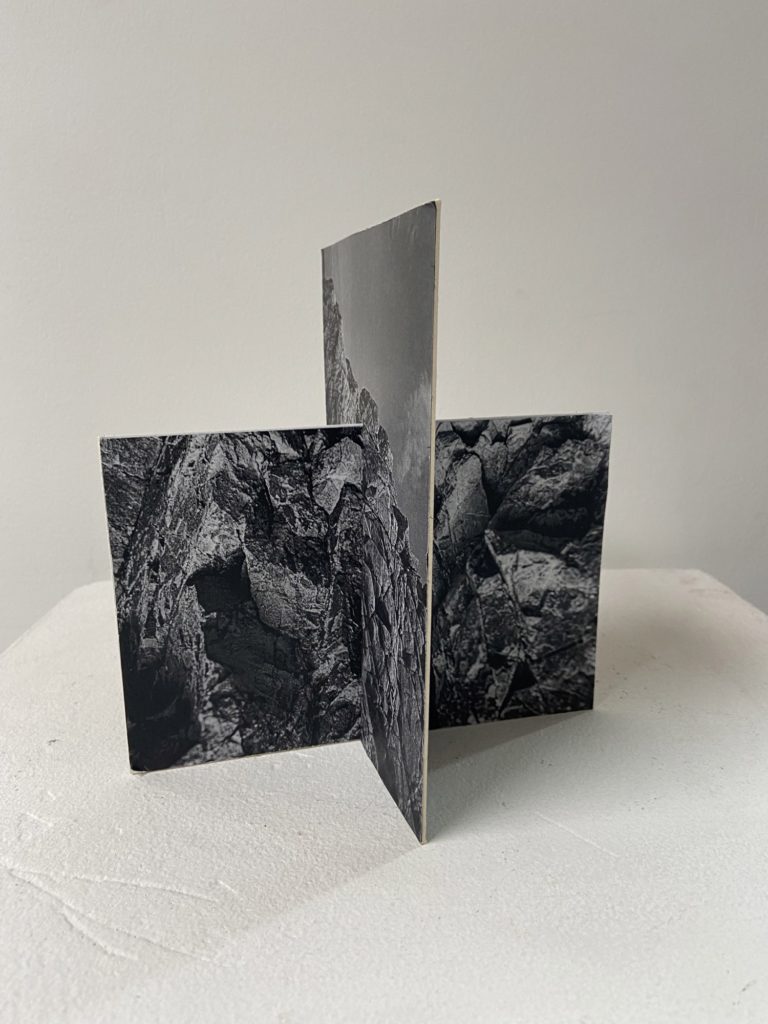
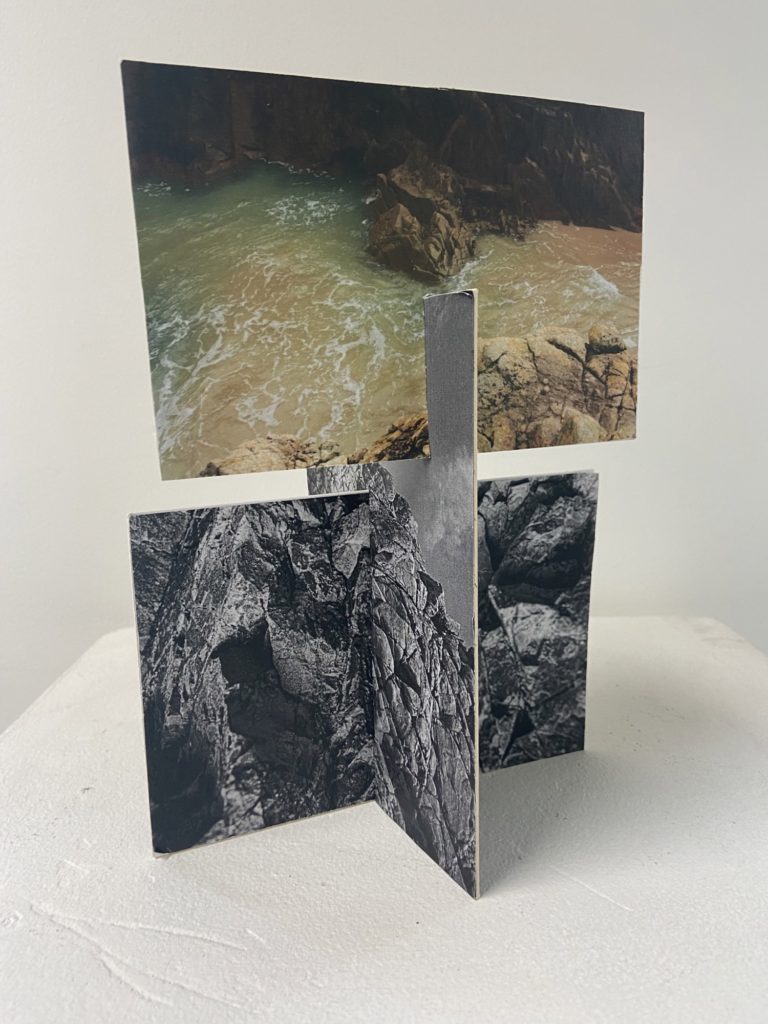
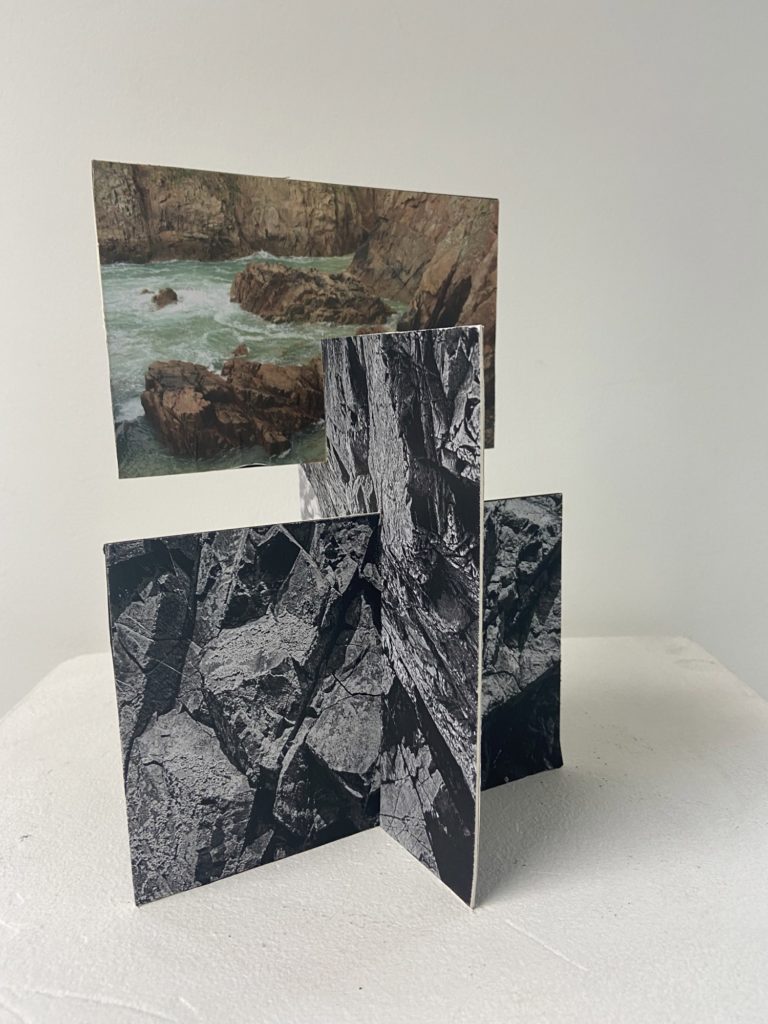
I had taken the sculpture from above and adapted it by adding a lot more double sided pieces of card. To make this I added more slits to my images which meant that I could keep adding to the sculpture. I think this turned out successful as I decided that it would be best to add colour images to the piece. The fact that the colour is put at the top of the sculpture means that there is an aesthetic focal point and I think this adds depth to the structure.

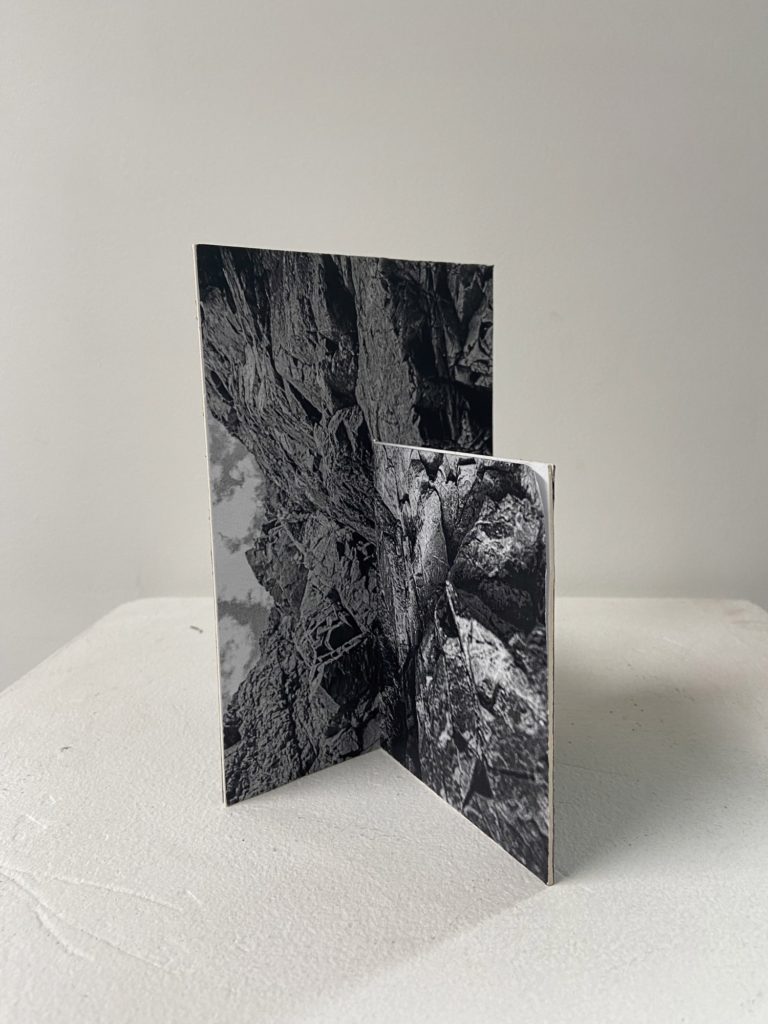
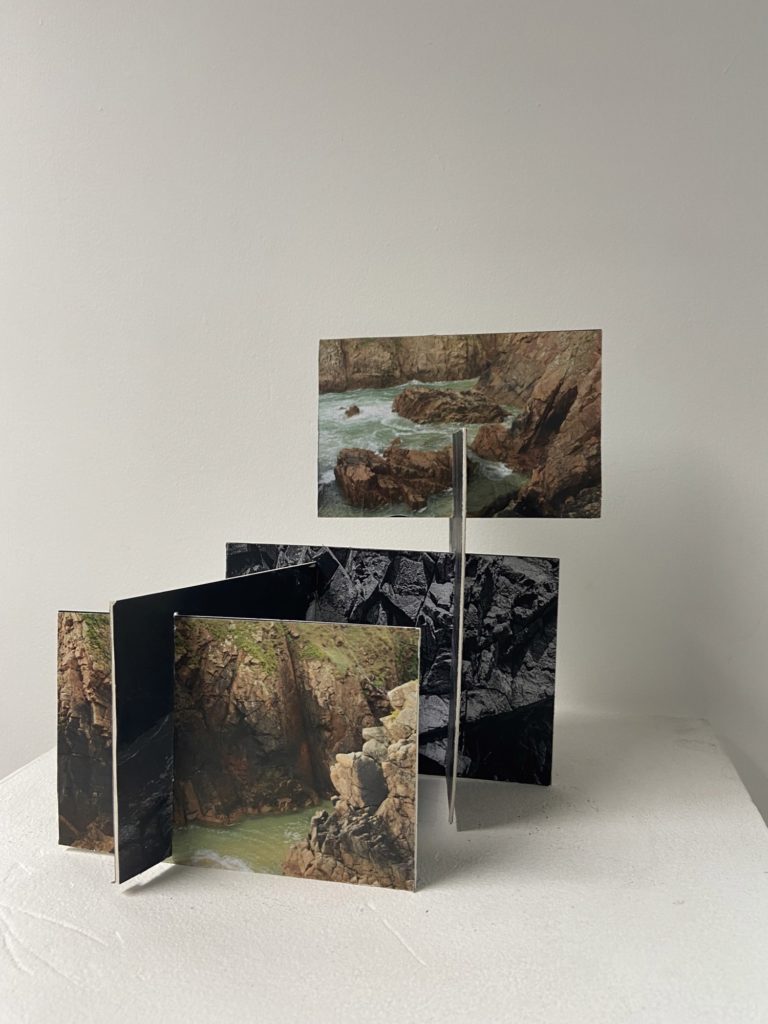
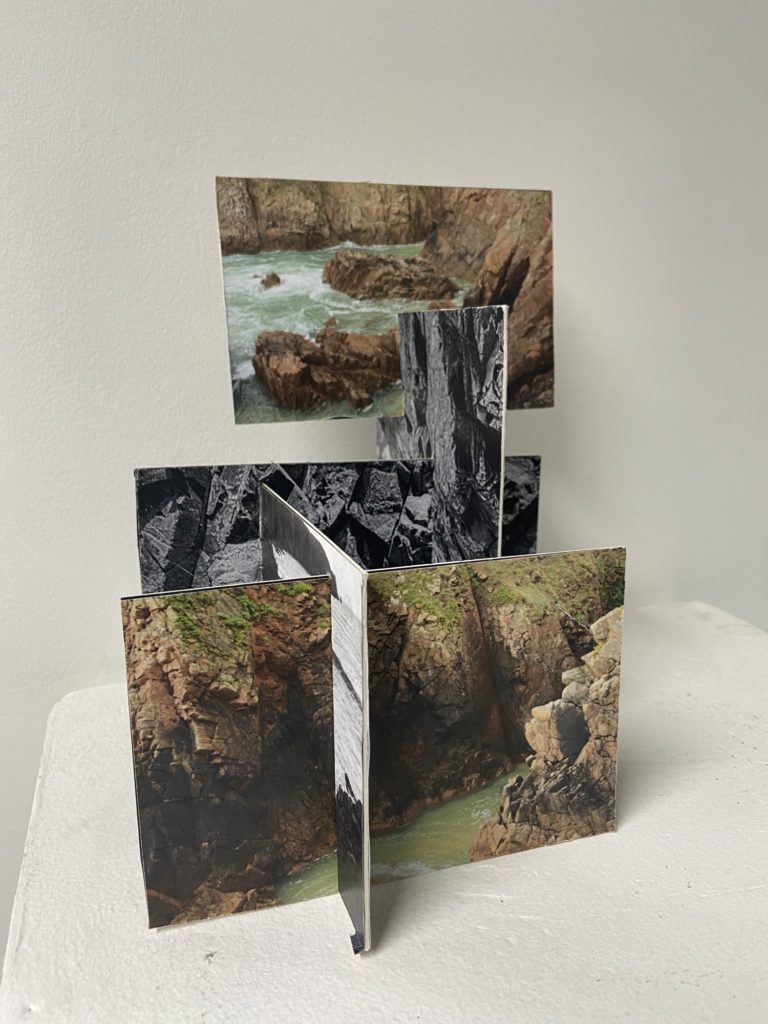
This sculpture was created from a sculpture which was already adapted, I really liked making this piece as it was fun to experiment with many different photographs. I think the fact that there is a wide variety of image with different textures, colours and tones makes this my more interesting piece. However, this was my most difficult sculpture to create as it was like a puzzle with the many different slits in the pieces of card which had to be put together.

Best Work

Below I have included my best sculptures and explanations as to why I think so, I think its important to evaluate and criticise my work as it gives me an idea of what is successful and this helps with ideas in the future.

In my opinion this is my best sculpture (and the image that makes it looks the more aesthetic) this is because of the different levels within this piece and how they were created. I decided that the colour images would be at the front and the back of the piece and the black and white double sided images would be kept in the middle, this was in a attempt to keep the focal points of the piece within the colour images. I think the actual structure of the sculpture is interesting as everything was placed in a thought out way so that all aspects of it would intertwine well and link the whole project together, as the piece is composed from images from both my Stinky Bay and Plemont photoshoots.

Additionally, the different shapes and angles of all the photographs means that a sense of depth is added to the images, this means that the piece is more eye-catching. However, I think that this sculpture is very adaptable, it could have been made better if I had kept adding many more images to it, this would have made it a bigger structure and more interesting. Furthermore, if I were to do this again from future projects I would give the images more contrast, saturation and clarity, as all of these features were lacking and I think this hindered the successfulness of this piece.

One of my favourite parts of this piece is the simplicity of it, with it only being composed of 6 images in total, I think that this draws attention to the photographs and shows how interesting Jersey’s Sites of Special Interest are. I like how much this sculpture illustrates my best images from this project. Whilst making it I decided that the top image should be colour and places further at the front, this was in an attempt to create a sense of perceptive and the fact that the black and white images were taken before the colour one. Showing a change in time and space (from Plemont to Stinky Bay) between both my photographs and my sculpture at the same time.

Furthermore, I like how the portrait image in the middle matches up in some areas with the bottom one, kind of like creating yet another photograph from merging two existing ones together. However, some of the edges of the card in this piece aren’t cut straight and are fraying, this could be a downfall of the sculpture as it isn’t as neat as my one above. I still think that the boldness of this structure is its most aesthetic piece and that’s how I liked making it so much.

photo sculpture research

Letha Wilson

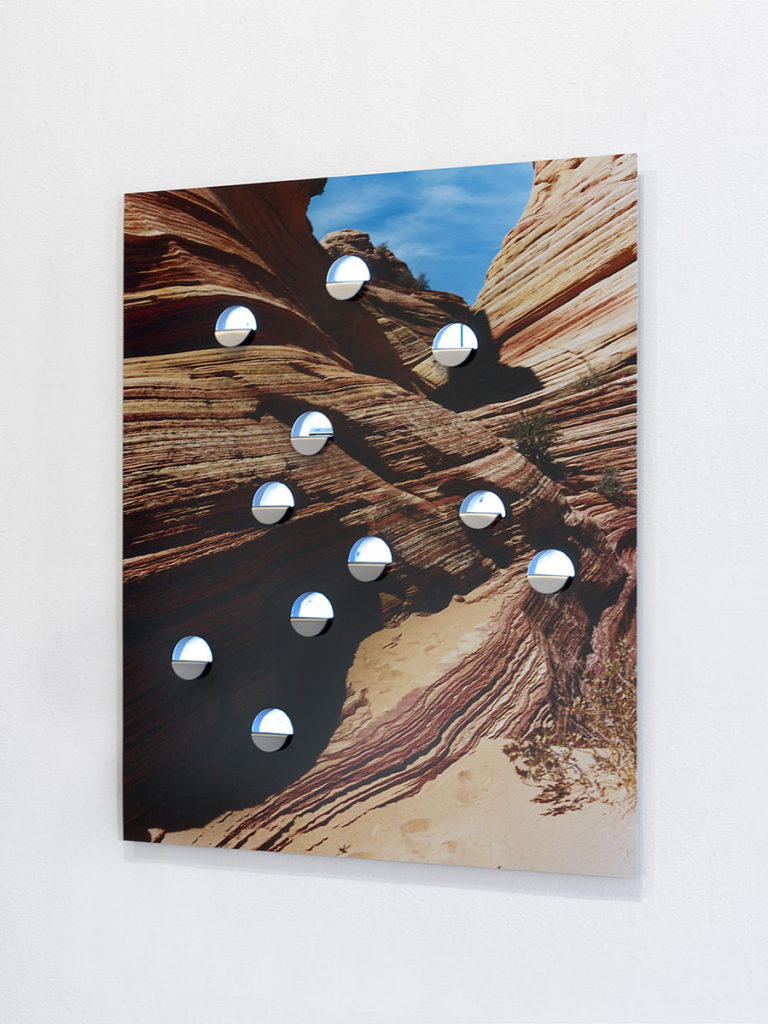
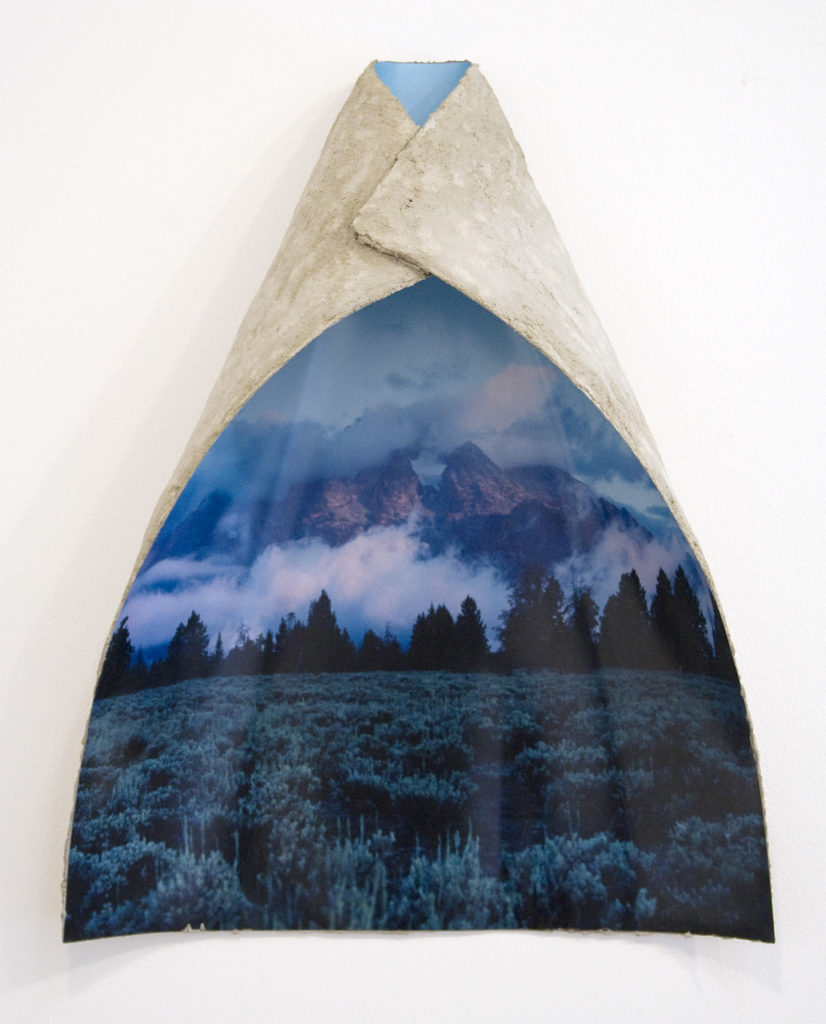
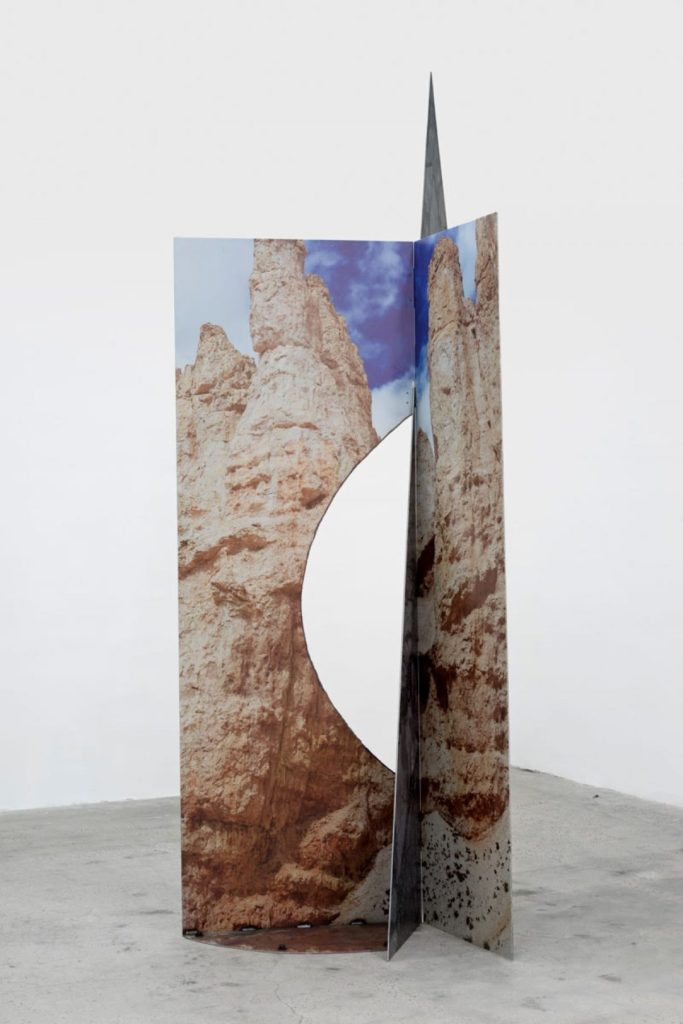
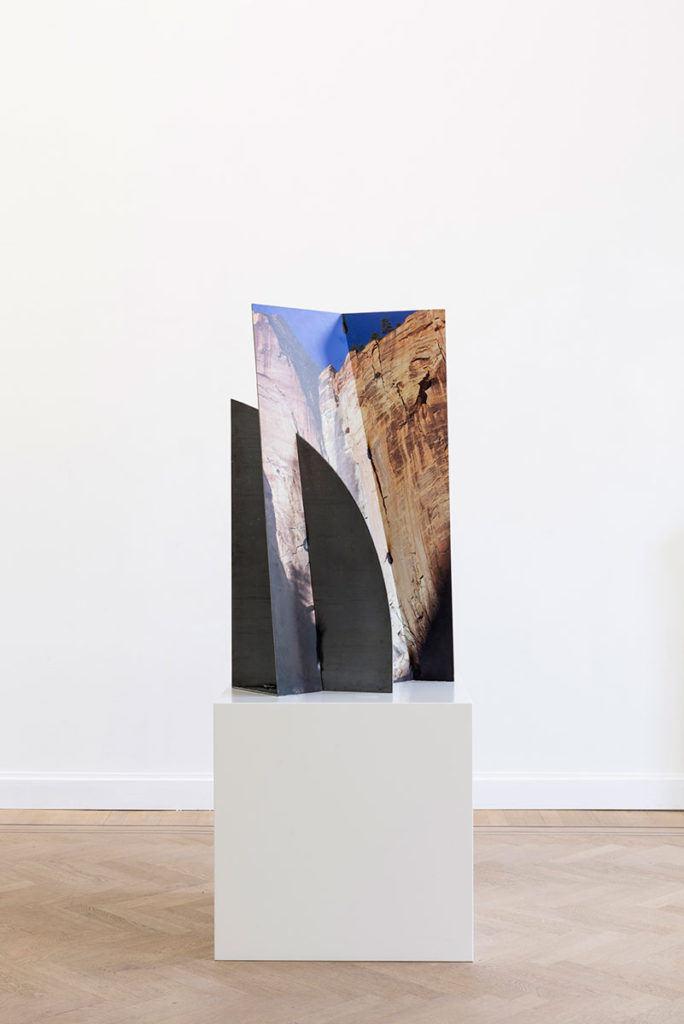
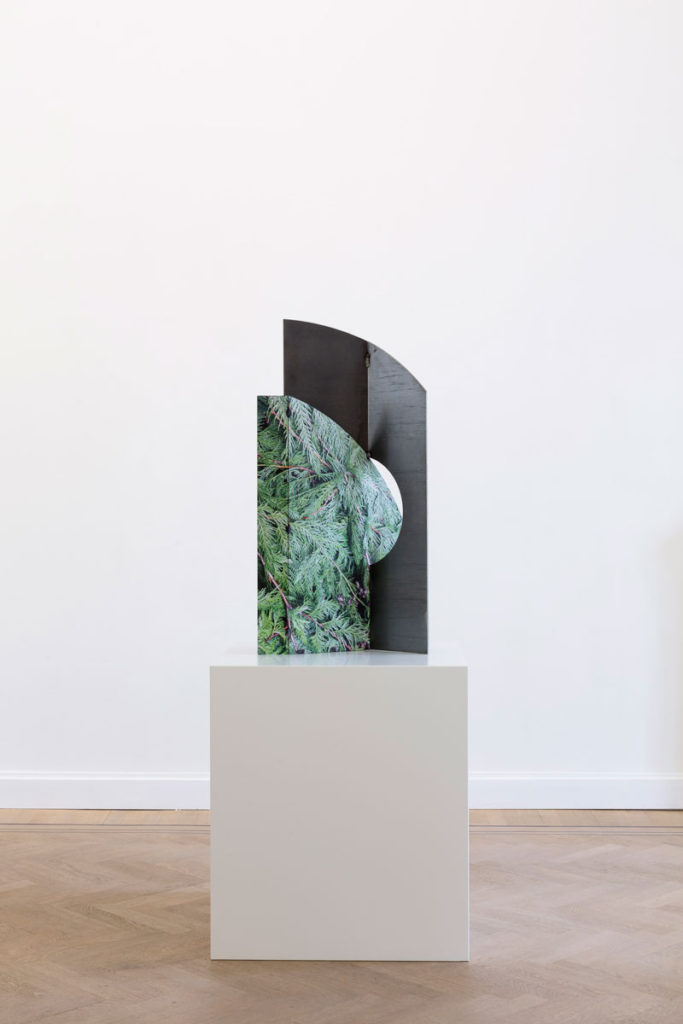
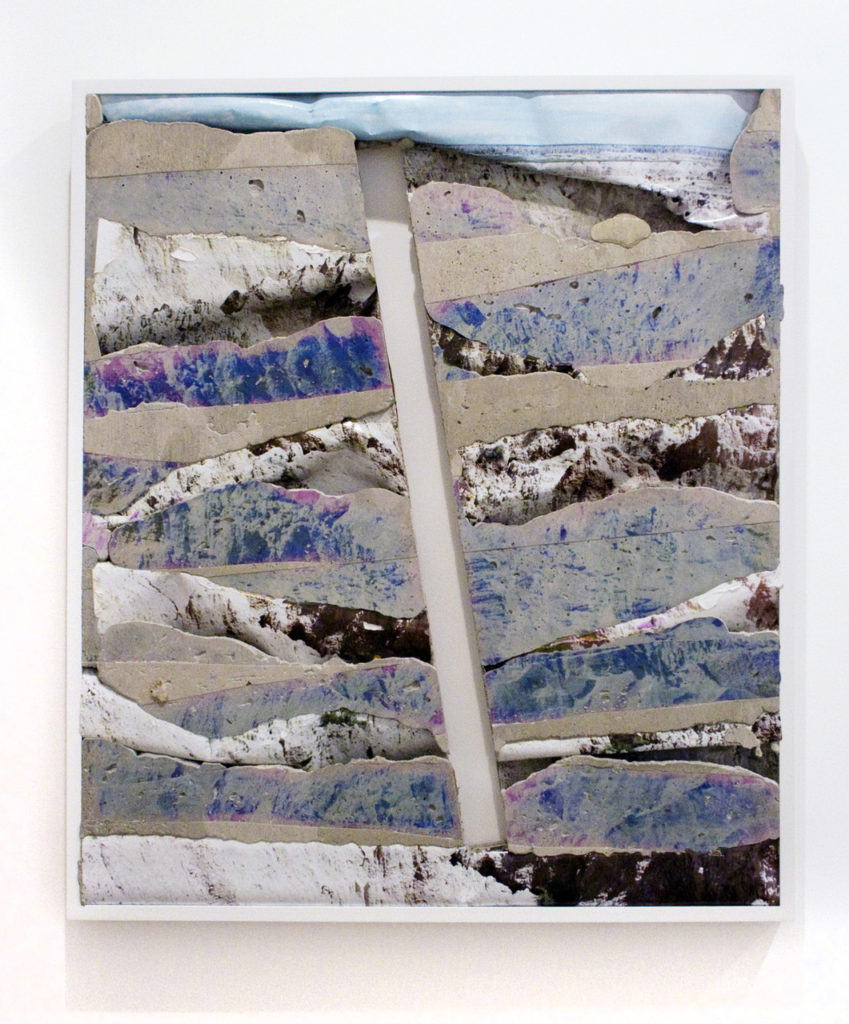
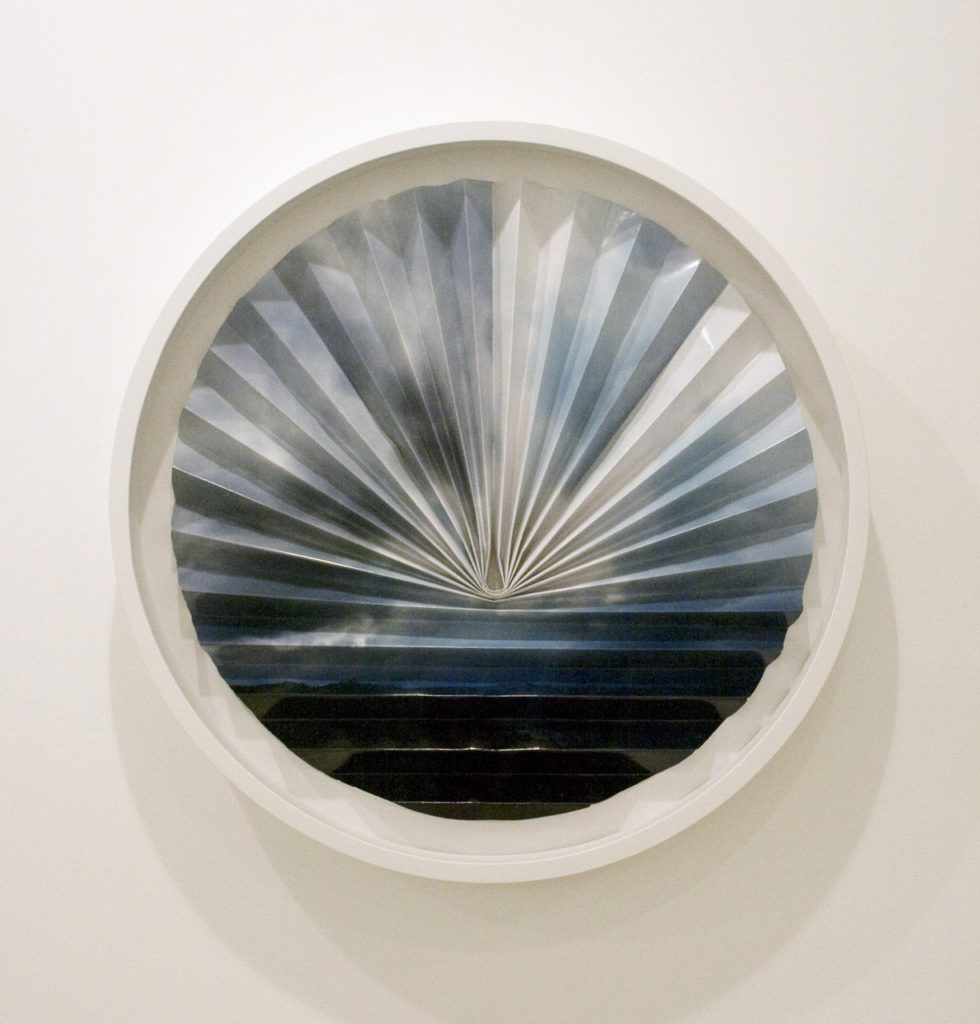
Letha Wilson’s practice is rooted in material experimentation. She is known for her synthesis of mediums, expanding the visual and physical dimensions of photography and sculpture. By combining industrial materials such as Corten steel, aluminum, and vinyl with photography, Wilson has developed unique fabrication processes. She prints images depicting the beauty of natural landscapes onto her sculptures, embeds them in the surface of her works, and manipulates them in various unexpected compostions. The natural world is both the subject and content of her work; a metaphor for the role of the landscape in myths of renewal, and possibility. 

Wilson’s work has been featured in recent solo exhibitions at GRIMM, Amsterdam and New York, NY; Anderson Ranch, Aspen, CO; the Center for Contemporary Art and Culture, Portland, OR; the DeCordova Sculpture Park and Museum, Lincoln, and Galerie Christophe Gaillard, Paris.

Letha Wilson is a mixed media artist who was born in Honolulu, Hawaii, raised in Colorado, and currently lives in Brooklyn, New York. Her outdoor excursions amongst the Rocky Mountains have placed the natural world and its photographic image at the root of her artistic interests. She earned her BFA from Syracuse University and an MFA from Hunter College in New York City, and attended the Skowhegan School of Painting and Sculpture in 2009.

Image Analysis

LethaWilson_AIR_05

I have selected this image to analyse as I think that one of the most prominent aspects of this piece of works is the variety of texture. This stands out as it means that they the colours in the piece become more prominent, the cardboard looking background really contrast with the ripped up looking purple textures within the piece. This means that the piece is more eye-catching and aesthetic, with the blues, greens and purples clear in this image it means that there is a large variety of cool tones, with the background being more of a yellow brown, this means that the colours are pushed forward in the piece. Additionally, I think that the layout of the structure is important is note, as the randomness of the rips means that the piece is of better quality. The shapes in this piece mean that a landscape is formed, with the foreground making out to form a river, the middle creating the textures of the mountain, and the background (where the white area is in the top left) creating the sky.
Noemie Goudal

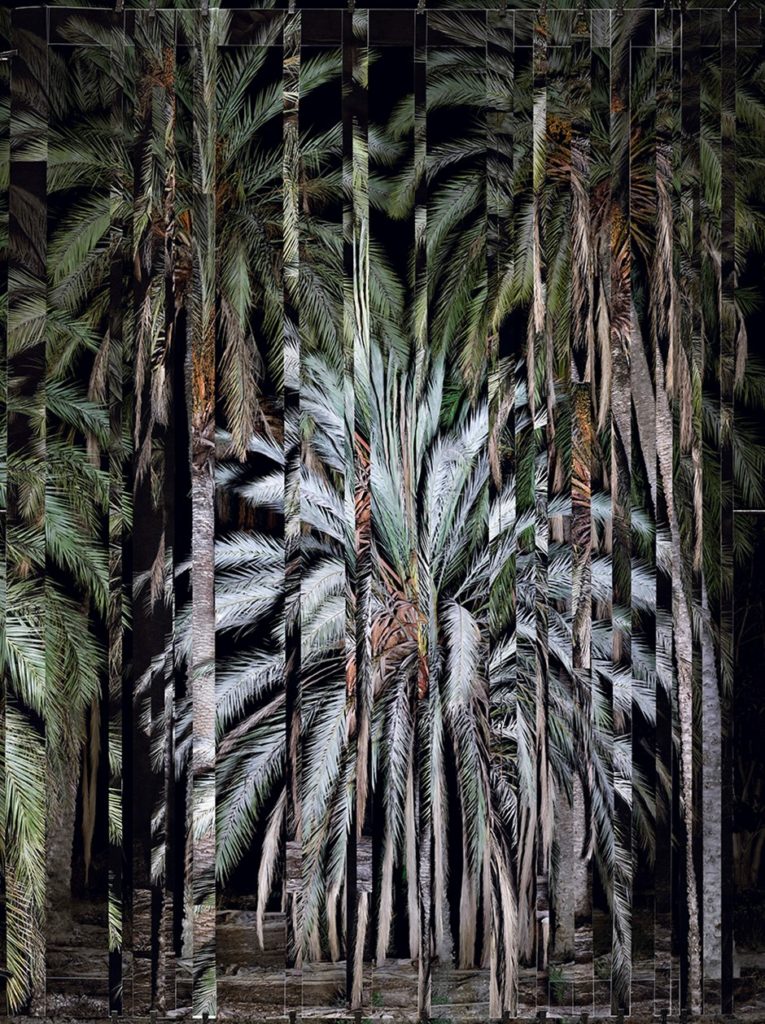
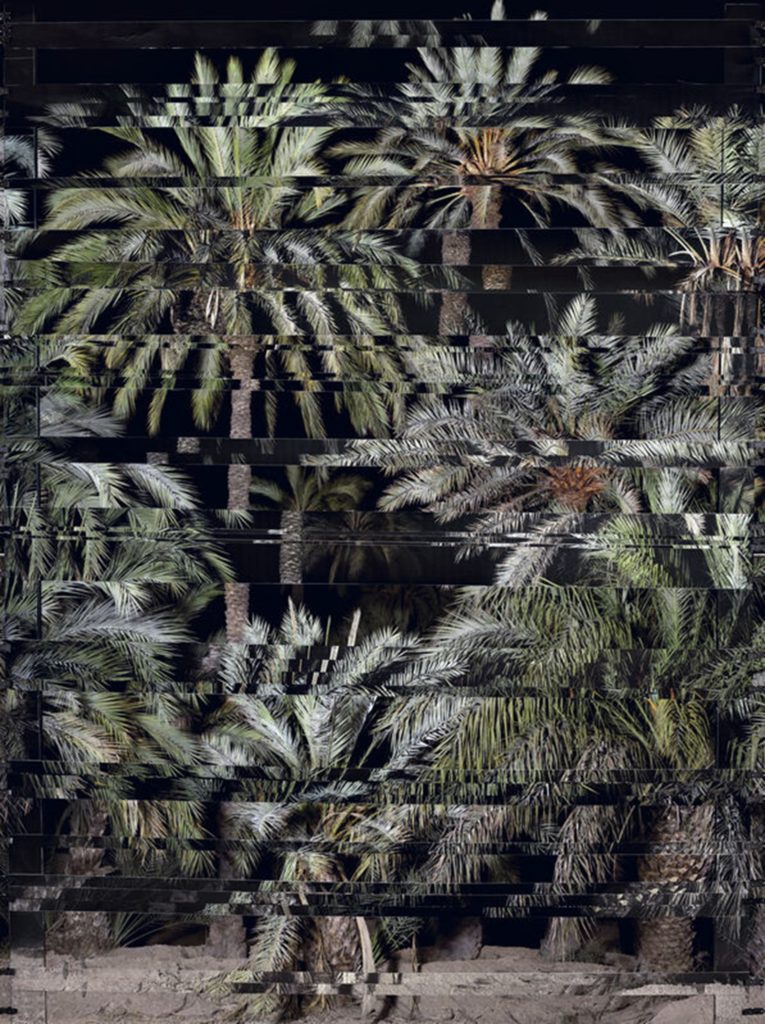
Noémie Goudal has long been drawn to the meeting point of nature and culture, or as she puts it, the organic as “invaded” by the man-made. Goudal also feels a strong attraction to the theatre, and combines the two leanings in the series Les Amants (the Lovers), in which Cascade and Promenade play a part. However, the two works address the issues in different ways: the one is a photograph of a theatrical installation, its school-play hokeyness meant to underline its absurdity; the other is a staging where a photograph plays the main role. On both stages, real nature is relegated to best-supporting actress.

Goudal’s studio is located away from the bustle of the main boulevard in a quiet alleyway. It is early April, the sky is blue but the wind is chilly, so it is a delight to be enveloped by the heat of a fire stove upon entering the studio. Goudal’s practice is predominantly rooted in the outdoors, but the artist welcomes me into a space resembling a country house living room, where we sit at a large wooden table for coffee. Next door, a second luminous room opens up. With a glass roof and bright white walls it has the appearance of a laboratory and it is this workroom that houses the evidence of Goudal’s creative practice.

What I like about her work: I think that my favourite aspect pf her work is the wide variety of her projects, as she creates many different types of physical structures, such as creating sculptures and I could recreate some aspects of her work by ripping up pieces of paper and merging them together. Furthermore, I think that these pieces of work are very creative and this provides me with lots of inspiration for my future sculptures. From looking at her work if I were to copy I would copy the huge contrast in colours she has in her works, along with the many different environments she recreates with her work, as this means its filled with diversity.

still life shoot

Contact Sheets

Below I have included some contact sheets displaying the wide variety of images from my Still Life shoot, this is important as it gives an indication of how many images I have from each shoot, and helps with the organisation before image sub selection.

Continuous and Flash Lighting

Below I have included some examples of my continuous lighting images and some of the flash lighting ones, this is in an attempt to demonstrate the difference between the two different types of lighting and how this comes to affect the final images. In my opinion, the flash lighting images look like they are of a better quality, however, this may just be because of the camera settings at the time. With the flash lighting its easier to see the details of all of the rocks and shells and take up close images.

Continuous lighting: you can see how the light falls on your subject as soon as you switch it on. You don’t have to wait until you’ve taken a photo to get an idea of what kind of image you’re going to end up with. However, A disadvantage of continuous light you have to adjust the white balance on your camera another one is the lights tend to become warm.

Flash Lighting: The biggest benefit to flash lighting over LED lighting is that flash provides much more power and in a shorter burst that is less disrupting to a model. Additionally, some darkness and shadows are illuminated when using this type of lighting.

Image Sub-Selection

I have included evidence of image selection below, with me choosing to use a star and colour rating system to understand the quality of my photographs before editing them. I think that this is a good and effective way of choosing my images as it helps me pick out my best images from the not so good ones.

Editing

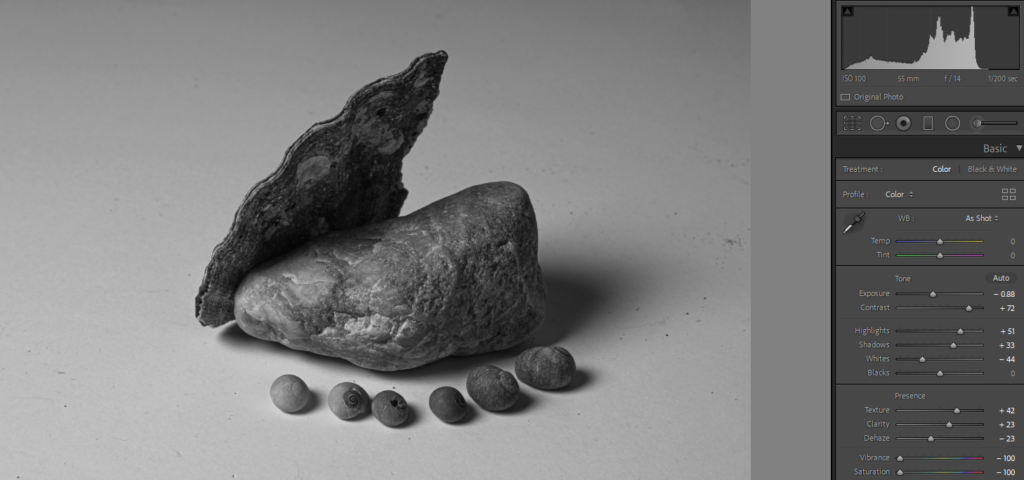
Below I have included a visual explanation of the editing process, for the first screenshot I have included the settings I have changed, for example to make this image monochromatic I had to get rid of all of the saturation and change the exposure and contrast in order to make the detail in the rocks and shells more visible. Additionally, I have added small galleries of all of my photographs before and after the editing process, this is an attempt to show the editing process.

Final Images/ Analysis and Critique

For my final images I have decided that these are my best options, I have included evaluations for each of my images, with explanations for each stating the strengths and weakness of each.

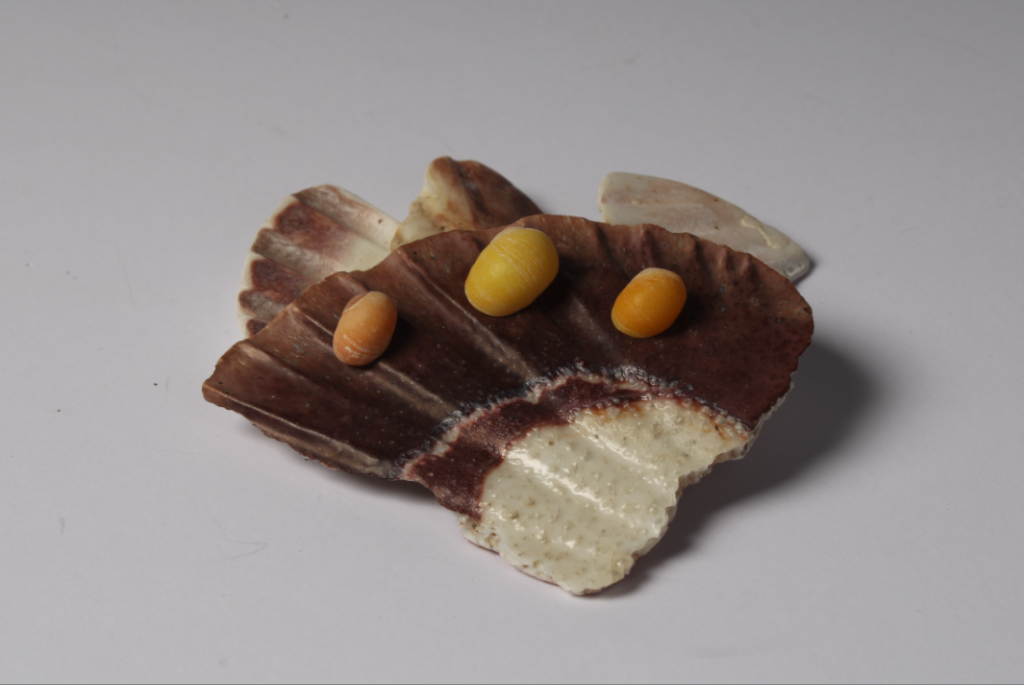
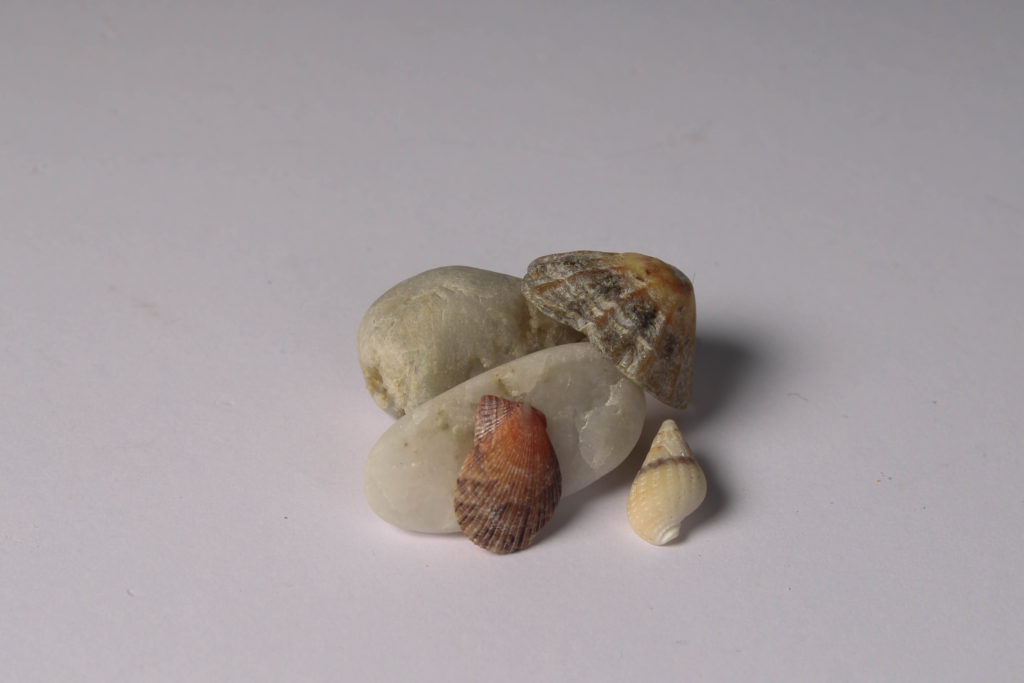
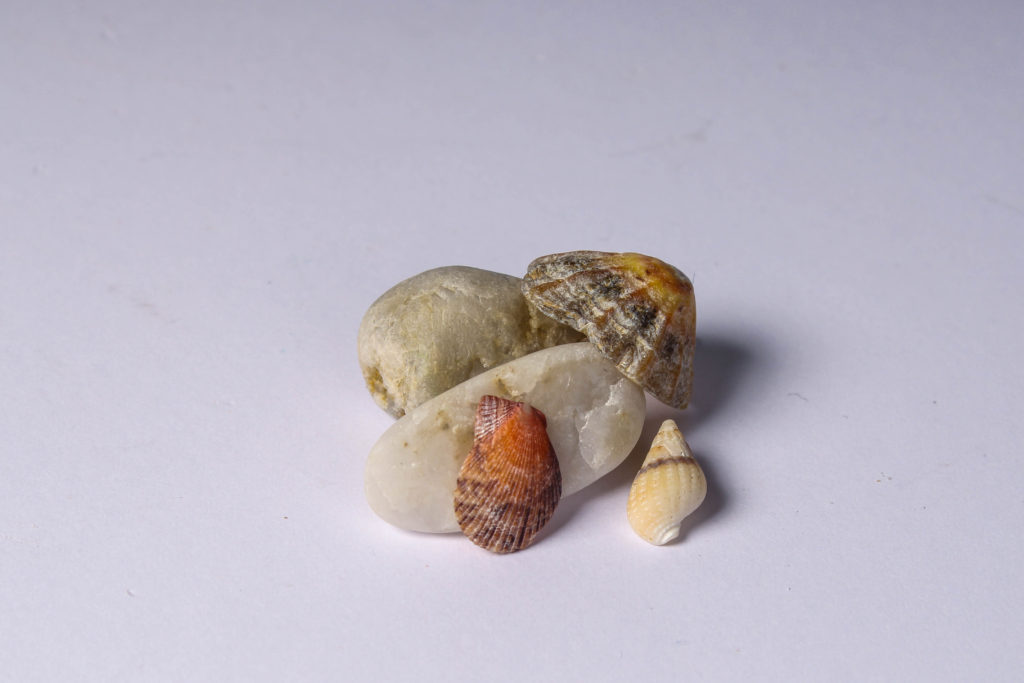
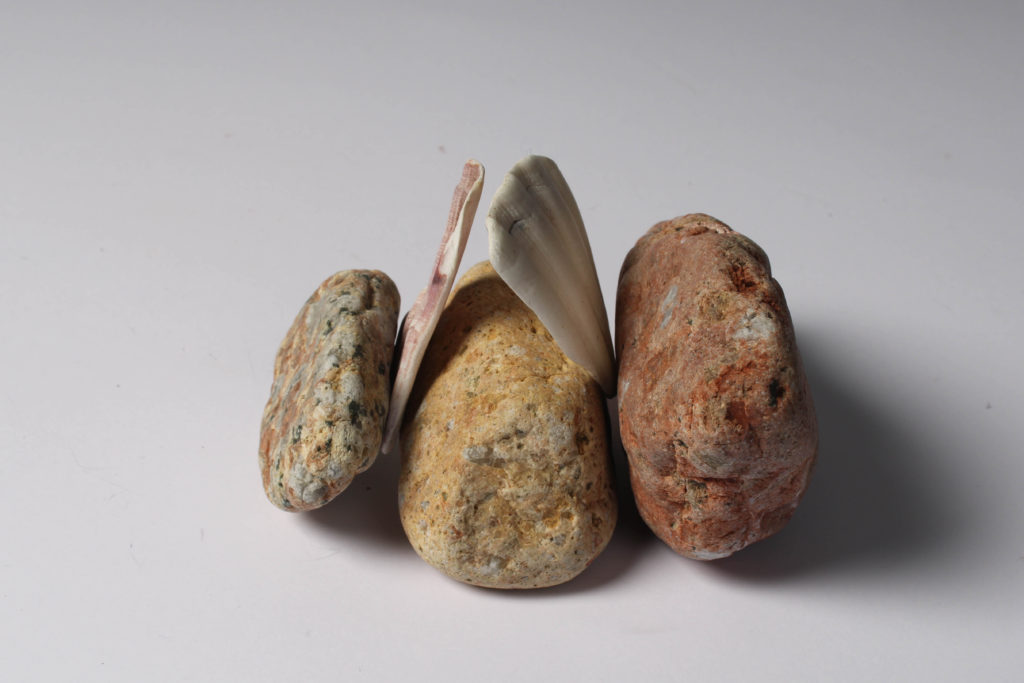
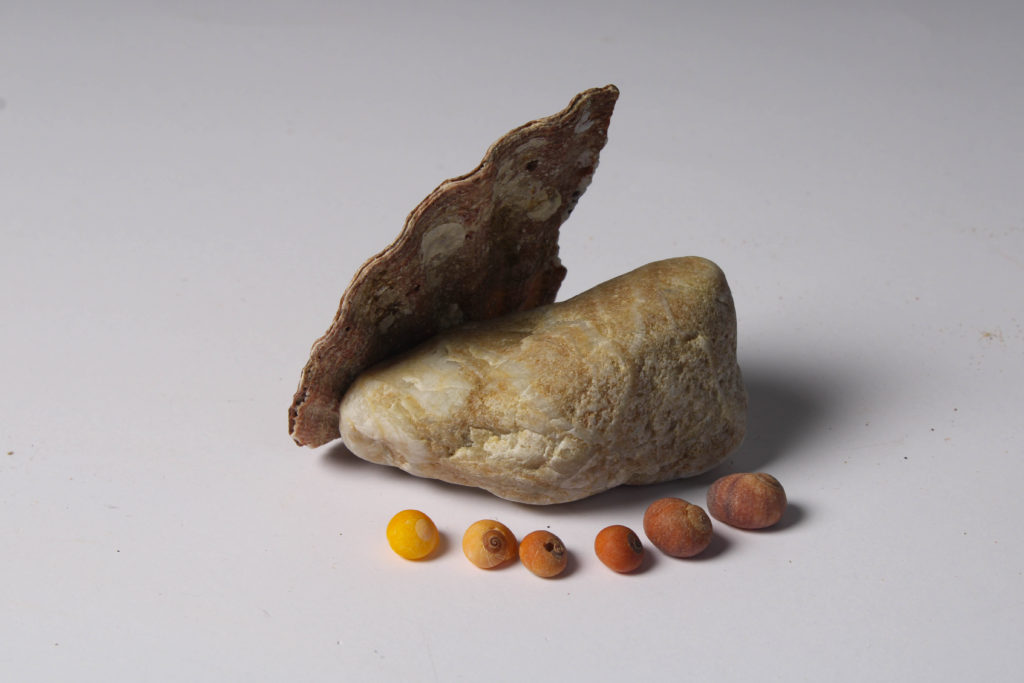
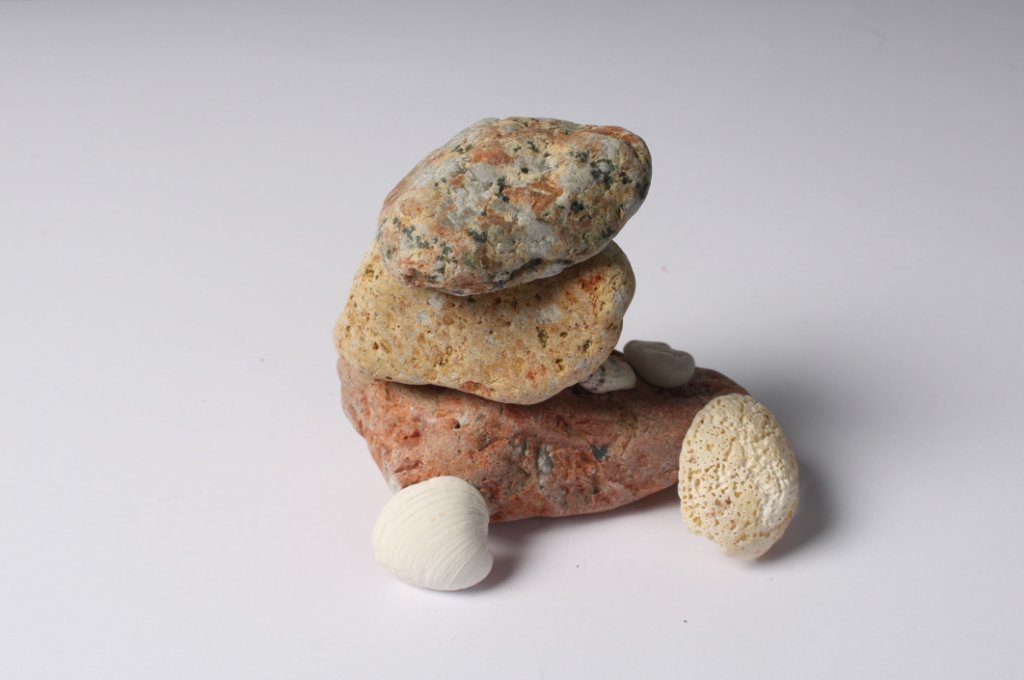
I have selected these as my first final images as I think they compliment each other well, the first image is filled with the same components as the second, being a reflection of the Jersey’s Sites of Special Interest and the history of the island. The objects in the second picture have been placed in an attempt to create a gradient with the shells in the foreground, with the small shells being places from brown tones, to red and then following a orange gradient down to yellow at the end of the chain of shells. In my opinion, the colours and tones of the rocks mean they match well together.

There are some weaknesses present in these images, the whole idea the flash lighting in the studio is to either get rid of or create different levels of shadows in the areas you would like. However, in these images I never wanted the shadows at all, I was aiming for a white background for these two pieces. Additionally. I think when taking the original image the F setting should have been changed more to try and increase the clarity of the original image.

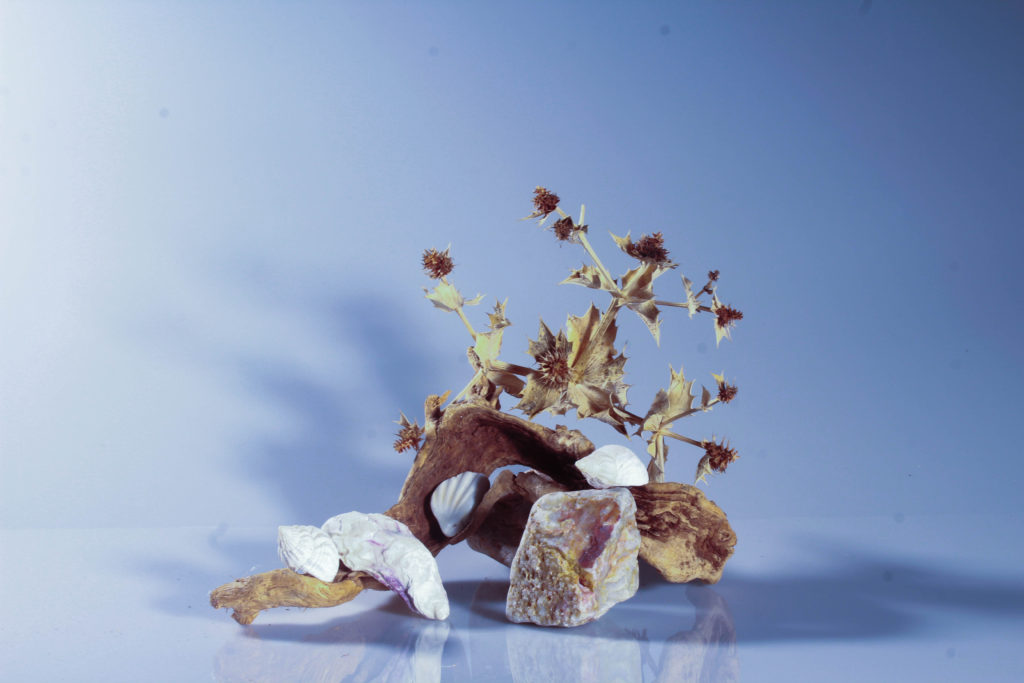
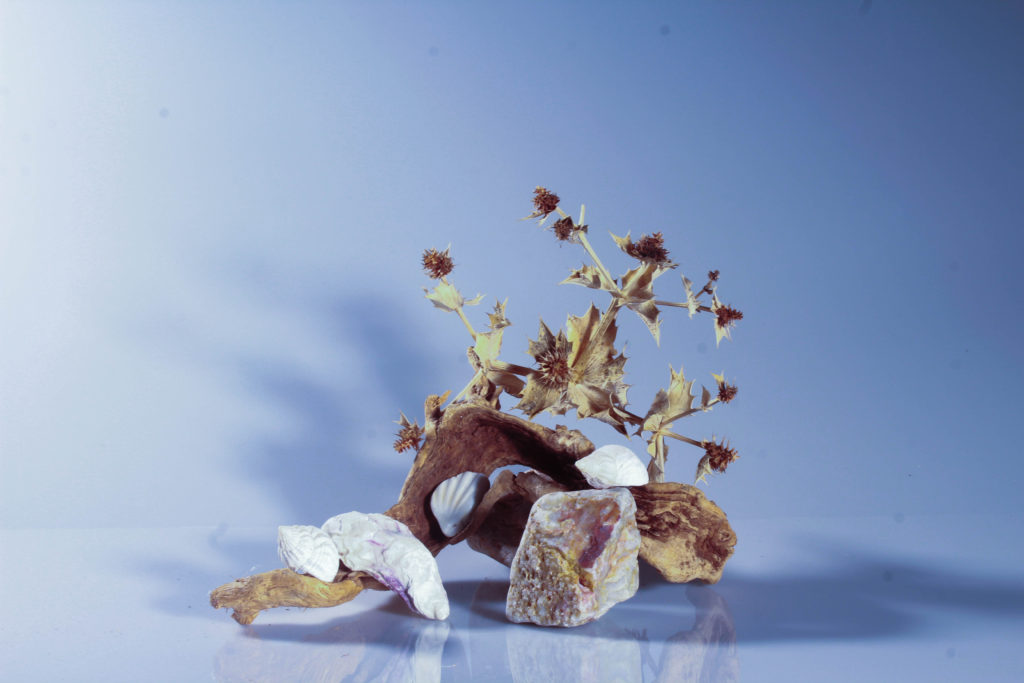
I have included this type of editing throughout one of final images to show that some still life images look better when the white balance and temperature has been edited to make them look more eye-catching, as usually still life work consists of more mundane images and editing process, as many piece can only be altered by making changing them to monochromatic, I think that this is my most interesting final images as the blue toned background means that I now have more variety within my work. Furthermore, the vibrancy of the white shells is increased with cooler toned editing and this juxtaposes with the brown and darker tones throughout the brown objects. I think this image would be better if the clarity of the original photograph was better, and if this along with the exposure didn’t have to be edited.

Flash Lighting

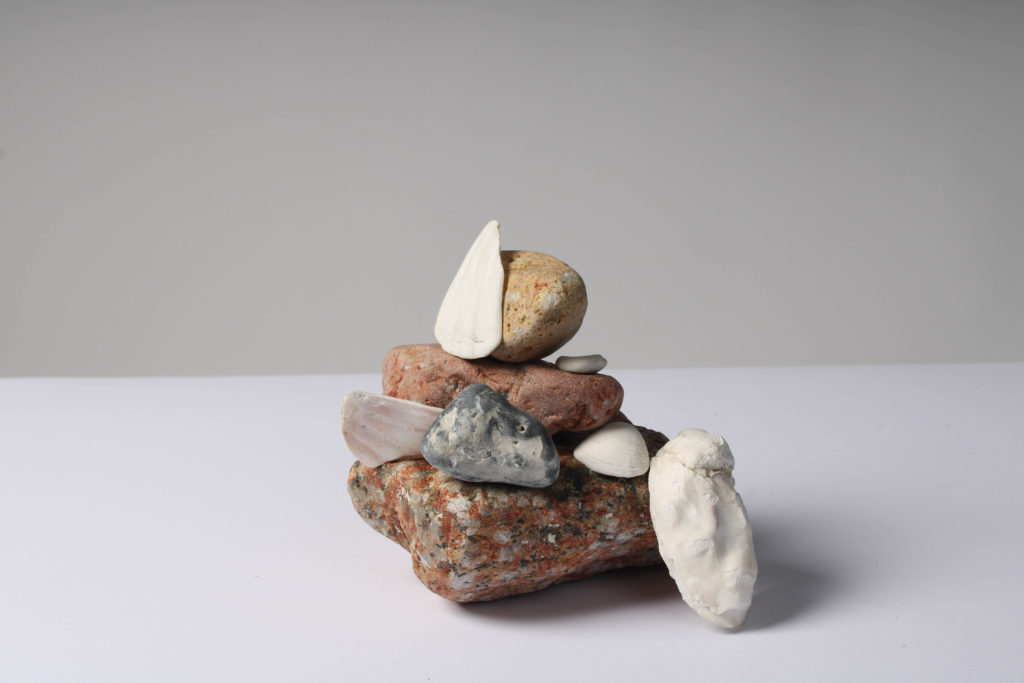
I think this is my strongest final image as it many different visual components to it, this makes it more successful as the whole image is more eye-catching. The composition of the image means that there is many layers filled with different colours, the white shells have been placed so that they break up the colours in the composition so its not too busy. Furthermore, the textures in the image mean that the plain white matches with the arrangement of the rocks. To achieve this image we had to keep changing the angle of the camera on the tripod and this meant that some came out more blurry, however I think this image turned out to be high quality. The weaknesses of this piece include the fact that it could be viwed as a composition which is too simple, making this still life piece slightly boring, however I think that it links really well to the theme of ‘islandness’.

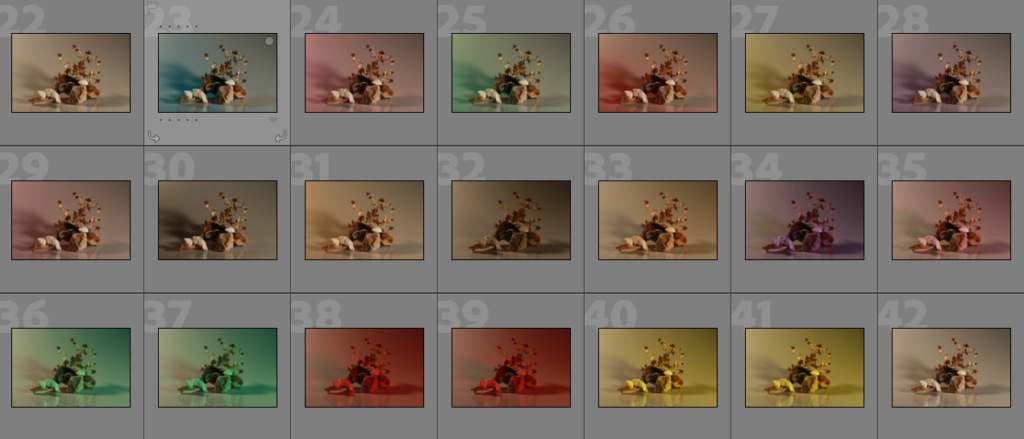
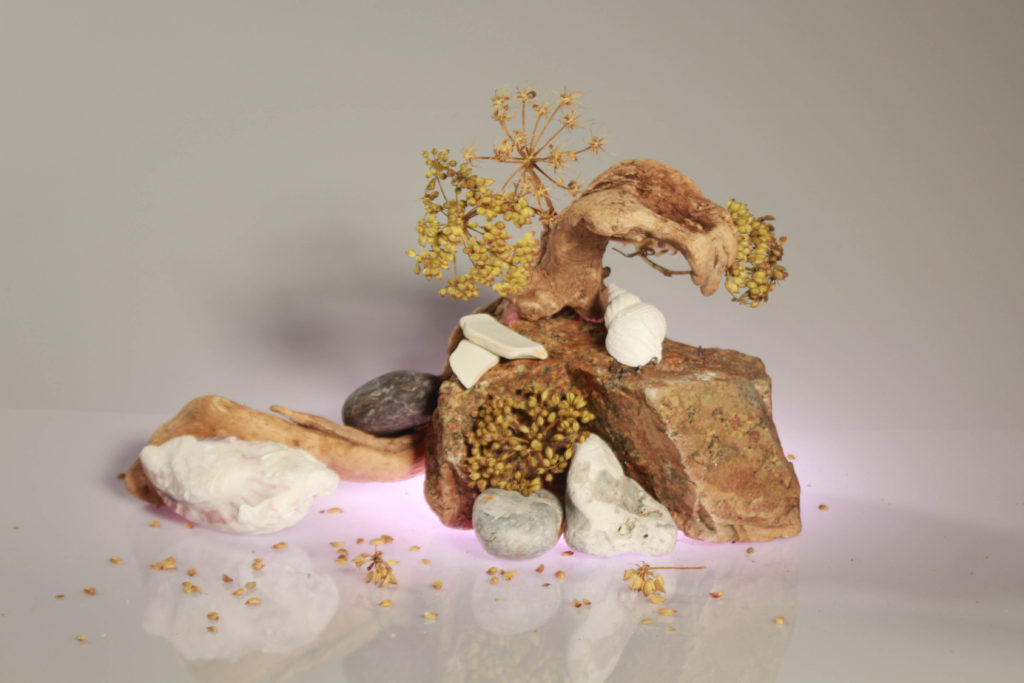
These two images are my most successful examples of continuous lighting, as the composition of this pieces is the best in my opinion. I have placed them together in order to show the difference between cooler toned under-light (the first image with the turquoise) and warmer toned under-light (the second image with the pink). The right piece is a brighter then the left but I think both images are successful because the differently lightings means that the composition looks altered. This means that your attention is draw to different aspects because of the colours. For example, attention is draw to the top of the image in the first image and more to the bottom centre of the second image. In my opinion, both of the colours compliment the tones within the woods, rocks and plants within the composition.

This has been selected as my last final image as I think that this piece has it has an aesthetic simplicity to it, with there being a subtle colour gradient going from the top to the bottom of the rocks. I like that the smaller white shells provides balance to the composition, as it breaks up the colours throughout the piece. However, in my opinion the composition would have looked a lot better if it was all central and not placed to the left side. Additionally, this piece would have looked a lot better if the background wasn’t grey and the foreground wasn’t as bright white. A balance between the shadows would have made this a lot more successful as it would show more photographic technique.