All posts by Matilde P

Filters

Author:
Category:

Green Island Photoshoot: Contact Sheets

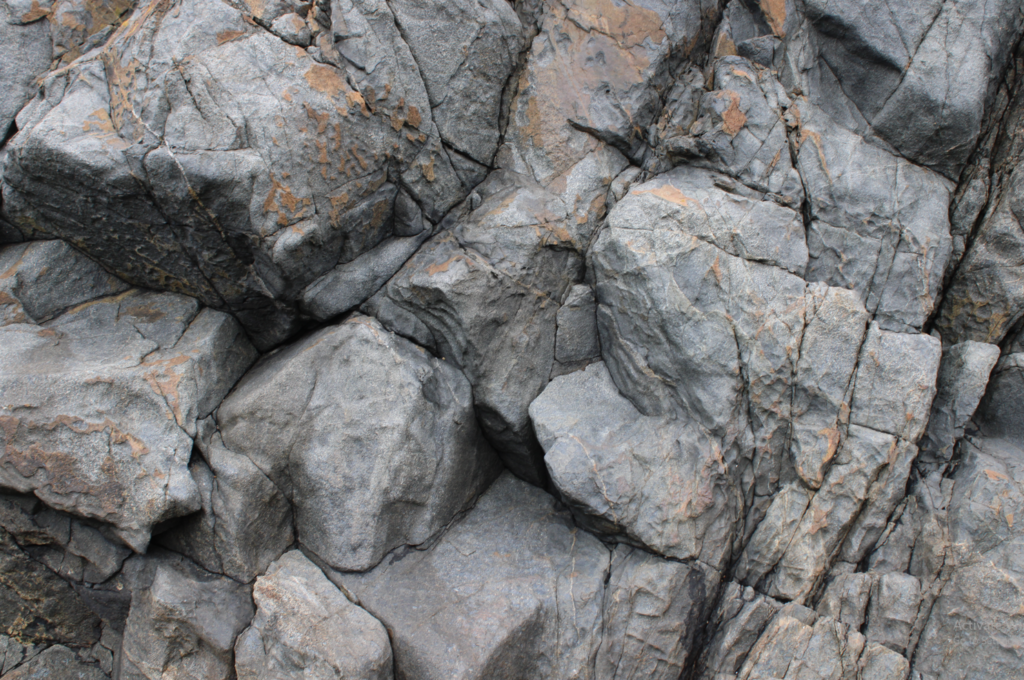
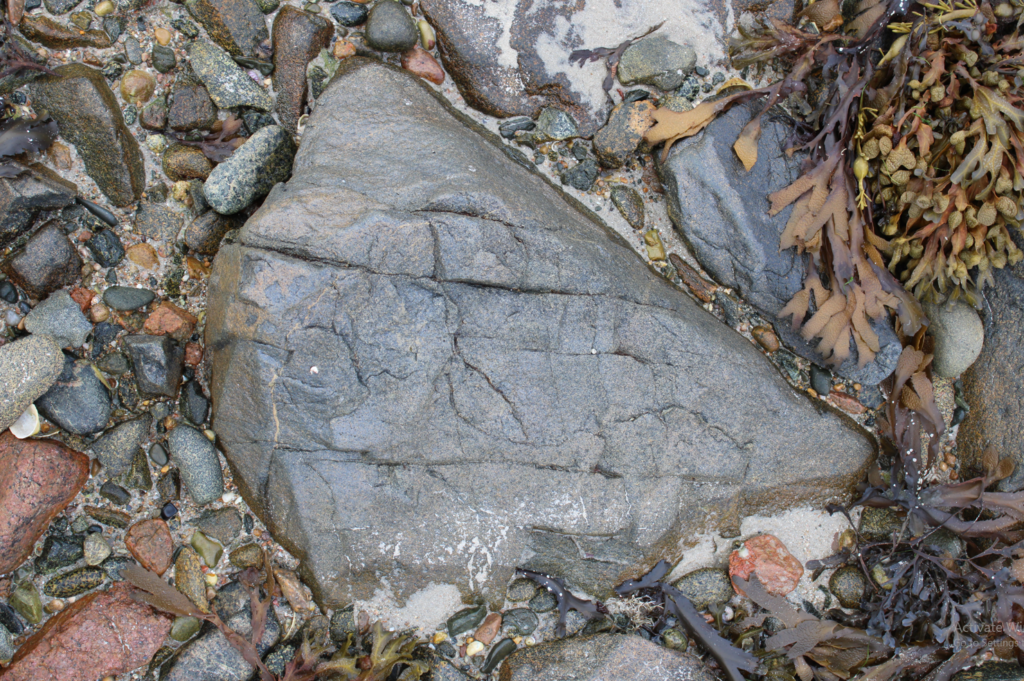
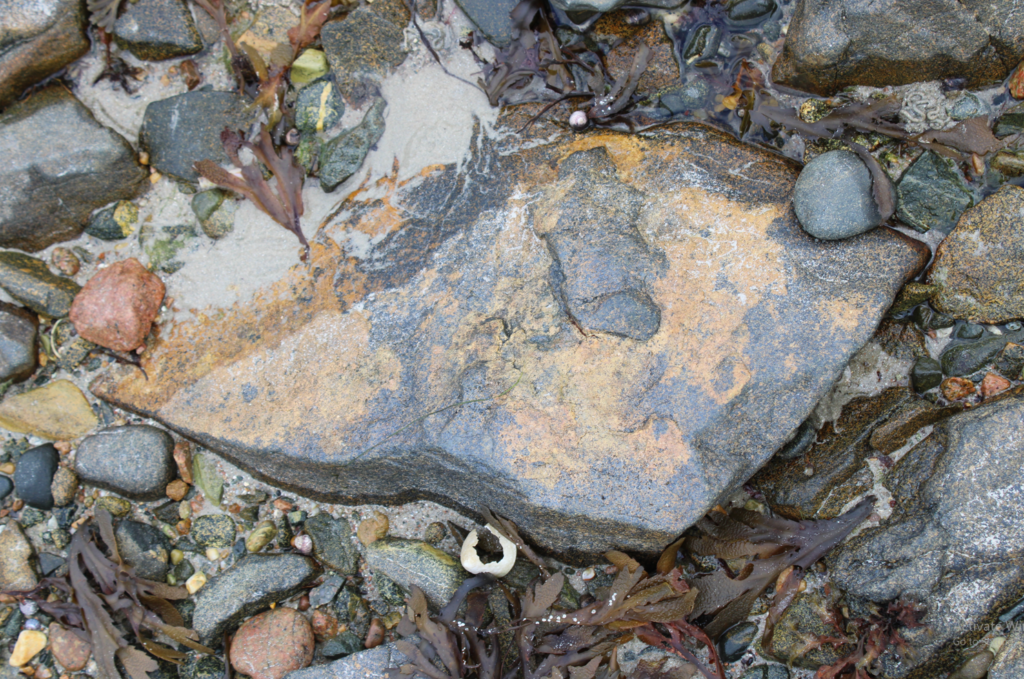
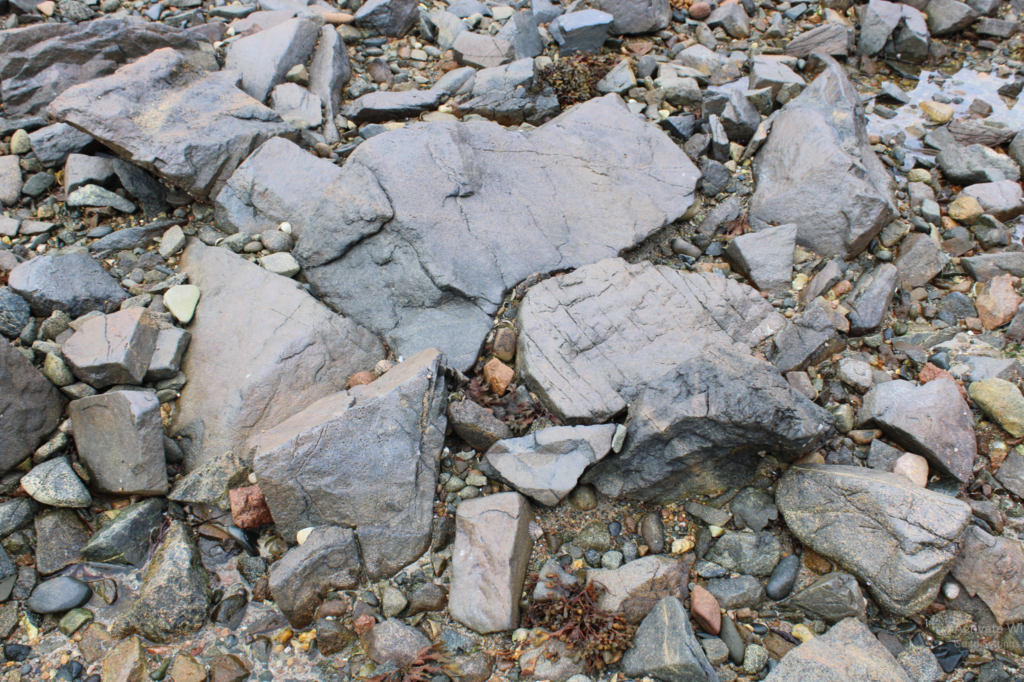
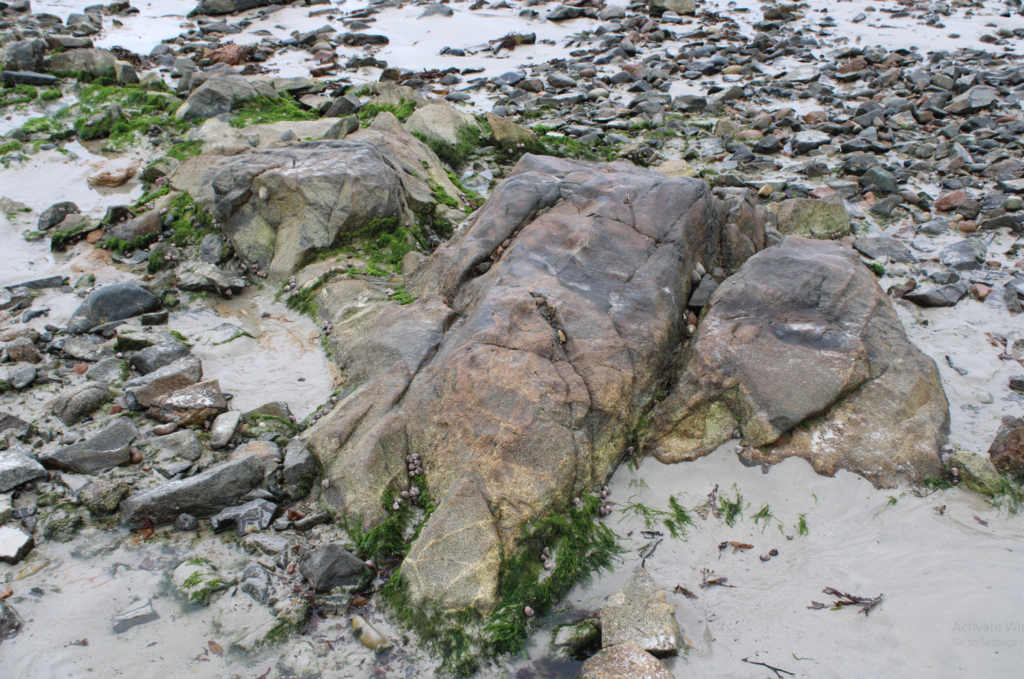
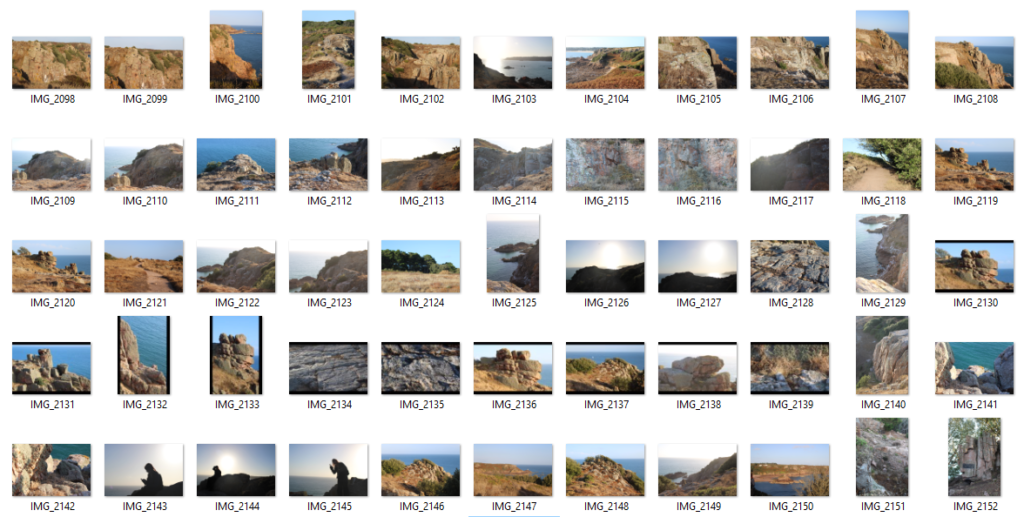
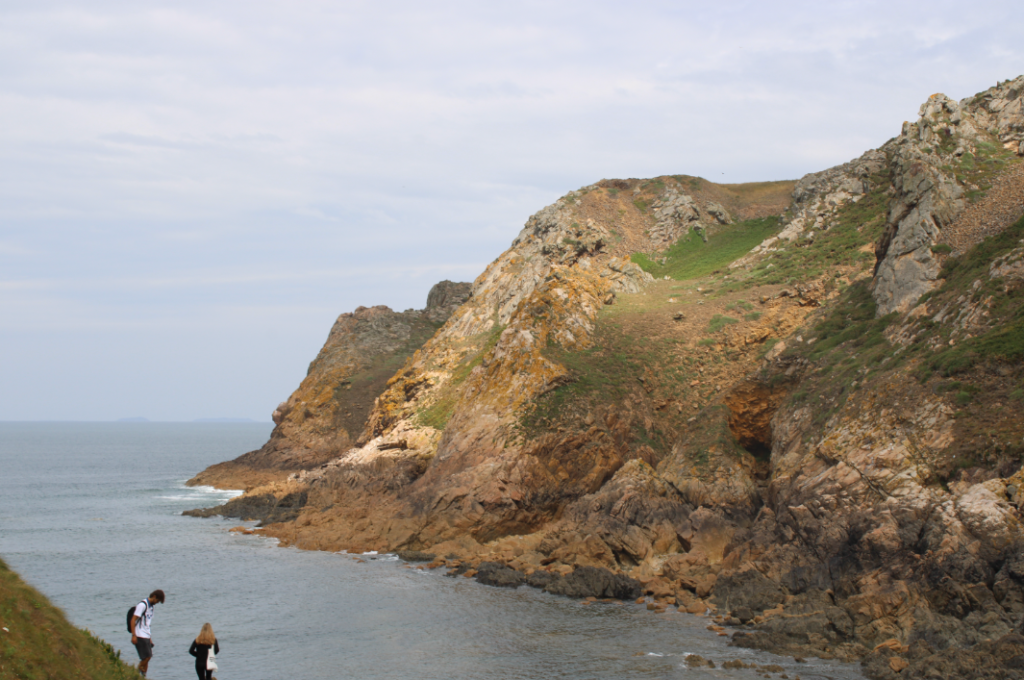
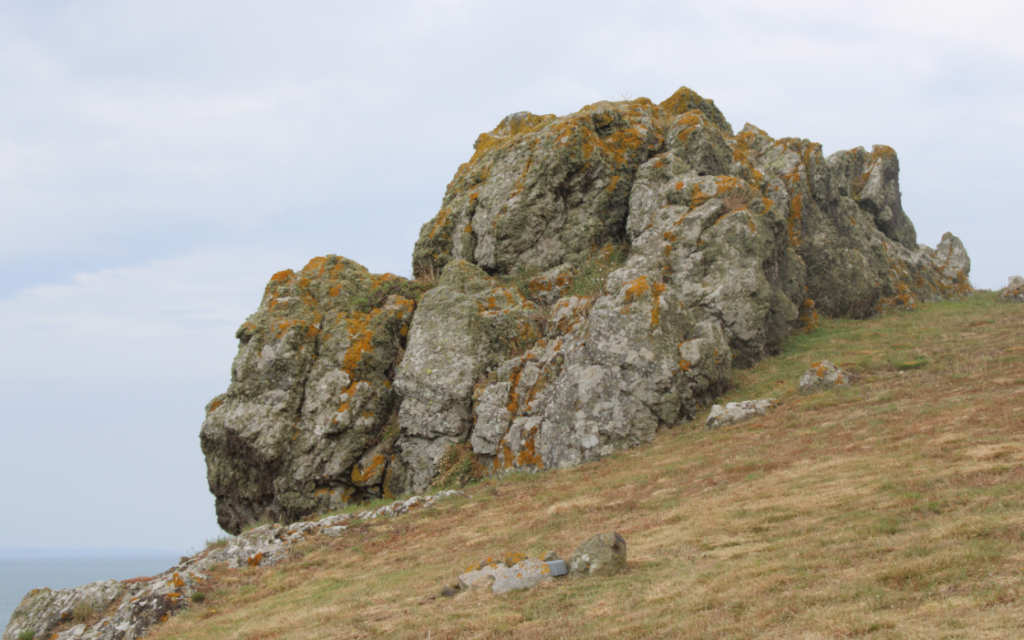
We went to Green Island and walked quite a while, taking various photos of the different kinds of rocks around us on our way. It was quite cloudy so we didn’t have to worry about our photos being overexposed due to the sun but we did have to be cautious about all the puddles that were there, making the rocks quite slippery to be on in order to make sure we wouldn’t slip or break our cameras.
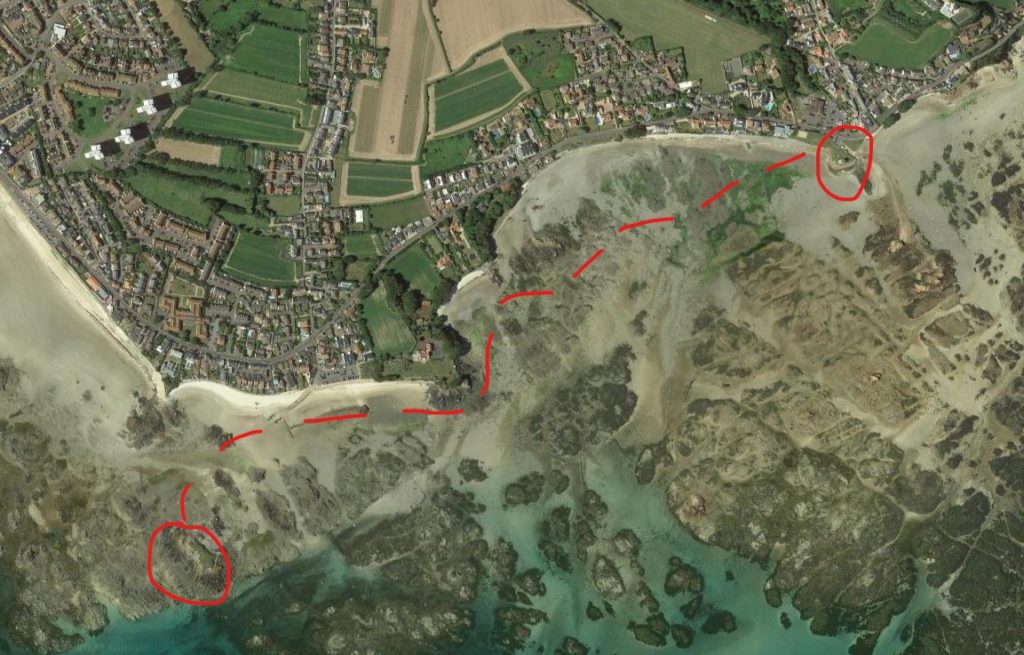
Map of where we walked

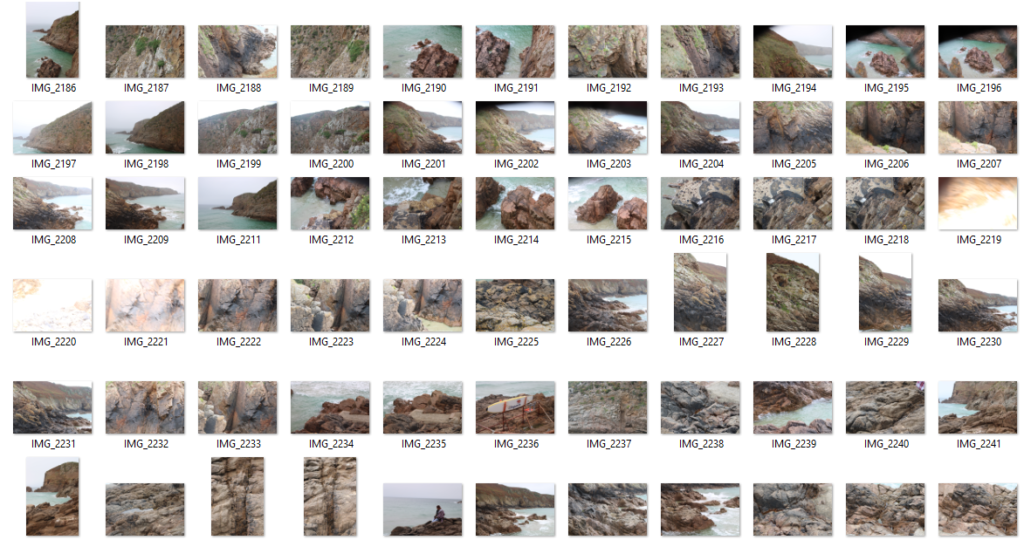
Contact Sheets:

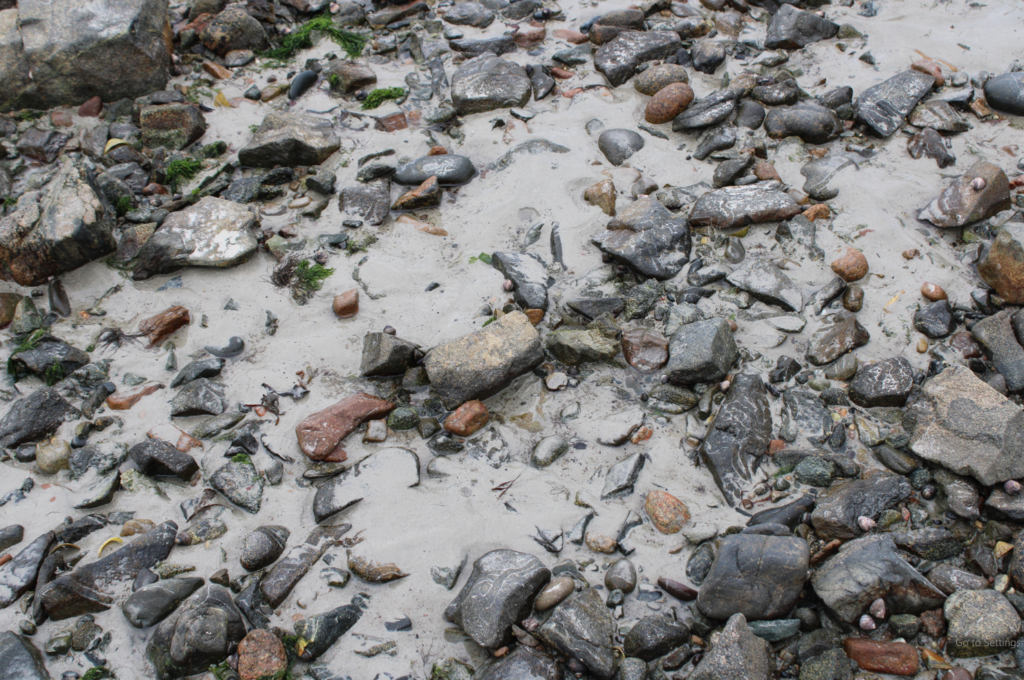
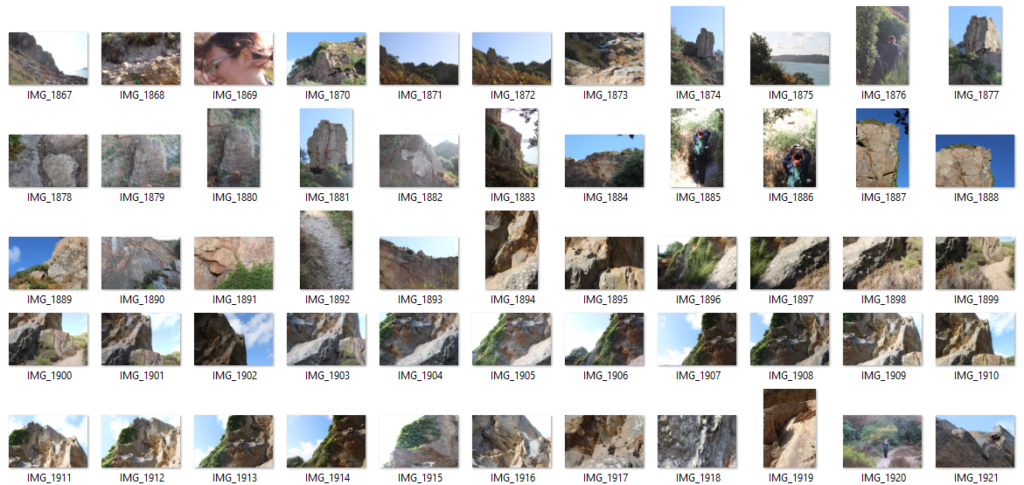
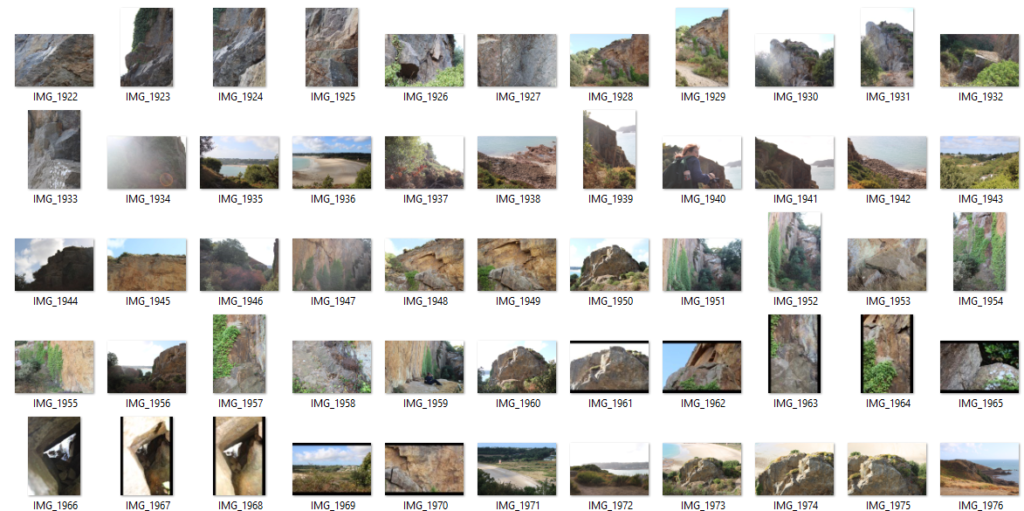
Throughout this photoshoot, I mainly focused on getting good quality photos of isolated rocks rather than taking images of the scenery as a whole. This is due to the fact I had a previous idea that I wanted to improve further and thought I would be able to get the images I needed on this trip. Along with that, I also took a lot of images of the floor, trying to get a variety of interesting shots of the composition of the smaller rocks mixed with the texture/patterns of the sand and water as I thought the images would come in handy later on.
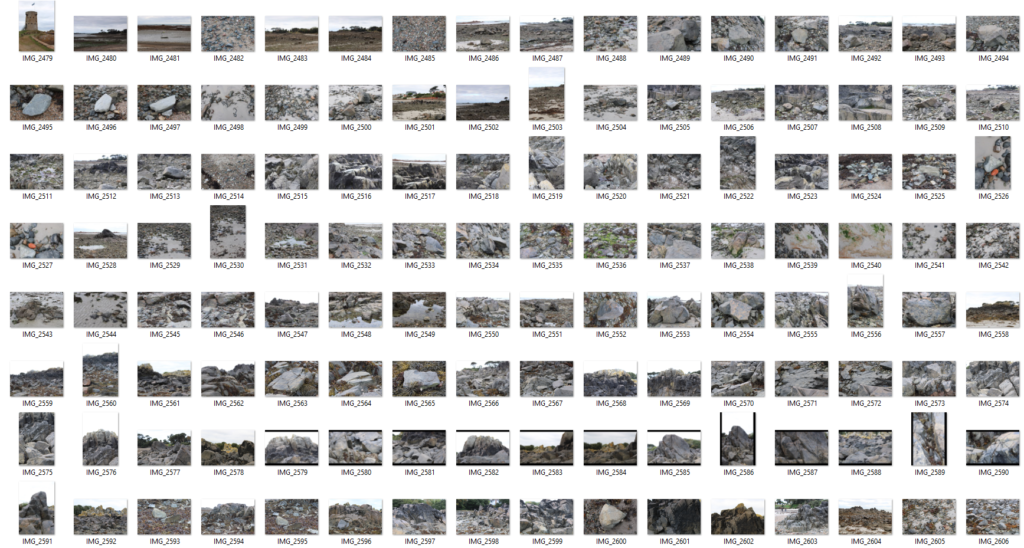
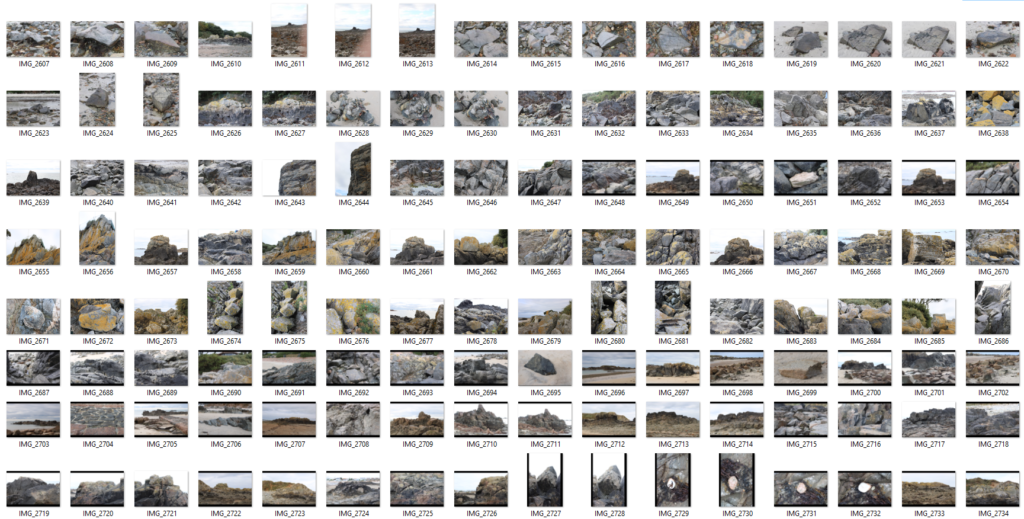
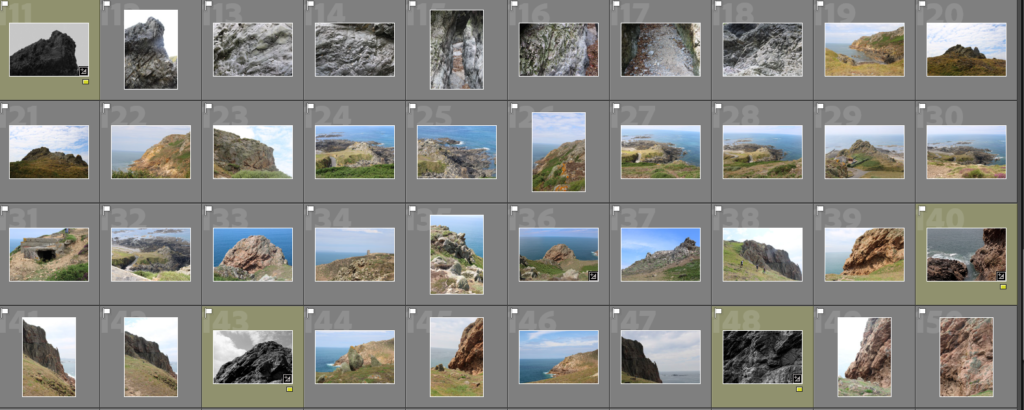
I brought my images into Lightroom and flagged the good quality photos I liked best, making it easier to spot them against the blurry images I took. I also made sure to keep an eye out for any images I could combine together into a mini series, either because they looked similar or because I thought they’d work well together.
Best Shots:

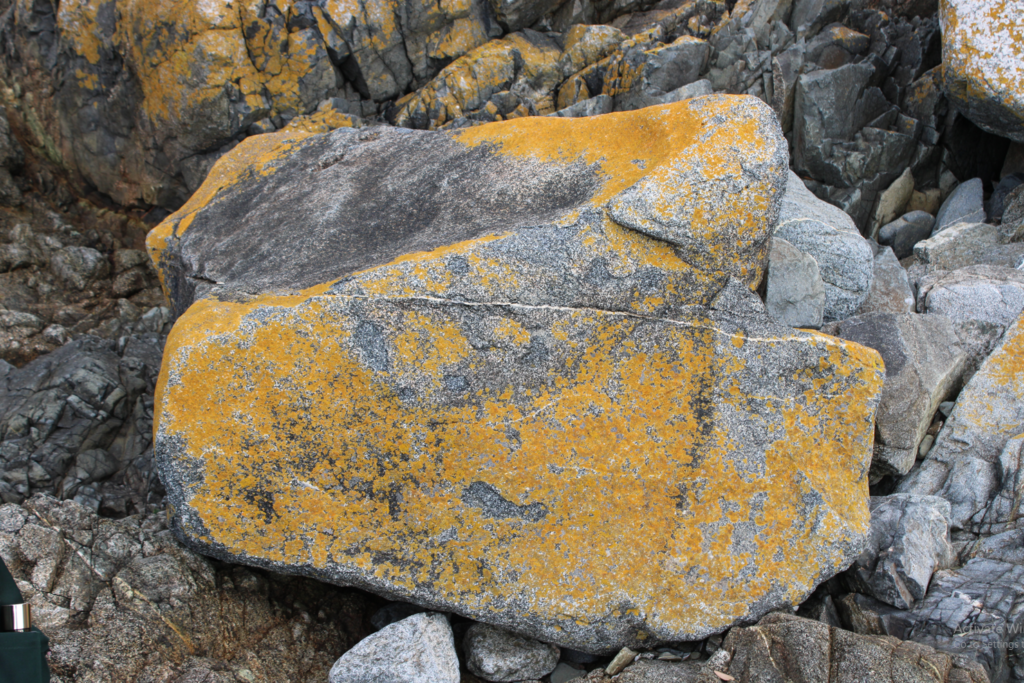
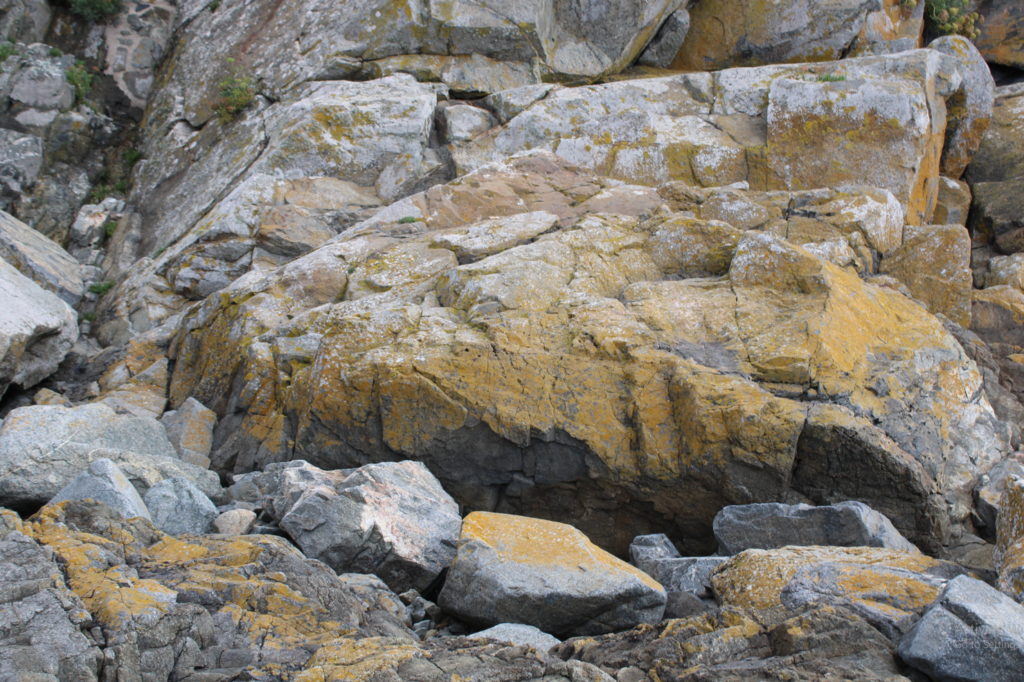
I chose these images as my best shots as I really like the composition in each one of these images. I feel as though it’s easy to tell what the focus of the image is, leading the eye towards the centre of the image to view the various details I’ve managed to capture within my photos. Along with that, I like how consistent the shadows and highlights are across all the images as it’s already giving me inspiration for future projects.
Making a 3D photo sculpture: experimenting

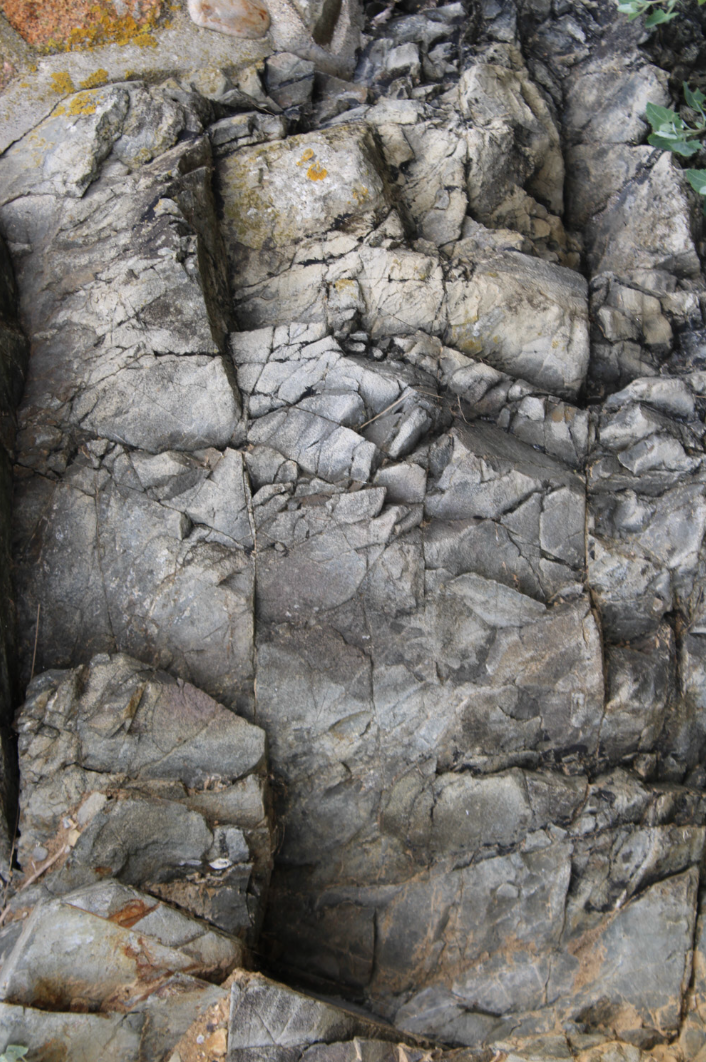
We decided to create 3D sculptures out of our images. In order to create my photo sculpture, I needed to select which photos I wanted to use. I knew I wanted to experiment with textures so I began by choosing a variety of close-up shots with a mixture of patterns as I thought they would work well when I attempted to add texture to them.

—- Experiment 1: ————-

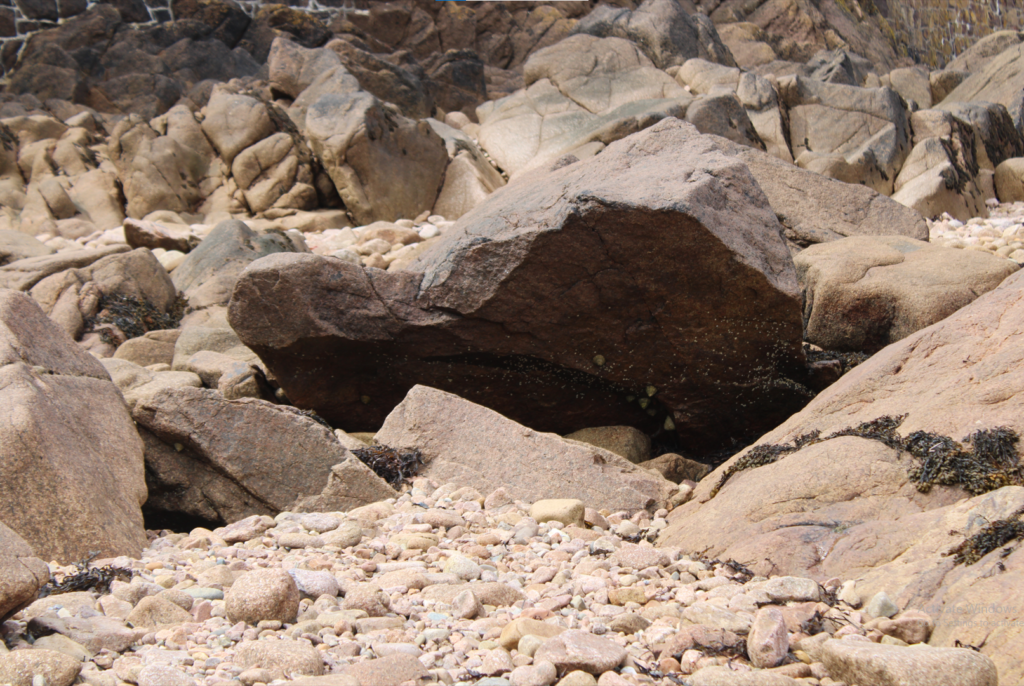
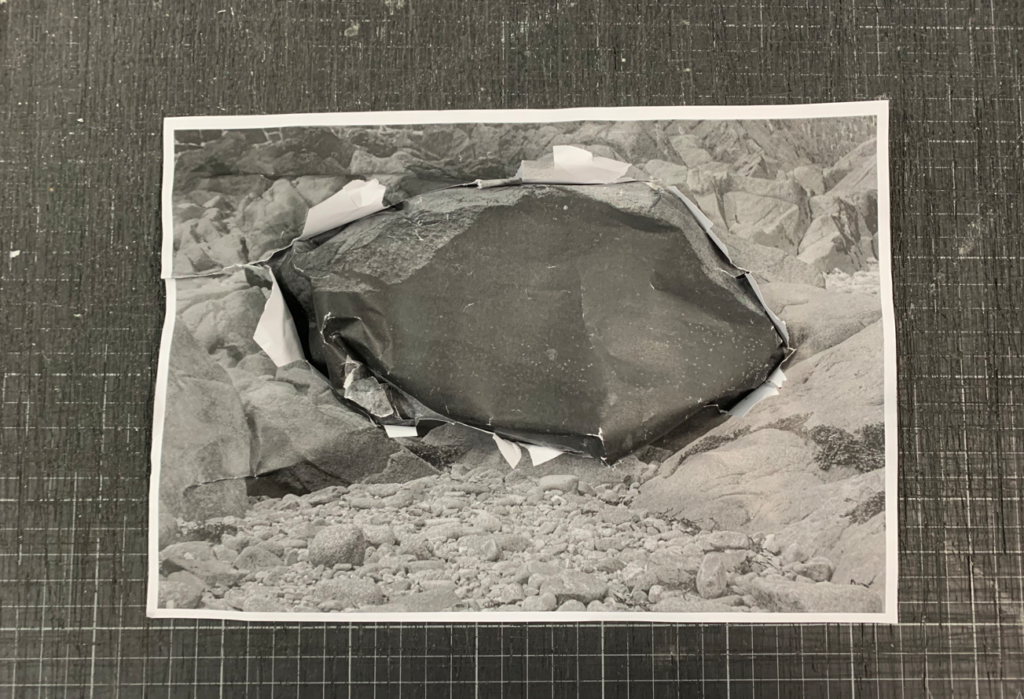
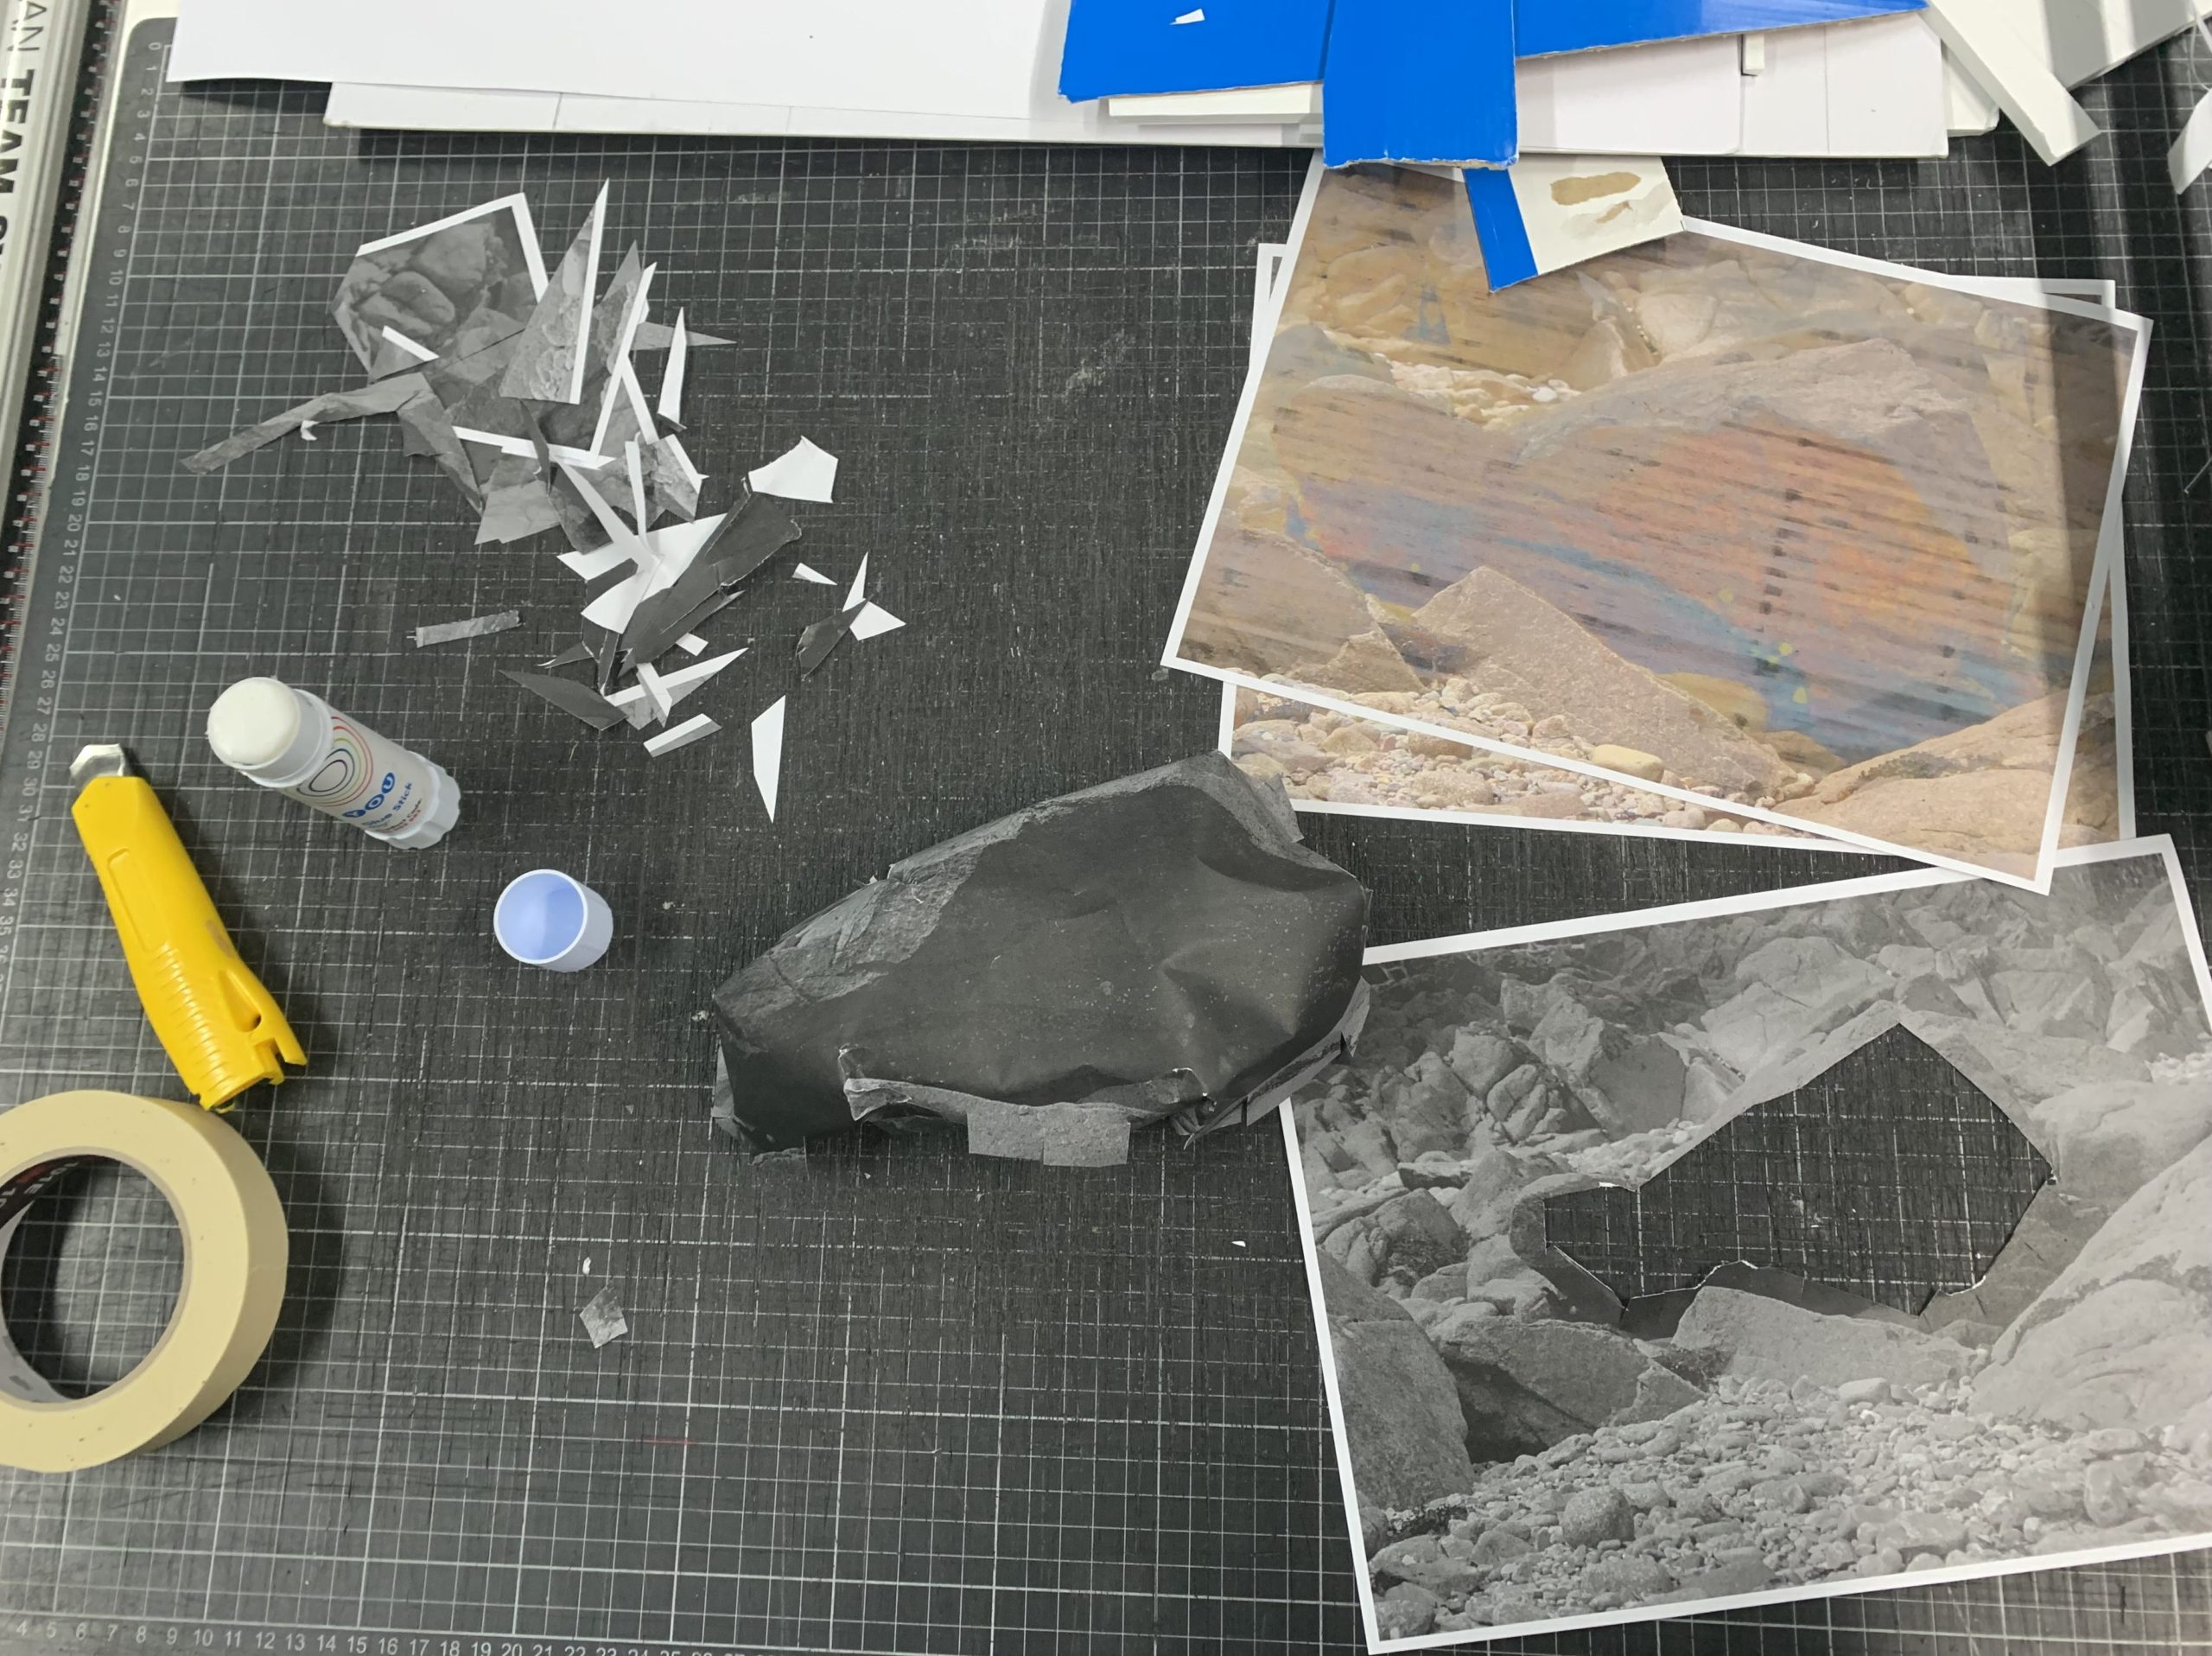
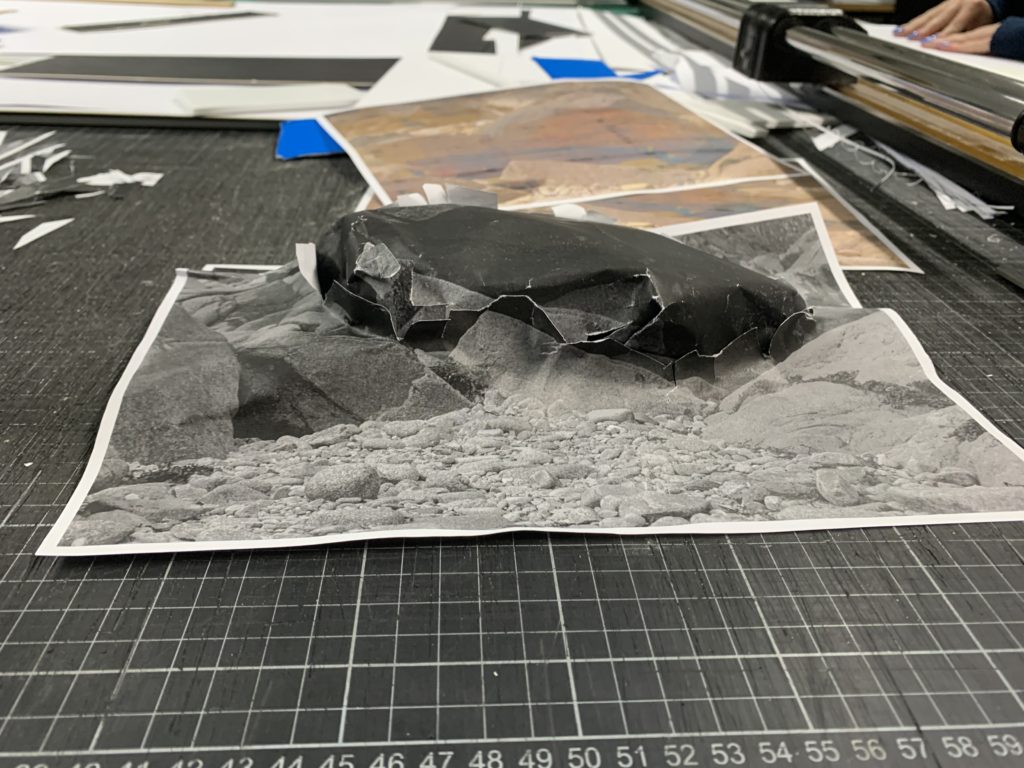
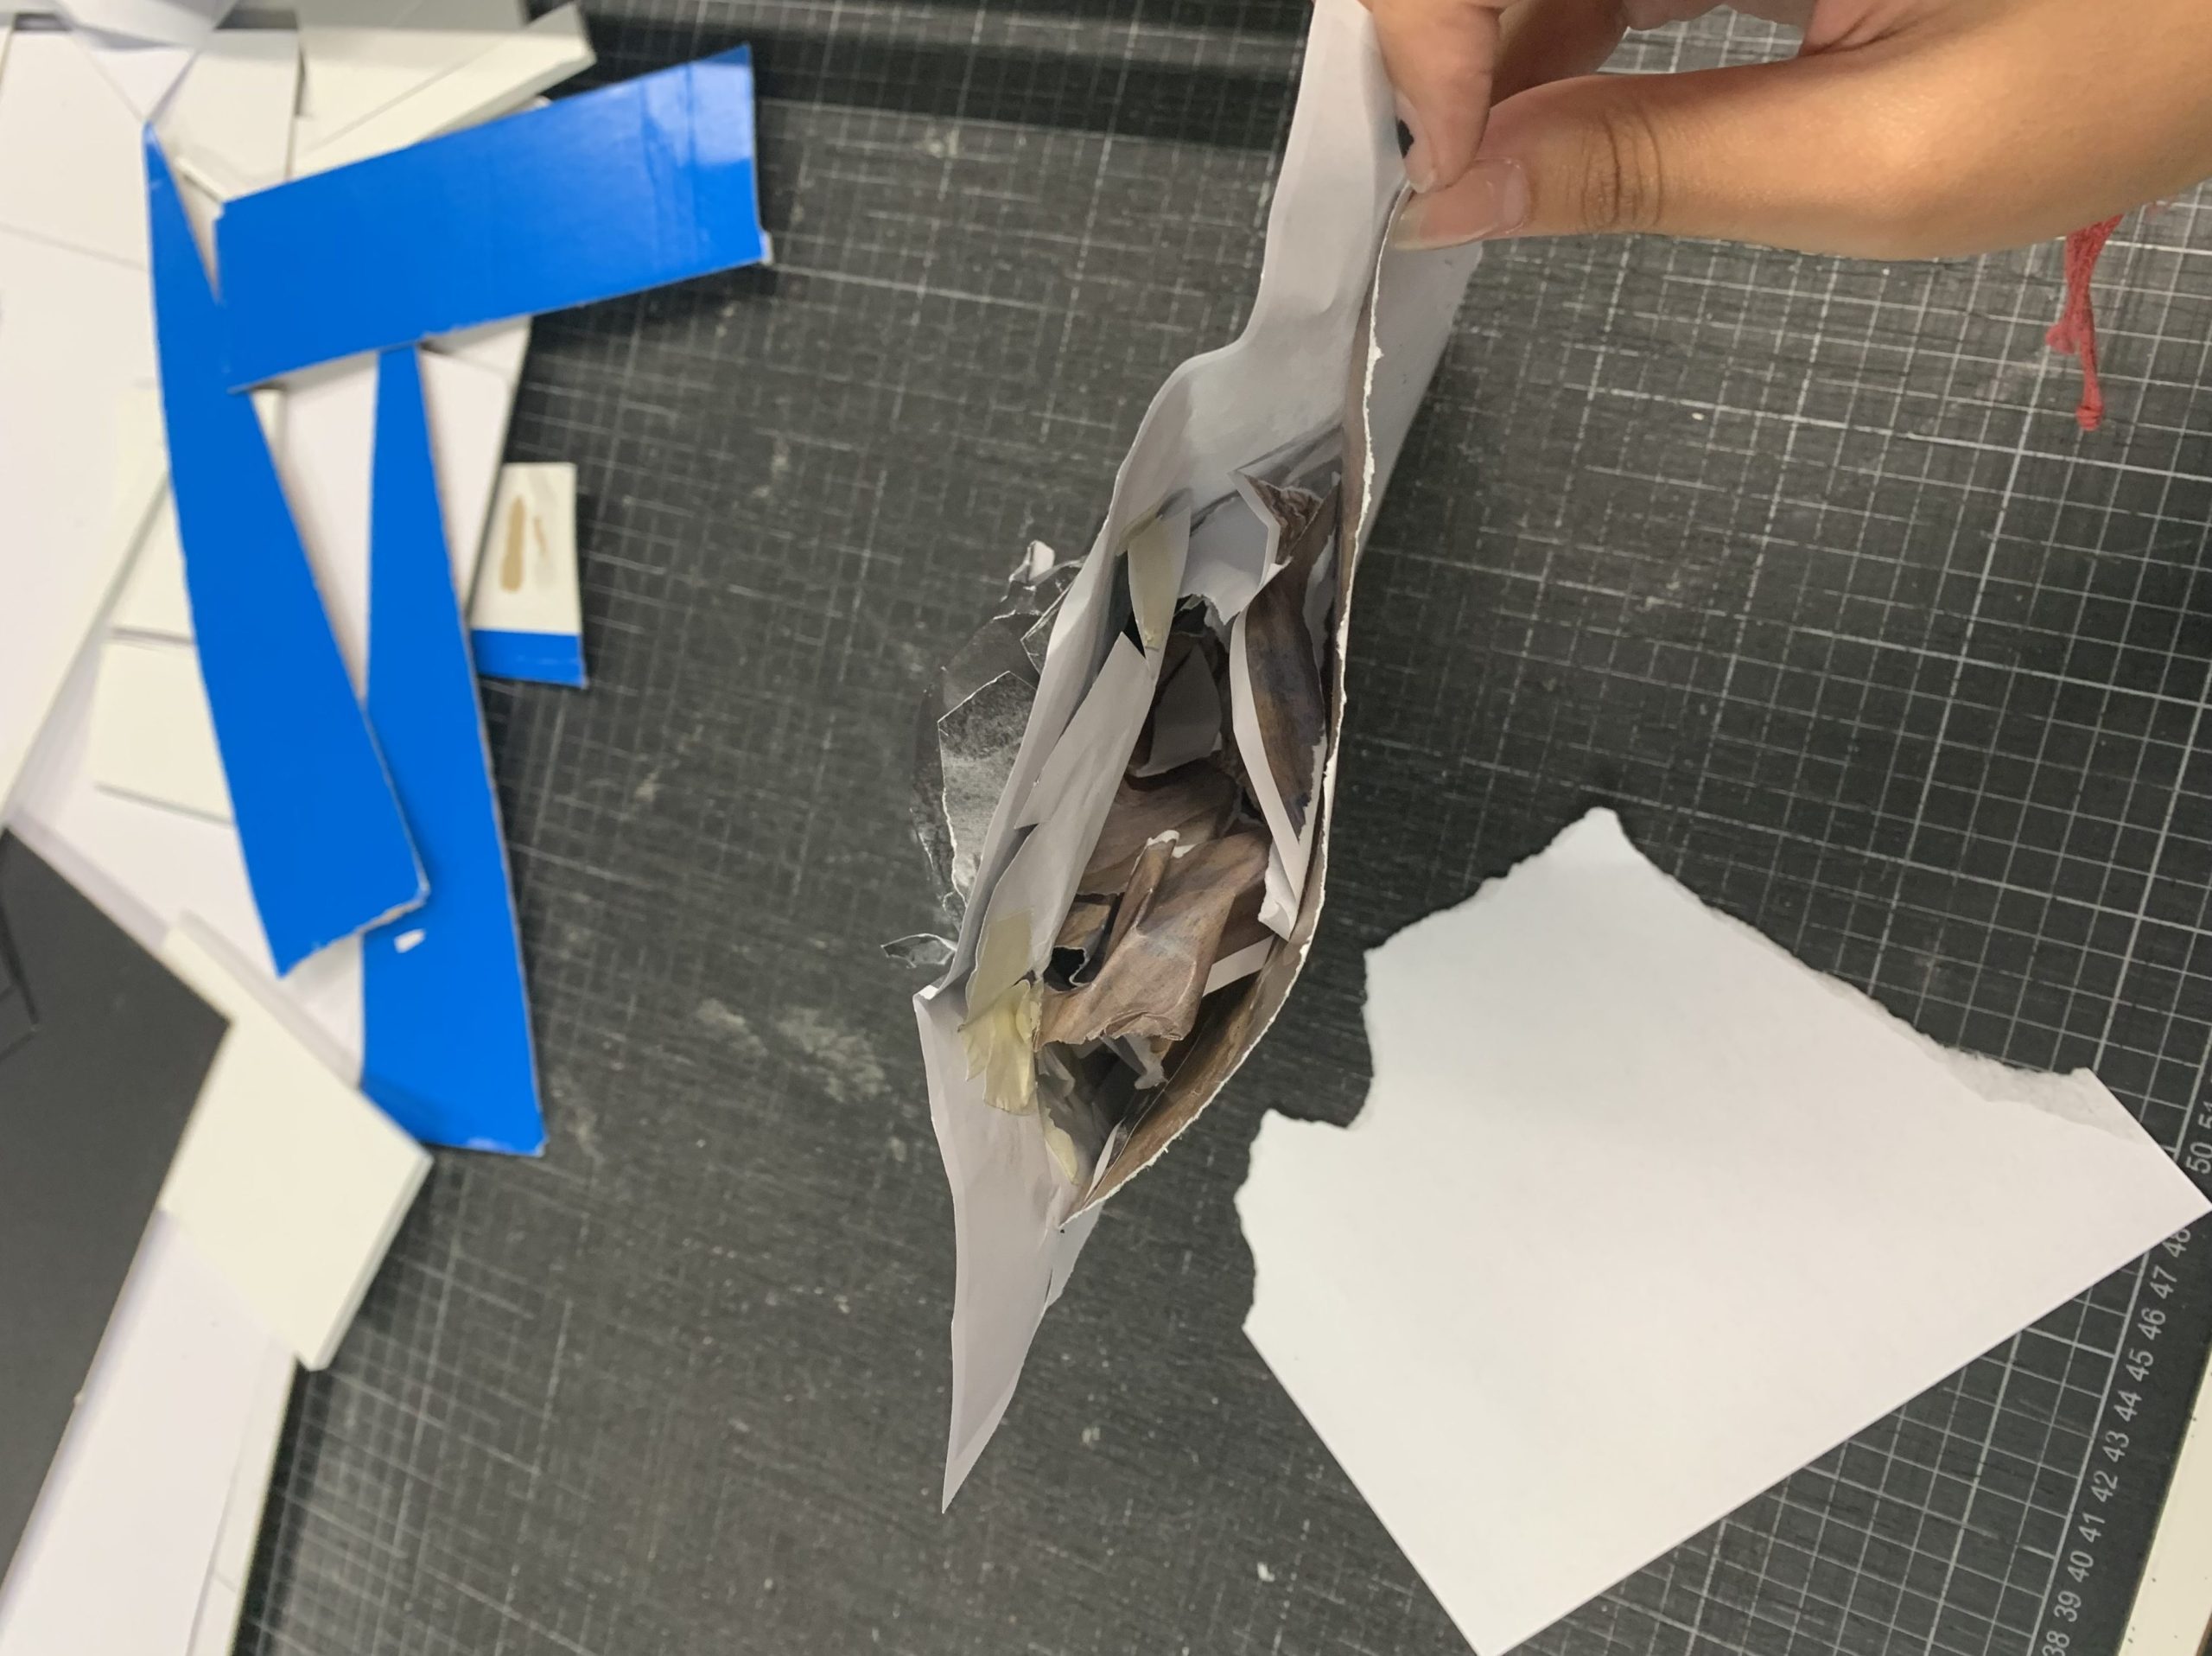
In order to create this experiment, I printed out the same image twice, one slightly bigger than the other, before cutting out the rock in the centre of both images. From there, lightly crumpled up the bigger rock and stuck down the edges through the smaller hole, creating the illusion of a protruding rock, which I found quite difficult as some of the edges didn’t want to stick leading me to tear arts of the image to make it work. I then stuck a scrapped image onto the back, creating a small pocket and stuffed that with the scrap paper from my work. This made the piece sturdier as it was less likely to collapse to the touch. Overall, I am content with my first experiment and want to recreate and improve it further by choosing a different image [as this one was a bit too dark] and by taking my time with my presentation, making it look less scruffy/torn.

My Original Image
My Experiment
Cutting out the rock
Side view of the rock
Stuffing the rock

—- Experiment 2: ————-

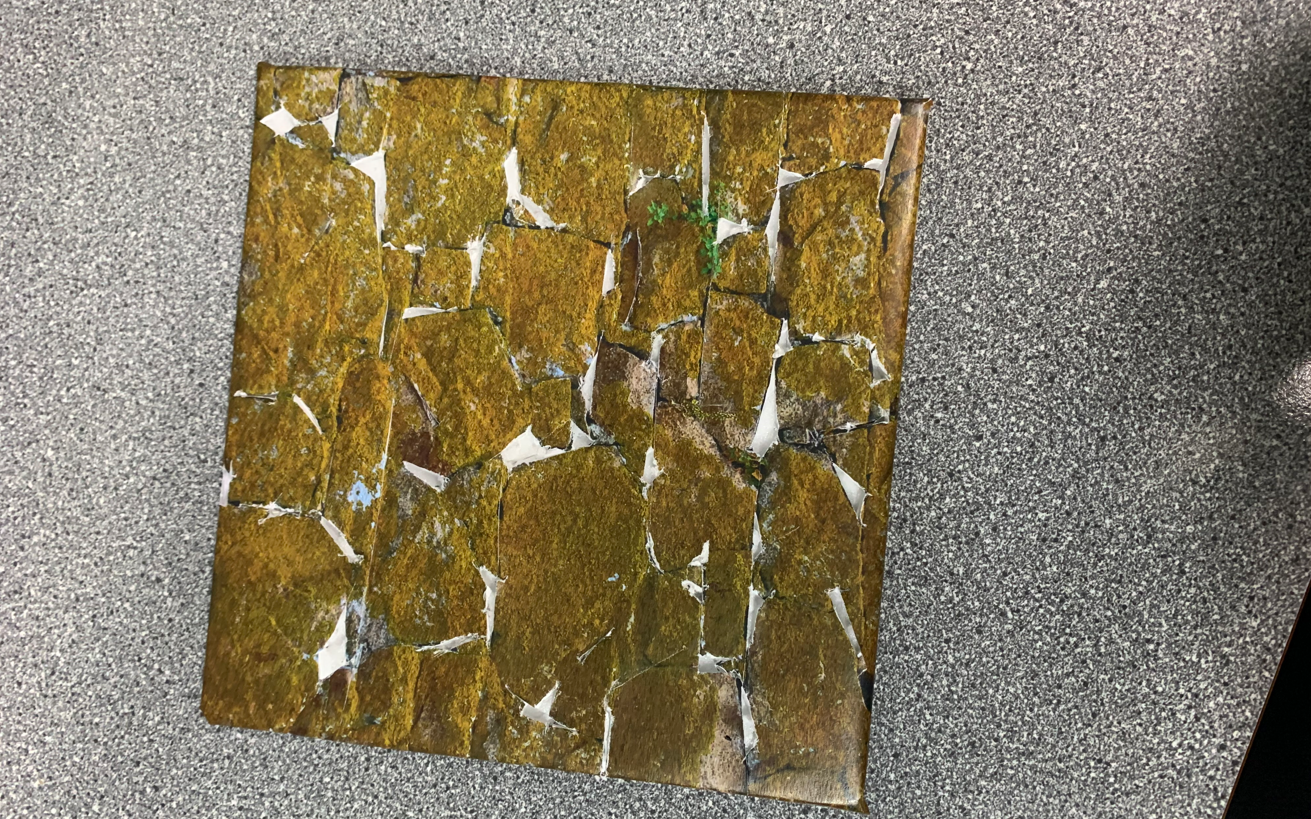
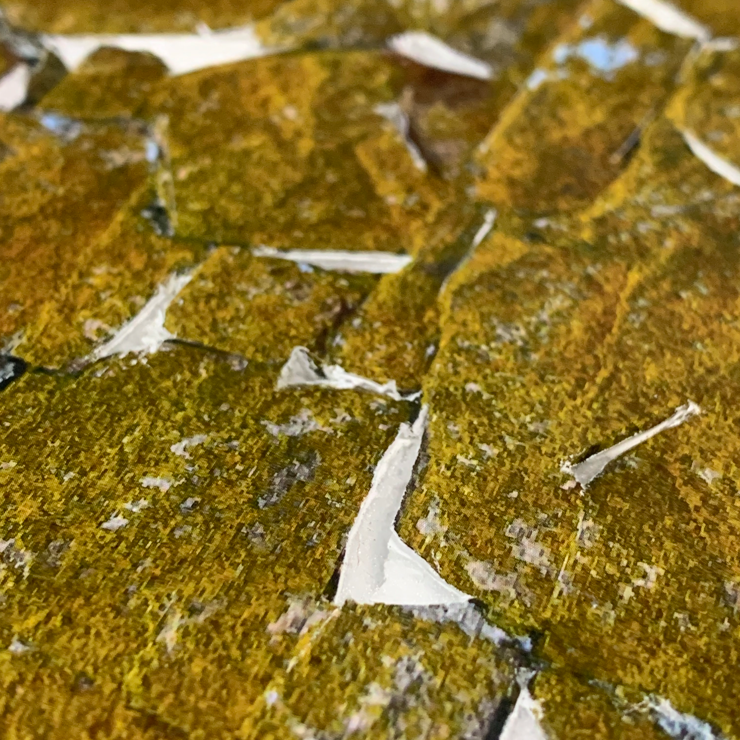
I started this experiment with the idea of creating some sort of textured piece by making each ridge within the image stand out in some way. However, once I stuck my image down onto a piece of foam, I realized it would be easier to take away from the piece rather than adding on, leading me to carefully cutting into parts of the image & foam. This created small dips within the piece which allowed the rocks in the piece stand out due to the texture I created. Overall, although I do like the experiment, I don’t think I’m going to pursue it further as I can’t see it becoming anything more interesting than it currently is.

My Original Image
My Experiment
Close up of the dips

—- Experiment 3: ————-

This experiment was linked to my second one as I had a plan to make a texture board of sorts, using different methods to make different textures and looks. For this one, I printed out the same image twice, sticking the first one down onto a square piece of foam board. Then, I used the cut most of the rocks that could be seen on the foam board out of the second image and onto separate pieces of foam board, careful cutting around both the image and foam so it would fit perfectly on top of the base. For some of the rocks around the edge, however, I decided to let the overhang the board which I think added more depth and form to the piece. Overall, I like the final experiment better than the second one as the rocks here stand out against the rest of the image, creating a more interesting composition.

My Original Image
My Experiment
Close up of the piece
Cutting out the rocks from the image

Still Life photoshoot

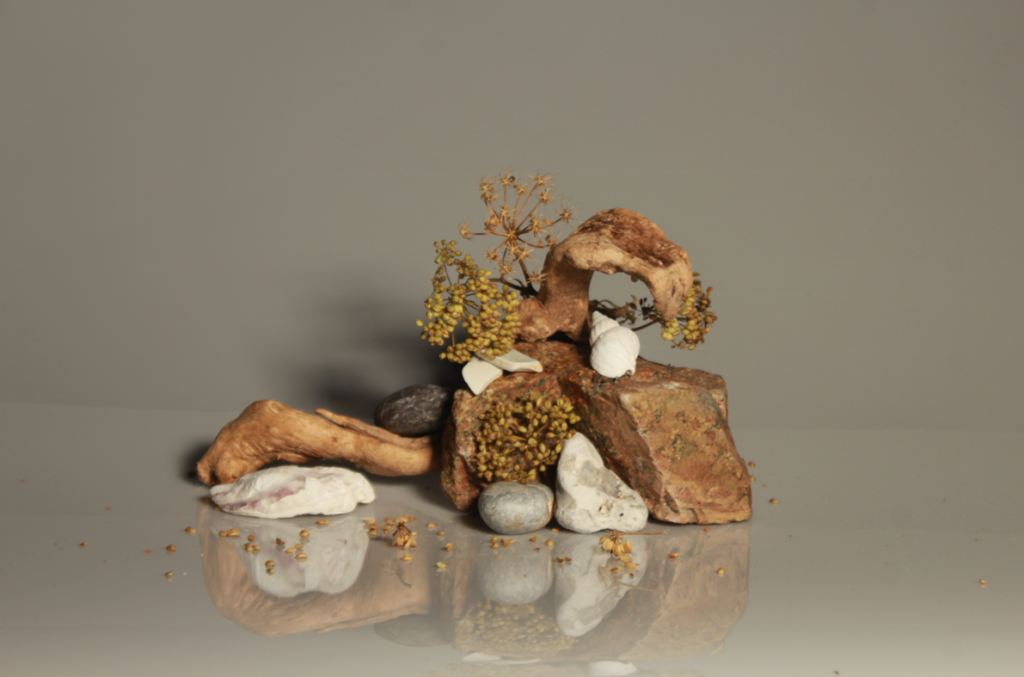
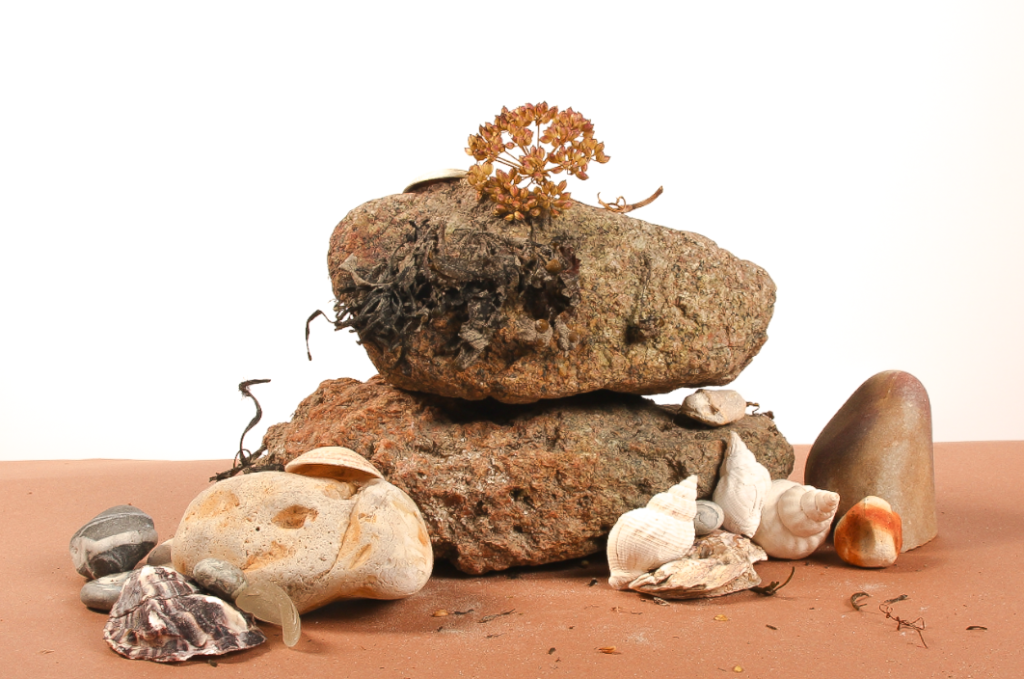
We went down to the photography studio and took a variety of still life images of objects that relate to the ‘My Rock’ project such as rocks, shells, seaweed etc that could be combined with previous photoshoots later on. We used two different types of lighting [still lighting and flashead lighting] with different backgrounds in order to experiment with the intensity of the lights and accentuate the quality of each image along with pairing each object composition with a backdrop that would allow the details the emerge within the image.

Still Lighting Set-up
Flashead Lighting Set-up

Still Lighting:

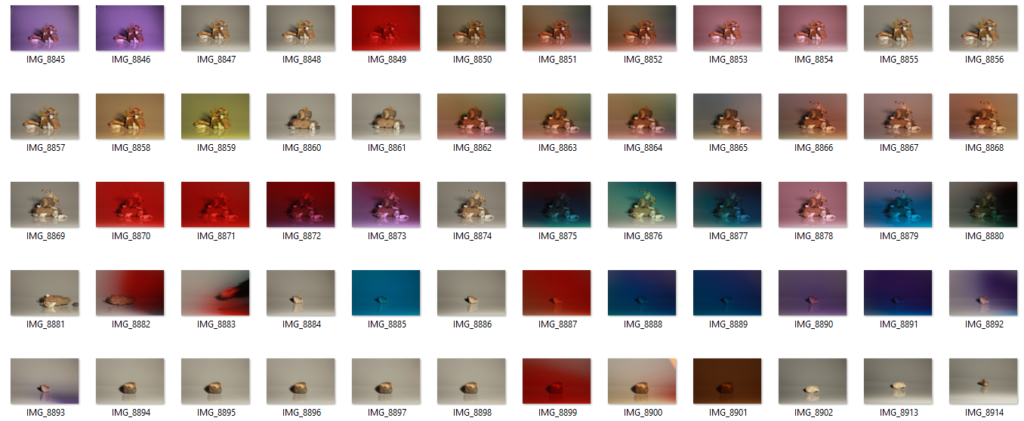
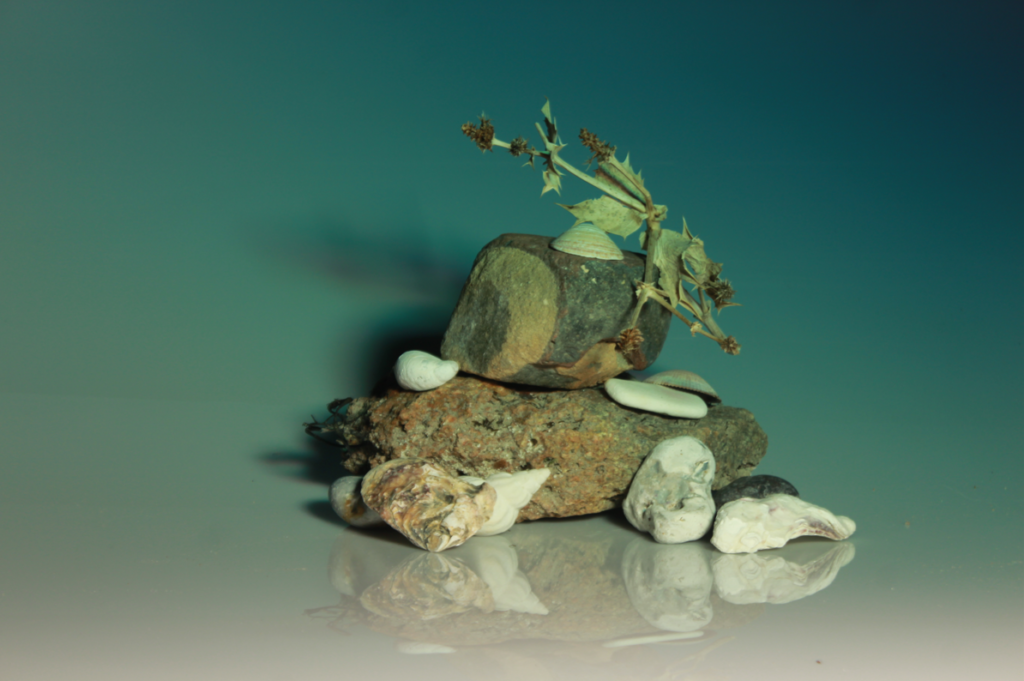
When taking images with still lighting, we decided to move around our composition between photos, adding and removing objects so we could later decide which ones we preferred and which ones would be scrapped. Along with that, we experimented with holding coloured acrylic sheets in front of the camera lens, tinting our images a variety of saturated colours, and seeing how it affected how the photo looked and felt from a more meaningful perspective. Overall, I think our photoshoot was successful as we took a bunch of well lit photographs, however, I feel as though we could go back and take more still life photos of objects on their own.

Contact Sheet

Some of my best shots:

Flashead Lights:

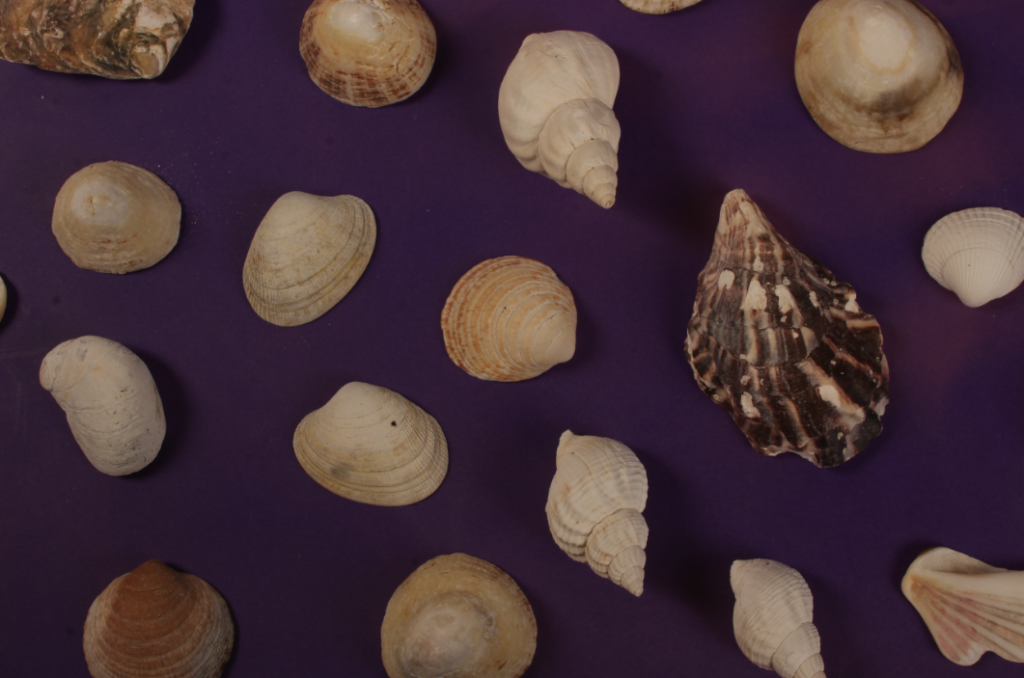
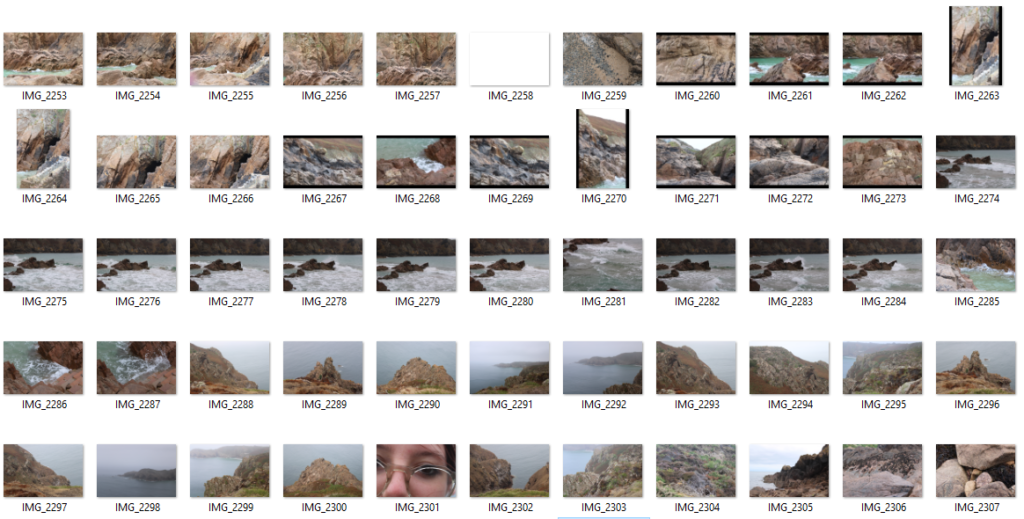
When taking images using the flashead lights, we spent a lot of time getting our framing right as the backdrop was coloured paper and we wanted to make sure we didn’t get the table itself in frame which led to less photos being taken. We tried taking photos from different viewpoints [i.e: eyelevel and bird’s-eye] whilst trying to keep the lighting consistent which was a struggle due to the amount of shadows that would appear from all the objects. Overall, I think our images came out decent, however, I do think we could improve and could have a second photoshoot with the flashead lights.
Contact Sheet

Some of my best shots:

Plemont Photoshoot: Contact Sheets

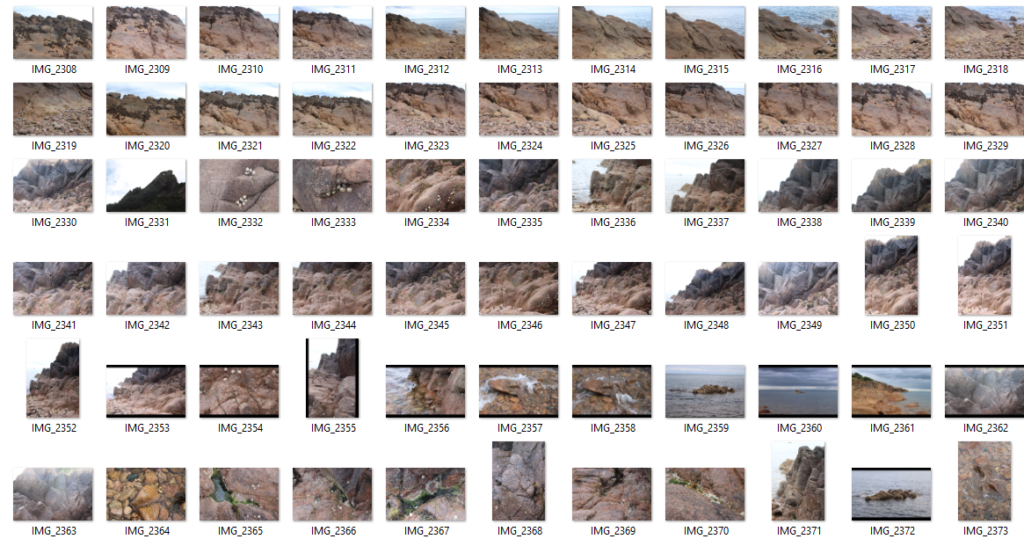
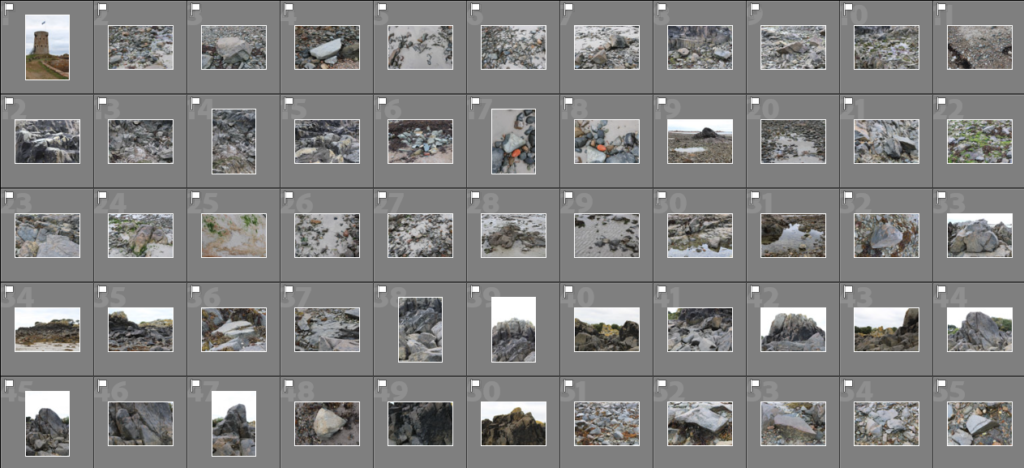
For my 2nd photoshoot, I decided to go to Plemont in the early afternoon on a foggy, drizzly day, contrasting my first photoshoot which was done on a sunny day later in the afternoon. This, however, made taking my images more difficult as I had to ensure my camera didn’t get wet, which could cause the camera to break or blur the photos from rain falling on the lens.

Map of where I went
A sign from Plemont

Contact Sheets:

When taking my photos, I tried to make sure they were all well-lit as the amount of fog and lack of sun made it more challenging to balance all the tones within each image, making them prone to being overexposed/underexposed. Along with that, in some of my images, I accidentally got my jacket [that I wrapped around the camera to ensure its safety] in frame, cutting out some of the corners of my images.
Portelet Photoshoot: Contact sheets

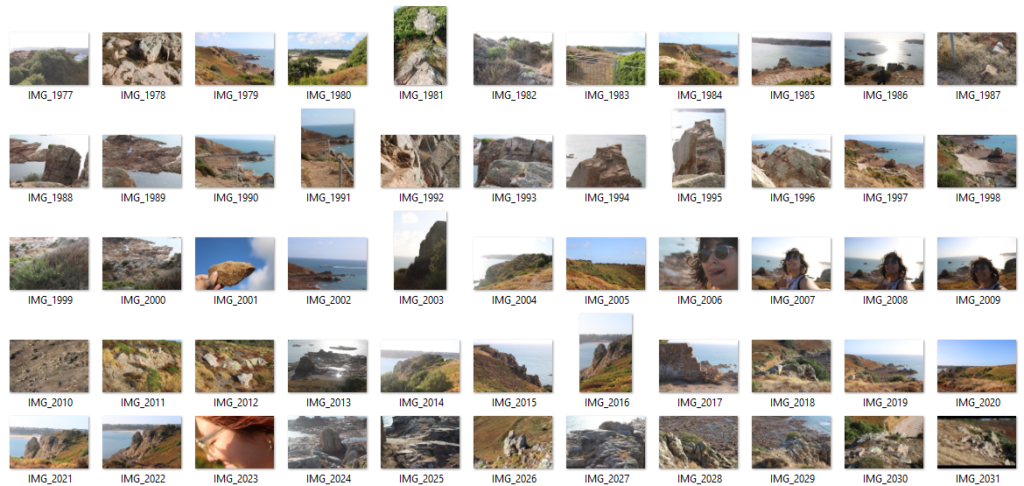
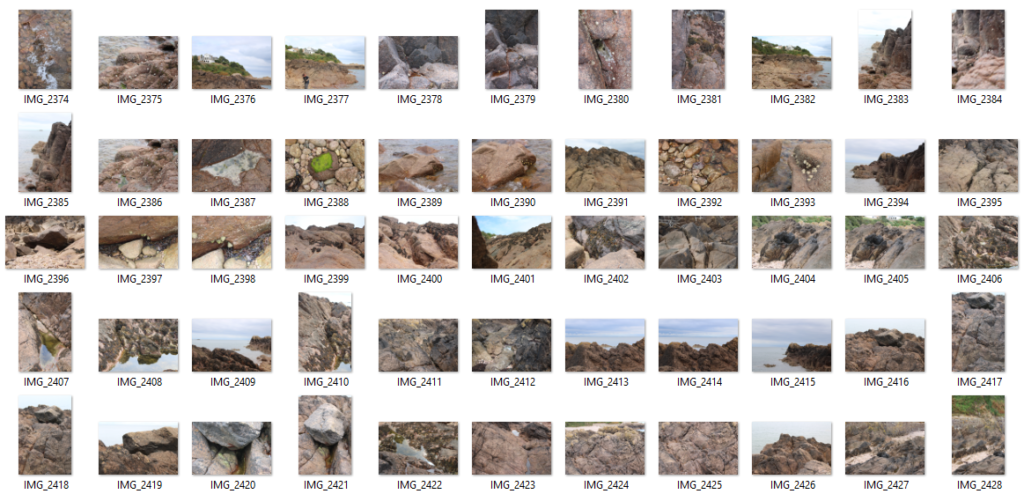
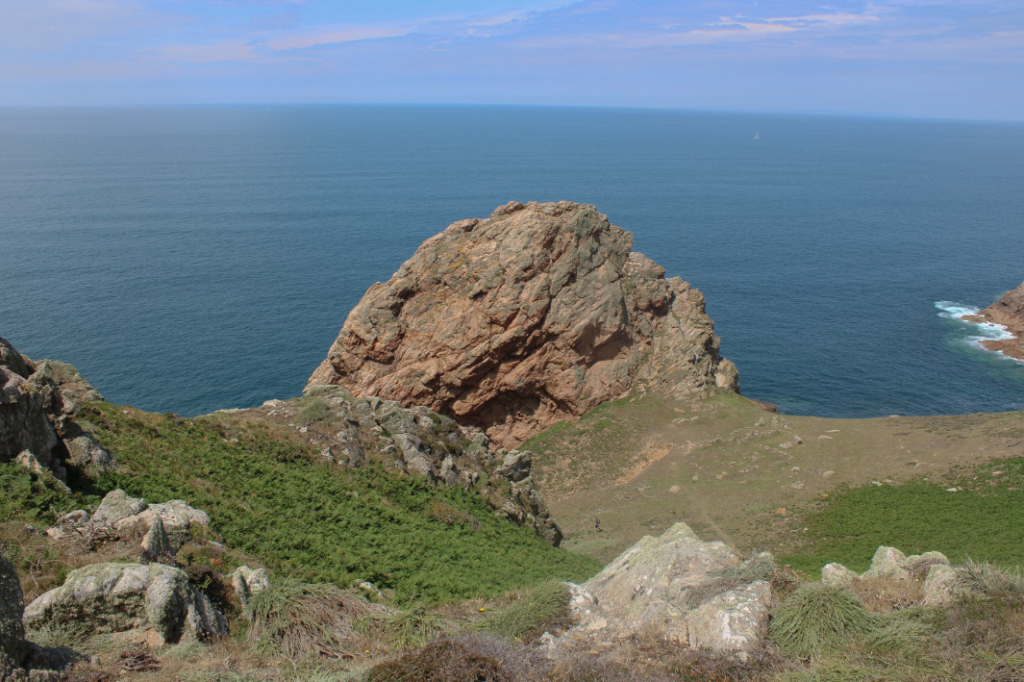
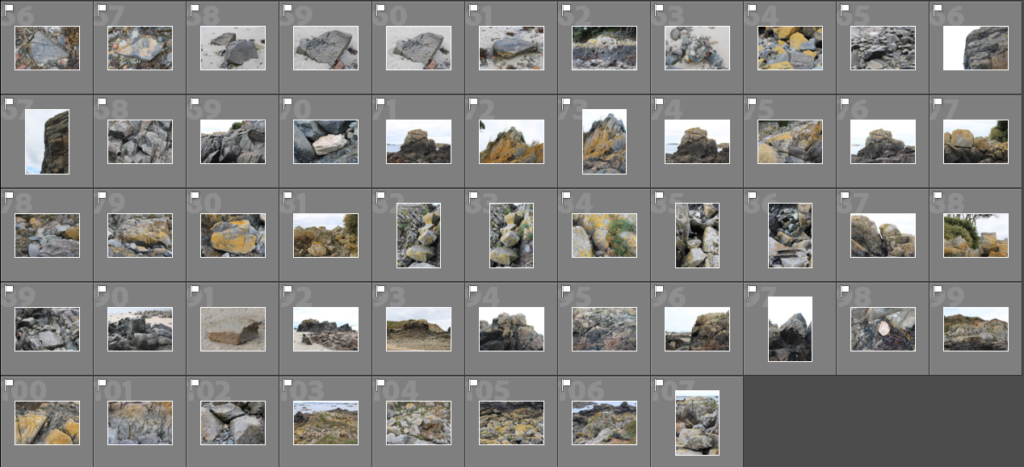
For my first photoshoot, I started at Le Quaisne and walked up to La Cotte before making my way through Portelet, ending my photoshoot at Potelet beach. I started my shoot in the afternoon in order to try avoid any harsh natural lighting that the sun could create in the morning/midday and to attempt to take some photos when it got darker. I decided to do a photoshoot there as I knew it had a lot of rocky areas that I could get close to, allowing me to take a mixture of distant and close-up images instead of relying solely on zooming in to get detailed photos.

Map of where I went
Sign at Portelet

Contact Sheets:

When taking my photos, I tried to thoroughly take multiple images of each rock from various angles, heights and distances to capture as many details and perspectives as possible. I had to keep checking my photos and camera settings throughout the photoshoot as the sun would occasionally overexpose my images/create light leaks due to me moving around and taking images facing both towards and away from the sun.

Gorey Photoshoot: Contact sheets

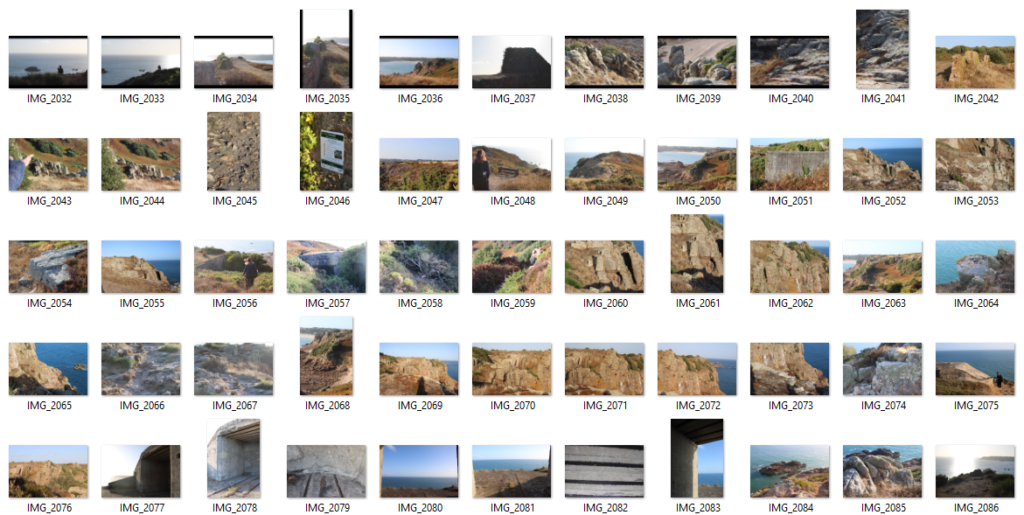
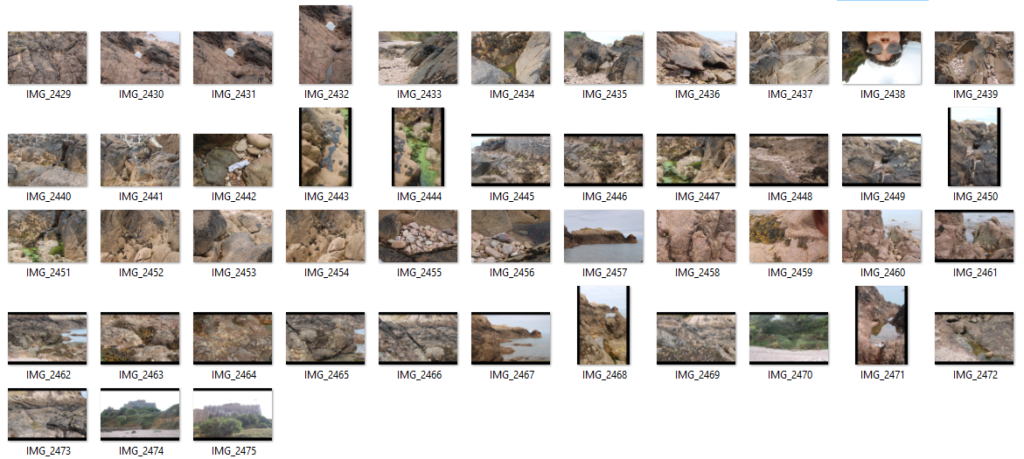
I decided to do a 3rd photoshoot in Gorey, by the ocean, as I already had many photos that were taken at a distance from previous shoots and I knew I would be able to get close-ups of rocks down at Gorey. Along with that, I knew Gorey had a lot of small, loose rocks that I would easily be able to carry and take to photograph in the photography studio at a later date for some still life photos.

Map of where I went
A sign I found at Gorey

Contact Sheets:

Whilst taking photos, I tried to get as many details as I could of each rock, making sure they were all in focus and well framed so I could get the best outcomes possible. I did struggle with taking some of the images as I had to carefully climb over quite a few rocks to get some of the shots I wanted which was rather difficult as I needed to keep my footing stable whilst also having to make sure my camera wasn’t going to break against the rocks.

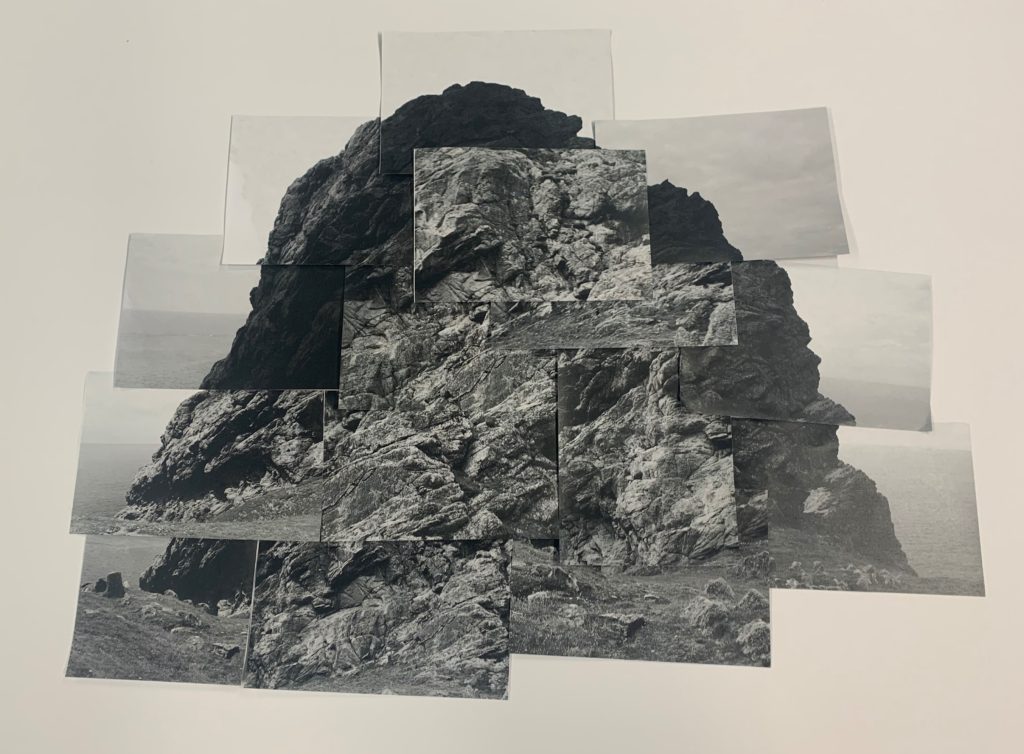
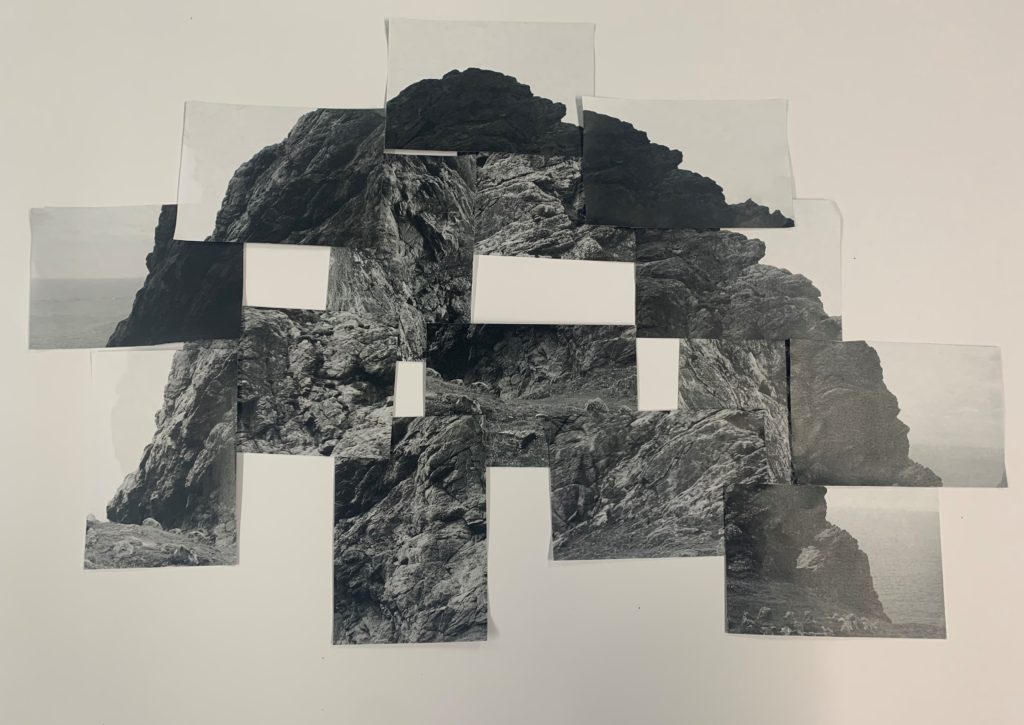
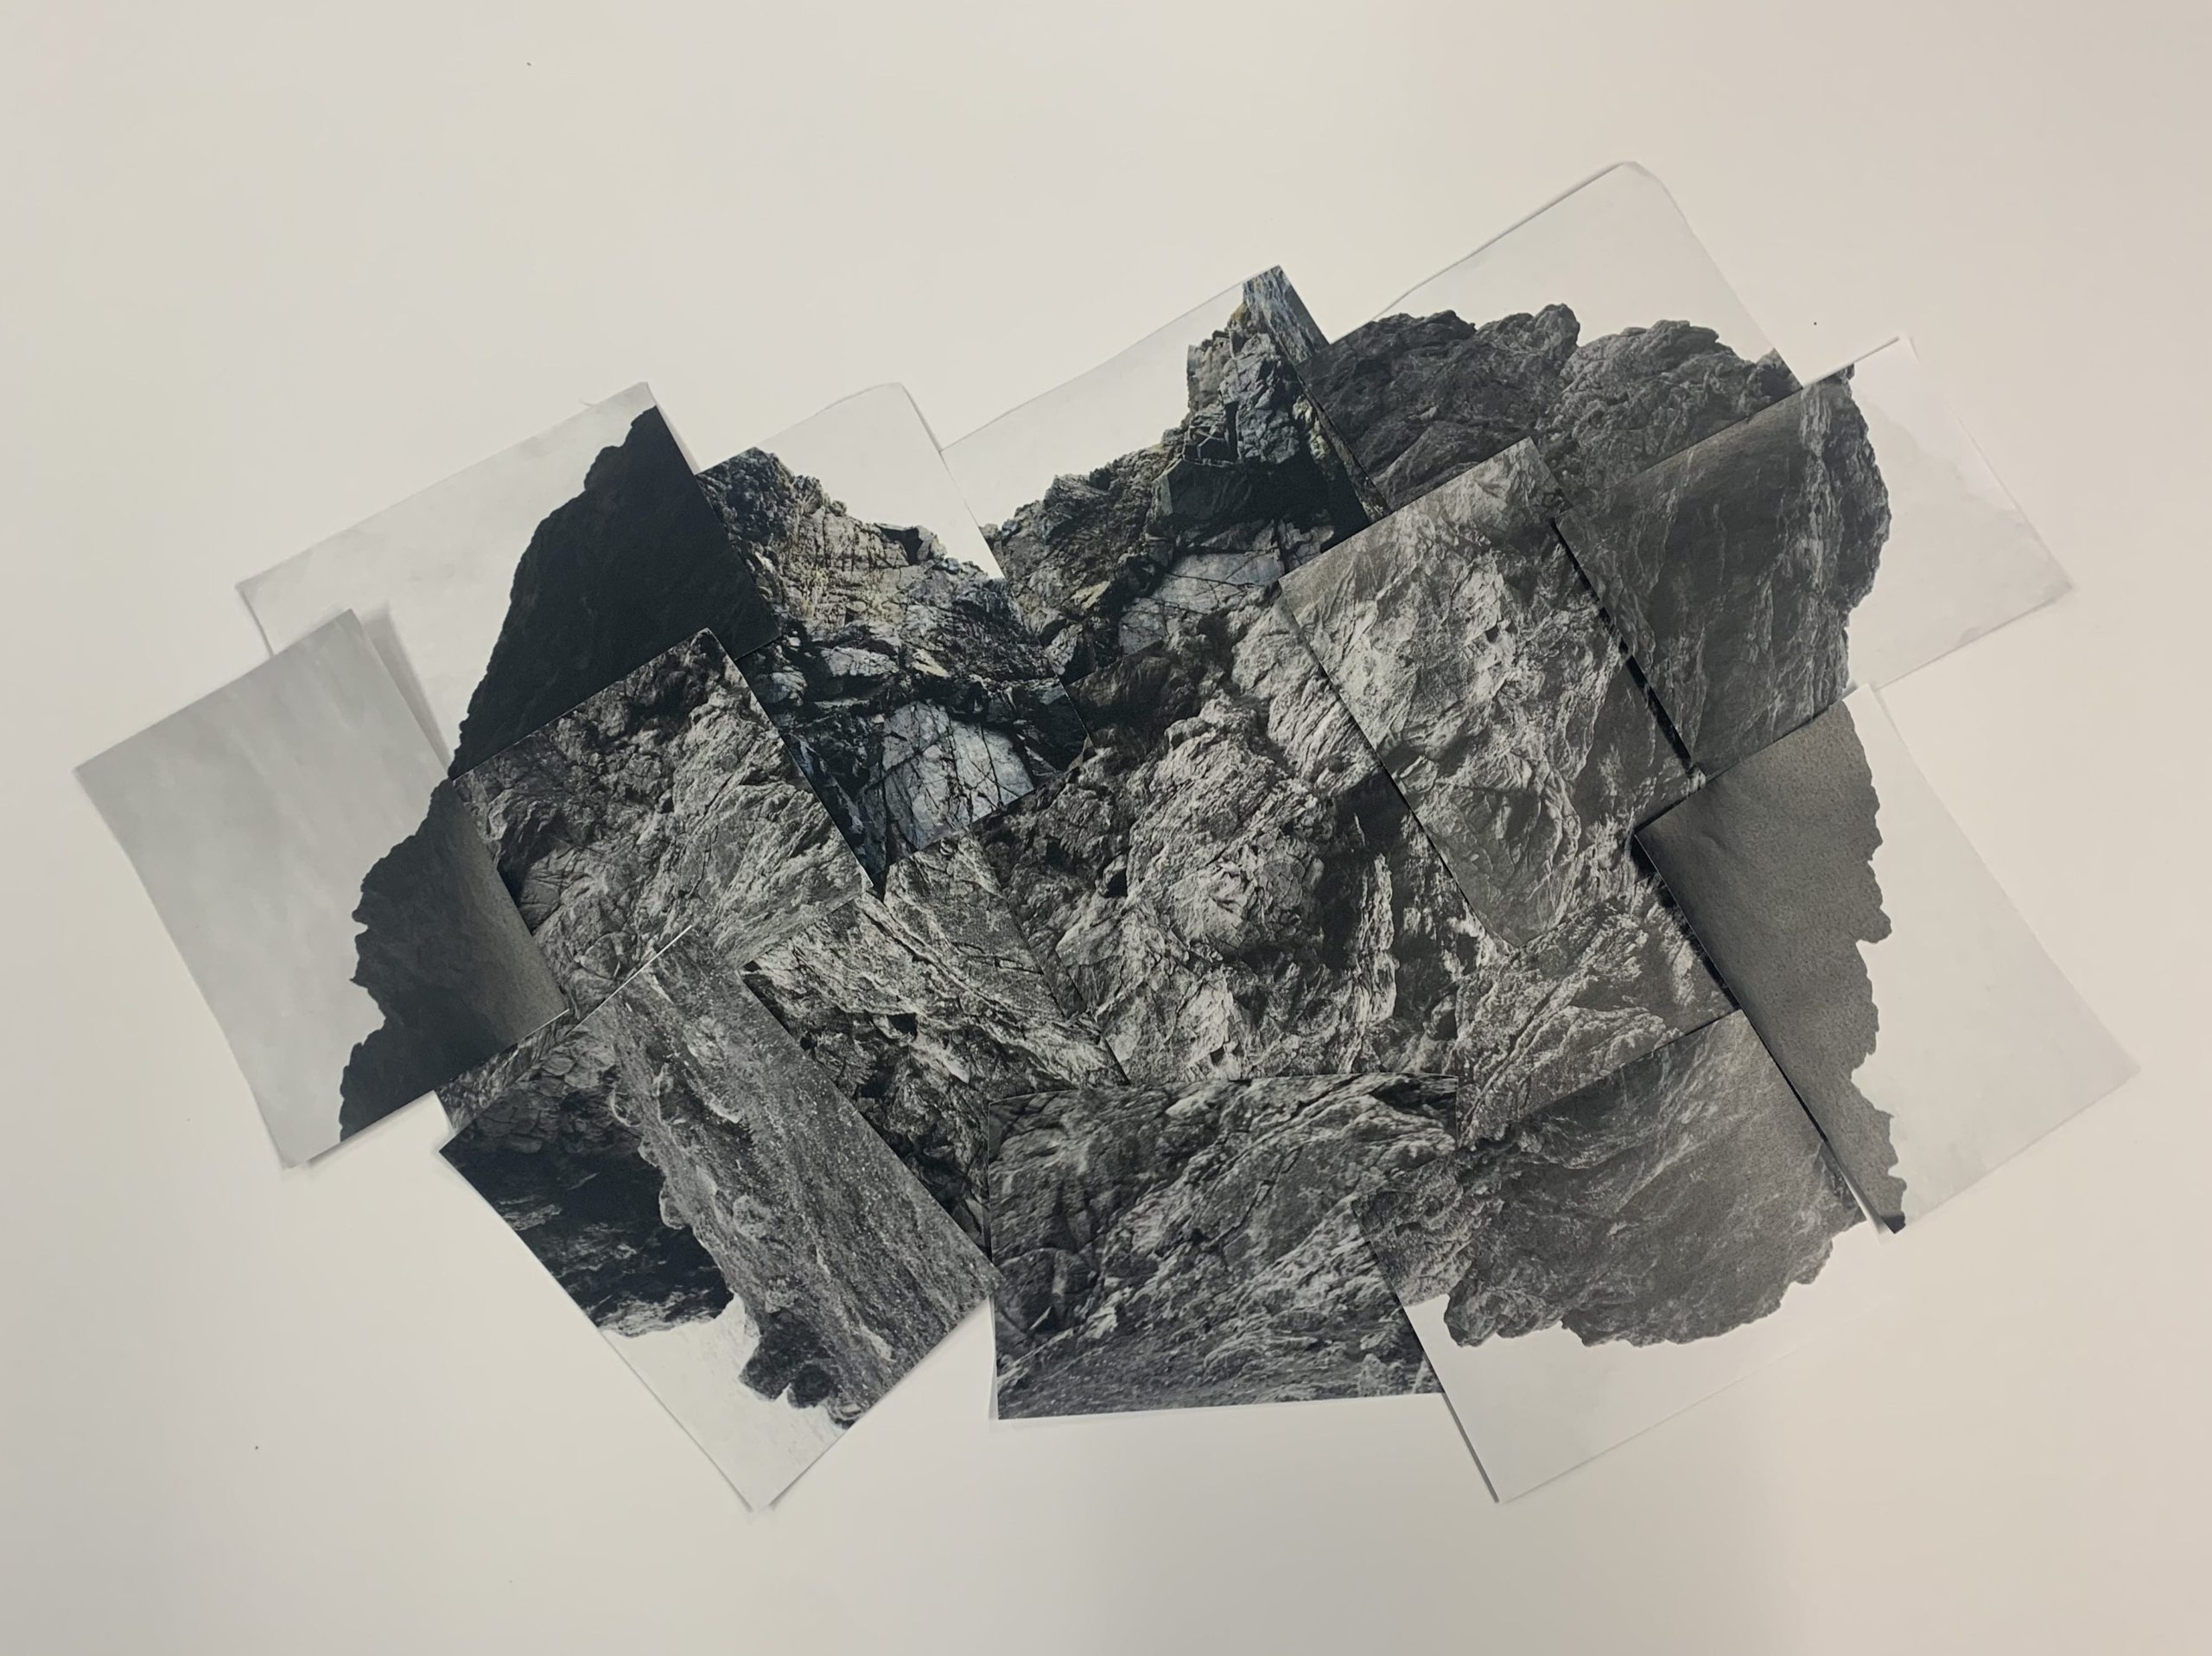
Manual Joiners

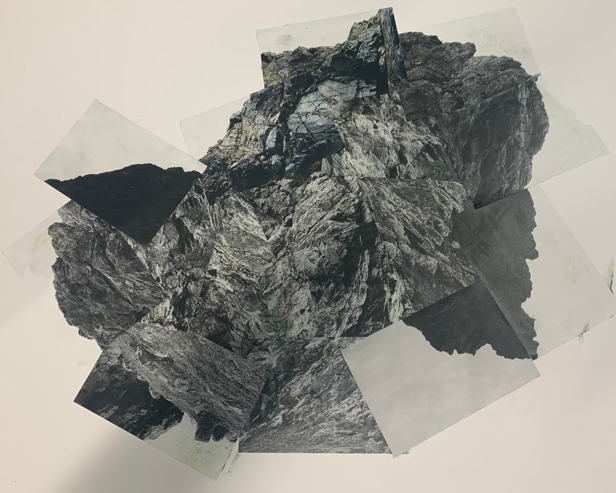
In order to make my work seem more like Hockney’s, I decided to make some manual joiners by printing off my photos and rearranging them in in a variety of ways in order to create a new and unique rock. It took some trial and error as some of the pieces looked out of place but eventually I collaged my images in a way I liked and stuck it down.

Some of my ideas and experiments:

Experiment 1
Experiment 2
Experiment 3
Experiment 4
Experiment 5
This image has an empty alt attribute; its file name is image-358-edited.png
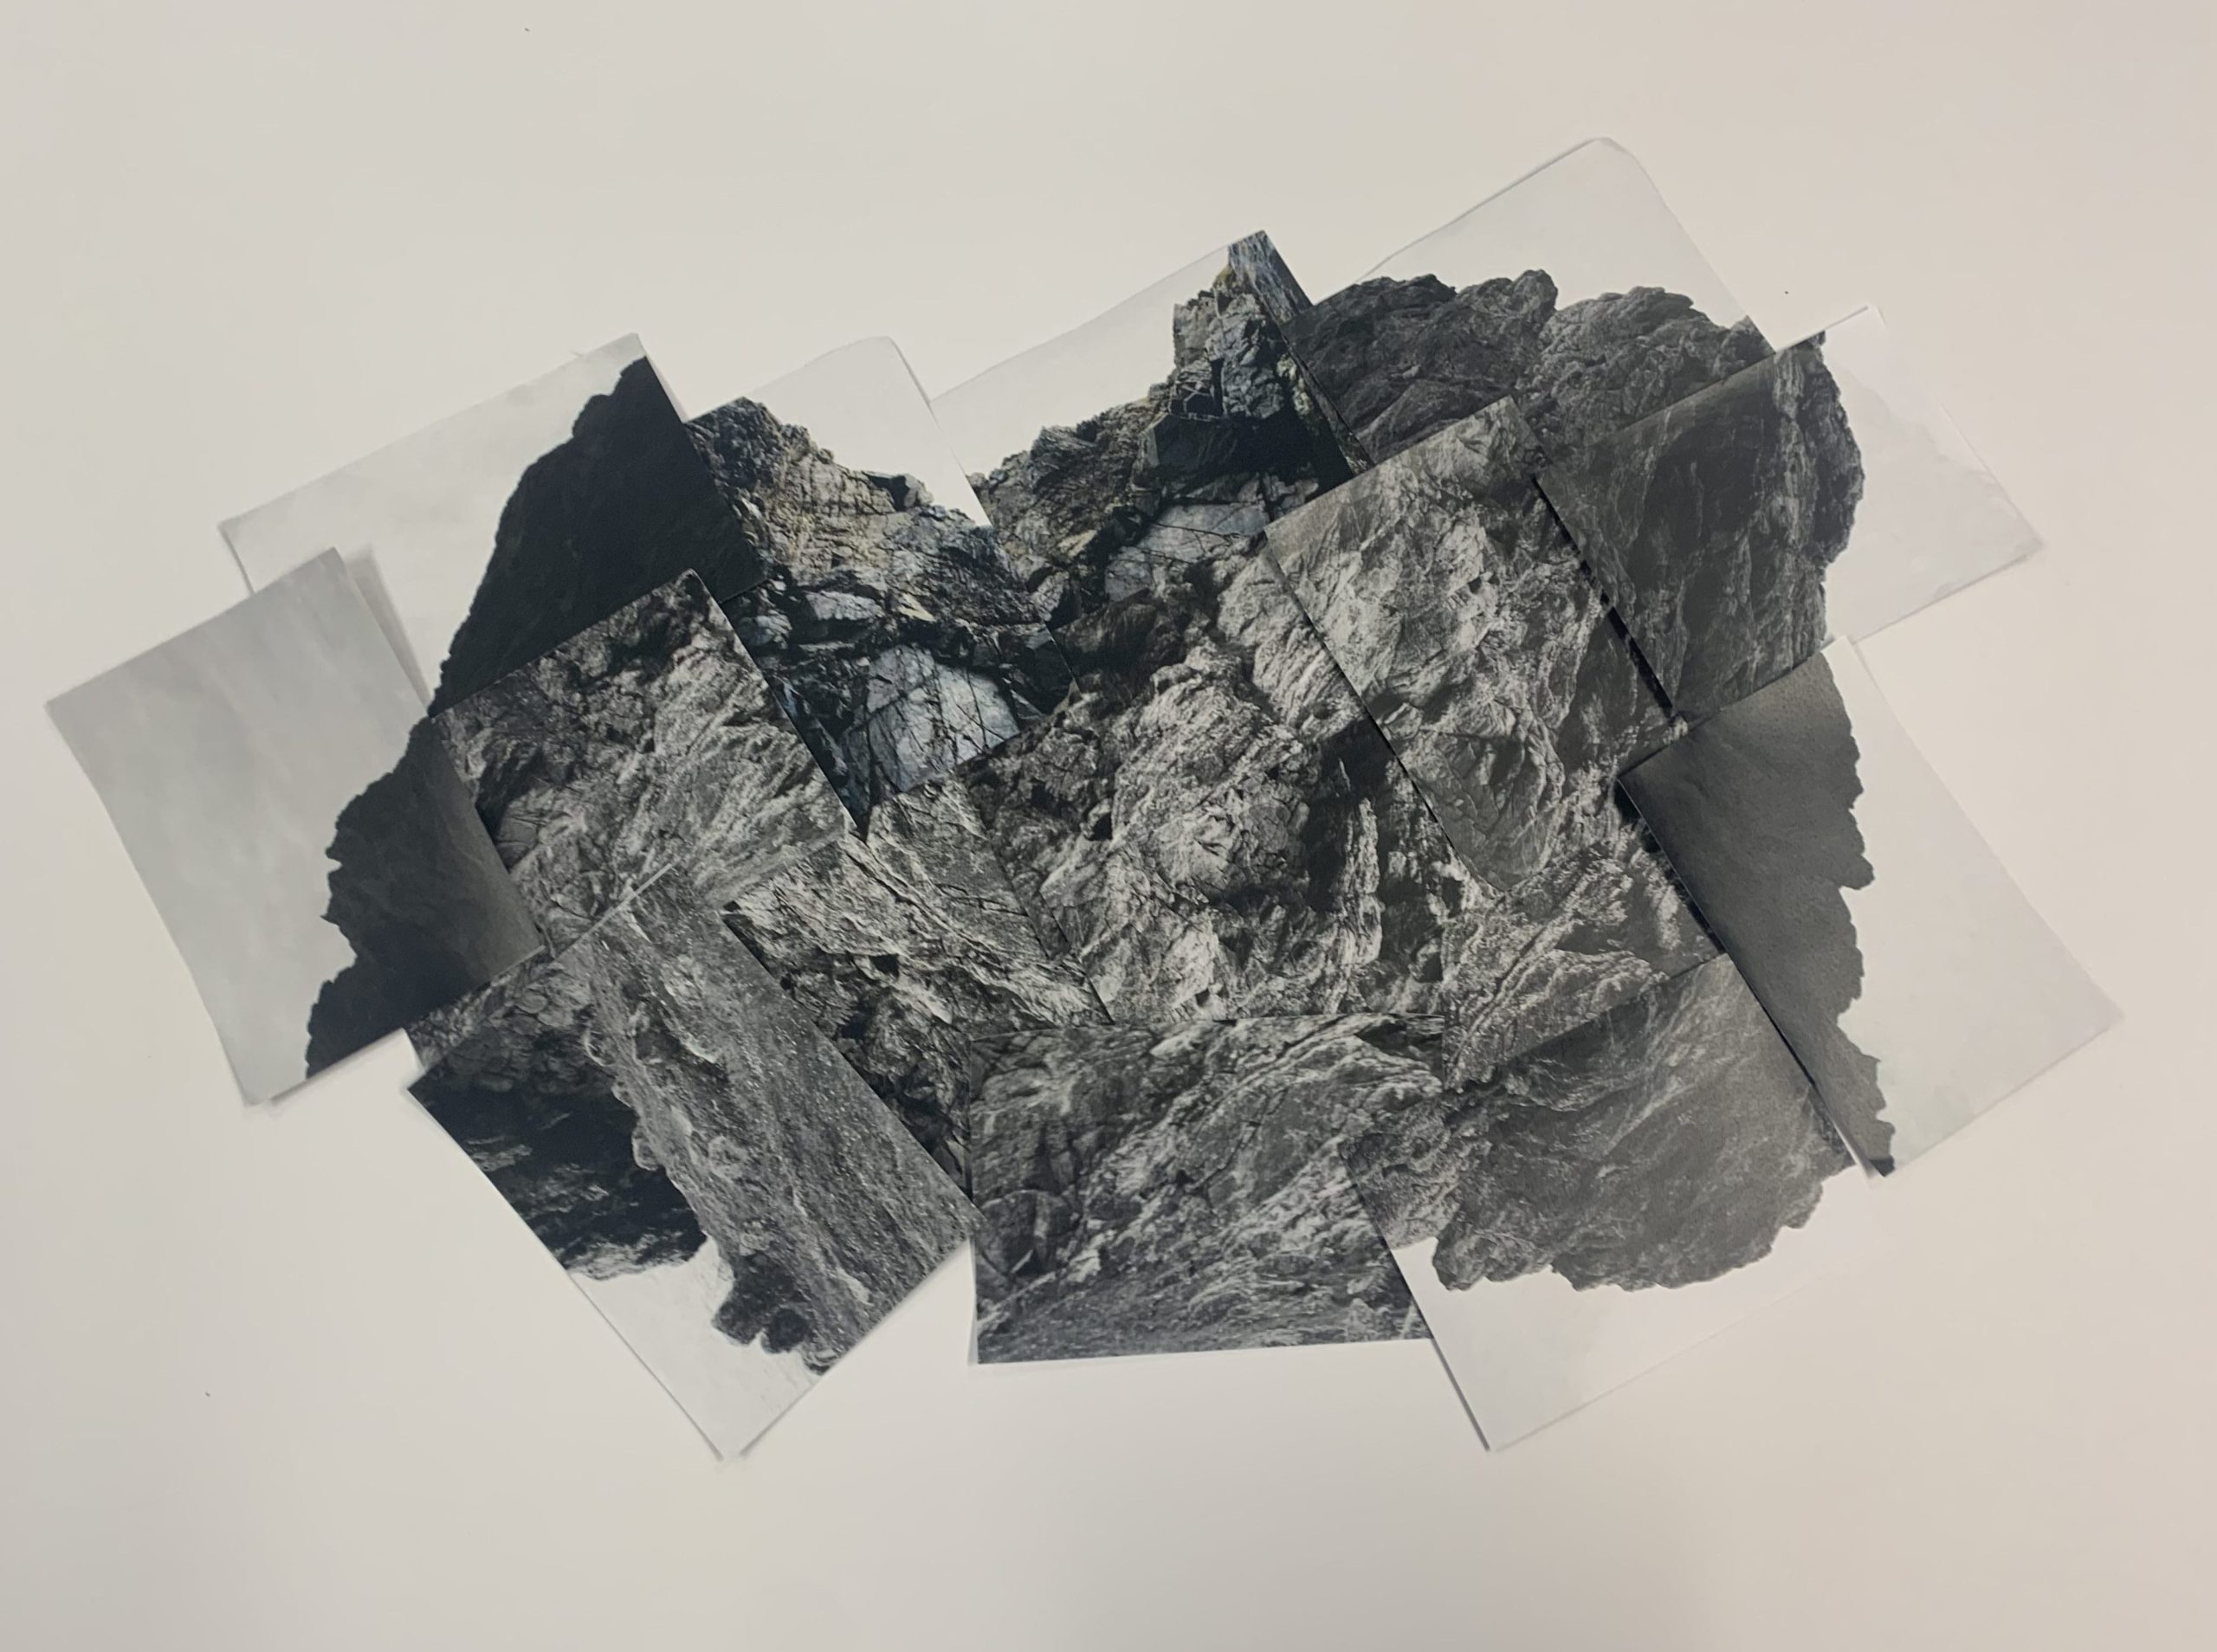
Final Joiner

Process + Evaluation :

Final Joiner

I like how my final joiner came out and found the process of making it quite enjoyable but quite time consuming as I didn’t know whether I wanted my photos to line up perfectly and look like the original rock I photographed or whether I wanted to create something new and more abstract but I eventually positioned & angled the photos to create an almost round shape which I found visually interesting. I think the contrast between some of the images helps brings the piece together as it adds more character, the darker shadows blending in to certain aspects of the joiner whilst standing out next to others.

Overall, I think my attempt at making a joiner manually has been successful as I didn’t rely on recreating the original rock into a big photograph but instead created my own image, similar to how Hockney himself does with his own work. There are still aspects I could improve on such as being more careful when sticking down my images as I tended to glue down my photos at an odd angle which led me to have to re-shape parts of the image in order to make it not look out of place. This also led to me smudging a lot of the glue, making it look less professional and a little bit messy. However, I am content with my final piece and enjoyed the process of making it.

photoshoot 1: L’etacq

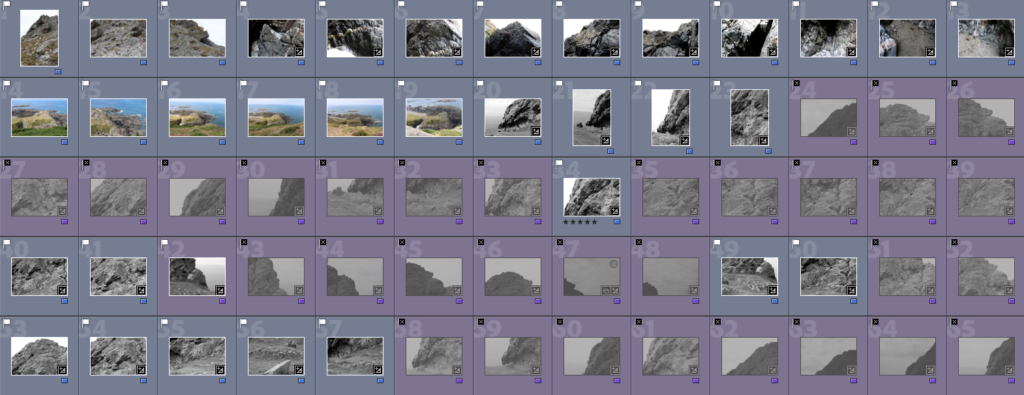
I started going through my first photoshoot on Lightroom and flagged my images, discarding the ones that weren’t in focus or had a bad composition.

Contact Sheet

Next, I began doing some brief edits, such as turning them black and white, on a few of my images that I liked and gave them a yellow colour label to help me differentiate between my edits and raw images.

Best Shots

These are my best shots as I like the composition of all the images and think they’re all in focus and well lit. I like how vibrant all the colours are in these images as it helps to emphasize all the details within the rocks, making each image more visually interesting whilst also helping to add depth to all my photos due to the contrast between the highlights and shadows which also makes my images seem more dynamic.

Joiners

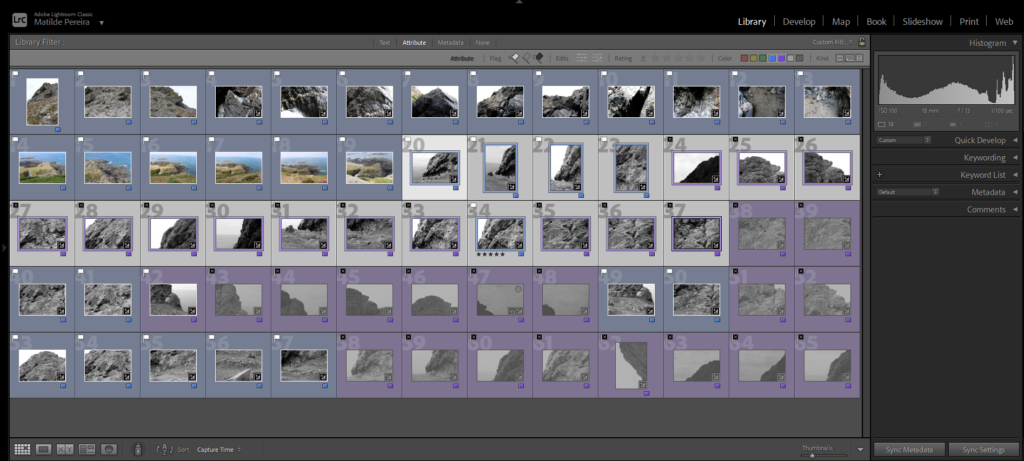
In order to create my joiners, I began by looking through all of my photos and giving them a colour label of blue or purple, I used blue to label the photos that are in focus and purple to label the blurrier image. I did this to make it easy to differentiate the photos I wanted to turn into joiners from my other images.

Contact Sheet

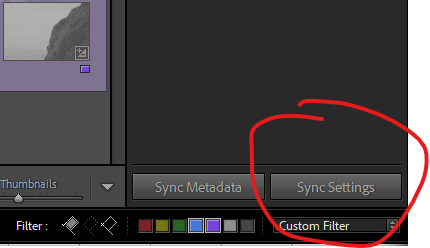
I then edited an image per joiner and used the ‘sync settings’ tool on Lightroom to ensure all the photos in each joiner would be edited the same way, therefore making each joiner have the same look. This ensured that each photo within the joiners wouldn’t be overexposed and would be ready to export into photoshop.

Contact Sheet

Making My Joiners

Some of my experiments did not go well as photoshop separated my photos into different mini joiners instead of creating one full landscape. However, I did managed to make some successful joiners which I like after being more selective with my images.

A not so good experiment
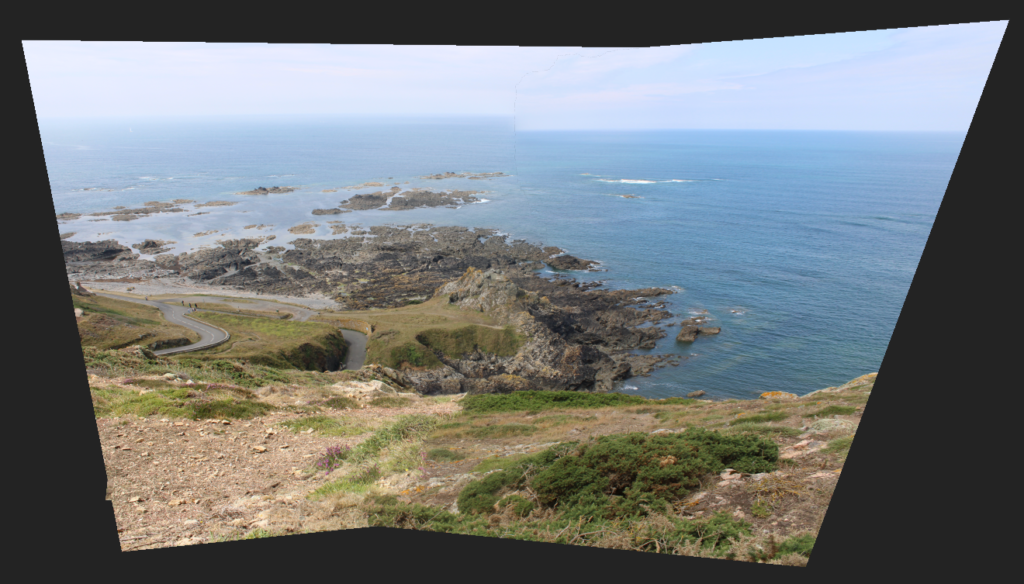
A successful joiner
A successful joiner
Using the previous joiner, I decided to expand upon it by increasing/decreasing the brightness of certain parts of the joiner to make it more visually interesting
This image has an empty alt attribute; its file name is image-162.png
A successful joiner that I decided to add a drop shadow to

3d Experiments:

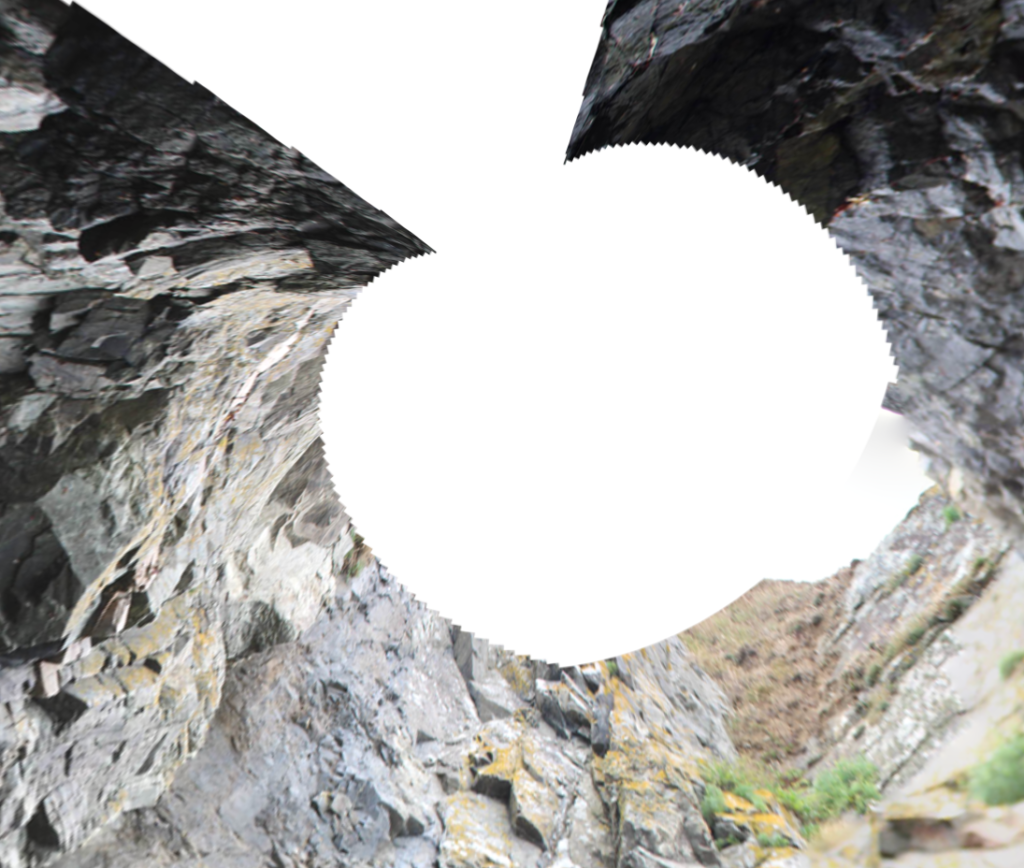
I decided to make some 3D experiments using photoshop using their 3D options which included making spherical panoramas, making mesh presets and making depth maps in order to make my joiners to look more interesting.

—– Experimenting with one joiner: ——————————–

This image has an empty alt attribute; its file name is image-162.png
My Original Joiner
My joiner as a hat
My joiner with a lot of depth
My joiner curved into a spherical panorama

—– Experimenting with another joiner: ——————————–

This image has an empty alt attribute; its file name is image-127.png
My Original Joiner
My joiner as a sphere
My joiner with a lot of depth
My joiner with a pattern overlay
My joiner curved into a spherical panorama
My joiner as a sphere with the original joiner in the background

case study: David Hockney

David Hockney is an English photographer and artist who was born in 1939. He is well known for his many influential pop-art pieces throughout the 60’s and his original photocollages he manually created throughout the 80’s called ‘joiners’.

Hockney’s joiners use a distinctive style, making his final piece look similar to a painting due to the way he’s chosen to piece them together. He chooses to combine his photos and alter the original landscape to his liking rather than recreating the subject exactly. He likes to focus on the space in each joiner and rearranges objects as he sees fit, the most famous example of this being his joiner ‘Pearblossom Highway No. 2’.

David Hockney 'Pearblossom Highway,' | Teaching Resources

The image at the top is Hockey’s famous joiner ‘Pearblossom Highway No. 2’, a photocollage he created of the actual Pearblossom Highway [which can be seen in the image underneath it]. In order to create the joiner, Hockney took photos using a variety of perspectives over the course of multiple days with a film camera and post-development stuck each image together. He changed the positions of some of the objects to make the image his own, trying to represent the passing of time rather than just remaking the real location by hand.

Hockney’s method takes a lot of time and careful placement as he used hundreds, if not thousands, of images in this piece alone, all of which he stuck down manually over a series of days.

Some more of David Hockney’s joiners:

The crossword puzzle, Minneapolis, January 1983 by David Hockney on artnet
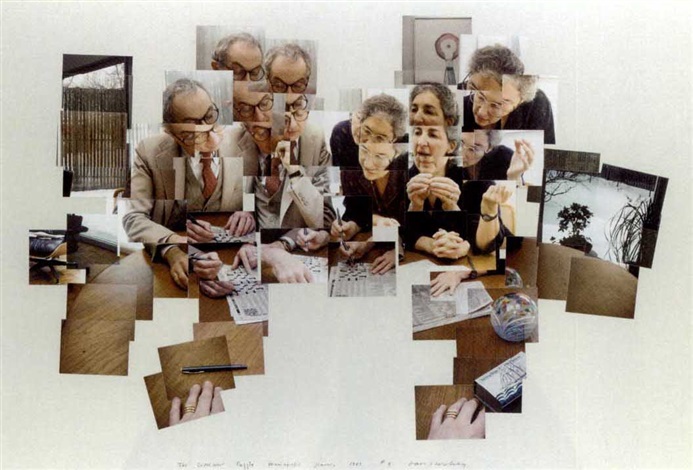
‘The Crossword Puzzle’ [1983]
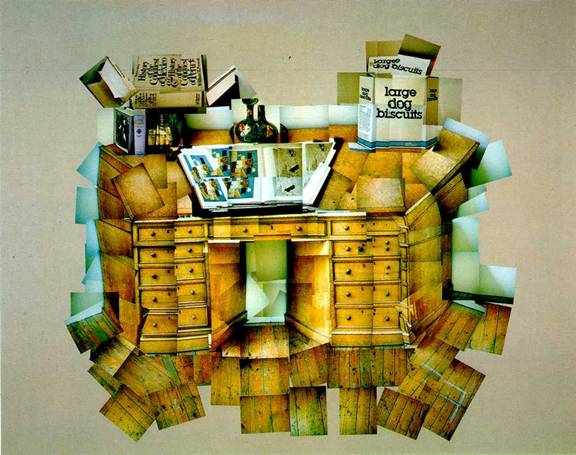
‘The Desk’ [1984]

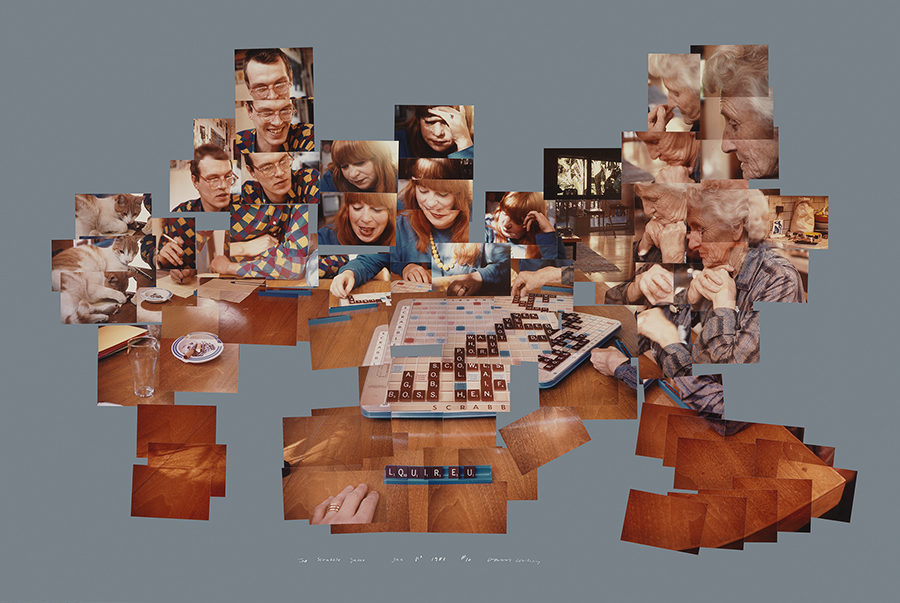
‘The Scrabble Game’ [1983]