All posts by Lottie B

Filters

Author:
Category:

John Myers Artist Reference and Photoshoot Plan

John Myers

John Myers’ remarkable, yet little-known, photographs present a tableau of life in the West Midlands of the 1970s as it has never been seen before.   In line with renewed interest in American landscape photography of the 70s, The New Topographics, Myers’ black-and-white portrait and landscape photography is attracting significant critical attention after going almost unnoticed for over 20 years.


Working in Britain’s post-industrial Midlands from 1973-1981, Myers created an archive of the unspectacular that attracted attention at the time but then lay undisturbed for 30 years until a chance meeting with a curator. A solo show at Birmingham’s Ikon Gallery followed in 2011, kick-starting a comprehensive reappraisal at his work that’s resulted in more solo shows and several publications.

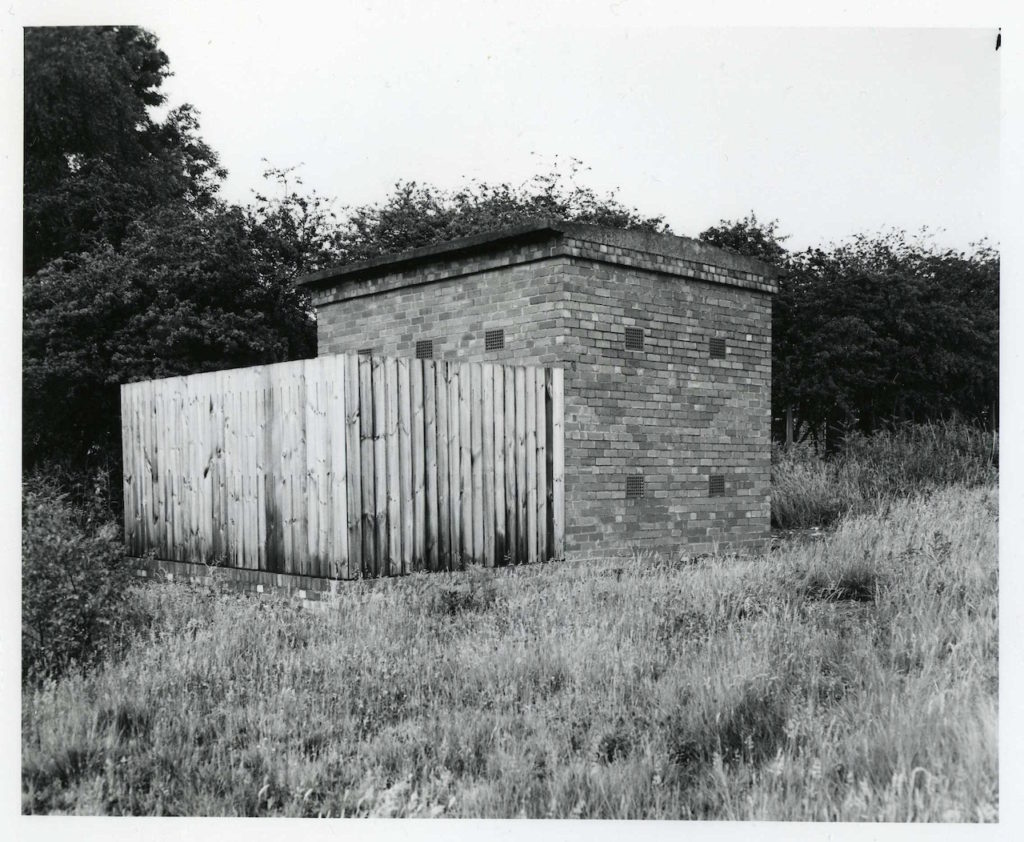
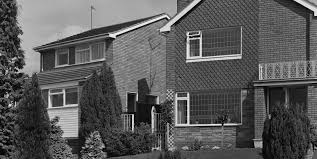
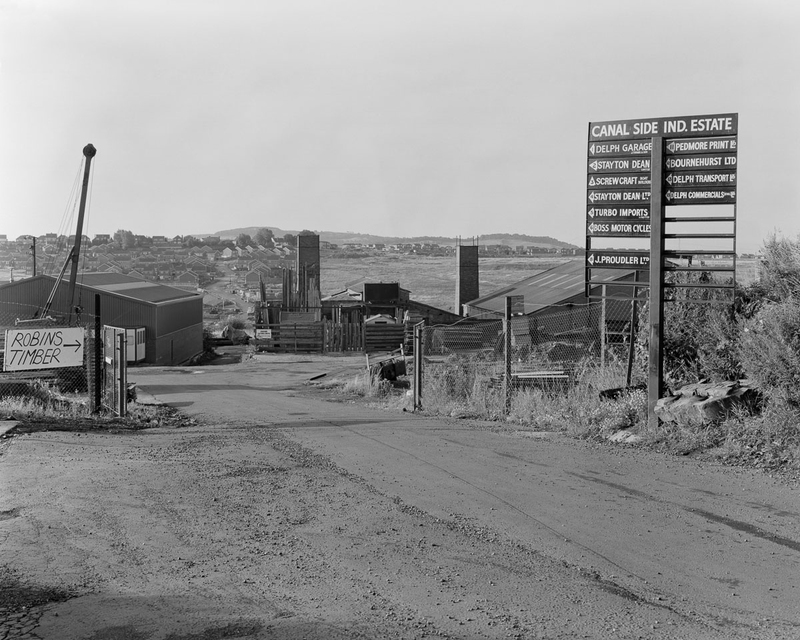
‘Landscape’ in its broadest sense can be used to describe Myers’ documentation of suburban life in his native West Midlands – the housing estates, blocks of flats, cul-de-sacs, garages, electricity substations and unsmiling portraits of the people that populated his local area. Myers evokes the streetscapes and uncomplicated certainties of Britain in the 1970s and the profound economic dislocation that took hold at the beginning of the 1980s.  
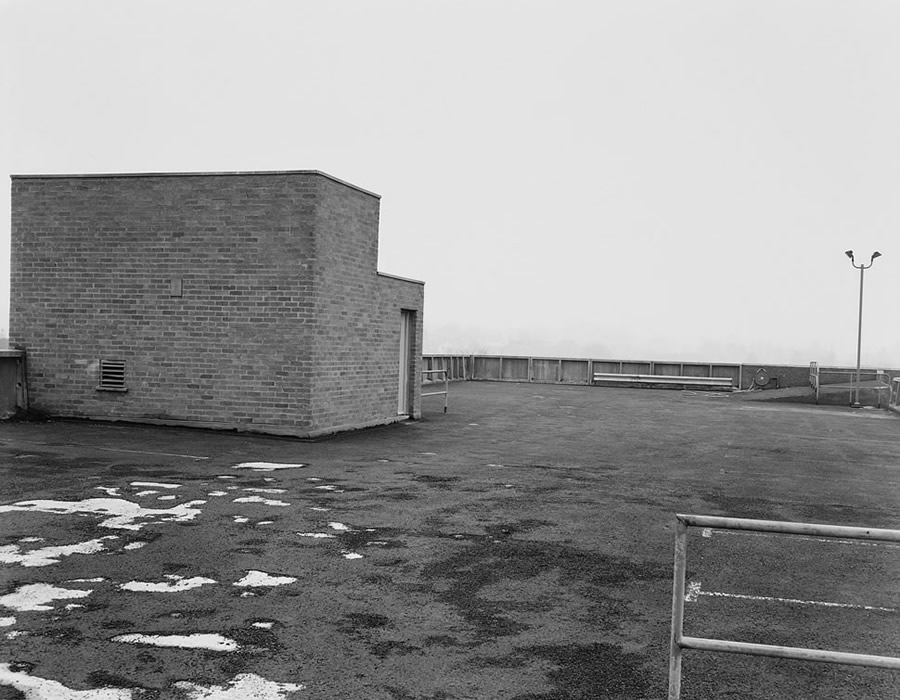
His new book, Looking at the Overlooked, is a glorious compendium of “the claustrophobia of the suburban landscape in the 1970s”. Focusing on substations, shops, houses, televisions, and so-called “landscapes without incident” – or as Myers puts it, “boring photographs” – the images are all recorded with a deadpan aesthetic that’s won Myers comparisons to the celebrated New Topographics movement in the USA.

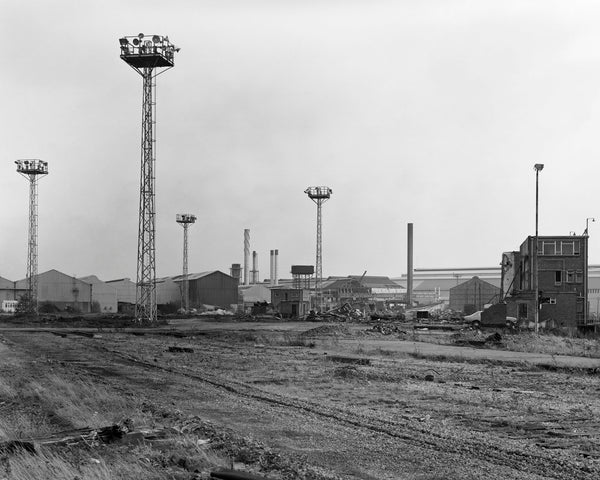
His representations of mundane features of the urban environment are quite similar to work made in the States (Adams, Gohlke, Baltz). He was a typologist (television sets, electricity substations) before the Bechers made the term their own. Furthermore, his environmental portraits of ordinary Stourbridge residents owe something to Sander and Arbus but in their static, deadpan qualities also look forward to much work made in the 1990s and beyond (Dijkstra, Hunter, Struth).

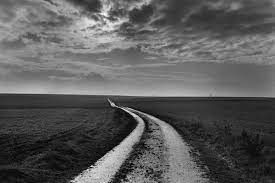
“Heath Lane” – part of John Myers’ collection named “Boring Photos”

This is one of John Myers’ images from his collection of 1970s images named “Boring Photos”, taken in black and white. The tones in this image are quite soft, with little contrast and a dull, flat sky. There is slight contrast in the tree and bush to the right and left of the image, which creates a little depth in the image. The use of line in this image is clear – all leading lines take the eye to the outside or edge of the image. For example, in the foreground, the horizontal line of the pavement splits the foreground and background up, which demonstrates the use of the rule of thirds in this image. Furthermore, the other obvious leading line in this image is the vanishing point in the background. The line of the field or hill in the background creates a solid contrast between the sky and the darker tones of the field. The uneventful composition and quiet mood of the image could suggest the lack of prospects in the area in which the image was taken or a “boring” town to live in. This would have been part of the reason Myers would have photographed this scene, as his interest in the developing face of middle-class Britain and the mundane link closely to this image.

Photoshoot plan

Shot typesGenre EquipmentLightingCamera settings
Photoshoot 1 – La ColletteWide-angle, landscape, and portrait, Straight on in the same way for TypologiesIndustrial landscapes, TypologiesCameraNatural – bright and sunnyLandscape, Manual
Photoshoot 2 –Wide-angle, portrait, and landscape, abstract, birds eyeThe New Topographics, Urban LandscapesCamera, tripodNatural, brightLandscape, manual
Photoshoot Plan

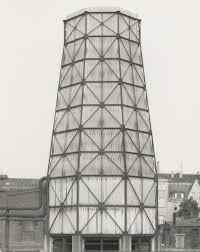
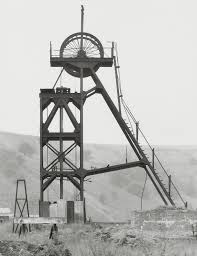
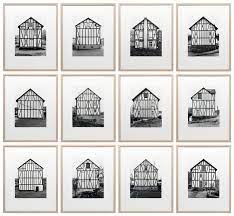
I am planning to do 2 shoots – one at and around La Collette, on our guided photoshoot, and another around St Helier, and possibly St Brelade. In my first shoot, I will focus on industrial landscapes, and I’m planning to take typology like images, to emulate the work of the Bechers. In my second shoot, I am planning to capture housing blocks, roads and estates to try and capture images like John Myers. I’m planning to then edit my images in black and white, and a few in colour.

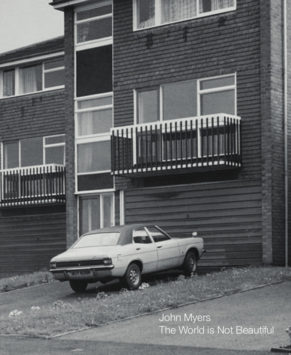
Urban Landscapes and New Topographics

The New Topographics

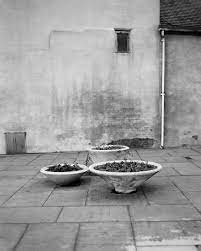
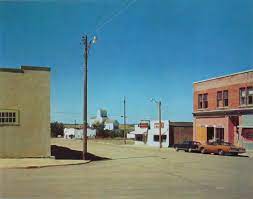
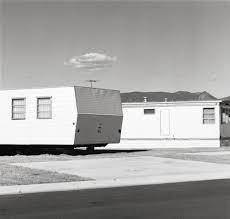
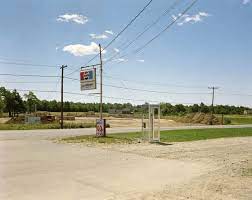
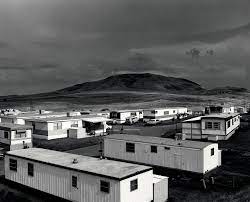
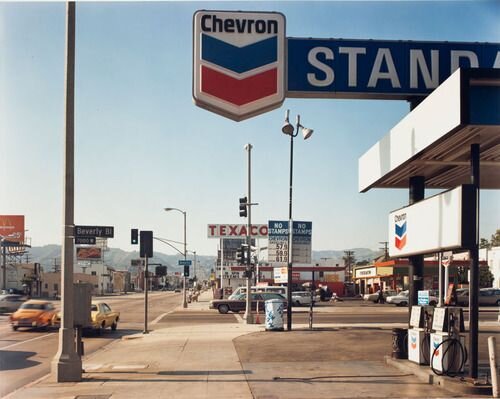
New topographics was a term coined by William Jenkins in 1975 to describe a group of American photographers (such as Robert Adams and Lewis Baltz) whose pictures had a similar banal aesthetic, in that they were formal, mostly black and white prints of the urban landscape. Many of the photographers associated with new topographics including Robert Adams, Lewis Baltz Nicholas Nixon and Bernd and Hiller Becher, were inspired by the man-made, selecting a matter-of-fact subject matter. Parking lots, suburban housing and warehouses were all depicted with a stark austerity, almost in the way early photographers documented the natural landscape.

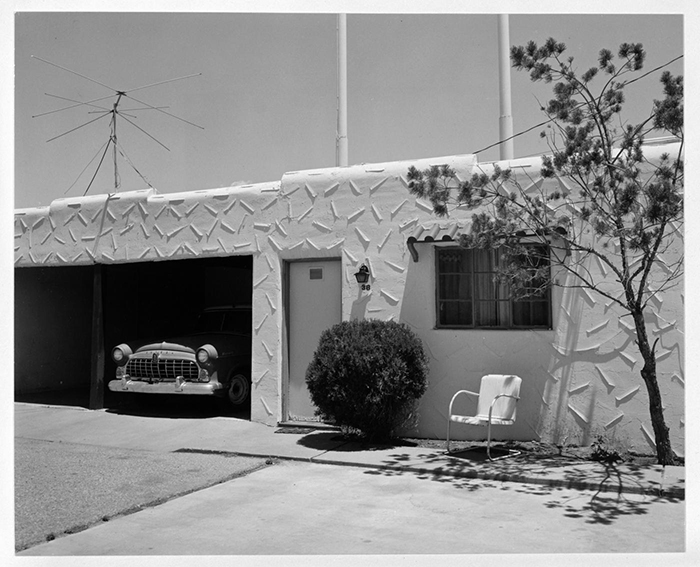
John Schott, Untitled (from Route 66 Motels), 1973, gelatin silver print.

An exhibition at the International Museum of Photography in Rochester, New York featuring these photographers also revealed the growing unease about how the natural landscape was being eroded by industrial development. The new topographics were to have a decisive influence on later photographers including those artists who became known as the Düsseldorf School of Photography.

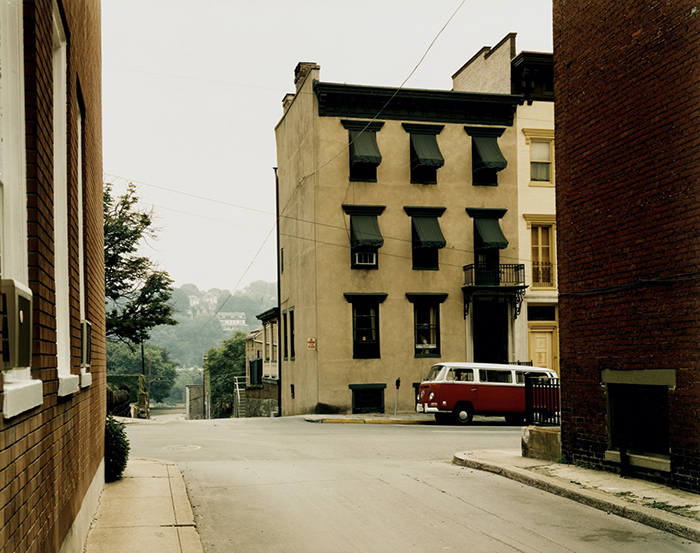
Stephen Shore, Church and 2nd Streets, Easton, Pennsylvania, June 20, 1974, chromogenic colour print.

Before the New Topographics created a shift in landscape photography, photographers such as Ansel Adams presented nature as separate from human presence. Adams photographed scenery in a manner intended to provoke feelings of awe and pleasure in the viewer. He used vantage points that emphasized the towering scale of mountain peaks and embraced a wide tonal range from black to white to record texture and dramatic effects of light and weather. The New Topographics brought the new idea that both nature and human presence exist together more and more, as industry and civilisation expand to cover areas that once existed without the presence of people.

Lewis Baltz

 In one way, they were photographing against the tradition of nature photography that the likes of Ansel Adams and Edward Weston had created.

What were the new topographics a reaction to?

The authentic images of the new topographics were a reflection of the increasingly suburbanised world around them, with people and industry growing further out of cities and into the countryside. They were also a reaction to the rules of idealised landscape photography that elevated the natural and the elemental.

A scan of a New Topographics book

Typologies – Bernd and Hilla Becher

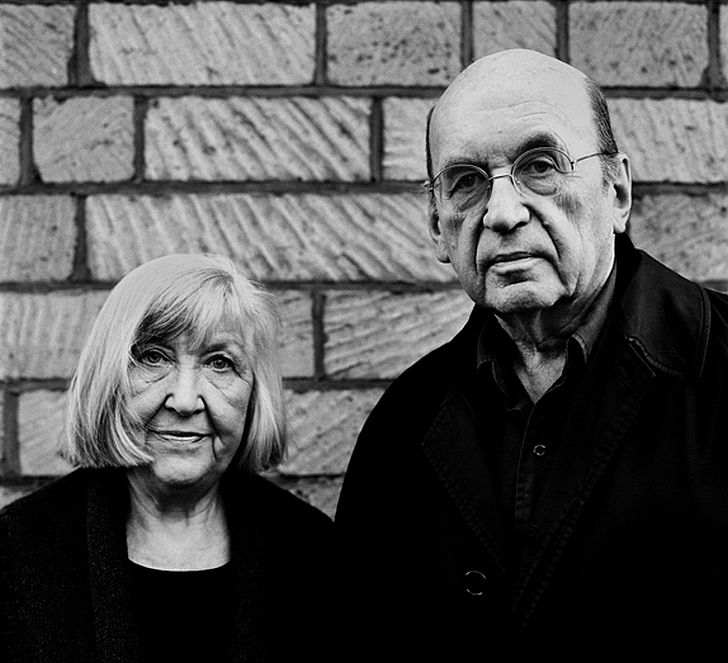
Bernd and Hilla Becher were the only photographers in the group to illustrate nineteenth-century subjects; instead, the husband and wife team, credited with the founding of the Düsseldorf school, documented nineteenth-century industrial decay. The Bechers worked exclusively in black and white, as did all the other photographers in the exhibition, with the exception of Stephen Shore. 

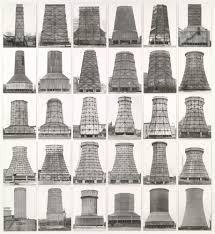
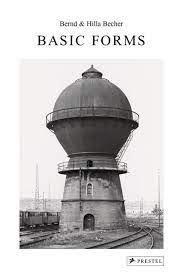
Bernhard “Bernd” Becher, and Hilla Becher, were German conceptual artists and photographers working as a collaborative duo. They are best known for their extensive series of photographic images, or typologies, of industrial buildings and structures, often organised in grids.

Their ‘objective’ methods of taking their images relate to their connection to the new topographics, with their authentic and stark images of industrial structures with vast landscapes behind them – this shows how their surrounding area was affected by industrialisation.

Together, the Bechers went out with a large 8 x 10-inch view camera and photographed these buildings from several different angles, but always with a straightforward “objective” point of view. They shot only on overcast days, to avoid shadows, and early in the morning during spring and autumn. Bernd and Hilla Becher first began their project of systematically photographing industrial structures – water towers, blast furnaces, gas tanks, mine heads, grain elevators and others – in the late 1950s.

Rural Landscapes Photoshoot and Editing

Photoshoot Plan

For my rural landscapes shoot, I am planning to take pictures above St Ouen’s bay in St Peter and St Mary. I’ll try to take photos on a sunny day, but I think that some clouds could add moodiness to my images which could improve them – for example, moody skies adding a more dramatic look to my images. In my images, I will feature fields and farmland to emulate the work of Don McCullin, one of my studied artists.

This image has an empty alt attribute; its file name is images-79.jpg
My photoshoot plan

Contact Sheets

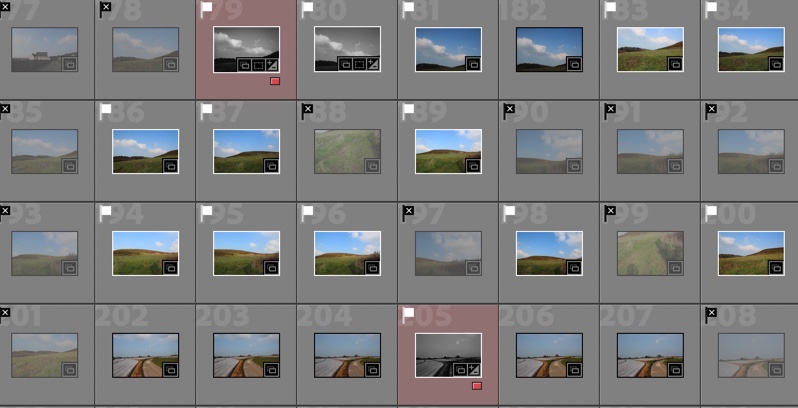
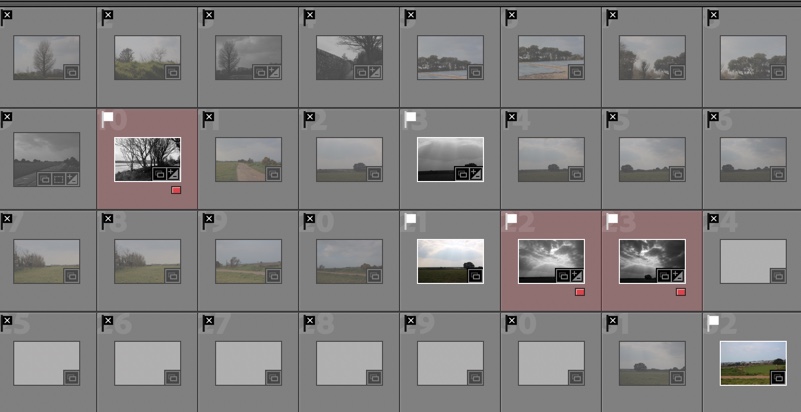
Below are images of my contact sheets, pictured in grid view in Lightroom.

This image has an empty alt attribute; its file name is 5FA53CBD-4ADD-4EF4-B790-BE53E1F265B2.jpeg

In these images, I had trouble with overexposure – I fixed this by turning it down and changing the setting to manual focus on my camera which helped. After putting my images in Lightroom, I used the P and X tools to filter out my good and bad images. I then went through my selected images, picking a narrower selection, and using a red colour filter to highlight them.

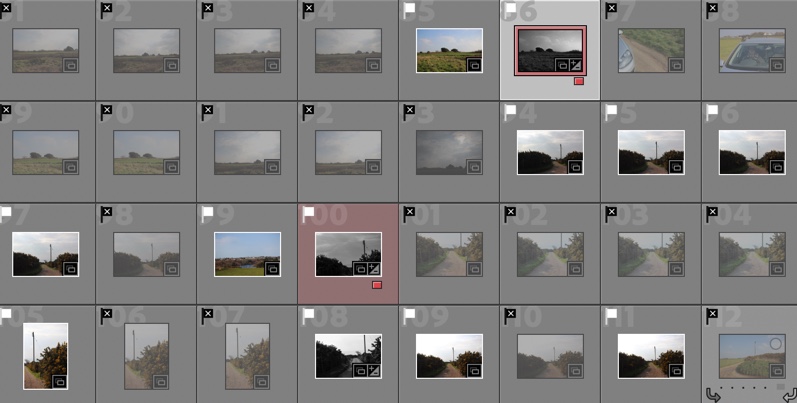
This image has an empty alt attribute; its file name is 5C58B8CD-B84F-4DE5-8314-31FA46D1266A.jpeg

Here I struggled with overexposure again, but went into manual mode and turned the exposure down which helped. Pictured in red are my best images, edited in black and white.

This image has an empty alt attribute; its file name is 00D20A6C-32C8-4C96-8950-CCCE0205A4DA.jpeg

Evaluation

Overall, I think this photoshoot had good and bad points. – The weather and cloud were quite variable which made the lighting inconsistent in some of my images. – This made them a little tricky to edit. This also caused some overexposure which meant the skies weren’t as moody and dramatic as I would have liked, but this was not noticeable in some images and was helped with editing later in my process. There were good bits about this photoshoot though too. In particular, in some of my better images, I achieved the moody skies and dramatic landscape look that I wanted. I also have some images that have some interesting leading lines like in Fay Godwin’s images, which I really like. If I was to redo this shoot, I would maybe shoot on a misty or foggy day, near some cliffs or the sea on a day with choppy conditions or some big surf, to respond more to the idea of romanticism.

Best Images

My best images edited and selected using colour filter and flagging in Lightroom.

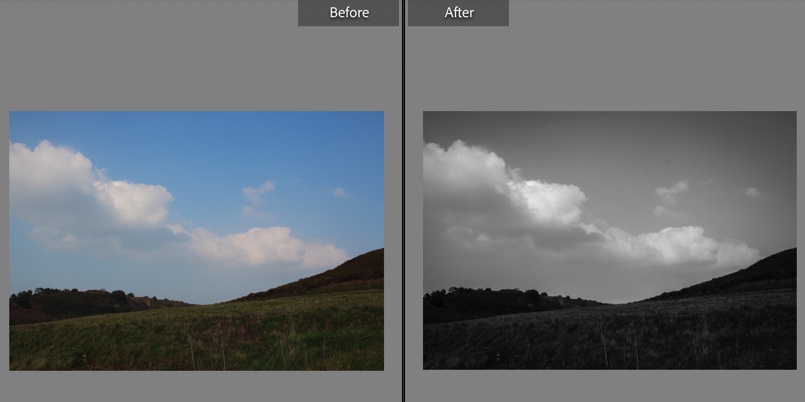
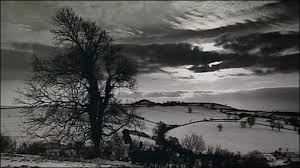
I then used Lightroom to adjust my images in black and white. I then found a pattern of editing that I found worked quite well for my images. I increased contrast, then decreased highlights to bring out the moody skies in some of my images. I did this to emulate the work of Don McCullin, who uses dramatic skies in his images, relating to the feature of the sublime in romanticism.

Here is a before and after of my editing process in Lightroom Classic

Also in my editing, I added grain and texture to my images to create a film-like effect. To make this effect even further in the future I could shoot in a black and white film camera on a landscape shoot.

Edited Final Images

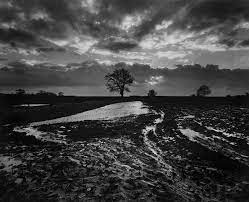
This was taken in the back roads of St Ouen’s bay, near Bethesda nursery.

I chose this image as one of my best due to a few things. For example, I love the dramatic sky and how it looks like it is looming over the hills. The leading line that carries the eye from the left to the right over the top of the hill is my favourite thing about this image – It reminds me of Fay Godwin, one of my chosen artists. Furthermore, I think my editing was quite effective here. – decreasing highlights to make the sky work well here I think, as well as my use of contrast.

This was taken in St peter, near Mont Matthieu.

My favourite part of this image is the strong leading lines. These leading lines include the road to the right of the image, which bends into a circular shape to the right, creating circular shapes. The leading line of the field and the plastic wrap of the crops are broken up by a verge, which creates contrast between the bright white of the plastic, and the darker tones in the road and verges to the right. I also like how these lines lead to the vanishing point which features the tower in the distance. This tower is centred, which I think helps to keep a balanced composition in the image.

This was taken in St peter, above the bay.

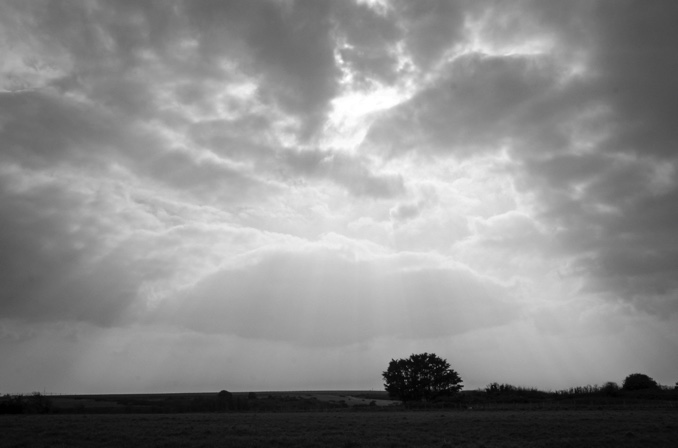
I chose this image as one of my final ones because of the powerful sky, and also the interesting composition. The powerful sky in this image includes elements of the Sublime and the idea of romanticism. The composition is unconventional here: the sky takes over almost the whole image, which could show the power of nature. The contrast between light and dark tones in this image was achieved by my editing mostly, which helped to keep the sky dramatic and increase the contrast in the field too.

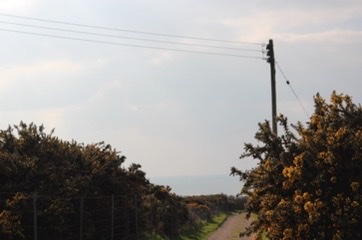
This image was taken near the image above, in St Peter’s above St Ouen’s bay.

I chose this as one of my final images due to the composition, and the way the eye is led down towards the horizon, with the sea. The trees and powerline frame the path in the middle nicely, and the clouds are slightly dramatic with light peeking through.

Romanticism in Landscape Photography

Key Features of Romanticism

Romanticism was an artistic, literary, musical, and intellectual movement that originated in Europe towards the end of the 18th century, and in most areas was at its peak in the approximate period from 1800 to 1850. The artists emphasized that sense and emotions – not simply reason and order – were equally important means of understanding and experiencing the world. Romanticism celebrated the individual imagination and intuition in the enduring search for individual rights and liberty.

Romantic art focused on emotions, feelings, and moods of all kinds including spirituality, imagination, mystery, and fervour. The subject matter varied widely including landscapes, religion, revolution, and peaceful beauty. Romanticism also used the sublime to describe the power of nature and its effect on human emotion.

The Age of Enlightenment

The Enlightenment, a philosophical movement that dominated Europe during the 18th century, was centred around the idea that reason is the primary source of authority and legitimacy and advocated such ideals as liberty, progress, tolerance, fraternity, constitutional government, and separation of church and state.
This movement’s three central concepts were the use of reason, the scientific method, and progress. Enlightenment thinkers believed they could help create better societies and better people.
Enlightenment thinkers also wanted to improve human conditions on earth rather than concern themselves with religion and the afterlife. These thinkers valued reason, science, religious tolerance, and what they called “natural rights”—life, liberty, and property.

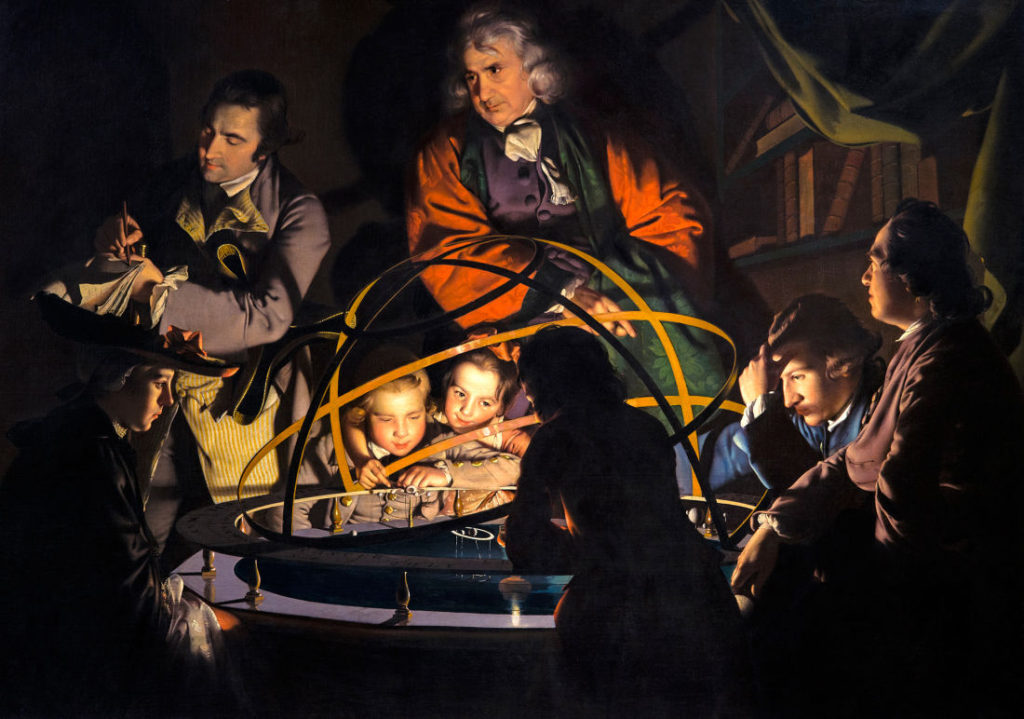
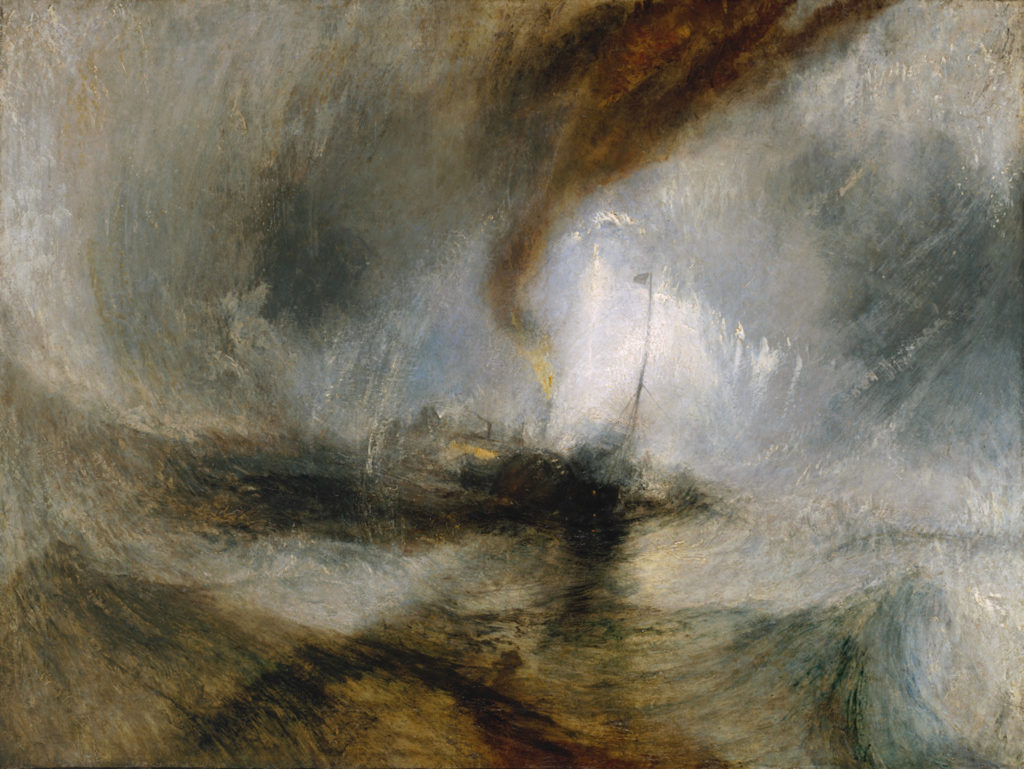
The impact of the Enlightenment on the arts took various forms. Some artists paid homage to science, others studied the classical past. During this time, Classical art’s realism, restraint, harmony, and order, was in line with Enlightenment thinking. Its influence was strongly felt in the art of the period, in work such as British artist Joseph Wright of Derby’s A Philosopher Lecturing on the Orrery, 1764-66. Its dramatic use of light was intended to show how inquiry and learning are profound and deeply solemn.

The Age of Romanticism

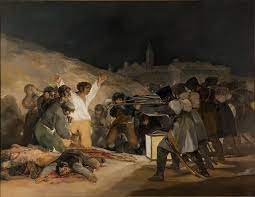
Romanticism was in part inspired by the idealism of the French Revolution and embraced the struggles for freedom and equality and the promotion of justice. Painters began using current events and atrocities to shed light on injustices in dramatic compositions that rivalled the more staid Neoclassical history paintings accepted by national academies.

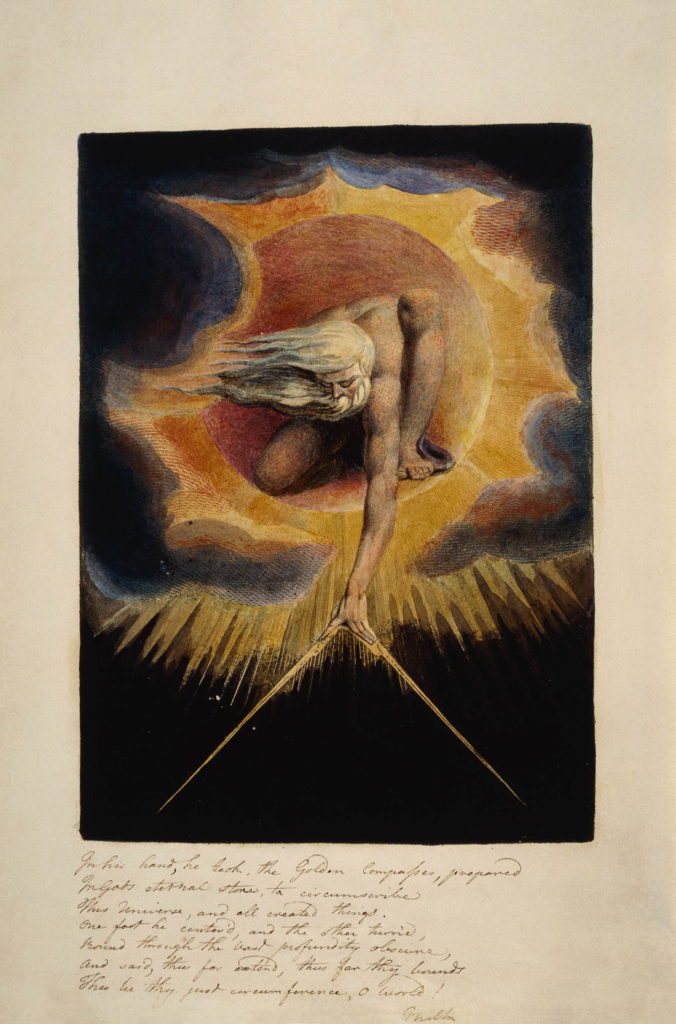
Above is Europe: A Prophecy, 1794, by William Blake. In late 18th century England, the mystical visions of William Blake were a powerful counterpoint to Enlightenment rationalism. Blake sought to regenerate mankind spiritually and his artistic style is unique.

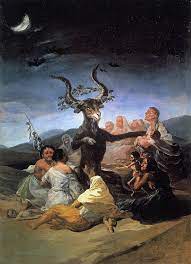
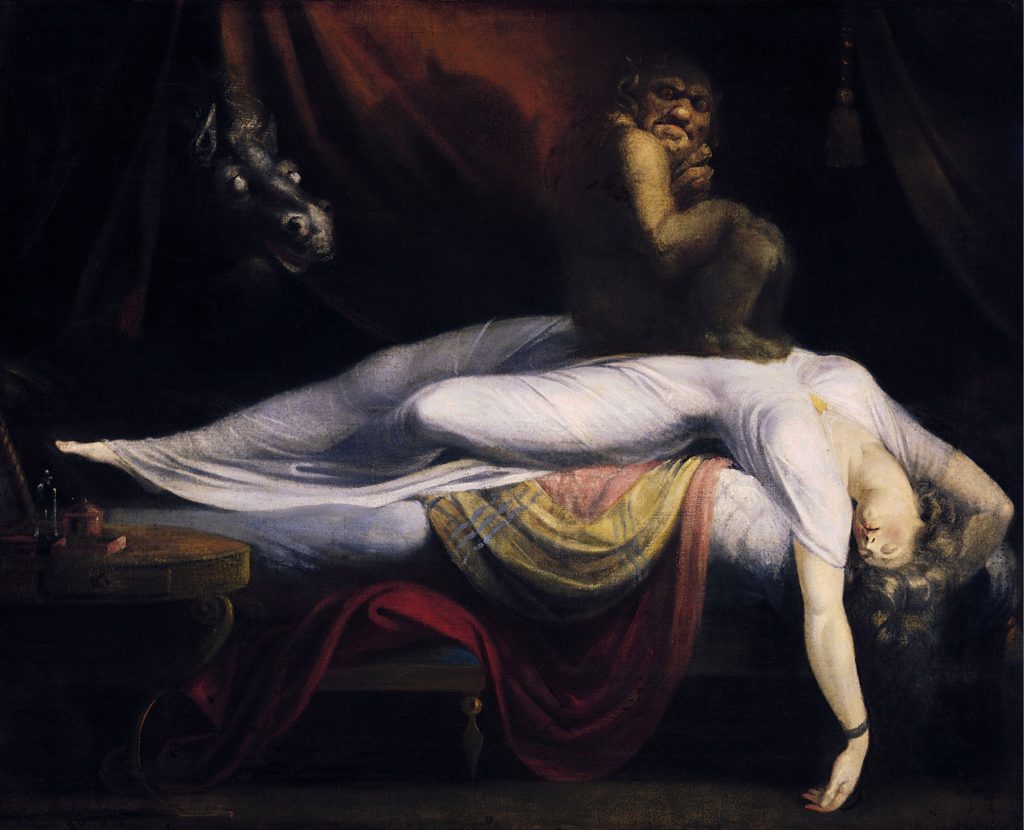
Both the English poet and artist William Blake and the Spanish painter Francisco Goya has been dubbed “fathers” of Romanticism by various scholars for their works’ emphasis on subjective vision, the power of the imagination, and an often darkly critical political awareness. Blake, working principally in engravings, published his illustrations alongside his poetry that expressed his vision of a new world, creating mythical worlds full of gods and powers, and sharply critiquing industrial society and the oppression of the individual. Goya explored the terrors of irrationality in works like his Black Paintings (1820-23), which conveyed the nightmarish forces underlying human life and events.

One of Goya’s most famous paintings


For the majority of his career, Goya suffered from hearing loss, causing him to express his internal thoughts through paintings he did inside of his home. The paintings depicted many characteristics of the Romantic style with his use of intense emotions and ideas such as death and horror.

At the end of the 18th century and well into the 19th, Romanticism quickly spread throughout Europe and the United States to challenge the rational ideal held so tightly during the Enlightenment. The artists emphasized that sense and emotions – not simply reason and order – were equally important means of understanding and experiencing the world. Romanticism celebrated the individual imagination and intuition in the enduring search for individual rights and liberty. Its ideals of the creative, subjective powers of the artist fueled avant-garde movements well into the 20th century. 

The Sublime

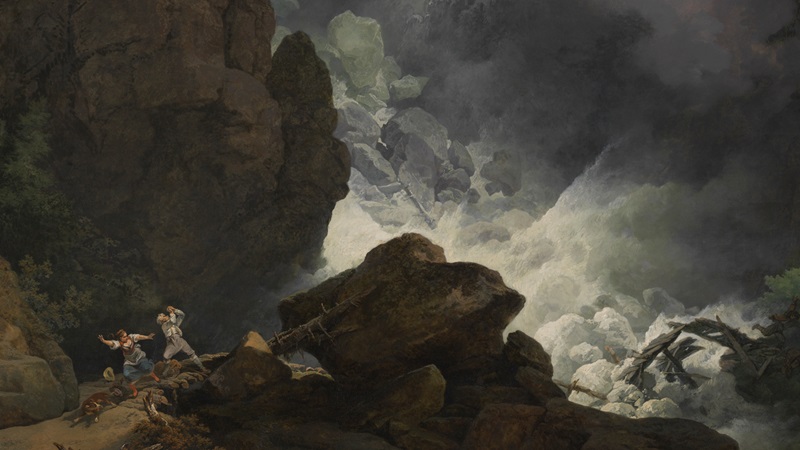
For Romantics, the sublime is a meeting of the subjective-internal (emotional) and the objective-external (natural world): we allow our emotions to overwhelm our rationality as we experience the wonder of creation. The sublime is further defined as having the quality of such greatness, magnitude or intensity, whether physical, metaphysical, moral, aesthetic or spiritual, that our ability to perceive or comprehend it is temporarily overwhelmed.

Romanticism in Landscape photography

Romanticism has long been associated with the landscape. In the medium of photography, the sense of romance of the landscape features its spirit in full bloom The nature of Romanticism is rather uncontrollable and unpredictable, which is shown in the wild nature of romantic landscape images. Sometimes its quiet and sensual power manifests into beautiful images, and other times it features animals or humans, while at other times the landscape will be empty and bare of any form of life. The most notable feature in a romantic landscape photo is that it will stir the emotion and feelings and cause inspiration of the imagination.  Romantic landscape images typically also have a moody atmosphere – they are more about the subjective feelings of the artist than an objective record of the observable world.

Ansel Adams

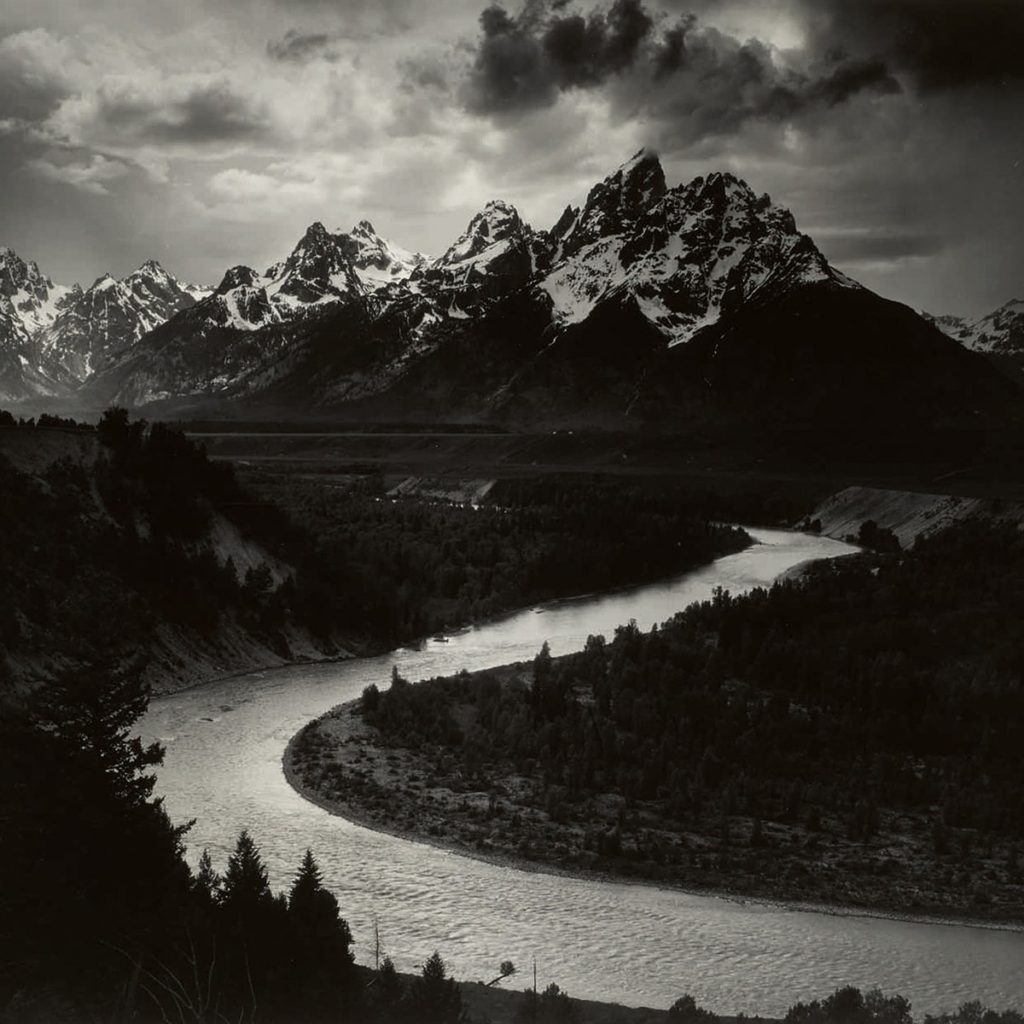
Ansel Easton Adams was an American landscape photographer and environmentalist known for his black-and-white images of the American West. He helped found Group f/64, an association of photographers advocating “pure” photography which favored sharp focus and the use of the full tonal range of a photograph.

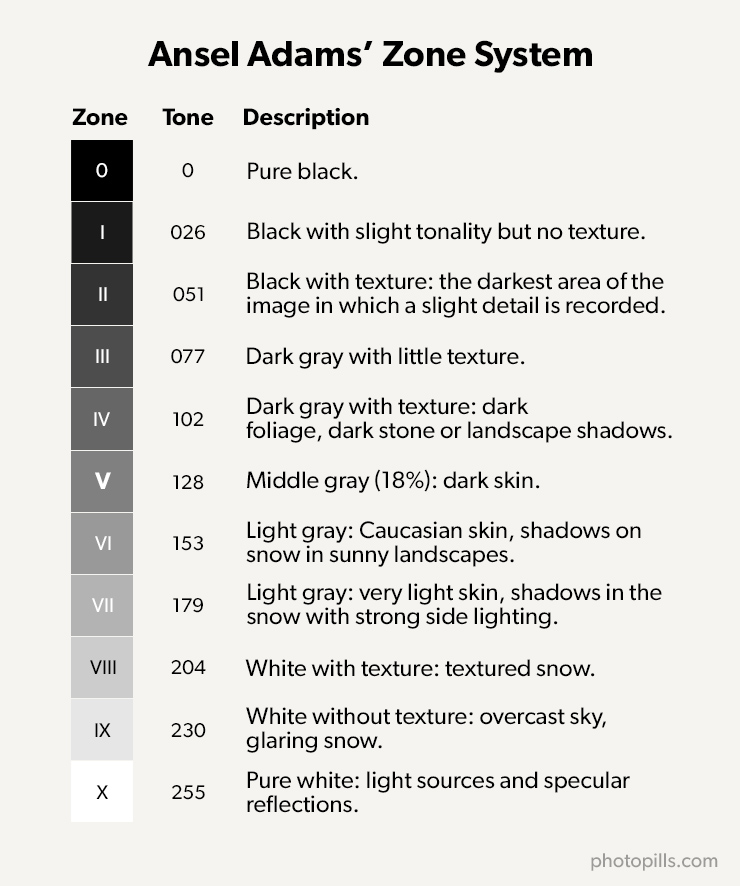
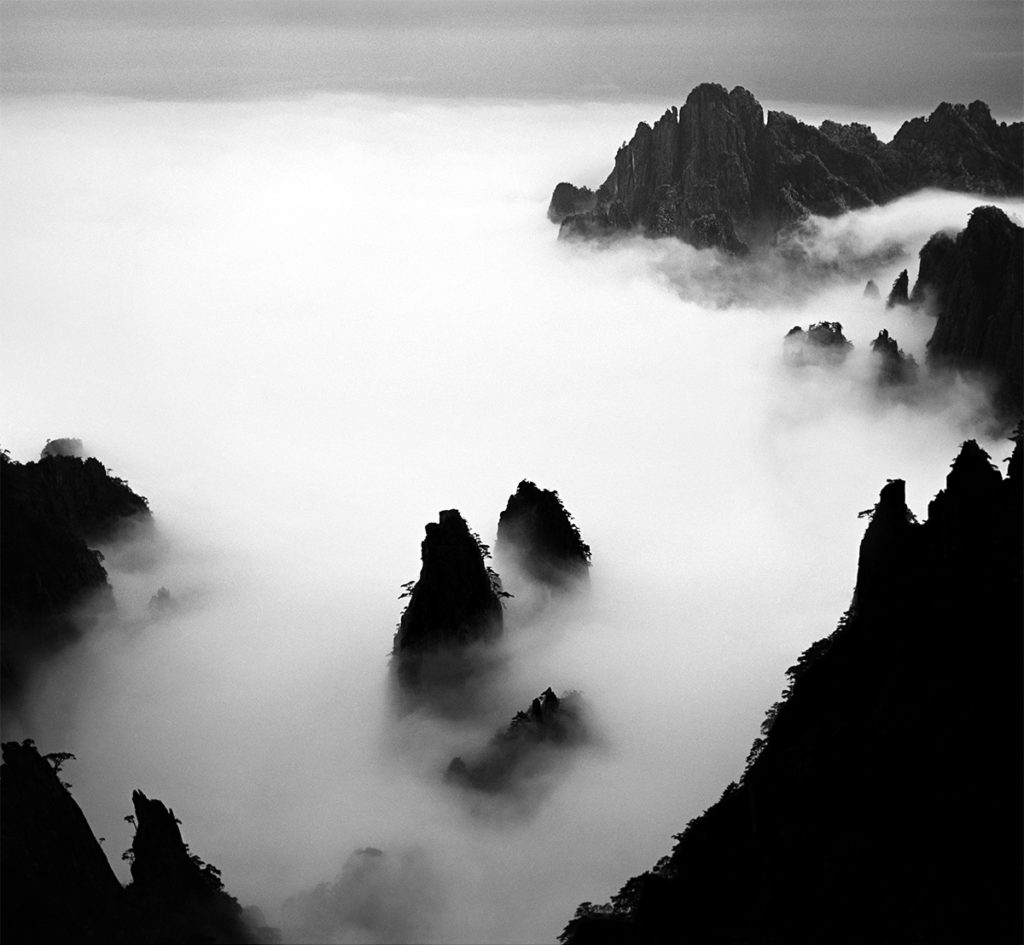
Photographers such as Ansel Adams and Fay Godwin use romanticism in their images, like in the image above. The use of the sublime in clear in this image, with the moody atmosphere and the sense of the looming mountains above. This image is influenced by Adams use of tonal range – there is elements of pure black in the woodland areas of this image, which illustrate the power and darkness of nature, linked to the sublime, a key feature of Romanticsm. Furthermore, there is evidence of the texture and untextured white at the complete other end of the zone system, in the river, tips of the mountains and sky.

Rural Landscape Photography – Fay Godwin and Don Mccullin

Landscape photography shows the spaces within the world, sometimes vast and unending, but other times microscopic. Landscape photographs typically capture the presence of nature but can also focus on man-made features or disturbances of landscapes. Landscape photography is done for a variety of reasons. 

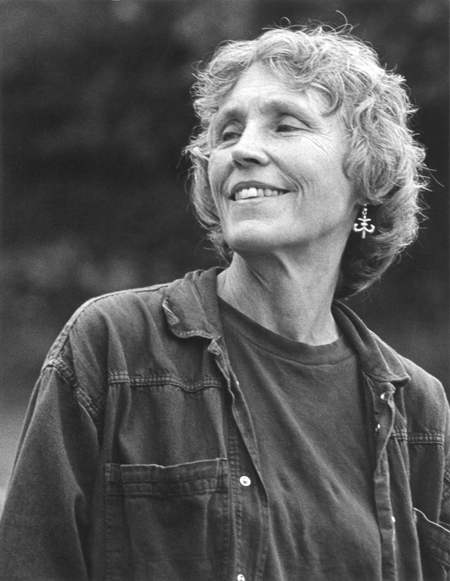
Fay Godwin

Fay Godwin first became interested in photography in the mid-1960s as a result of taking pictures of her young children. Alongside early portrait work, she developed a sophisticated landscape practice, often collaborating closely with writers to produce in depth surveys of particular rural topics or regions. Her photography has sometimes been linked to a tradition of romantic representations of the British landscape, in the manner of Bill Brandt or Edwin Smith. But, as a socialist and active environmentalist, Godwin makes the land in her photographs reveal traces of its history, through mankind’s occupation and and intervention.

Fay Godwin

Fay Godwin started her professional career as a portrait photographer and in the 1970s and 1980s photographed a wide range of literary figures. During this period her poetic black-and-white interpretations of British scenery also established her reputation as one of Britain’s most accomplished landscape photographers.

“I’ve been working with the land for most of my life; walking it and photographing it. And I love it to bits.”

She collaborated with a number of writers and photography and literature were combined most successfully in Remains of Elmet (1979), a collection of poems and photographs produced in partnership with Ted Hughes. Her later work—particularly after receiving a fellowship from the National Museum of Photography, Film and Television at Bradford in the 1990s—was characterised by an increasing use of colour and semi-abstract compositions of natural forms.

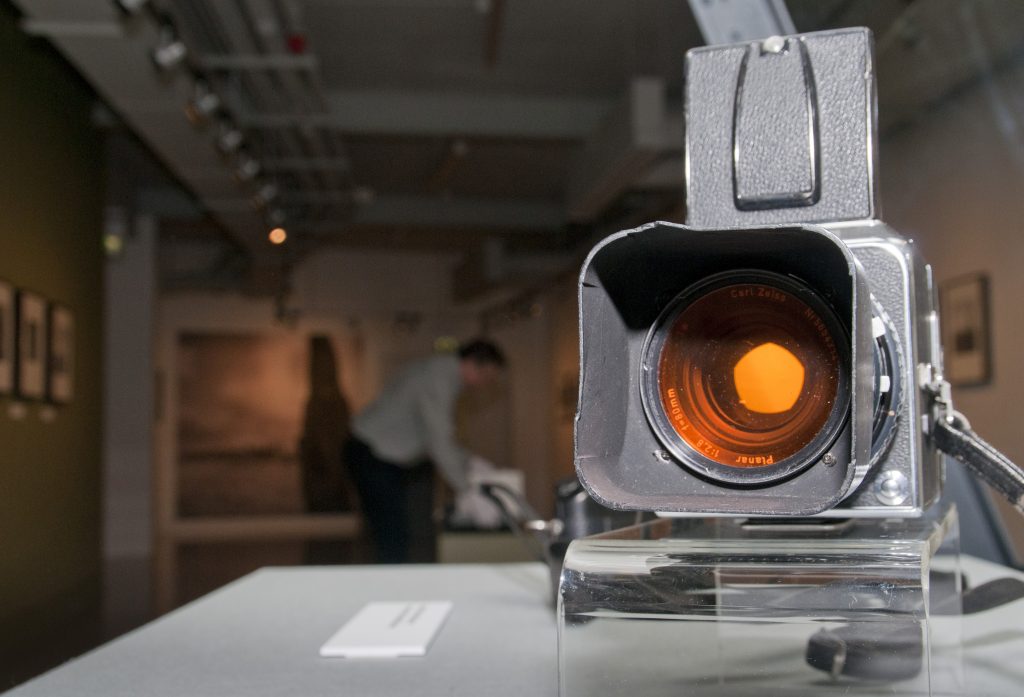
Two of Fay’s cameras were on loan from the British library, and displayed at the National Science and Media Museum in 2010, showcasing how she created her works. There are two of Fay Godwin’s cameras on display—a Hasselblad 500C/M camera fitted with a Planar f2. 8 50mm lens and a Leica M6 camera fitted with a Summicron f2 35mm lens. Both of these cameras would have been used to produce some of the images included in the exhibition.

One camera that Fay Godwin used on display at the National Science and Media museum

A folder containing Fay Godwin’s original negatives is also added to the display, open at the page containing her negatives for the Flooded Tree image. She made careful notes on a pencil sketch of the photograph to remind her how best to print from the chosen negative. These notes show areas highlighted to ‘hold back’ and others which need additional exposure. Such detailed attention resulted in the final exhibition print, framed and on show next to the display case.

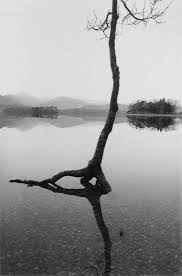
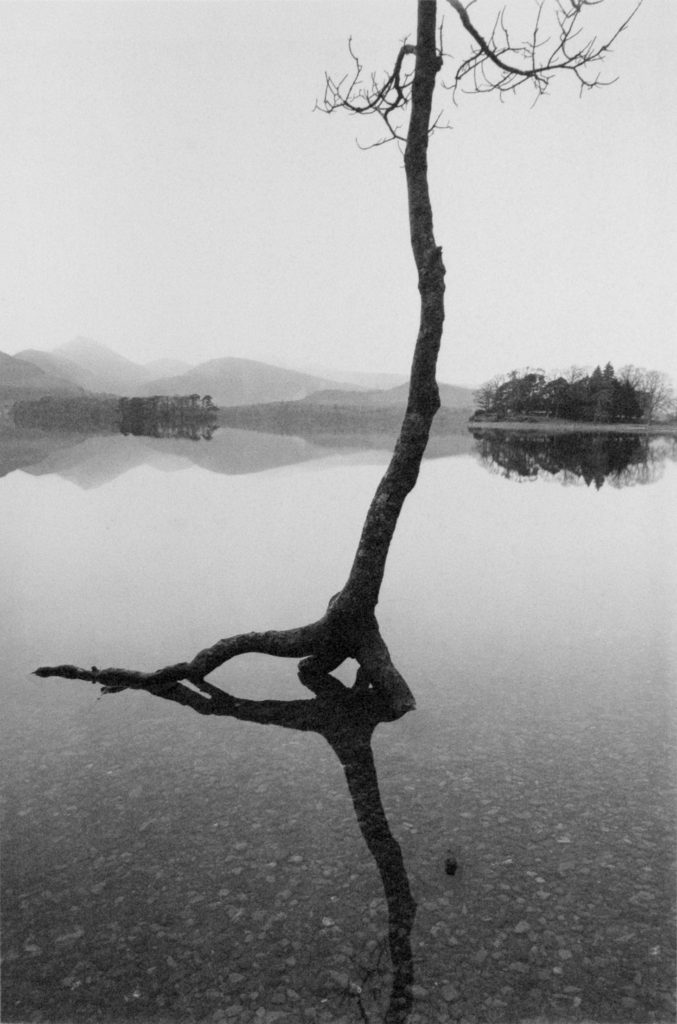
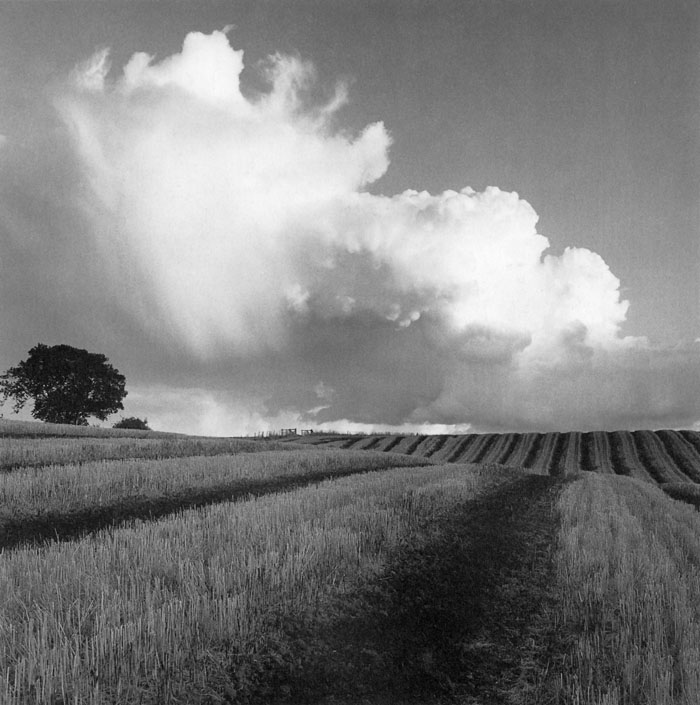
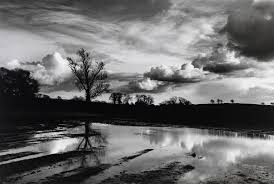
Faye Godwin’s “Flooded Tree” image.

“I like photographs which leave something to the imagination.”

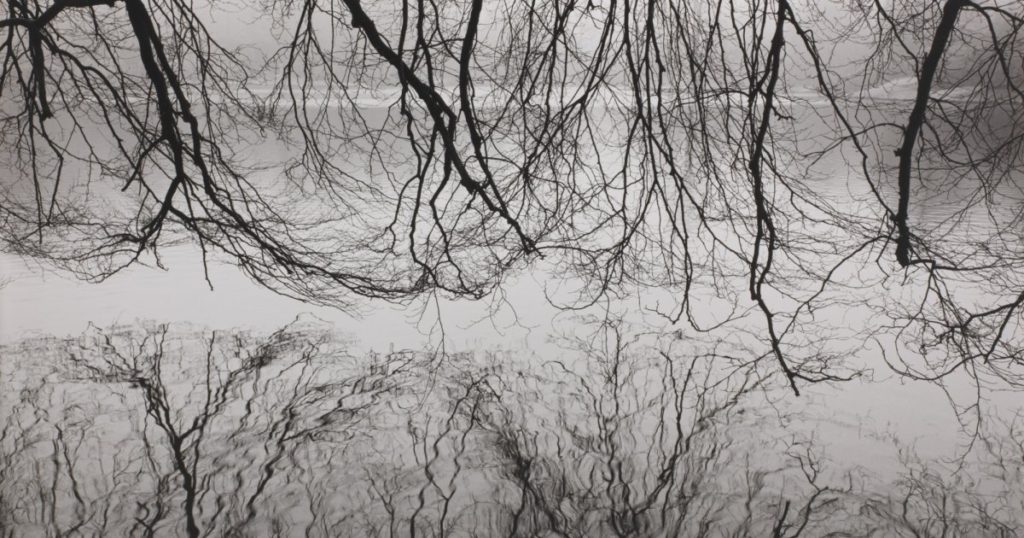
This image of Fay’s is black and white. There is strong contrast between the light and dark tones in this image – for example to the left of the image there is an area of darkness in the tree. This deeply contrasts the bright white clouds in the background of the image. The bright white sky separates clearly from the middle and foreground with the clever use of colour. Also in the middle of the image, there is a clear use of line and shape. The fields with strong lines through them create a sense of repetition in the image, as the lines continue to the foreground, becoming wider. This adds depth and dimension to the image, and creates an unusual scale and size to each part of the picture. The grain in this image also adds to the rough texture of the fields. This is a moody image and quiet feeling image, with the black and white effect creating a desolate and lonely composition.
Don Mccullin

Don McCullin is considered to be one of the greatest living photographers.. For the past 50 years he has proved himself a photojournalist without equal, documenting the poverty of London’s East End, or the horrors of wars in Africa, Asia or the Middle East. He is an incredibly versatile photographer, capable of beautifully arranged still life, soulful portraits and moving landscapes.

Following an impoverished north London childhood blighted by Hitler’s bombs and the early death of his father, McCullin was called up for National Service with the RAF. After postings to Egypt, Kenya and Cyprus he returned to London armed with a twin reflex Rolleicord camera and began photographing friends from a local gang named The Guv’nors. Persuaded to show them to the picture editor at the Observer in 1959, aged 23, he earned his first commission and began his long and distinguished career in photography more by accident than design.

Don Mccullin

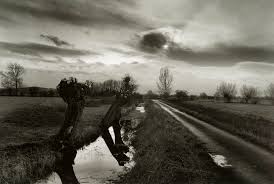
In 1961 he won the British Press Award for his essay on the construction of the Berlin Wall. His first taste of war came in Cyprus, 1964, where he covered the armed eruption of ethnic and nationalistic tension, winning a World Press Photo Award for his efforts. In 1993 he was the first photojournalist to be awarded a CBE. At home he has spent three decades chronicling the English countryside – in particular the landscapes of Somerset – and creating meticulously constructed still life all to great acclaim. Mccullin’s landscapes feature dark, moody skies that provoke feeling within the viewer – they are often of waterlogged fields and misty landscapes, which feature a clever use of water reflections and shadow. Yet he still feels the lure of war. As recently as October 2015 Don travelled to Kurdistan in northern Iraq to photograph the Kurds’ three-way struggle with ISIS, Syria and Turkey.
“Photography for me is not looking, it’s feeling. If you can’t feel what you’re looking at, then you’re never going to get others to feel anything when they look at your pictures.”

Don Mccullin

Analysis and Evaluation of my process

Artist Choices

I think that choosing both my artists was the right idea overall, but I think some things could be improved overall.

Joachim Schmid – artist comparison

Overall, I’m glad I chose Joachim Schmid as my artist to base my final experiments and outcomes on. I think in some experiments, like the one below, my work does look extremely similar to his, through my use of cropping and pasting of my archival images.

My work
Joachim Schmid’s work

Reflection

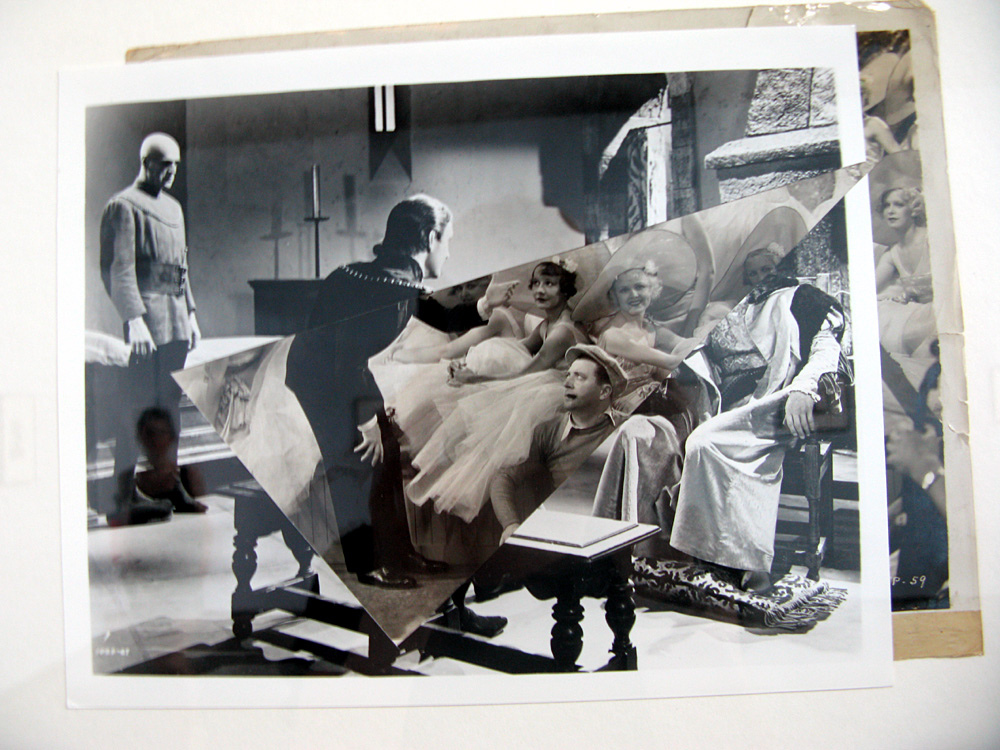
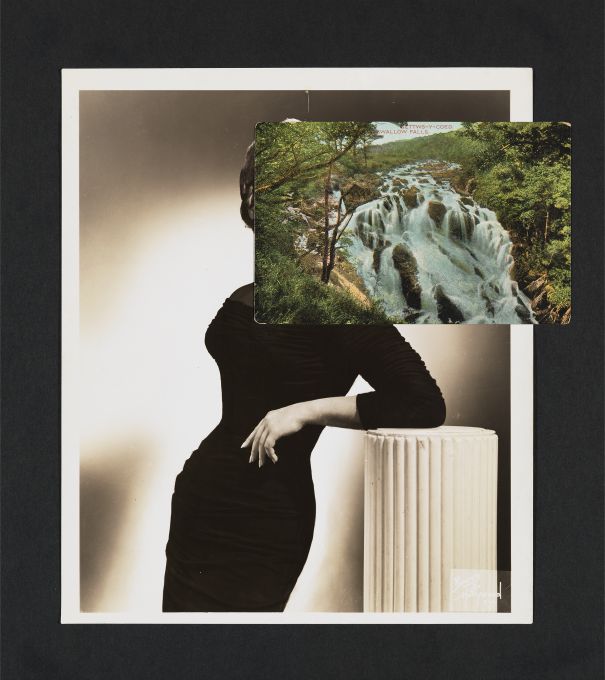
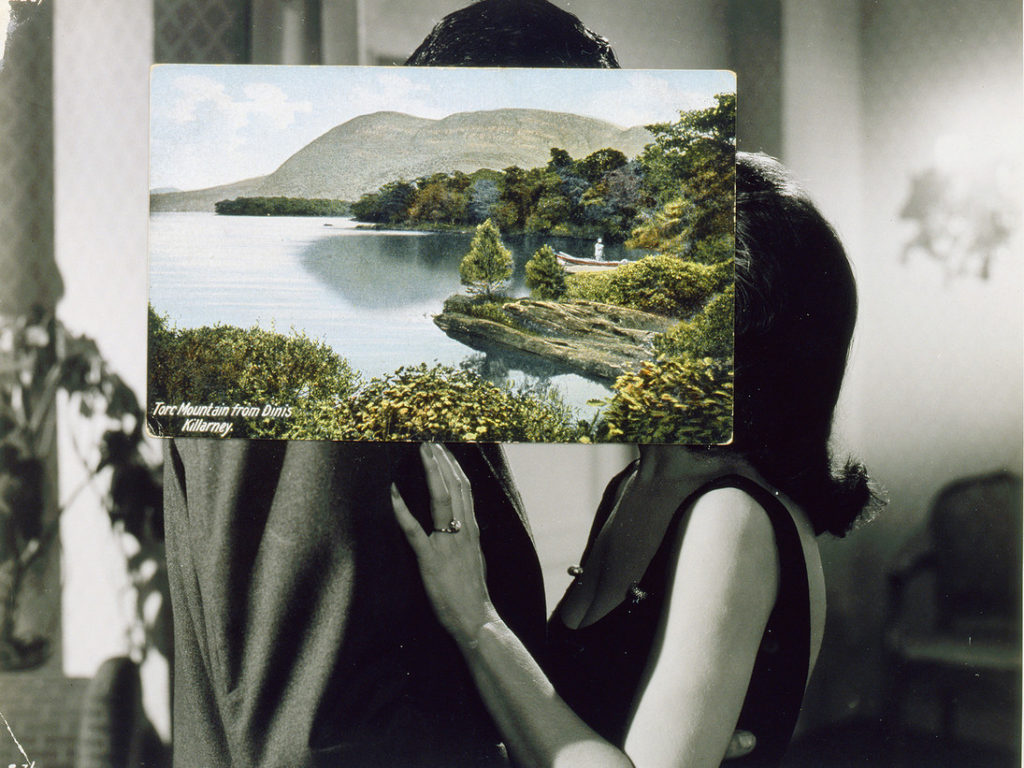
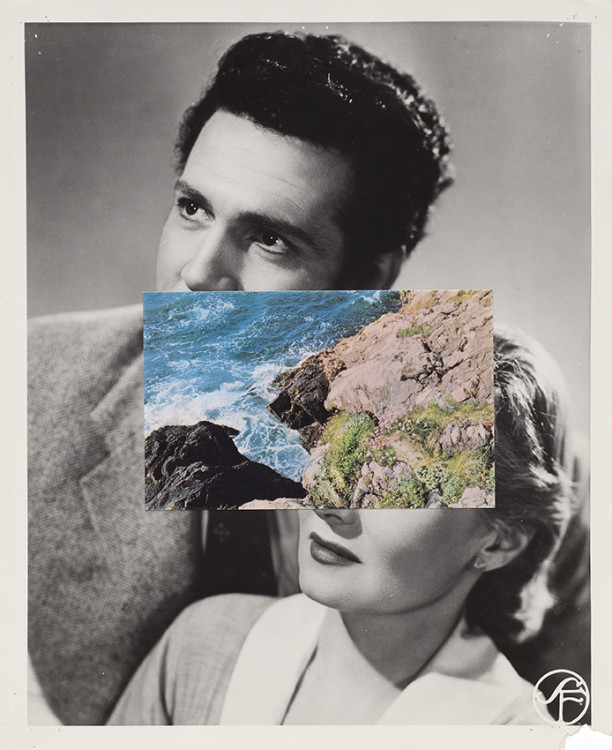
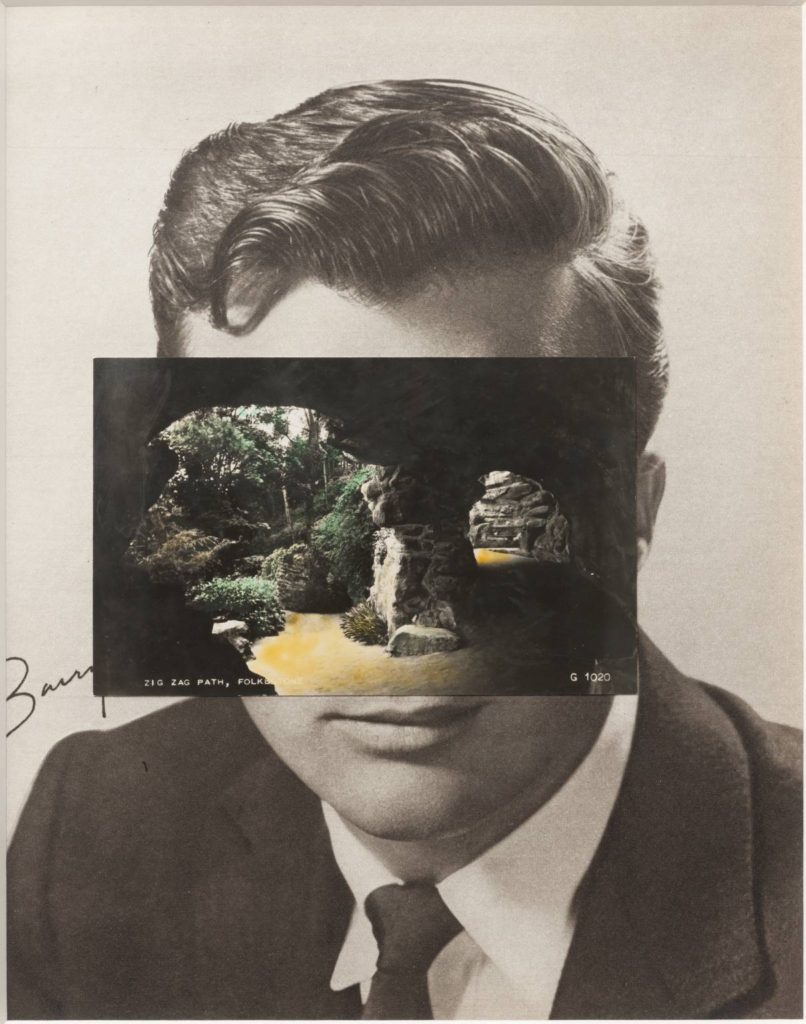
However, in a lot of my other outcomes, I found this approach a little bit limiting. I would start an experiment like Joachim’s but then continue to develop and branch out more into the idea of photomontage, a style which I’ve previously used and knew I liked, featuring artists like John Stezaker. (see an example of this in my work below) But, even with my development further than Joachim Schmid’s work, I am still glad I chose him as my artist – I liked that I had something to base my ideas off that I could then develop from further. Because of all of this, if I was to do this project again, I would maybe choose an artist who focuses on photomontage as well, like John Stezaker for example, who I could have done some more research into.

My work

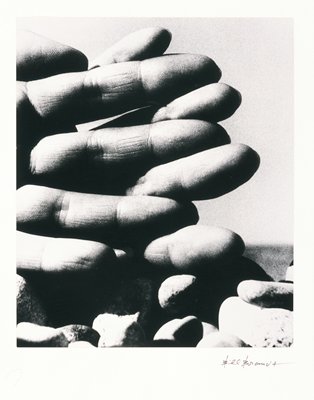
Bill Brandt

I’m also glad I chose Bill Brandt as my artist to base my initial edits on. I think that my images worked well with his style, especially with my abstract images. For example below, I think that the high contrast, black and white style really suits this image, and adds definition and emphasis to all features of the subject.

My work

I think that my work does look similar to Bill’s work, but I think that in future, I could shoot in black and white or even use a film camera to achieve a more authentic looking effect. Overall though, I am pleased with my images compared to his – I think that my images, especially my abstract ones as above, carry the idea of concealed identity which he used in his images.

Bill Brandt’s work

Experiments

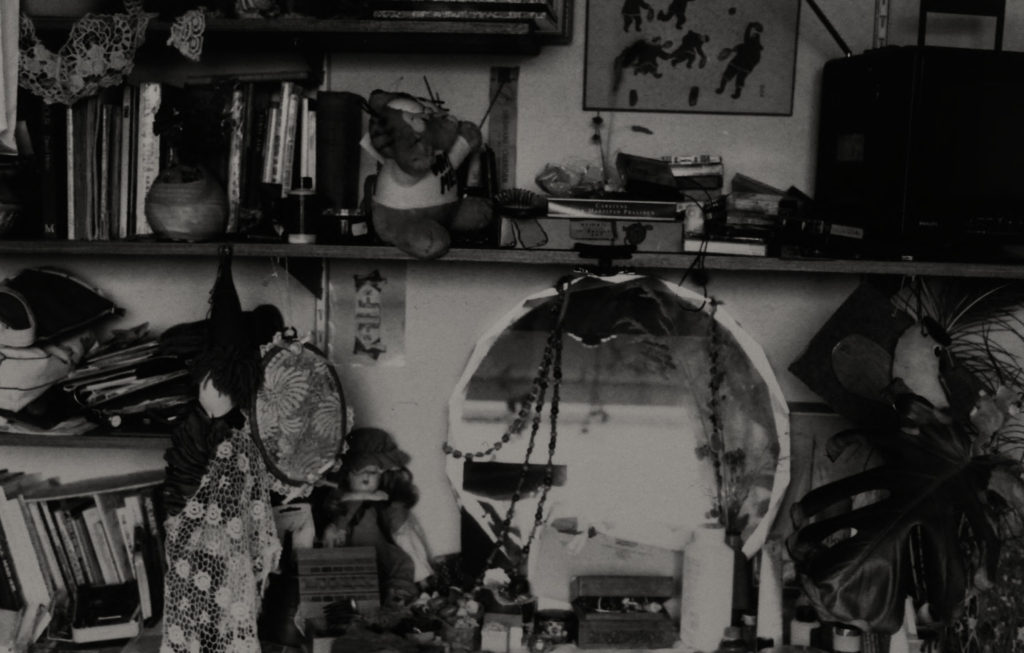
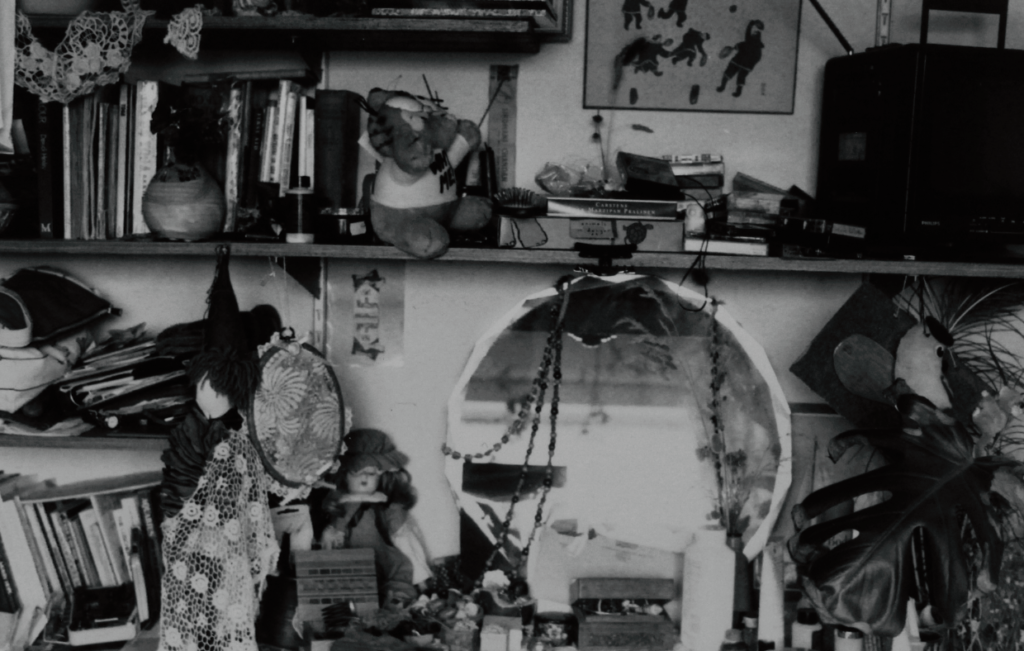
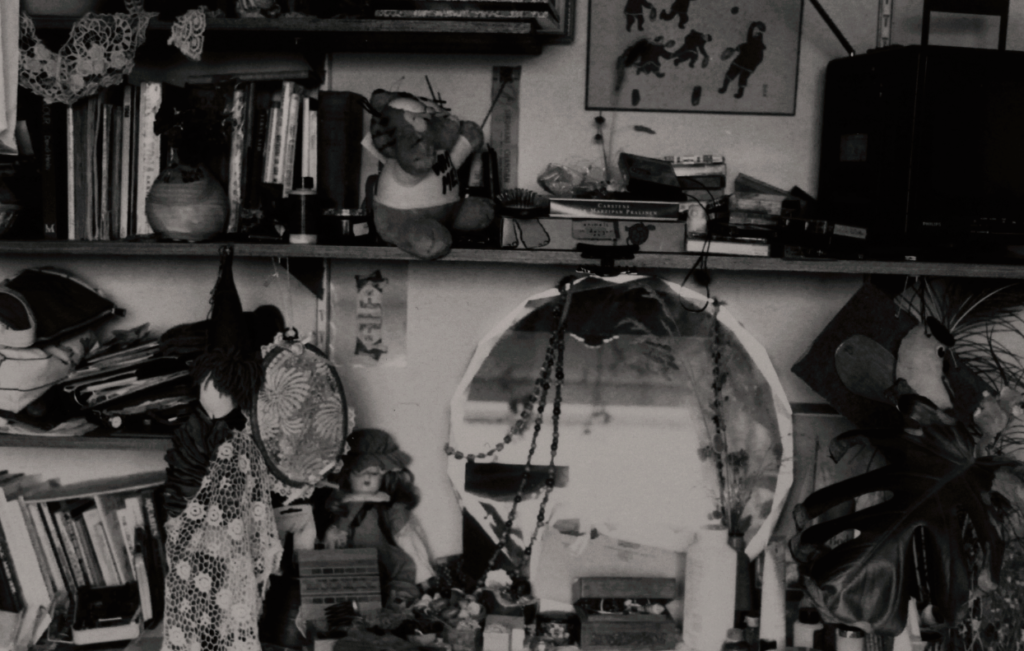
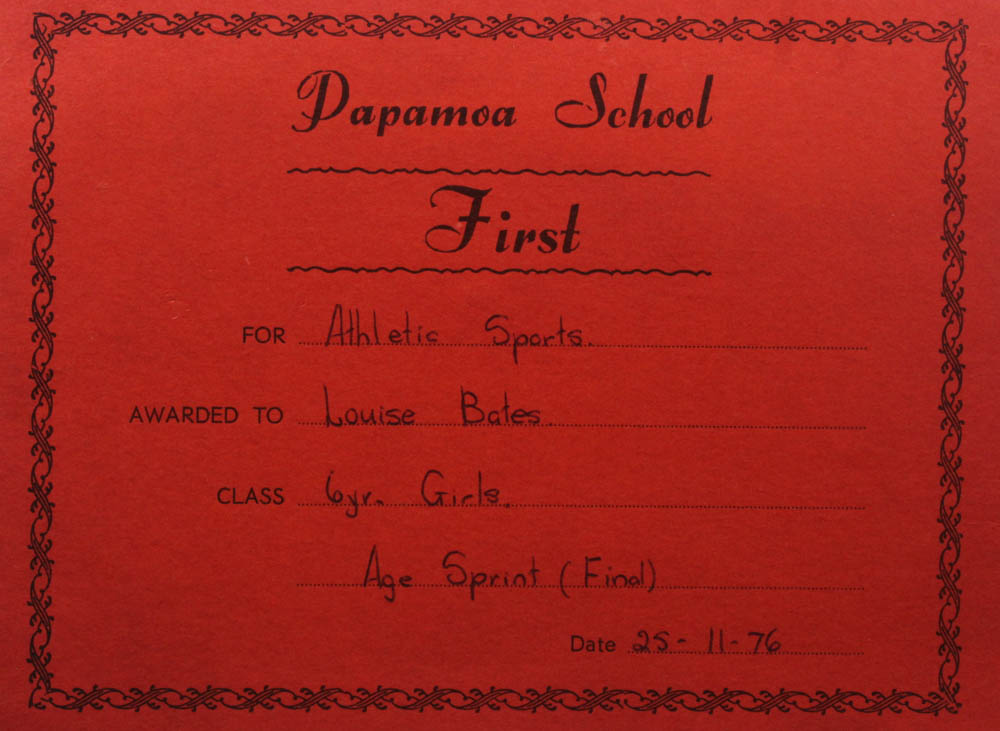
Overall, my experiments in general I was quite happy with. I think that after looking at all of my photos from different photoshoots, I think my abstract images worked the best in my favourite style of experimenting, collages. Therefore, if I was to do this project again, I would make sure to take some more abstract images. Also, I found images like the certificate from my mum’s school and the image of her bedroom really useful for backgrounds of my collages.

If I was to redo this project I would definitely collect more of these to photograph as I liked what they added to my collages.

Editing issues

Originally, I had chosen to edit my images in the style of Bill Brandt and also Luigi Ghirri. I had chosen to edit like Luigi Ghirri because of the faded, vintage nature of his style, and how this would match my archival images well. However, when attempting to edit my new pictures in his style, I found it incredibly difficult. I found it hard to recreate the faded, soft nature of his style, on fresh, modern images. – I then had to make the decision to only edit in the style of Bill Brandt as I mentioned above. I still love Luigi Ghirri’s work, and still want to incorporate it into my future work, so I should maybe try using a film or disposable camera in future, or using his editing on landscape images instead.

Final Images

Set 1 – Collages

I will print my below images on A3 – I believe this will work best due to the amount of things going on in each collage.

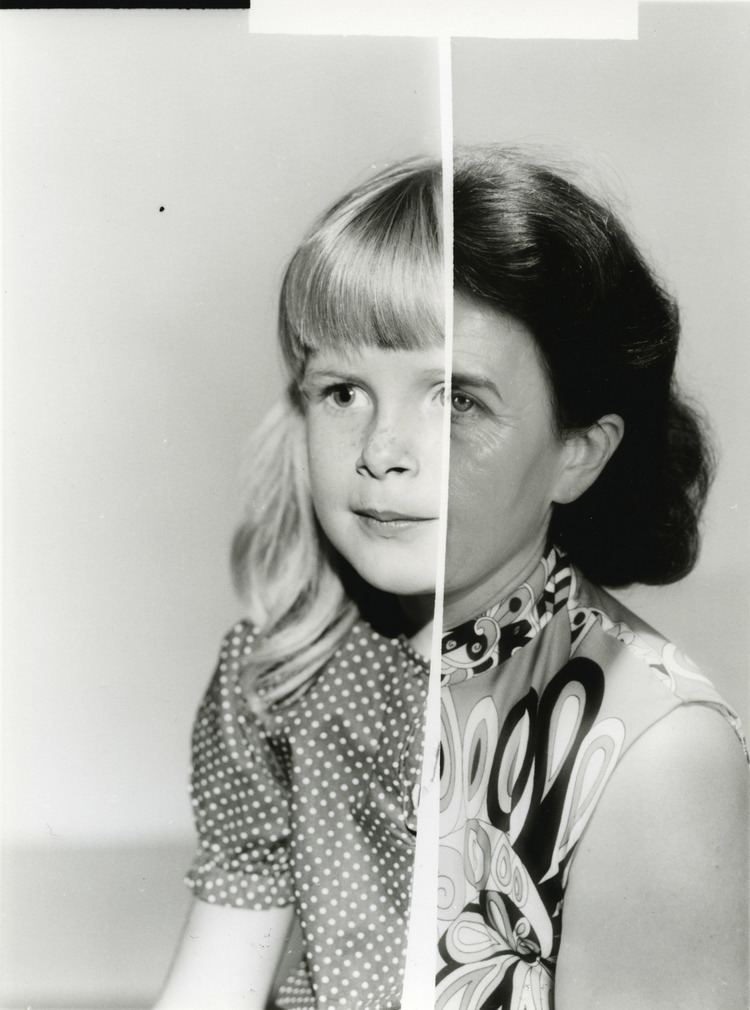
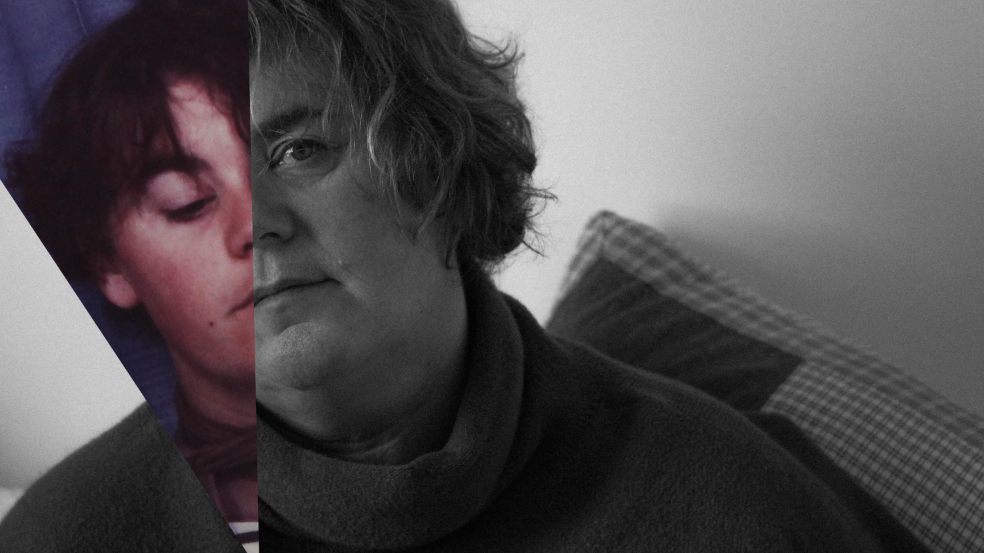
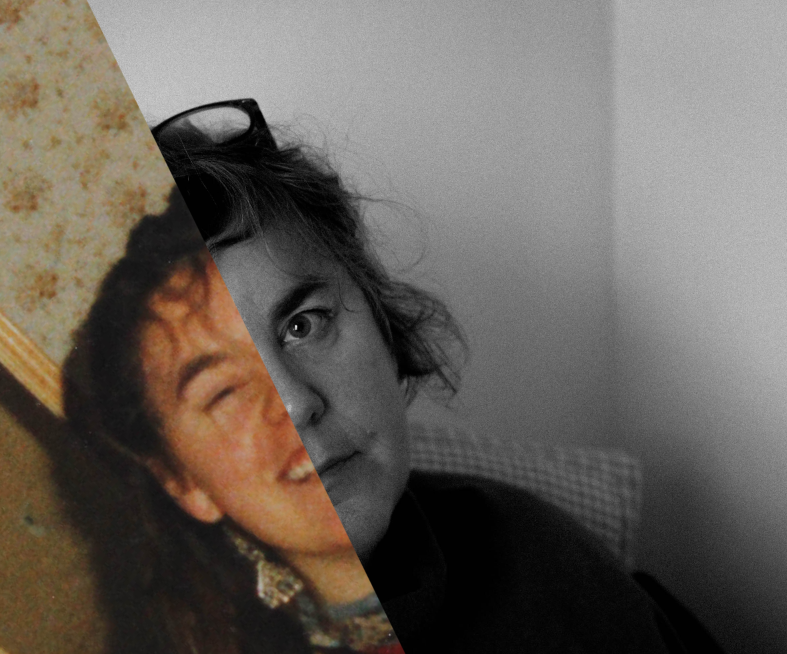
I chose this collage as one of my favourites because of how it shows the passing of time and age of my subject – by juxtaposing half of new and old photos I think the viewer sees more in each face. I also liked my use of different colour in this – using two black and white and one colour creates high contrast which I like.

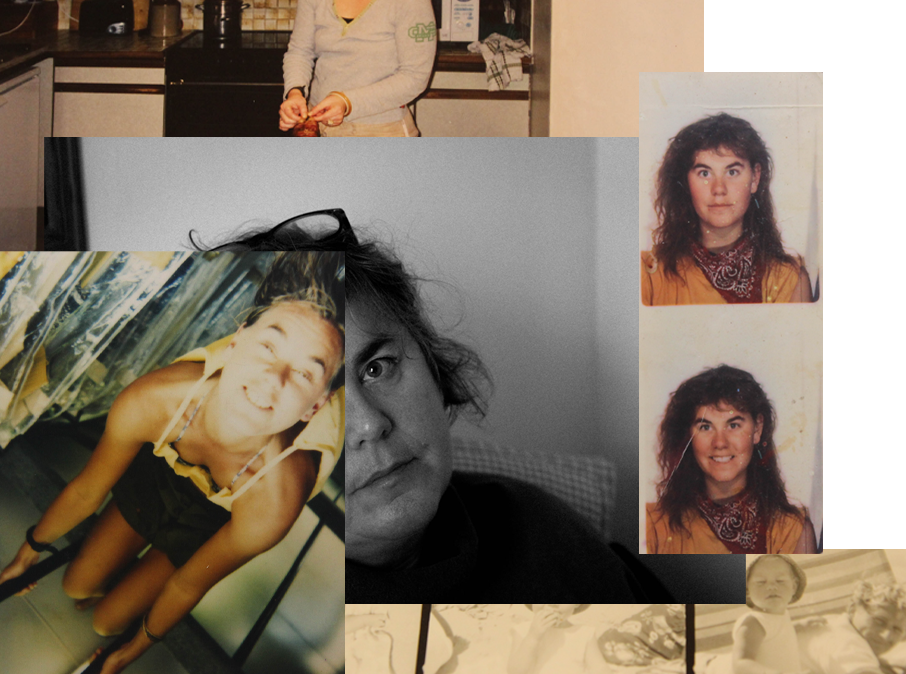
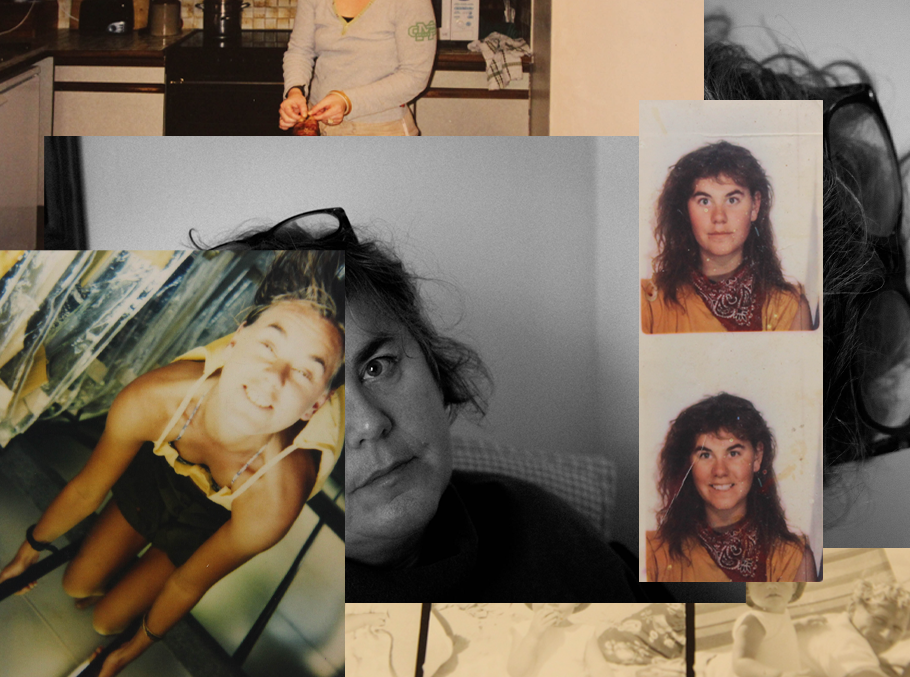
I chose this collage as one of my final images due to the interesting composition that the mix of new and old images creates. I like the way the present day images are concealed in some way by an older image, which adds a sense of maybe a change in identity in the subject.

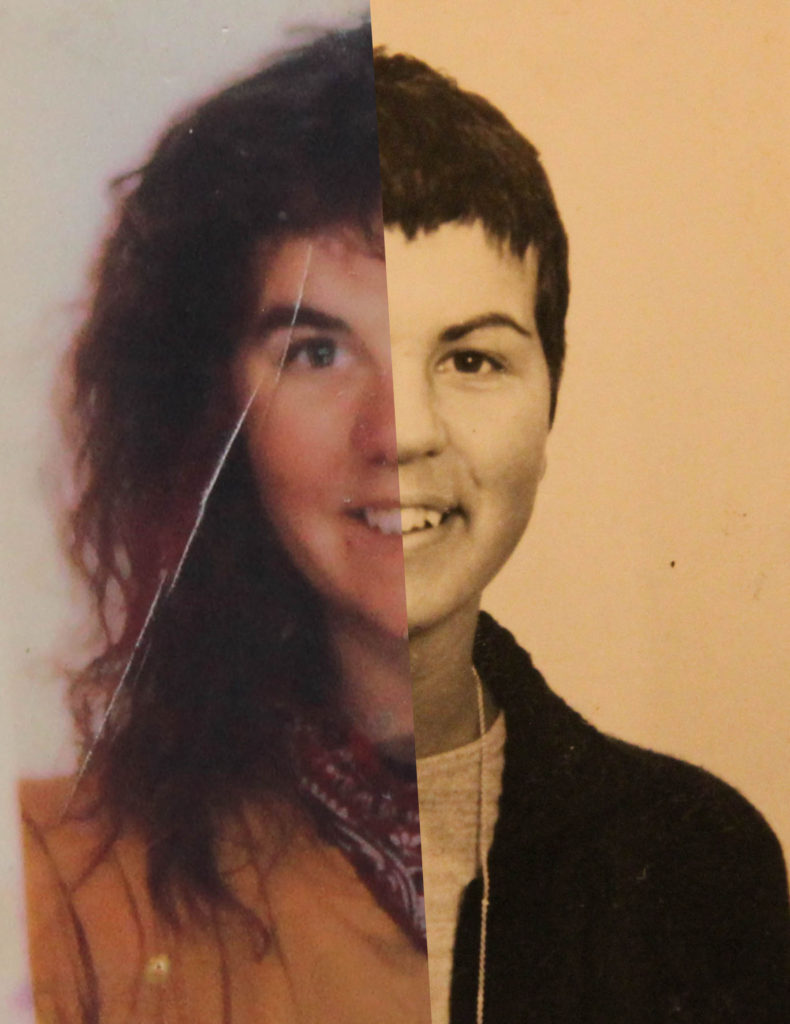
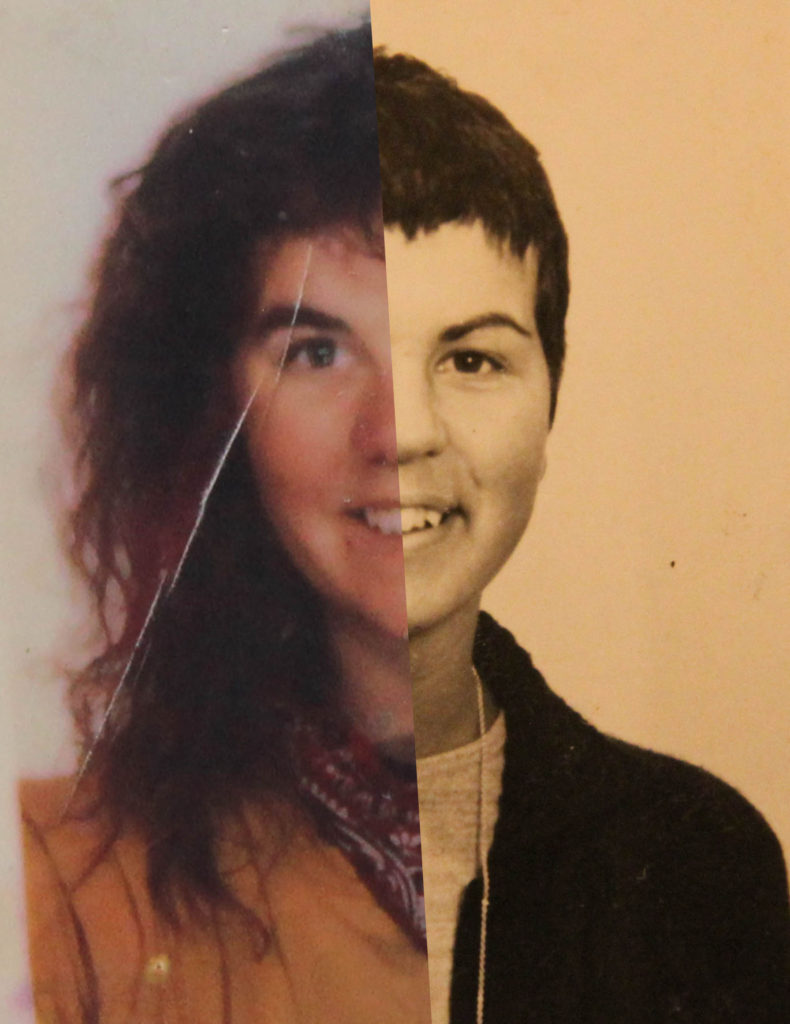
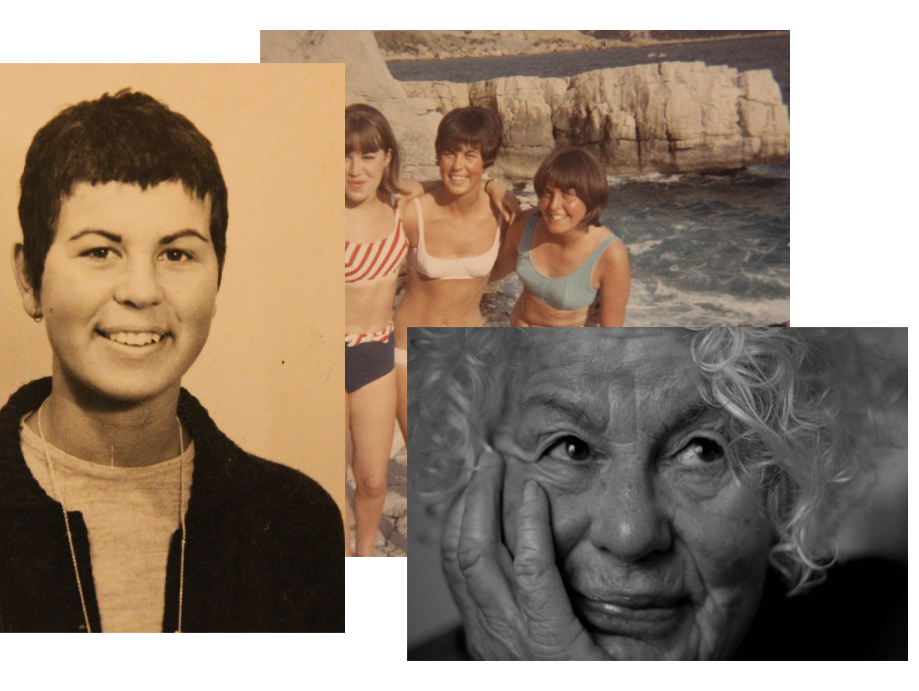
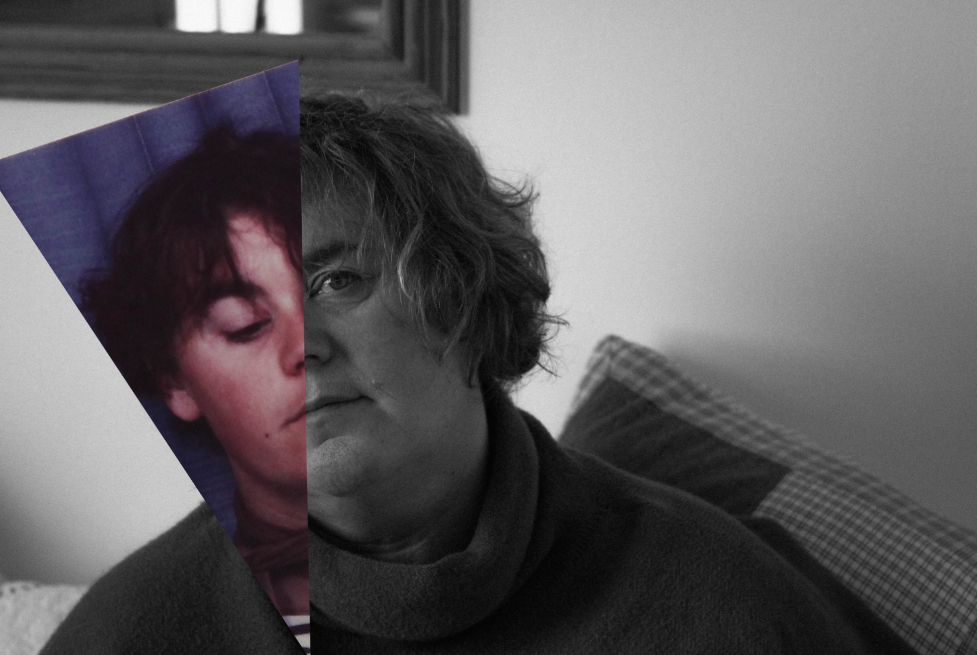
Out of all my work based on Joachim Schmid, I chose this as my final image. I love how the split between both my mum and nana’s face shows the similarities between each face, and the differences between 2 generations. I think this also a successful image because of its link to generational identity, which I was trying to show through my work.

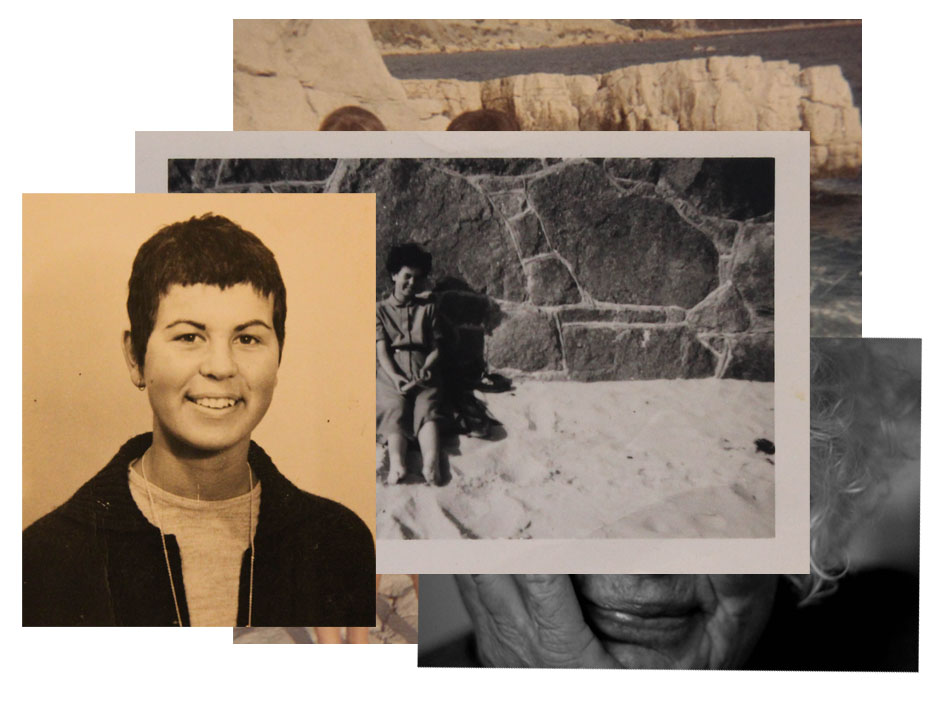
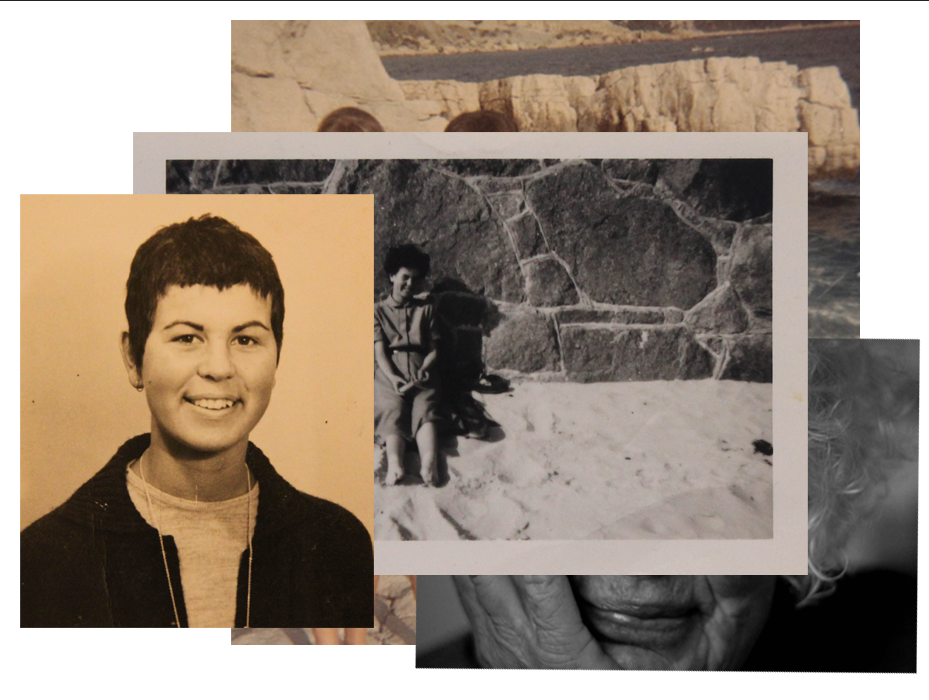
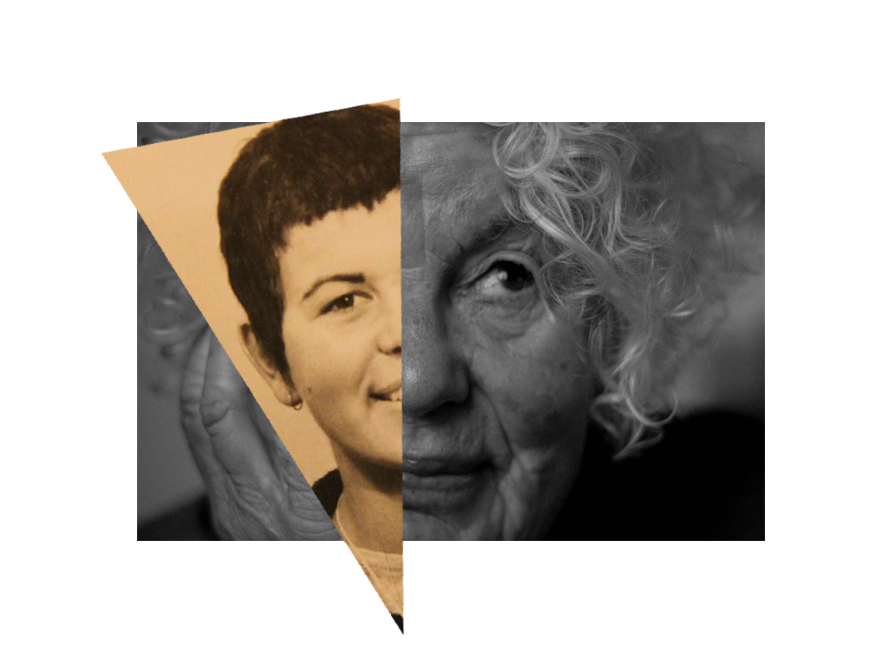
I chose this collage as one of my final images because of its comment on age identity, as well as environmental identity, using images of my grandmother on her favourite beach, as well as older portraits of her. By contrasting these with a modern image of my nana, but concealing it slightly, I think I achieved a piece on the topic of environmental and age identity successfully.

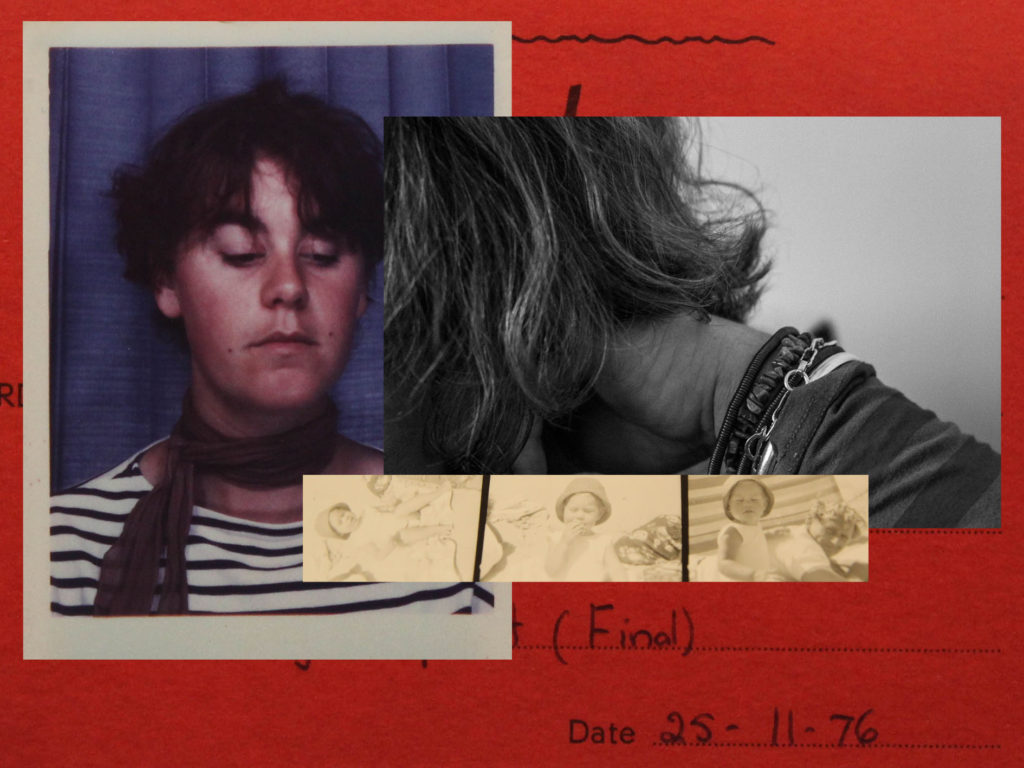
I chose this as one of my final images because of the composition and arrangement of the images, but also because of the use of different types of images – Polaroids, documents and film. I also liked my use of the red document, with the date on, which I think adds to the idea of passing of time. I think the red colour of this image also adds contrast to the image and makes he other elements bolder, especially the polaroid and film picture with its white border.

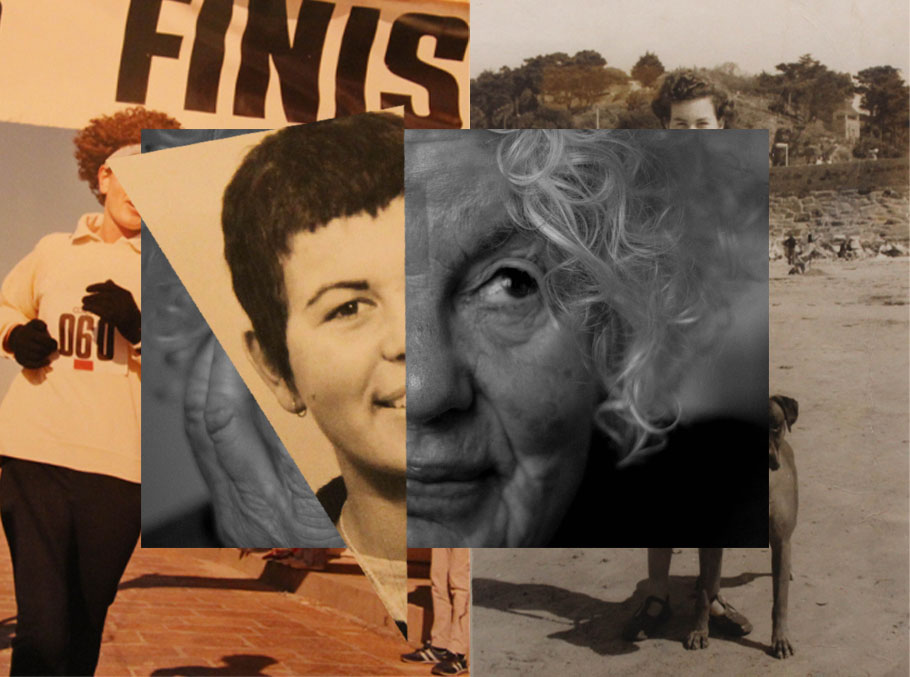
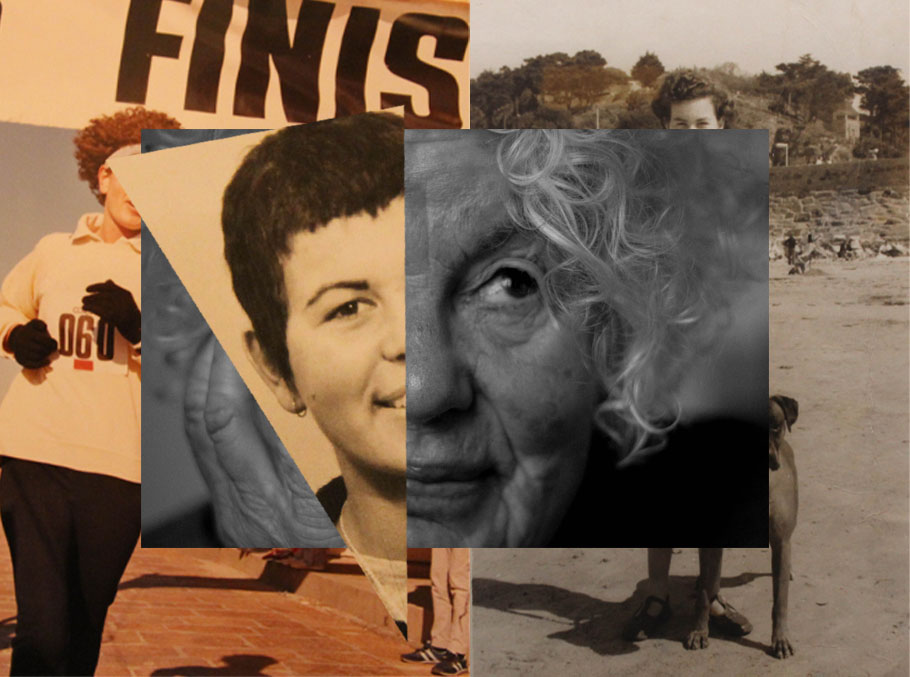
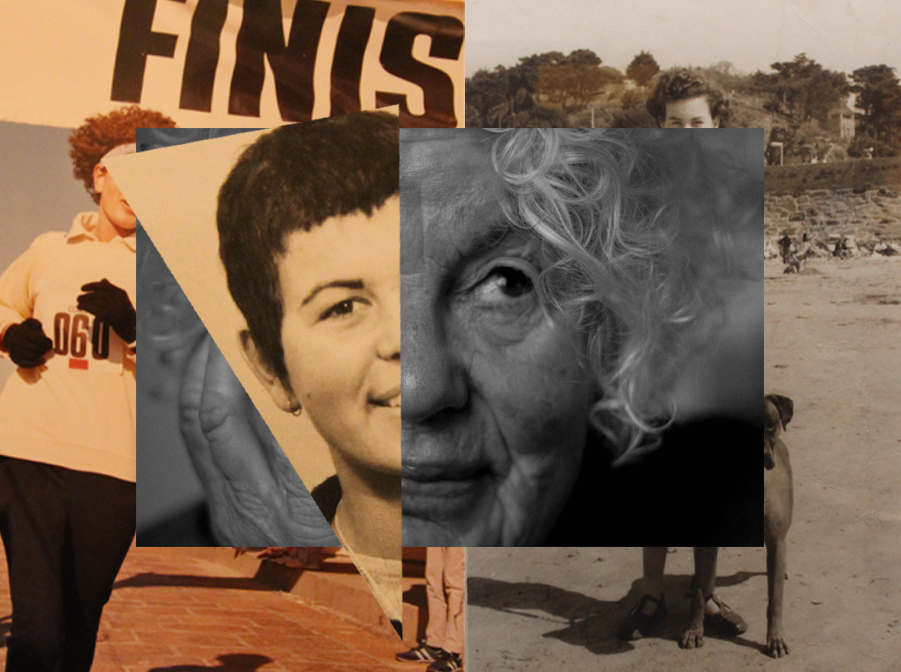
I chose this image as one of my final outcomes due to its unique layout. I like how I made the split of two older images, with one modern and a slice of another archive image on top. I also like the layering that’s created, and how parts of my nana’s face are concealed in each image, but it’s still clear that it’s her.

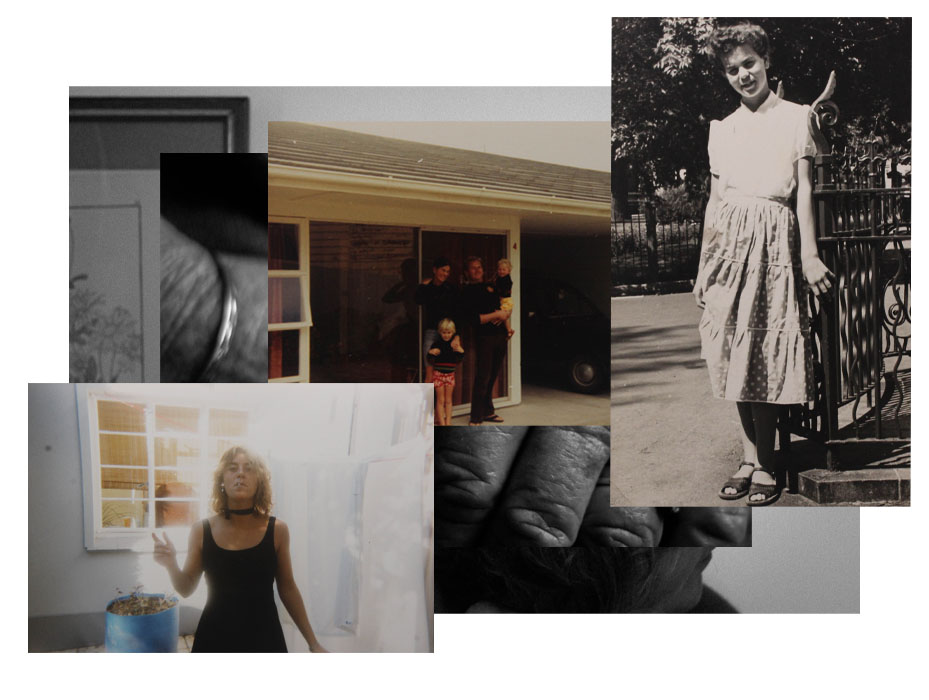
Finally, I chose this collage as one of my final outcomes because of the comparison between 2 generations. I like that the older images contrast by themselves, with newer images kind of hidden underneath and disguised.

Set 2 – Abstract images and portraits juxtaposed

Below, I have created mock final outcomes in photoshop. For my actual final outcomes I will print my images out A4 size, then I will arrange them on mount-board or foam-board.

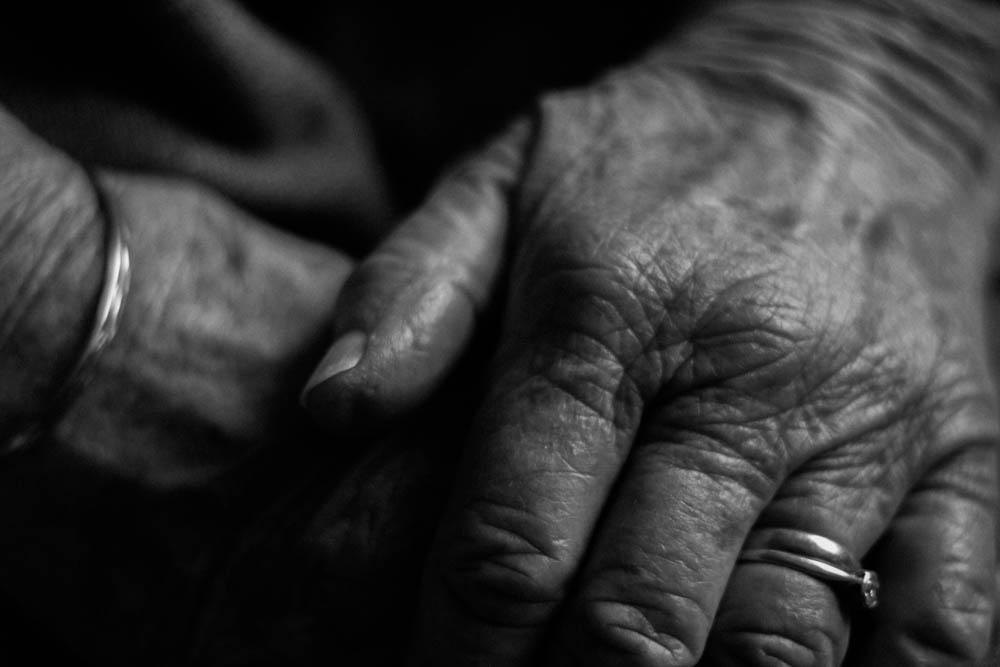
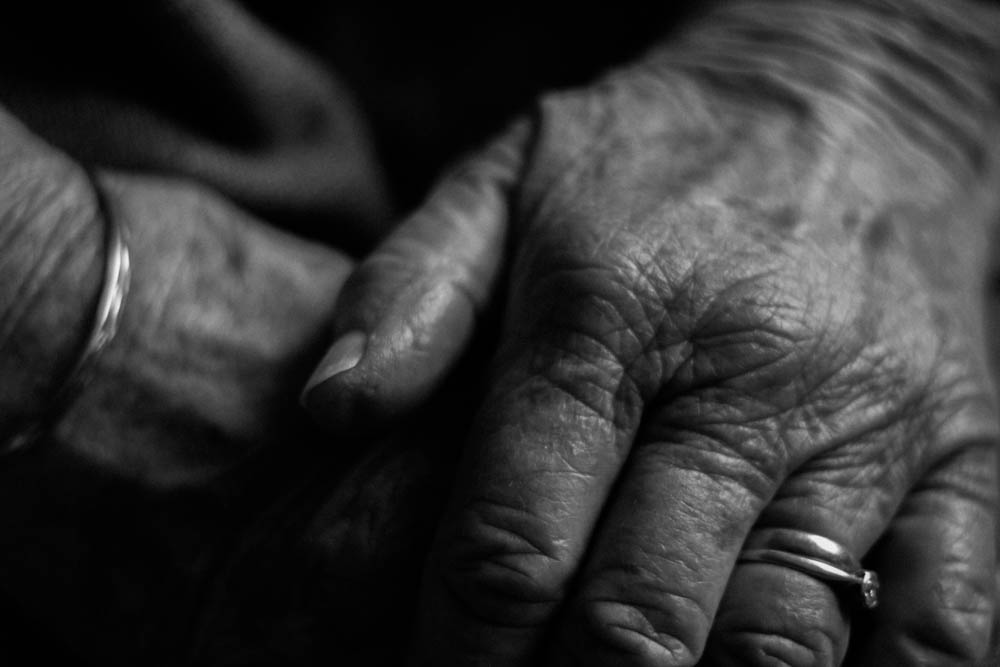
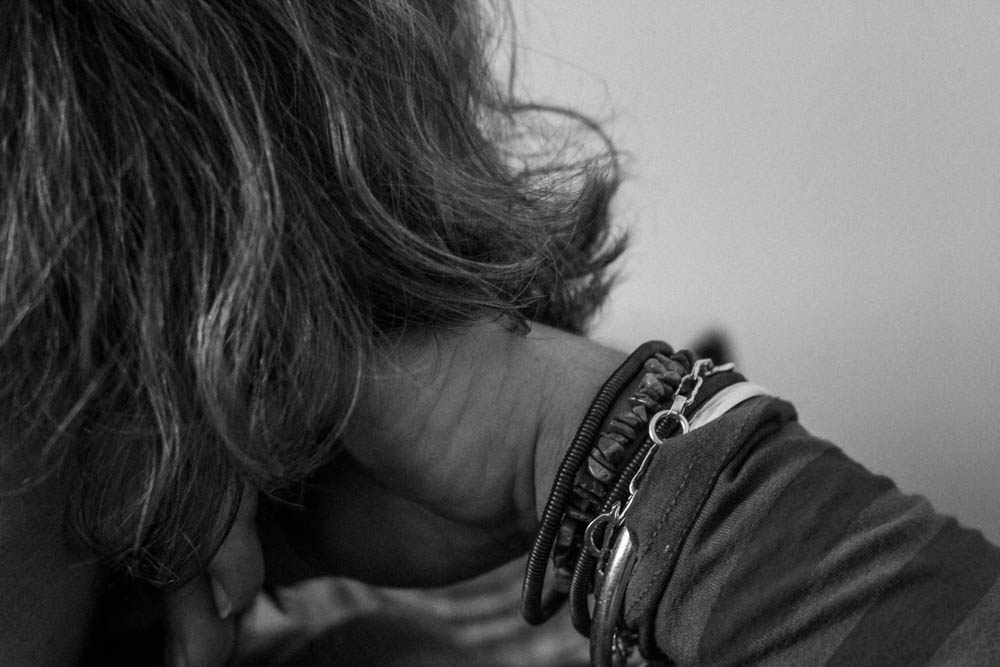
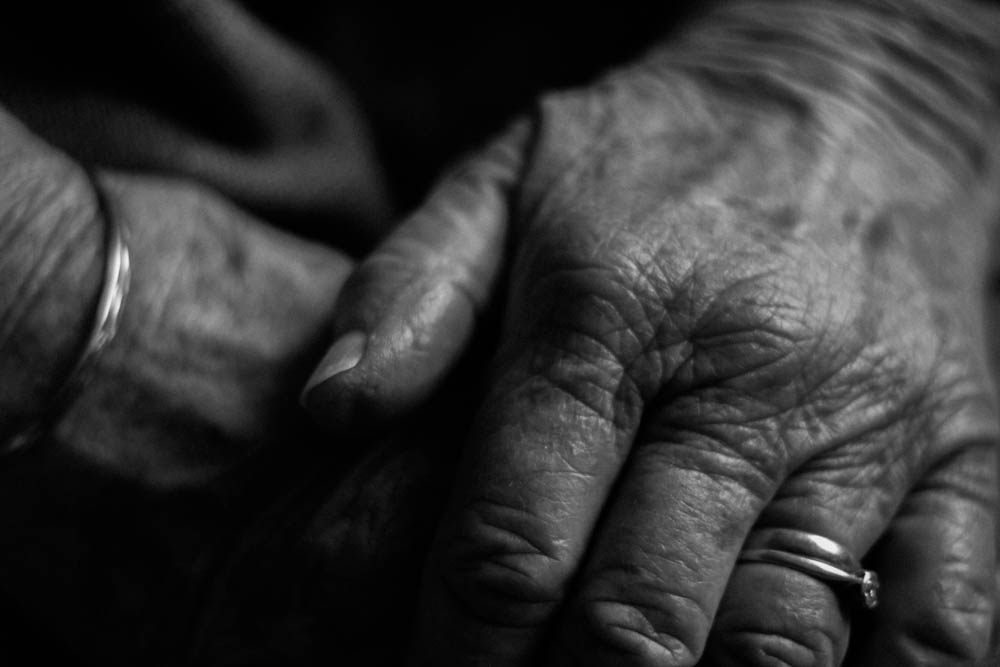
This is my best abstract image. I think it really shows parts of my grandmother’s identity, without showing her face which I think is quite unique for this image. I love the high contrast, B and W edit on this photo, and I think the vignette which I added really frames the hands. – The lighter tones also highlight the jewellery on her hands, which is good because this jewellery is very precious to my nana.

Final outcome mock up

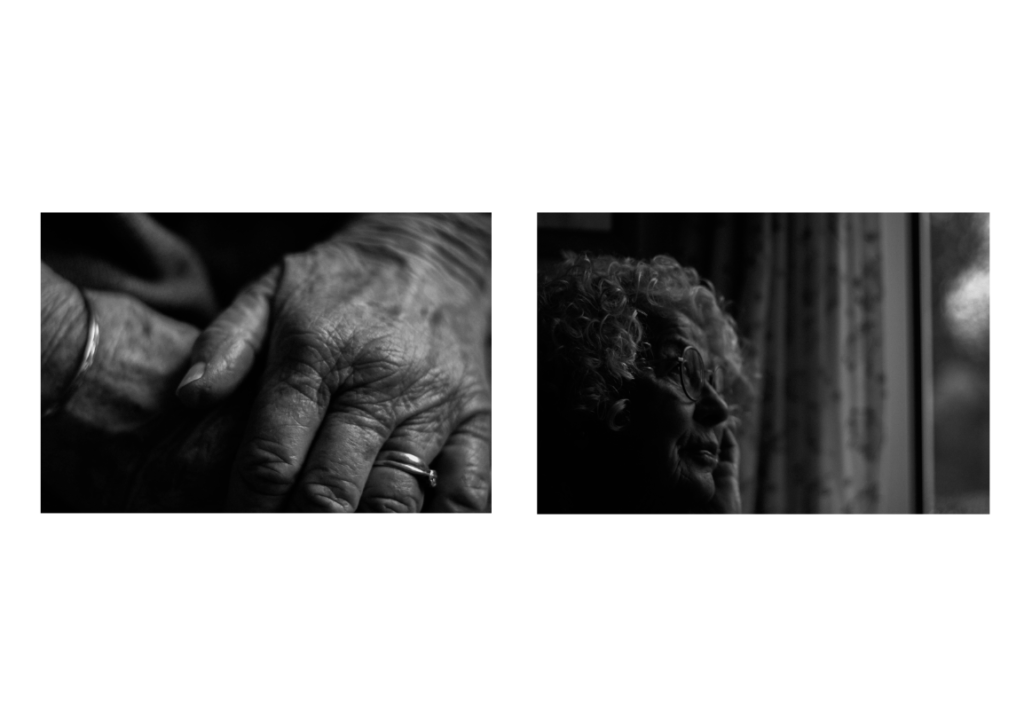
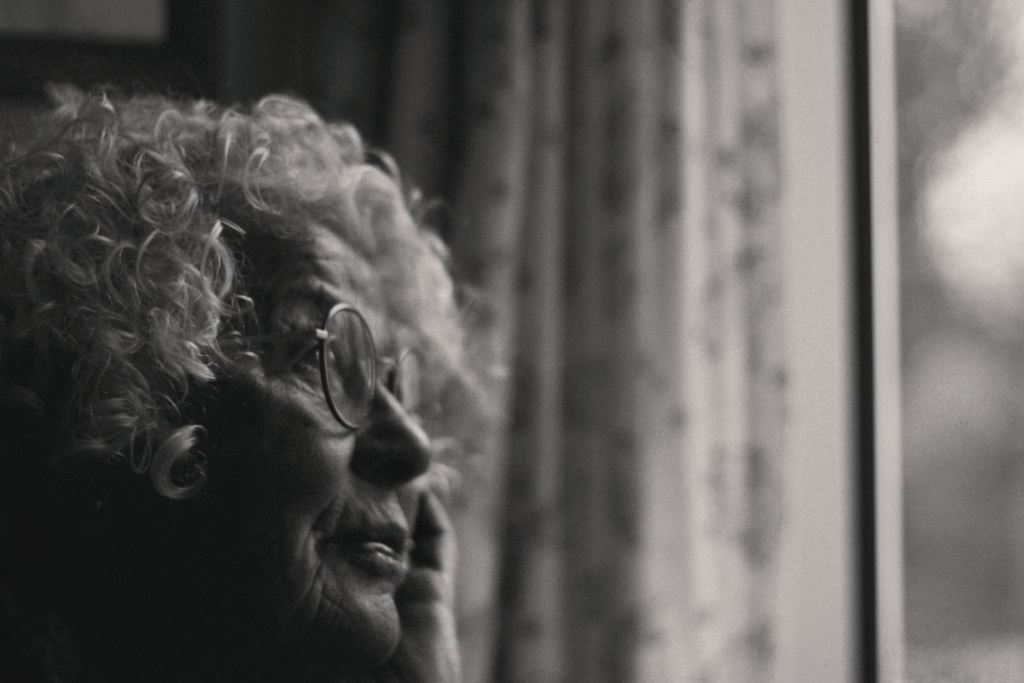
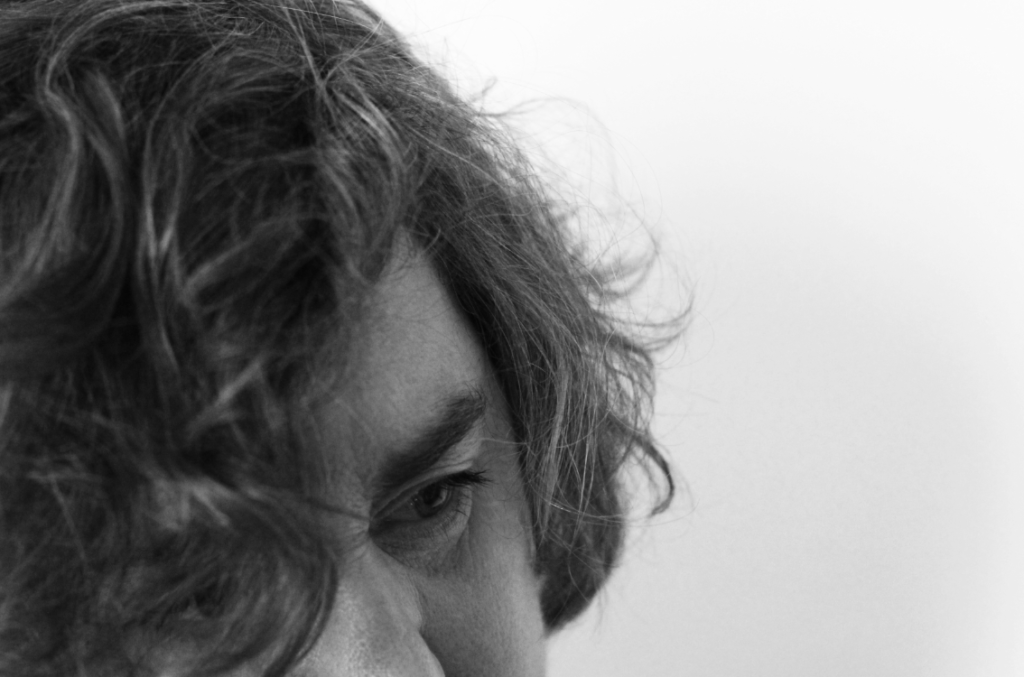
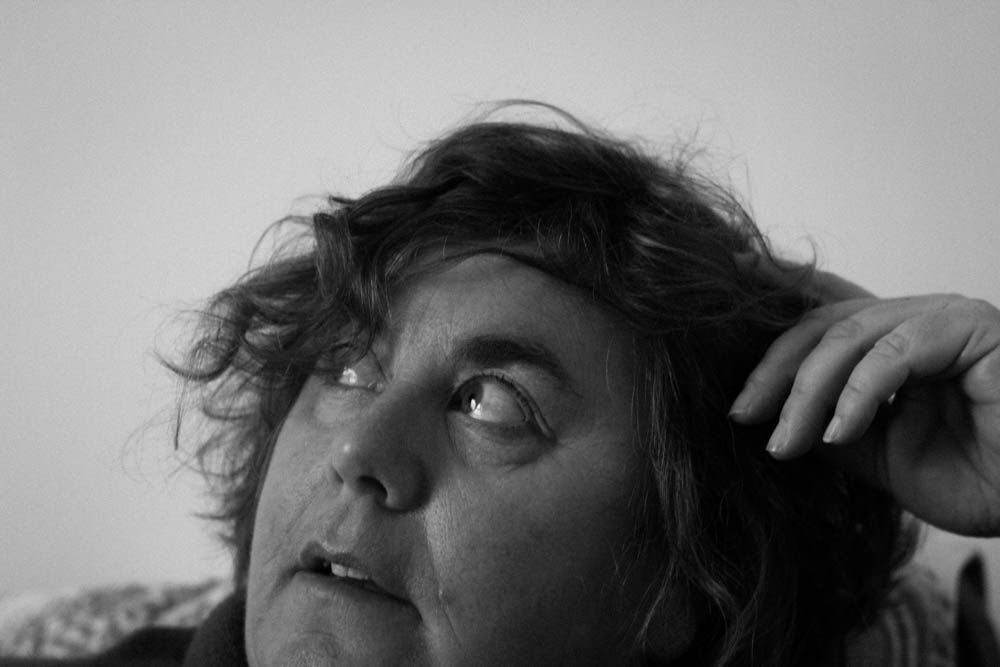
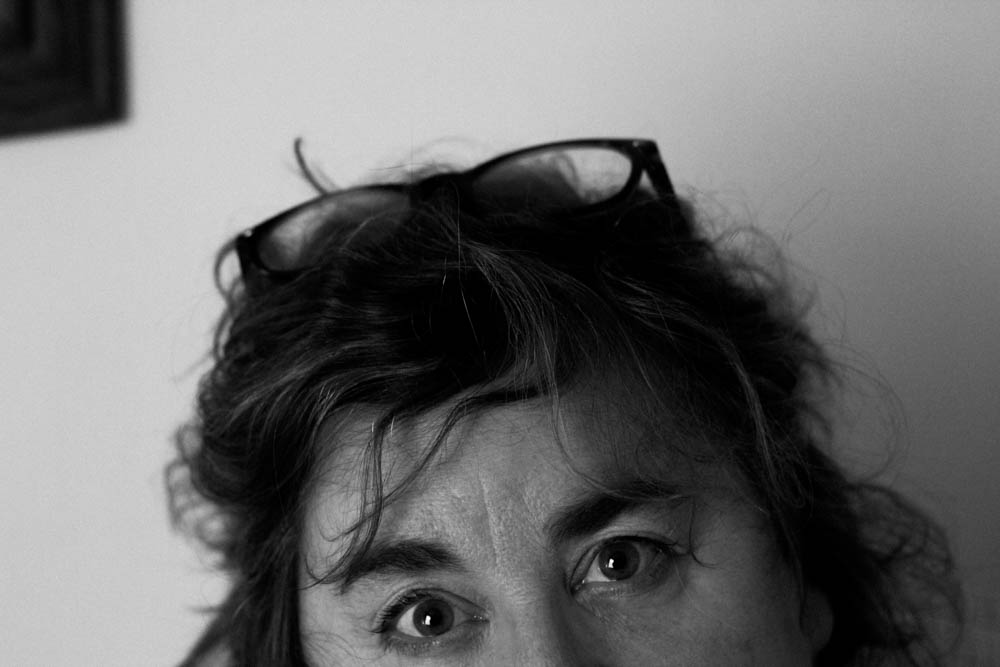
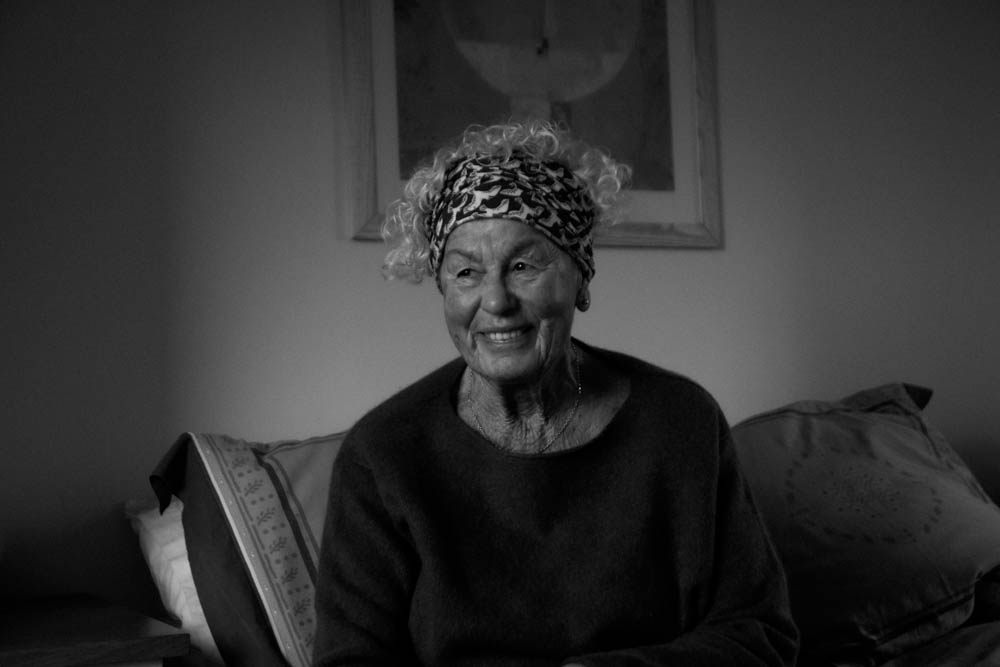
I chose these two images together as I think they show two different parts of my subject. The left is showing very little about my subject, whereas the right shows a playful, inquisitive side. I put these two together because of their highly contrasted nature, but also with some light tones in each. I placed the image to the right in the position because it creates the illusion my subject is looking outside the frame which I like.
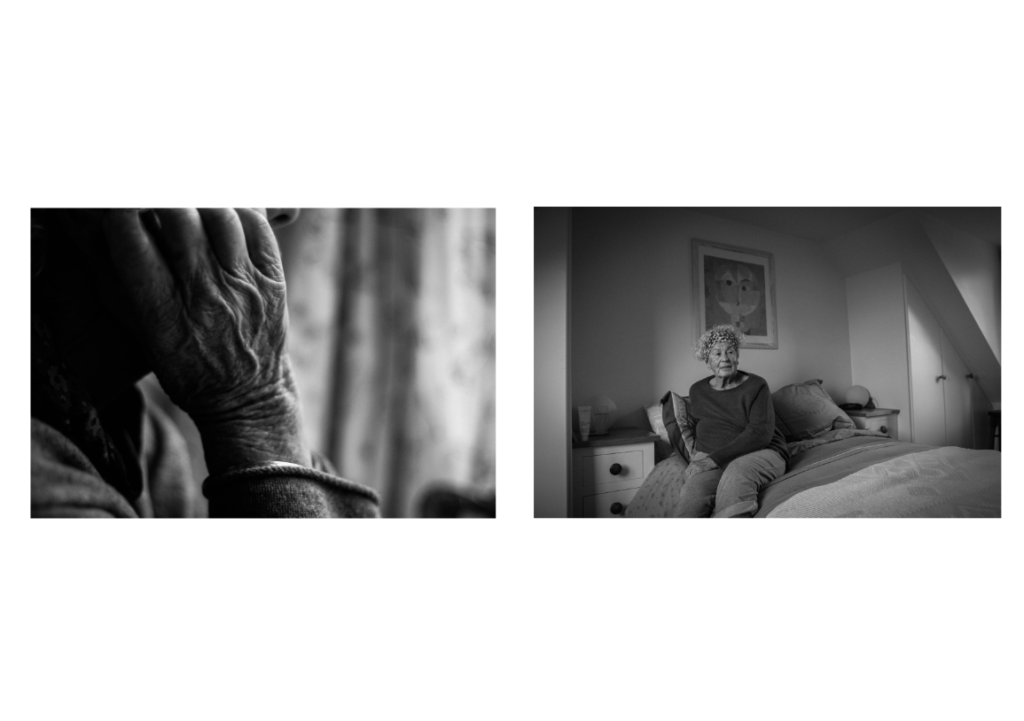
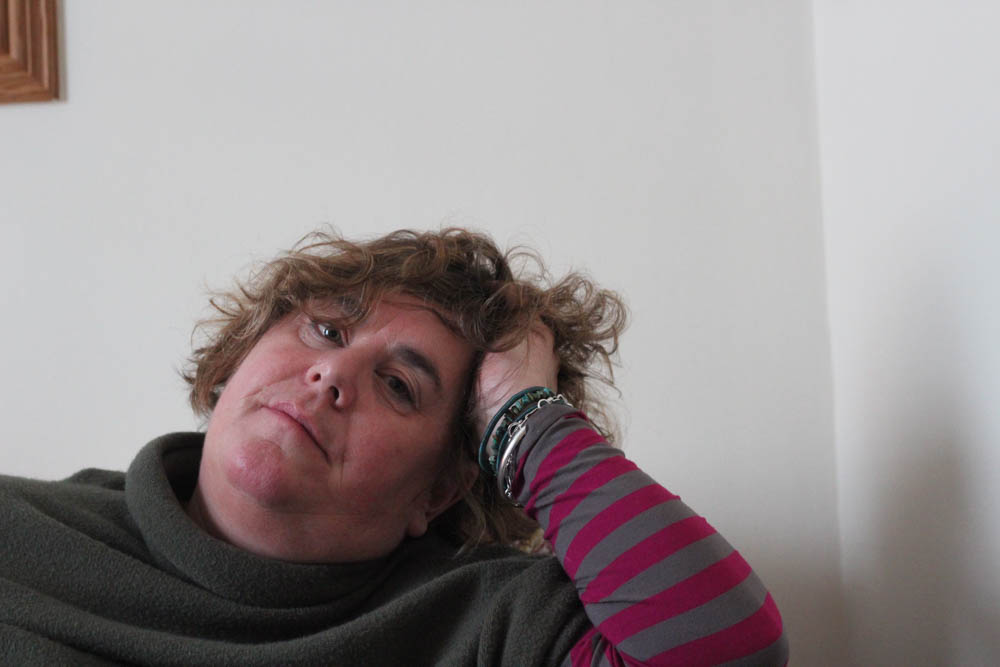
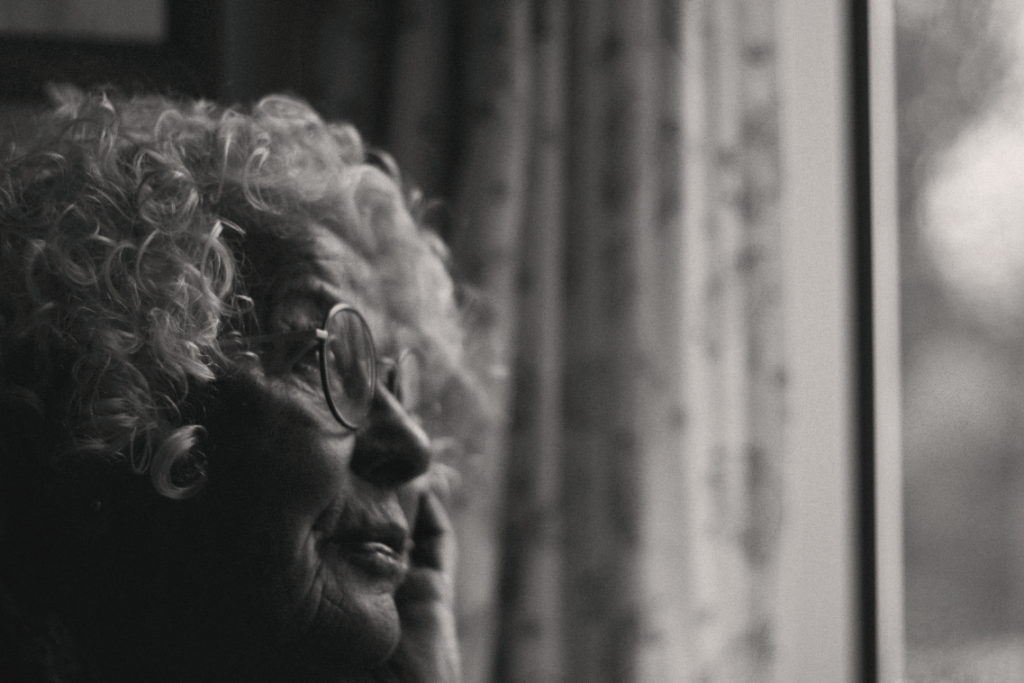
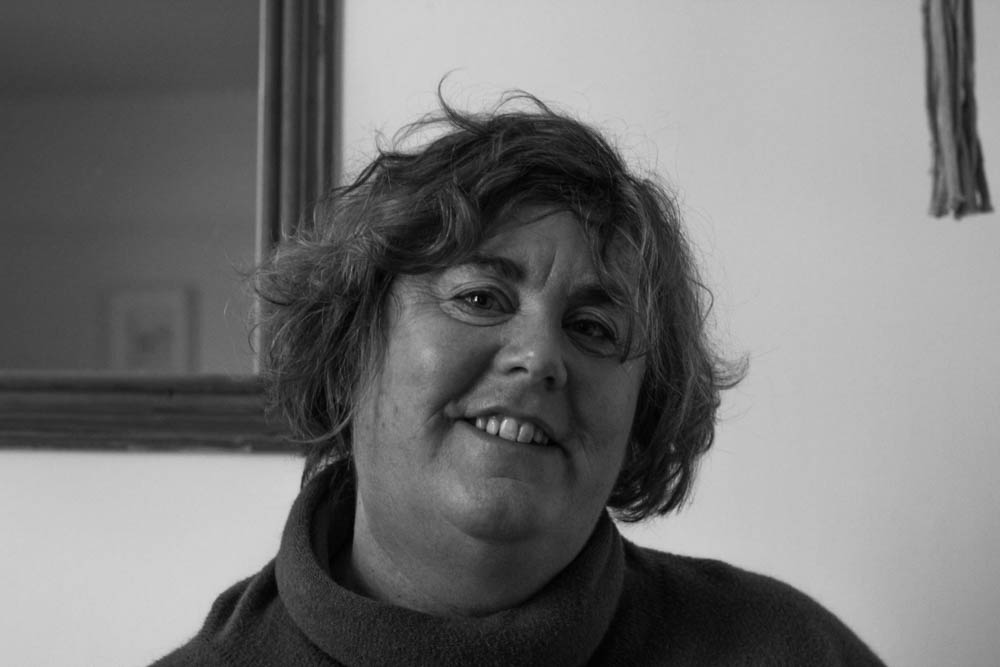
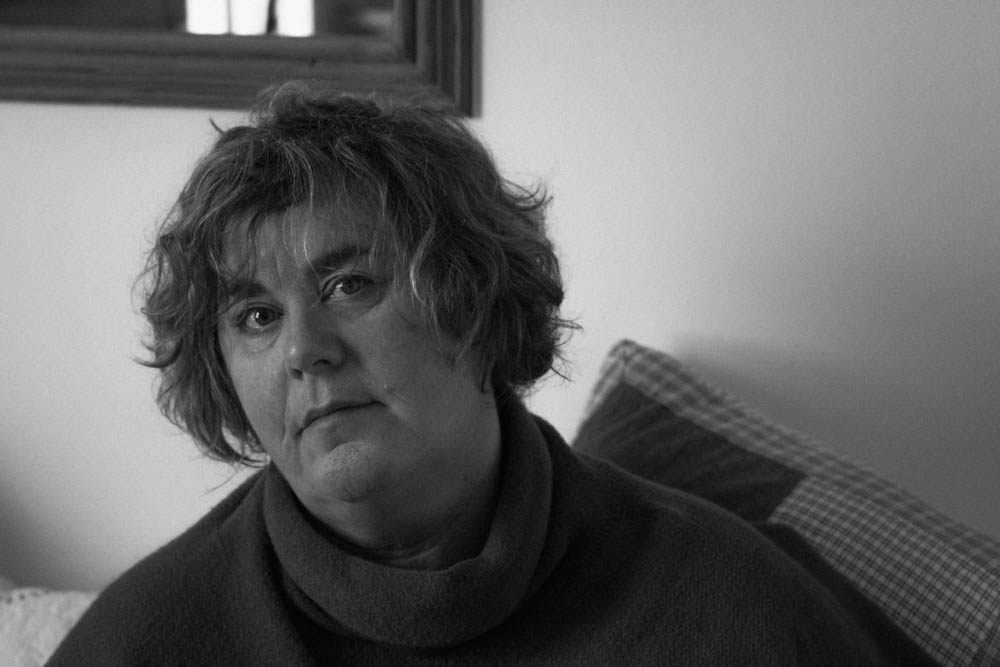
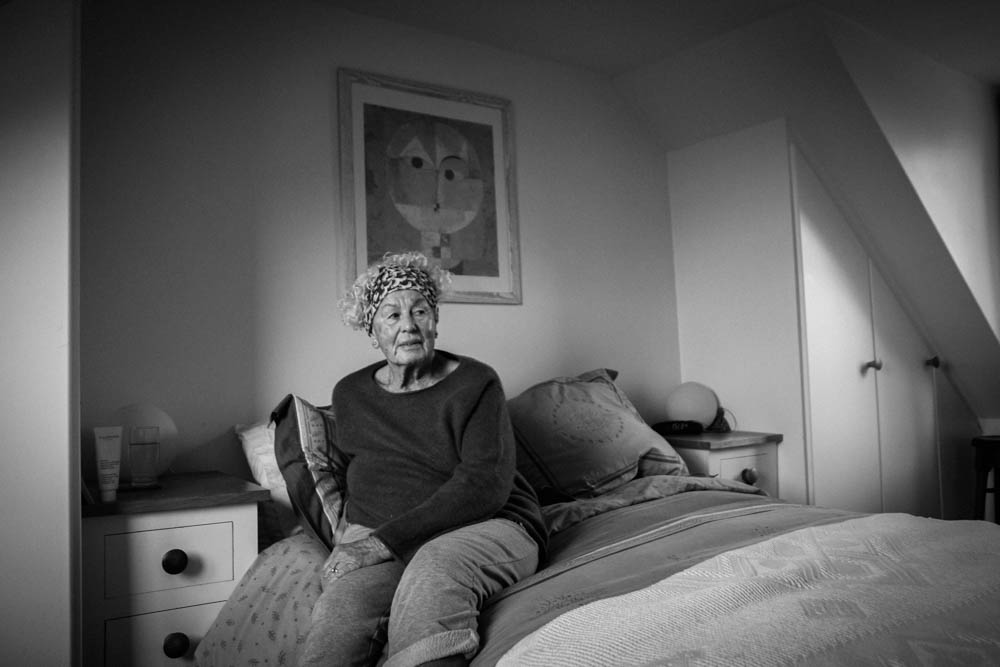
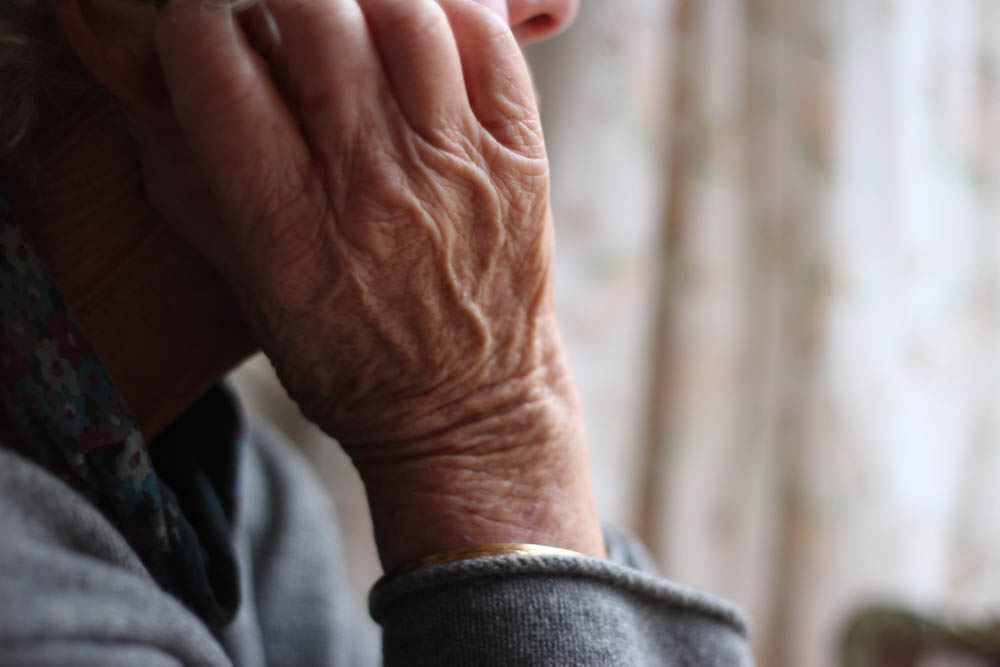
I chose to put these images together because they both have a reflective nature – they both picture my subject in thought, but with different shots. The left is much closer, showing much more of a physical identity. However the image to the right is pensive in a way. It pictures more of my subject’s surroundings, which reveals more of an environmental identity than the left. I think that this contrast between the two helps them go together nicely.
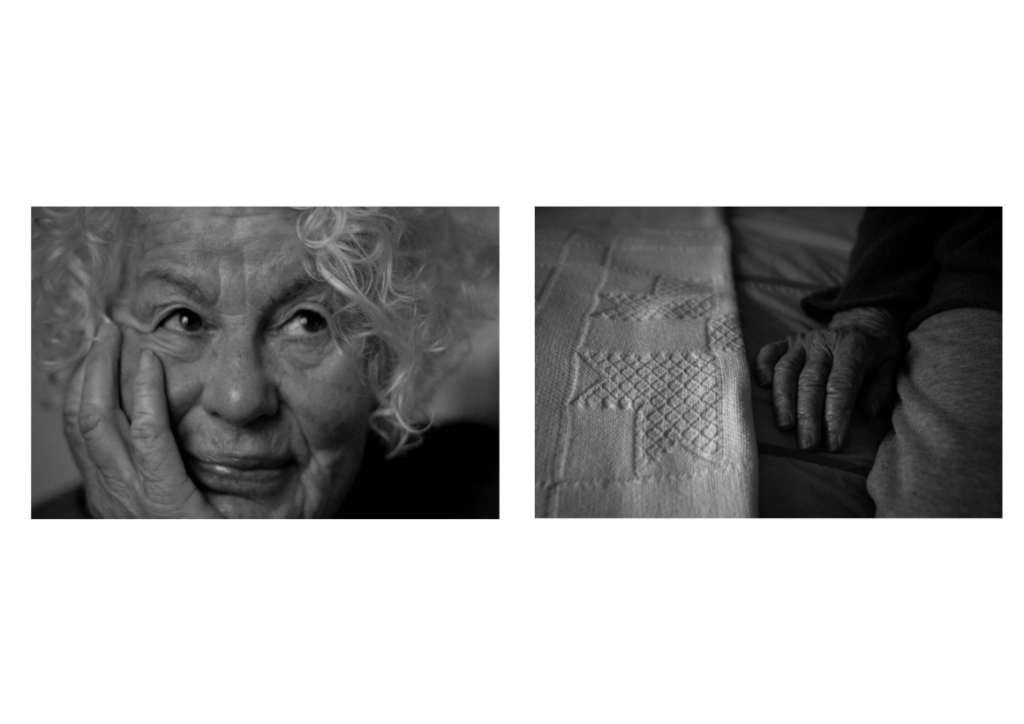
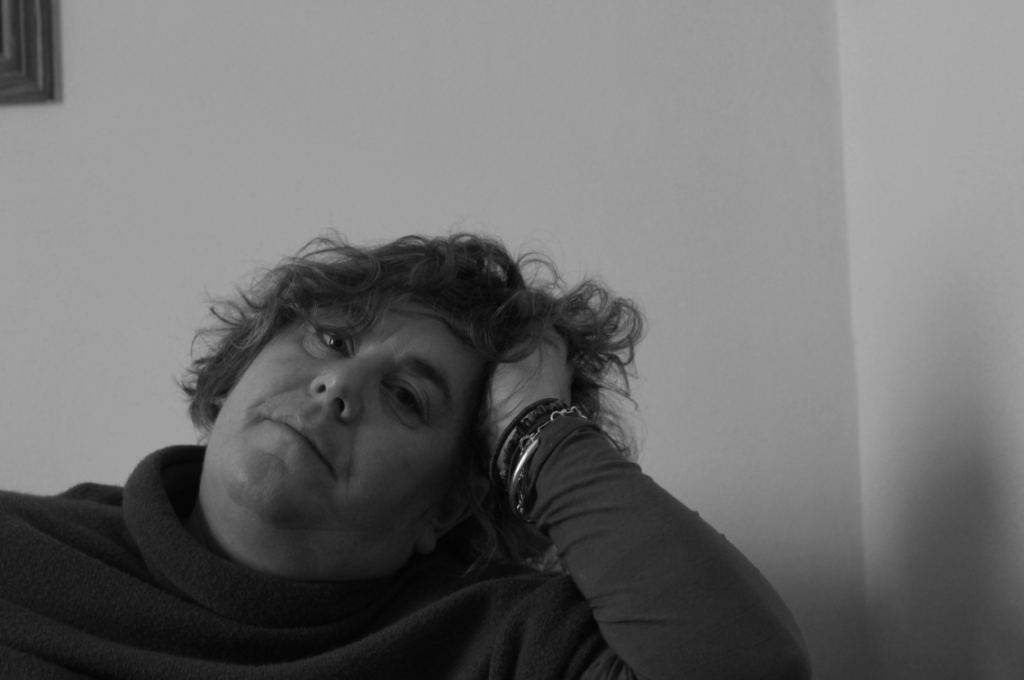
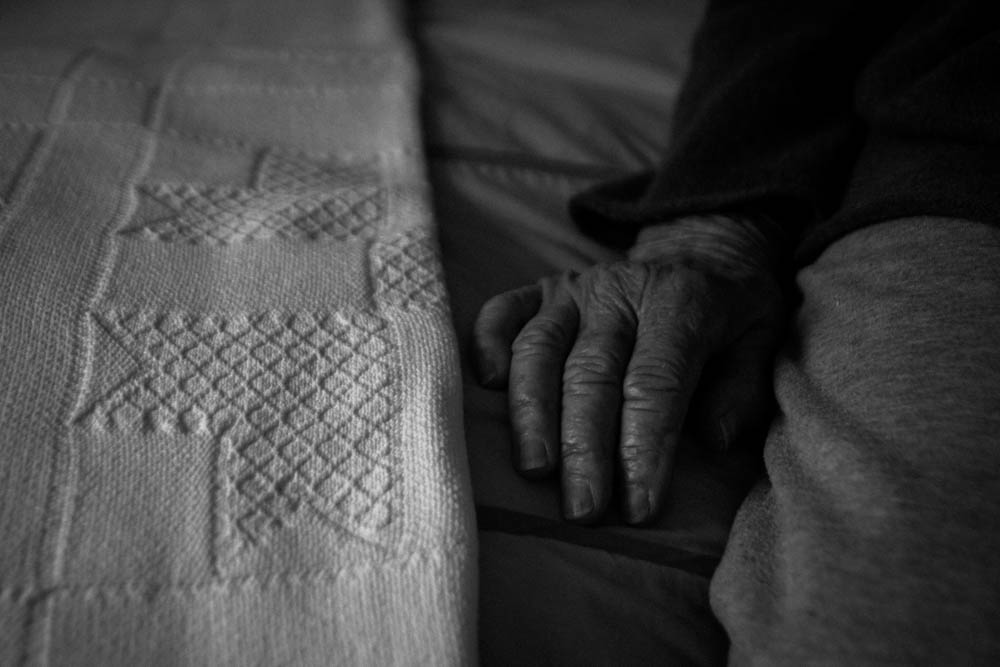
I chose to put both these two images together because of their great differences – however they both feature my subject’s hand. which draws them together. Also they both have a lot of white and grey tones. For example on the left in the hair, and on the right the colour of the blanket and throw on the bed. The image on the right is more secretive, which I like, whereas the one on the left is a close up, showing lots about the subject.- I think this contrast brings them together.

Virtual Gallery

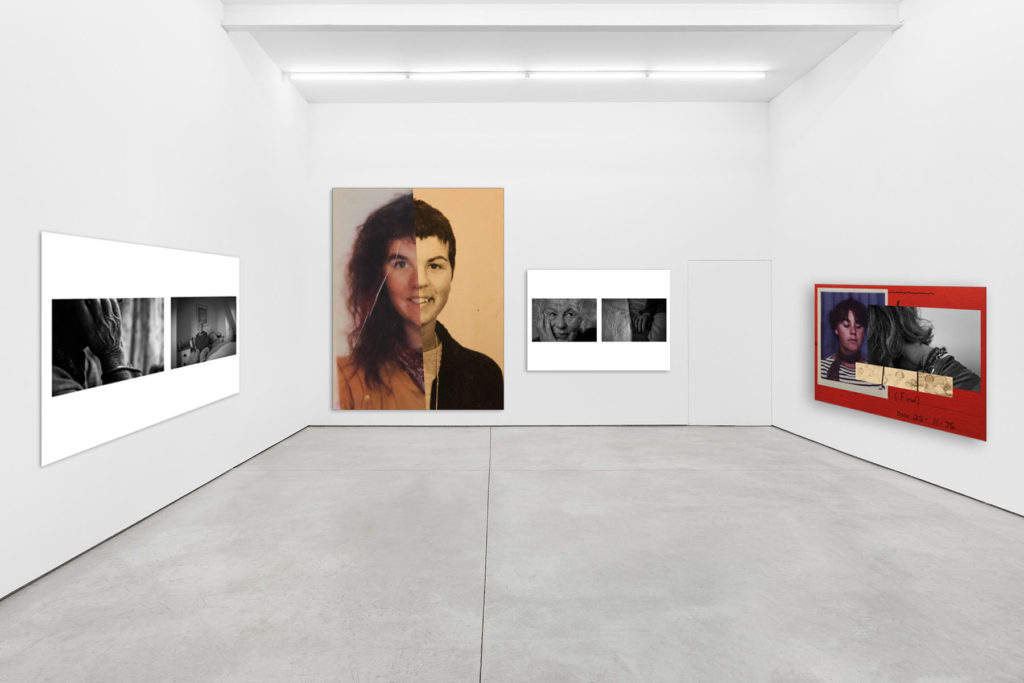
After finalising my final outcomes, I created a virtual gallery of my favourite images. I did this by adding each image I want into a blank gallery space, and adding a drop shadow and stroke to make the images look more realistic, as well as using the perspective tool to change the angle of the image on the wall of the gallery.

My first virtual gallery

Experiments

After editing my images, I exported them in higher resolution into photoshop to ensure they were good enough quality.

In my experiments below, I was inspired by Joachim Schmid to include halves/bits of faces, and to collage these together, but also collage and photomontage artists like John Stezaker.

I think that the work of John Stezaker and Joachim Schmid work well together, and are similar in some ways, which inspired my experiments below.

Combining my found images of my mum’s old bedroom with an image of her age 17, and a present day image of her. I chose this combination of images to show age identity, as well as to document and comment on the passing of time. I also like the way all the colours of this image go together. with the two monochromatic, Bill Brandt inspired images, and the old photograph with its yellow tones.

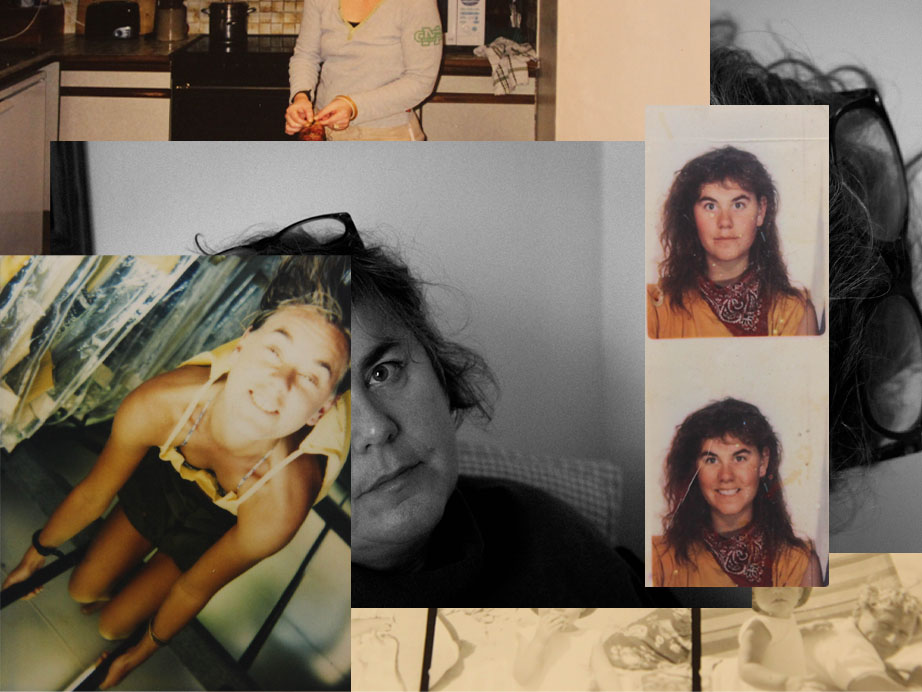
Another of my experiments -here I experimented with adding an old document in the background, which created a vibrant colour contrast. I used an old polaroid of my mum as a child with my grandfather, along with a picture of her when she lived in London, and an abstract picture of her in the present day.

In this edit I wanted to do the same kind of idea as my previous experiments, but with two generations. I used images of my mum and nana from the present day, on the bottom, with a family portrait from the 70s when my family lived in New Zealand, as well as two images of my mum (left) and my nana (right) when they were young. My mum would have been about 20, and my nana a little younger, in her teens. I wanted to produce a juxtaposition of generations in this experiment.

Joachim Schmid Experiments

Below are my edits specifically inspired by Joachim Schmid.

My second experiment – I think the angle and placement of my archival image was much better here, which created a much better composition and the two images of my mum blended more seamlessly together.
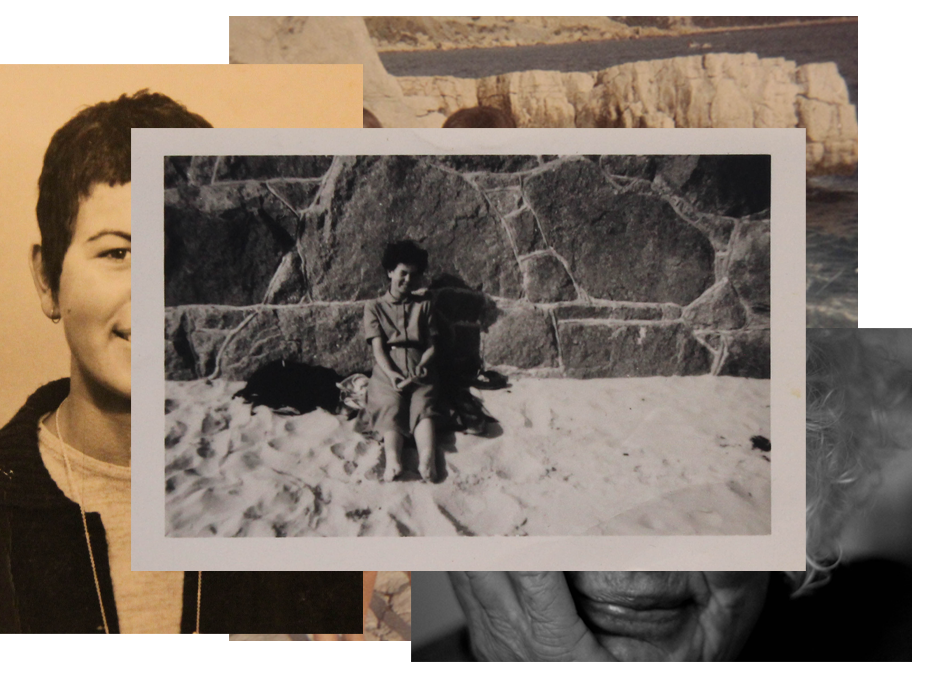
Another of my experiments – this time focusing on my grandmother. I placed the image of my nana in the present onto a white background, then added a slice of an image of her when she was younger, bringing it out of the border of the first image. I liked the effect it created, adding dimension.

I then added to this edit. I placed two more archival images of my grandmother into the background. I covered my nana’s face on the left, causing the viewer to focus only on the faces in the middle – this was inspired by John Stezaker. The image to the right contrasted nicely with the other image – the image above it concealed parts of the image, leaving just my nana’s feet and hair visible. I kept her hair visible as this is a huge part of her identity, and it shows in this collage, through the passing of time.

My most successful edit – I used an archival image of my mum (left) and my grandmother (right), to show the similarities and differences between them when they were younger. I think that the method of cropping the whole image and placing it on top of another was a better idea that just slicing a part of the image I wanted to add ( with lasso tool), as it created better composed edits.

Editing

As I mentioned in my plan, I was planning to edit two different ways – in the style of Bill Brandt, as well as Luigi Ghirri. – However, I found that Bill Brandt’s edits worked more with my archival pictures and my own pictures, and Luis Ghirri’s much more difficult and not fitting as well with my new pictures. Therefore I decided to only edit in the style of Bill Brandt, and pair these with my archival images. This type of editing will make up my final pieces, edited together in the style of Joachim Schmid.

Bill Brandt inspired edits

Other examples of my editing

I’m glad I made the decision to only use Bill Brandt as my editing inspiration, as I think that they show the idea of age and generational identity better, and fit more coherently with my found images. This will make it easier for me to create my final pieces in the style of Joachim Schmid.

Image selection and Subselection

After taking my images, I put them into separate folders in Lightroom. For example, I had a folder purely for my more abstract images, as well as each shoot. I did this for my abstract images using a colour label (red), as well as using a separate folder and the flagging system (P and X keys). Below are contact sheets of my favourite images, as well as a gallery of my favourites for each shoot.

When I was selecting my favourite images, I was looking for clear, straight images, in which the subject had a suitable facial expression, and was framed properly. I also didn’t want to select images with too much over/underexposure, and images too grainy – a small amount is okay, due to my editing I hope to do, but too much would make it too difficult to develop my editing. – I had to be especially careful in my 2nd shoot of this. Additionally, when selecting images from my last shoot I had to be careful of shaky images, one of my issues in that shoot. When I had selected my final favourites from each shoot, I then rated them with the 5 star rating, and exported them as blog-friendly images (100 pixels on the long edge).

Photoshoot 1

Selecting my best images for my found images – using colour labels: red for objects/non-portraits, yellow for pictures of my grandmother, and green for pictures of my mum. I flagged my favourite using P and X. This will make it easier for me to find my favourites of each subject when editing and collaging.

Best images

Abstract Images

Here is a contact sheet of my favourite abstract, highly zoomed images, that only show certain parts of the subject.

Best Images

Photoshoots 2 and 3

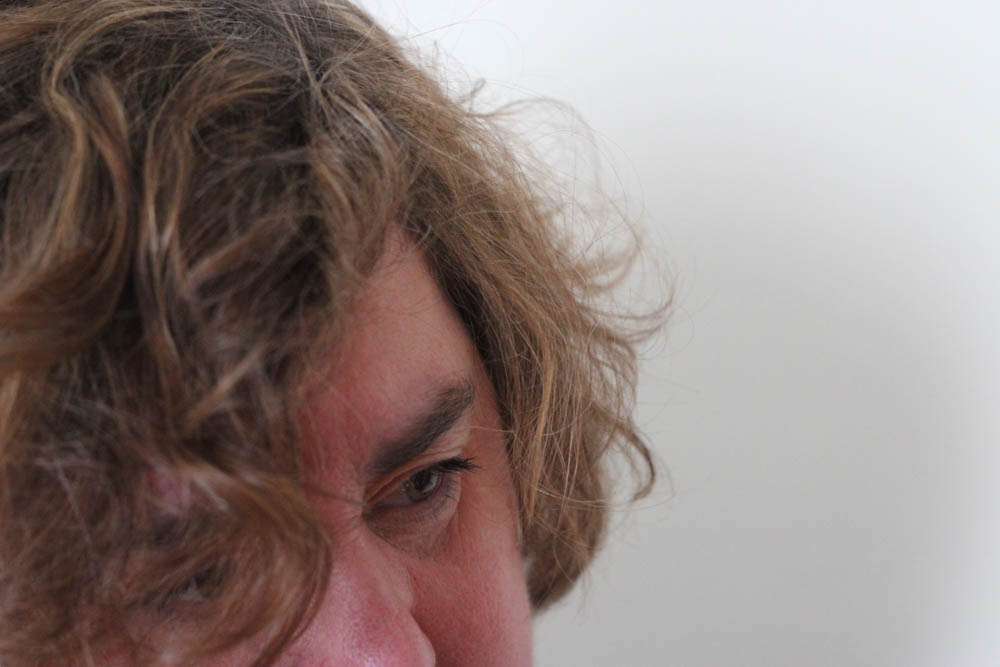
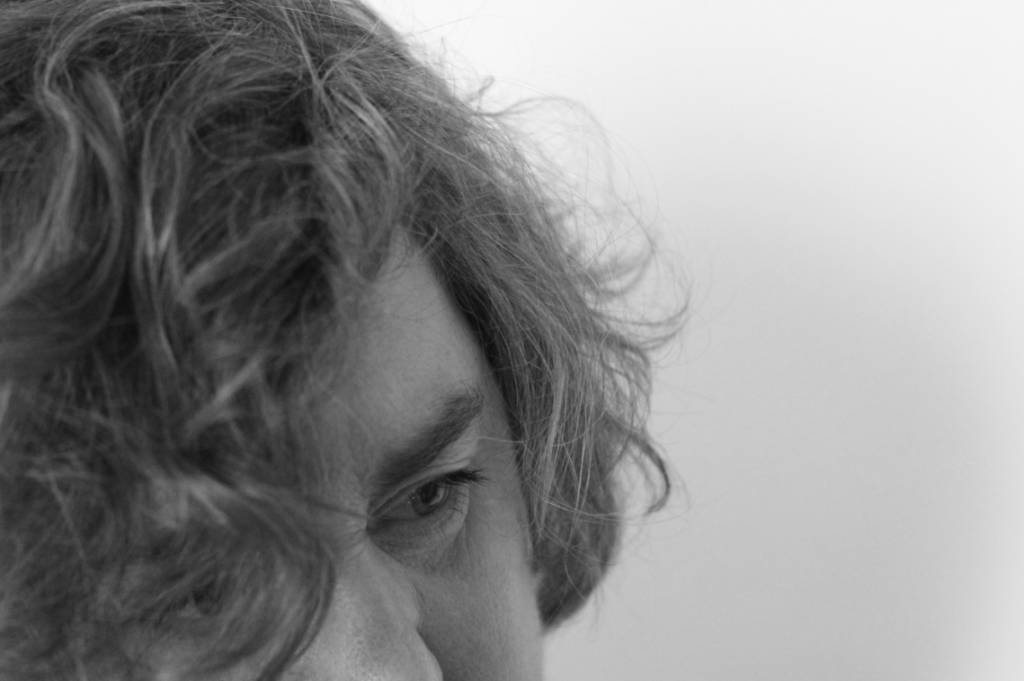
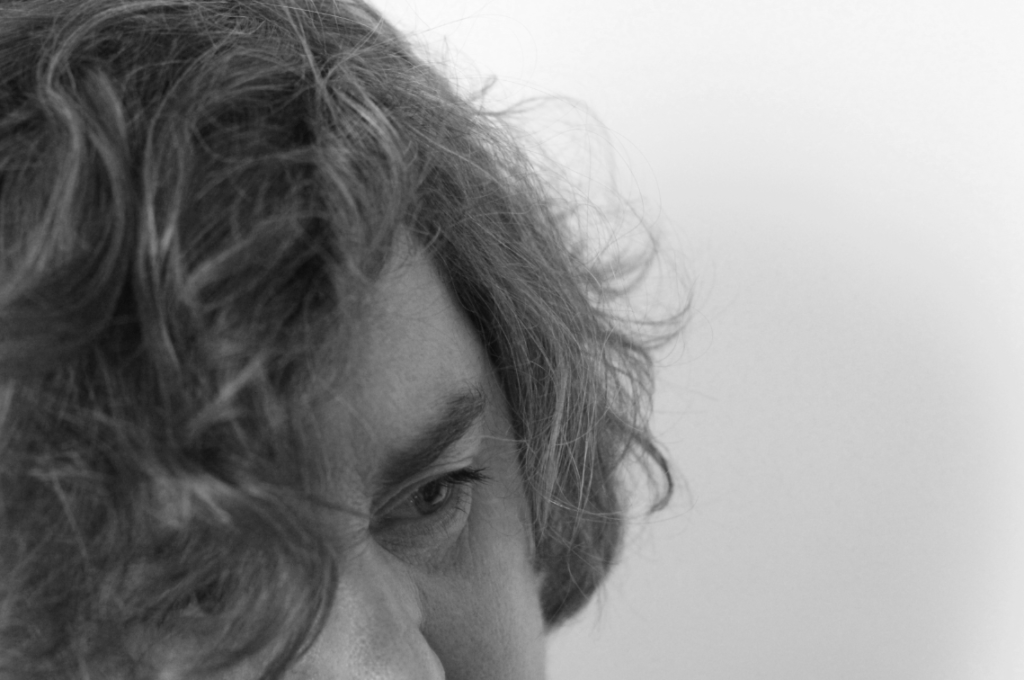
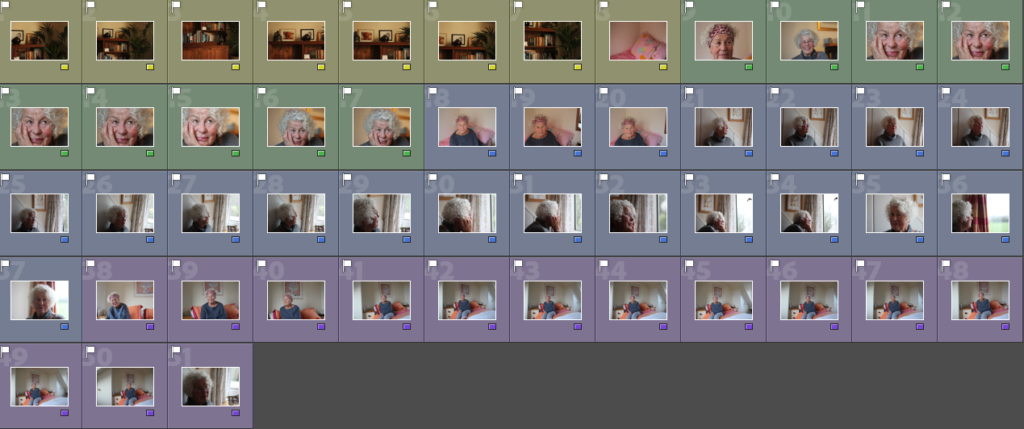
Here is a contact sheet of my best images for my two photoshoots of my grandmother. I used the P and X tools first to filter my favourites, then colour labels for each type of shot- – yellow for objects/non-portrait, blue for headshot, green for close up, red for abstract (not in this screenshot for this shoot, see above), and purple for my wider shots.

Best Images

Photoshoot 4

My best images of my last photoshoot of my mum. I organised my images by using a separate collection for this shoot, and using P and X to separate my most successful. I then used colour labels for different shot types – Red for abstract, Green for close up, Blue for headshots, and Purple for pictures showing more of my subject with less zoom.

Best Images