To get you started we are going to learn some more studio methods…using a variety of simple lighting techniques. Oliver Doran will be joining us, and running a few MASTERCLASS sessions . Here is his website for you to explore..https://www.oliverdoran.com/
Oliver has been influenced by the likes of Platon, amongst others…http://www.platonphoto.com/menu/
Monday 22nd Nov – Task
Develop and write an introductory blog post…
Use the information below to help you create the content for your blog post…
Early Pioneers…
Louis Daguerre France (18 November 1787 – 10 July 1851)
- French artist and photographer
- invention of the daguerreotype process of photography
- worked closely with Joseph Niepce
- an accomplished painter
- developer of the diorama theatre.


Henry William Fox-Talbot (1800 – 1877) UK
Fox Talbot was an English member of parliament, scientist, inventor and a pioneer of photography.
Fox Talbot went on to develop the three primary elements of photography: developing, fixing, and printing. Although simply exposing photographic paper to the light produced an image, it required extremely long exposure times. By accident, he discovered that there was an image after a very short exposure. Although he could not see it, he found he could chemically develop it into a useful negative. The image on this negative was then fixed with a chemical solution. This removed the light-sensitive silver and enabled the picture to be viewed in bright light. With the negative image, Fox Talbot realised he could repeat the process of printing from the negative. Consequently, his process could make any number of positive prints, unlike the Daguerreotypes. He called this the ‘calotype’ and patented the process in 1841.

Julia Margaret Cameron (11 June 1815 – 26 January 1879) UK
She is known for her soft-focus close-ups of famous Victorian men and for illustrative images depicting characters from mythology, Christianity, and literature.
Much of her work has connections to pictorialism and even movements such as The Pre-Rapahelites, and often had a dream-like, constructed quality to the images.

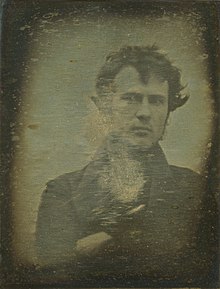
Robert Cornelius (1809-1893) USA
Henry Mullins Jersey (1854-1921)
- Patronised by Queen Victoria
- https://societe-jersiaise.org/photographic-archive

(Jersey-based) See also Ernest Badoux, William Collie, Charles Hugo, Thomas Sutton
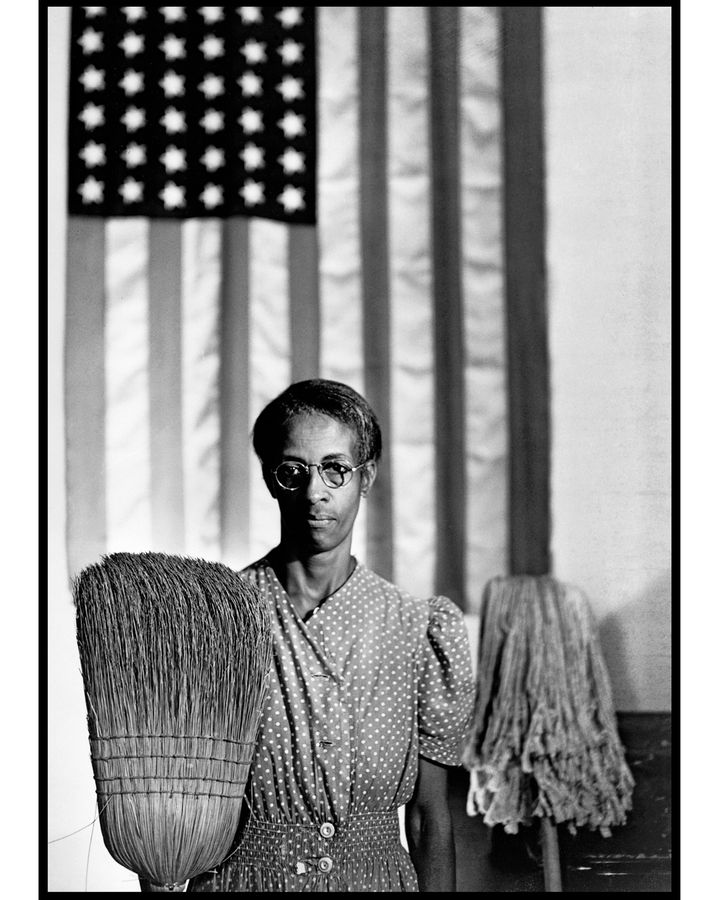
20th and 21st Century Approaches
Watch : Rankin on “beautiful portraits”
Studio Lighting
Exploring Technique
1. Natural Light
In most cases we can make use of natural or available / ambient light…but we must be aware of different kinds of natural light and learn how to exploit it thoughtfully and creatively…
- intensity of the light
- direction of the light
- temperature of the light (and white balance on the camera)
- making use of “the golden hour”
- Using reflectors (silver / gold)
White Balance (WB) and Colour Temperature

- Explore using diffusers (tissue paper, coloured gels, tracing paper, gauze etc) to soften the light
- Try Front / side / back lighting
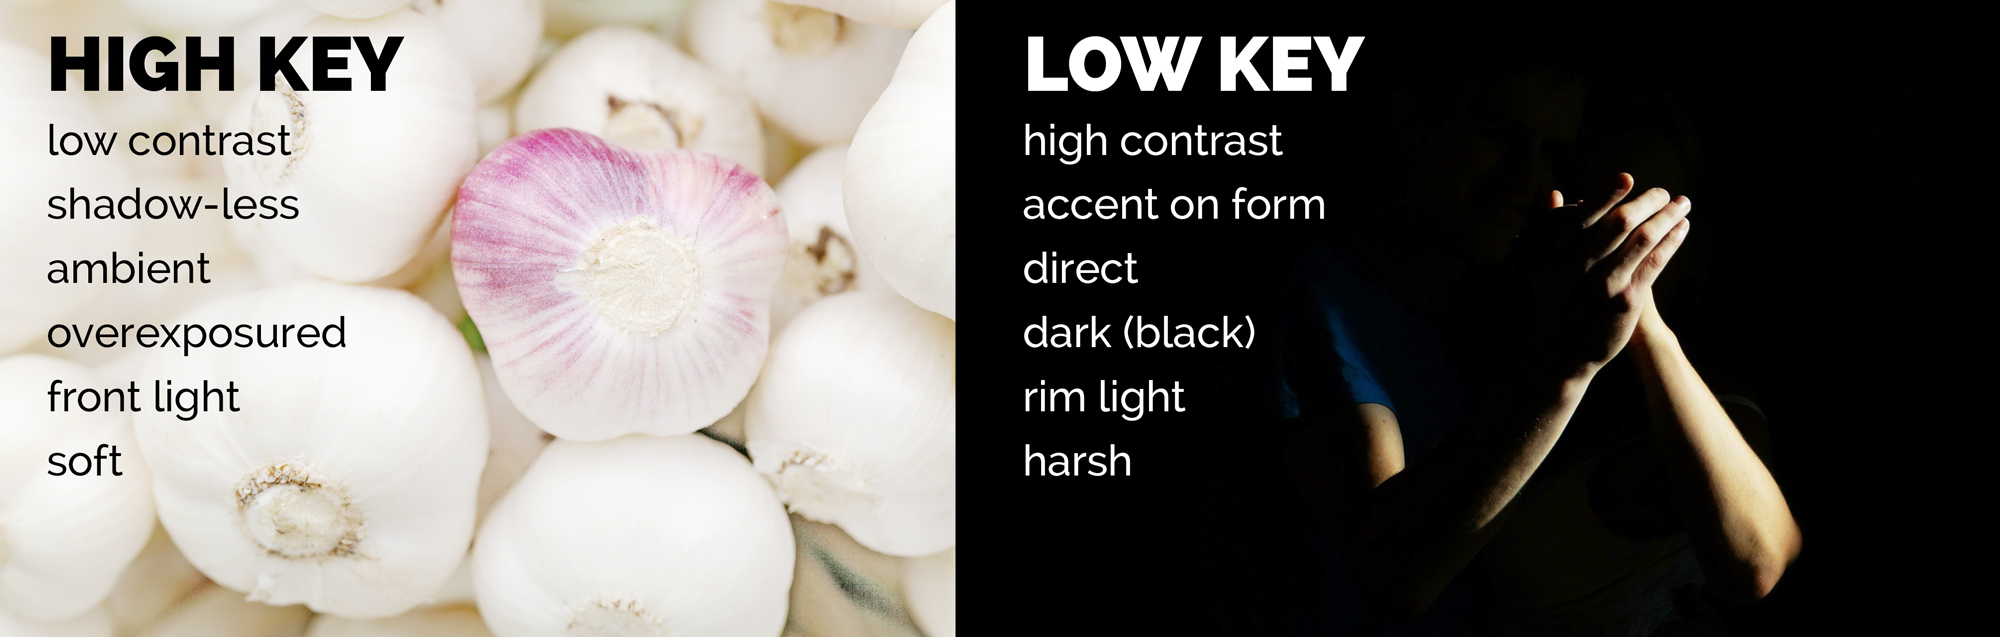
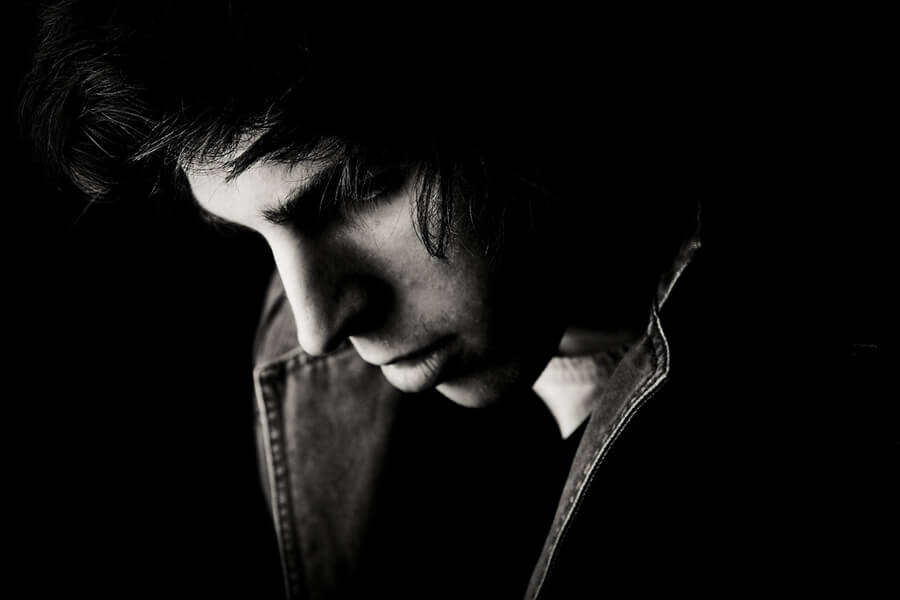
- Compare High Key v low key lighting
- Exploit Shadows / silhouettes
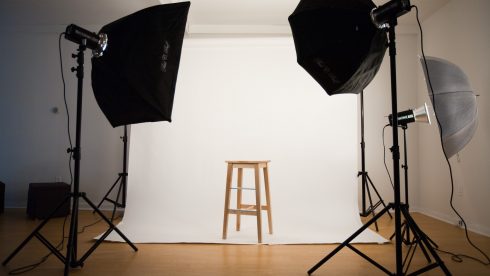
2. Studio Lighting
Using artificial lighting can offer many creative possibilities…so we will explore :
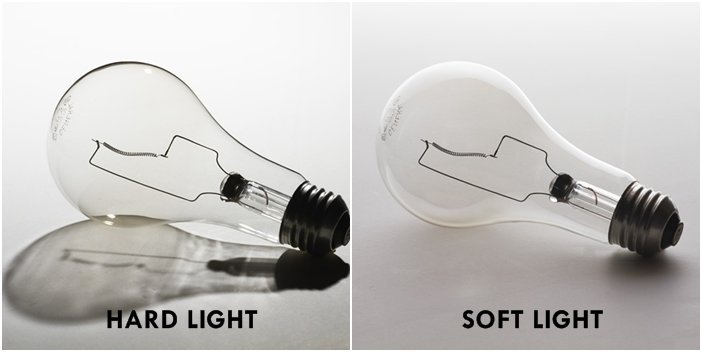
- the size and shape of light
- distance from subject to create hard / soft light
- angles and direction…high, low, side lighting
- filtered light
- camera settings : WB / ISO / shutter speed etc
- reflectors and diffusers
- key lighting, fill lighting, back lighting, 1,2+3 point lighting
- soft-boxes, flash lighting, spot lights and floodlights
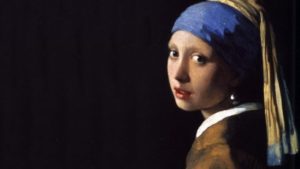
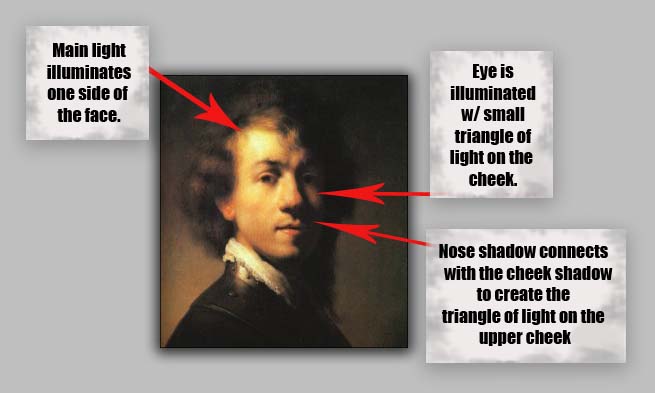
- chiarascuro and Rembrandt lighting
- high key and low key lighting techniques
- backdrops and infinity curves
- long exposures and slow shutter speeds

Using Flash
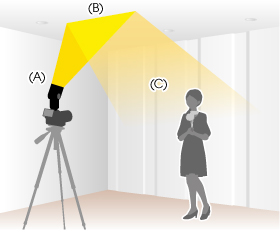
Above : An example of “bouncing” the flash to soften the effects and create a larger “fill” area…try this wherever there are white walls/ ceilings
Flash units offer a range of possibilities in both low and high lighting scenarios that you could explore such as…
- flash “bouncing”
- fill-in flash
- TTL / speedlight flash
- remote / infra-red flash (studio lighting)
- fast + slow synch flash
- light painting c/w slow shutter speeds
Evidence of Your Learning
During this unit we would expect all students to complete 2-3 blog posts detailing how you are experimenting with various lighting techniques eg CHIARASCURO / REMBRANDT LIGHTING
Add information / links showing how Chiarascuro has been used since the Renaissance in painting…but also how it used now in photography and film
You must describe and explain your process with each technique…add your images to your blog as you progress, print off your successful images and evaluate your process using technical vocab and analysis skills. Think carefully about the presentation of your ideas and outcomes…compare your work to relevant portrait photographers as you go eg
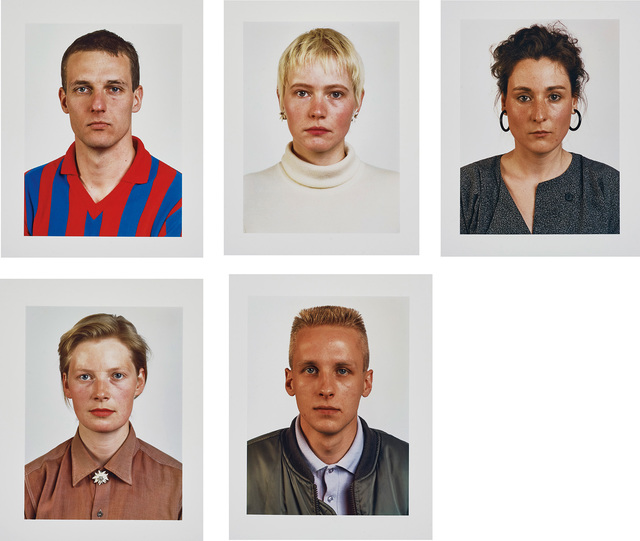
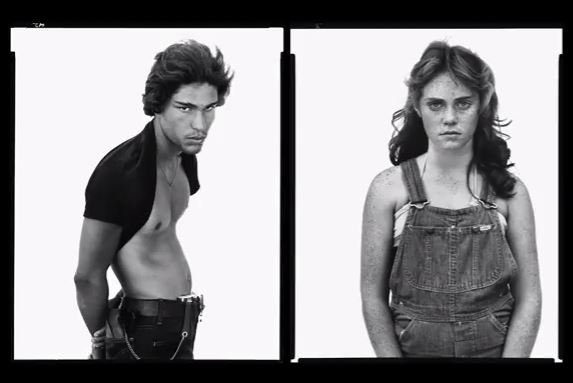
Annie Leibovitz, Irving Penn, Rankin, Richard Avedon, Yousef Karsh, David Bailey, Mario Testino, Steve McCurry, Jill Greenberg, Nick Knight, Tim Walker, Corrine Day, Jane Bown, Rineke Djikstra, Thomas Ruff et al…


Expected Final Outcomes by Monday 7th December 2021
- A Case Study and Practical Responses to a photographer who employs a range of lighting techniques
- 1 x Final Portrait using natural light + analysis and evaluation
- 1 x Final Portrait using 1 point lighting + analysis and evaluation
- 1 x Final Portrait using 2 point lighting+analysis and evaluation
Show you can provide evidence of head shots, cropped head shots, half body, three-quarter length and full length portraits.
Show that you can employ interesting angles and viewpoints…
Make sure you ANSWER THESE QUESTIONS IN YOUR BLOG
- Why do we use studio lighting?
- What is the difference between 1-2-3 point lighting and what does each technique provide / solve
- What is fill lighting?
- What is Chiarascuro ? Show examples + your own experiments
Independent Study
- You must complete a range of studio lighting experiments and present your strongest ideas on a separate blog post
- Remember to select only the most successful images
- You should be aiming to produce portraits that show clarity, focus and a clear understanding of a range of lighting techniques
- Editing should be minimal at this point…we are looking for your camera skills here
- But…be creative and experimental with your approach “in camera”…extremes, uniqueness and possibly thought provoking imagery that will improve your ideas and outcomes.


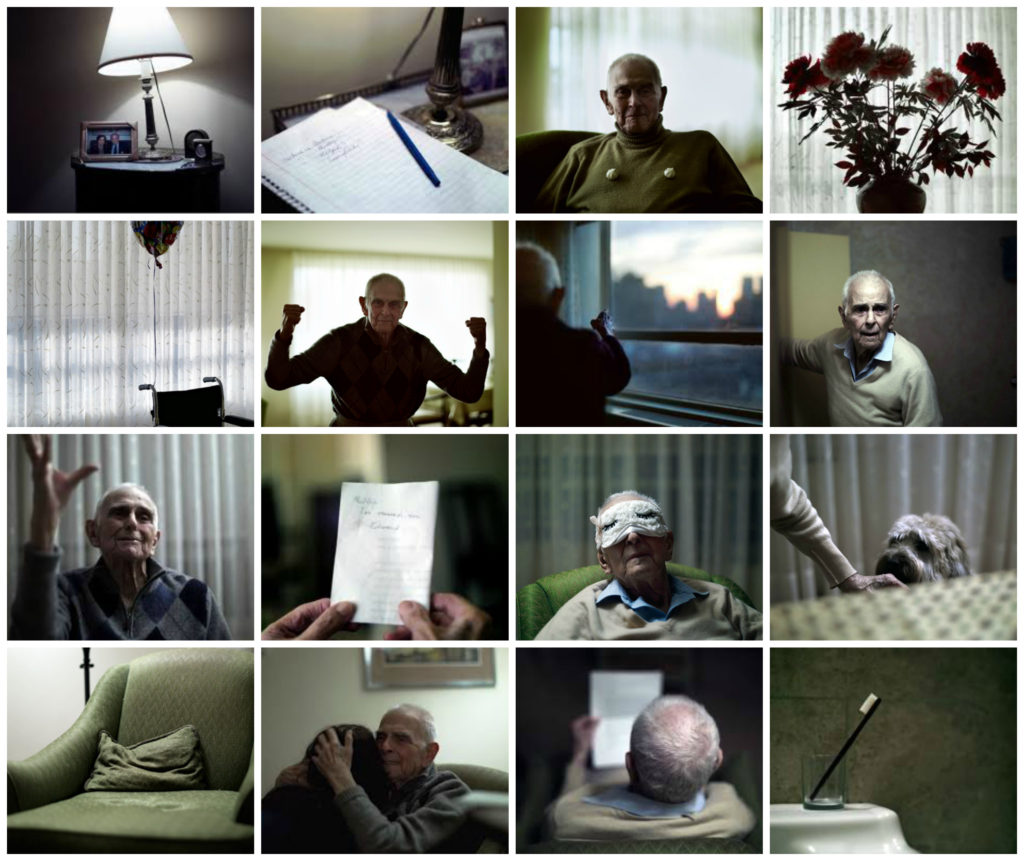
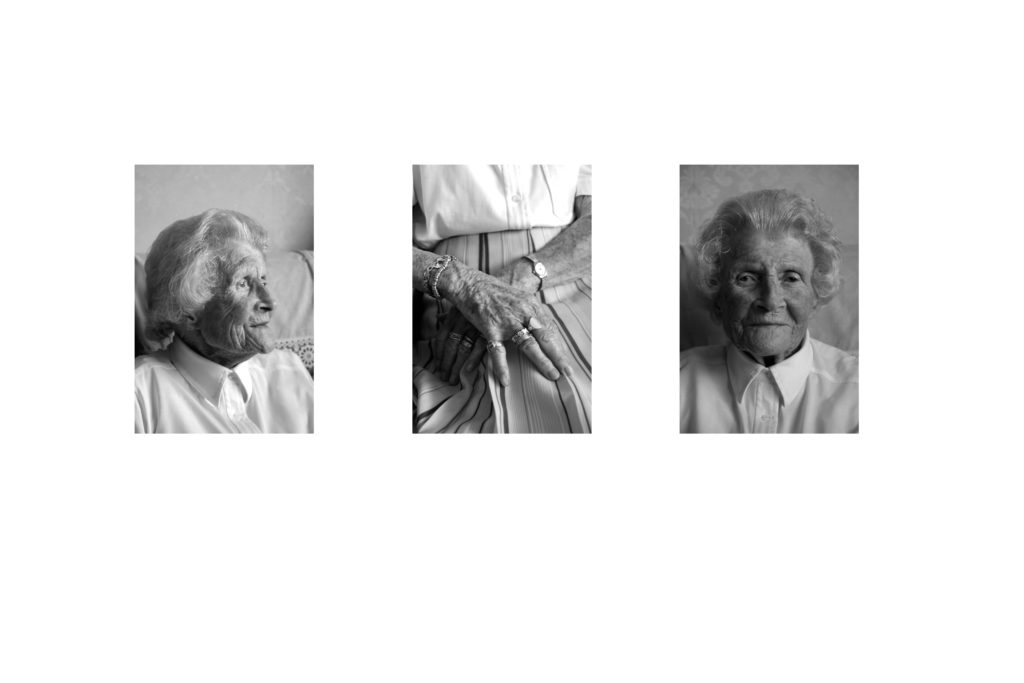
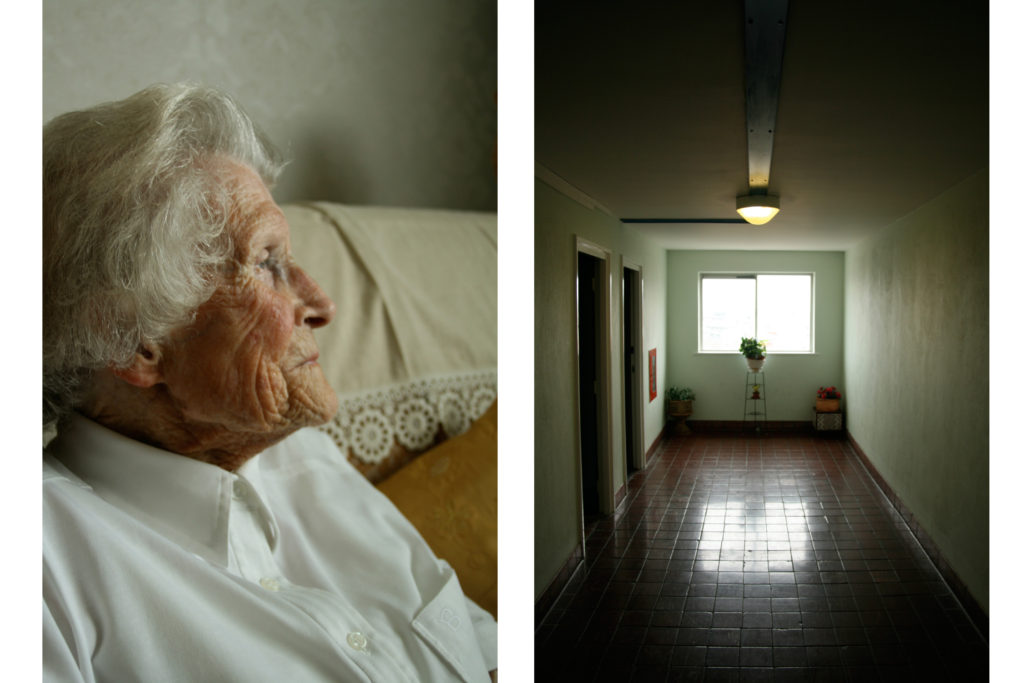
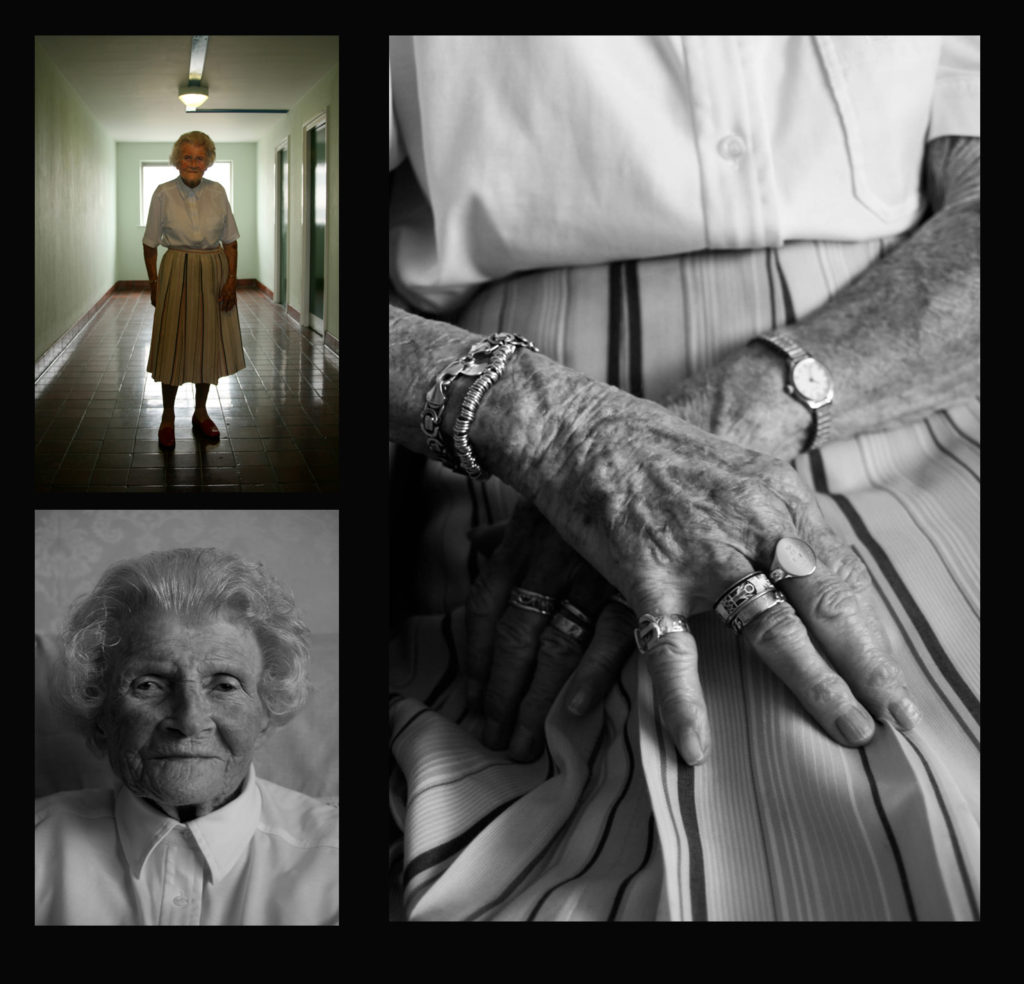
https://www.wefolk.com/artists/nadav-kander/information
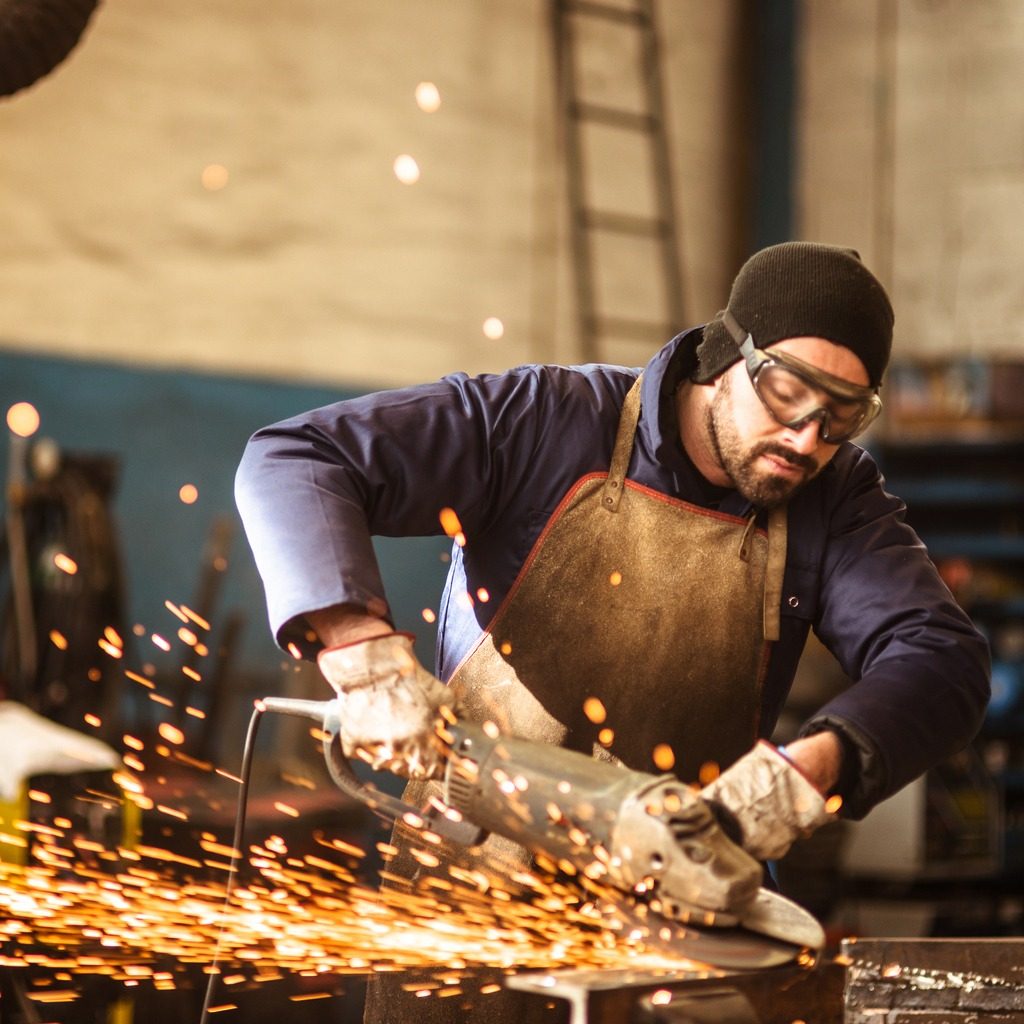
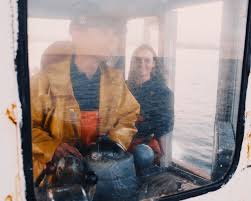
“People and Places”
Further Explorations

1985
Always follow this 10 step process to ensure that you are covering all areas of study for this unit…
- Mood-board, definition and introduction (AO1)
- Mind-map of ideas (AO1)
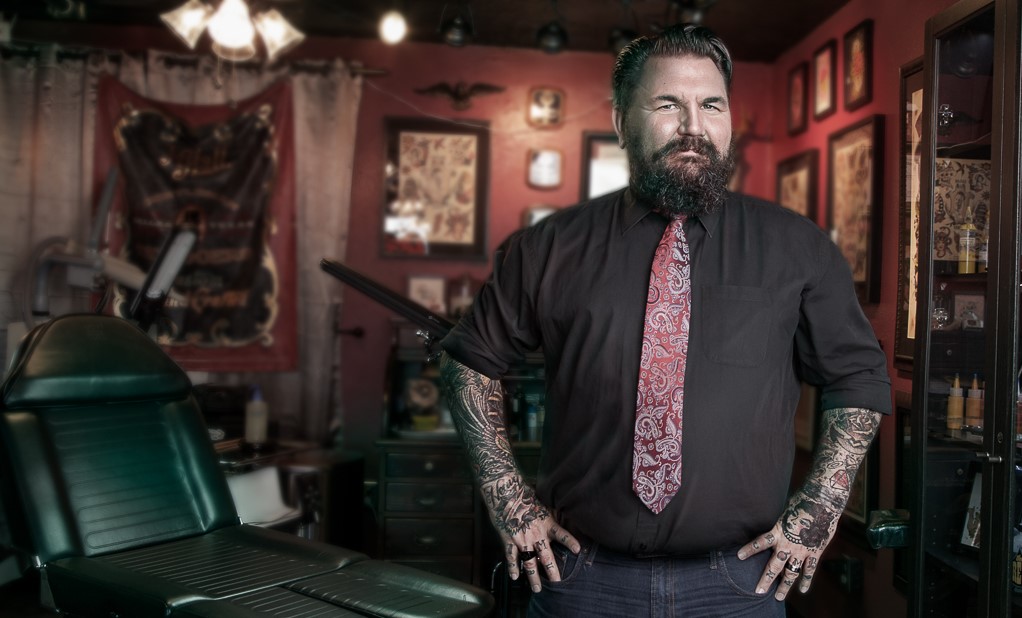
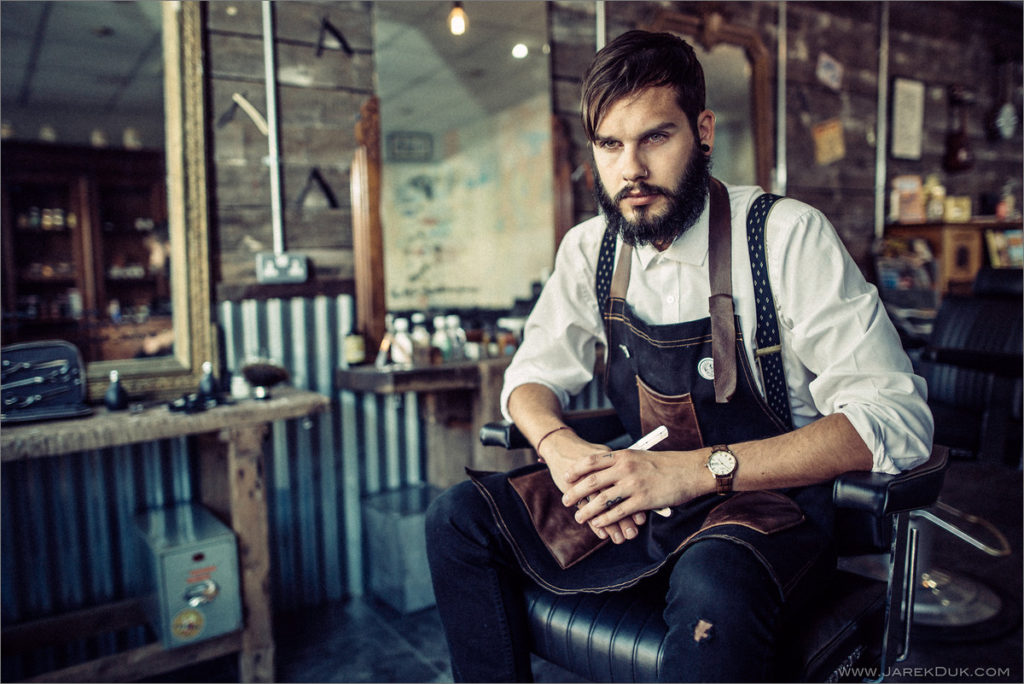
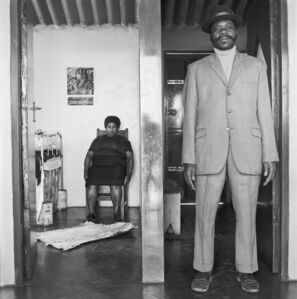
- Artist References / Case Studies (must include image analysis) (AO1) re : environmental and candid portraits
- Photo-shoot Action Plan (AO3)
- Multiple Photoshoots + contact sheets (AO3)
- Image Selection, sub selection (AO2)
- Image Editing/ manipulation / experimentation (AO2)
- Presentation of final outcomes (AO4)
- Compare and contrast your work to your artist reference(AO1) and show analysis of at least 1 of your images
- Evaluation of your images, process and Critique of your final outcomes(AO1+AO4)
Always refer to this to help you with image analysis, knowledge and understanding etc

Resource Packs are stored here…
M:\Departments\Photography\Students\Resources\Portraiture\TO DO
and here : M:\Departments\Photography\Students\Planners Y12 JAC\Unit 2 Portrait PhotographyINDEPENDENT, READING, RESOURCE, TASK