All posts by Emily Bowker

Filters

Author:
Category:

Photoshoot 1 – L’Etacq

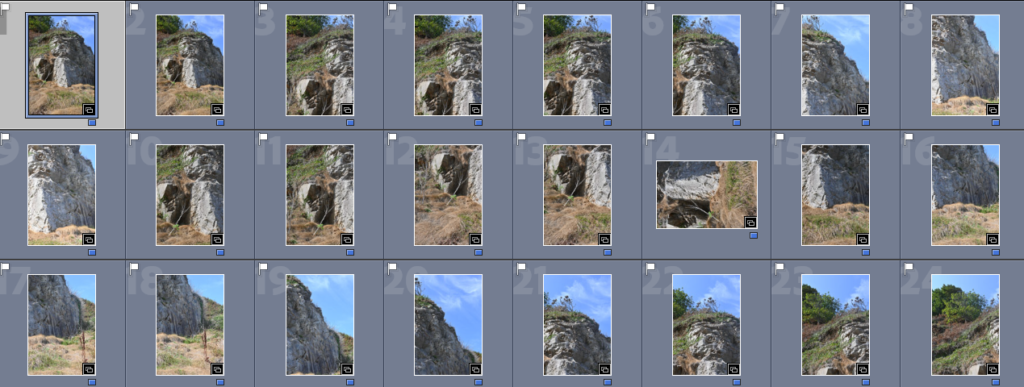
For my first photoshoot, we went down to L’Etacq and La Pinacle which is in the top left of Jersey. When we went down the weather was suitable for taking photos as the sky was different in parts, changing from a light blue with clouds to a light grey. This provided me with a good background for my photos as it wouldn’t contrast and overexpose any of my pictures, and making them clear.
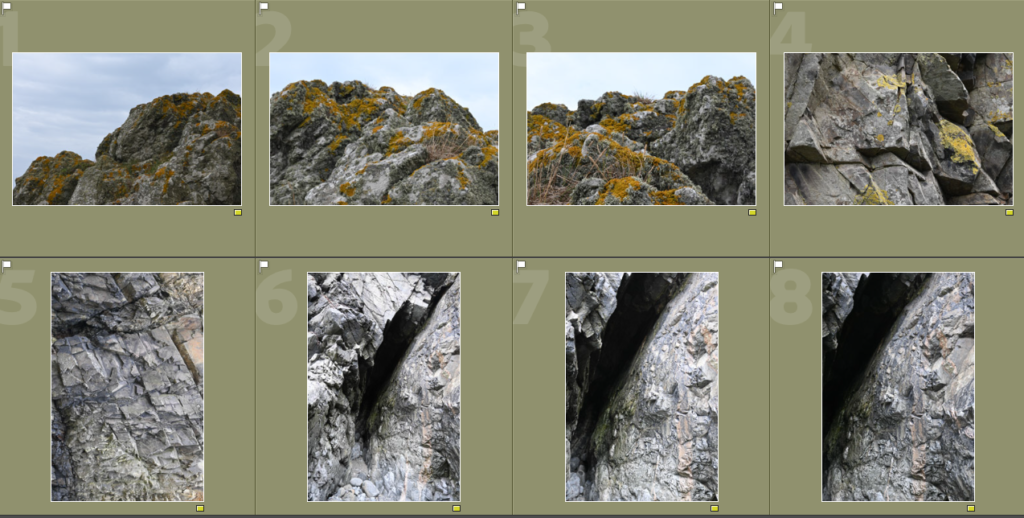
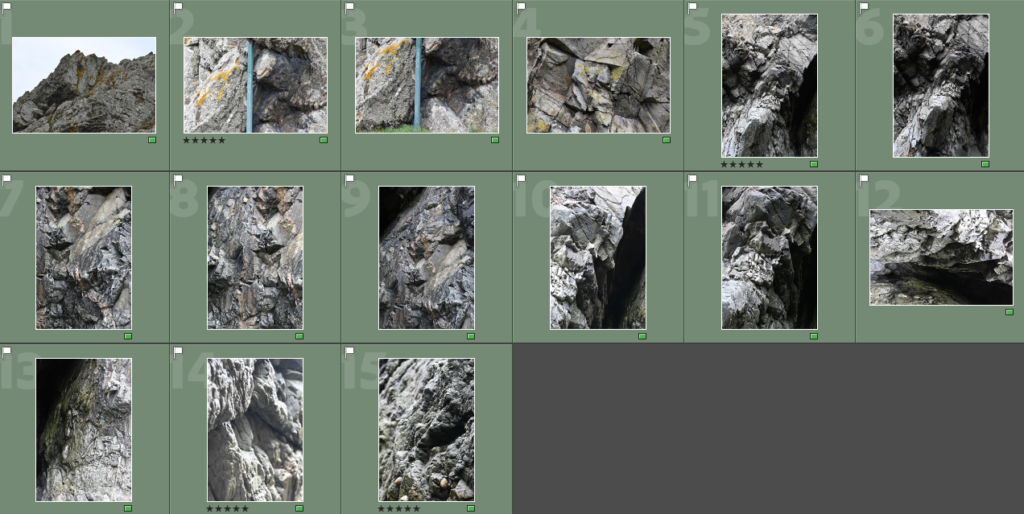
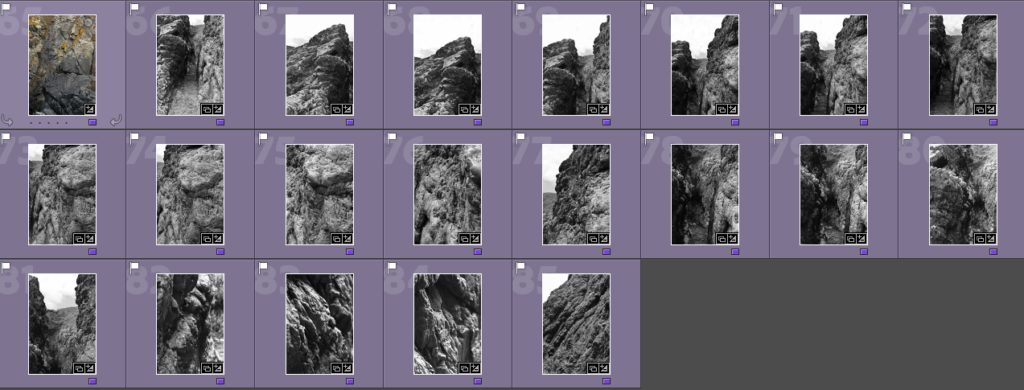
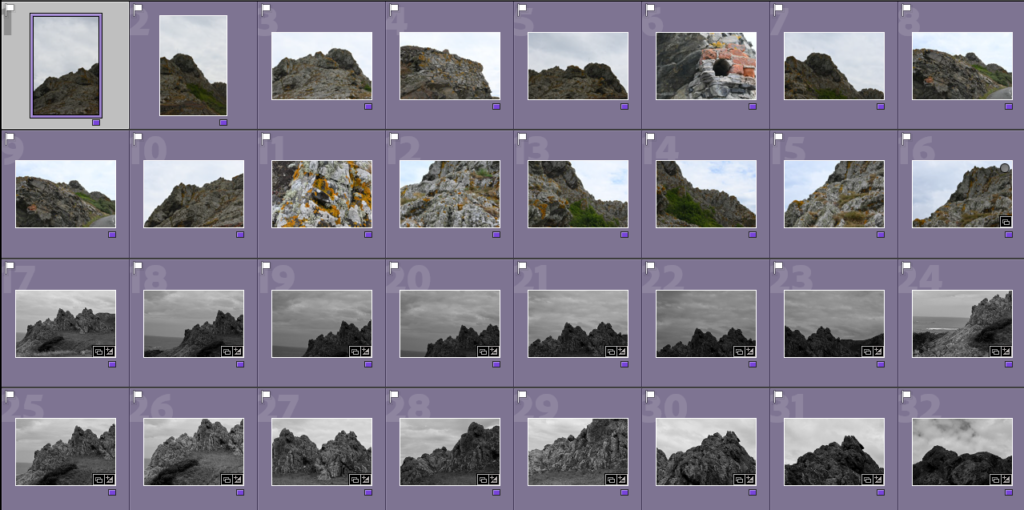
On Adobe Lightroom, I went through my photos and selected the photos which I think turned out well and organised them by colours. As seen above, I put the photos that I thought were potential best shots into the yellow colour so that I could go back for further analysis when deciding on my final 4 best shots. Then I coloured the photos which I thought were the strongest in green, and on further analysis the 4 best shots which I decided on can be seen to be marked with 5 stars.

4 best shots from the photoshoot –

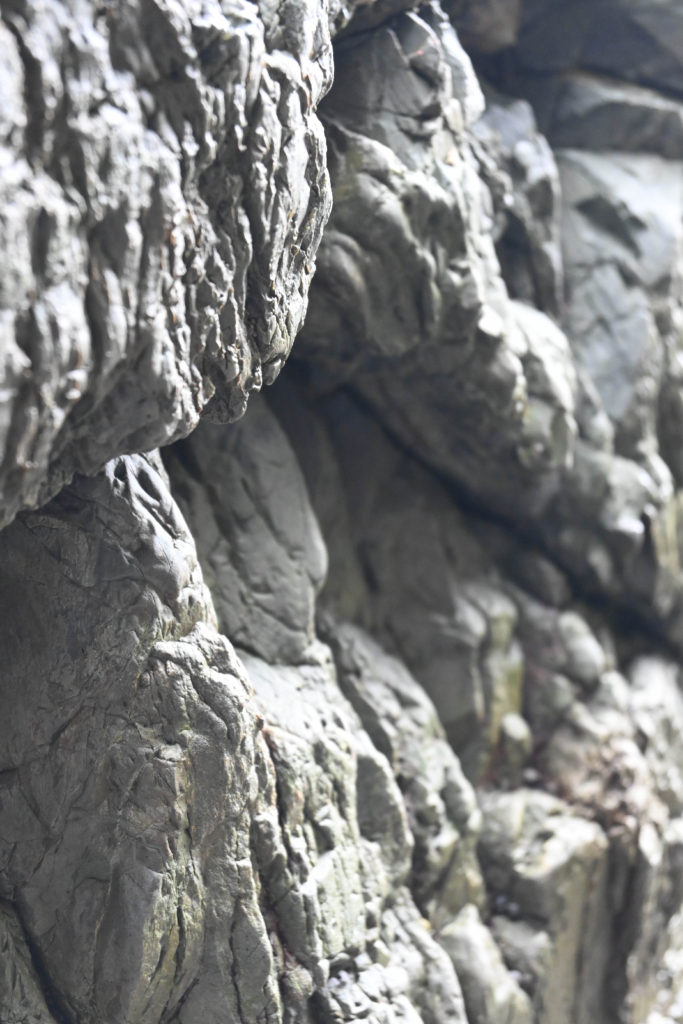
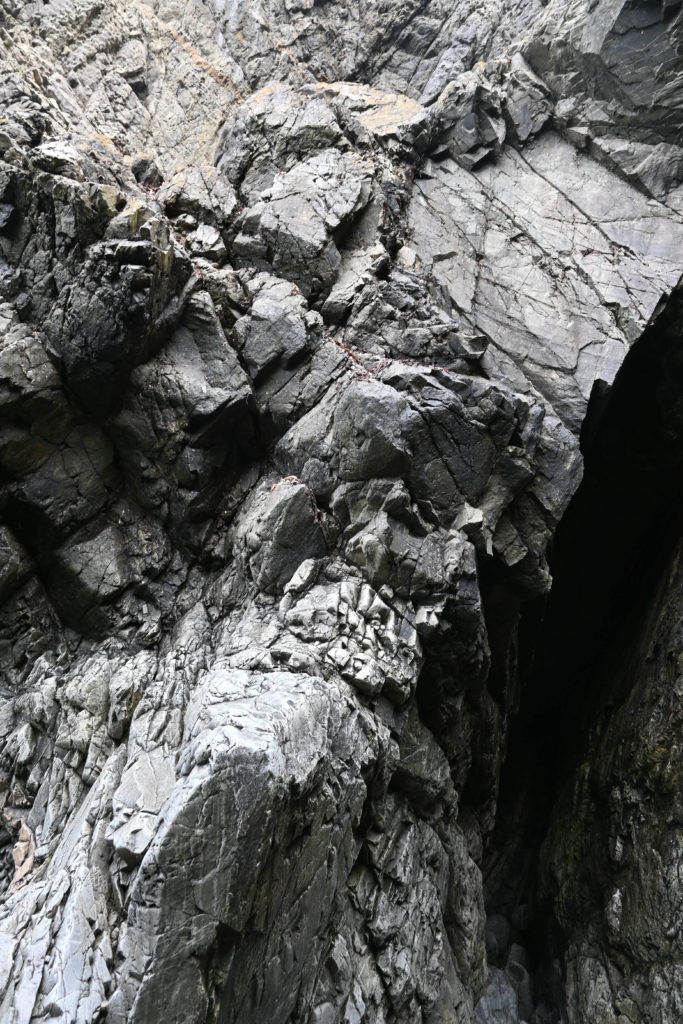
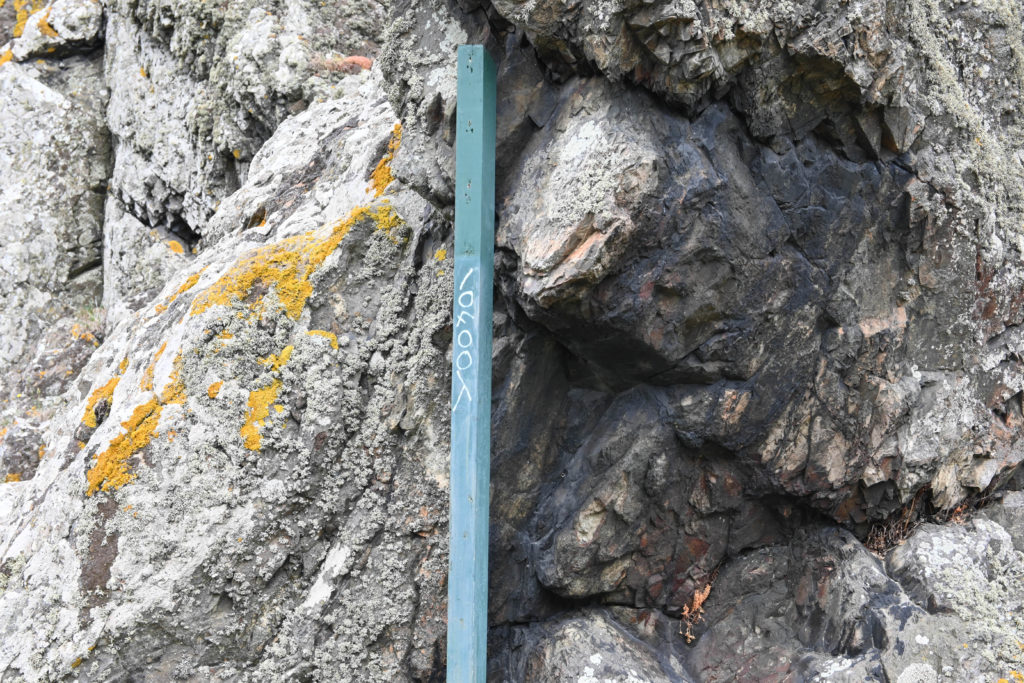
Here are my 4 best photos from my first photoshoot of L’Etacq and La Pinacle.
1 and 2)

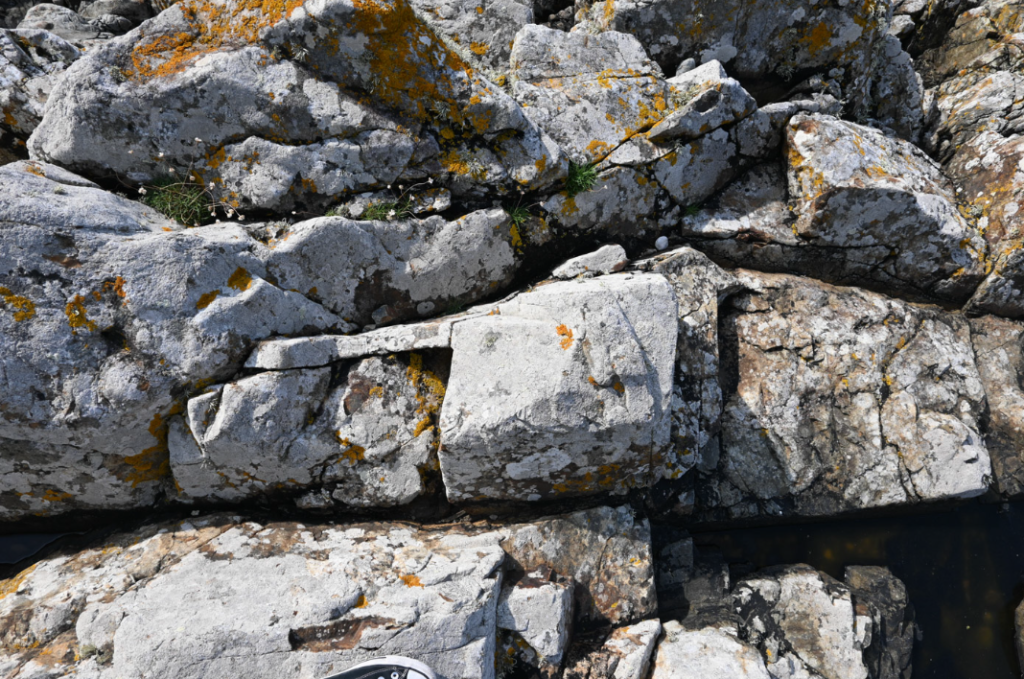
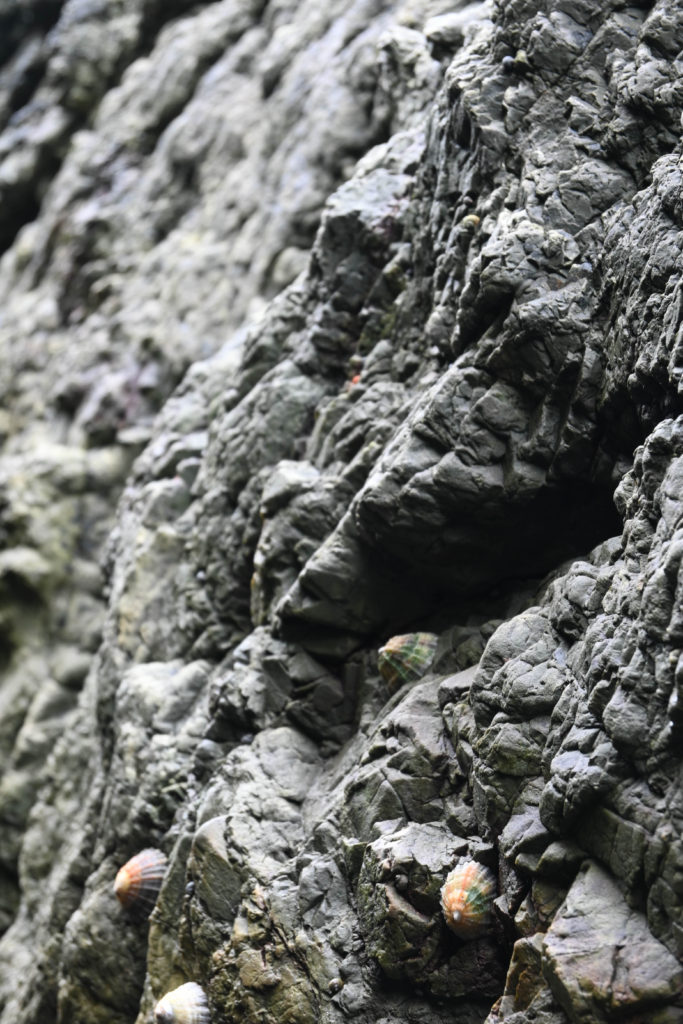
Why I chose these 2 photos is due to the way the camera has focussed on the rocks in them, because it can be seen to be blurred in the background and in the foreground. In the photos, the camera has focused on the smaller and finer details of the bumps and formations of the rocks and how the shells which are spread across the rock cling to it, which I really like. I also like the slight highlight that is created by the dim sunlight on the rocks, this makes the formations and patterns to become clear which represents their beauty and uniqueness and how 2 rocks are never the same. To further develop these 2 photos I would change this into black and white because I think that it may create quite a sinister look with the way the filter would fall on top of the way the rocks edges and faces have been formed.

3 and 4)

Why I chose these 2 photos as part of my 4 successful best shots is due to the way in the 3rd photo has the darker area which has been created due to the shadows of the rocks and this creates a strong contrast against the highlighted rockface from the sunlight. This is then able to show the finer and smaller details of the rockface, as if you are staring at it with a magnifying glass due to the way the highlights and contrasts work together which create the illusion of if you are zooming in to the photo.
For the 4th photo, I like how the contrast of the straight line of the pole works against the jagged, rough textures of the rockface behind it. These 2 features work well alongside one another to create a separation as if you are looking at 2 photos that have been merged together. I really like this effect because one side of the rockface is lighter than the other side which could be used to represent the two different types of weather and how this can make other features of Jerseys island feel.

Joiners –
From our photoshoot, I was really happy with how these turned out because I made sure to take photos which I could use to create and experiment with different joiners further on in Adobe Photoshop.

Still life – Historical context and analysis

Still life paintings dates far back to Egyptian and Roman times, while still making appearances in the Middle Ages and Renaissance Era. Although, it only became a genre of art after these time periods yet falls quite low on the hierarchy of visual art.

The timeline –

This low placement in the hierarchy of visual art for still life paintings was due to the 1699 historiographer, André Félibien. He created a system of categorisation for the different types of visual arts, starting from the highest than moving down to the lowest. These consisted of:

  1. History Painting
  2. Portraiture
  3. Genre Painting
  4. Landscapes
  5. Still Life
Dutch Still Life
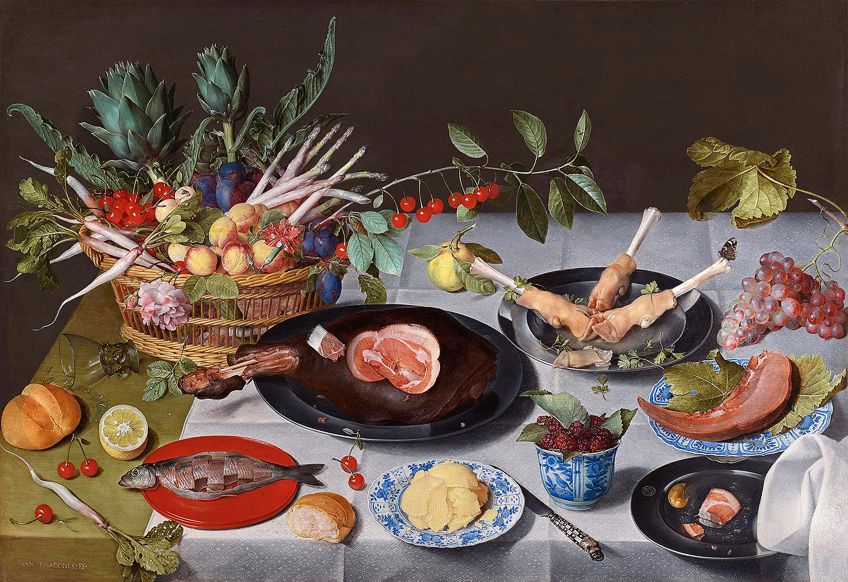
1615 Jacob Van Hulsdonck.

What is a still life?

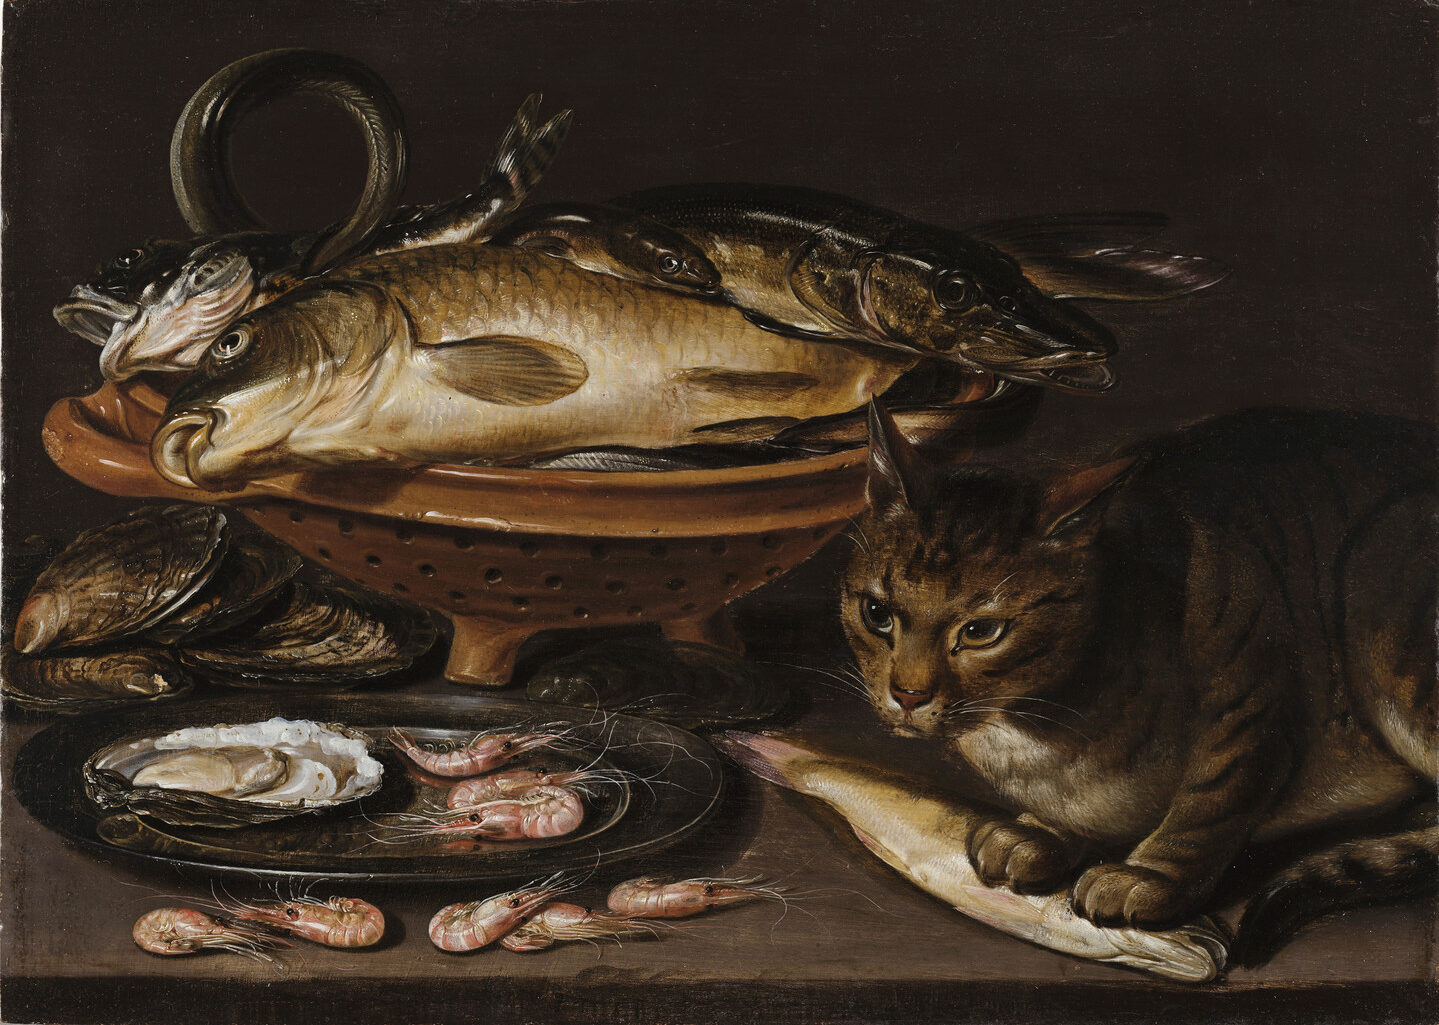
There are various types of still life’s such as flowers, banquets, breakfast, animal and symbolic. The style of Vanitas falls in to the Symbolic category, Vanitas are used to represent life and death, as it means “Vanity” in Latin and shows how life is short and we shouldn’t focus on the materiality side of life as it can be seen as vain. Vanitas may be more recognisable due to their use of skulls, watches and hourglasses which show the passing of life throughout time, they also used dice, wine, fabric, jewels etc in the artworks. Throughout time, Still Life has progressed from Ancient Egyptian to Modern which I will talk about below.

Vanitas | Art UK
Example of a Vanitas.

Ancient Egyptian

Still Life for Ancient Egyptians included common foods/objects and were used as tombstone decorations. They were used to honour the dead and show what the person may have in the afterlife such as food.

Still Life

Renaissance still life

Mainly religious artworks in a style with a symbolic meaning. Renaissance Still life were made to explore the natural world through observation which then was used to transform in to a painting and could be found in the backgrounds of religious paintings or illuminated manuscripts, but these were more common in northern Renaissance and Early Netherlandish paintings.

Joseph Correggio | Still life based on the Renaissance model | MutualArt

Dutch still life

Originated in the Netherlands or countries referred to as “Low Countries” such as Belgica and the Netherlands. Still Life became very popular during the Dutch Golden Age which was due to the Dutch becoming independent from Spain and creating the Dutch public. Artworks in this time had a specific style which was mainly flowers, and they were favoured as they showed everyday scenes of people and their lives which was relevant during the Protestant revolution throughout this time and this eventually became known as “Dutch Realism”. The common types of Still Life paintings were still popular this time such as Vanitas, florals and everyday still life pieces.

Women Artists of the Dutch Golden Age | Exhibition | NMWA

Modern still life

Modern Still life guided new artworks such as Impressionism and Post-Impressionism. This era of Still Life brought artists to life such as Vincent Van Gogh, who’s known for his expressive paintings of vases, flowers, etc. Many modern Still life’s still consisted of fruit, bread, wine but the way the work was created was different as these modern Still Life artists used larger brushstrokes, colours and a variety of different perspectives, seen from the picture below.

Vincent van Gogh | Still life with a plate of onions (early January 1889) |  Artsy
Vincent Van Gogh 1889.

Famous still life photographers –

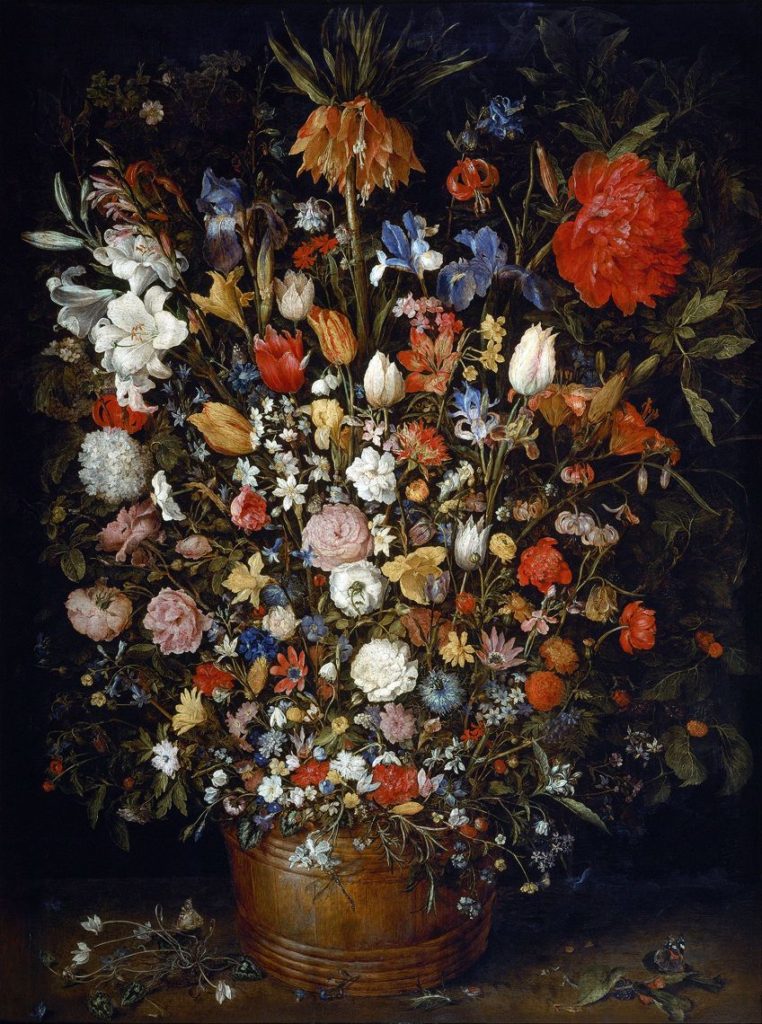
Jan Bruegel

  • A Flemish painter and leading artist in the Still life Genre.
  • Born in Brussels, 1568.
  • Specialised in floral paintings and paradisal landscape paintings, which he is most known for as he gained the nickname “Flower”.
“Flowers in a Wooden Vessel”, 1606-1607.

Willem Kalf

  • Born in Rotterdam, Amsterdam 1619.
  • Specialised in the style of Pronkstilleven, and was a popular artist.
  • His work has unique characteristics such as including porcelain Chinese bowls and jugs while paying close attention to detail which enhances the symbolism of composition.
  • Used a dark palette in his work and enhanced this with texture and light, for example how light bounces off silverware and the colour of lemons seen in the work below.
Still Life with a Silver Jug and Porcelain Bowl, 1656.

Summer project – My rock 2

Pictures for joiners –

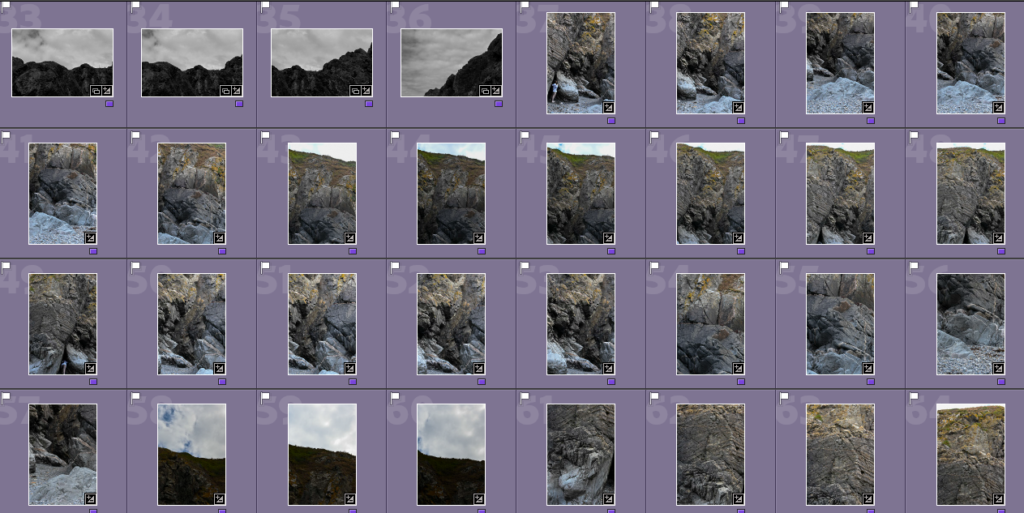
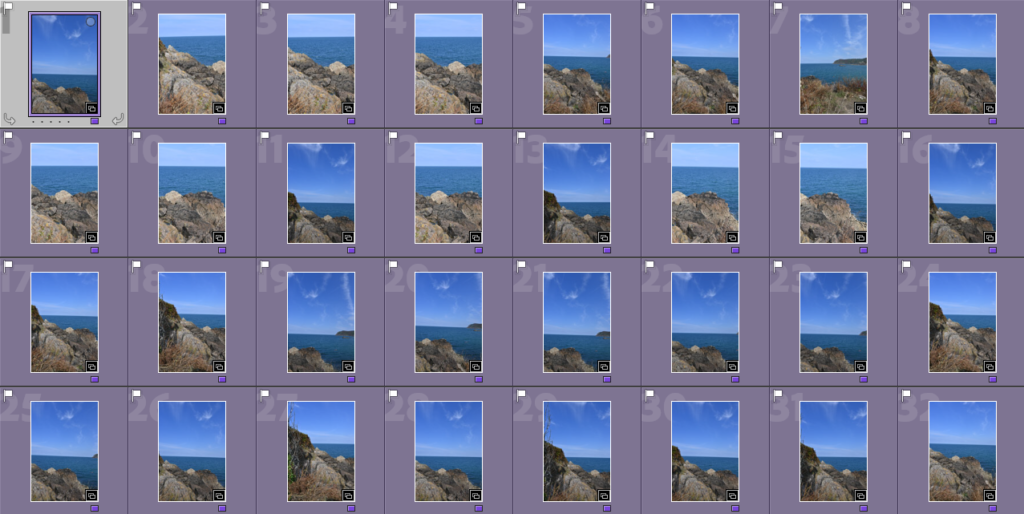
Throughout my photoshoot of Bonne Nuit, I also took an array of pictures which I could use further on in my work to create joiners. I was able to select these from my contact sheets by flagging them (P). This would show the photos which I thought were of good quality to use then colouring them purple, so I knew that they were to be used for my joiners, and putting them into a separate folder on Adobe Lightroom.

The first set of pictures which I took are of a rocky area to the side of Bonne Nuit in the headland, these turned out well due to the day I decided to go on as the weather was reliable and the sun wasn’t gleaming to the point where the photos would become overexposed. I liked this area because of the way the darker rocks, mainly to the left of all the pictures, because this creates a nice contrast between the two landscapes and how the horizon creates a gradient as it goes lighter at the bottom and darker at the top which creates a separation.

The second set of photos which I took to use for creating a joiner in photoshop consist of a large rock with a grassy headland above. I liked this as a possibility for a joiner because the rock had a variety of different textures on it which I thought would work well when creating a joiner, and the green of the headland contrasted nicely against the drier tones of the grass along with the brighter tones of the blue in the sky. If I were to take these pictures again I would make sure I took a larger selection so that I have more to work with.

Best shots –

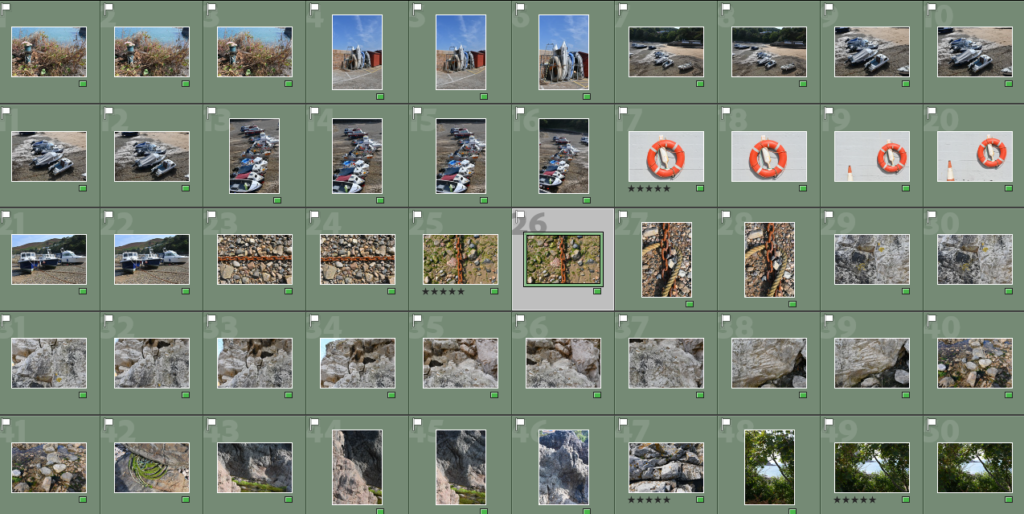
On Adobe Lightroom, I went through my photos which I thought were successful and sorted them by colour of:
– Red, for photos which I will not use.
– Yellow, photos which I think had potential but wasn’t sure on using them.
– Green, photos which I want to use and think are the images which turned out best.

As you are able to see in the picture above, around 50 of my photos I decided were successful and made them green. Then to help me decide and organise the final 4 images I used the star rating system, where I went through the photos in depth for a final time and gave 5 stars to the ones which I thought were excellent in quality, contrast, lighting, textures etc and these can be seen below.

My 4 final images –

Joiners –

To create a secure basis for my joiners, I began by editing one picture to fix any lighting that may be over exposed and fix the colour balance too. Then I applied this to the other photos so that they would work well together, I also put one joiner in to black and white so that I could experiment with it.

Joiner 1 experiments –

Joiner 2 experiments –

Summer project – My rock

Where I will photograph –

For my photoshoots, I have chosen to Study and take photos of Bonne Nuit which means “Good Night” in French. Bonne Nuit is one of Jerseys smaller harbours out in the north coast, it is still commonly used by locals for fishing where you can find many fresh crabs and lobsters being caught.

I chose to study Bonne Nuit because I like how quiet and secluded it is from many people which means it is densely populated, it is also quite covered due to the surrounding cliffs yet still catches the sun throughout the day. It is also an area of the island that many people forget about so I think that studying it can bring some more appreciation to the beautiful and natural landscape which it is.

There is also a small cafe which can be found down in Bonne Nuit that serves a variety of fresh food which can be enjoyed by many. Here is where you can find more information about Bonne Nuit.

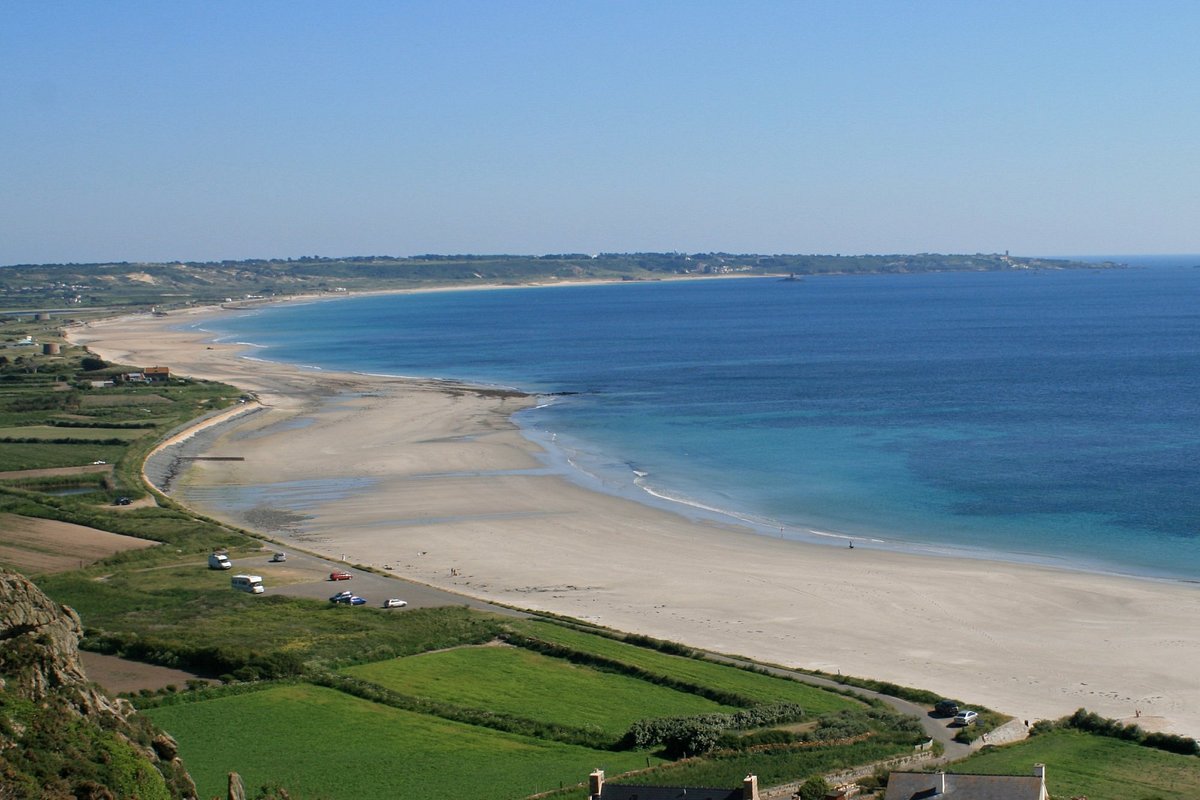
A small glimpse of Bonne Nuit.

Who I will study –

Stuart Abraham:

  • A Jersey based photographer.
  • Focuses on commercial photography.
  • Has a project which is based on showing Jerseys natural landscapes and seascapes so that their beauty can be appreciated by the wider community.
  • Link to his website of Jerseys photography.

Some examples of his photography:

Analysis:

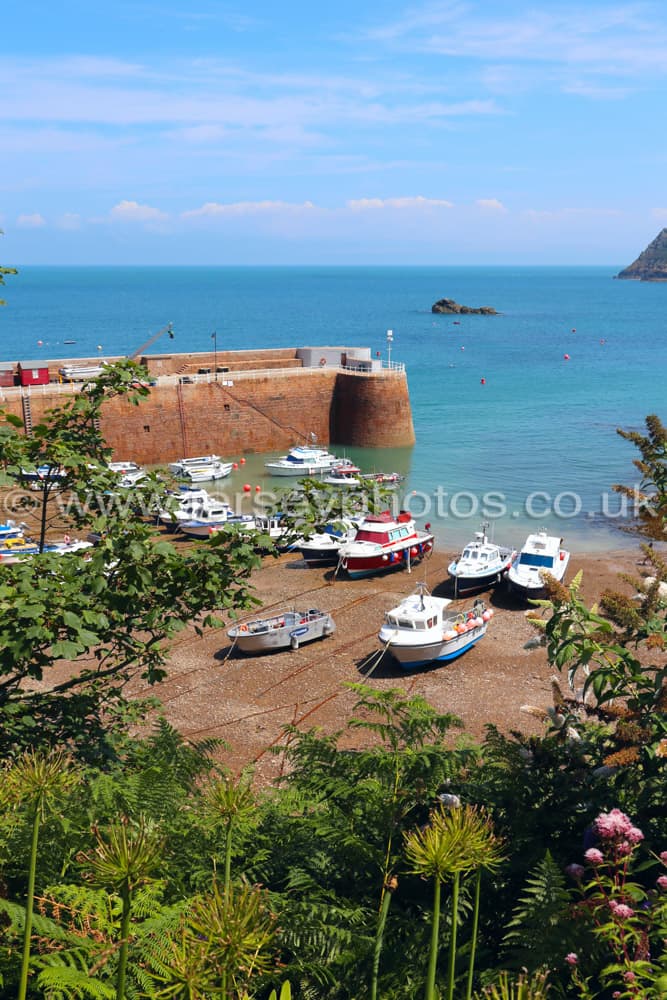
In this photo which was taken by Stuart Abraham of Bonne Nuit, which is where I will also be studying and photographing, I think that this is a successful photo. This is because of the vibrancy of the photo, particularly in the boats and surrounding wildlife, and how Stuart Abraham has manipulated this within photoshop as it makes the colours which could have been lost due to the use of natural light to stand out and create a contrast against the cooler tones which can be found in the sand and wall behind them. I also like how he has been able to show the variety of blue tones which can be found in the sea because it makes the photo flow nicely against the sky as it creates a separation which can be a different yet unusual way of framing in photos. The use of the wildlife found at the bottom of the photo also helps to create a border around the photograph which can create the effect as if you are looking down into the hidden harbour of Bonne Nuit which I really like and will think about in my own work.

Photoshoot plan –

1st Photoshoot: General Landscape photography of Bonne Nuit.

2nd Photoshoot: A more in depth exploration of the landscape, specific structures/rock formations/views.

3rd Photoshoot: Still life objects which I have found along the beach cove and other areas.

Experimentation – Joiners

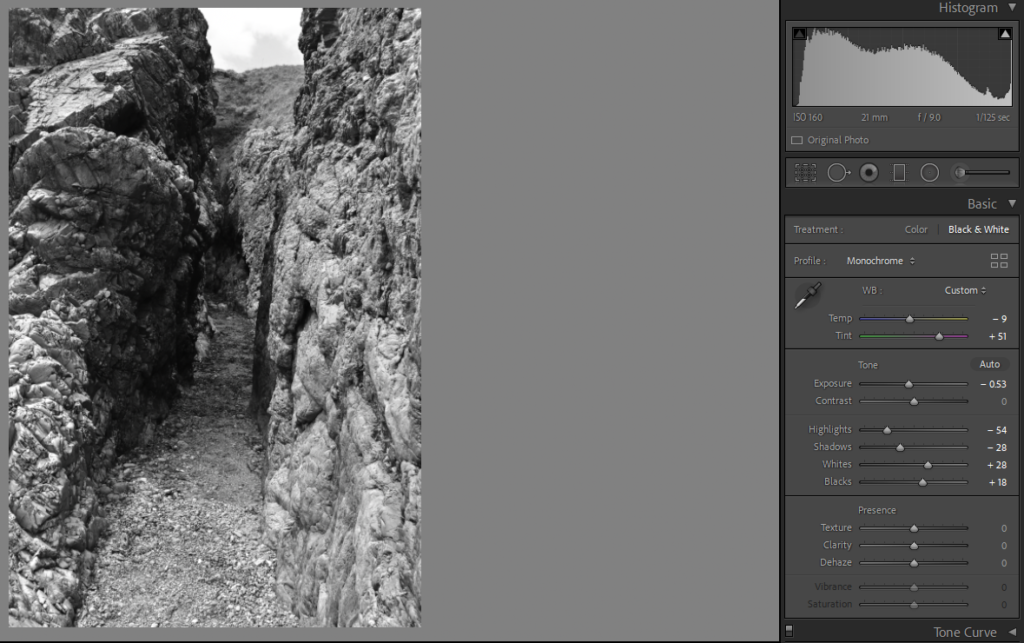
For my first experimentation, which I will do in the style of David Hockney, I will use the photos which I took during the photoshoot in L’Etacq. I began by selecting the images which I took to create a joiner and began by adjusting the settings of one image and this is where I was able to fix the lighting where it may be slightly overexposed, define the details of the rocks and turn into black and white.

After editing one photo, I then selected all the other images which I will use and selected the ‘Sync Settings’ button which applied all of the edited settings from the first image to the others, which you can see ticked in the boxes above, so that when I create the joiner on photoshop they will all look similar and this will help them to work well together as they will all be synchronised.

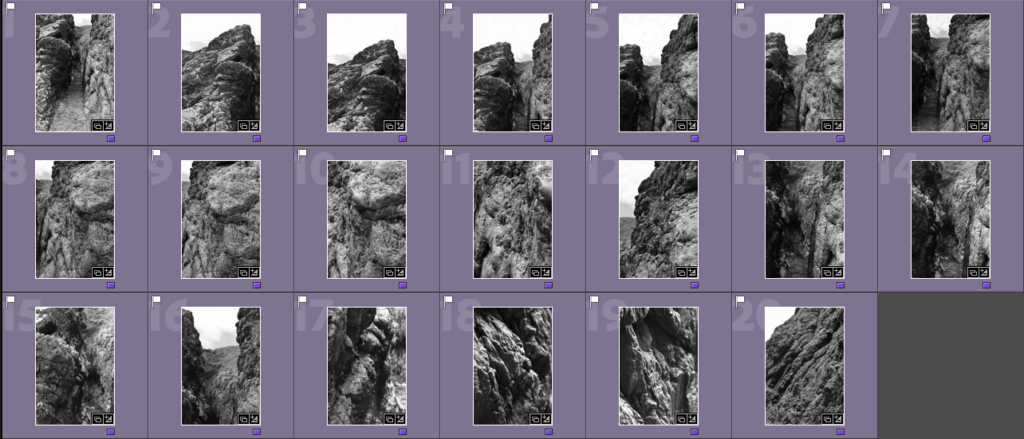
Here is all of the 20 images which I will use for my joiner having the applied settings from the first image to them. I think that these came out quite successful as the smaller details of the rocks are defined, which I wanted to do as it will add a layer of depth into the joiner and the contrast of the black and white filter helps this effect too. I then made a ‘joiner’ folder in Adobe Lightroom which helped me to organise them clearly, and exported them into a folder on the media drive so that I can access them easily when I go to create the joiner on photoshop.

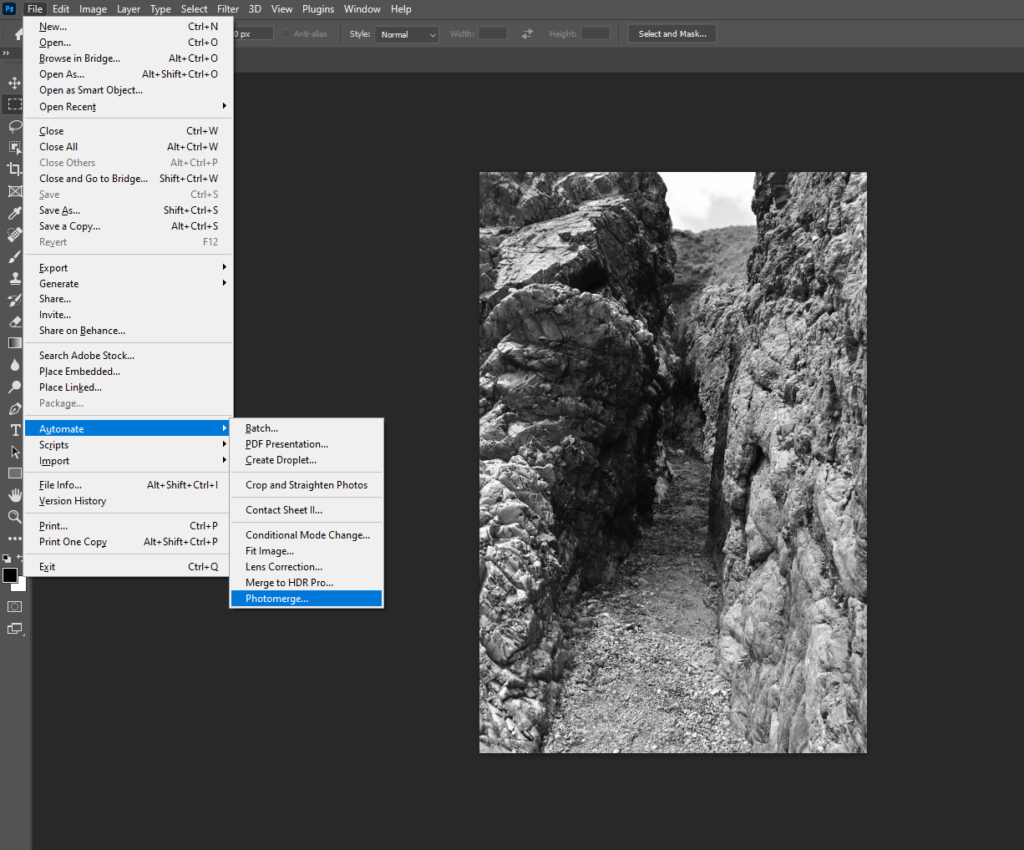
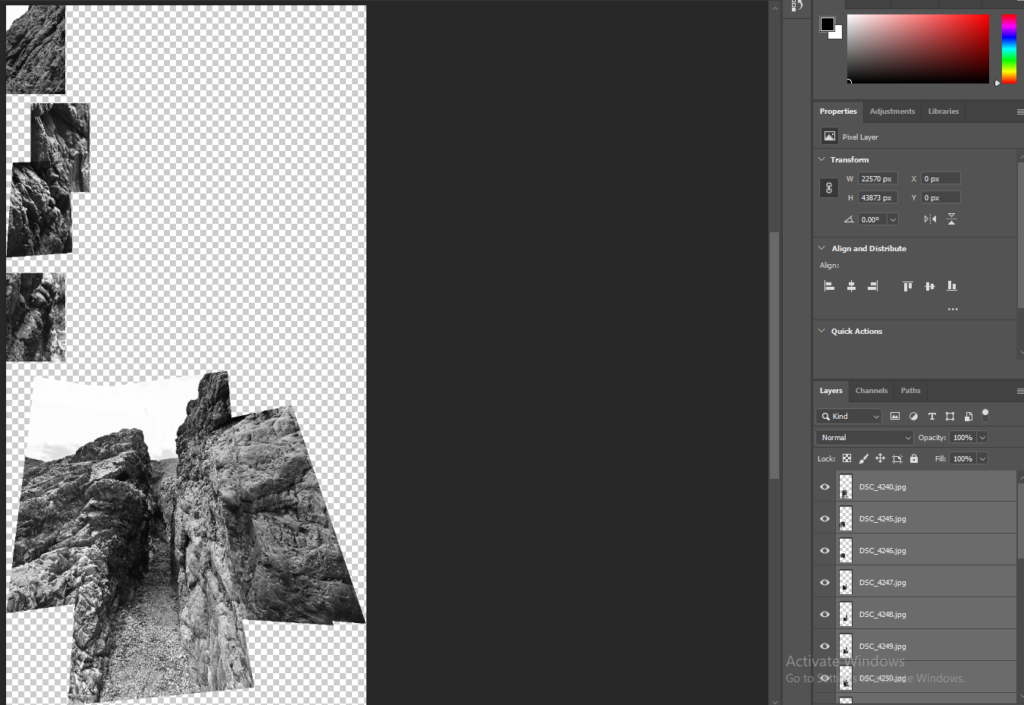
Once in photoshop, I chose ‘File’ then ‘Automate’ and then ‘Photomerge’ where I select all the images which I placed into a folder beforehand as it makes my work more organised. After selecting the 20 images which I will use, I selected the normal joiner effect from the selection there was and then Adobe Photoshop begins to put the photos together.

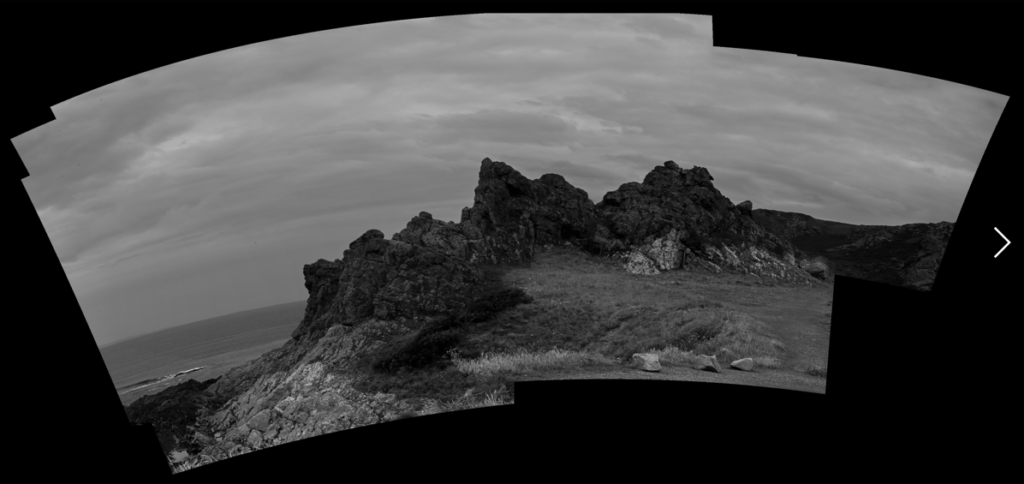
After it has loaded, this is what is created and I think that the computer wasn’t able to locate where the photos at the top are supposed to go as they are quite detailed that is why they have been placed at top. When making my next few examples of experimentation of joiners in different ways, I will consider what photos I will use more and make sure there is a clear link between them so that they can be joined together on the computer easier.

More examples of joiners –

I repeated the process above to create these joiners with a different selection of pictures in black and white and colour, I was also able to select different options for the way the joiner turned out, such as: adding a background colour, changing it into a 3D effect and changing the depth/perspective.

1)

2)

3)

4)

Images to use for exhibition –

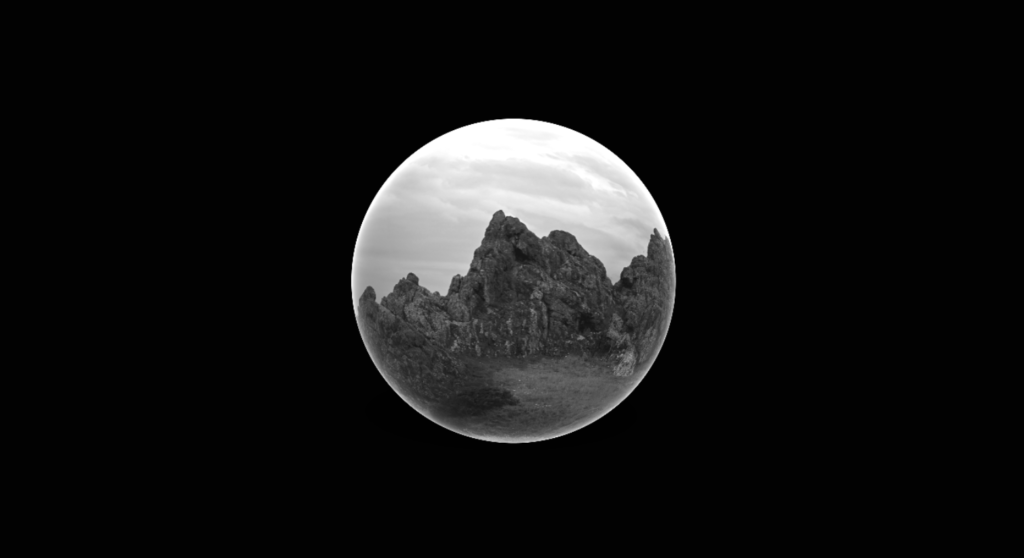
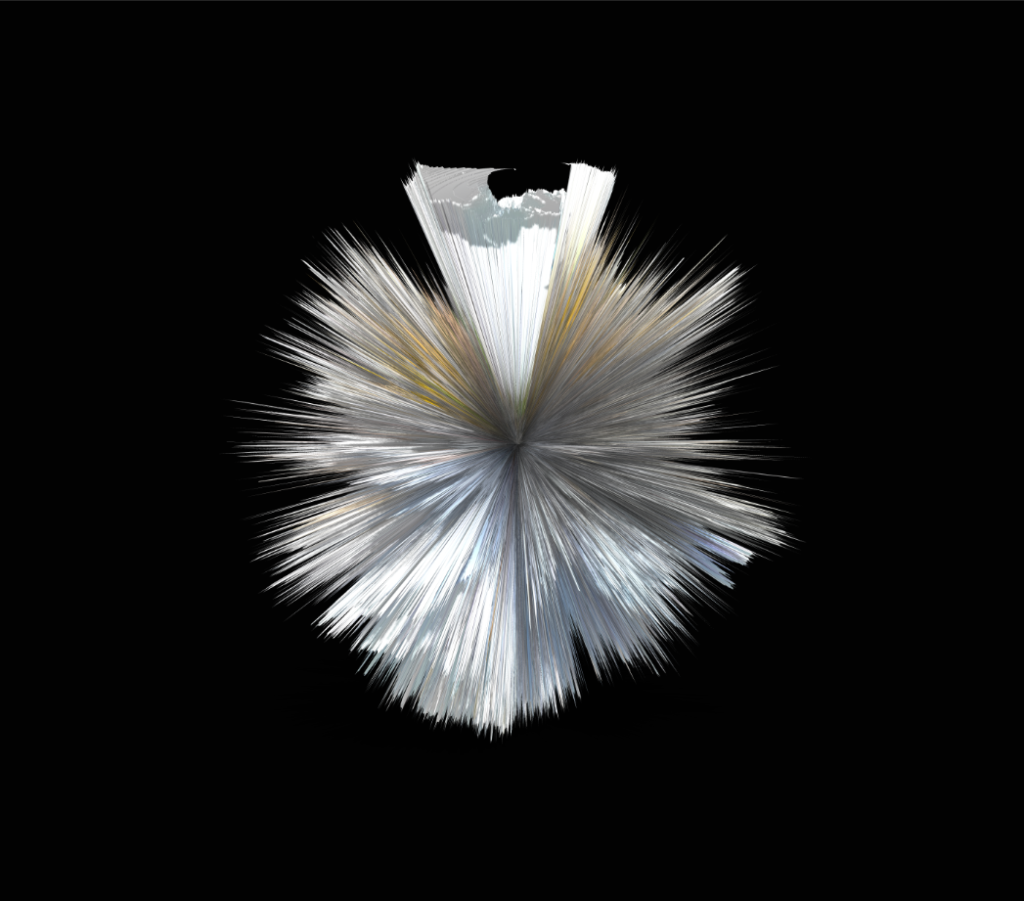
These are the two images which I have chosen to be a part of the exhibition ‘My Rock’ that is taking place for the Link Gallery at the Jersey Museum. I edited these two images beforehand on Adobe Lightroom then brought them into Photoshop. This is where I was able to transform the top photo, of a rockface, into a joiner then use a ‘Mesh Pre-set’ of Sphere, which I really like as it can resemble a snow globe which are used to represent different places and their scenery. Then for the photo below of a morphed rockface I used a ‘Depth Map’ which distort the photo into a sphere which has all different angles from the photos which I have used. I liked this pre-set depth map because it is unusually shaped and if you saw the photo before it was transformed you would be able to see the different aspects of the photo.
David Hockney

  • Born on 9th July 1937, in Bradford, United Kingdom.
  • An English painter, draftsman, printmaker, stage designer and photographer.
  • Considered to be one of the most influential British artists of the 20th century due to his pop art movement in the 1960s.
  • Experimented with the photographic art style of Joiners which his famous “Pearl Blossom Highway” artwork originated from.
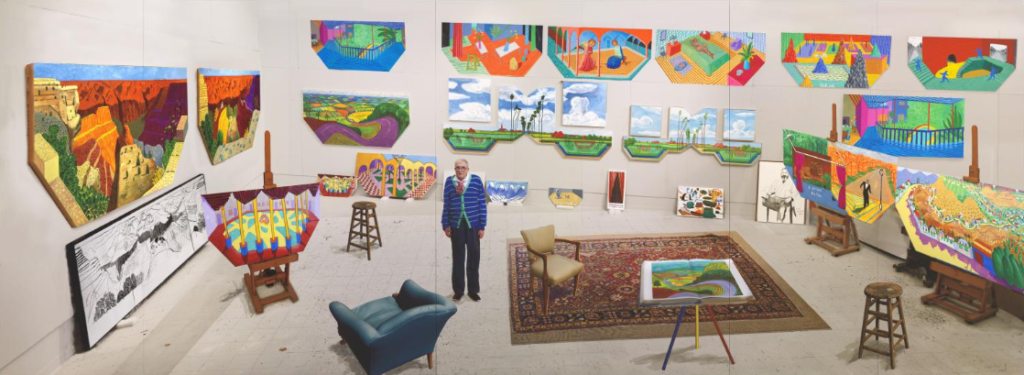
David Hockney in his studio in 2017.

Examples of his work –

Analysis –

This image has an empty alt attribute; its file name is hockney-furstenberg-paris.jpg

I chose this joiner created by David Hockney to be the photo of his which I think is his most successful because I like the way he has brought in different perspectives from the variety of photos which he has decided to use. This can be clearly seen through the way that the photo seems to be guiding you down the street and this is due to the way the buildings follow downwards along with the cars, which are moving in the direction which can help bring this photo to life because the use of the joiner effect can make them look as if they are in motion. I also like the use of colour within the photo because it gives the photo a timeless, yet worn look as the green/grey/yellow tones make the photo look worn and as if it holds a lot of history and stories within it, which I really like as it makes it unique and works well with the 2 trees in the middle of the photograph as they don’t look out of place and the way the joiner has been put together gives them enough structure to look realistic.

In my own work, I will consider different point of views, just like David Hockney has done, when creating joiners to add a level of individuality towards my own joiners of L’Etacq and other SSI in Jersey. I will also experiment on photoshop with different filters and how these are able to transform a picture successfully.

My Rock – Geoparks and sights of special interest

What is a Geopark and what does it include?

A Geopark falls under UNESCO (United Nations Educational, Scientific and Cultural Organisation) which is recognised globally over 169 Geoparks that wants to build peace through internal co-operations in education, sciences and culture.

A UNESCO Global Geopark includes a number of geological heritage sites which are of special importance, rarity, beauty, etc and these features represent a regions geological history and the events/process which formed it to be as it is seen now which consists of important, natural and historic heritage sites. These Geoparks are able to help everyone celebrate the links between people and the earth and in the future, Jersey hopes to become a Geopark as well, due to the unique heritage which would award this.

United Nations Educational, Scientific and Cultural Organization - UNOSSC

Jerseys Geopark

As Jersey is aspiring to become a Geopark there is a local island Geopark centre which can be visited as it introduces Jerseys heritage and explains how it has influenced the island which we live on today, this is supported from the help of Geopark ambassadors such as Ralph Nichols, here is a booklet which provides more information about this. There are many aspects in Jersey which have influenced our islands life and these are: minerals of Jersey, shale formation, volcanic, granites, offshore reefs, sea levels and climate change, etc.

Sites of special interest in Jersey

In Jersey, the sites of special interest are different to what you would find in the UK and other channel islands due to the unique geological range which have create regional and international significance and attracted a lot of global attraction. A part of this can be Jerseys Geology trail.

In support of Jerseys sites of special interest(SSI’s), the states of Jersey has designated 22 of the most important outcrops as SSI’s and this helps to protect and preserve them in the future for public enjoyment and research purposes. There’s a booklet which offers an introduction to Jerseys geological SSI’s so that they are able to gain some recognition to residents/tourists/scientists about their importance.

Written by Dr Ralph Nichols and Samantha Blampied.

Activities which showcase Jerseys island heritage

There are a range of activities in Jersey which provide a deeper and more involved opportunity/understanding into the island heritage and these are through a range of sites to walk around, cycle routes, diving, surfing, climbing, visiting heritage sites, etc.

Best 10 Walking Trails in Jersey | AllTrails
Walking/cycling routes.
St Ouen's Bay (St. Ouen) - All You Need to Know BEFORE You Go
St Ouens bay, popular for surfing.
Jersey Heritage - JerseyBeanStalk
Heritage sites.

Editing in the style of Naomi White, Photos 3+4

Editing photo 3 –

Experiment 1)

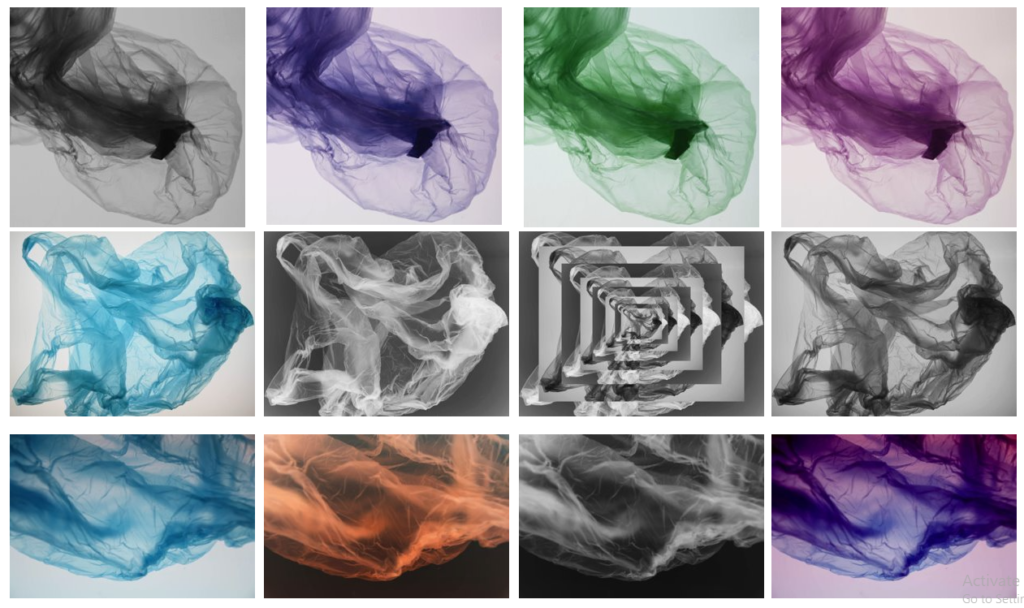
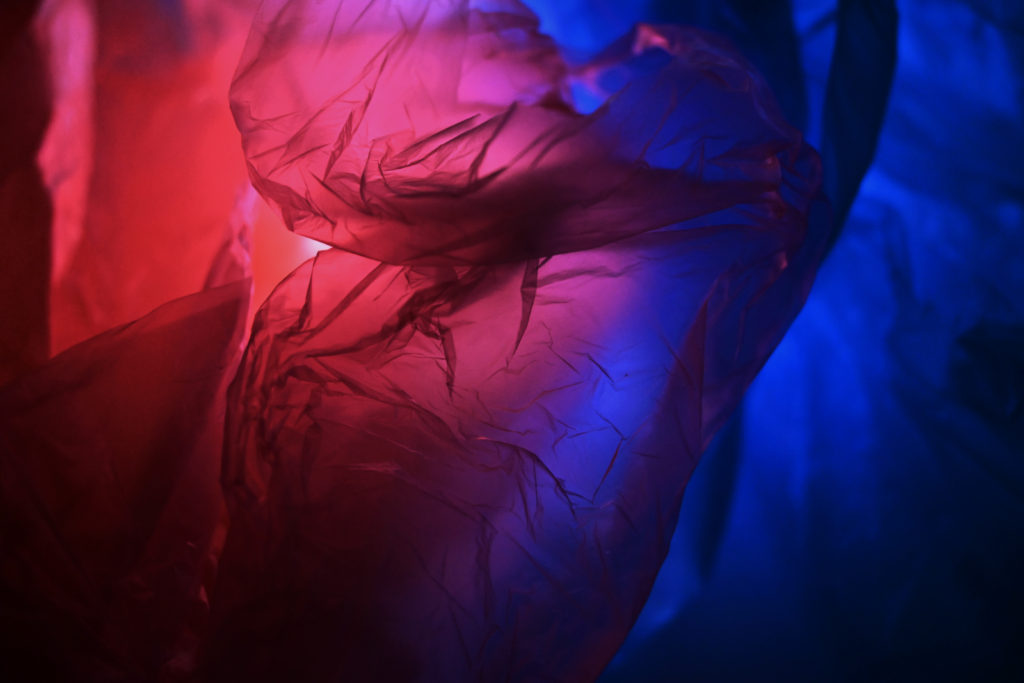
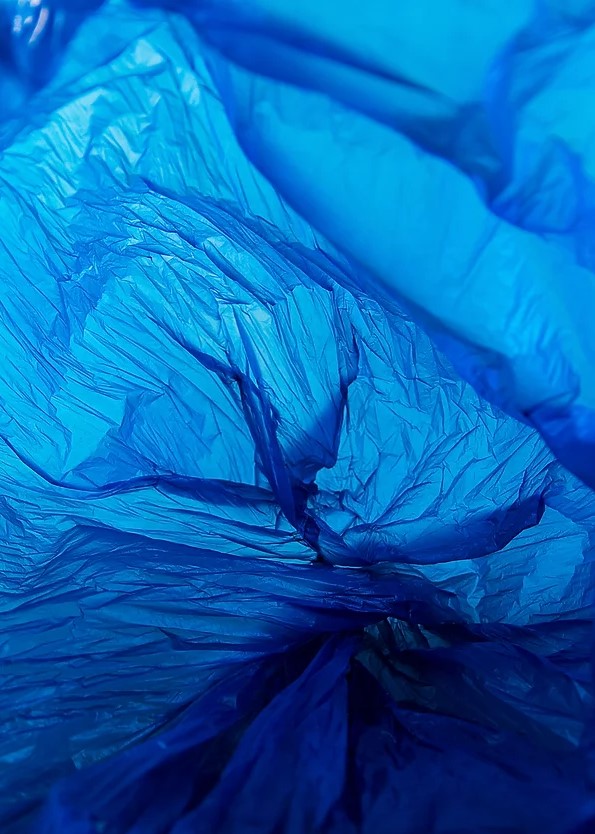
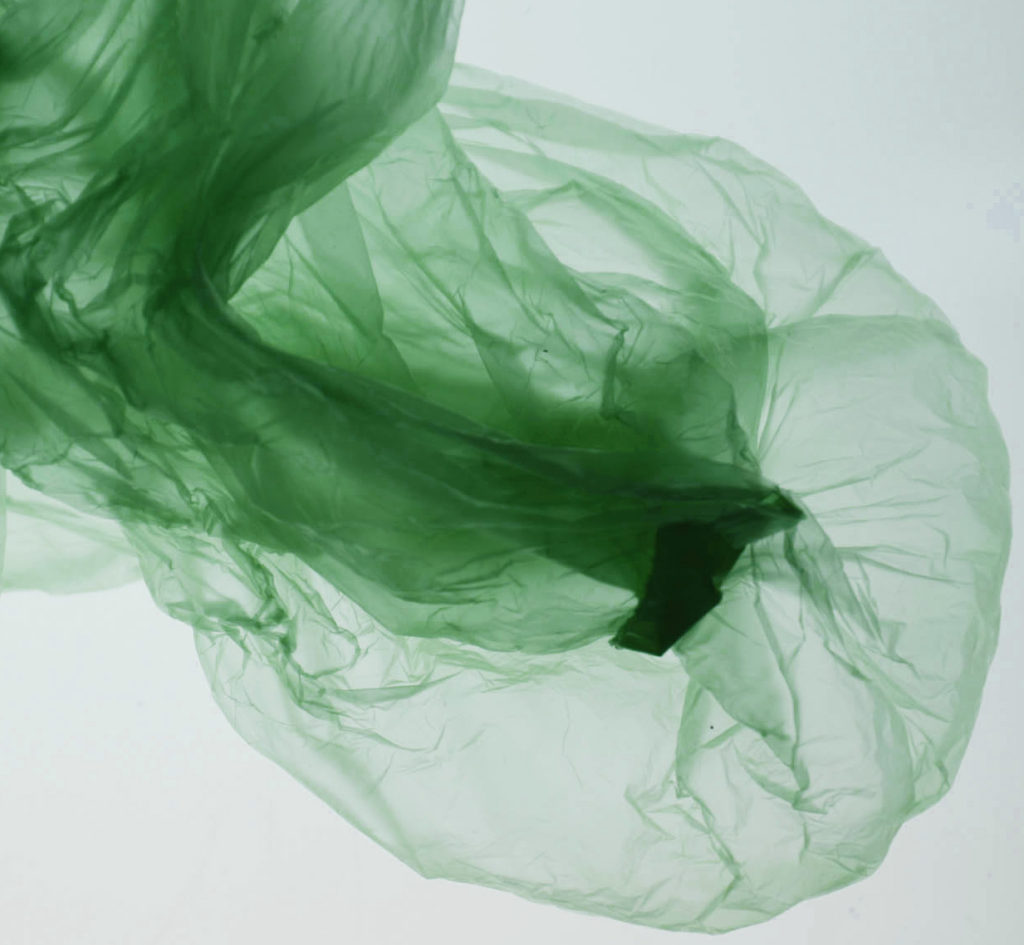
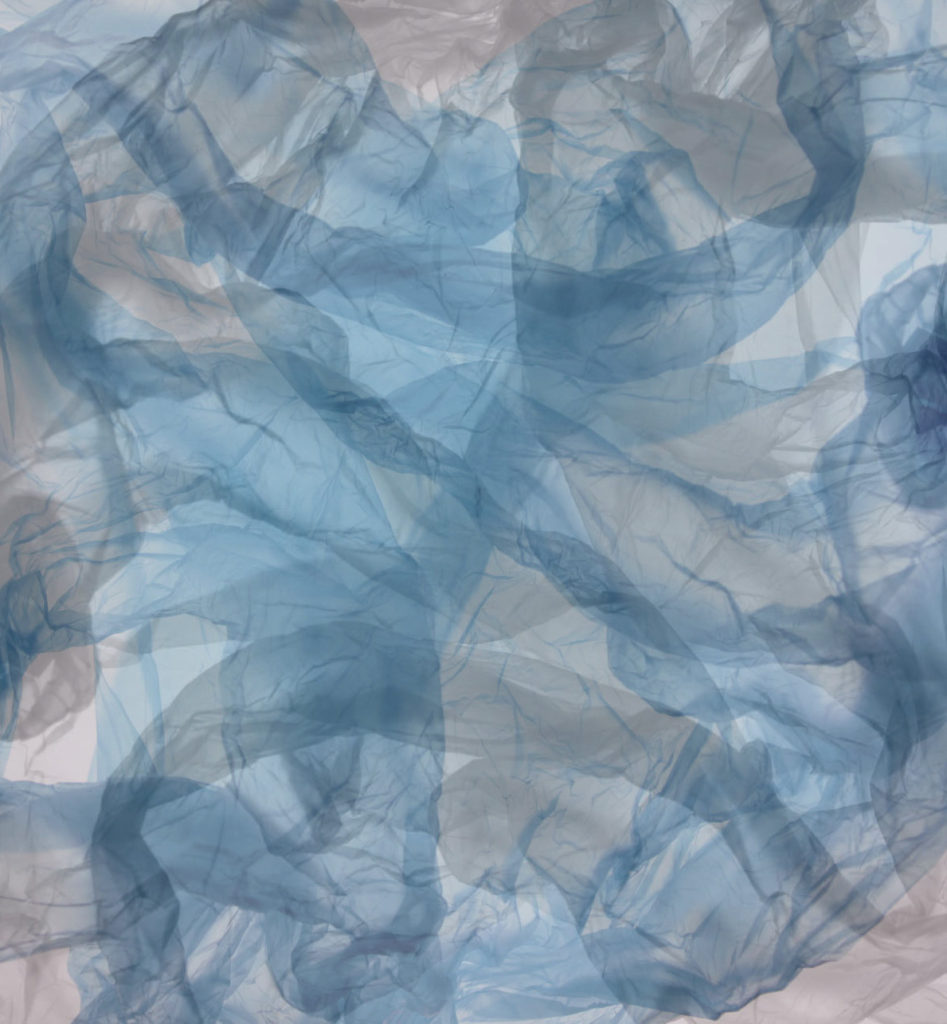
For this edit, I started off by using the spot healing brush which helped me to tidy up the photo where there were marks leftover from the lightbox I was using, then to make sure this was even better I cropped the photo to make sure there wasn’t much excess space. I also wanted to eliminate the slight yellowness in the background of this photo because I wanted the colour of the blue plastic bag to stand out well and having a white background would help this happening. I achieved this by using the brightness and contrast to transform the way the background was seen initially as grey with a yellow hue to it and then to keep the vibrancy of the blue in the bag I used the vibrancy and saturation to maintain this. I then used the hue/saturation tools which provided me with a way to adjust the colours in the photo to neutralise them which softened the background and gradually made it appear to be white, which I was extremely happy with.

Experiment 2)

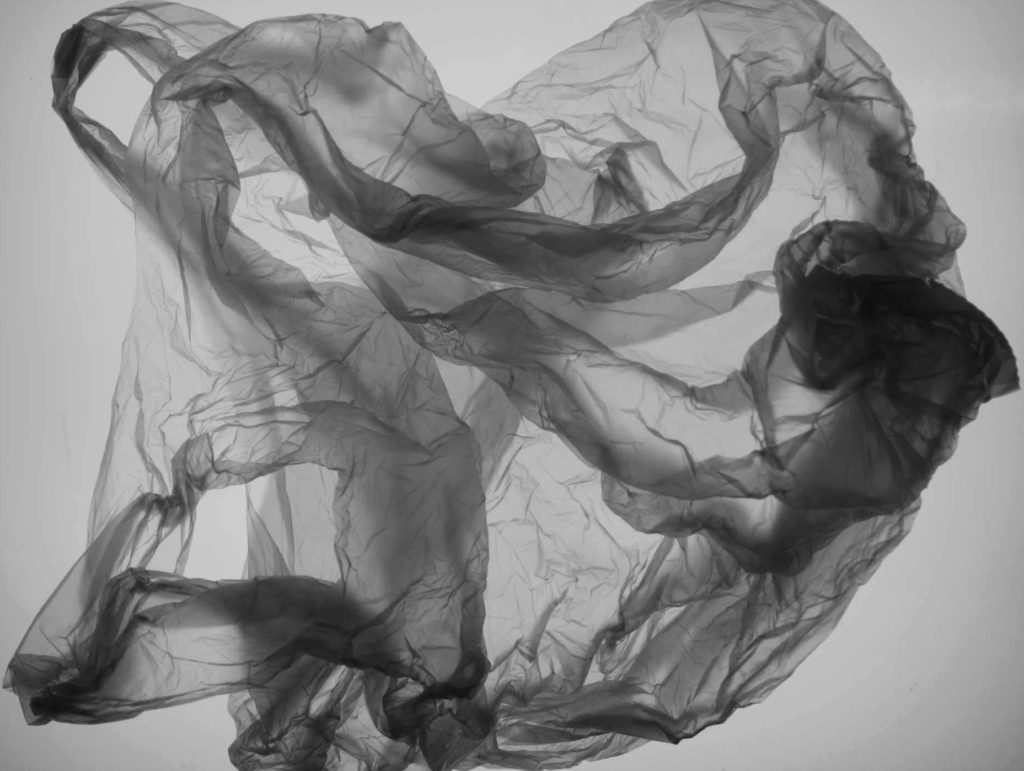
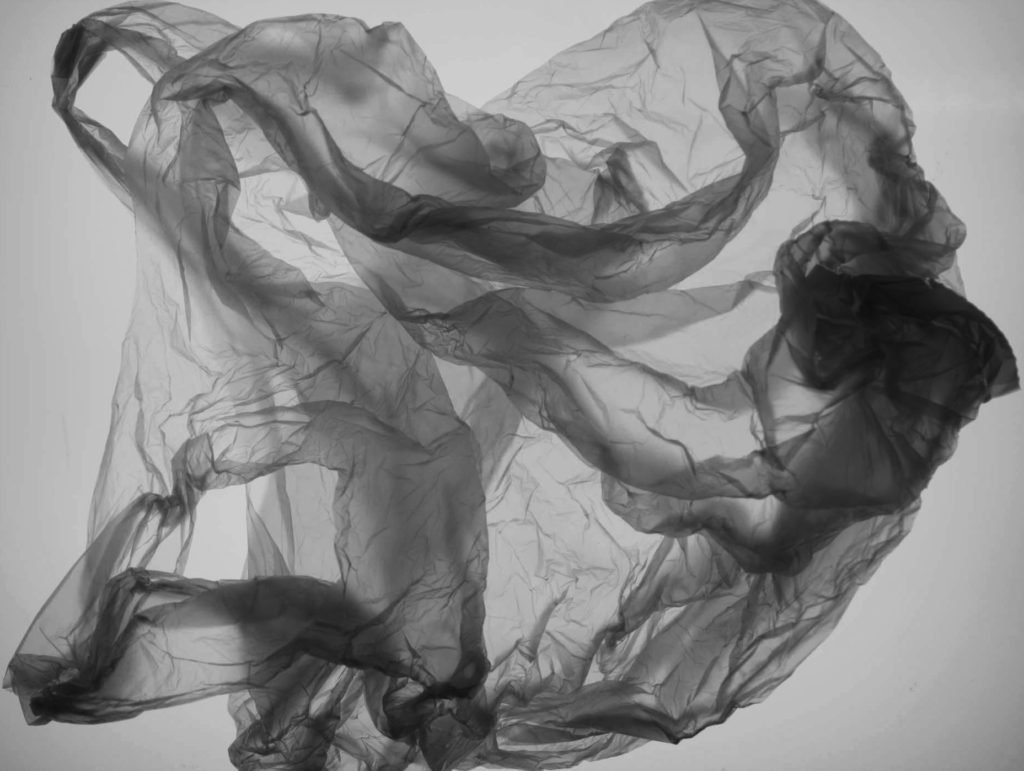
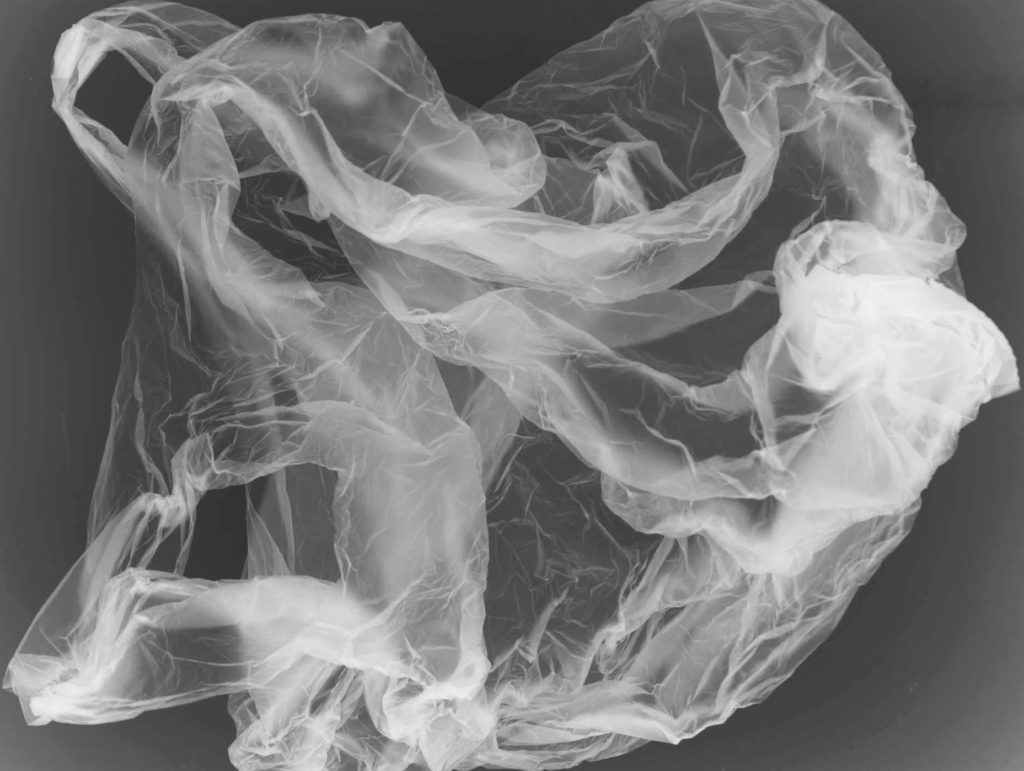
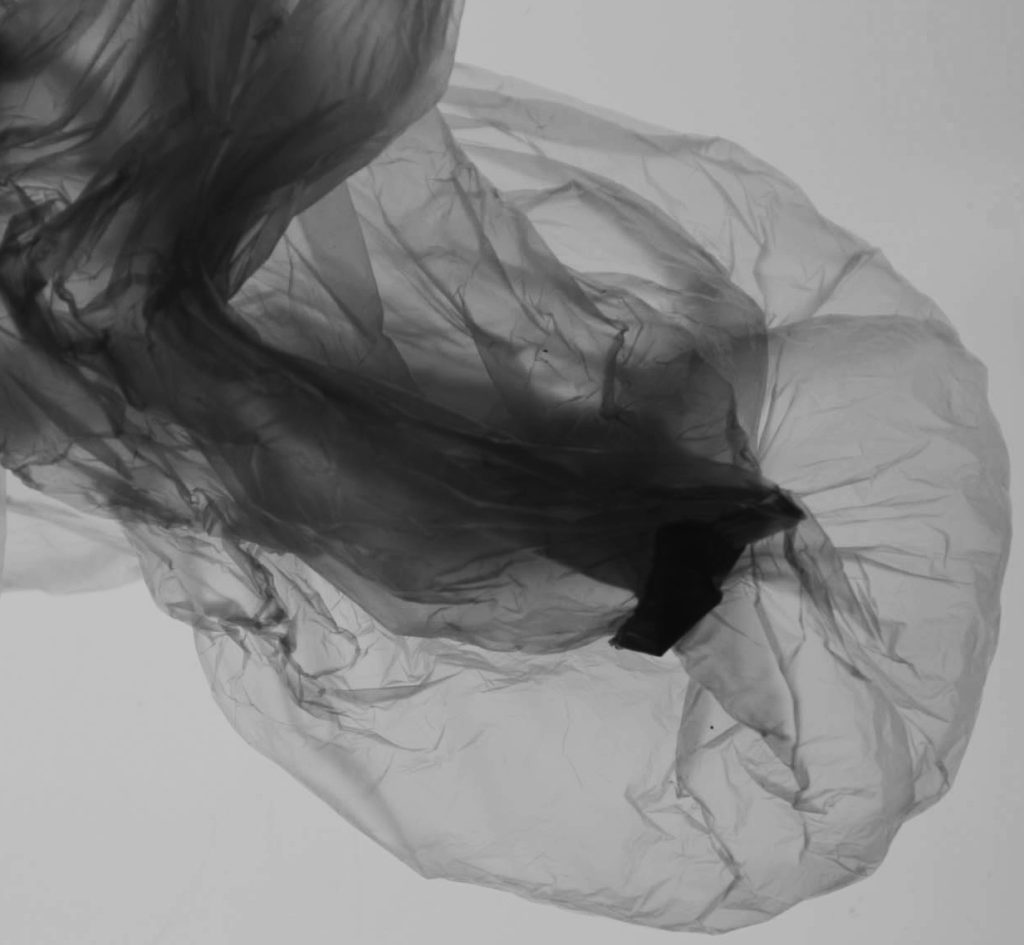
For these 2 edits I experimented with turning the photo into black and white on photoshop and this was achieved through bringing the hue, saturation and lightness down which drained all of the colour from the photo but it did appear more grey then black which I didn’t like so to adjust this slightly I used the brightness to brighten up the background and highlights then brought down the contrast which helped to balance this out as it made it darker. I was really happy with how the first edit turned out and I think that it is quite successful as the plastic bag is very defined through the use of the black and doesn’t get lost in the background which could’ve happened. I also decided to use the inverted filter on photoshop which transforms the photo so that the colours are changed to be the opposite so the black would be white and the white becomes black. I thought that this is similar to an old picture you would find of a jellyfish due to the way the bag is also positioned which can link into Anthropocene by showing how the environment is always going to be effected by plastic pollution due to how this photo has an old look to it.

Editing photo 4 –

Experiment 1)

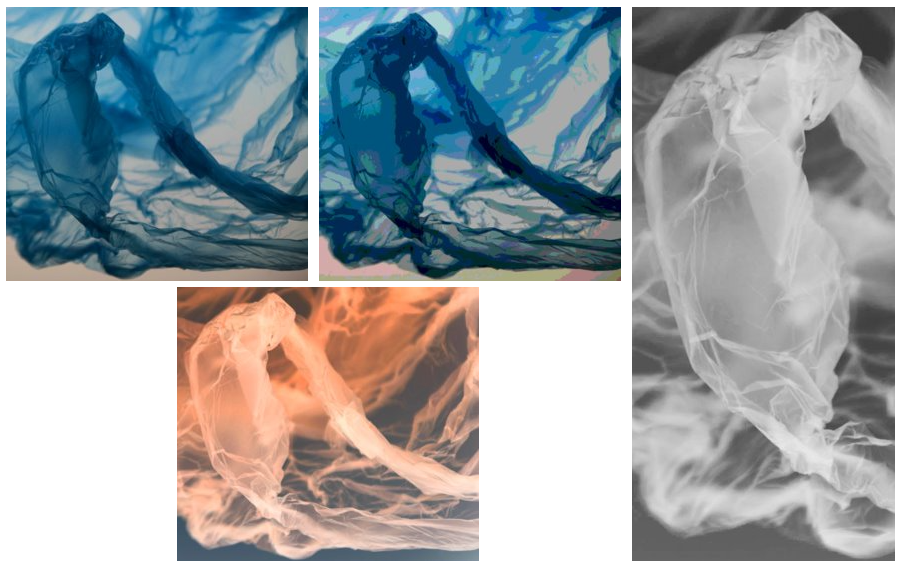
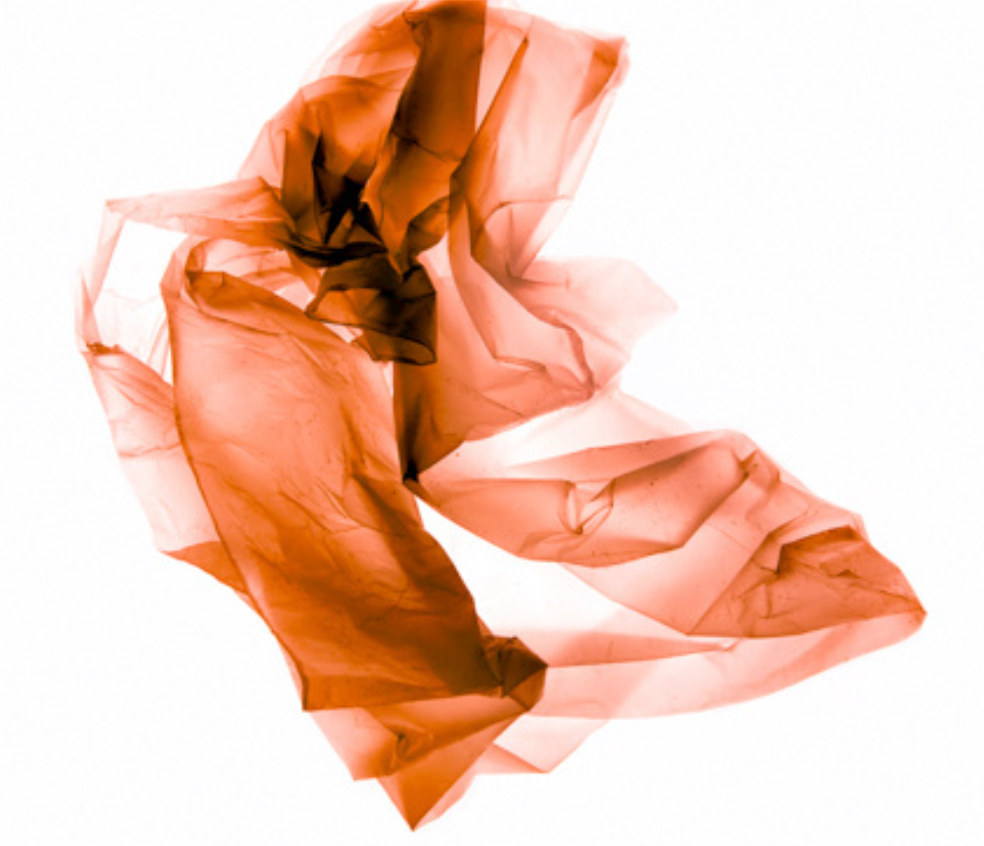
For this edit, I also started off by using the spot healing brush on photoshop to tidy up the photo where there may have been marks on it. I also wanted to bring out the colours of the plastic bag and to achieve this I used the magenta filter mainly on the channel mixer which made the colour gradually become more defined and to make sure it was secure in keeping this colour I adjusted the Vibrancy as well. I then decided to crop the photo twice throughout this process as I didn’t like how much extra space of white there was and I decided to zoom in. If I were to edit this photo again, I wouldn’t zoom in as much as I did because when I was experimenting with it with other photos and techniques the photo appeared to be quite blurry which I didn’t like.

Experiment 2)

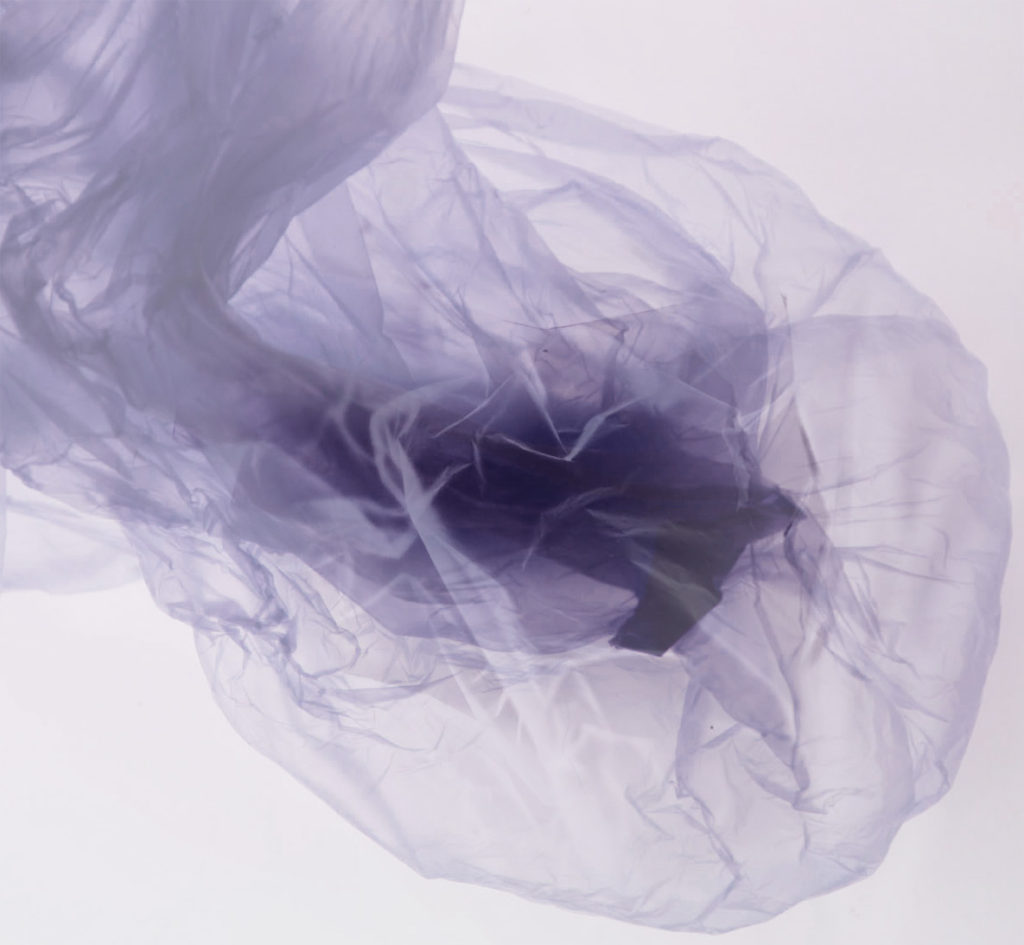
For these edits I used the hue and saturation tool to change the colour of the image in various ways and then used the channel mixer to help brighten up these colours. I really like how 1 and 2 turned out as the colours don’t merge into a massive surface area and the finer details of the creases are still able to seen and don’t get lost in the photo. I don’t like how edit 3 turned out when changing it into black and white and think that it isn’t as successful as the others through manipulating the colour of it because it turned out to be more grey instead of black which doesn’t contrast as well against the white as it gets lost in the photo.

Further editing of both photos and others –

Experiment 1)

Layering

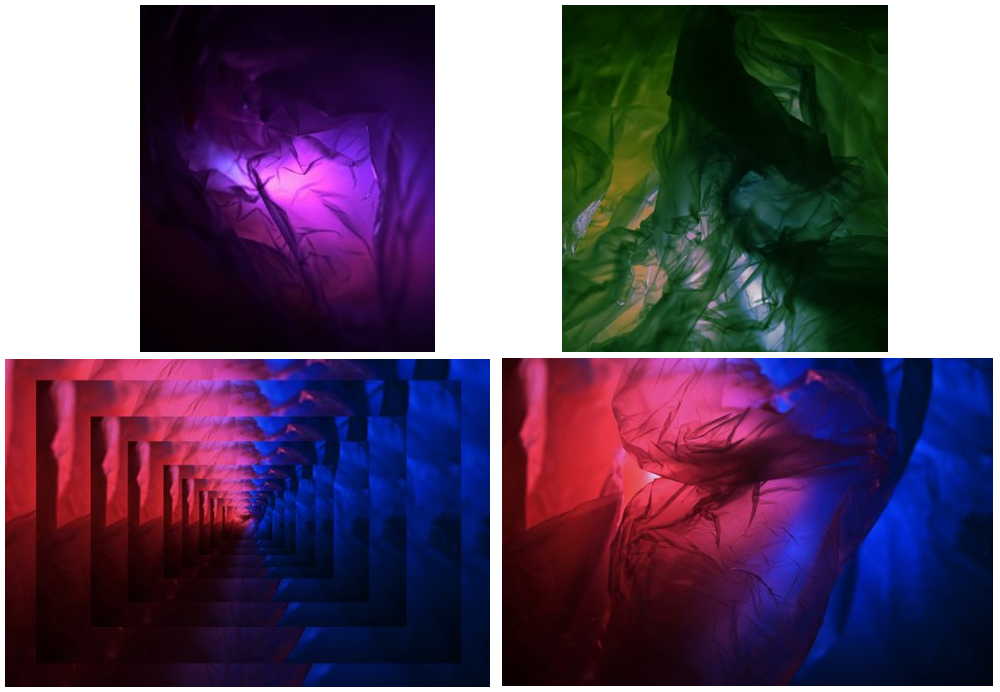
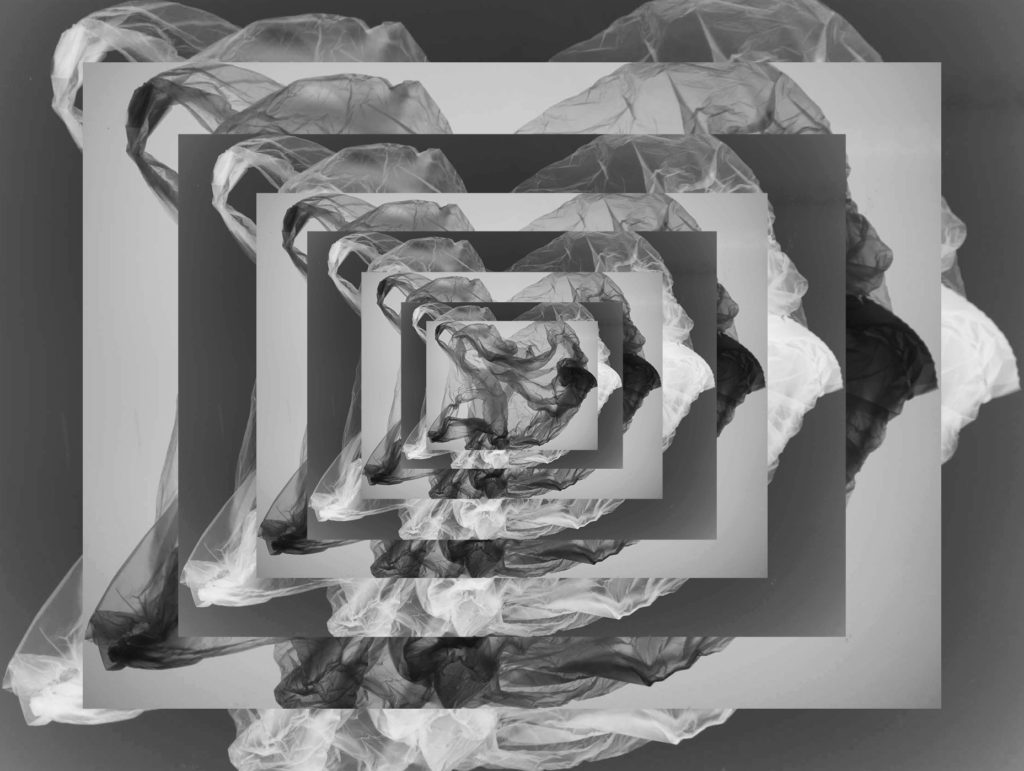
I enjoyed experimenting with this technique of layering 2 different photos in my work because I think that the use of them being inverted shows how they can create a successful contrast against each other and create the sense of an optical illusion when looking at the photo. I think that I have successfully been able to line up the photo each time to show how it gradually gets smaller and smaller but keeping consistent in lining up with the one previously.

Experiment 2)

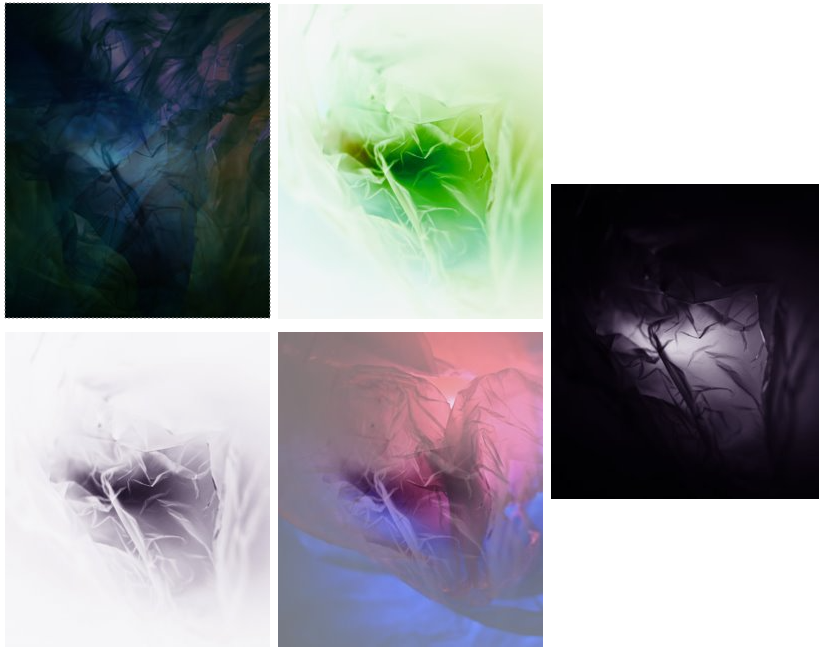
I enjoyed experimenting with double exposure and I think that these 2 edits turned out to be quite successful because Double Exposure 1 creates the image of a flower through using an image I have edited previously as a base then layering this on top and changing the opacity of the image on photoshop, it can symbolise how the impact of Anthropocene is making the natural environment fade away. For Double Exposure 2, I think that it turned out quite well through using 2 different pictures on top of each other then faded into each other as it has created a cross in the middle through the merging of the layers and plastic, I think that this can symbolise how we need to stop and think about the dangerous effects of plastic pollution.