All posts by Emily Bowker

Filters

Author:
Category:

Creating a virtual gallery

The process to create a virtual gallery in photoshop –
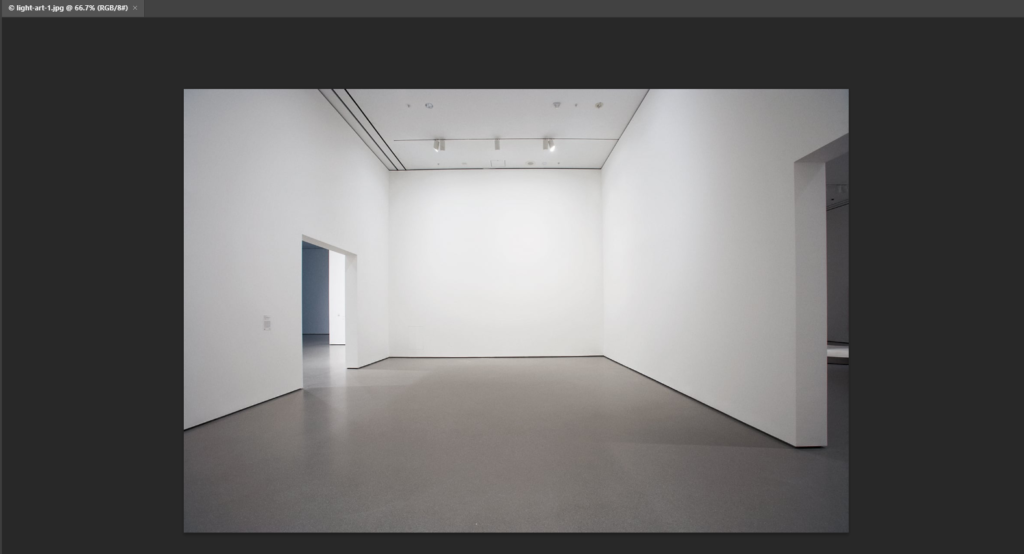
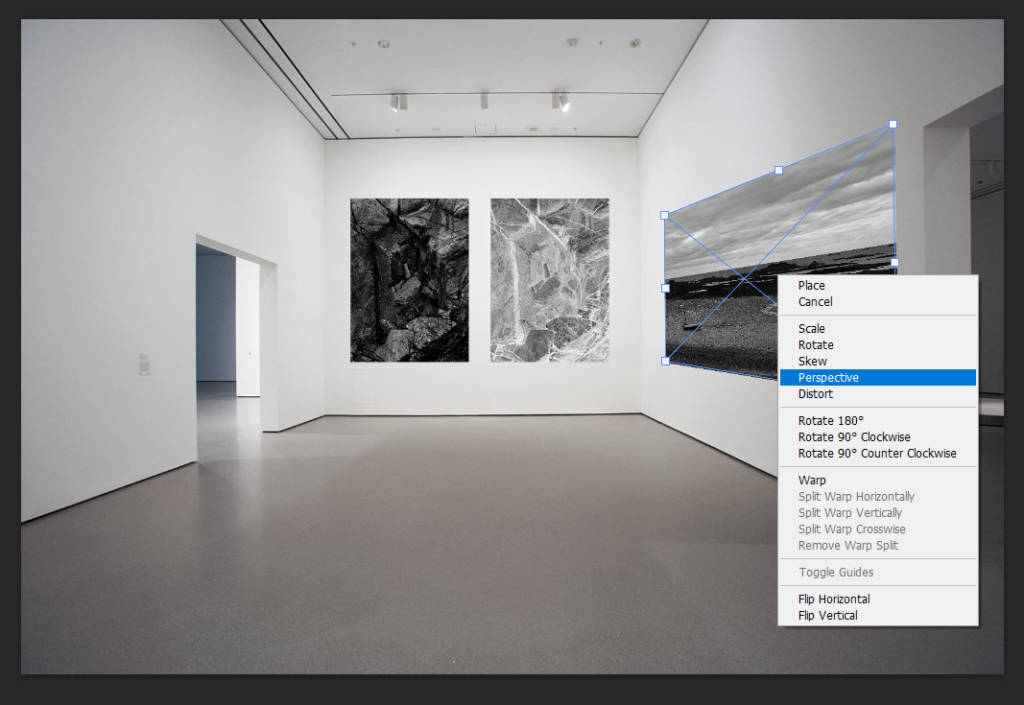
To begin the process of creating a virtual gallery to present my work, I found an empty gallery photo on google which I saved to my computer and then I opened it up in photoshop, this let me see the image clearly to make sure there was nothing within the photo that was out of place or blurry. I decided to use this gallery because I liked the perspective which this was originally taken from because where you are stood it looks as if you are looking down into the gallery. This emphasises the importance of the photos directly at the bottom as they are able to grab your attention, but then also allow you to explore the other photos on either wall.

Photo selection and placement –

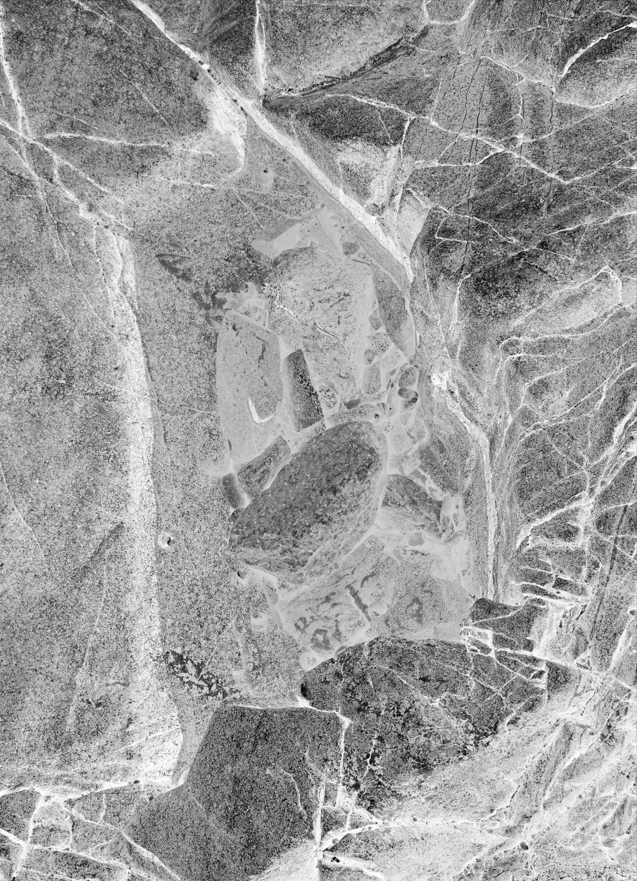
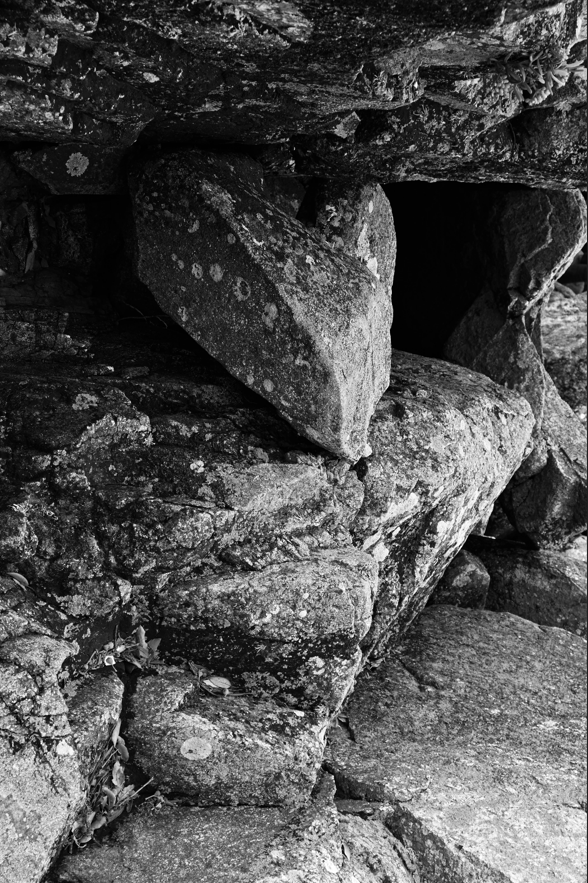
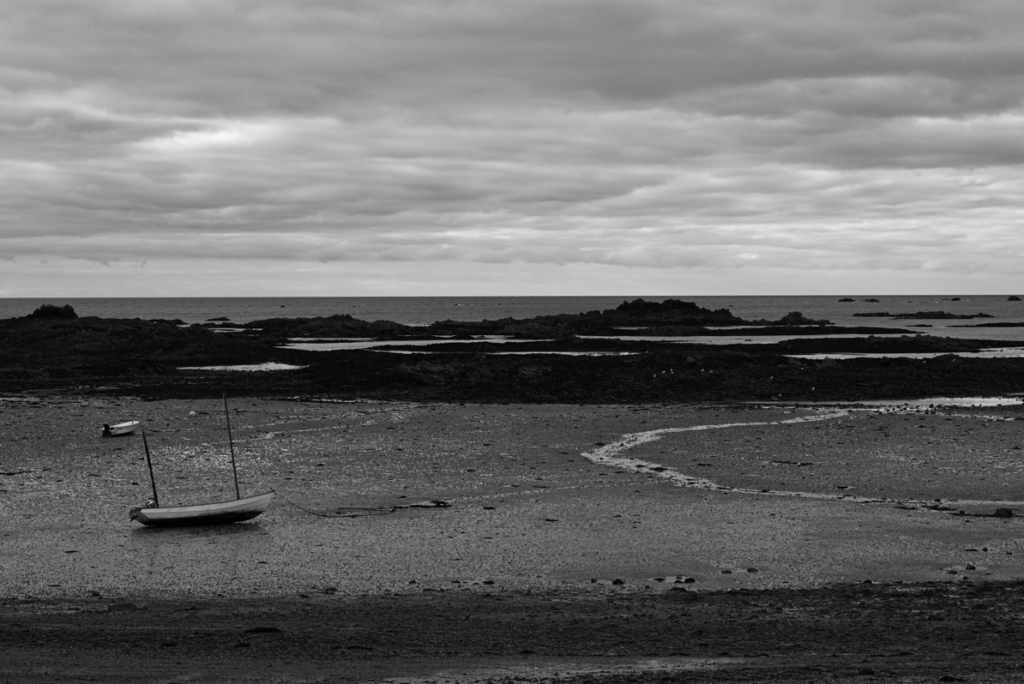
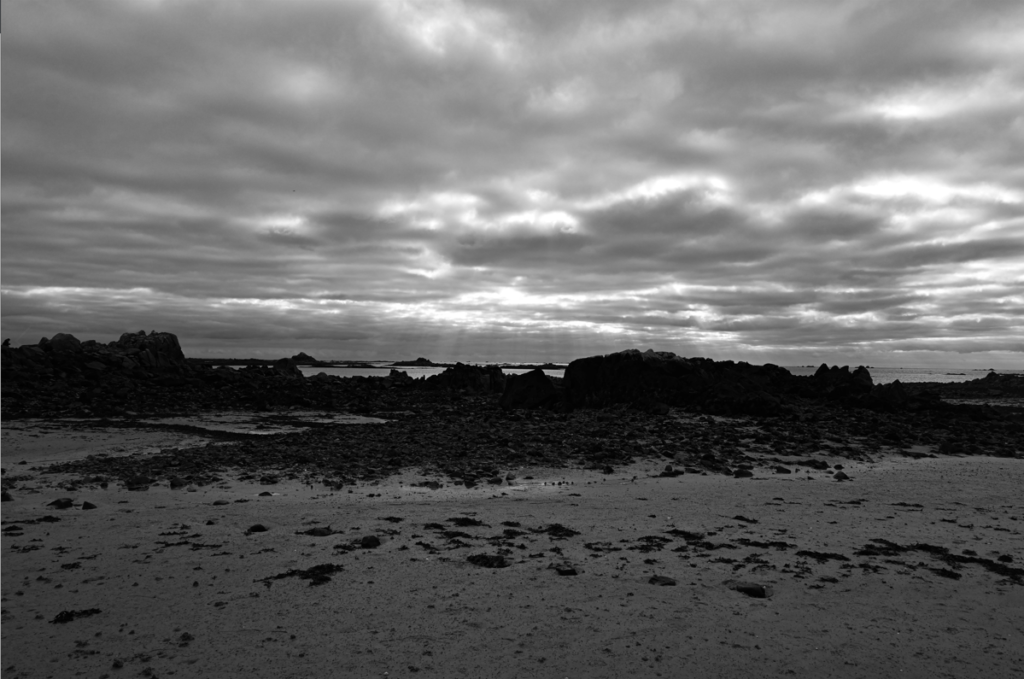
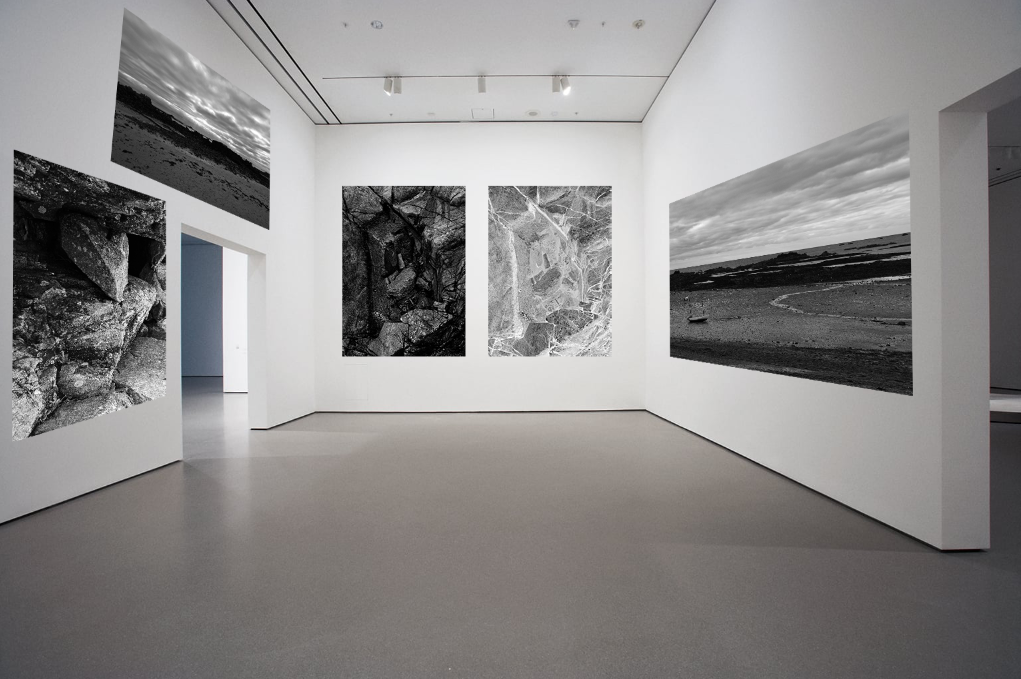
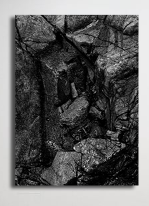
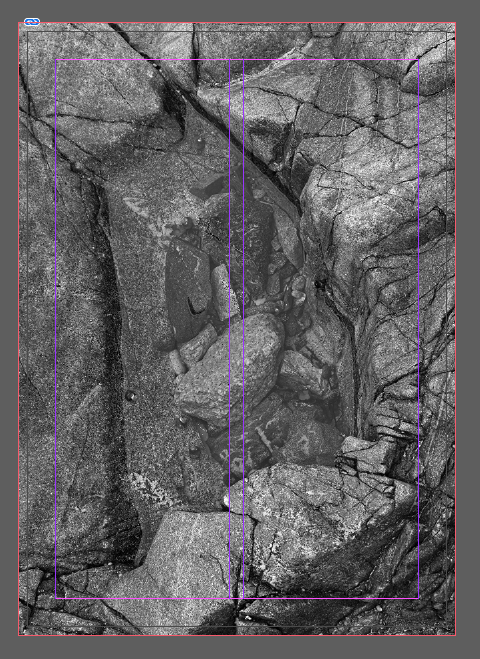
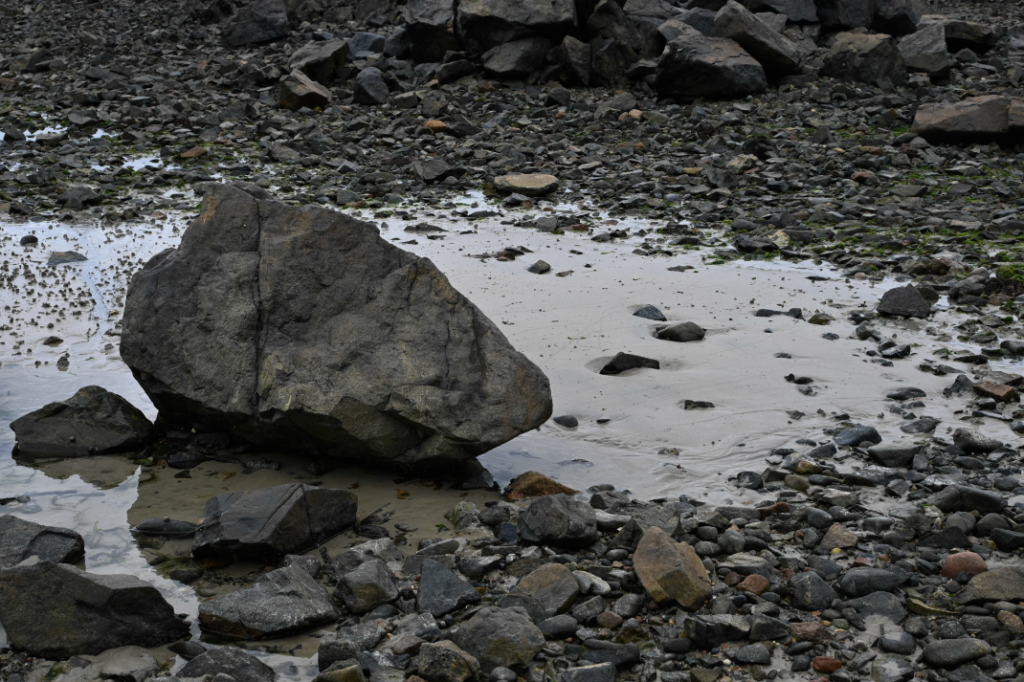
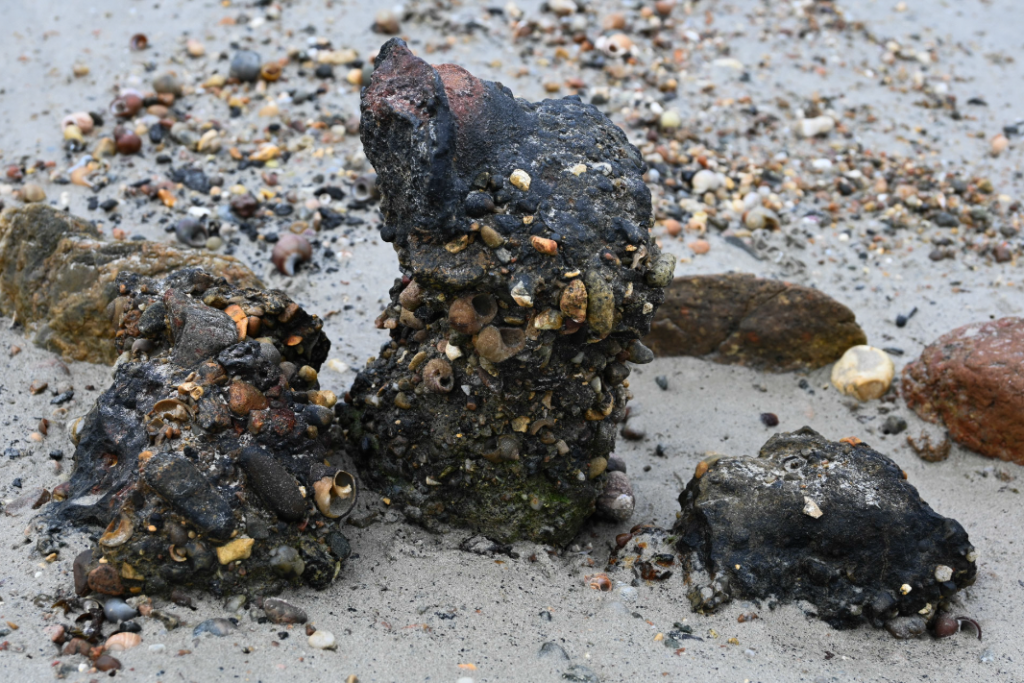
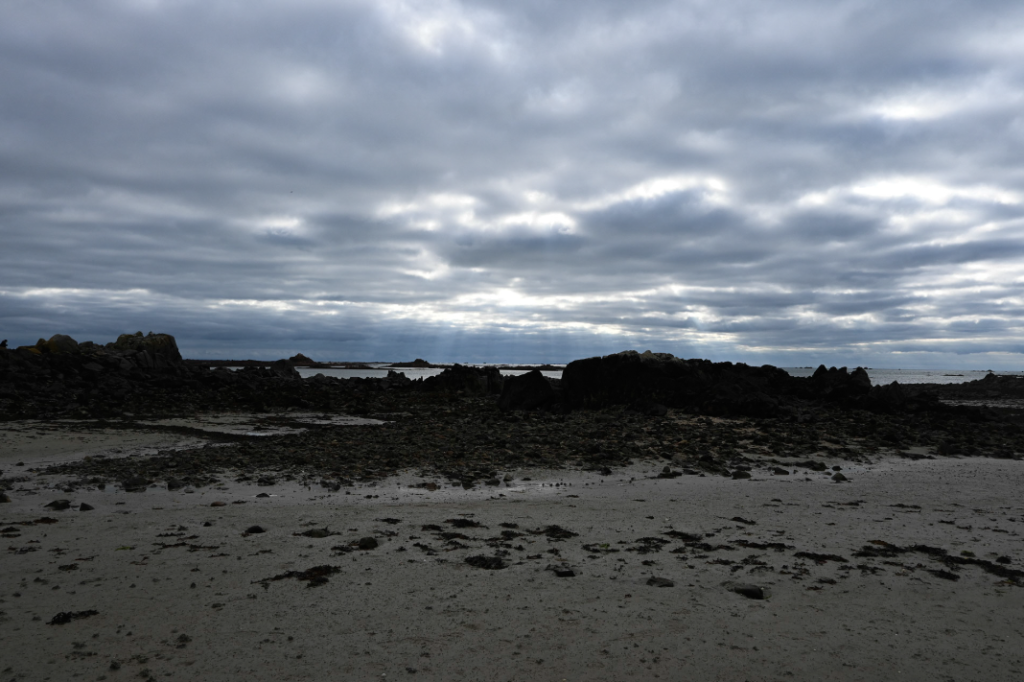
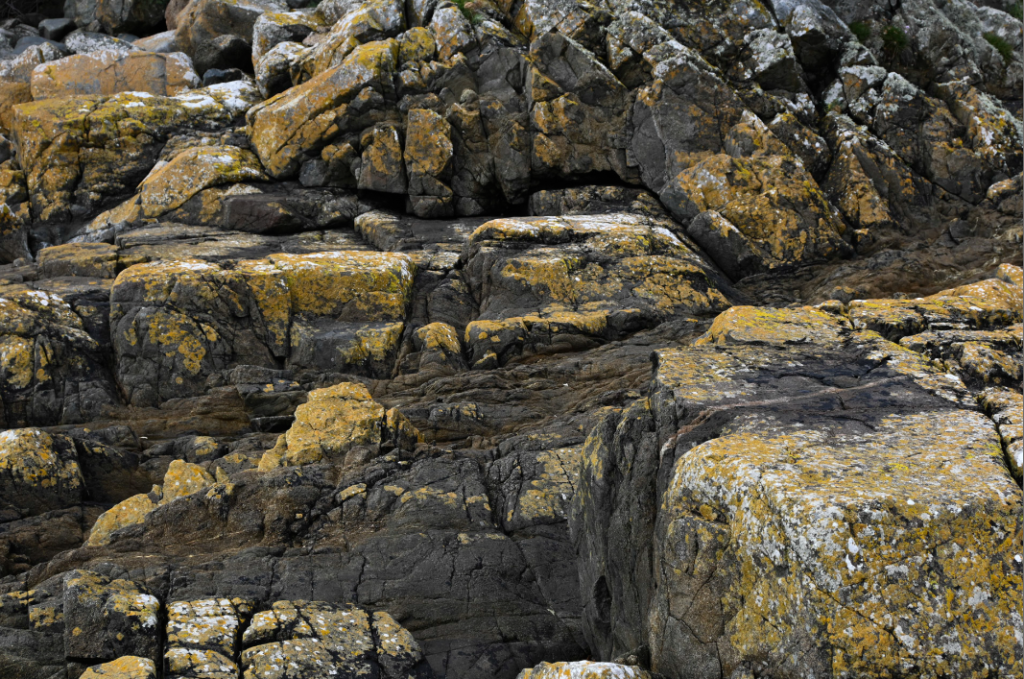
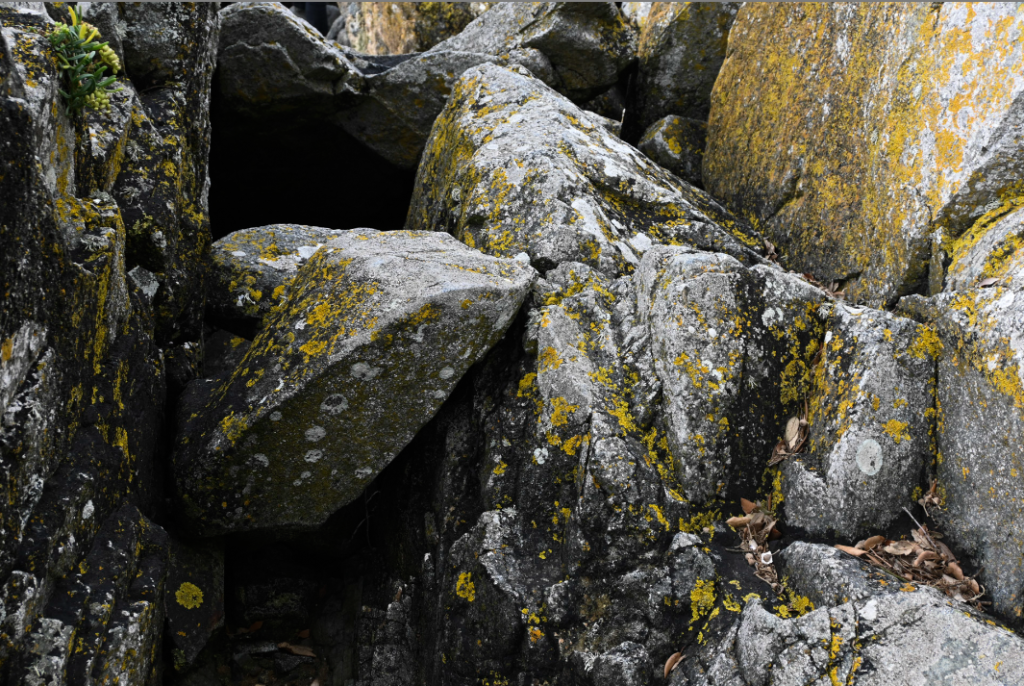
These 5 images are the ones which I have selected, which were also used in my zine, to insert into my virtual gallery. I decided to choose these ones as I thought that they all worked well together with the dark grey/black/white tones which are within them. I especially like the photos which I used for my front and back covers as the image is the same yet inverted but they work well alongside each other as you are able to see the relationship of similarity between them yet they both hold a unique feel to them. I also decided that I wanted to include 2 photos of the scenery because it shows a journey and exploration which was taken when this photoshoot happened. I really liked the bottom left photo as the little boat which is in the corner is small yet very effective as it is solitary which adds a emotional feeling of solitude and sadness to the photo as it is quite dark and dreary, making you wonder where all the other boats have gone and why it is by itself. I also decided to use the bottom right photo because of how dramatic the sky is within it contrasted against the black of the rocks as it makes the bright colours which push through in between the clouds above stand out immensely well, which I really like. For the last photo, I really liked the formation and layout of the rocks within the photo as it looks quite abstract due to how there are dark pits of black which contrast heavily against the brighter grey/white tones which are found on the rocks which also create a geometric pattern on them due to their texture.

Once I began to bring my photos into the virtual gallery, I decided that it would be easier to adjust their perspective as I put each one in. This would make it easier to organise where I wanted them to be and if they flow well together, instead of doing it when all images have been imported. To do this I began by bringing an image in, which would create its own layer, and using ‘CtrlT’ to activate free transform where I was able to move the image freely as well as change it shape. Then I used the ‘fx’ button which is located on the bottom right of the screen and right clicked on the image which allowed me to select the option of ‘perspective’. This gave me the freedom of being able to manipulate the photos to look like they are framed and mounted on the wall as you could drag the sides up or down, or from one side to another which would alter its placement. I repeated this another 2 times for the other photos I have chosen to use and I think that they turned out successfully with the way that they are placed on to the wall as they give the illusion of mounted photos, as well as flowing nicely together.

Adding a drop shadow –

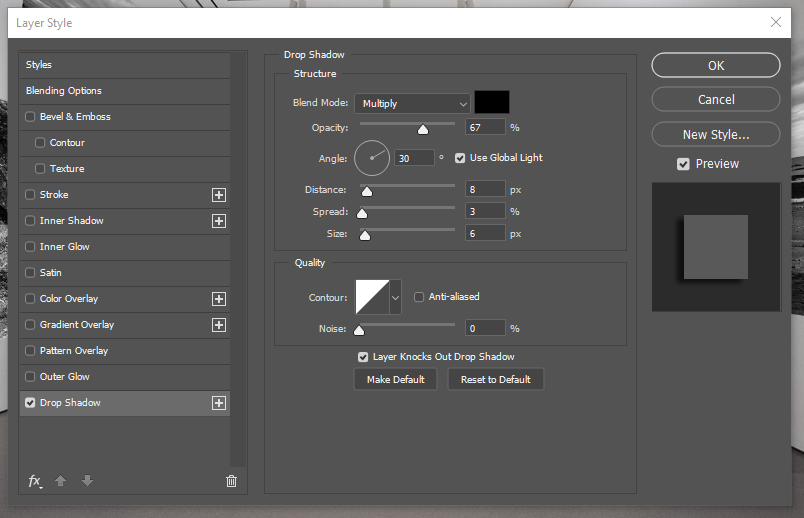
To complete the creation of my virtual gallery, I decided that I will add a drop shadow to each of my photos. I did this through using the ‘fx’ button once again and selecting ‘drop shadow’ from the box then altering the angle, position, size, etc of the shadow, then repeating it for the rest of the photos as I could set a baseline of settings to apply as a drop shadow to each one which I found to be easier then I went back through each one and altered it if needed. This gave the photos the illusion of the light creating a shadow from where it is falling on to the frame of the photo. I really liked adding this element into my work in the virtual gallery, as I think that it made it look more realistic and unique instead of quite uniformed and as if the photos are stuck against the wall, because the drop shadow adds a level of dimension to each photo.

Final outcome –
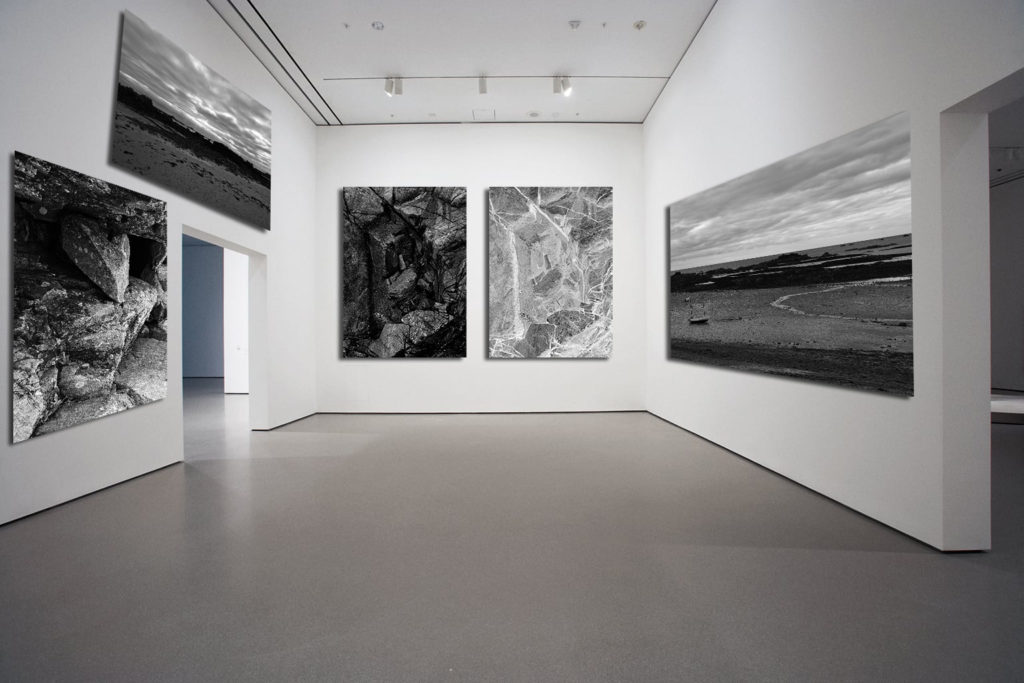
Here is my final outcome of the virtual gallery which I have created in photoshop, I think that this is a really successful presentation of my work and I enjoyed creating this as I was able to freely decide where I wanted my images and which ones I wanted to use. I like how I have a nice balance of scenery to images of rocks because it shows the in-depth surroundings of where I was while on my journey through the intricacies and details of the rocks, yet the scenery provides a way to visualise where I was and the path that I was taking. I also like how well the photos work together due to the fact that they are in black and white as it shows a continuation in my work as they are the same images which I have used from my zine, which I really like as it makes it look organised and not messy as I don’t have a mix of colour and black and white photos which I don’t like. I also like how the photo that I chose to use as my gallery is looking straight down at the two images at the bottom, I think that this is successful in drawing you eyes and attention to what they could be and why I have 2 of the same images yet one has been inverted because they are able to show the finer details and lines which have been formed within the rocks which I really like as it shows how each rock is different and unique and nothing defines them as a rock or a photo. Therefore, if I were to create this again to improve the final outcome of my virtual gallery even more, I would go into photoshop individually with each photo and add a slight border around each photo because I think that it would give the realistic illusion that they are framed which would make them look mounted directly to the wall and be able to highlight and draw your attention to each photo even more when studying it.

Mounted Final outcomes

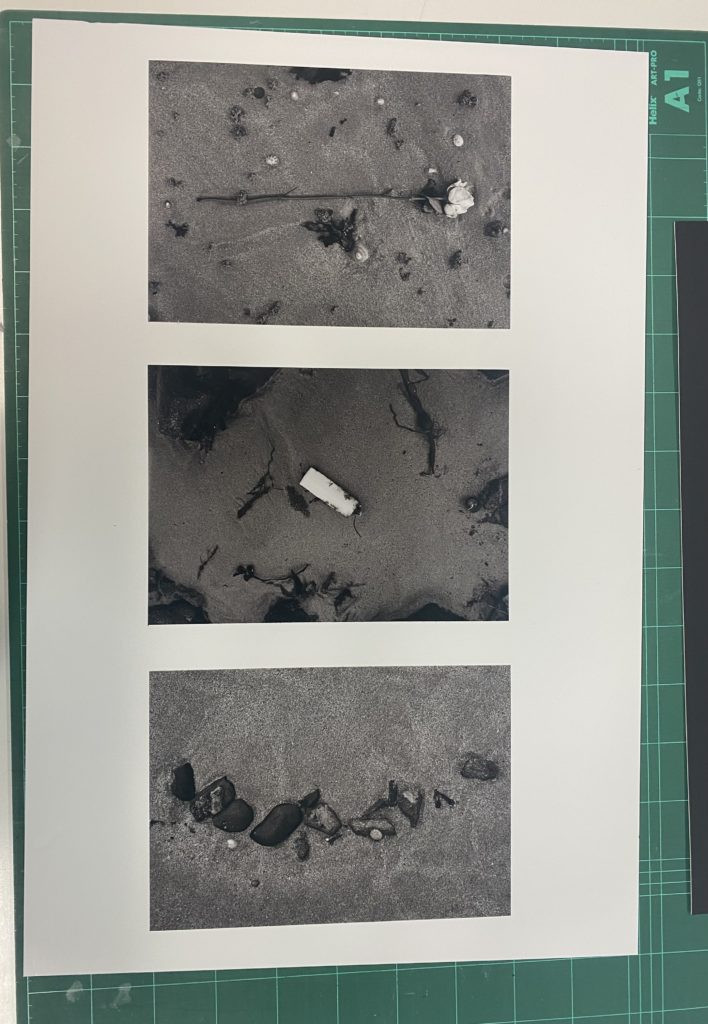
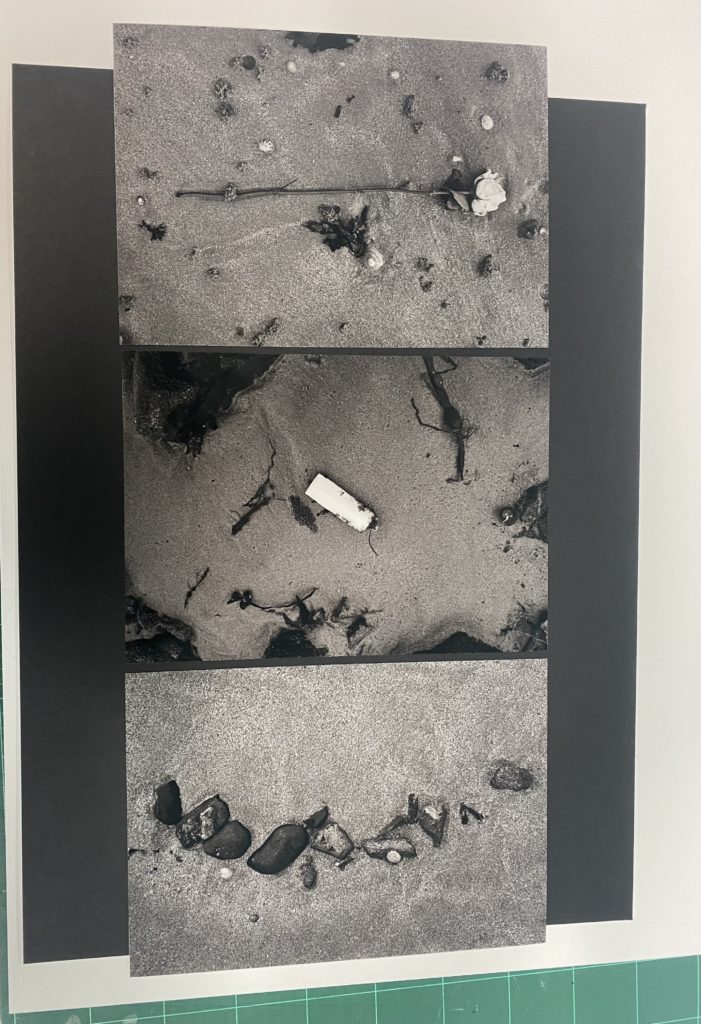
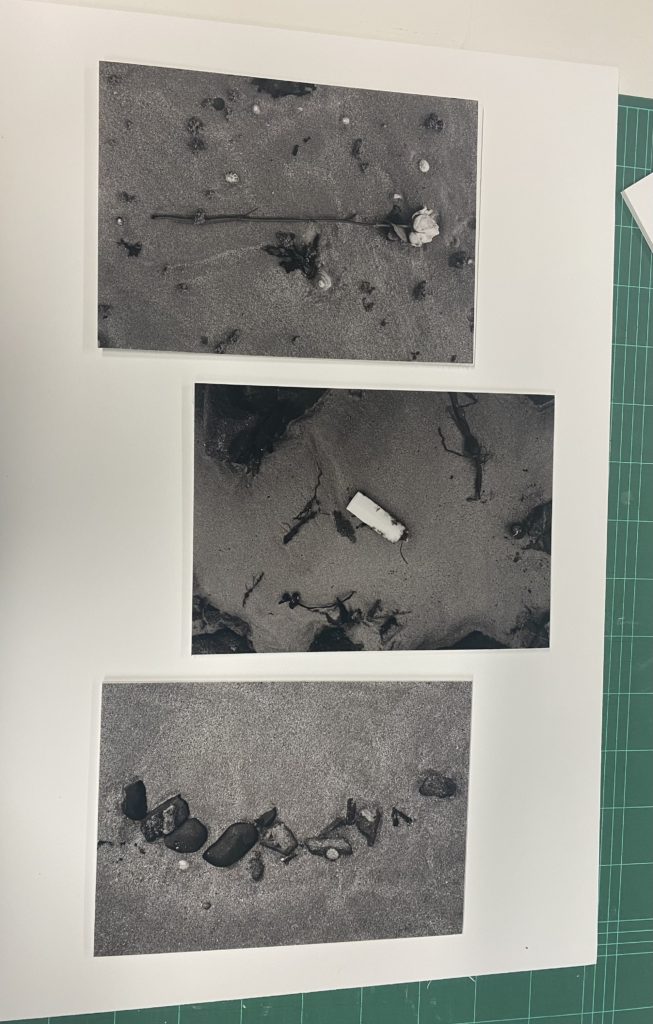
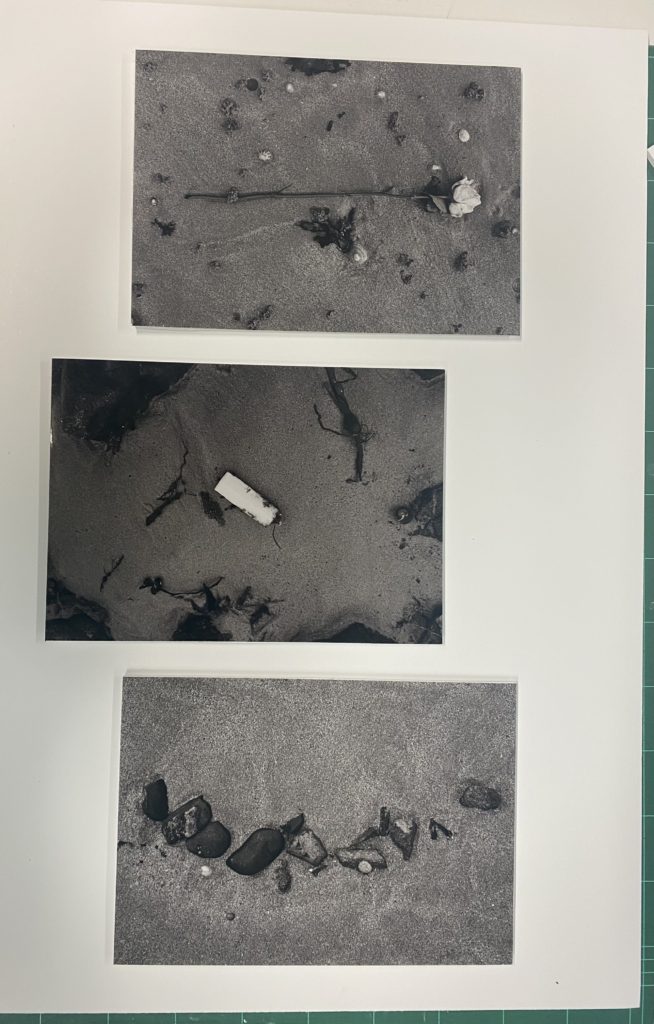
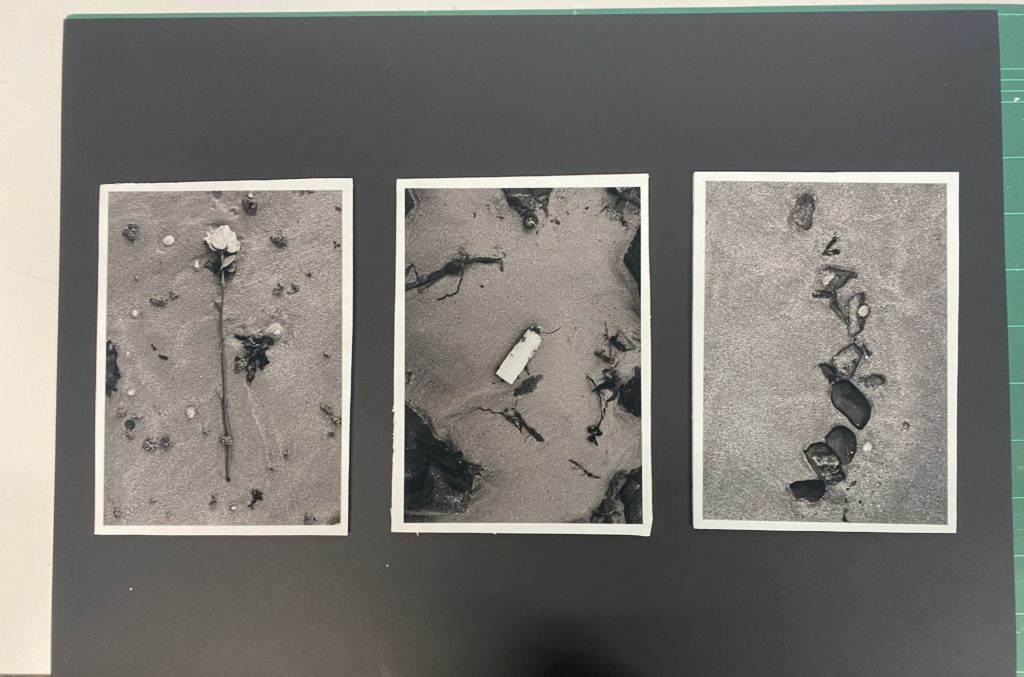
To create my mounted final outcomes, I began by deciding what pictures I wanted to use. I decided to use the set of 3 photos which I used for the middle page of my zine because I liked how well they worked together as a set of images, showing what is found on the seabed as you follow it. Then I began deciding whether I wanted my photos be mounted on a black or white background, I liked the white background to begin with and this was because it contrasted well against the darker black/grey tones in my photos, as well as creating a flow between the 2 images which have some white in them as well. I wasn’t sure on having a black background while experimenting, this was because I thought that the photos got lost within one another as they got lost due to the similarity of the darker tones within the photos and the black background. Upon further experimentation, I felt as if just having a plain white background was too dull and gave the feeling that it was unfinished. I decided that I wanted to add some dimension and borders around the photos, but wasn’t sure how I wanted this to be incorporated to begin with.
In these two images above, I was experimenting with different layouts which I could use to mount my photos with. I thought that I could experiment with putting my photos on different levels such as bringing the middle photo up or down. I didn’t like this experimentation as I wanted the photos to be level and not create a feeling that one is less than the other as they all work alongside one another to create a story. Therefore this was helpful with deciding the layout of my mounted final outcome as I knew that I didn’t want to have the photos be at different levels, so I experimented again with different ways to present my work which can be seen below.

Final Outcome –

This was my final outcome which involved using a black background, as the more I experimented with the white background I felt as if it was too overpowering. I decided to mount my photos on to white foamboard, which I cut out in to 3 squares which were slightly bigger than the A4 pictures to create a white border around the photos, making them stand out well against the black board which I used for the background. I then stuck them down using double sided tape on the photos to the foamboard then the frames to the black mount board behind it and this made sure that they remained in their places securely but I had to be quite precise while using the tape. This was because after the photos were placed it was difficult to move them without potentially ripping them, which I didn’t want to happen, so then I made sure to place the 2 side photos first, making sure that the space above, below and to each side of them was even then placing the middle one, which made sure that the photo in the middle was centred. I really liked this way to present my photos because it lifted the photos up off of the page, which I really liked as it added dimension to the photo which I preferred more than experimenting with the different levels of the photographs. I was really happy with this idea and decided to use it as my final way to present the photos I have used, creating a triptych.

Creating my zine and the final outcome

Paper mock up –

This image has an empty alt attribute; its file name is IMG_4470-2-1024x768.jpg

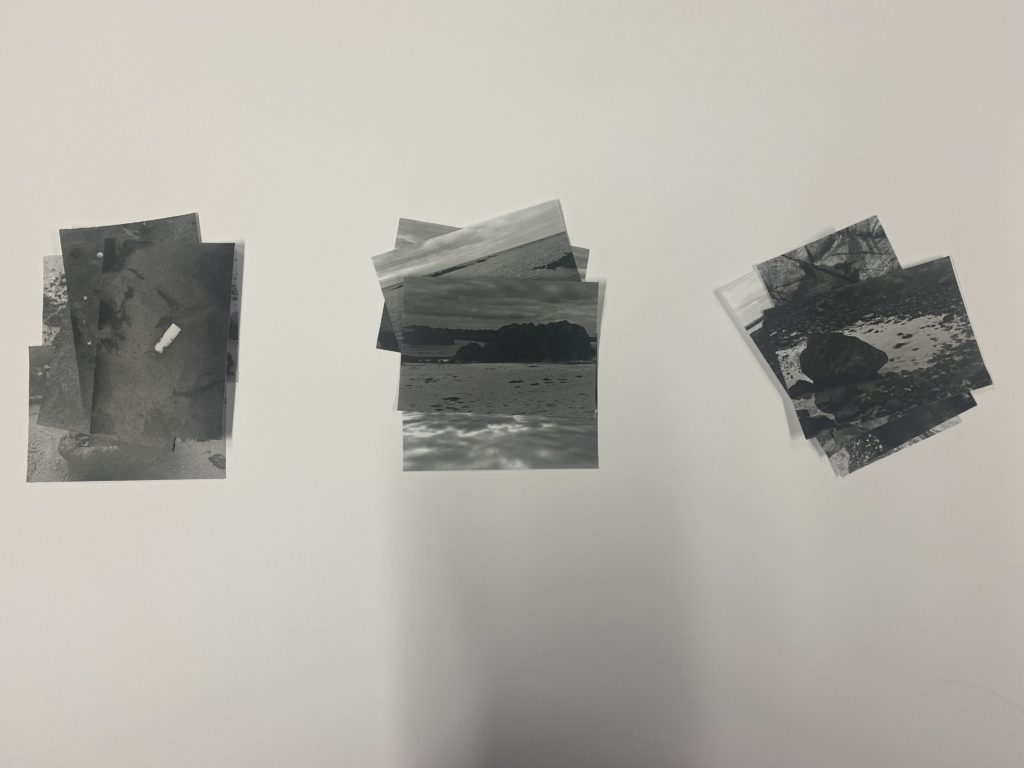
To begin the process of creating my paper mock up which will help me to create my zine and organise the layout in InDesign, I began by printing my photos out and sorting them into 3 separate piles. These 3 piles were:
-Objects
-Views
-Rocks
I found this organisation to be helpful as I was able to lay them out, giving me a clear view of the photos that I have chosen to use and see how well they flow and work together.

This image has an empty alt attribute; its file name is IMG_4472-1024x730.jpg

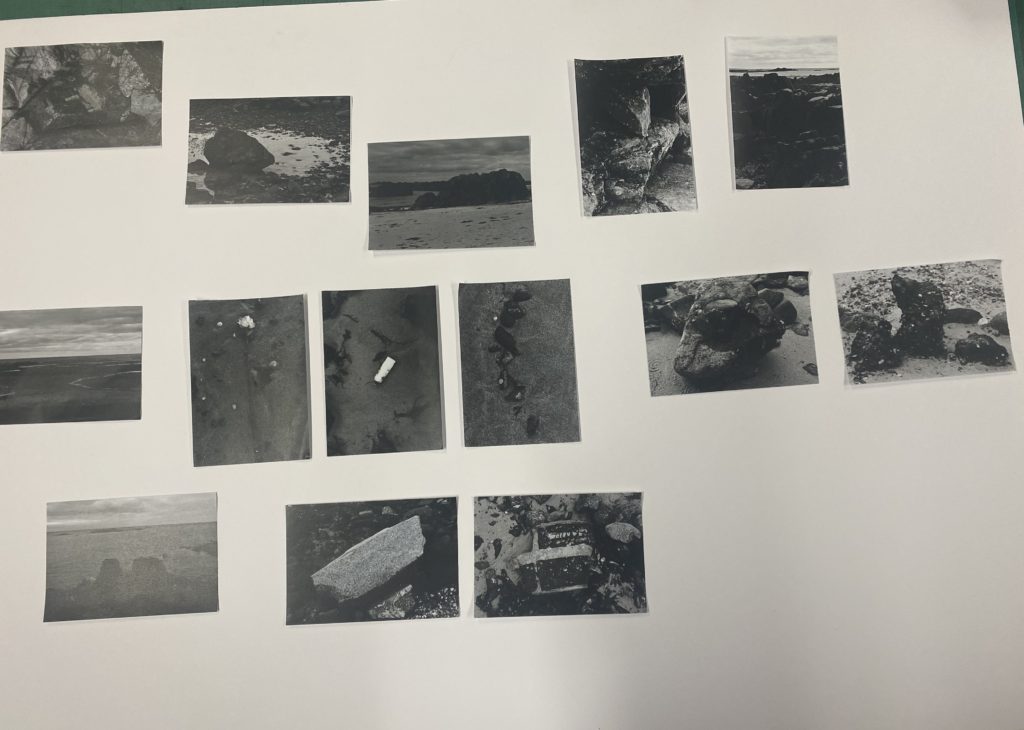
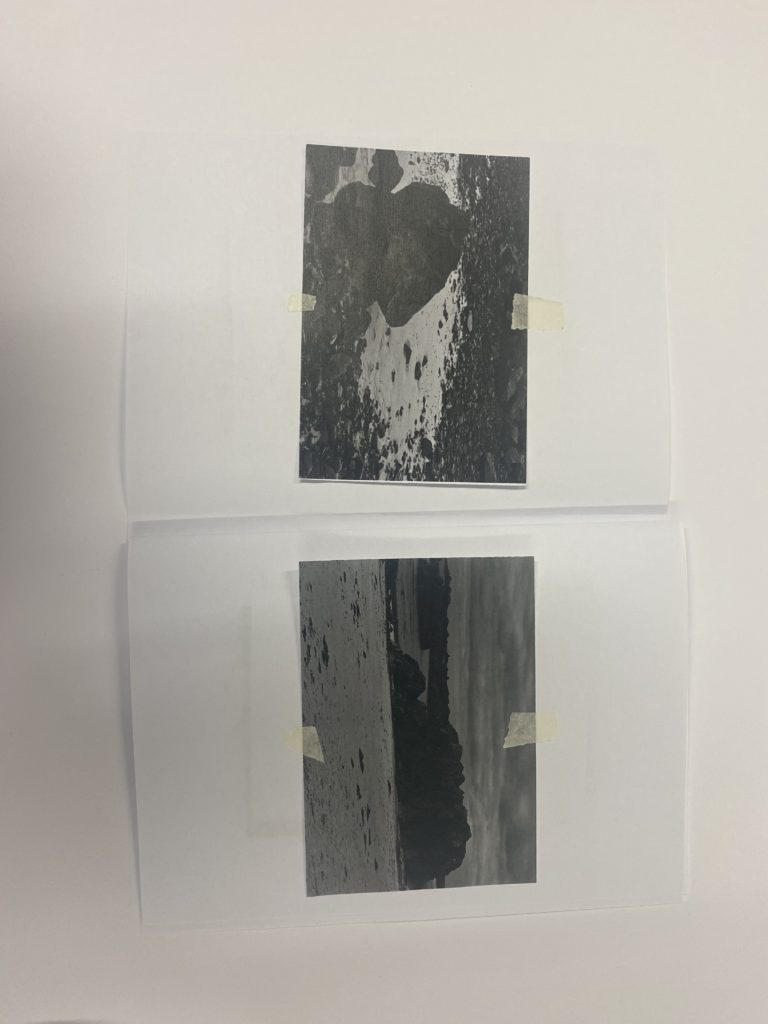
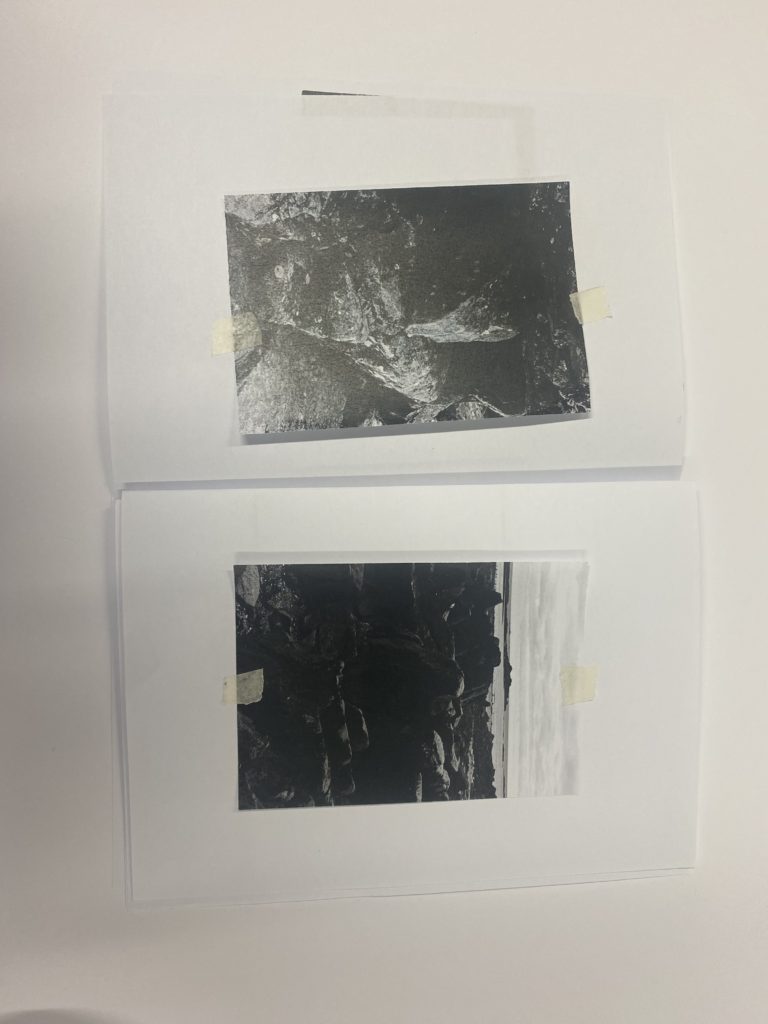
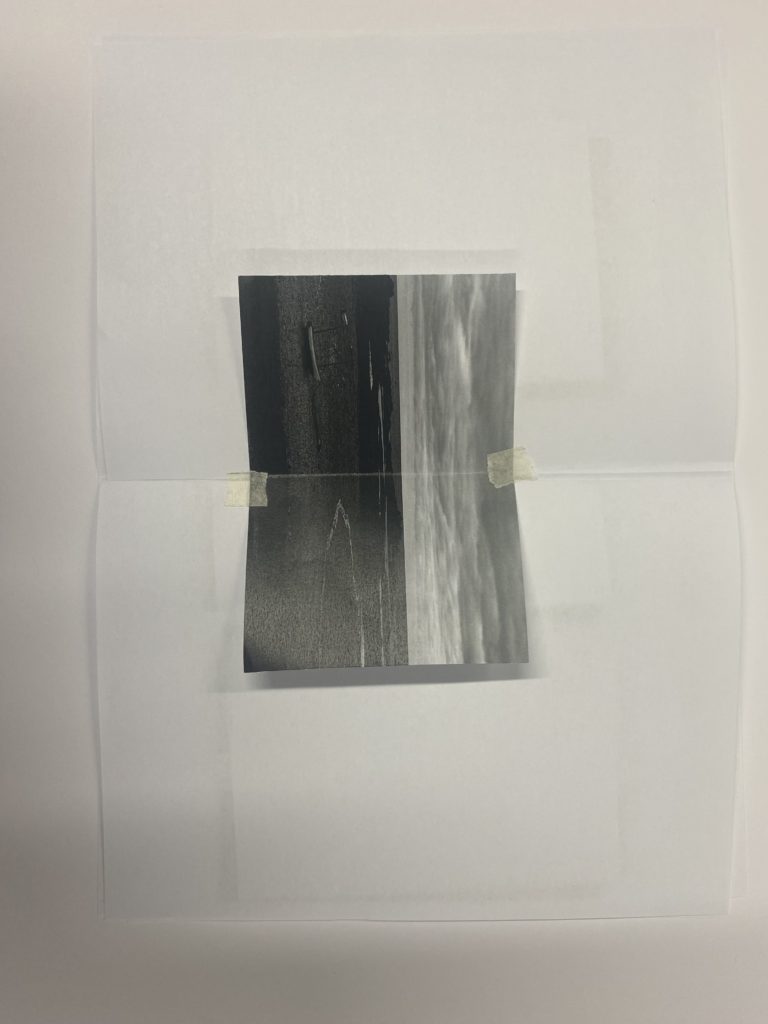
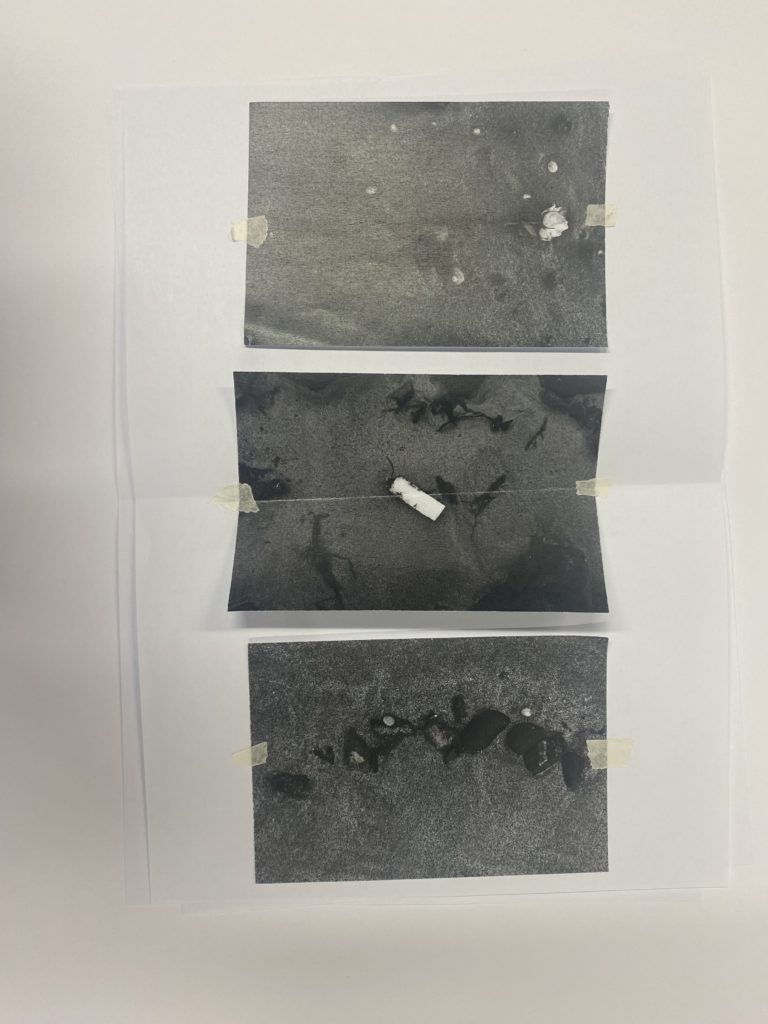
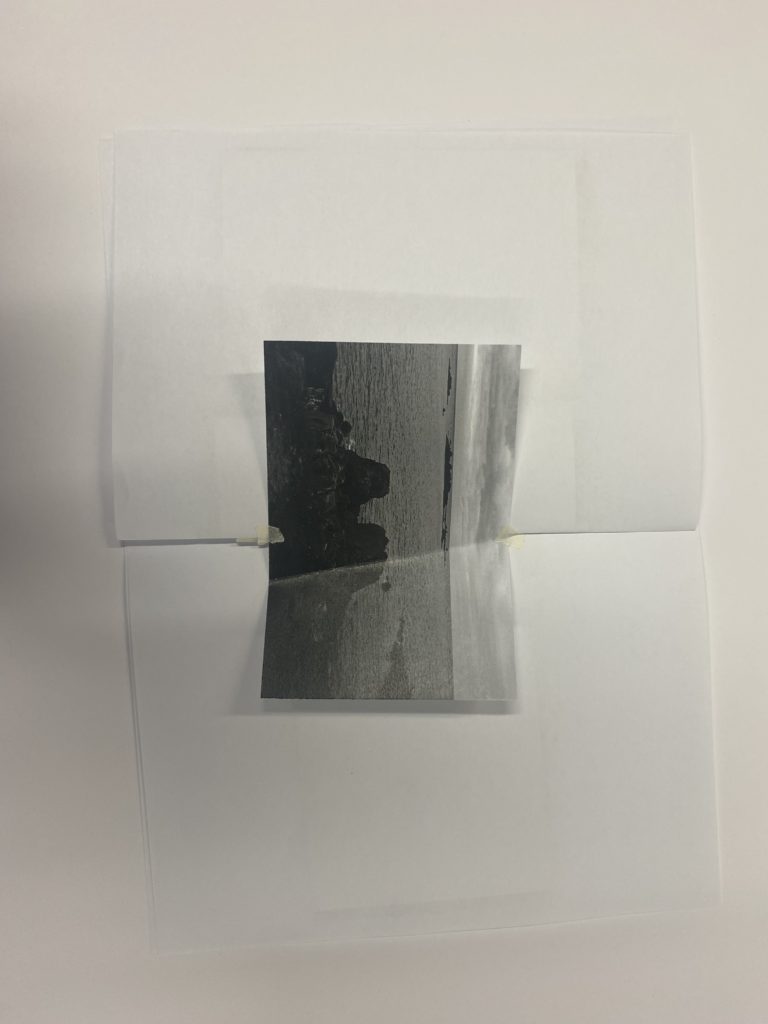
Then I began to decide on the way that I want the photos to be laid out. This process started by placing the first picture in the top left, which I decided to be my front cover that I will later invert in photoshop to create the back cover. Then I placed the photos which I wanted on the same spread next to each other and the ones which I wanted separate by themselves. I also decided that I wanted to create a spread across my middle page, consisting of three photos. I found that this way to create my zine, and adding it to a little book, made it easier to visualise before bringing it into InDesign which I will do later on.

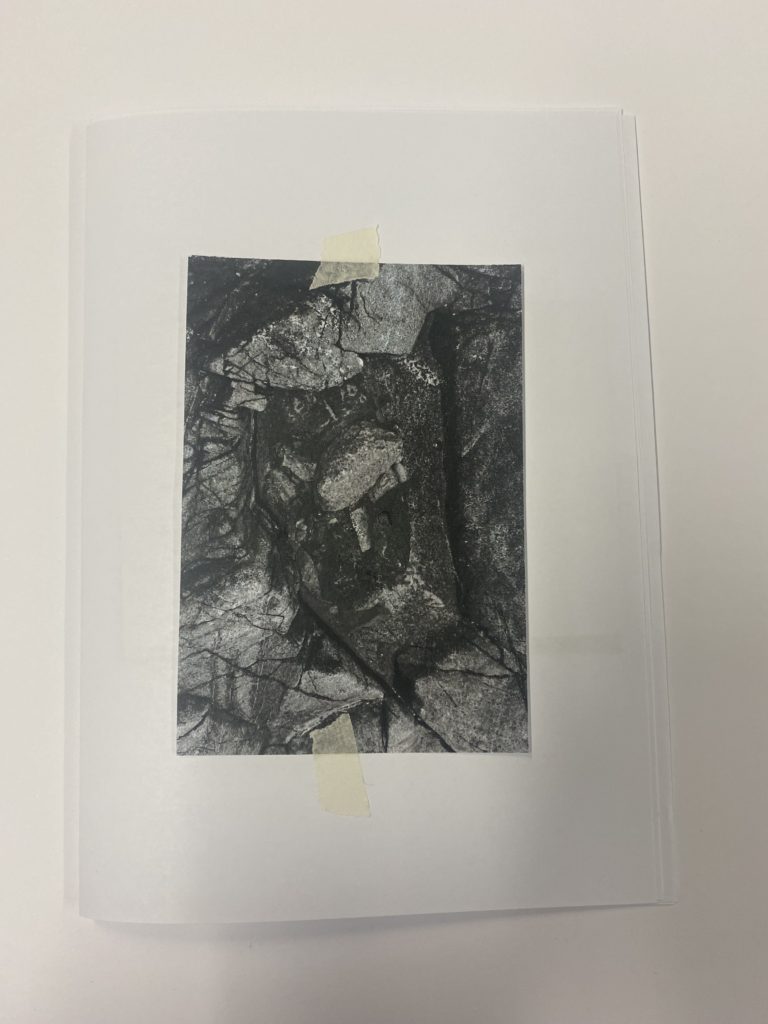
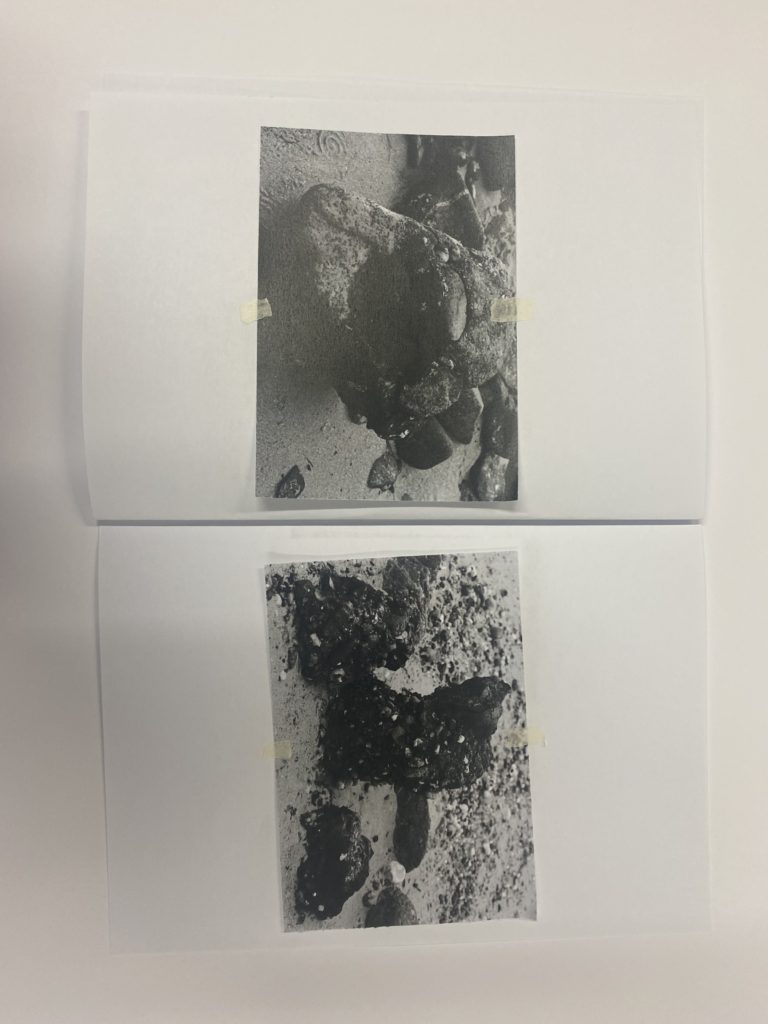
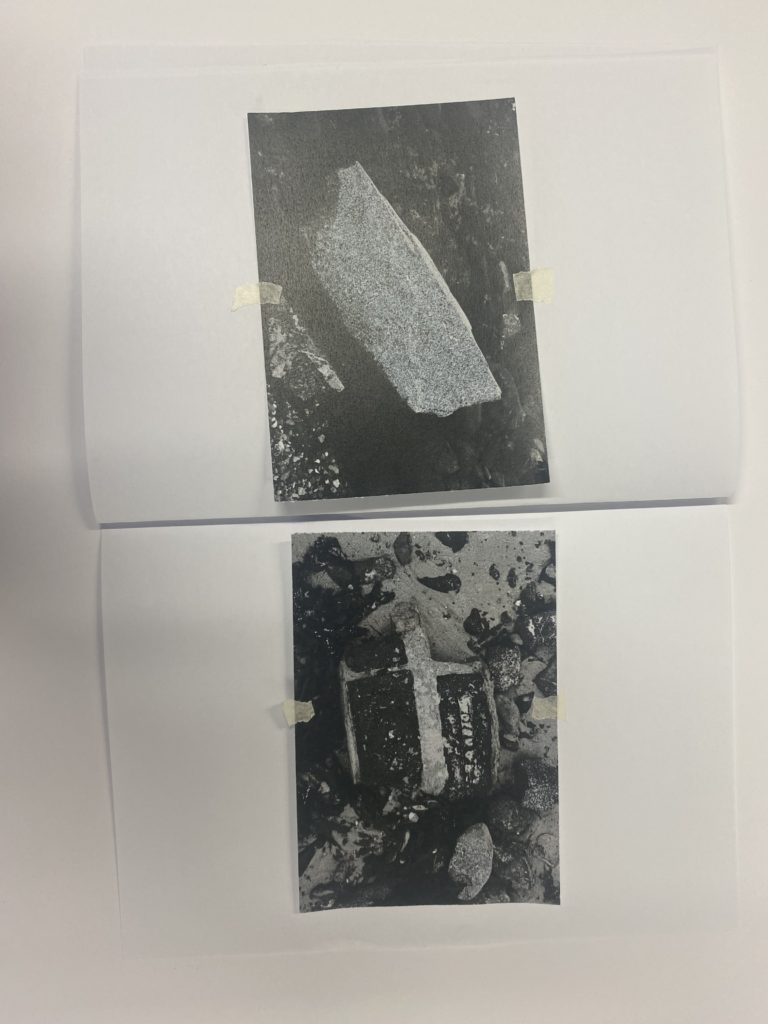
This was the final outcome that I decided upon for the layout of my zine. I created this mini paper mock up zine by gathering 3 pieces of paper and folding them in the middle then layering them to create a mini book. Then I placed my photos on the pages where I thought was applicable and would work well, this made it easier oy visualise and see if the photos which I have chosen to work alongside each other flow well, which many did. I found this technique to be helpful and will use it in the future as it made it easier for me instead of going straight into InDesign with no direction to follow.

Moving to InDesign –

To create my zine in InDesign I used the settings below to create a new document which provided me with the template of a zine.

Generic layout –

Using my paper mockup, I began to insert my photos in the places where I had decided to put them, following the mockup which I had previously created but then moving and adjusting the photos in different ways to show experimentation.

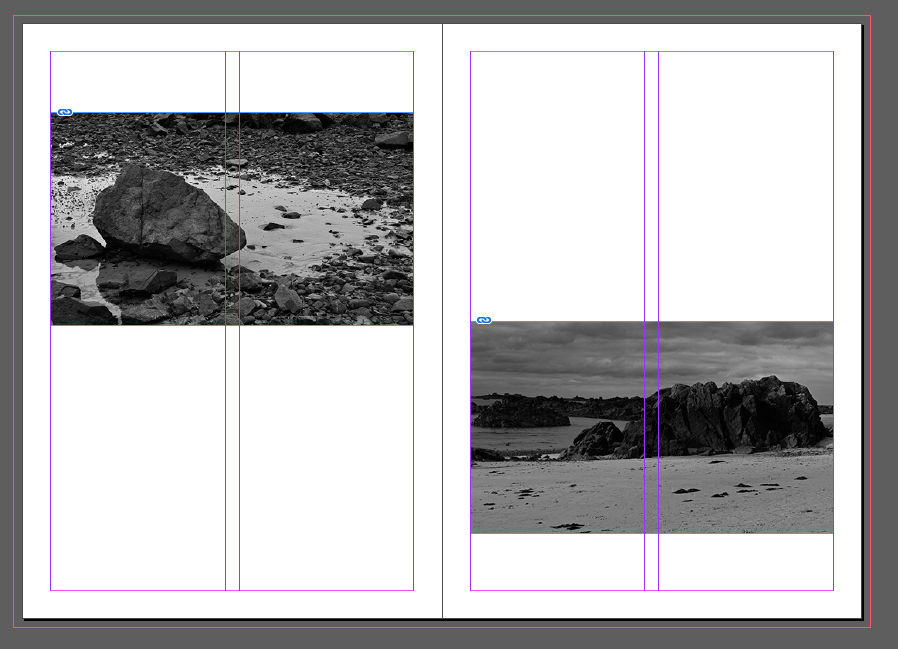
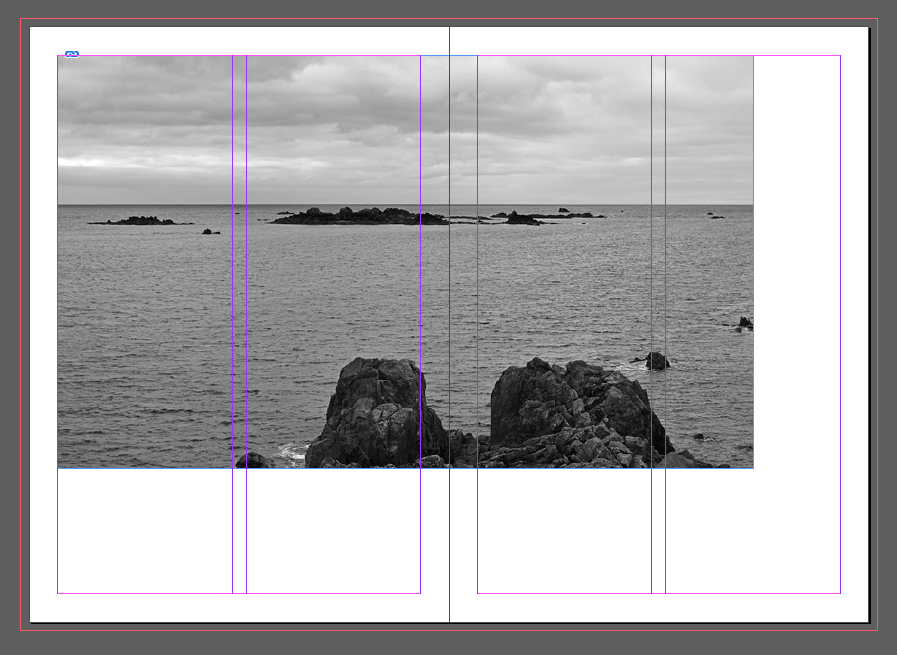
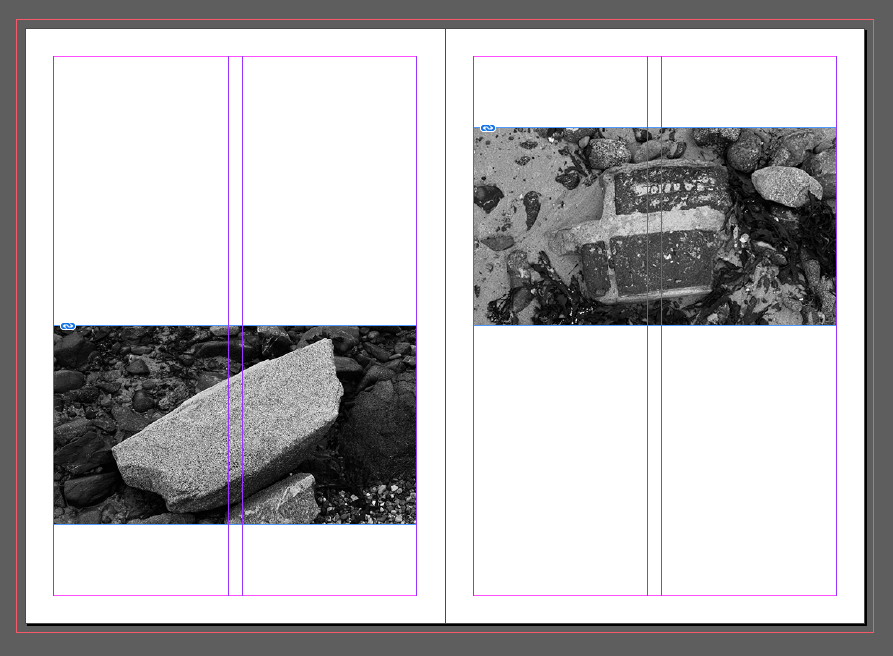
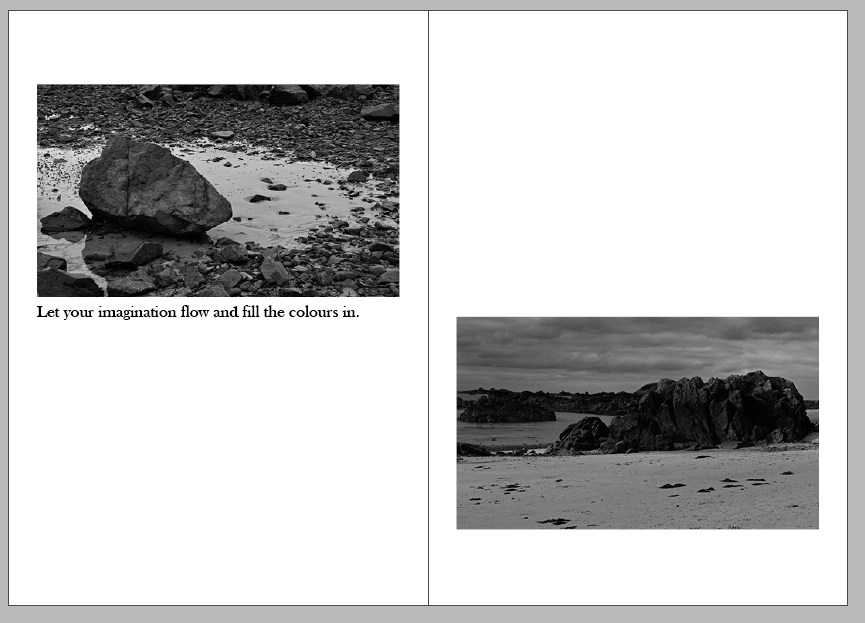
This can be seen as I chose to have the photos on the first page to be at different heights/points on the paper to add a level of individuality to my work so that it wasn’t following a uniformed structure, I then repeated this once more before the end of my zine but going the opposite way.

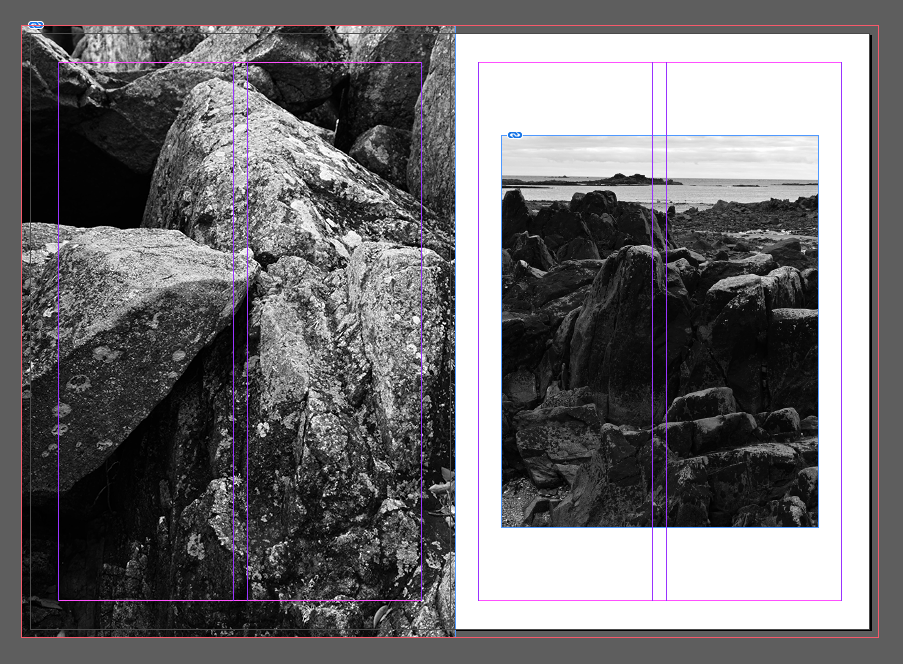
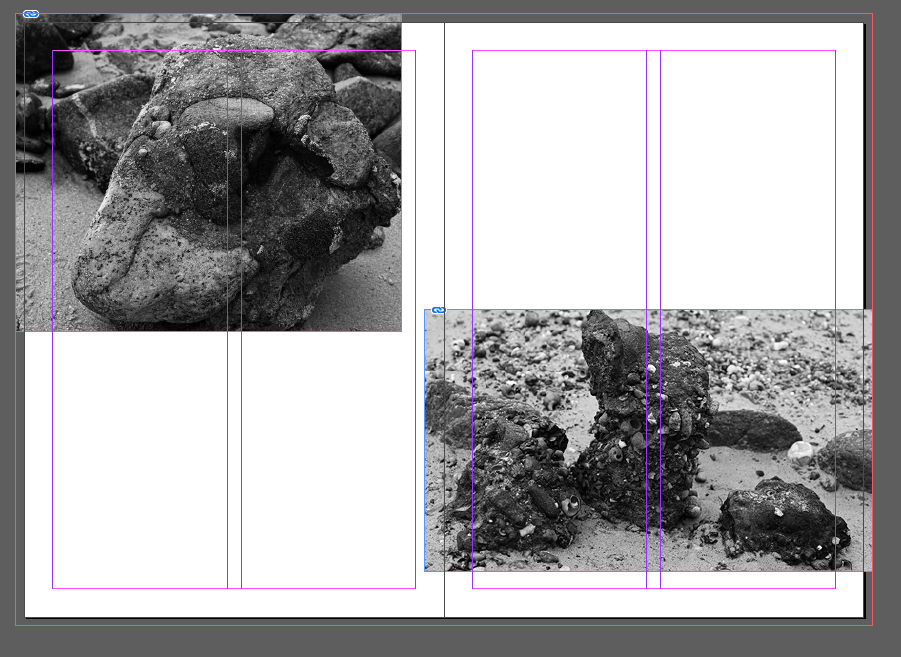
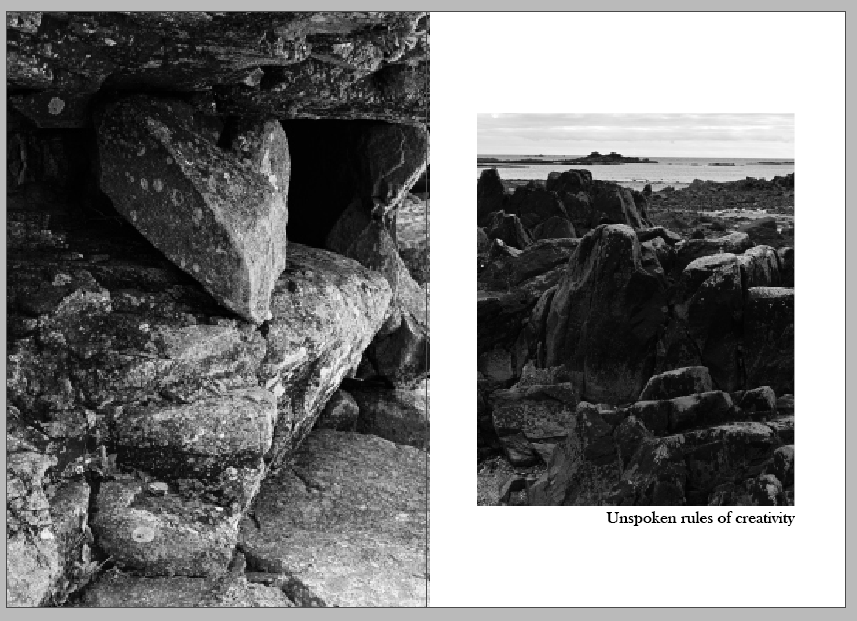
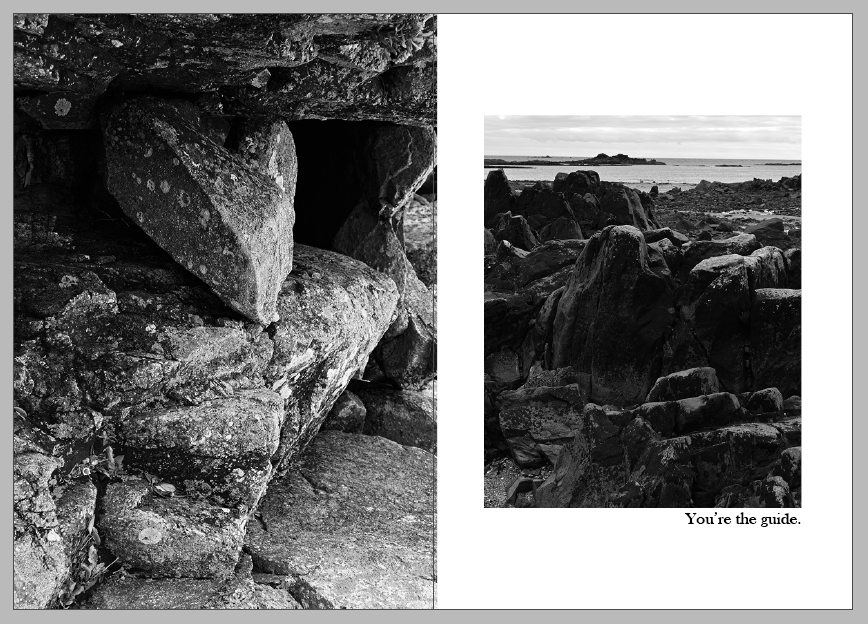
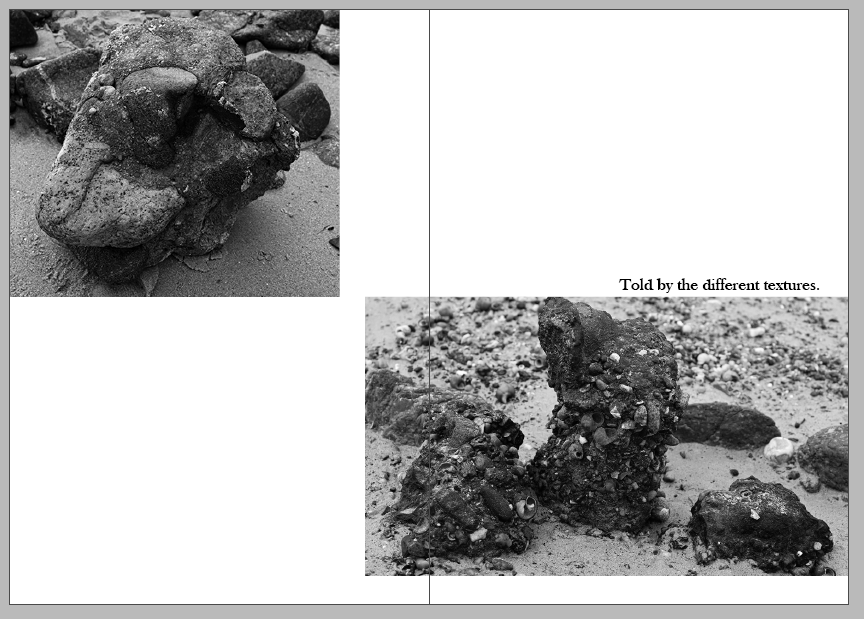
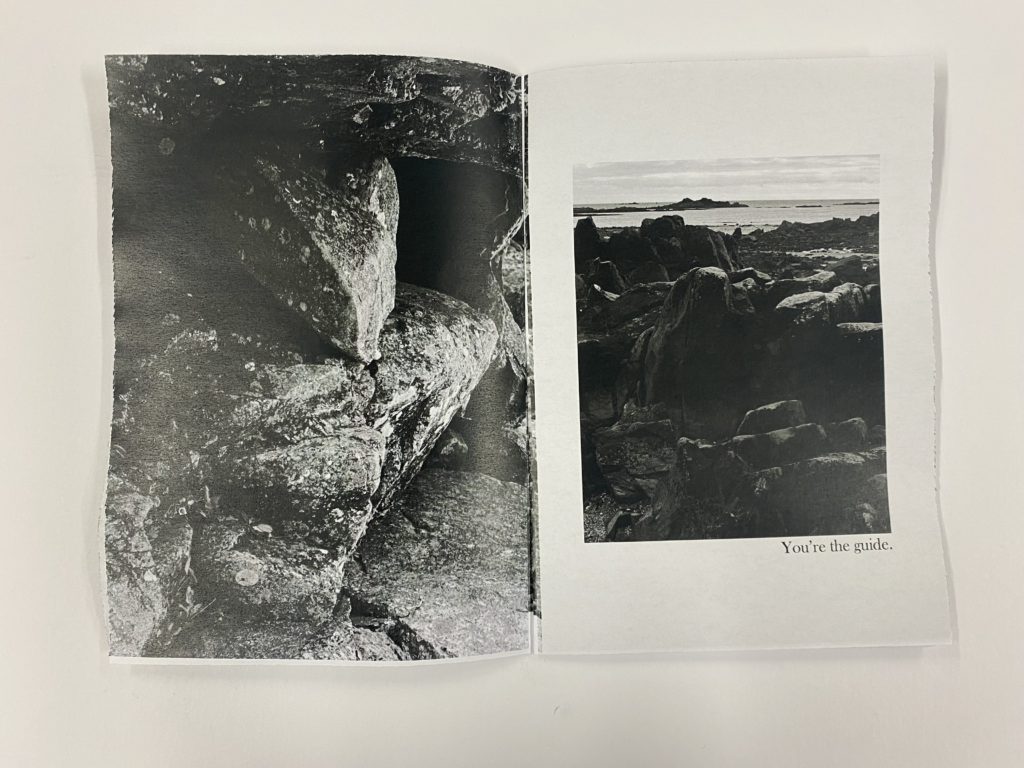
I then decided to have one full page spread next to one which used the white of the page as a border around it. I liked this spread on these pages because I think that it shows a zoom in to the textures of the rocks and then it shows you what surrounds them.
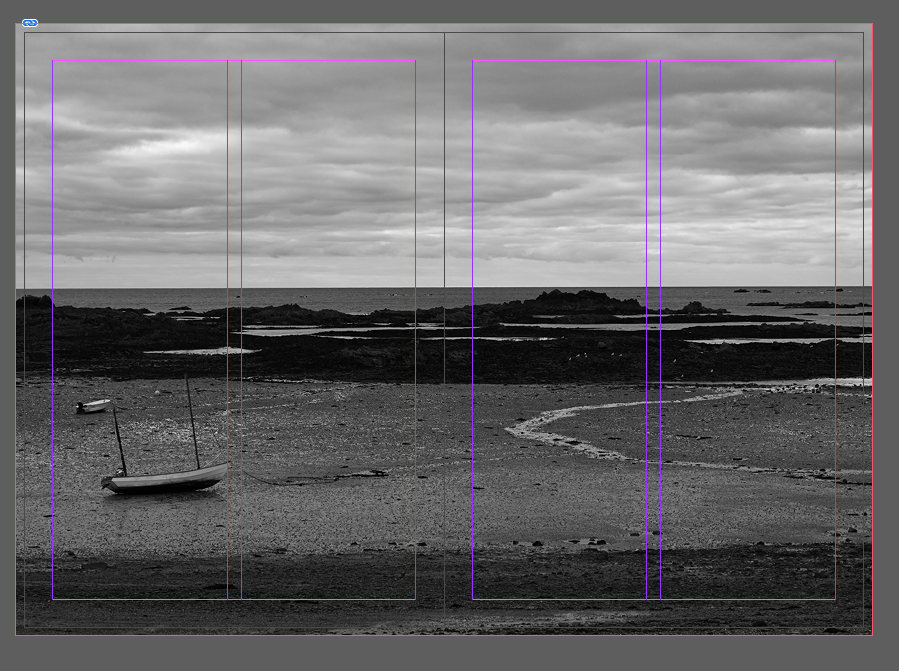
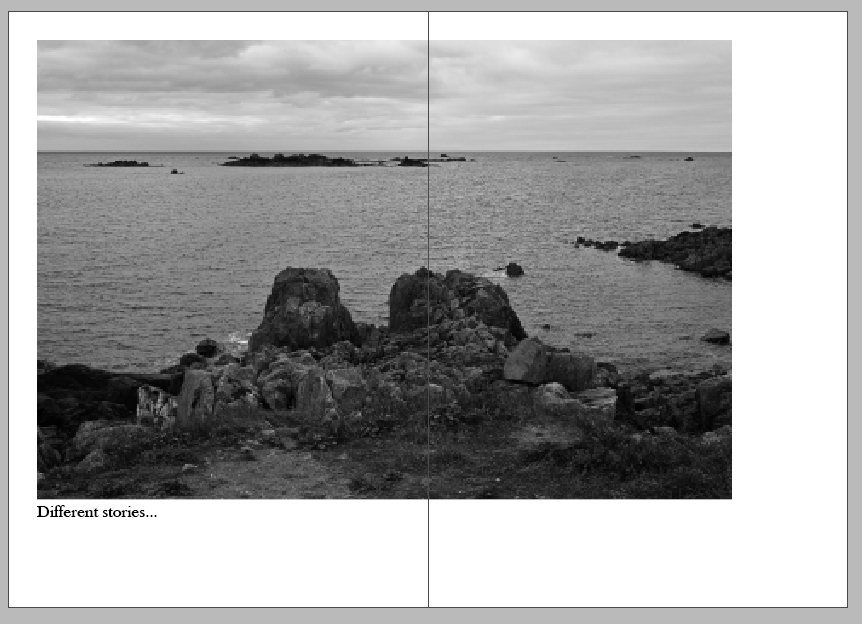
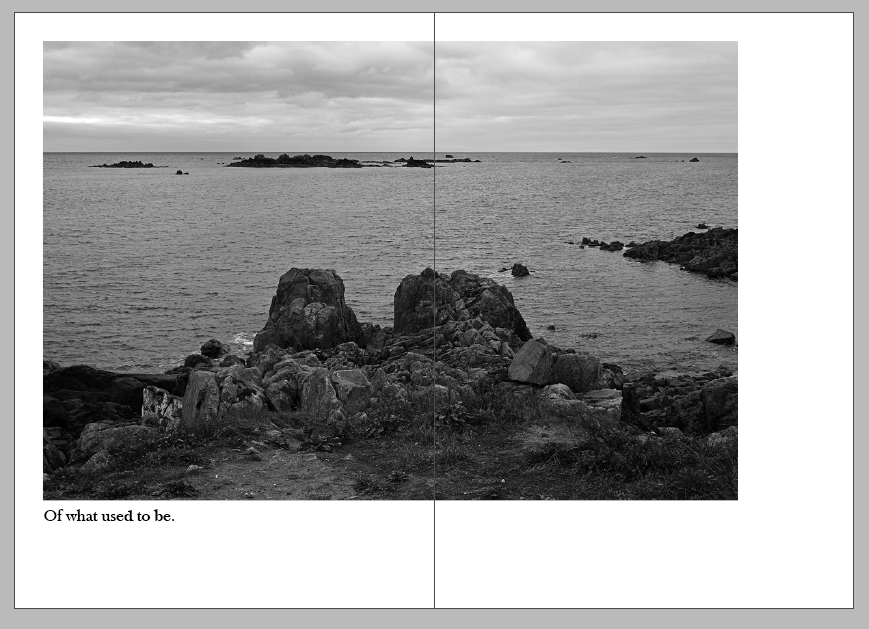
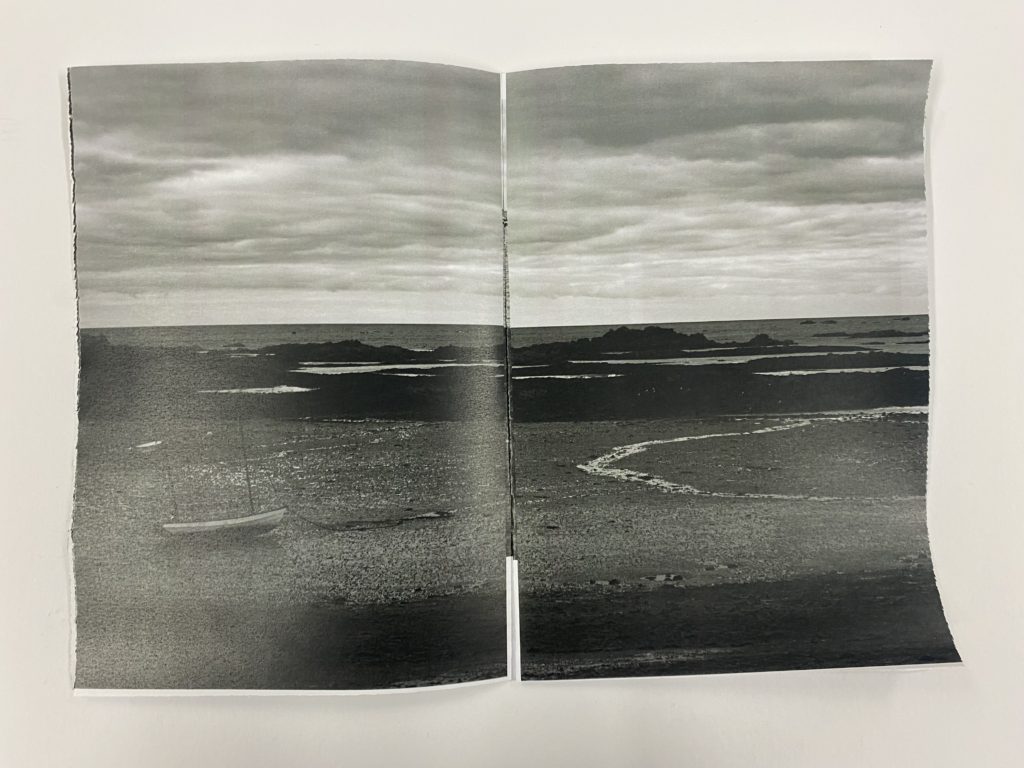
I only decided to have one full page spread for one photo of a view of the beach with a boat, which I really like, in my zine. I chose to do this because I felt as if it would be overwhelming to have more than one as it would tell the main story of this is where the location is where the story that you crate is based and to remember this scenery when developing the story for yourself.

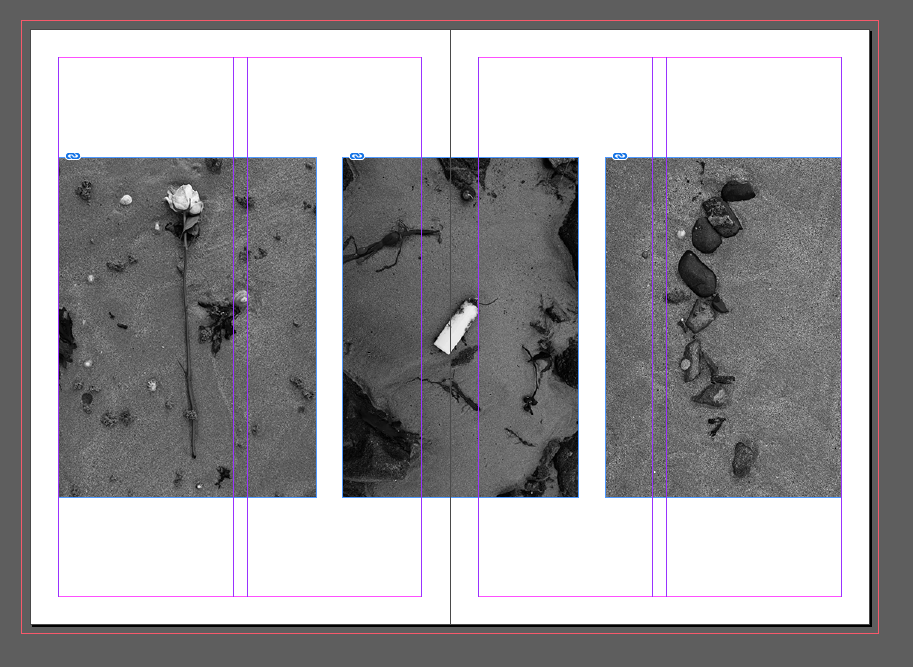
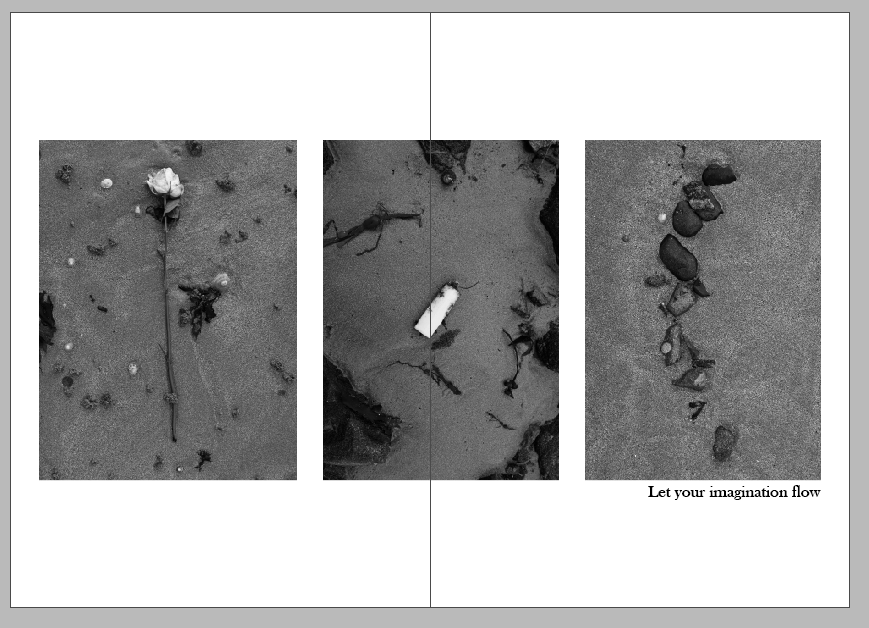
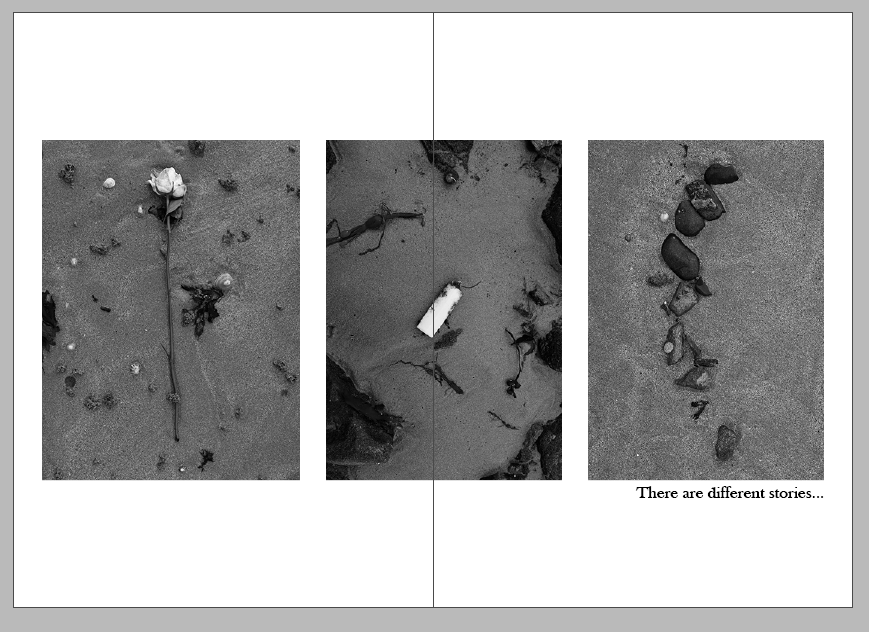
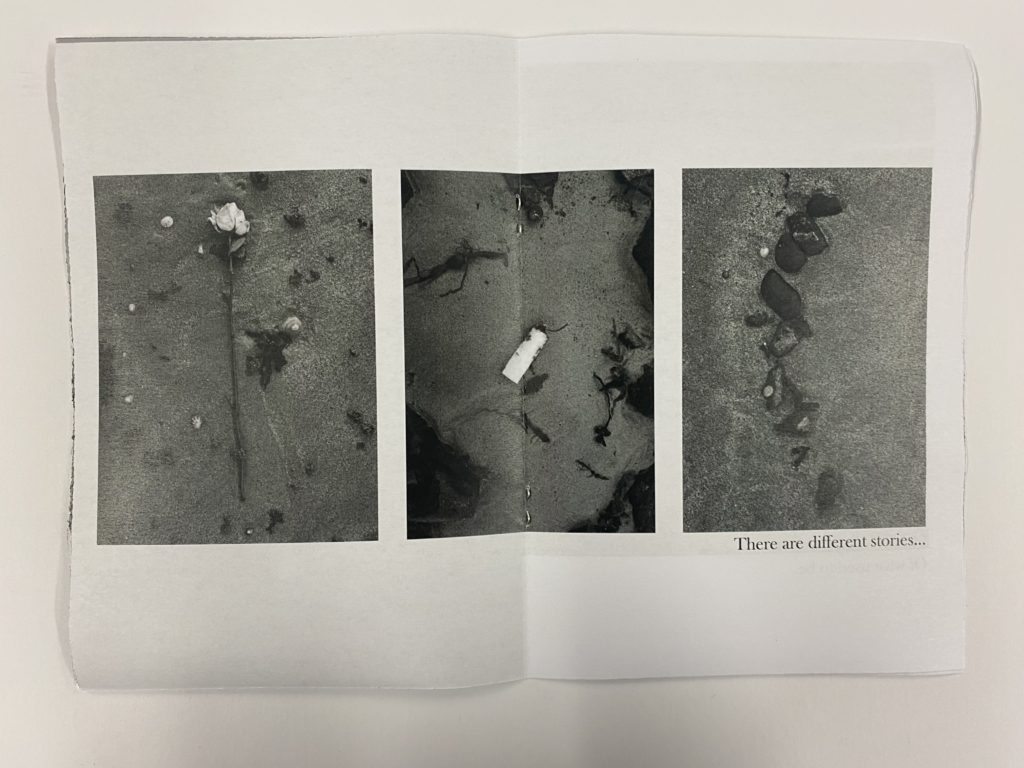
I created a 3 photo spread across 2 pages as the objects which I photographer of various items which I found along the way on the trip to green island. I thought that this could create different stories of how they ended up there and why they have been put together in the set, making the viewer think about the deeper meaning as to why as it could show links to pollution and damage to sea life etc.

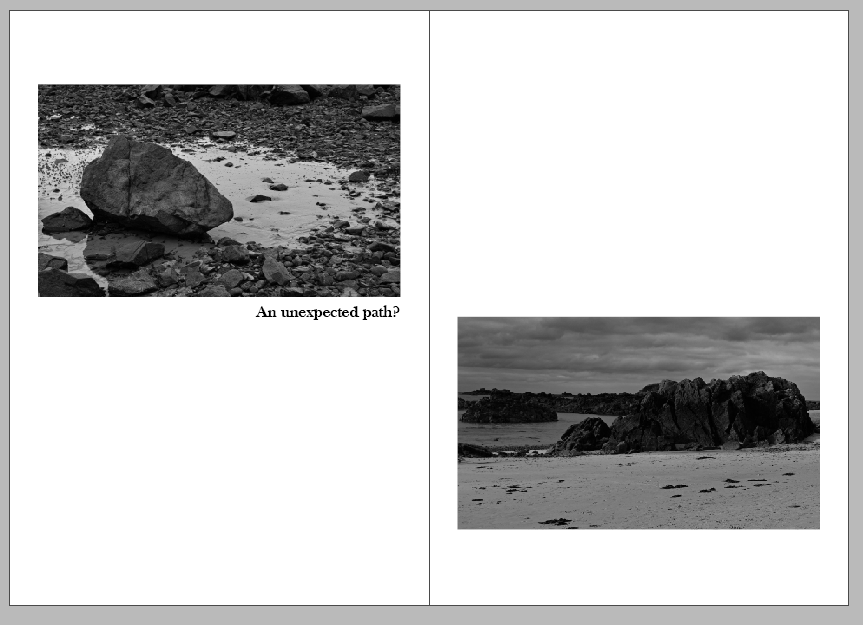
Then I decided to have a photo by itself, but I positioned it so that it did not take up the whole page and only spanned across the top left of the opposing page. I really liked this spread because I think that it shows the scenery of the page but the framing is quite effective as there is a lot of open space, but it allows me to add text to it to create a story throughout my zine which I add later on.

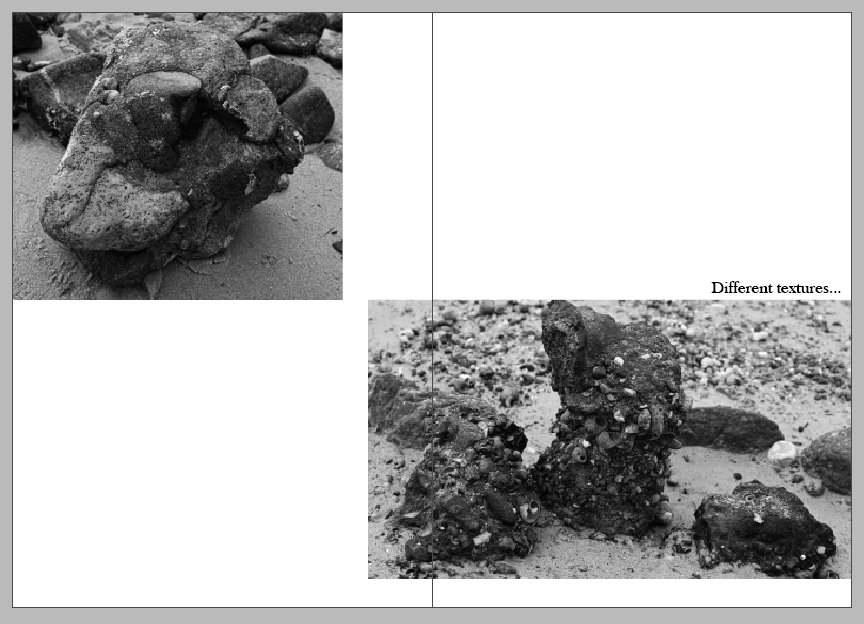
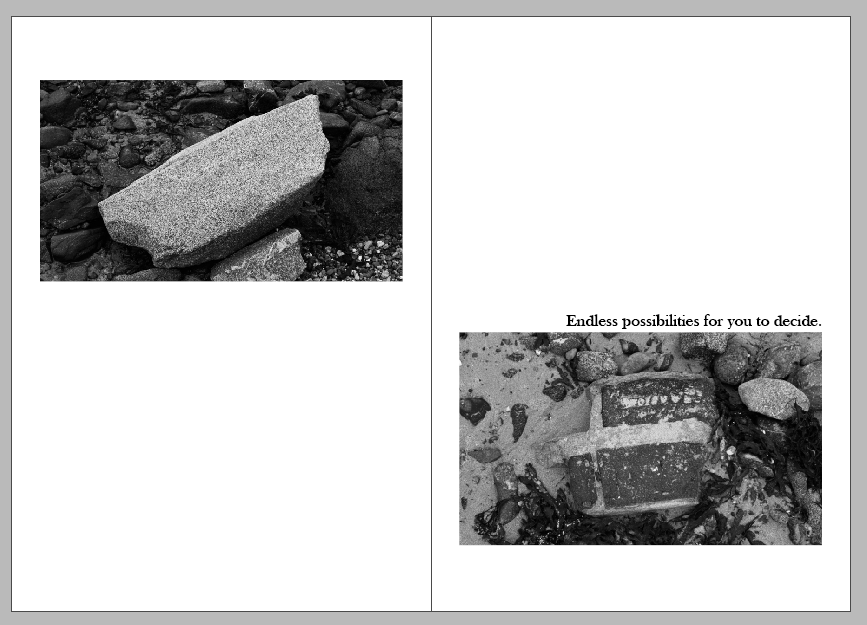
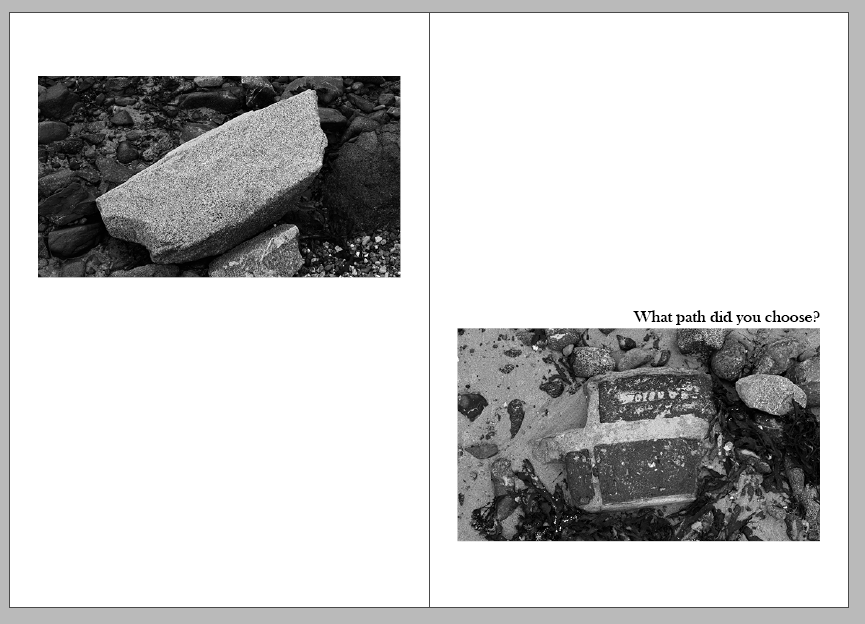
For the 7th spread, I began by using the original template of having 2 opposing pictures but then I wanted the photos to be different shapes so I made the photo in the top left corner squarer whereas the picture below it on the right had more of its original rectangular form. I then experimented with their sizes across the two pages and decided that I liked them to not conform to the normal grid and had them spilling over on the sides.

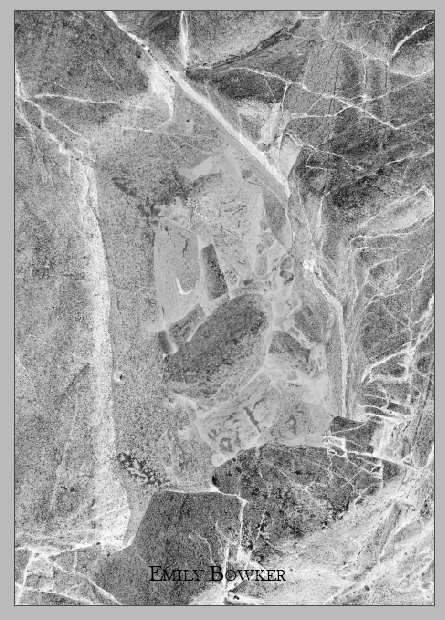
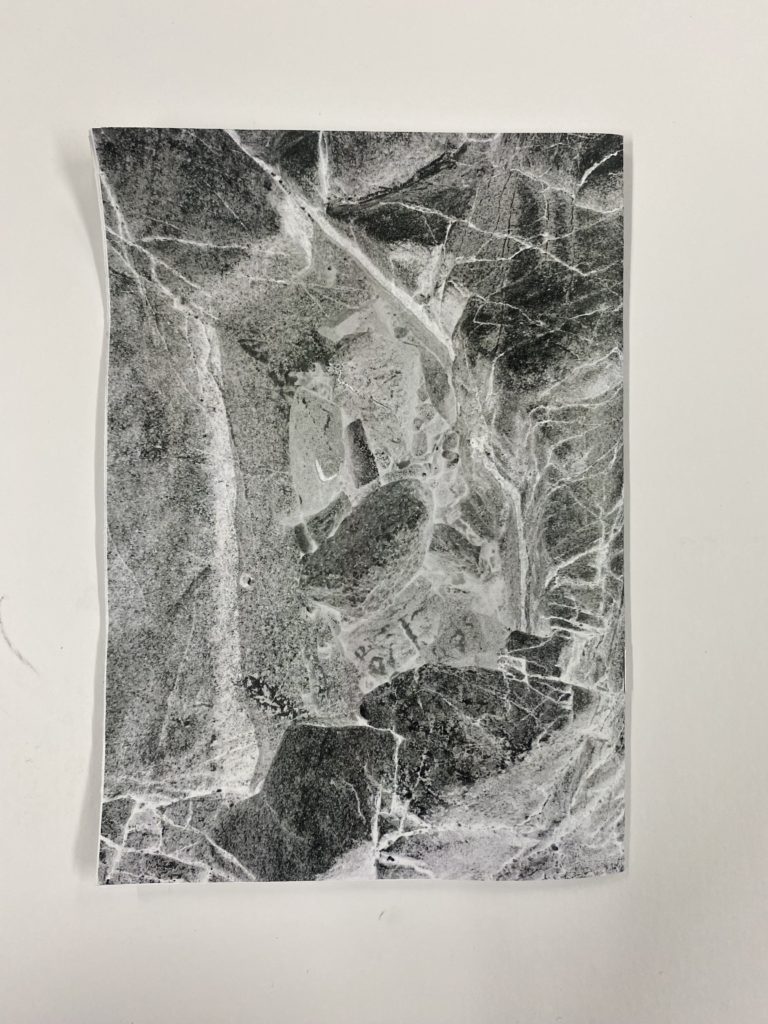
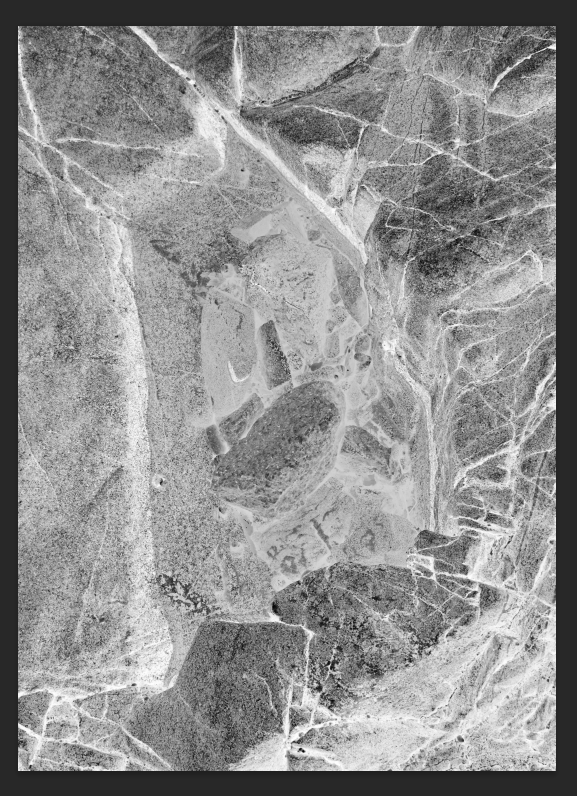
For the back cover, I began by being unsure of what to do and considered leaving it blank but then I decided to invert the colours of the front cover so that it gave it this x-ray feeling which I really liked as it added another layer of creativity.

Personalising my zine in different layouts –

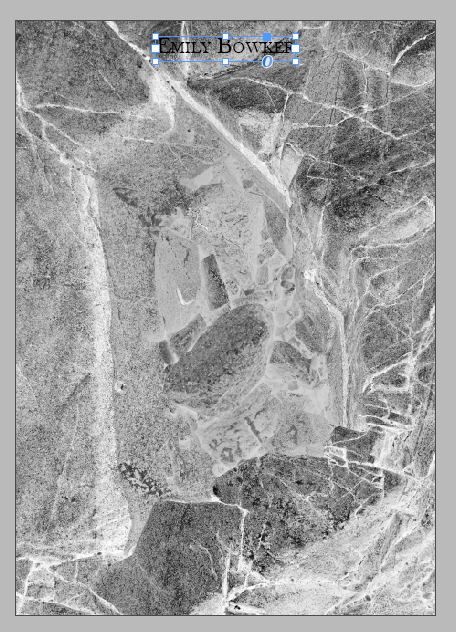
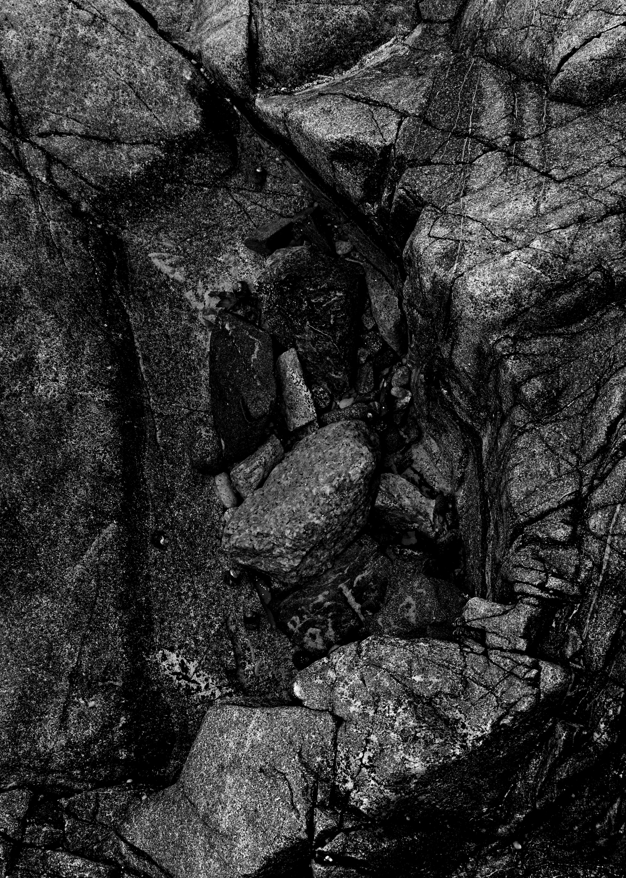
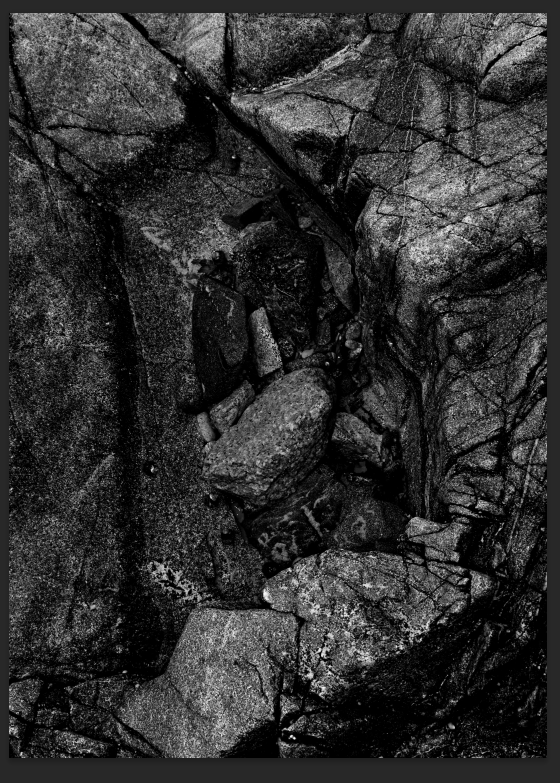
For my front and back covers, I decide to experiment with inverting the photo which creates a comparison of the front and back covers, which reminded me of sea foam too as this was originally a miniature rock pool and this fits in well with the theme of my zine which is mainly the seaside and surrounding areas/objects which you may find on the ground. I achieved this through bringing the original front cover in to photoshop and darkening the original photo so that the blacks and shadows contrasted well against the grey tones. Then to create the inverted back cover I chose the ‘invert’ option which was a pre-set setting. The inverted filter reminds me of sea foam too as this was originally a miniature rock pool.

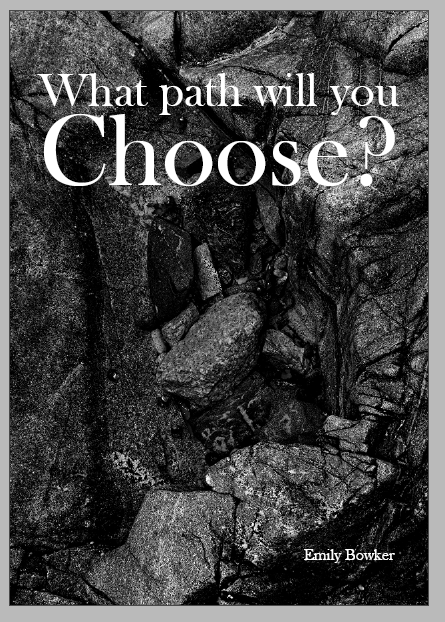
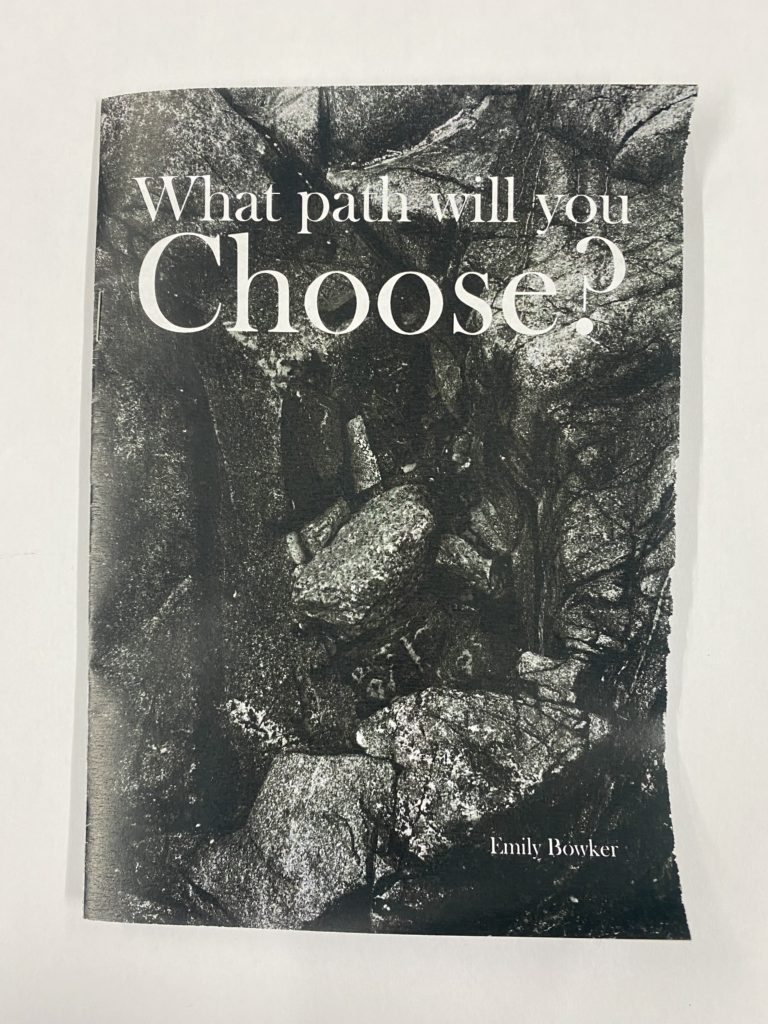
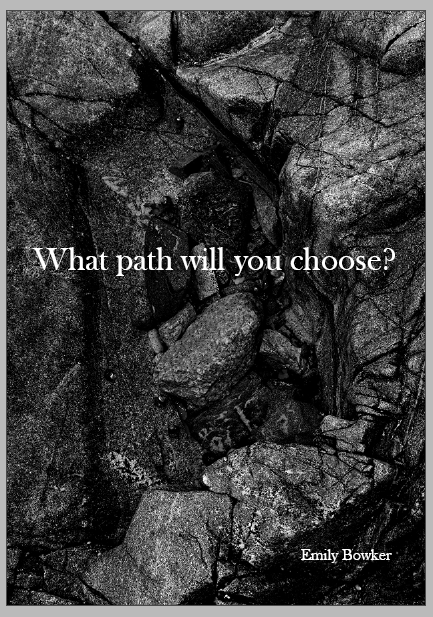
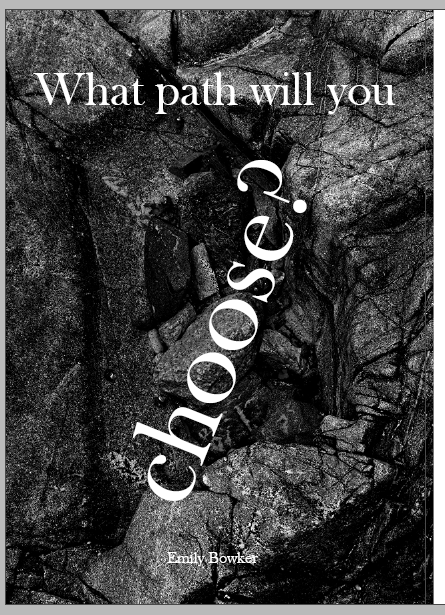
To create my front cover I decided on the title ‘What path will you choose?’ and I chose the ‘Baskerville old face’ font to create this in white colour so that it stood out against the darker colours in the rocks. I began this process by just writing the title and placing it in the middle of the page but I felt as if this wasn’t effective enough as the words seemed to get lost in one another. I then decided to enlarge the word ‘choose?’ to emphasise the importance of my zine which is deciding the path by yourself of what you could take. Then I decided to turn it at on an angle but I decided that I didn’t like this as I felt that it made the text look quite messy and unorganised. Then I finally decided on having the text at the top in a smaller font than keeping the enlarged word of ‘choose?’ which created this impactful effect, knowing that this journey is completely up to you, which I really liked and chose to have as my title. I also experimented with the position of my name and decided that I preferred it be in the bottom right corner instead of the middle as it looked better and the white contrasted well against thee darker tones.

I also decided to experiment with placing my name on the back of my zine, but I didn’t like this because the font and black colour didn’t work well on the back cover as it felt lost and misplaced throughout it which I didn’t want to happen. Therefore I ended up choosing to have it on the front and leaving the back blank with no text to show the inverted filter and effectiveness of it.
Text used:
Pg1 “An unexpected path?”
Pg2 “Unspoken rules of creativity”
Pg4 “Let you imagination flow”
Pg5 “Different stories…”
Pg6 “Different textures…”
Pg7 “Endless possibilities for you to decide.”

Above shows the experimentation of text which I decided to bring in to my work, using the same font as my title to show a continuation and flow throughout my zine as I felt that using a different font would make it seem unorganised. I began this process of decision by knowing that I wanted the text to act as a subconscious guide throughout my zine but also make sure that the journey which you experience is self guided as well. I felt as if this collection of text which is seen throughout the book didn’t flow as easily as I wanted which I wasn’t happy with so I decided to rewrite it, as seen below, but keep different parts of it but change where they are placed.
Text used:
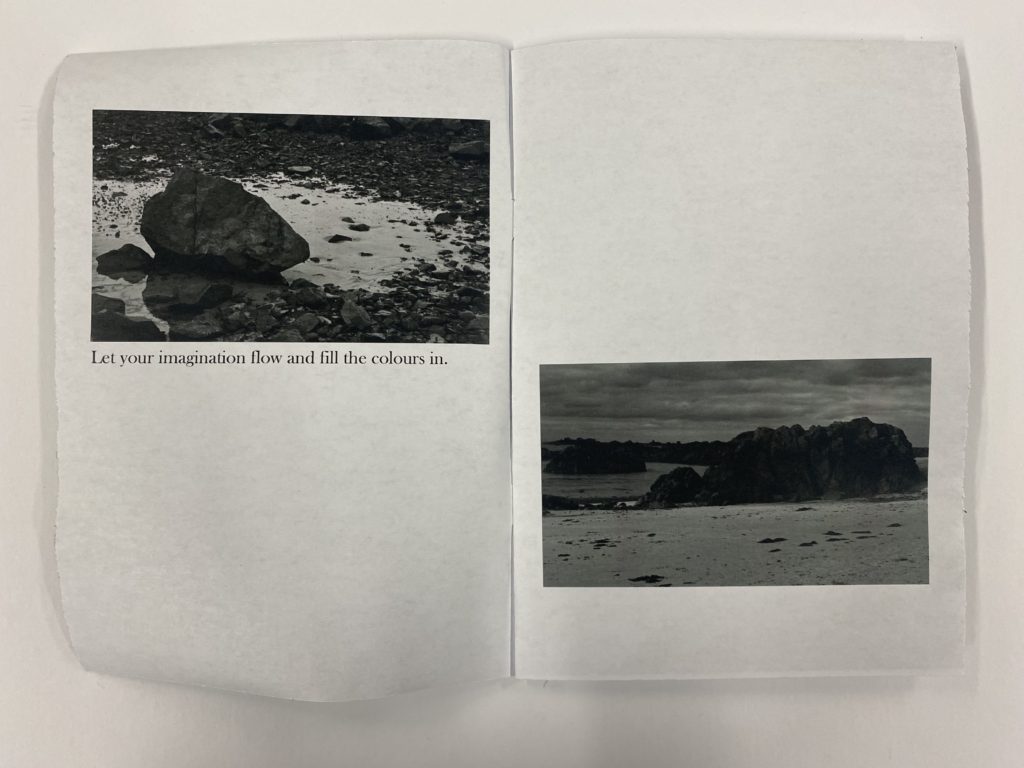
Pg1 “Let your imagination flow and fill the colours in”
Pg2 “You’re the guide.”
Pg4 “There are different stories…”
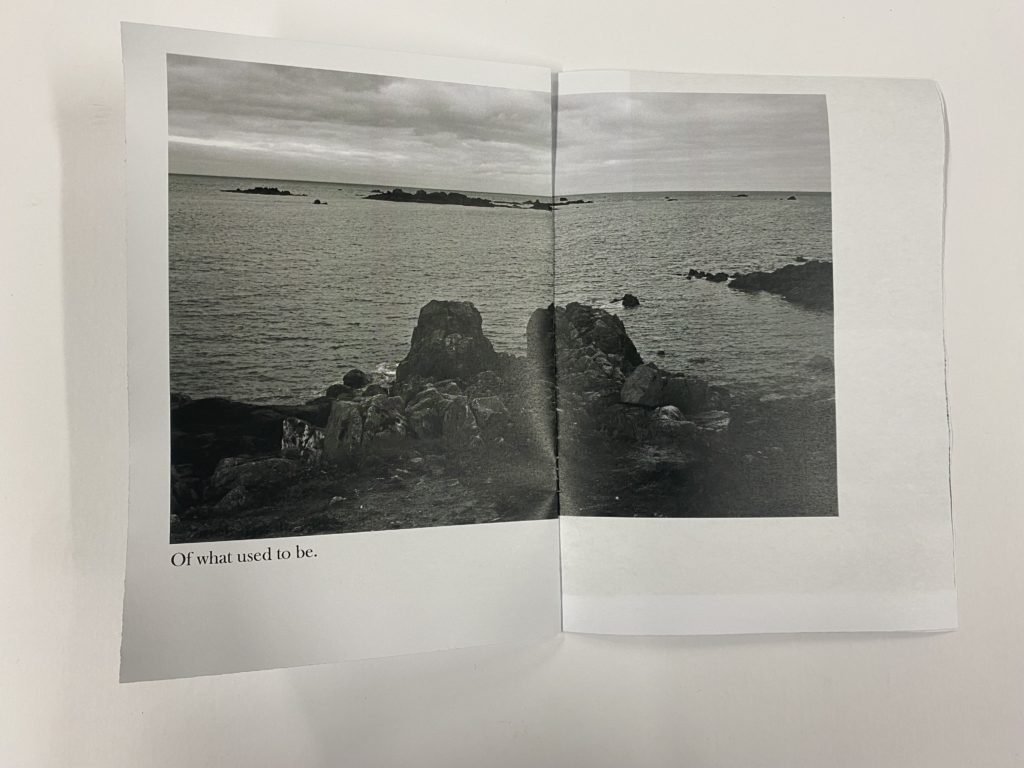
Pg5 “Of what used to be.”
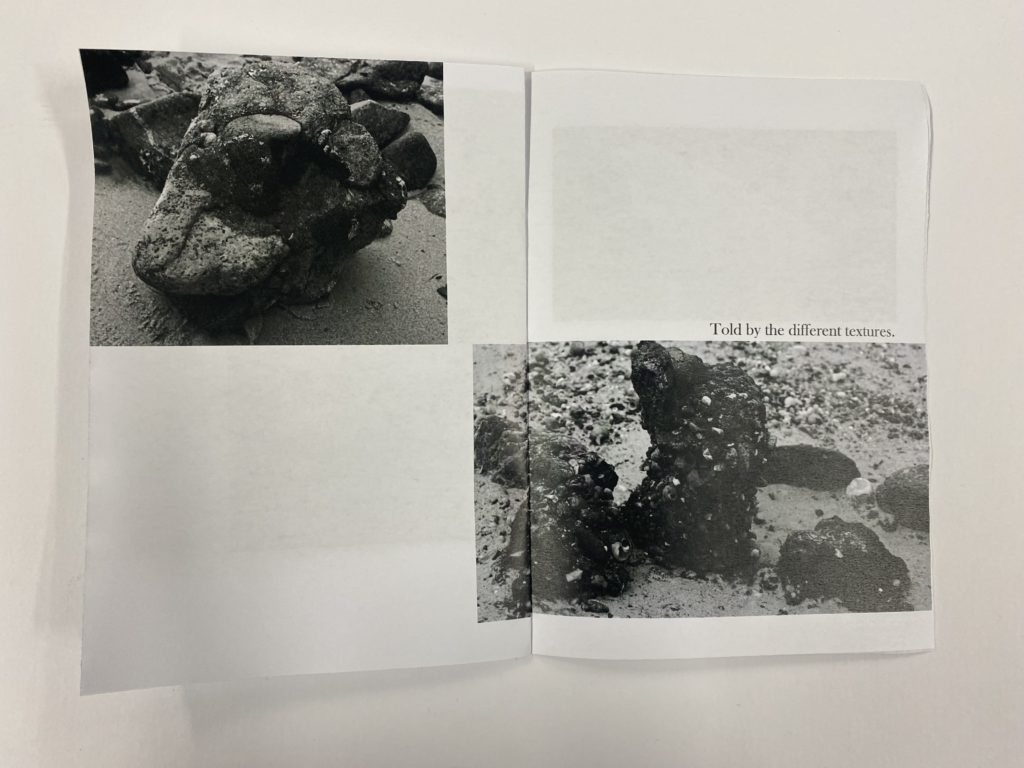
Pg6 “Told by the different textures.”
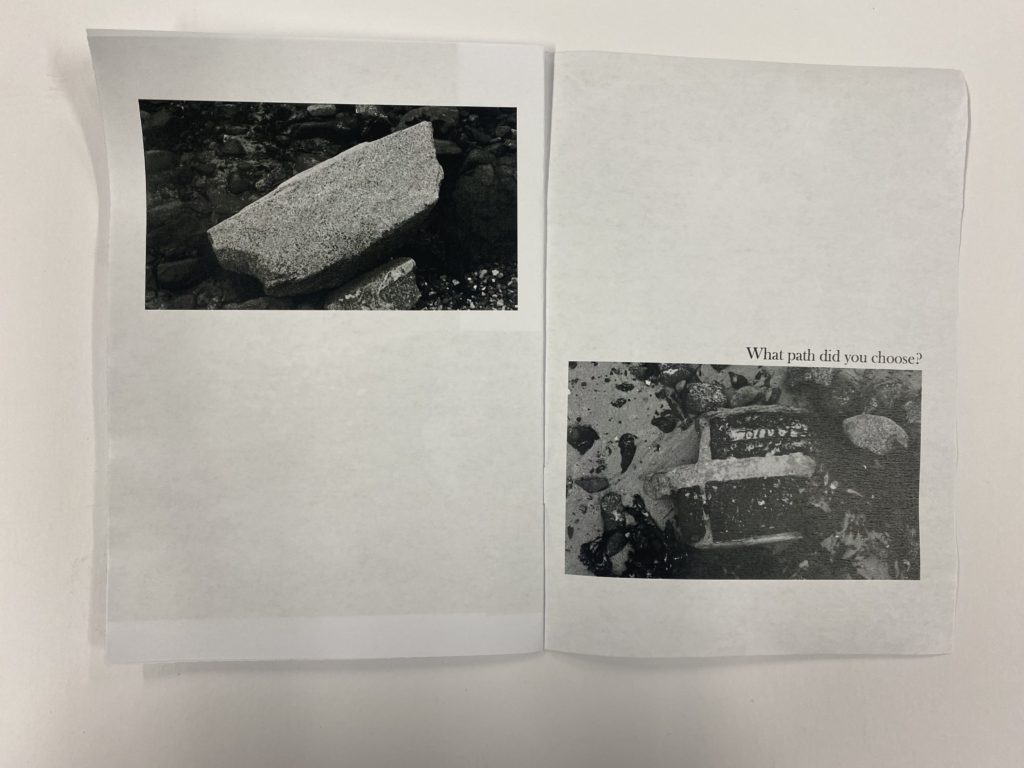
Pg7 “What path did you choose?”

These were the final version of the text which I included in my zine which I thought was successful. This was due to the way that the text flows easily from one page to another, which creates a poetic sense and feeling throughout the experience. I really liked how I used a continuation of texts to create a sentence in my zine on pages 4 and 5 because it creates a scaffolding for the viewer of what they should be thinking about yet letting their imagination and creativity run free. I also liked how I included the title on page 7, before the back of my zine, as I think that it acts as a summariser for it as it reminds you of the journey you have taken and why you have taken it which makes the viewer reflect on my zine later on in their own time.

Final outcome –

This was the final outcome of how my zine turned out once I had printed in and I was pleased with the way that it turned out. This was because the text feels as if it is in the correct places and it doesn’t appear to be too overwhelming as I made sure to keep them small and precise. I also liked the different framing techniques which I experimented with in each spread as I was able to have many different ways to create a story through the way that it is presented. I am glad that I decided to keep a black and white theme throughout the zine of my photos as I wanted the title to imply that as you take this journey, on the path that you do end up choosing you fill the colours in yourself. This means that they could be as vibrant or as dull as you wanted, dependant on your mood and how you feel at the point in time and then you can come back to it in the future and decide on a different way to go with the journey and the colours which you paint with your mind. I really liked the process of creating a zine from the decision of photos and creating a paper mock up to using InDesign as I think that it is a unique and different way to present the photos which I have taken.

Narrative and sequencing

‘Narrative’ meaning in photography –

The theory:

The general meaning of ‘narrative’ is to describe the way that a story is told from different perspectives from a variety of sources such as a book, magazine, newspaper, cinema, etc. When telling a story there is no right or wrong due to the subjectivity of it, implying that the creative aspect is completely up to you.

The ‘narrative’ meaning in photography is a completely different story. This is because you have to carefully select the images that you want to use to create a relationship between one another. This is impacted by the way that they are edited, text that accompanies them, and how they are laid out on the page. This is why it is vital to identify the story behind your zine for example before beginning to create it. This approach is seen a lot throughout Photojournalism which is a documentary style of photography as well as contemporary photography which uses poetic language, which plays with the idea of objectivity/subjectivity and facts/fiction.
The theory behind a narrative in photography has been explained by a photographer called Jorg M. Colberg in his first post which then leads into his second post which both extensively discuss this subject. He explains how their is not always a clear distinction of a story in someone’s work that they have produced but their is a recognisable narrative as he argues that ‘narrative’ and ‘story’ have two completely different interpretations within photography. He then goes onto further discussion about sequencing a photograph, and how this can alter the narrative of a set of photos in his second blog post. I think that these two blog posts were helpful as they provided me with a deeper insight and knowledge into what a narrative means within photography, helping me with the creation of my zine as it makes me think about the bigger picture to the people who will view it.
Lewis Bush, who is a writer and lecturer wrote a piece of work for photography, he states that ‘narrative are things which exist within stories.’ and his article Storytelling: A Poverty of Theory, he explains how photography is not an established way to theorise a story unlike literature and cinema. He also questions why many photographer refer to themselves as ‘storytellers’ when it is difficult to see the difference between a story and narrative in photography.

In photography:

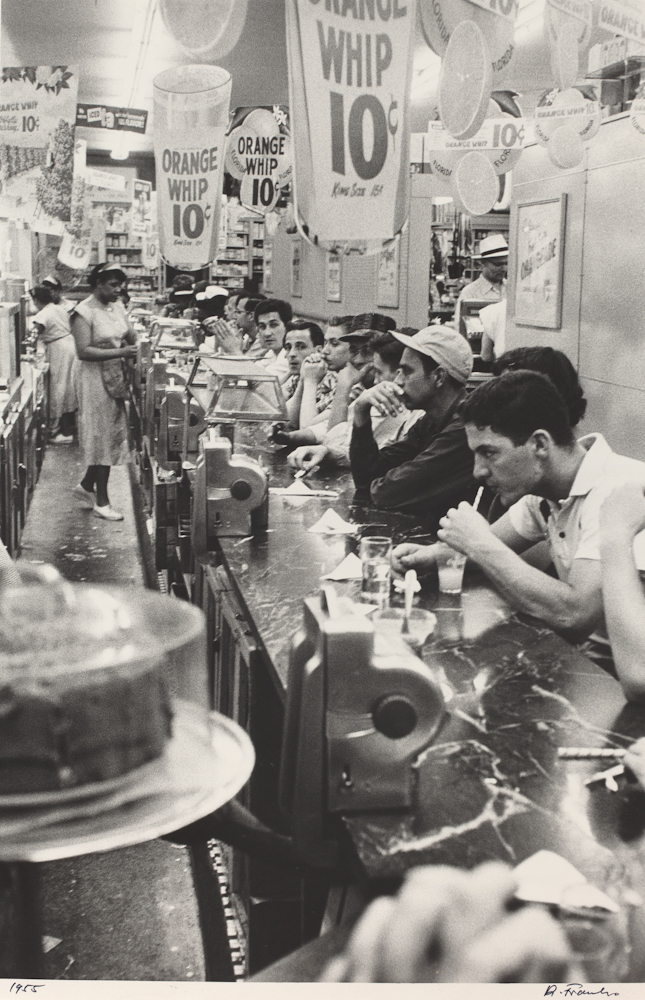
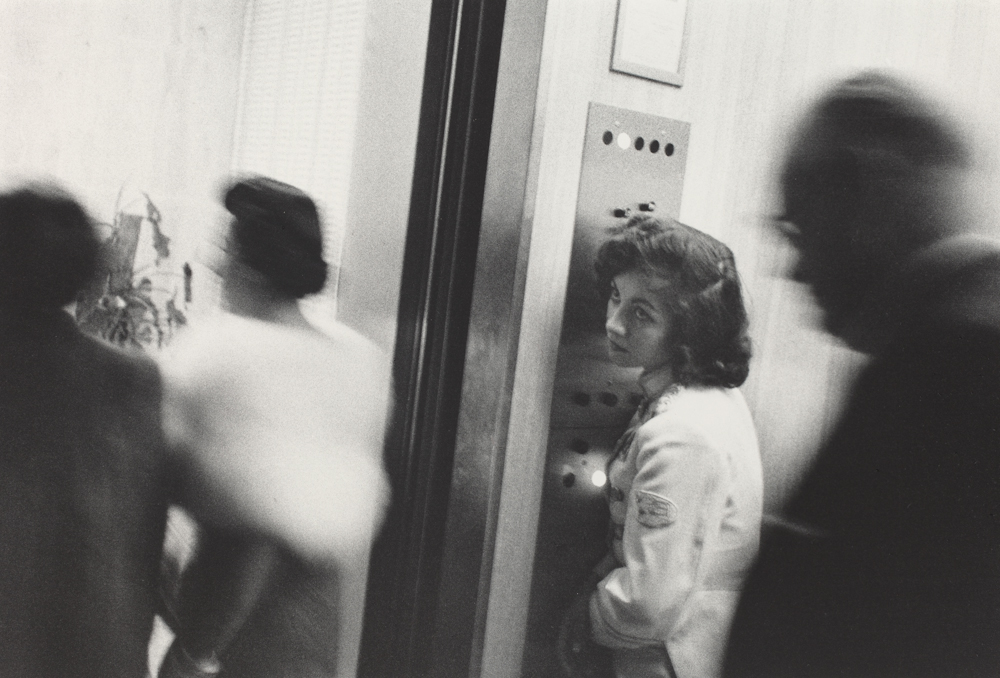
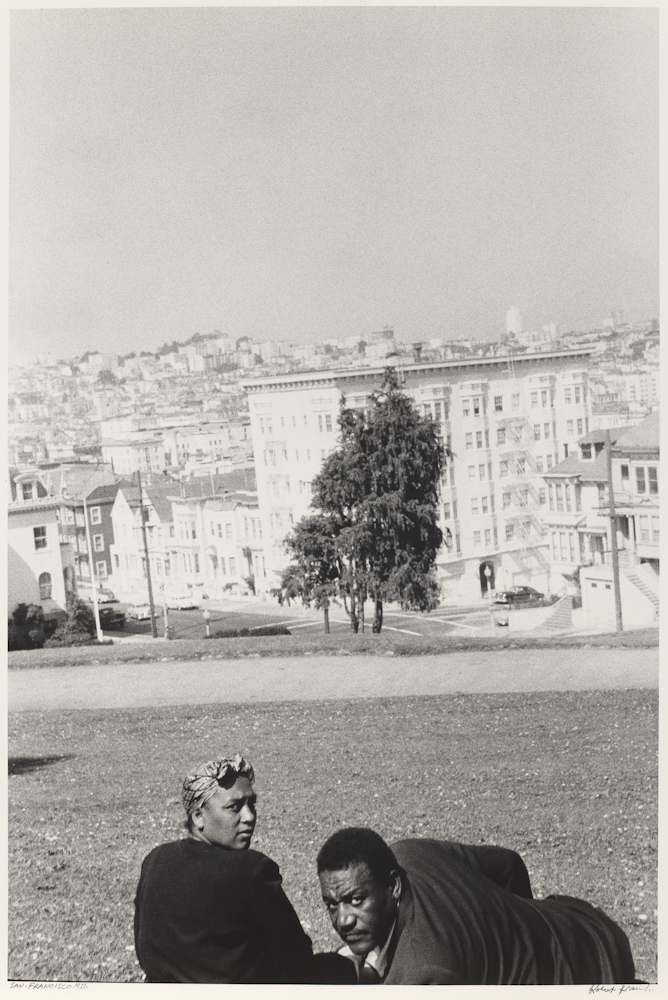
In earlier years, many different photobooks have been made such as one called ‘The Americans’ by Robert Frank, a French publisher, in 1958. This consisted of a sequence of 83 photos which are non-narrative and non-linear as it uses thematic, formal, conceptual and linguistic features to link the photographs to one another which Frank called a ‘distinct and intense order’. The book is seen to be constructed in four sections, although this is not immediately noticeable. The book explores American people as a society from a mix of communities depending on class, race, occupation, etc and are seen to be photographed in a variety of different locations amongst one another. Therefore, Frank uses this to emphasise the politics, alienation, power, injustice, etc that is at play when you look beneath the surface in his country, forcing you to review the deeper meaning.
Here are some examples from the photobook:

‘Sequencing’ in photography –

Sequencing in photography is more than just placing your photos in an order, it’s diving into the deeper meaning of the story. Going further into the reason behind why you have chosen too and the theme you want to have between the photos. You have to consider your beginning, middle and end photos for a successful outcome as these will be the photos which essentially guide your audience. This can be seen in numerous ways through the images such as in a change to show something is happening throughout or using other images, for example from archival sources to show a comparison of then and before. The possibilities in a sequence are endless.

Making sure you are also using your best images which have a visual relationship and flow easily with one another is a huge factor in sequencing in photography. This is due to their juxtaposition’s e.g. are they landscape or portrait?, colour or black and white, is there any repetition in the images or of images?, etc. After deciding this you need to think about the layout of them through single/double page spreads, or multiple images on one page as well as if you want to include text to act as a guide throughout.
Ideas and Research for my zine

Research –

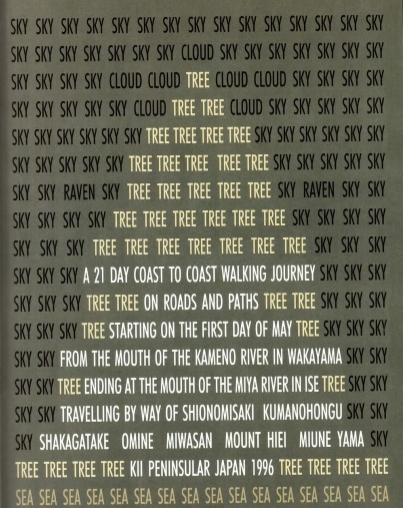
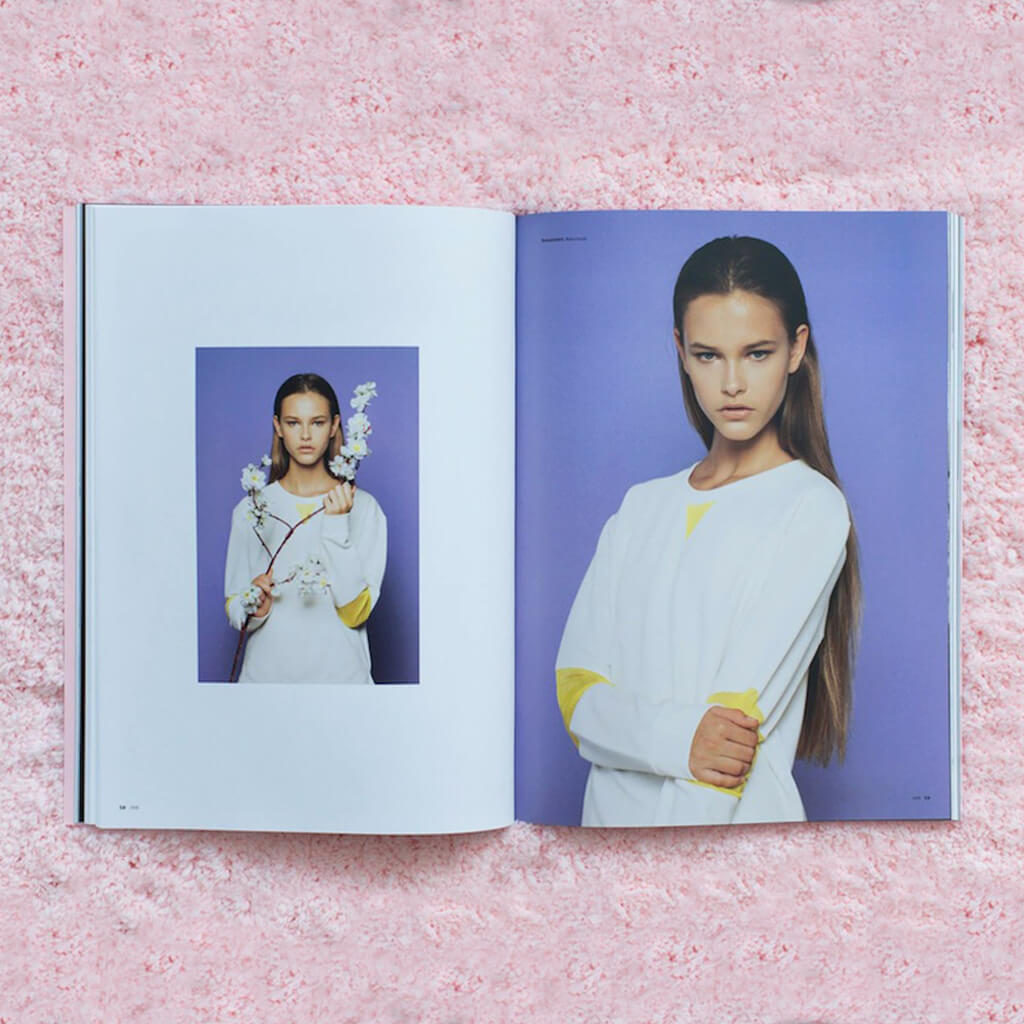
A zine is a small book which grew in popularity during the early 19th to 20th century through the amateur press but grew in popularity through the 1920’s and 1930’s due to the rise pf the popularity in the science fiction fandom. These zines consisted of adapted texts/images or self-published work, originally political but have since changed to appeal to anyone’s interests, which have been created by a single person or a small group of people which are the recirculated in to the public for others to see. They can consist of a variety of creative ideas such as poems, archival materials, drawings, interviews, poems, comics, etc. I think that zines are good ways to spread an image or tell a story because they aren’t long but they let your creativity flow throughout them on what you want to raise awareness of or tell to other people. Here is some more information on zines.
Zines collected from the 2019 National Young Writers' Festival Zine Fair |  Download High-Resolution Scientific Diagram
Different ideas of zines.

Mood board –

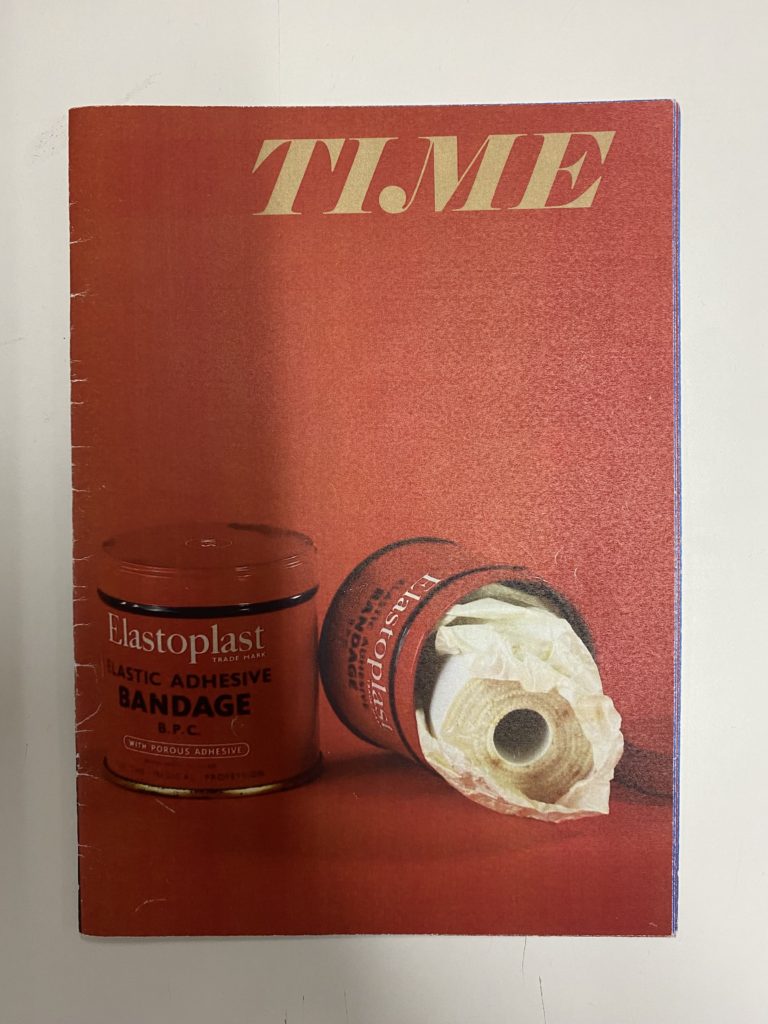
Below is a mood board which I constructed by taking photos of zines that appealed to me in class which I think that I could take inspiration from when considering how to craft and visualise my own zine. I think that this is very helpful for me and I will start by making a mock up zine of my initial idea then expanding on this and seeing if I likes my original idea/s.

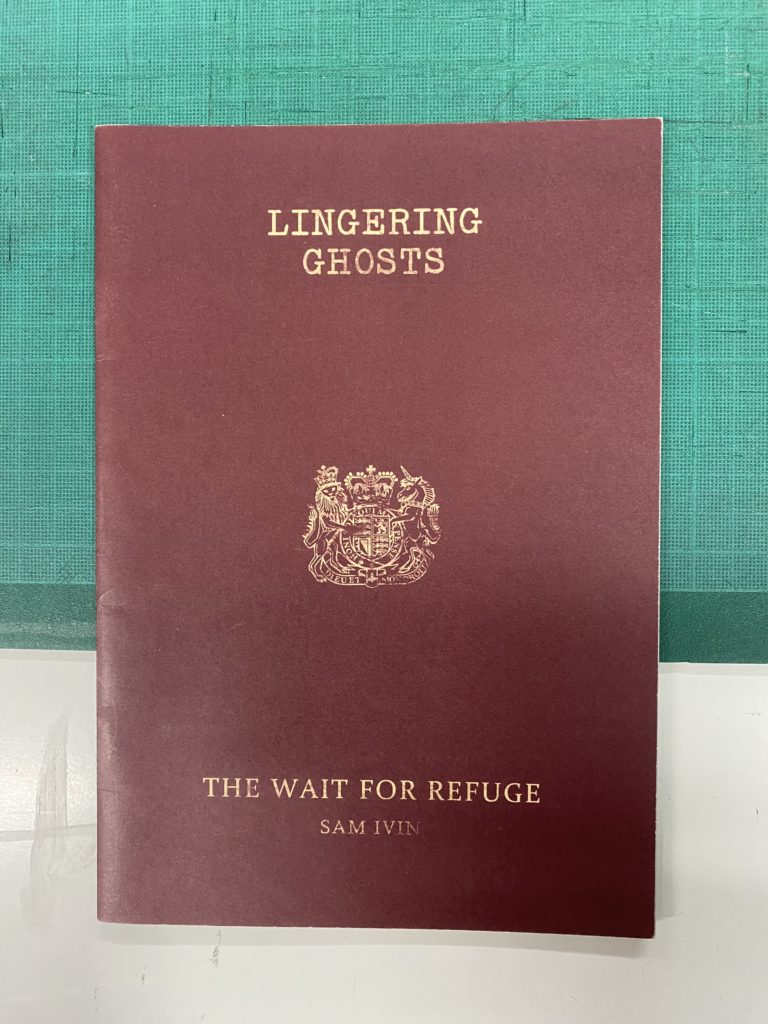
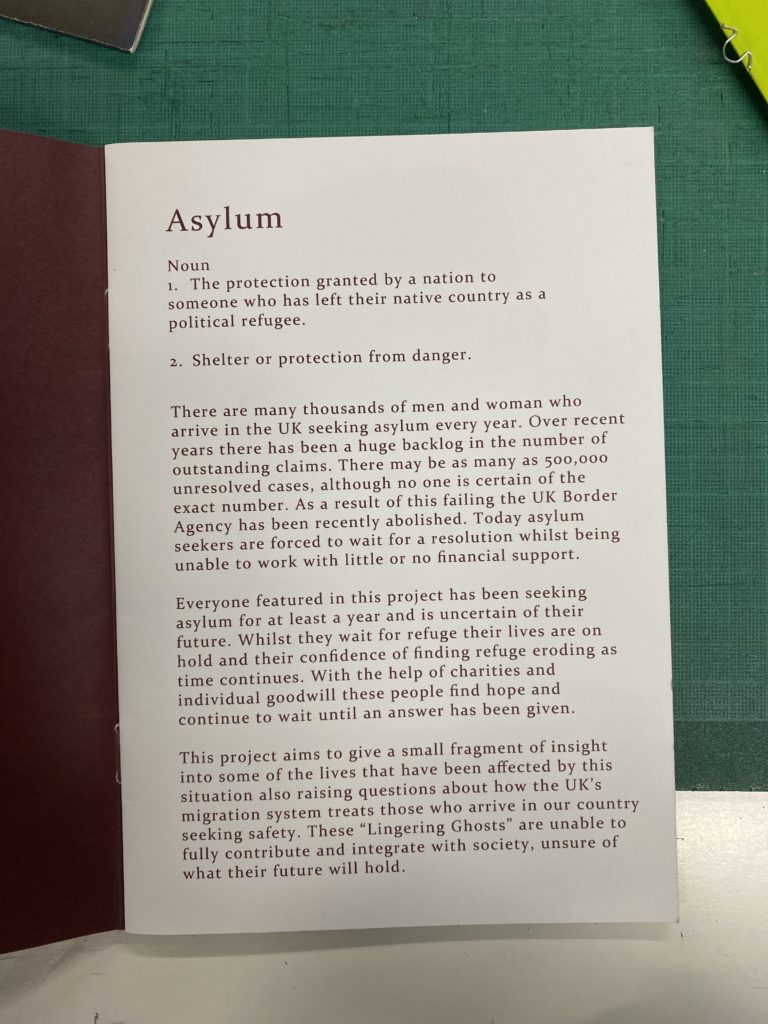
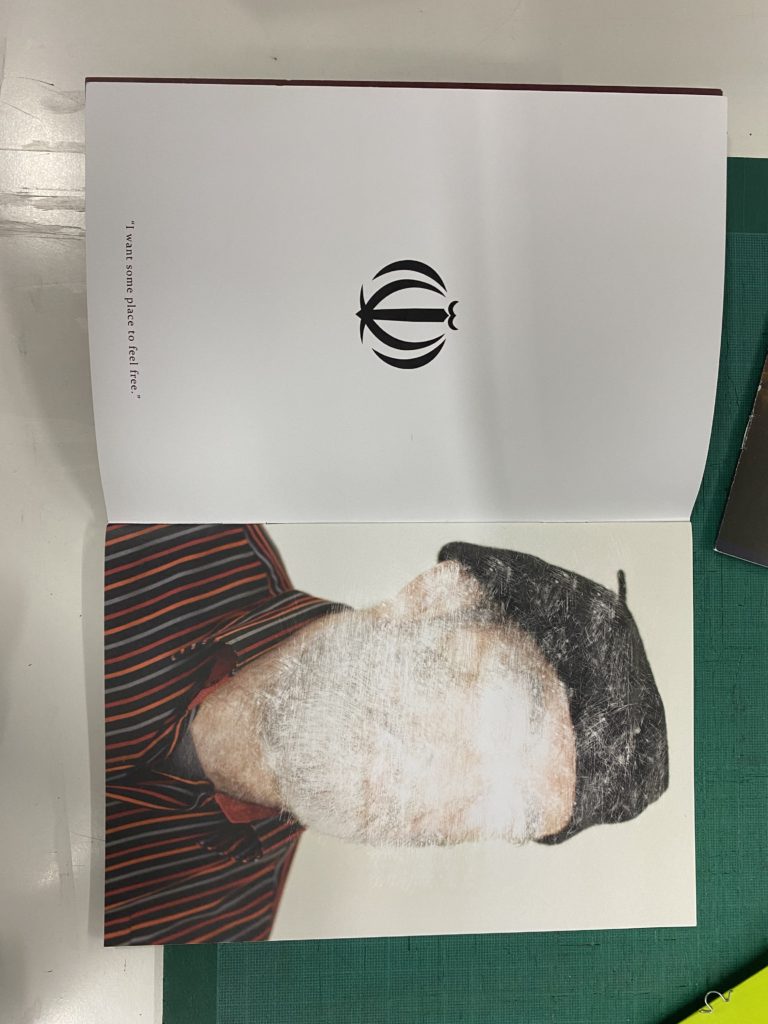
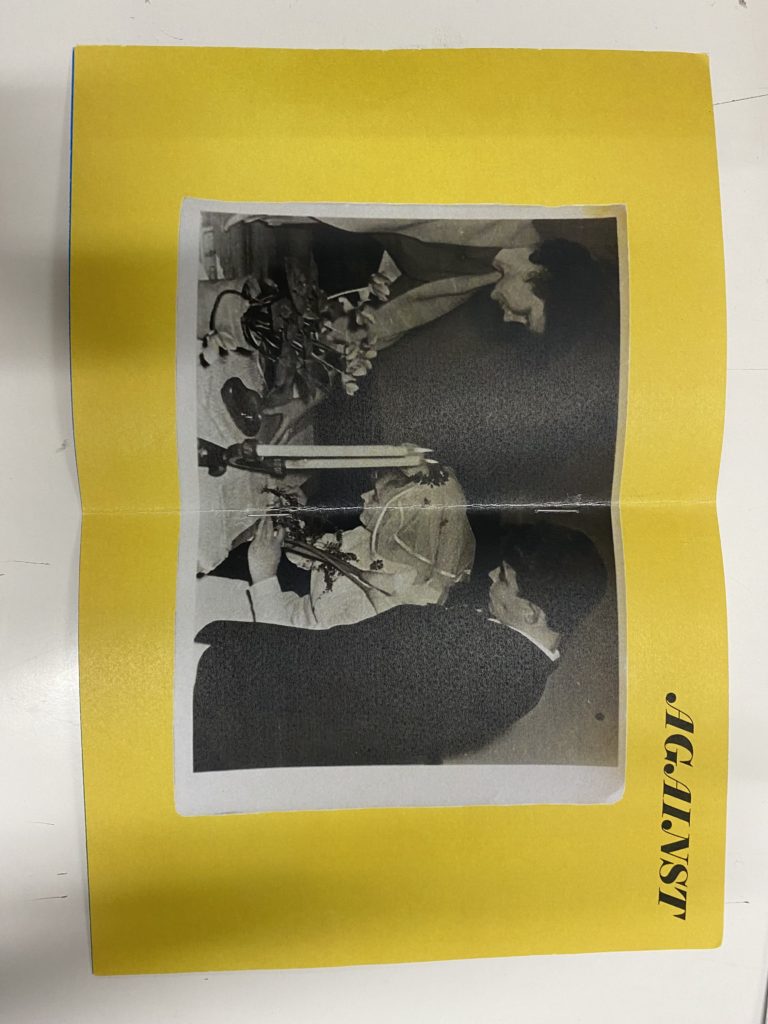
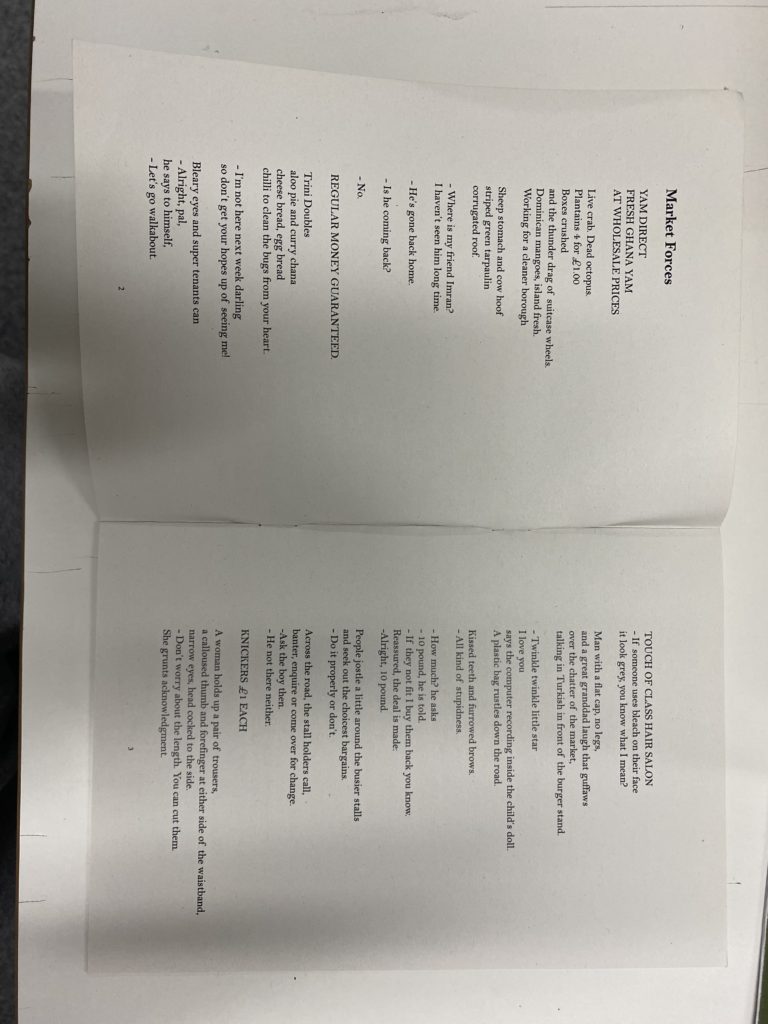
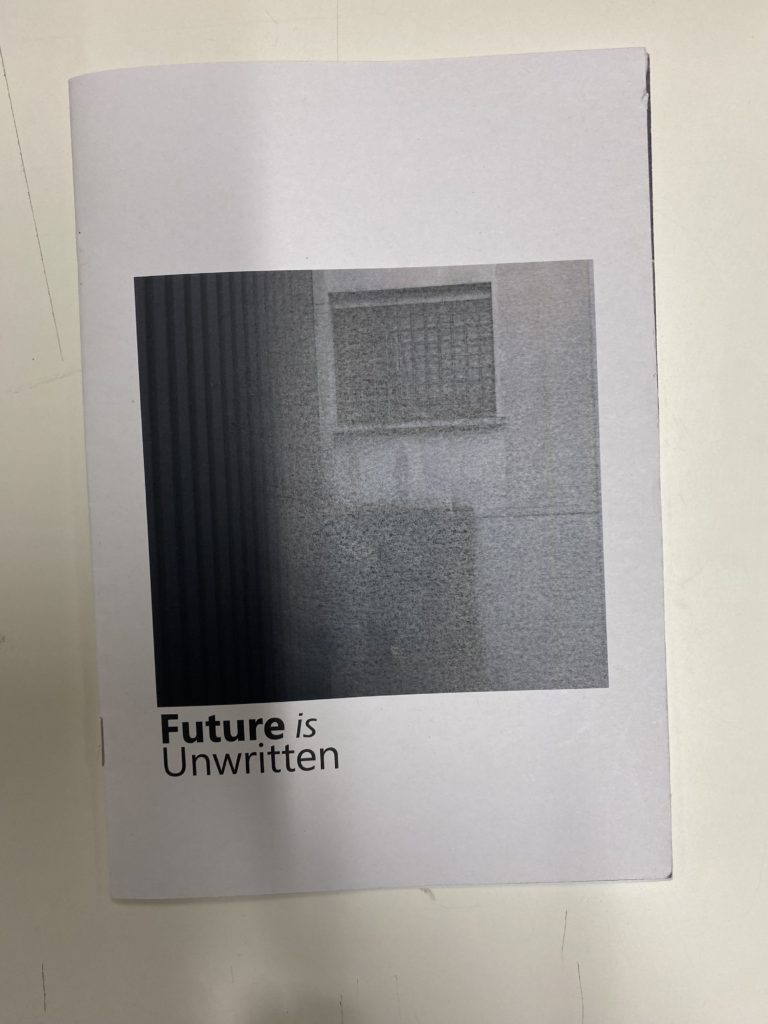
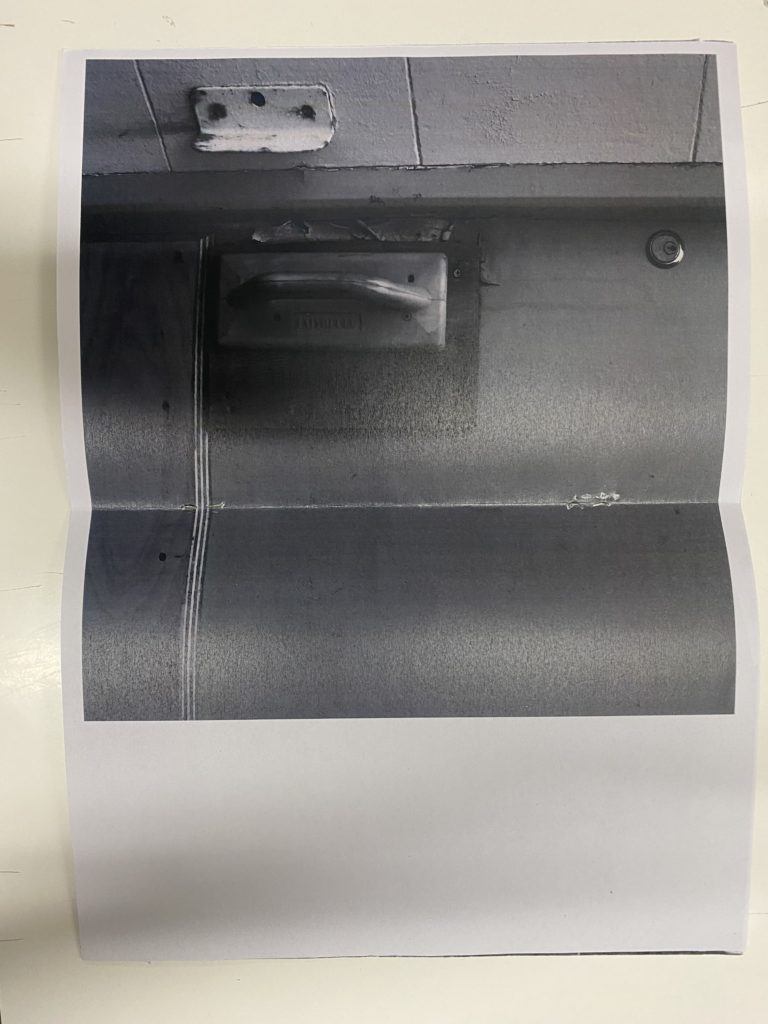
These are different examples which I have looked at to help me gain some ideas for my zine that I will create. I really liked the idea of doing a passport to show a journey that you take throughout the photos, giving an introduction on the first page with a picture on the right hand side with a symbol on the opposite side. I also liked the bright coloured zines with brighter fonts, as it is simplistic yet effective because they contrast well against the black and white photos. There was also a zine which consisted of poems and I think that this could be quite effective when telling a story but I am unsure of how well it would work with an idea of a passport, which was my original idea. The last one, similar to the passport, takes you on a journey of what the future could consist of and then the 2nd and 3rd page included a photo which spans across 2 pages, stopping midway which I like because it isn’t overwhelming by taking up the whole page and it is just enough which I think could be nice.

My ideas –

  • Passport structured zine.
  • Coloured visual journey with black and white pictures.
  • Using archival materials throughout, showing the change in scenery over the years.
  • Using poems to add another level of personality, nature based/beach based.
  • Black and white photos, similar to you make up the colours in which you think will be in the different places as if you are using a paintbrush in your mind.

Story and Narrative –

For my zine I wanted to create a story that you follow throughout, below are some ideas of words/sentences which I have used to give me some creative inspiration of how I want to layout and develop the design of my zine. I will apply some of these words/sentences throughout my zine as I think it will be a good way to narrate and guide people through it.

STORY: What is your story?

Describe in:

  • 3 words: Path, gloomy, textures.
  • A sentence: A path that guides you through different textures while being overlooked by the gloominess of the day.
  • A paragraph: The day is bleak and gloomy but their is a path, a path you follow. You don’t know what to expect but you have to believe it will be worthwhile. There are rules that are unspoken. Your imagination is your guide and it can flow as creatively as you want but you have to remember this experience is for yourself, no one else. The rocks hold different textures, and the objects tell numerous stories, it’s up to you to decide what that story may be. As no one can make that decision for you.

NARRATIVE: How will you tell your story?

Examples:

  • Images > new photographic responses, photo-shoots of objects…
  • Archives > images from SJ photo-archive, found imagery…
  • Texts > experiment with typography, key words, poems…

Sculpture experiments

In class I experimented with different ways to manipulate my photos which I have taken and edited, I ended up creating 4 different outcomes. I enjoyed doing this because it allowed me to be creative with different ways to create a sculpture which I could use for a final outcome.

Outcome #1 –

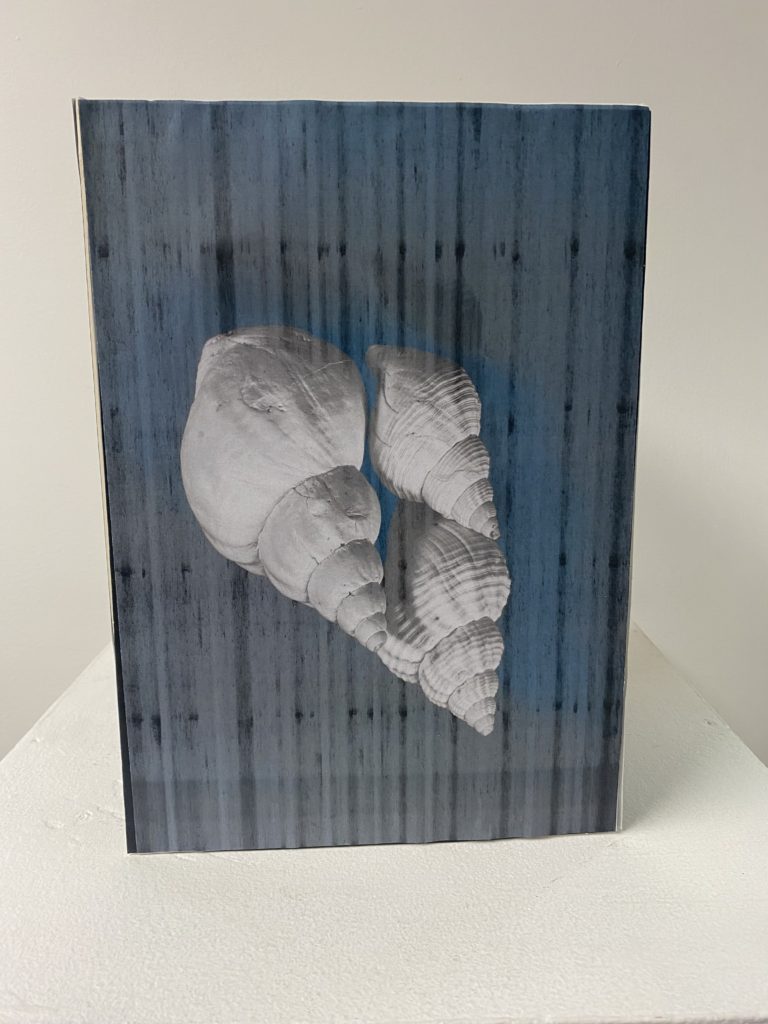
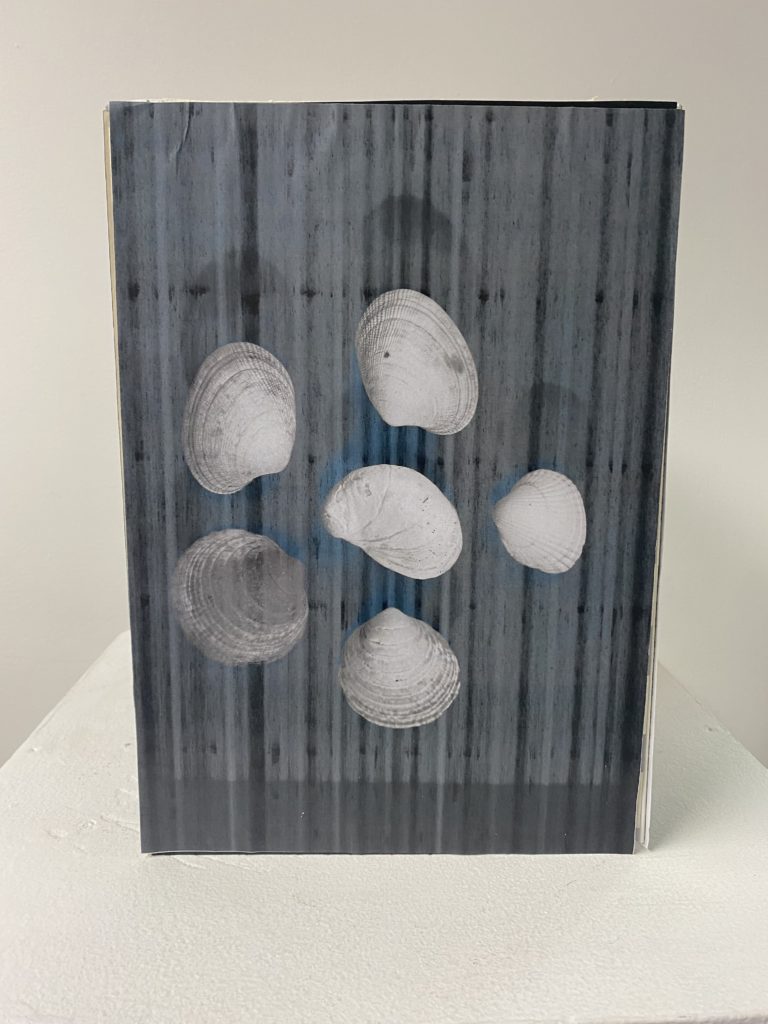
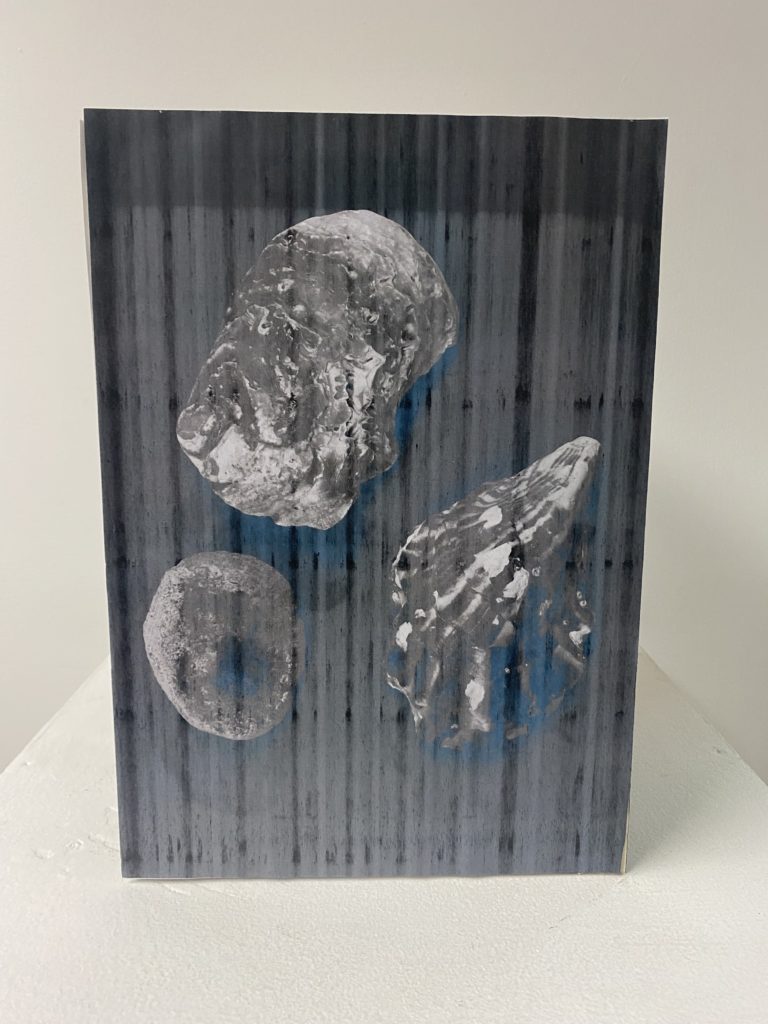
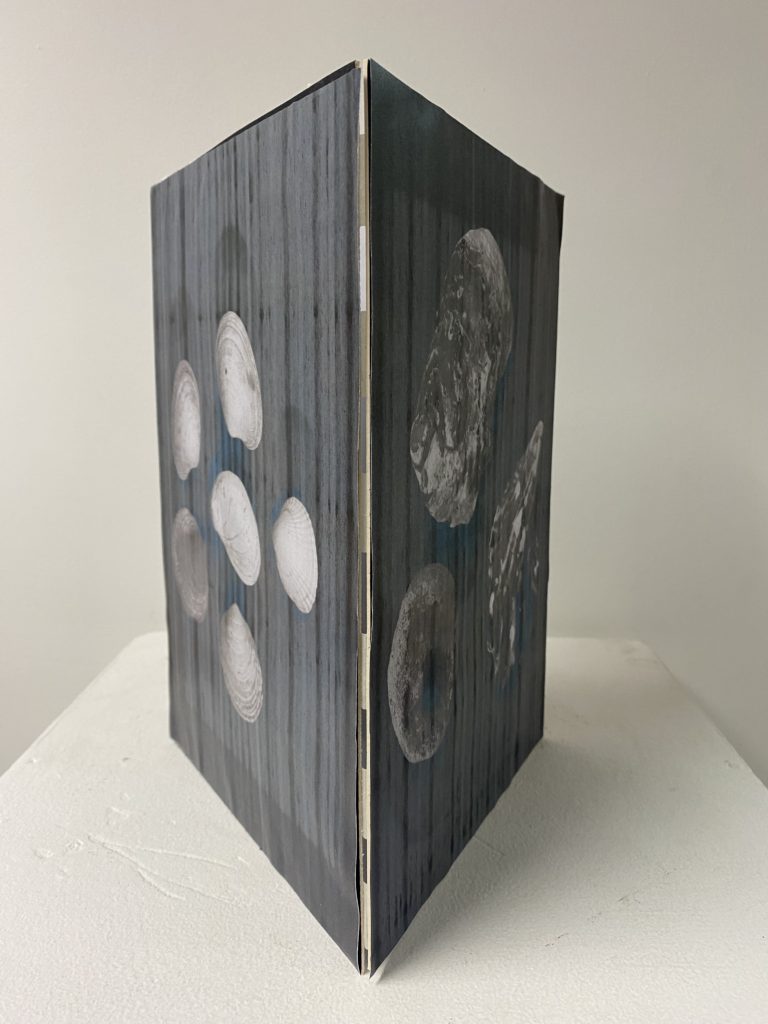
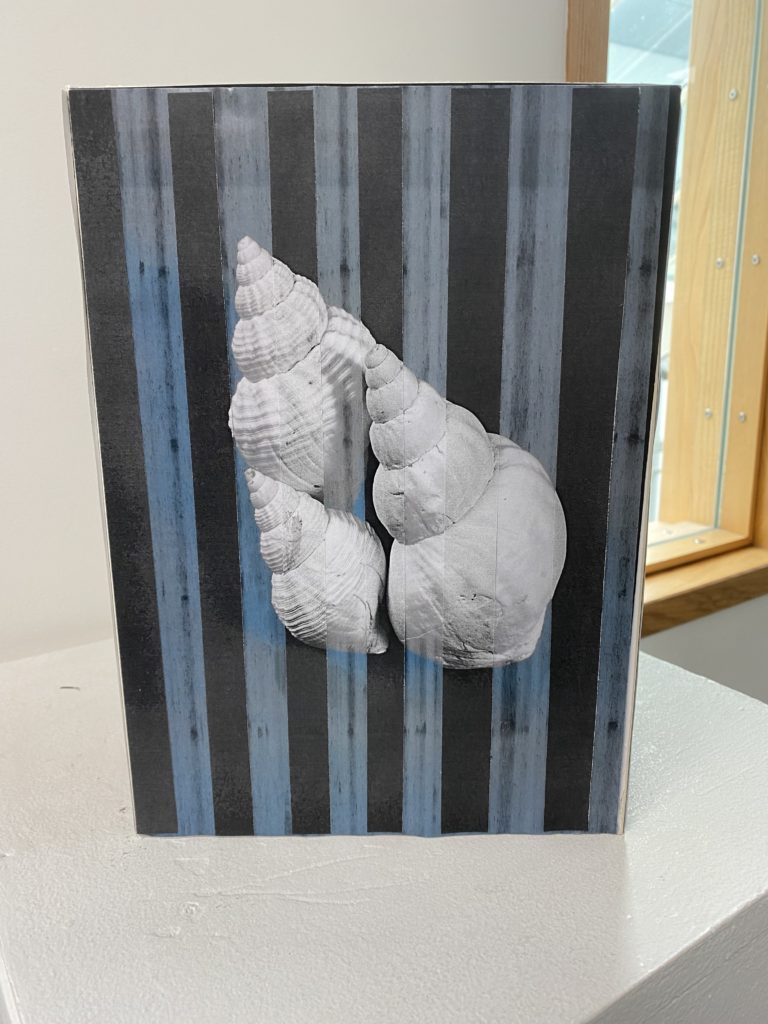
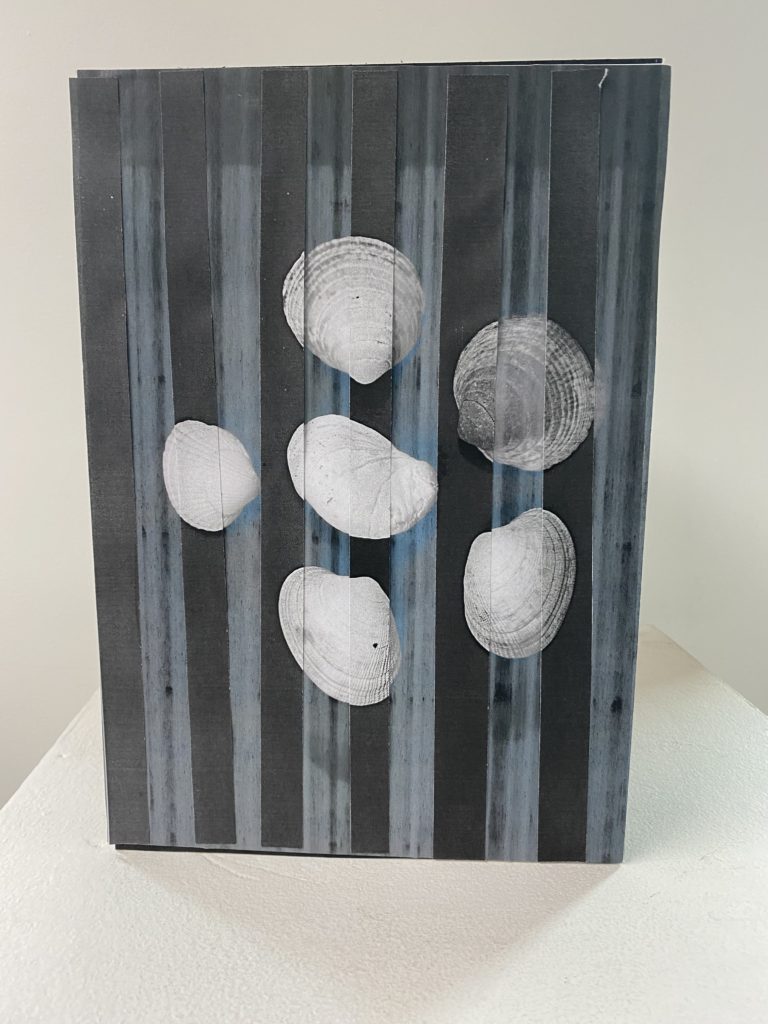
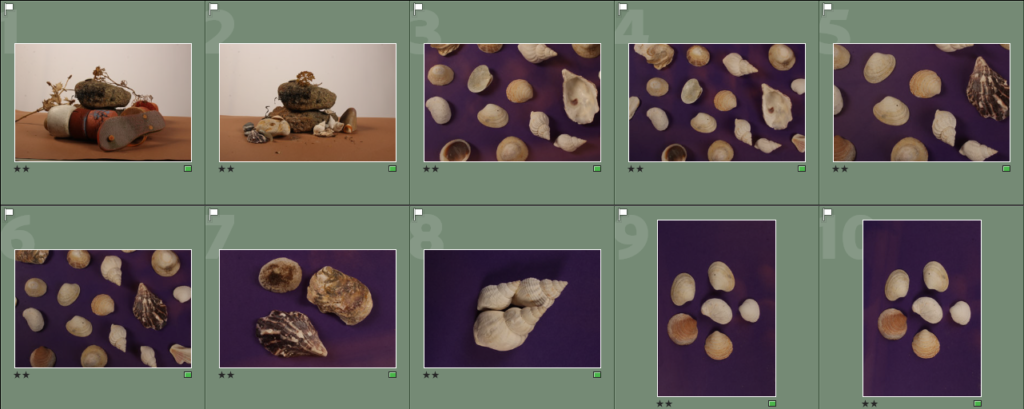
For this sculpture, I printed out my photos in black and white because I wanted their to be a distinct contrast between the background and the shells so that they would stand out well. Due to the printer not working well. the prints came off streaky but I liked the effect which this added to my sculpture. To create the stand for my photos to rest on I began by cutting out mountboard through putting the photo onto it then cutting around it then repeated it 2 more times. Next I combined the 3 photos mounted on the mounted by taping them together inside of the structure, I used 3-4 pieces of tape at each crease to make sure that it was secure. I was quite happy with the way that this turned out because it is simple yet effective as the photos work well in a set together and the structure of this sculpture highlights that. If I were to do this again, I would make sure that the photos are cut and mounted accurately as I didn’t cut it correctly in places so that they link together better at the sides and don’t create a gap which has happened. Another aspect of this sculpture that I would improve on is adding a top to the structure because I think that it would make it look more complete.

Outcome #2 –

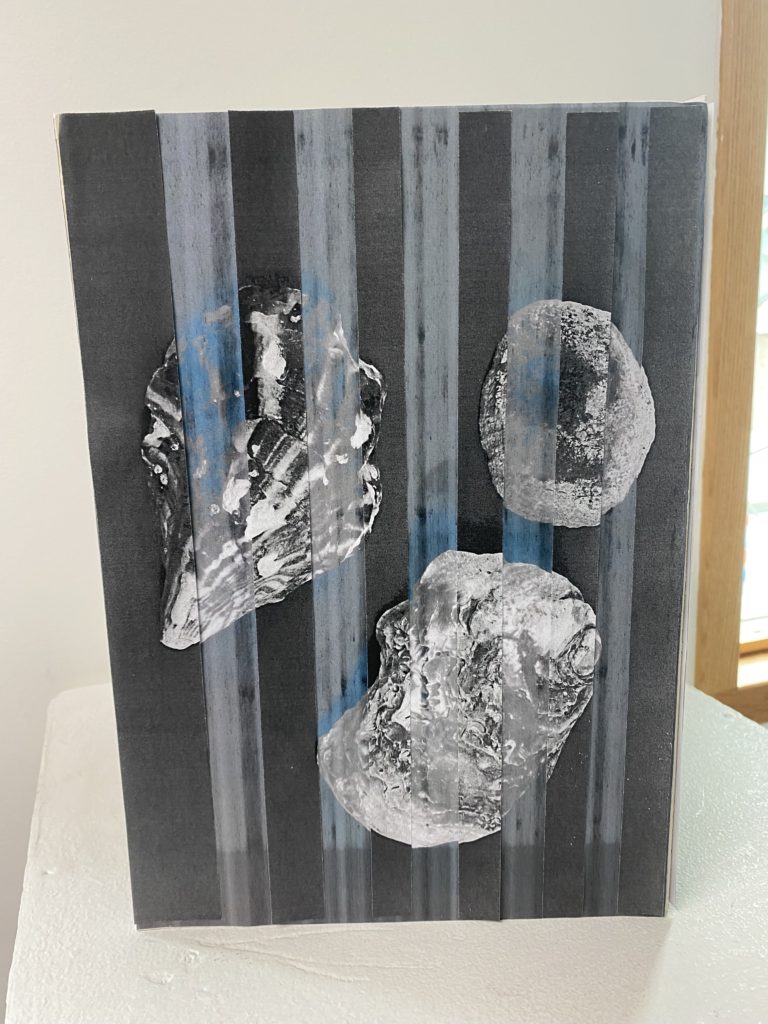
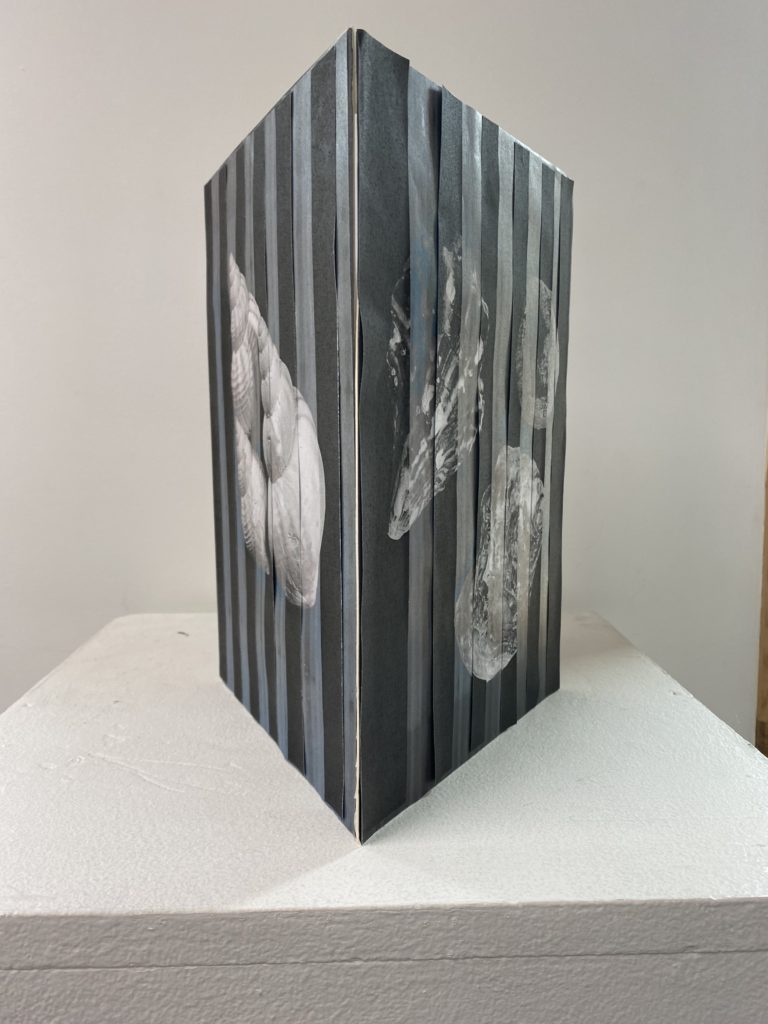
For this outcome that I enjoyed creating, I expanded with my experimentation from my first sculpture as I wanted to add more. I achieved this through slicing up the same images which printed out differently and layering them in the correct places and missing a gap each time, repeating on each of the three sides. I liked the effect which this created, which resembles a double exposure, which you can create on photoshop. I liked the idea of this structure and how it turned out but if I were to improve it I would make sure that the pieces are stuck down correctly in most places, as many can be seen to be coming up at the top and sides. I would also make sure that they are put down in their accurate and designated places as there are a few pieces which are slightly off of where they should be. To further expand on improving this sculpture as I think it could be more successful, I would make sure that all of the pieces are sliced in accurate sizes as I think that this would help the issue of matching them to their correct places which I talked about beforehand.

Outcome #3 –

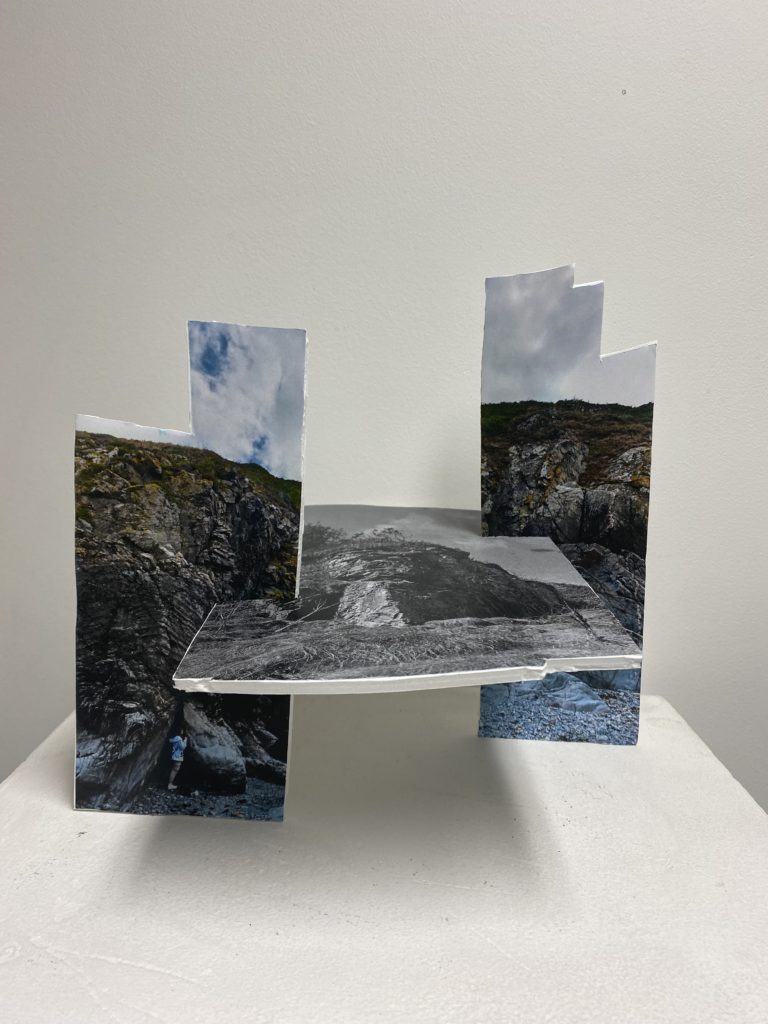
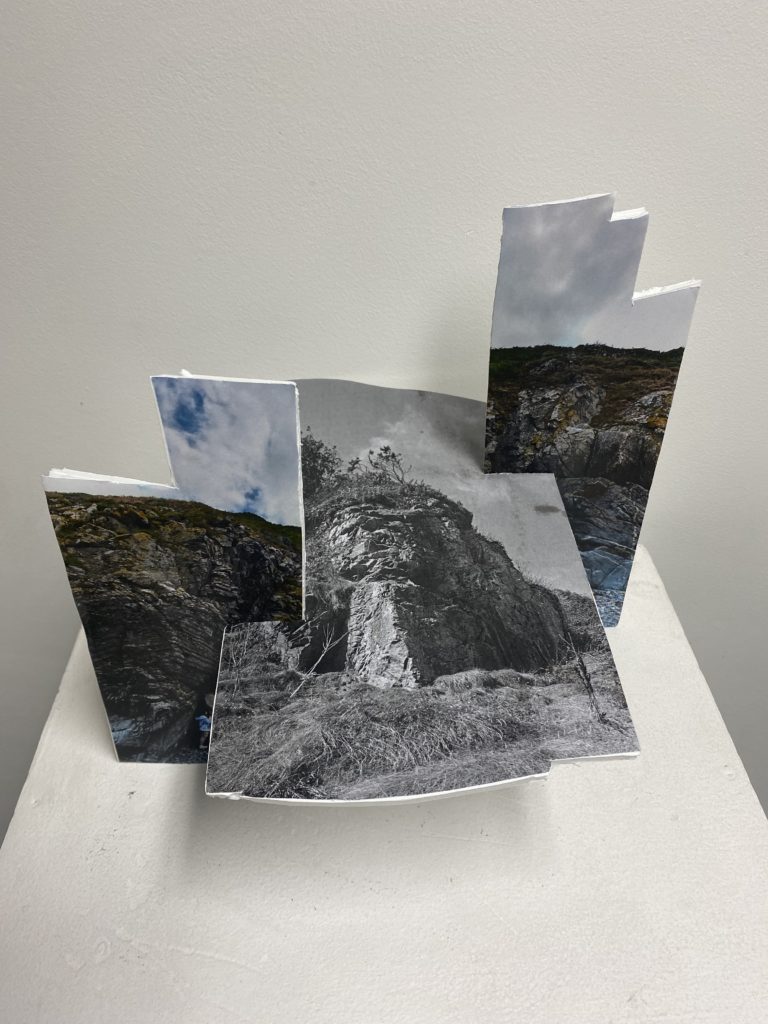
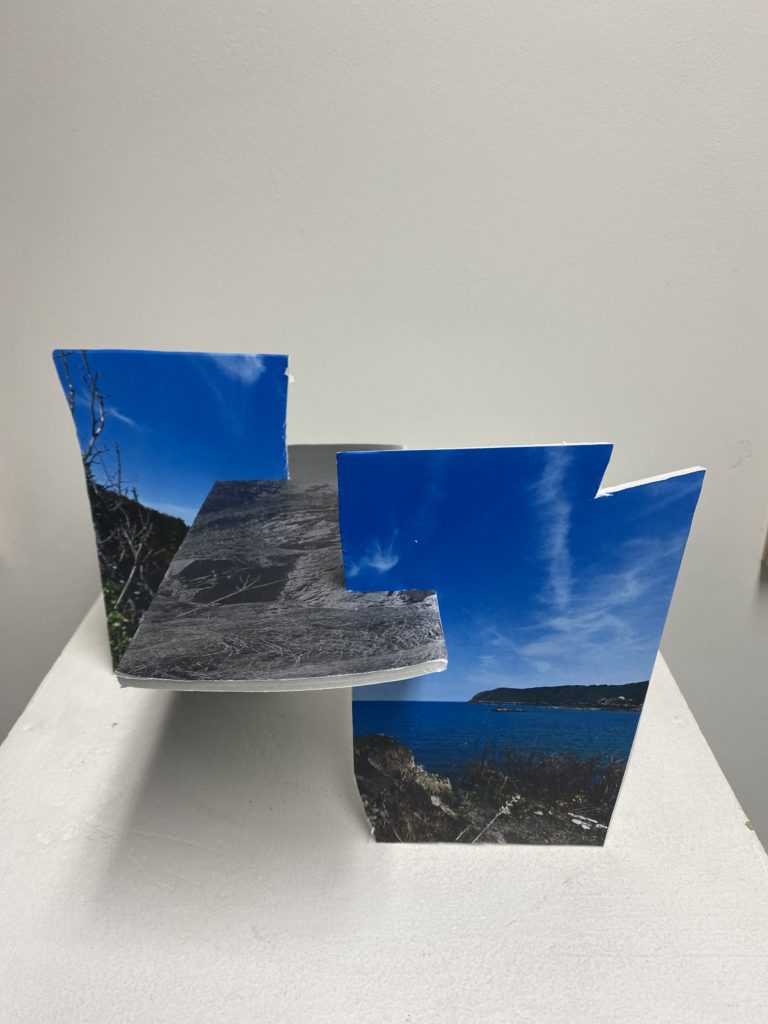
For this outcome that I think was my most successful throughout this experiment, I think that it turned out unusual and unique in the way that I have manipulated and transformed it. This was through using foamboard which I cut out to make the different shapes, which were originally joiners that I had printed out, I taped each photo down and cut around it then used spray to secure them down so that they won’t fall off in the future. I also made sure that the bottom of each joiner structure was secure so that when I combined them they would be able to rest flush to the surface that they are on and won’t wobble around. To decide where I wanted to slice the image I began by making a slit down the middle of the coloured photo because it was originally quite a big structure which I didn’t like as there was too much surface area. This then separates the photo and I thought that I could but the joiner which is in black and white in the middle which creates a bridge structure where it is resting in the middle. To add a little bit more depth into this sculpture, I decided that I should position each of the coloured joiner posts at different points which changes the perspective of how you were looking at them, as well as if you are looking down on to them as the black and white photo faces upwards.

Outcome #4 –

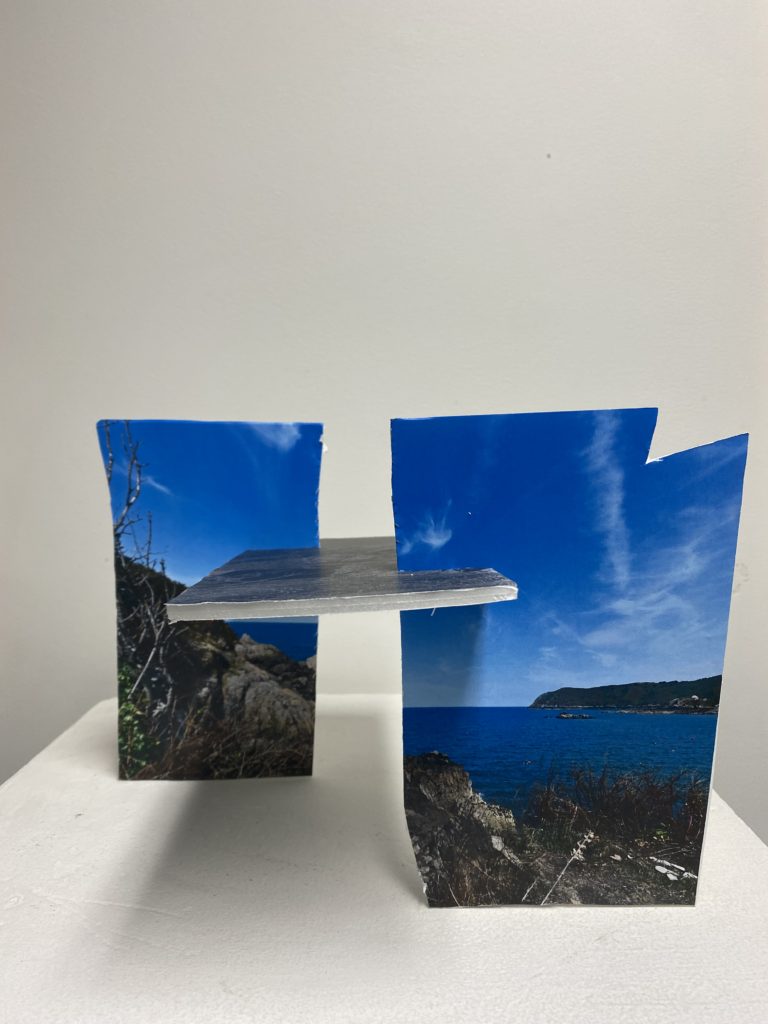
For my final outcome, where I used a similar technique as before to create a set of sculptures/photo which work well together. I began by mounting each image and then I sliced the coloured joiner in half and once again then repeated the positioning of where to put the coloured posts which changes the perspective of the sculpture completely from every angle that it is viewed from. I was not happy with this outcome to an extent as I think that I could have been more careful to how I was cutting out each joiner because it can be seen as wonky in a few different places due to me not being accurate which I don’t like as I think that it makes the sculpture look quite messy and not put together well.

What are archives?

Through evidence from the Societe Jersiaise Photographic archives we can gather that photography became widely known in Jersey on 9th May 1840, this was shortly after it was first publicised in England and France in Urban centres. This then led to the creation of the Societe Jersiaise Photographic Archives which later originated in 1873 and consisted of a museum and library and has been preserving and documenting historical records for over 140 years. The archives are a primary source of gaining knowledge into Jerseys history. Due to the large amount of information, they can provide into how the world was at certain times which romans called an “immortal memory” within the archive that would last generations. These forms of historical material can consist of a book, photographs, newspapers, birth certificates, family photo-albums, etc. There are also many works from a variety of nineteenth century photographers such as Henry Mullins and Thomas Hugo and other local based photographers like Thomas Sutton and Albert Smith. In the twentieth century, the archive holds many developed negatives from Percival Dunham, Jerseys first photojournalist and Emile Guiton who was the Honorary Curator of the Societe Jersiaise Museum and original founder of the Photographic Archive. Aside from this, we as a society also hold our own personal archives through our phones, computers, text messages, etc and they are valuable into providing knowledge to generations to come as they show details of who we are as a unique individual then also together as a society. 

Thomas Sutton who was an English photographer, author, and inventor is an extremely important figure for local and wider photographic history throughout his life from 1819-1875. His local importance consists of when he opened a photographic studio in Jersey with his business partner Louis Desire Blanquart-Evrad where they produced prints from calotype negatives before it burnt down in 1854. His importance in wider photographic history is evident as he has produced several books regarding the subject of photography such as the Dictionary of Photography in 1858. His historical importance is seen numerous times throughout 1859-61, this starts with the development of the earliest panoramic camera with a wide-angle lens in 1859. The lens consists of a glass sphere filled with water that projected an image onto a curved plate and the camera was capable of capturing images in a 120-degree arc. Then in 1861, he creates the first single lens reflex camera, and this consists of a mirror and prism system where the light bounces off the off the reflex mirror in the camera and onto the optical viewfinder. This then helps the photographer captures views through the lens. Thomas Sutton was also a photographer for the physicist, James Clerk Maxwell who pioneered the first demonstration of colour photography in 1861. This was achieved through Maxwell’s thought-experiment which he had previously published in 1855. This led to Sutton taking three separate black and white’s photos and photographing red, blue, and yellow tartan ribbon three times where he then combines them into one colour composite.  

This was the first coloured photograph developed by Thomas Sutton in 1861 and the image is unique in how it looks because I see a diamond or other gem which is being extracted carefully by the tools which are holding it on each side. If I were to choose some words to describe this photo, I would choose delicate and colourful because of how the light falls on to the diamond making the different angles illuminated through the distinct colours and textures which have happened due to the light against the dark background which highlights the unusual shapes which I really like. The genre of this photograph would fall under abstract in my opinion because there is no way to tell what the object really is even though it is in focus. I really like this technique because I think that it is able to show the process which I explained above of how Thomas Sutton created colour in this image which shows that a camera has been used in this photographic process. The space around the object is also different to other photos as it is cropped quite closely to the edges of the object, which makes it quite effective as you only focus on what is in the foreground of this photo of the light bouncing off other objects to create different colours, this also gives the photo a 3D look because of how the colours are able to reflect and bend around the area of the object.  

Therefore, archives are extremely important as repositories of knowledge from the past and this is because we can gain a deeper insight into the knowledge of photography, and of how colour photography for example was created and developed upon. They are also able to inform us of our social history through showing different structures, buildings, and portraits of other important or normal people from the past which can give us a valuable insight into what the world was like before it became as we know it now. Archives also hold the most importance into gaining an insight into images from the past because we are able to apply it to current day because it will help me and others to be able to develop our own photographic project of Jersey because we can compare them alongside one another to see the development of Jerseys industrial and natural life and show a picture from before to now. As a photographer, I would respond to what I have learned throughout this as to look and think creatively when taking photographs because you can create interesting and unique images which may be able to tell stories which will inspire and ignite creativity within other people. Visiting the Societe Jersiaise archives was a valuable into learning about Jerseys history as we were provided with examples of different local photographers work as well as photos of places, we have been such as Green Island and it was interesting to be able to see what they were like beforehand. 

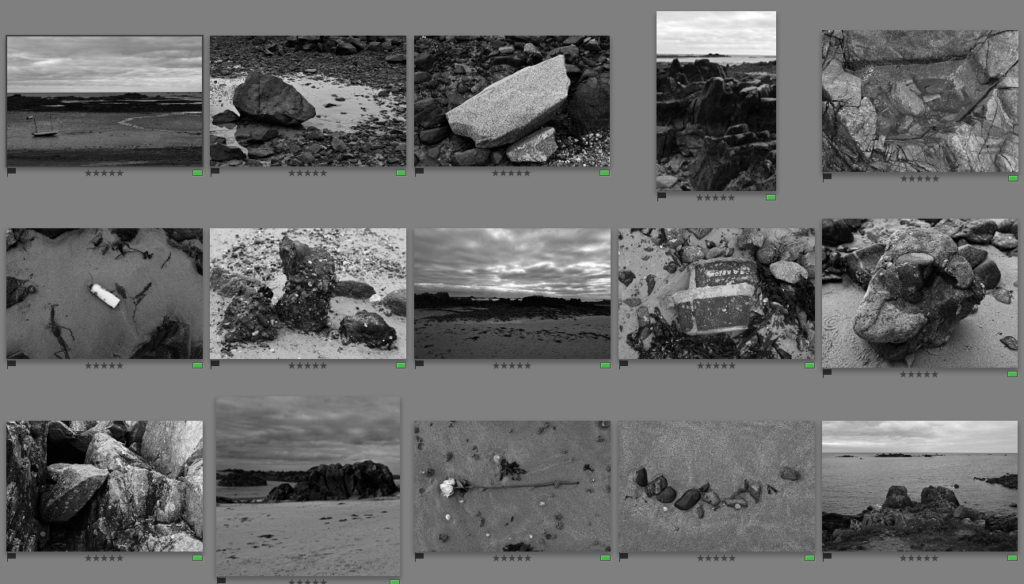
Further editing of 16 best shots

The 16 photos that I have selected to edit further in Lightroom will be the photos which I will use later on to create my zine. Throughout these experiments, I will creatively manipulate my photos in to black and white, change the contrasts/lighting, etc. Then I will print the photos out and use them to make a paper mock-up in class so I have an idea on how I want to lay my zine out as I think that it will be more helpful to help me understand what I want to do and the experience I want to create for the people who will view my book.

Experimenting with editing –

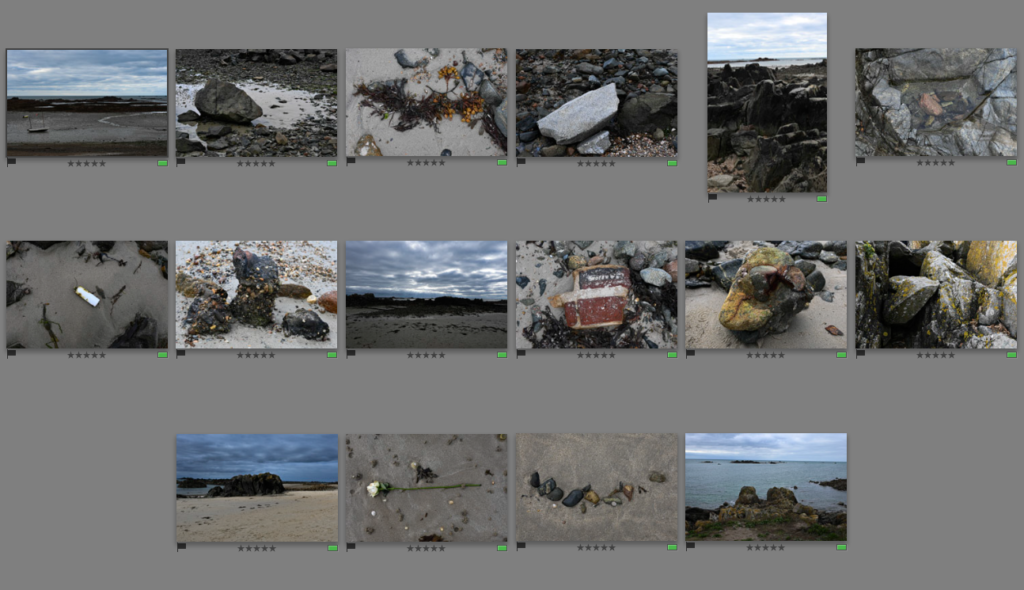
For these photos, I began by doing simple edits which can be seen above which I then synced to all of the others. This acted as a baseline to work with which I thought was better as they would all have the same settings that I can expand with further along the line.

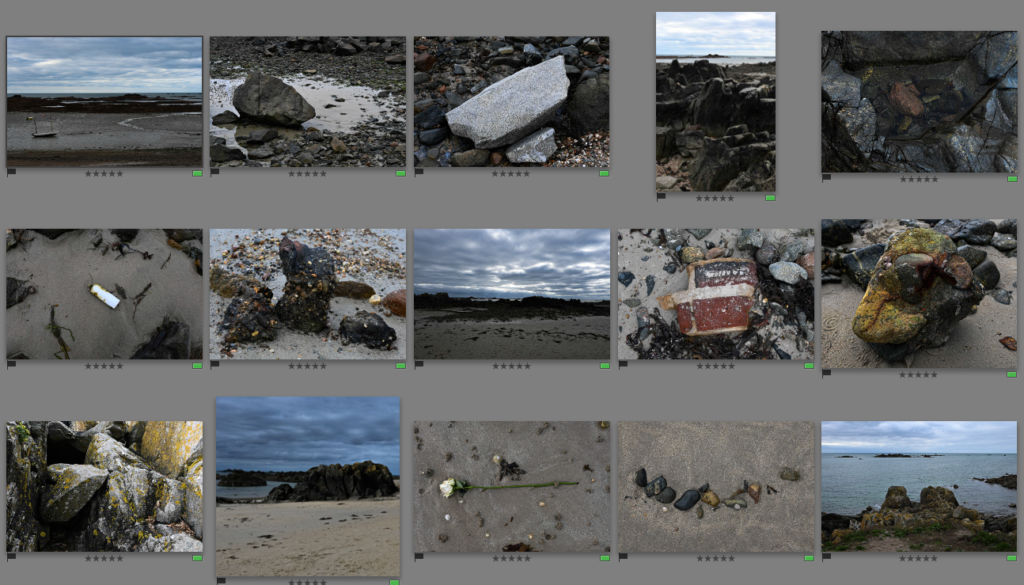
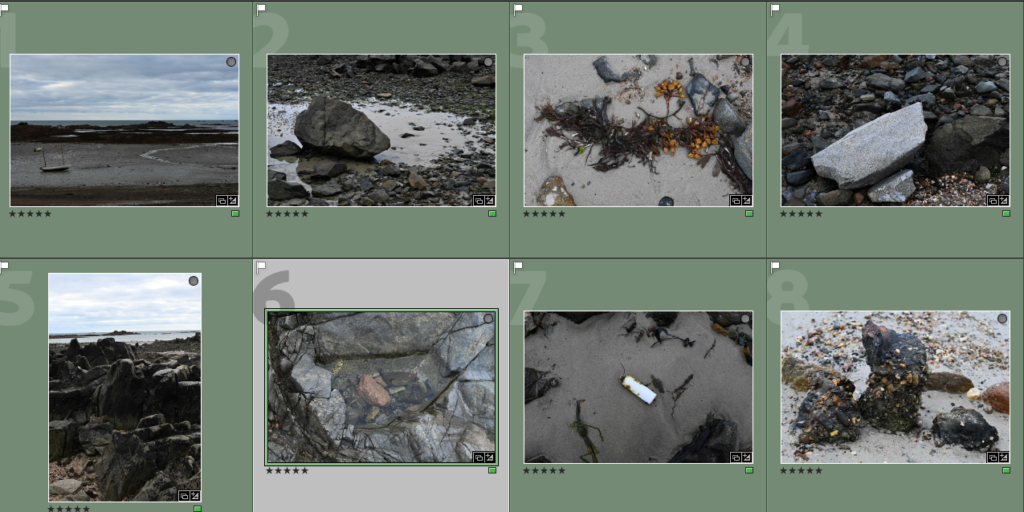
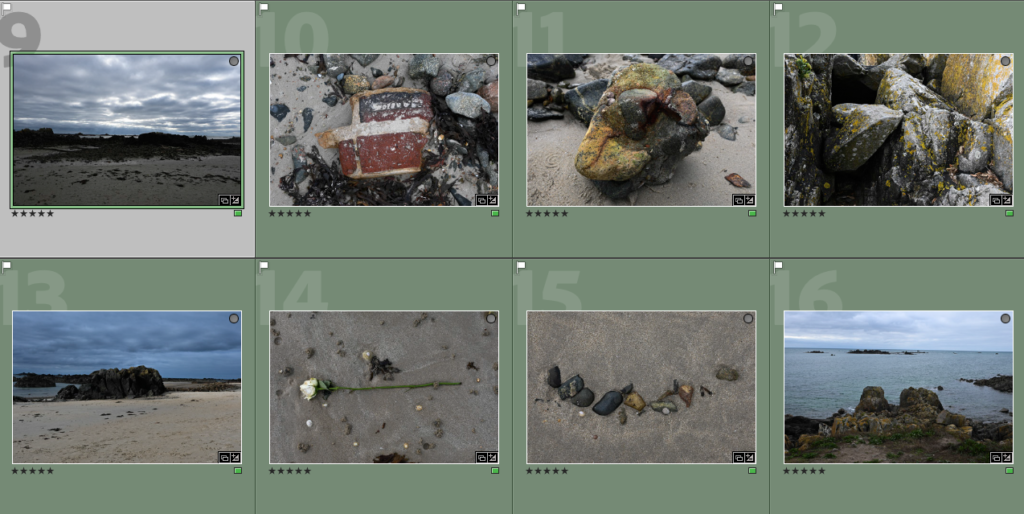
Then I went further into editing for these photos, I started cropping which can be seen in #3, #5, #10 and #12 because I felt as if there was too much negative space and I wanted to create a more focussed point of the photo. I also went through other photos which were slightly wonky and needed to be straightened in the horizon lines because I think that it makes the photos look neater and work better together. I also decided to get rid of one photo which I thought didn’t really work well with the rest of my photos because of the way it was taken and the different textures within it.

I then decided that I wanted to turn these photos into black and white in Adobe Lightroom. I really liked the way that they turned out in black and white as it adds more control into the photo because they have all synced in how they appear which I like as it provides a uniformed look instead. I think that I will use the photos in black and white for my final prints that I will use to create my zine.

Green Island photoshoot – Contact sheets

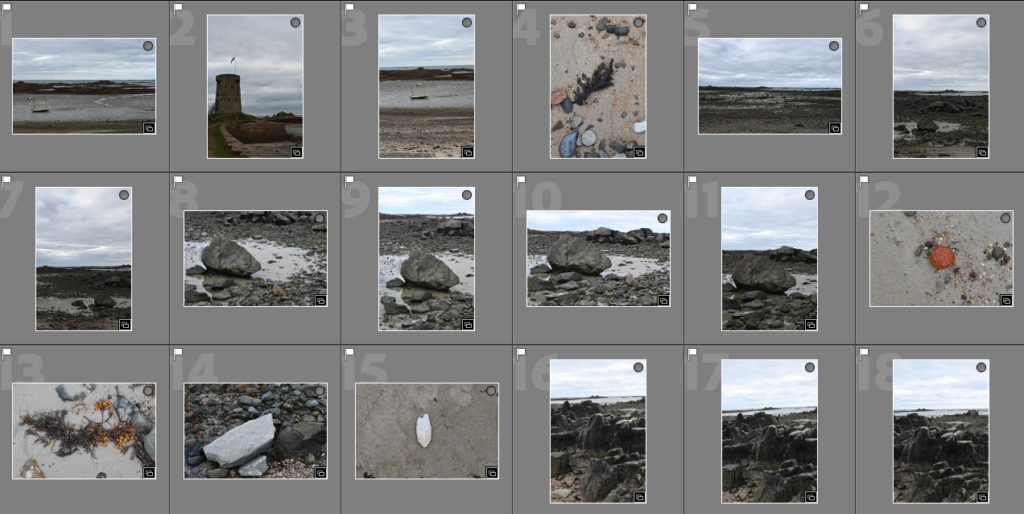
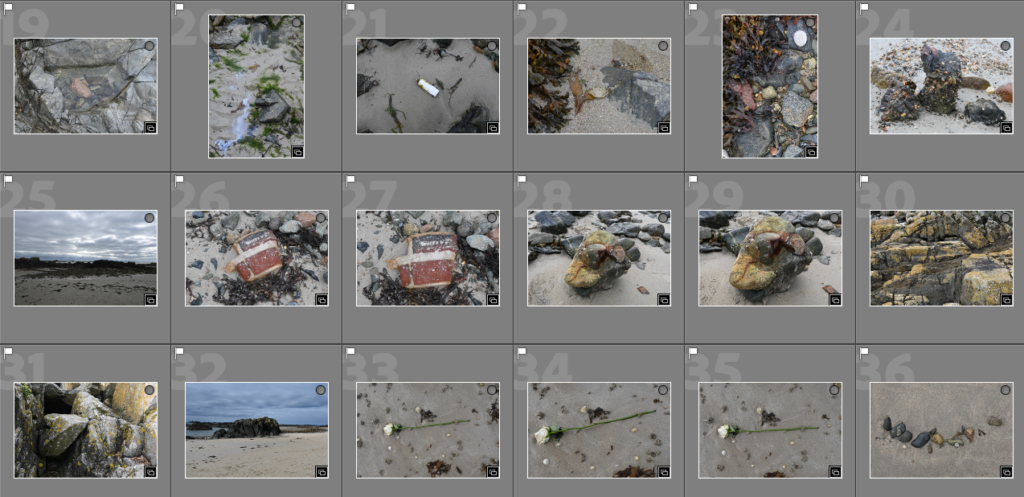
For this photoshoot, we visited Green Island where we walked along the seafront taking various pictures of items we found along the way and other views which we could see. The weather for this trip worked well with the pictures in my opinion because it was overcast, which can be seen in many photos, this makes it easier when taking photos as the glare from the sun isn’t able to overexpose the images although the blue sky did do this in a few of the photos. I really liked visiting Green island because it got me to look across the seabed at different rocks/objects/etc to see what can be found on our journey and I found a few different things which I think that I could use in the future for my zine to tell a story of what we saw.

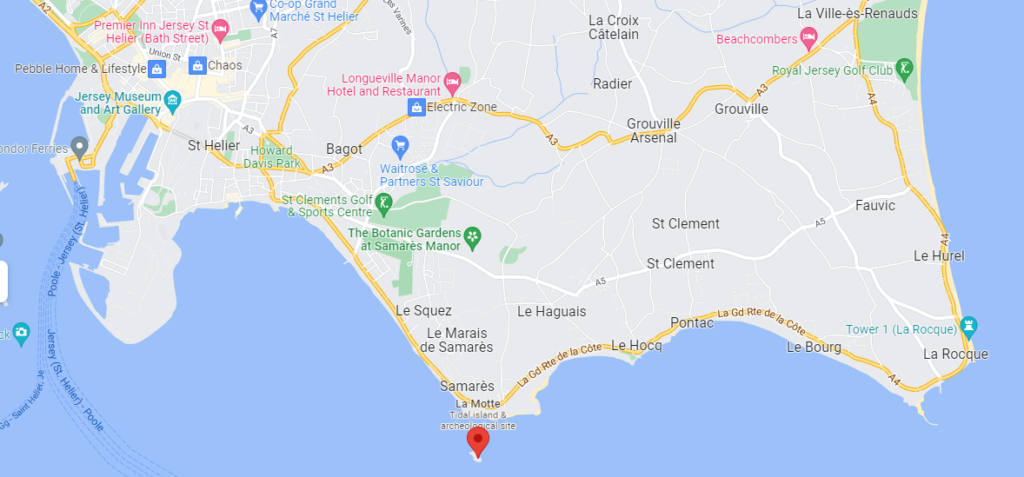
The place marker shows where Green island is in Jersey.
Green Island - Jerripedia
A photo of what Green island looks like.

Most successful –

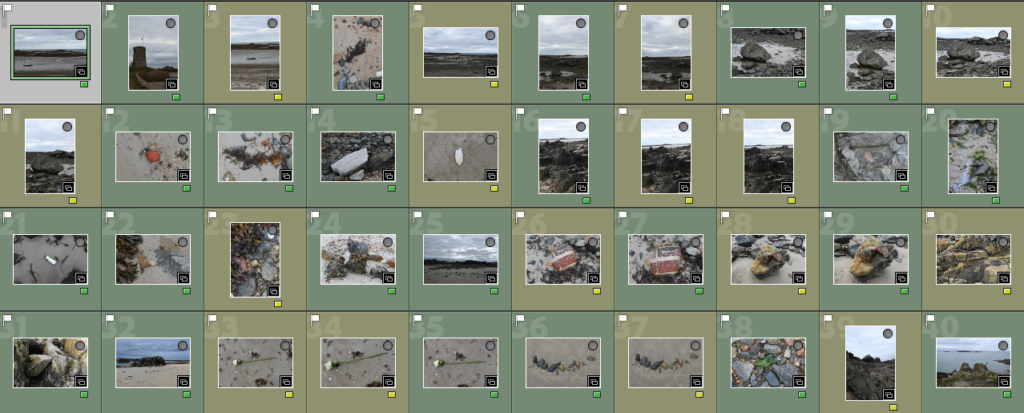
To begin my selection process from my photoshoot at Green Island, I began by going through and selecting my best photos on Adobe Lightroom by flagging the ones which I thought were successfully due to not being blurry/not in focus or overexposed from the sunlight. I was able to gather around 40 photos which I decided to start with as a basis for doing my colour selection below and I think that a few of these photos already have started to work well together with the way they are able to flow and tell a story within them. I really liked the ones where I am looking down at an object on the sand because it shows me following a path and what I could see, which is different to what others could have seen, therefore I think that those photos will be ones which I use commonly throughout the creation of my zine.

Colour sorting –

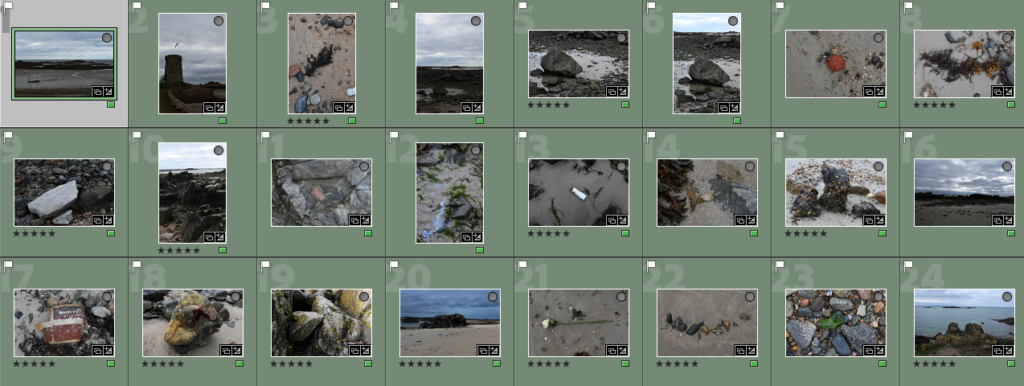
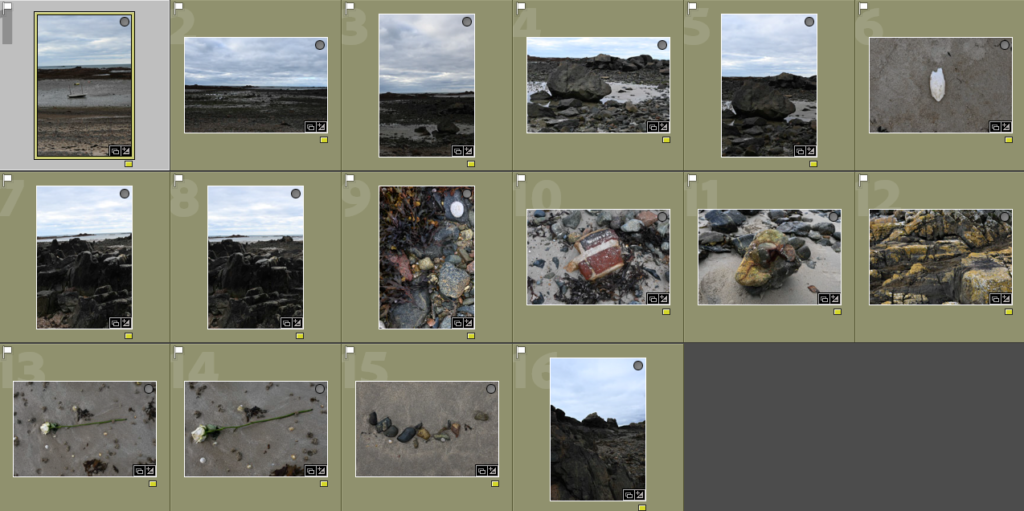
For my colour sorting, I highlighted the photos in green which I thought would work together in a zine and had the most potential and could be further edited to create my zine. Then I would apply basic editing, shown below, which would help me to further analyse the photos which I want to incorporate into my work. For the photos which I was unsure of I used the yellow filter, I went through these numerous times analysing how effective and well positioned the camera angle/focus is and if it has something distinct in it creatively which would create a story. Most of the photos were repeats of ones I had liked or generic views which I didn’t want to include a lot through out my zine because I felt as if it would be quite boring whereas zooming in on specific objects could be more interesting. Then I used the rating system in Adobe Lightroom, this was where I went through the photos which I had previously highlighted in green and I rated the photos which I was certain and confident to further edit so that they could be used in my zine. This technique made it easier for my to quickly select the images I want or don’t want to see as I could choose which colour I highlighted in and then be able to also select the rating to see how many photos I had already decided to use for my zine creation, it also helped me to see the flow of the pictures together which I found helpful.

Basic editing and examples –

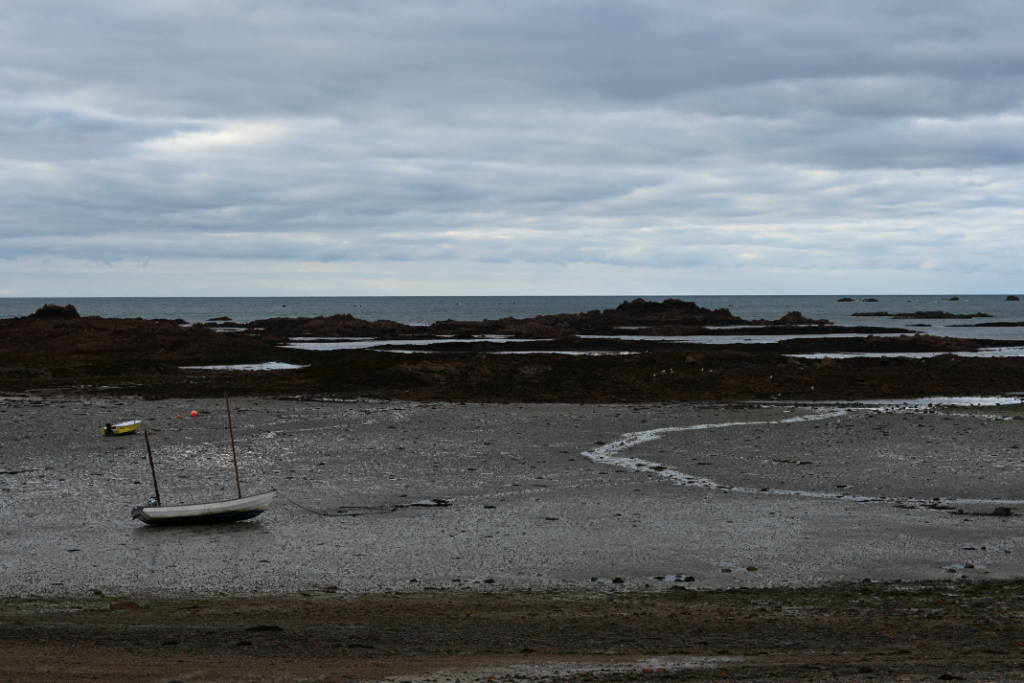
For the basic editing, I began by selecting the photos which I had chosen in green and choosing one to begin with to start my editing process. I chose the first image of a scenic view with a small boat included in it. For this photo, I wanted to make it quite overcast and yet still have some colour in it. I achieved this through bringing the exposure down slightly and brining the contrast up so the details of the rocks and the blue of the sky which is peering through the clouds could be seen as the same time. I also brought down the shadows to give the photo a gloomier look which made it slightly overcast, which I wanted. As I wanted to keep the finer details of the rocks to be seen I made sure that the white tones in the photos, which are used to highlight these finer details, was brought up to enhance and work with the highlights and creates a contrast against the black meaning that they work opposite one another. To make sure the colour of the blue sky was apparent in the back of the photos and the sea’s darker green/blue colour was also emphasised I adjusted the vibrancy and brought down the saturation, to make sure the colour wasn’t too overpowering, this then enhanced these through the blue/green tones on the photo, which can be seen to be happening on the scale.

16 best photos –

Why I chose these photos for my 16 best photos which I will experiment with further in Adobe Lightroom to create a story through my zine. This is because I think that they create a good way to show the path that I followed throughout our visit to Green Island showing the different objects and debris that I found along the way and it makes you wonder how it got there, therefore with further editing I think that it will turn our quite well when creating my zine.

Contact sheets – Still life in studio

Different lighting used –

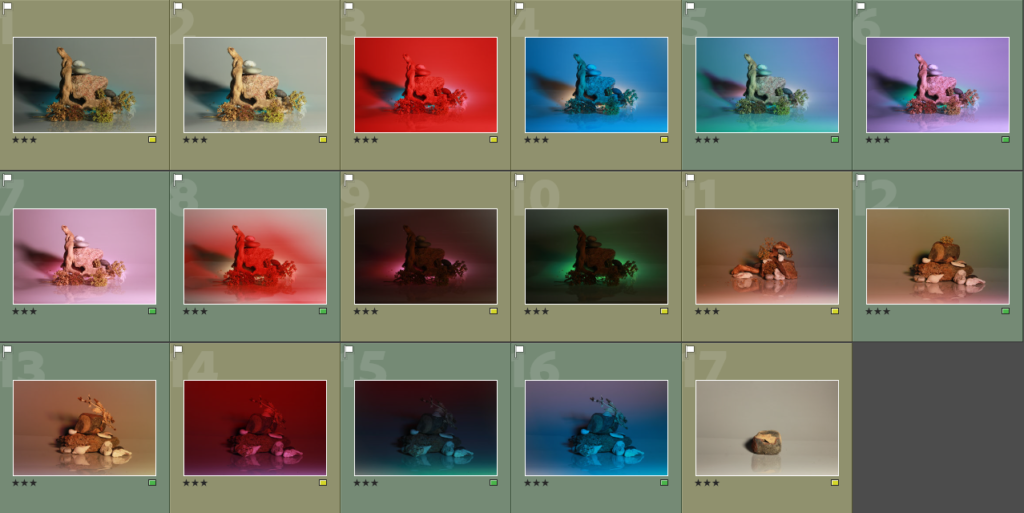
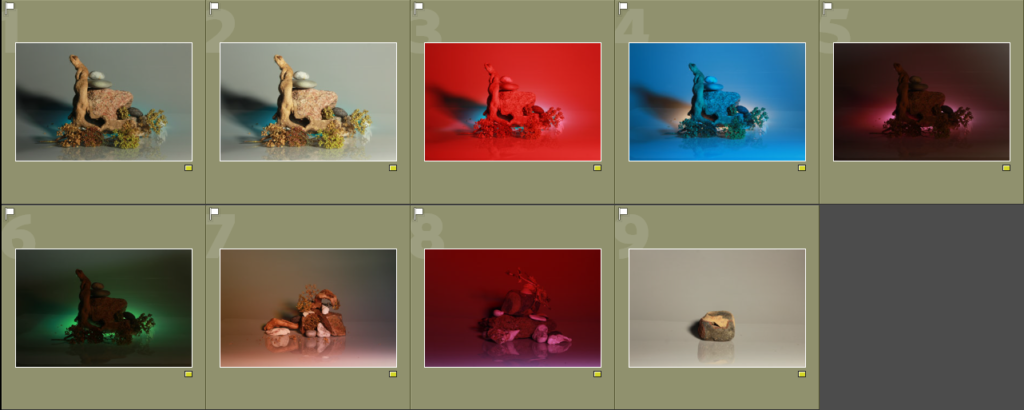
For this photoshoot which was carried out in the photography studio, we experimented with using still light for this photoshoot on a infinity curve background. This was helpful when creating the pictures because it was a plain white background which made the different objects we used stand out, as well as successfully illuminating the pictures into different colours when using gel sheets which I really liked.

We also experimented with flash head photography in the studio. This type of photography consists of using a larger infinity curve background to provide a plain background but instead of using one continuous still light as seen above, you use either one or more flash heads. These flash heads sync up with your camera when taking a picture and this is good for taking close up images or groups of photos, I also enjoyed experimenting with this type of photography too.

Contact sheets –

In Lightroom, I used the colours to help organise my contact sheets. I used the yellow for my photos which I thought were successful to an extent but I still wasn’t happy with. Then for the photos which I thought were successful which I could use further to edit and use in my experiments of sculptures further on.

Most successful images –

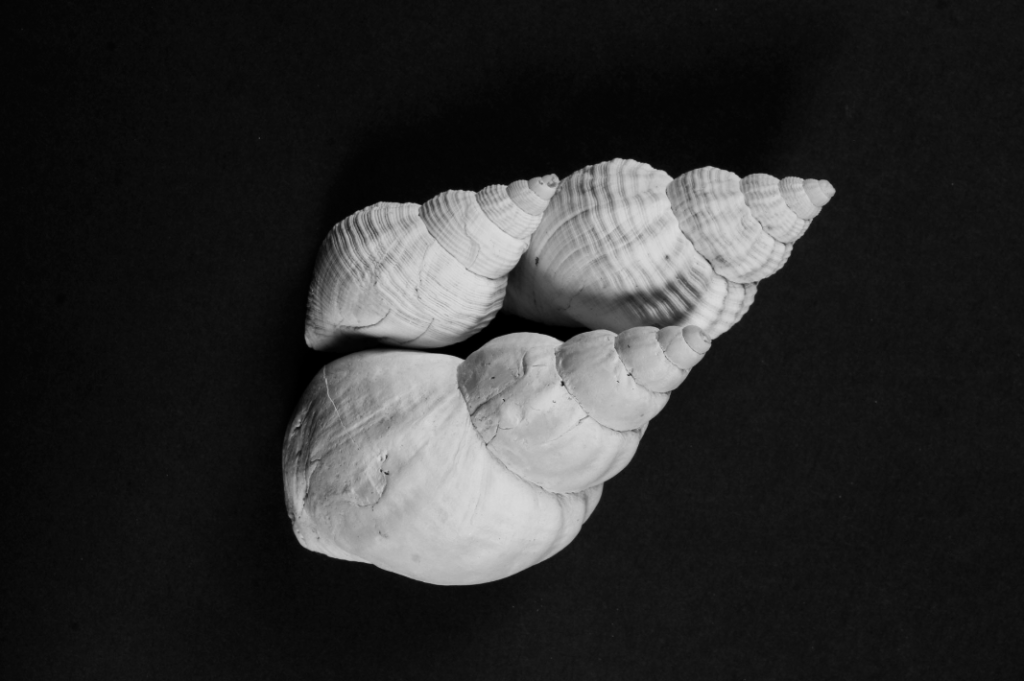
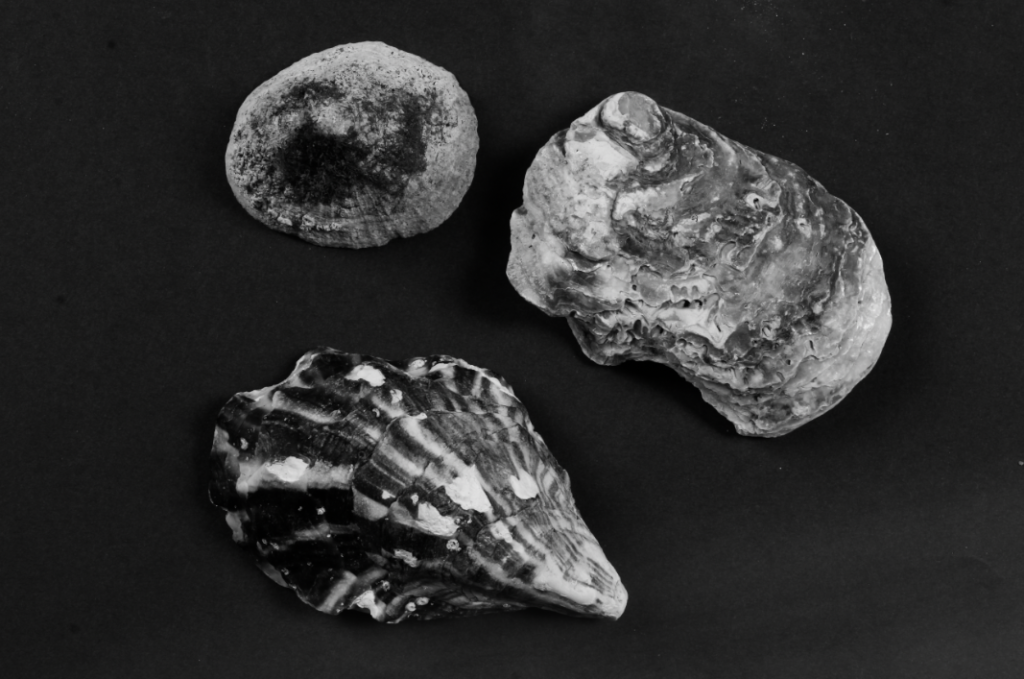
These 5 images are photos which I have decided to use and produce sculptures out of alongside the joiners which I have created. I really liked these pictures because the 3 photos of shells creates a set of pictures which I can manipulate and combine together and I turned them into black and white because they were on a dark coloured background and the white of the shells creates a distinct contrast which makes them stand out well as well as having different shades of grey and black in it. For the 2 photos on the bottom, I created a mini set of 2 which I think work quite well together as they are similar in how they look and the background is the same which I can use to make some creative outcomes further along.