Planning and Photoshoots
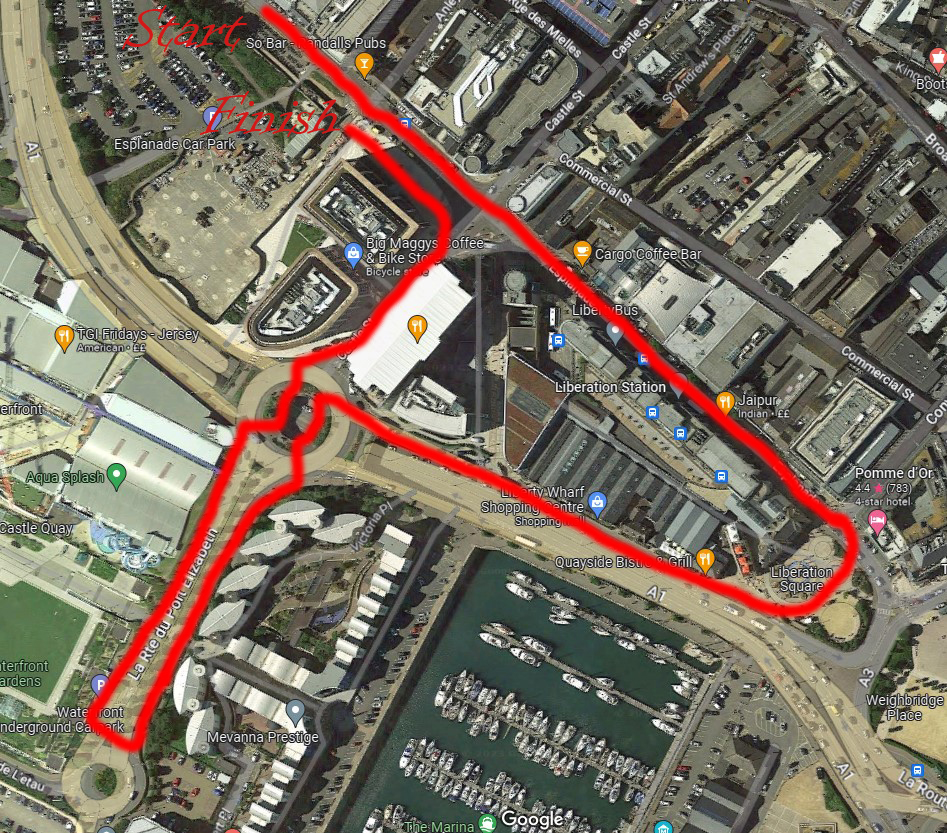
I started this project with a question. How can images be used to show development? This was a difficult topic to cover at first, but thinking back to my previous exam project gave me a few ideas. I wanted to show how Jersey had become a wealthy independency. The island’s economy relies mostly on the finance industry, as Jersey is considered to be a global finance centre, as well as a tax haven. I planned to take photos of the financial buildings front in town. My route consisted of the financial buildings, past Liberation Station, through Liberation Square and back up the other side of Liberty Wharf to the Waterfront area where a large pair of Christmas trees were located at the time. I chose this route as there were a few varying structures I felt could produce successful results. There were also a couple of locations in the town itself that I wanted to capture with my camera.
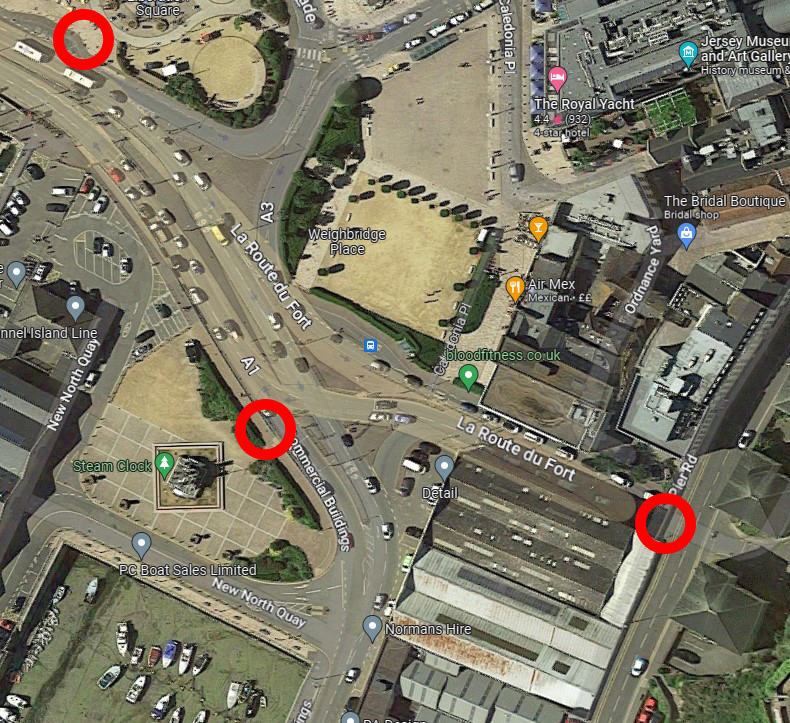
My second photoshoot was conducted nearby. I was eager to experiment with longer exposure times combined with smaller aperture, which is what my artists had used to produce their images. A great way to demonstrate the use of this technique is by photographing cars as they drive past for 2-3 seconds. Depending on which way they are driving, the headlights/taillights leave trails behind them. The car is also made seemingly invisible as it does not emit a large amount of light as the headlights/taillights do. If done well, the results can look amazing. I chose a few locations next to and above typically busy roads. My main three were above the tunnel near Pier Road car park, the side of the Esplanade by the steam clock, and at the pedestrian crossing by Liberation Square.
Contact Sheets
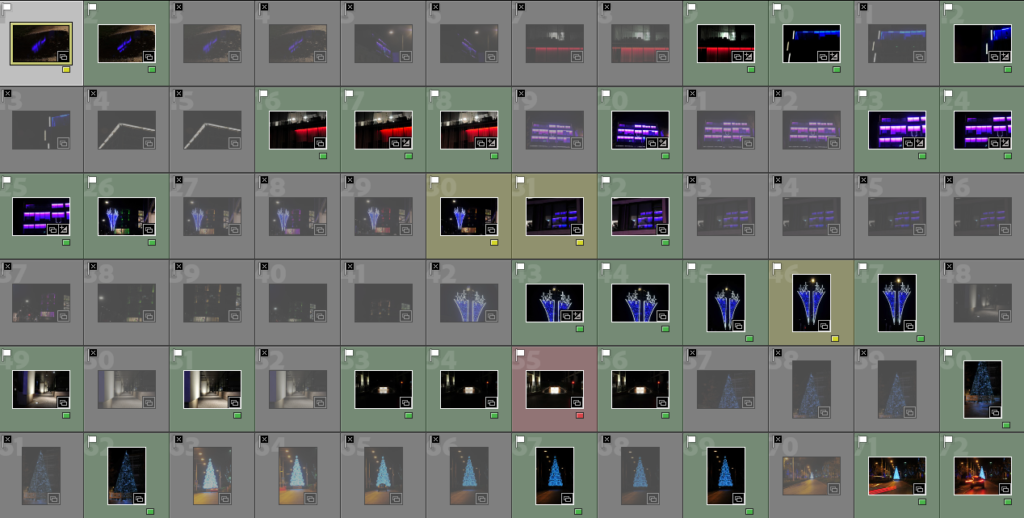
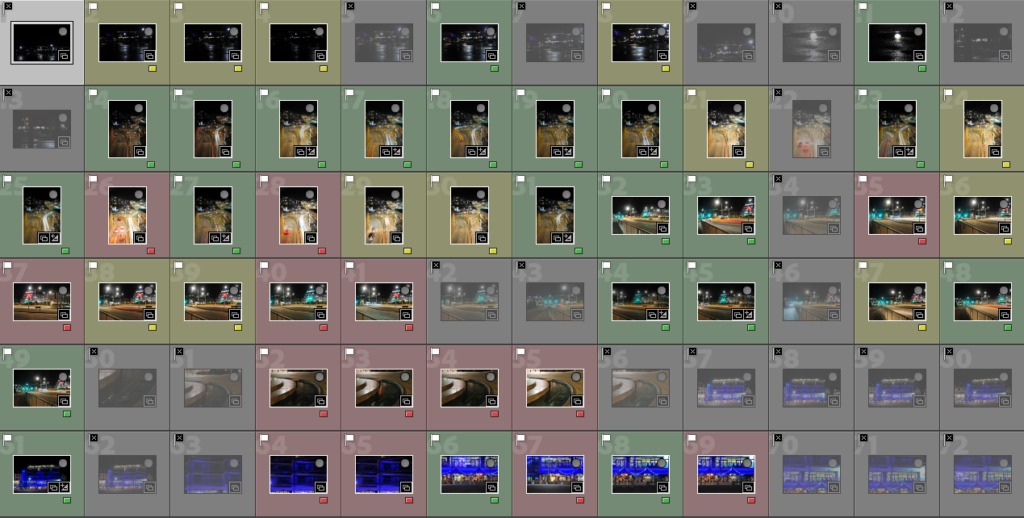
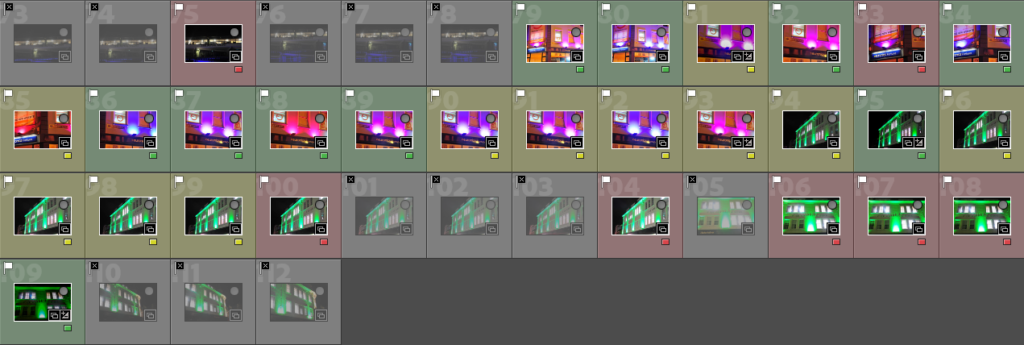
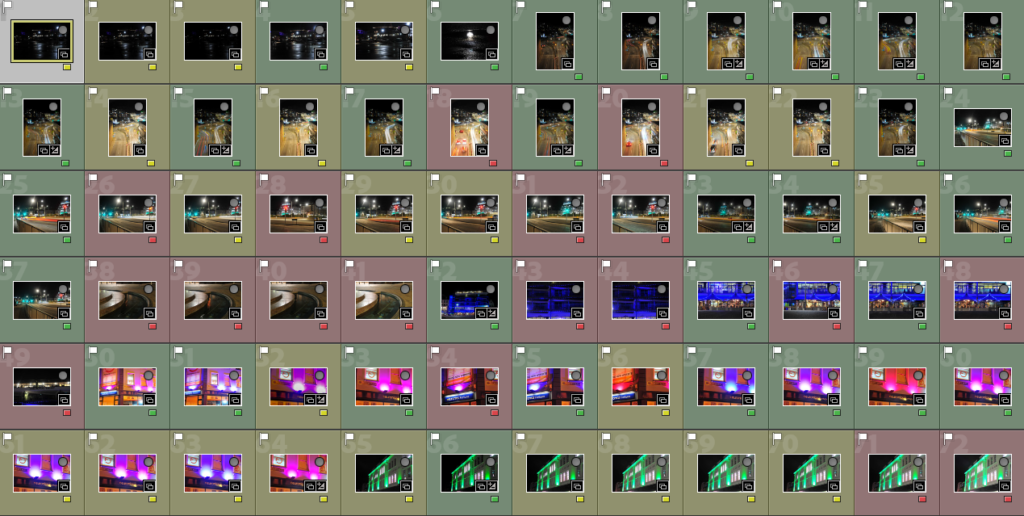
Once I had all of my images in Adobe Lightroom, I began my selection process. Initially, I chose which images I thought would be of use by using Pick (P) and Reject (X). For my first photoshoot, this narrowed my image count down to about 110 images to work with, which was satisfactory. The same was done with my second photoshoot. I then organised my remaining images by colour, with green being the photos that I would definitely use, yellow being the ones that I would consider including if I had some space left over, and red being the images I shouldn’t need to use, or use only as a last resort. This provided me with a visually pleasing and easy-to-use sorting system.

Post-Production and Photobook
After choosing the images I wanted to use, I began my experimentation. This consisted of me selecting a single image that I wanted to use, adjusting numerous settings and touching up with spot removal/heal tool to produce a true developed final image. I went through all my selected images and adjusted the exposure, highlights, shadows, whites and blacks of each one I considered worthwhile. After this I was left with 65 final images to produce my photobook with. I wanted my photobook to stand out from the rest. There is no better way to do this than the use of bold and striking colours. I chose to start with the cover as it is typically the hardest decision to make when constructing a physical piece of work such as a photobook. I selected this image:
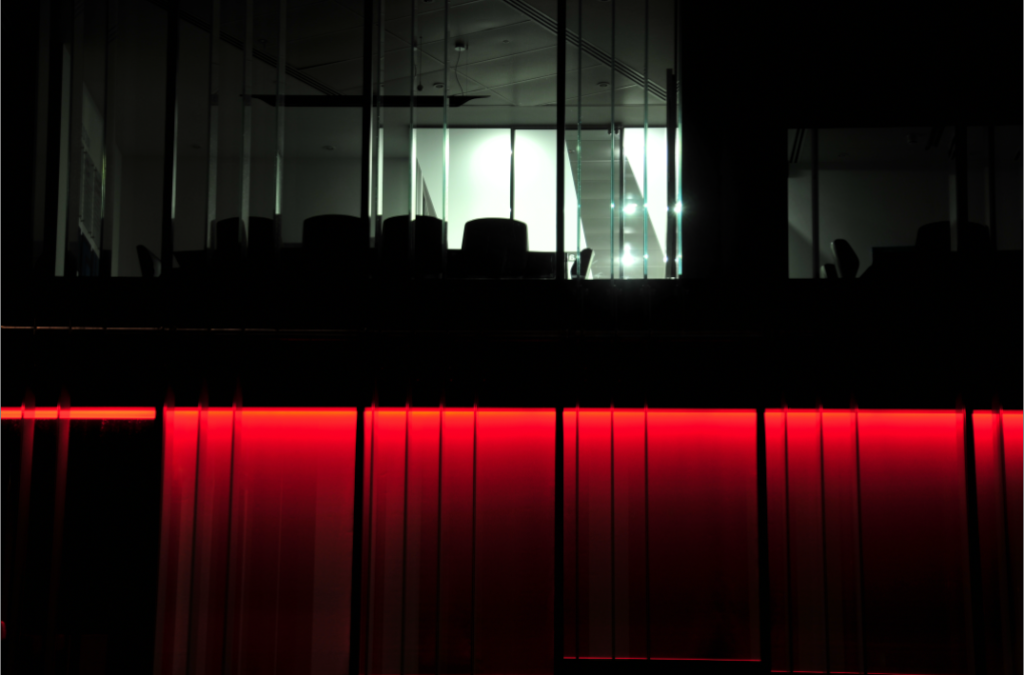
I brought this image into Adobe Photoshop and took away all sources of light other than the red beams. This provided me with probably the most striking image I have ever produced. I then added my book’s title, ‘Development’ to the cover and spine of the book, as well as my name. I was very happy with the result.
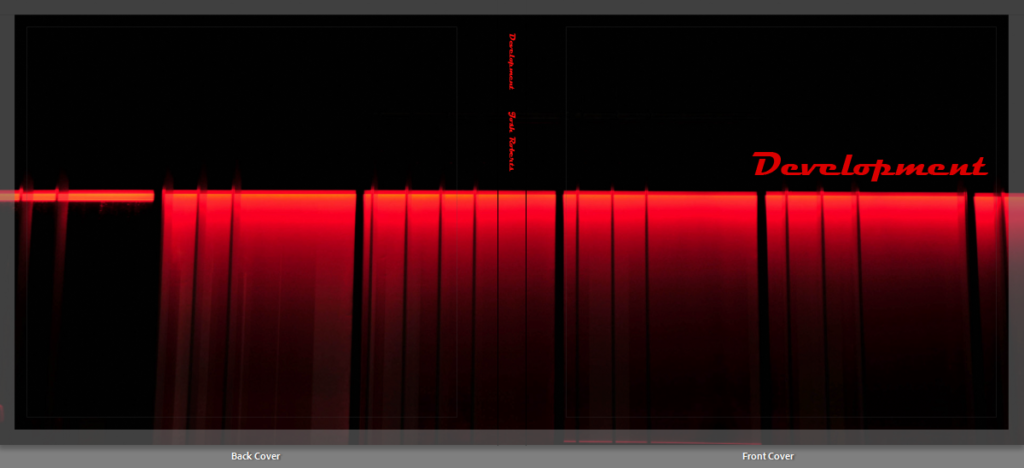
I then began to piece my photobook together. I experimented with varying options of how to display my images on each page, this a combination of single images, double-page spreads and a few multi-photo options. My final photobook looks like this:


After double-checking and triple-checking each page I was ready to send my book to Blurb, a photobook-creation website. The last step was just to pay for and order my book.
Conclusion
Overall, I feel that my project has provided an accurate and direct comparison between photography and an area’s growth and development. I have done this by clearly stating what my aim was not only in my essay, but also in the photoshoot planning stage of my project. This has resulted in what I feel to be a successful interpretation of how development and change can be represented through the medium of photography.

You should produce separate blog posts for each devlopment, such as:
1. Photoshoots, selection editing and evaluation
2. Photobook, design process and final layout + evaluation
3. Essay: include illustrations of examples of work from each artist and your en responses. Include bibliography