
—– 3D Sculpture moodboard —–
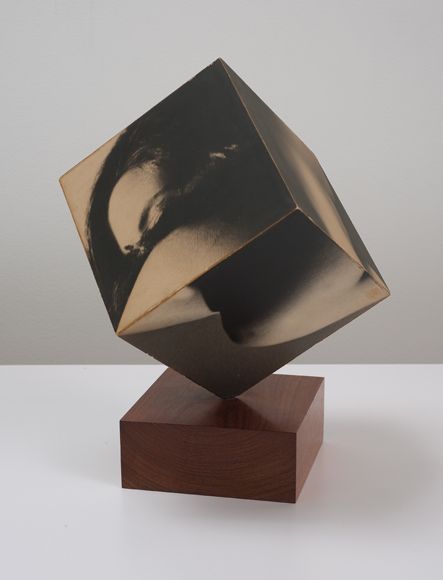
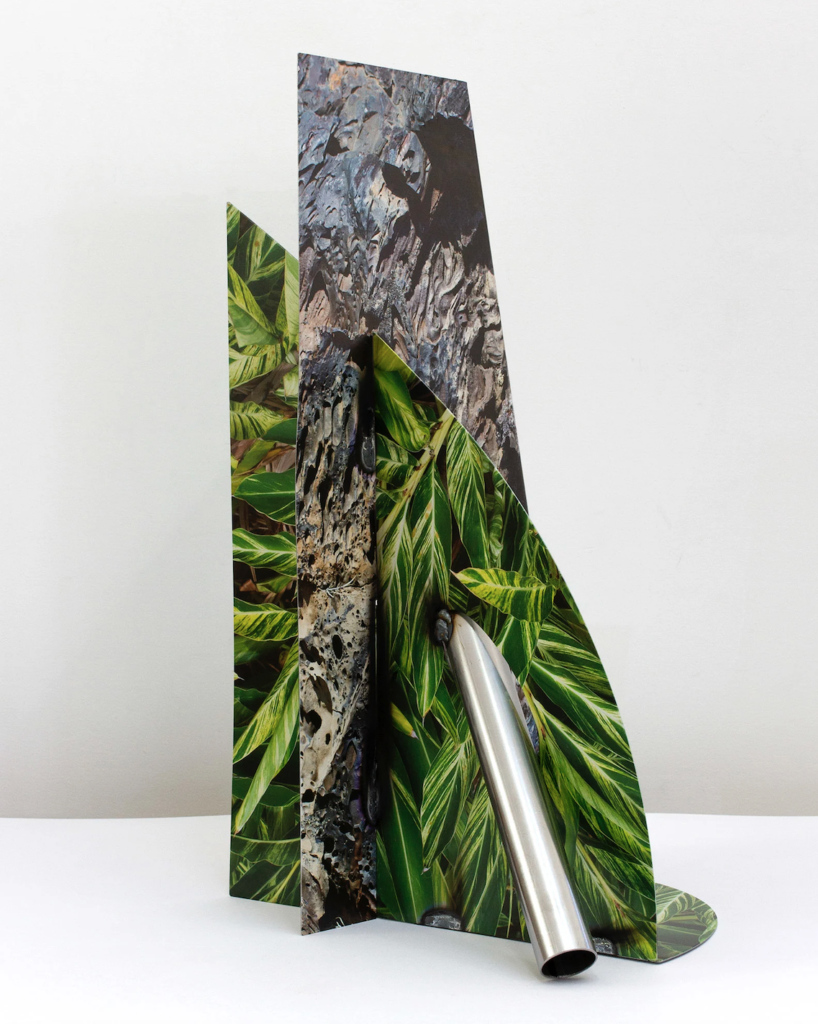
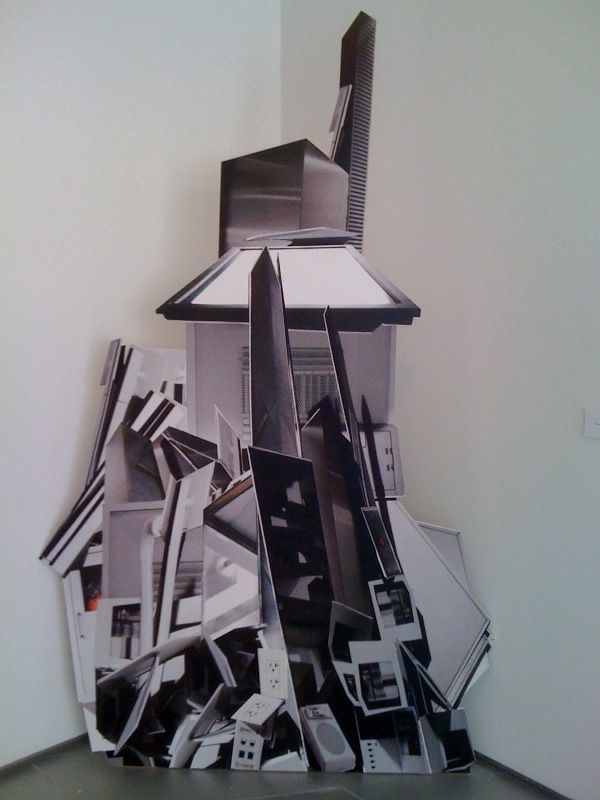
For my 3D sculpture, I am aiming for more of an optical illusion approach such as that of Jody Powell’s. I like the overall look of the sculpture and how everything is layered up one behind another. It makes it look almost like the photo is flowing together as one and not being separate photographs.
—- Making of my 3D sculpture —-
Image selection
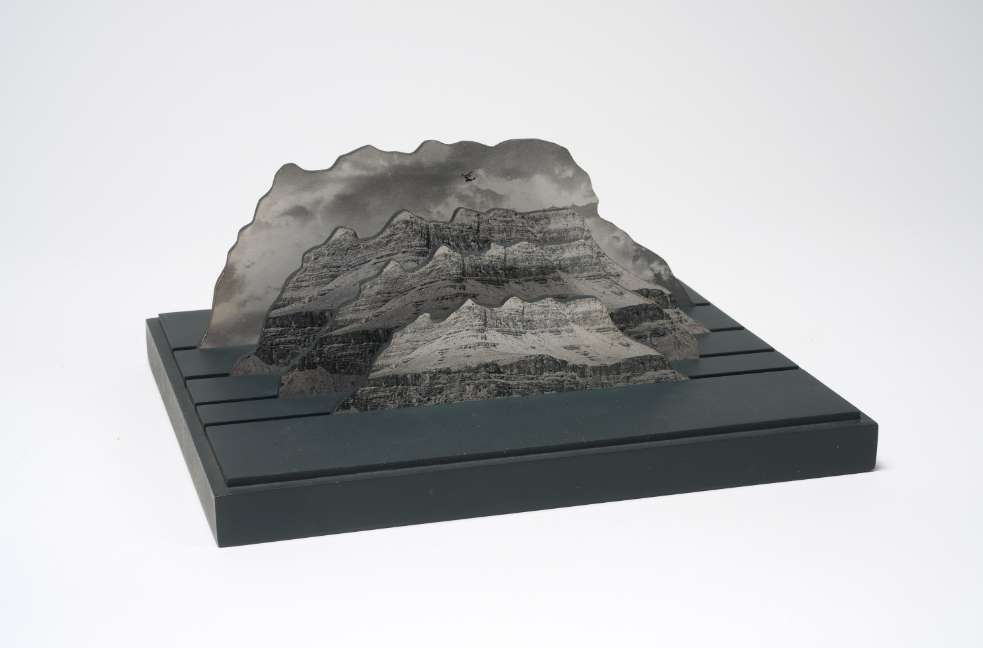
For my 3D sculpture, I needed to start off by choosing my best images out of all the ones I ended up taking. I decided to choose photos from my L’Etacq photoshoot as I believed that I was able to photograph very appropriate images for the type of sculpture I was aiming to pursue making. I needed full-scale images of larger rocks and I believed that these images were perfect examples of what I needed to use.
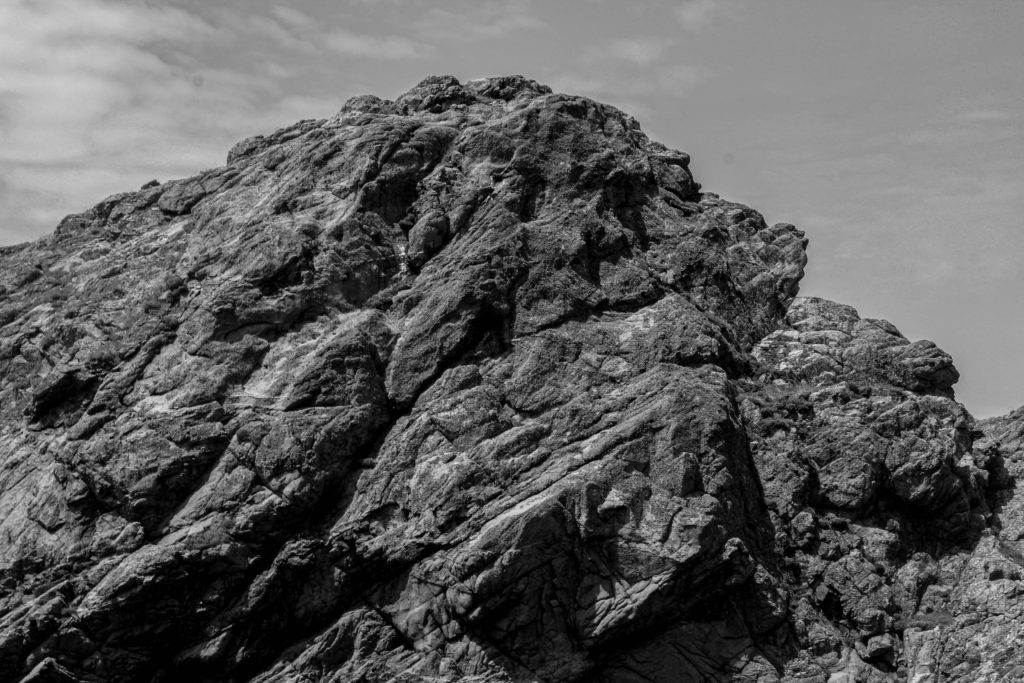
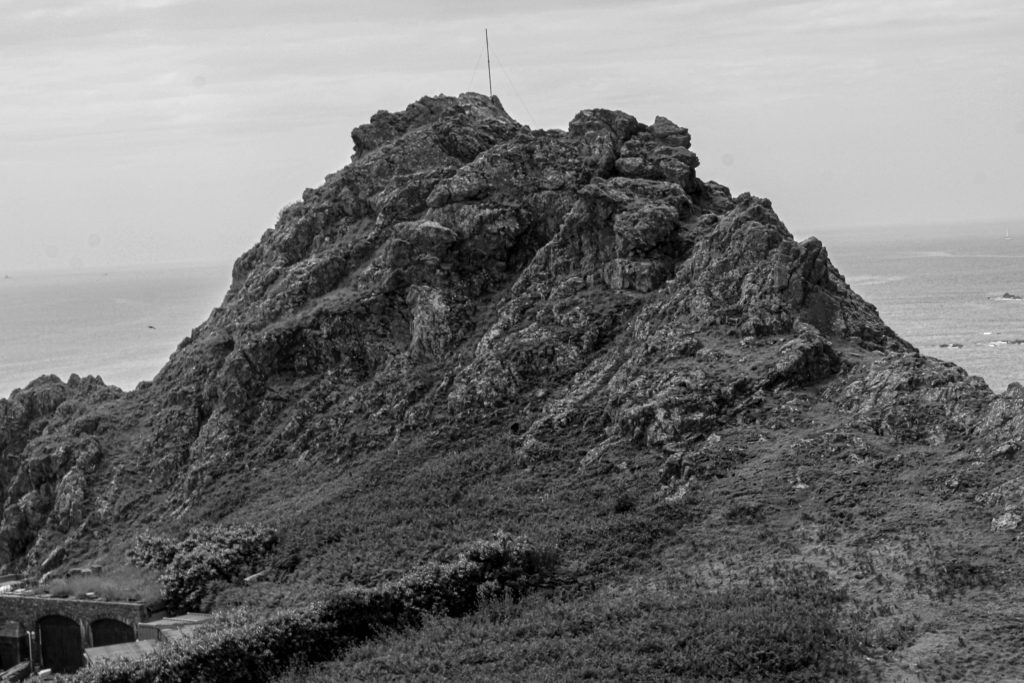
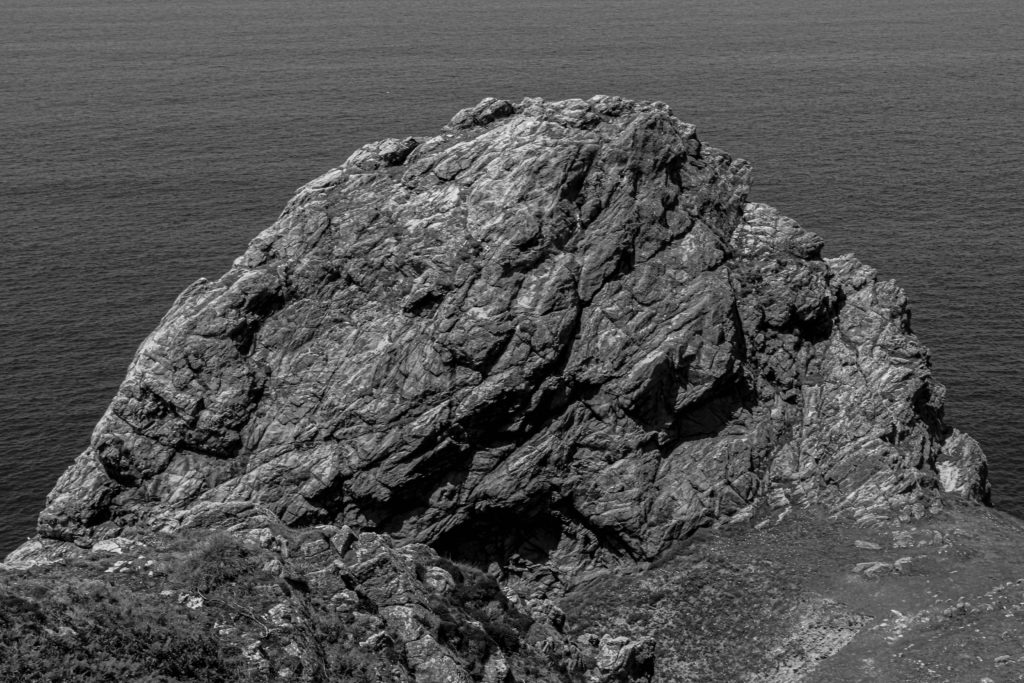
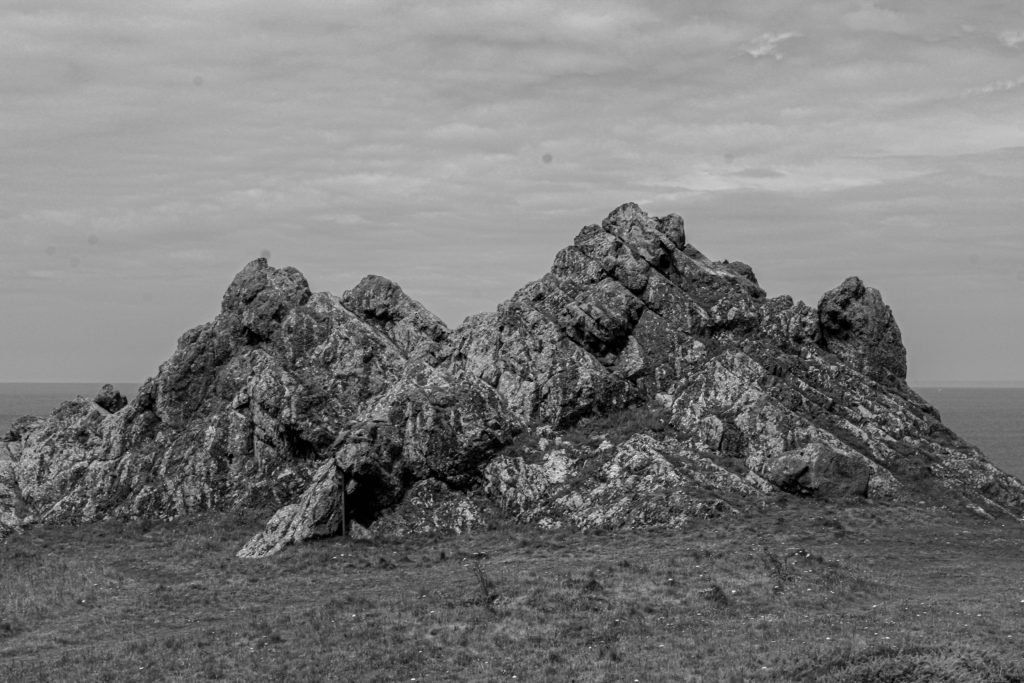
For my attempt at a photography sculpture, I decided to take inspiration from the works of Jody Powell. I wanted to use a variety of my images taken of large rock formations and position one in front of the other to add a sense of depth to the overall sculpture.
The first step I took with my sculpture is I printed out all of my chosen photographs, printing out some larger than others. I chose the much wider rocks as being the main background images for my sculpture, so I chose to print those out full scale on A4 paper. I then chose to print out the smaller ones together on one side of A4 paper and cut all the images out. Once they were all cut out, I stuck each individual image onto a styrofoam board and cut around the image so that it would be mounted on the board.
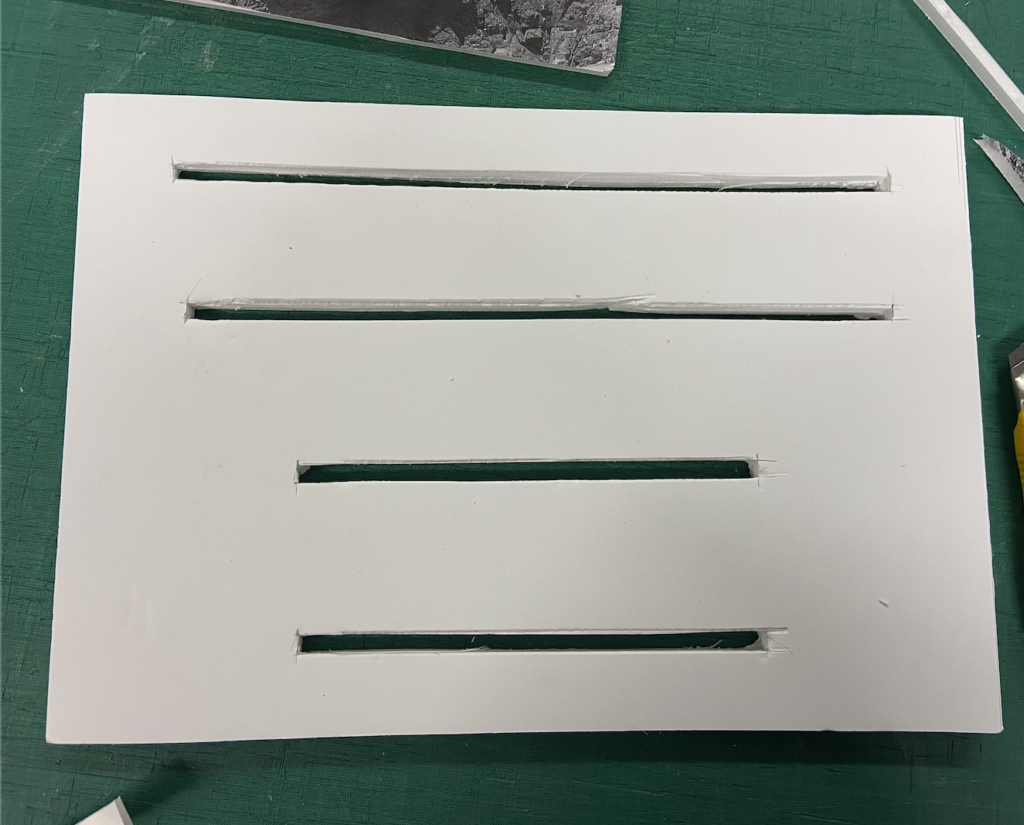
Next with my sculpture, I found myself two pieces of styrofoam board and stuck them together for more support of the sculpture. I then measured the length of each cut out and drew it along the board before cutting out the slits for them to be inserted into.
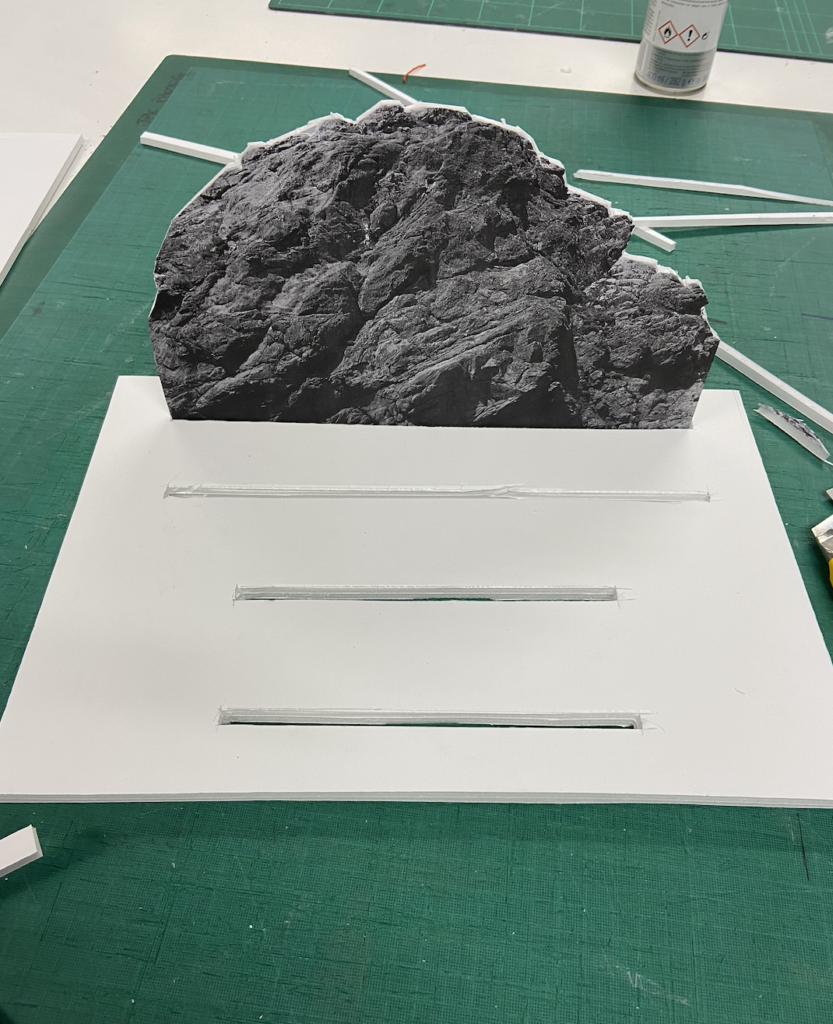
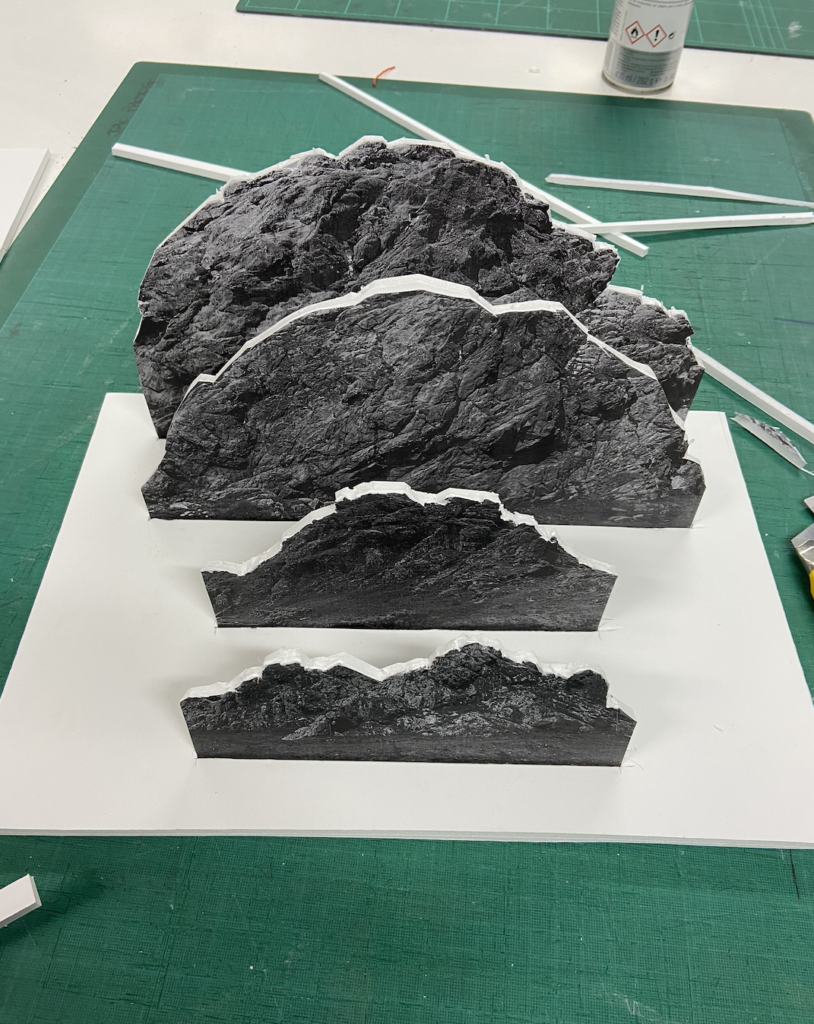
Afterwards, I inserted each cut out photograph into the slits and adjusted them all so that you could see each of them over top of one of another. I wanted each of them to have enough space so that each could be seen above one another, allowing for the illusion to take form.
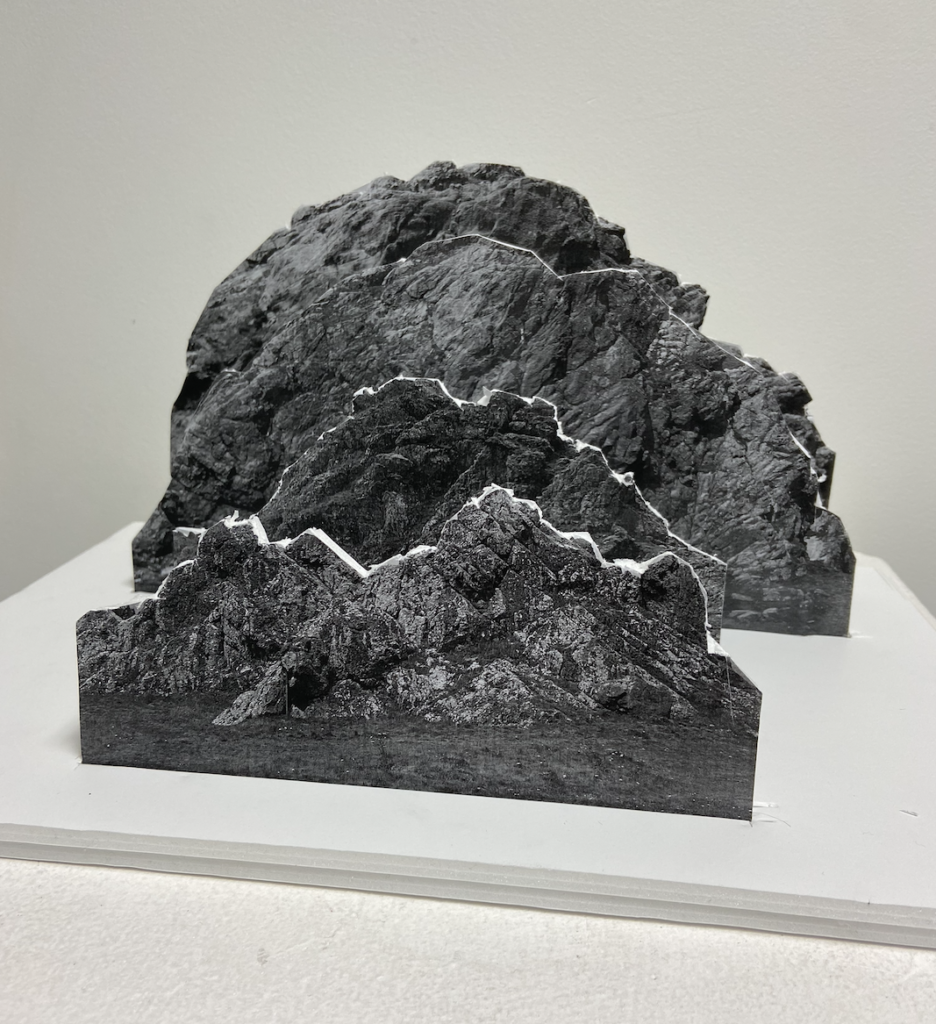
Photoshoot of sculpture
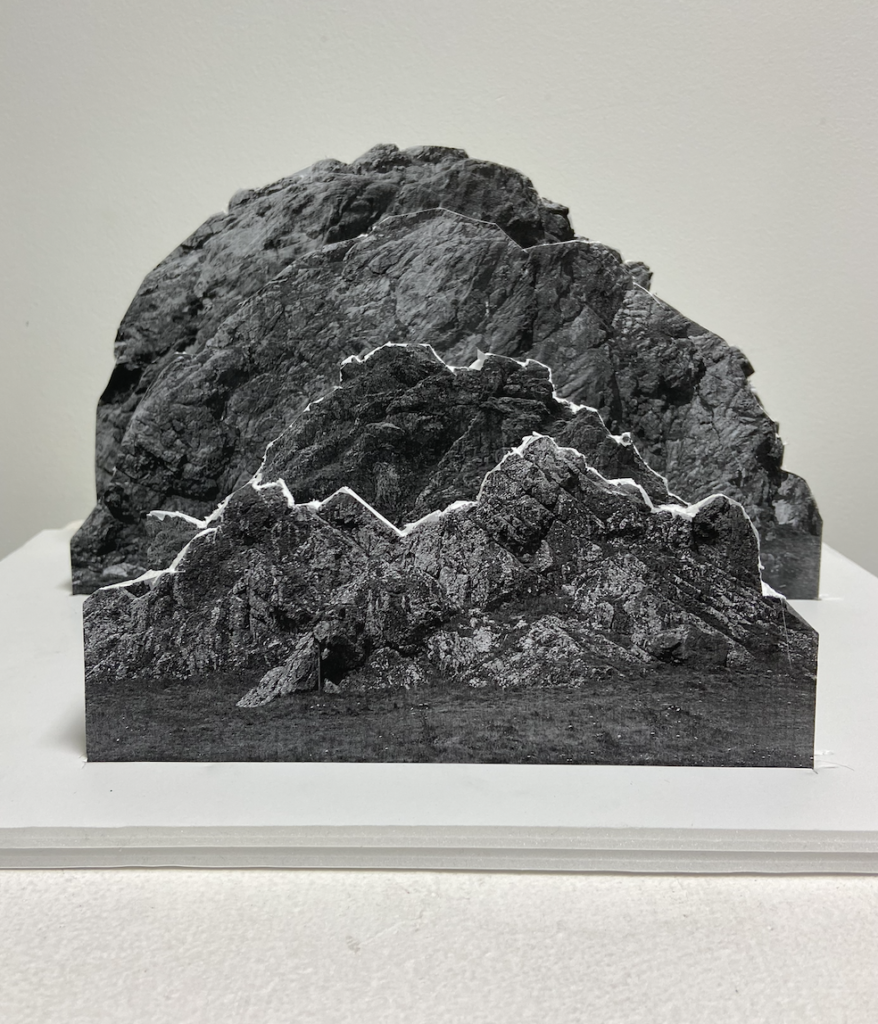
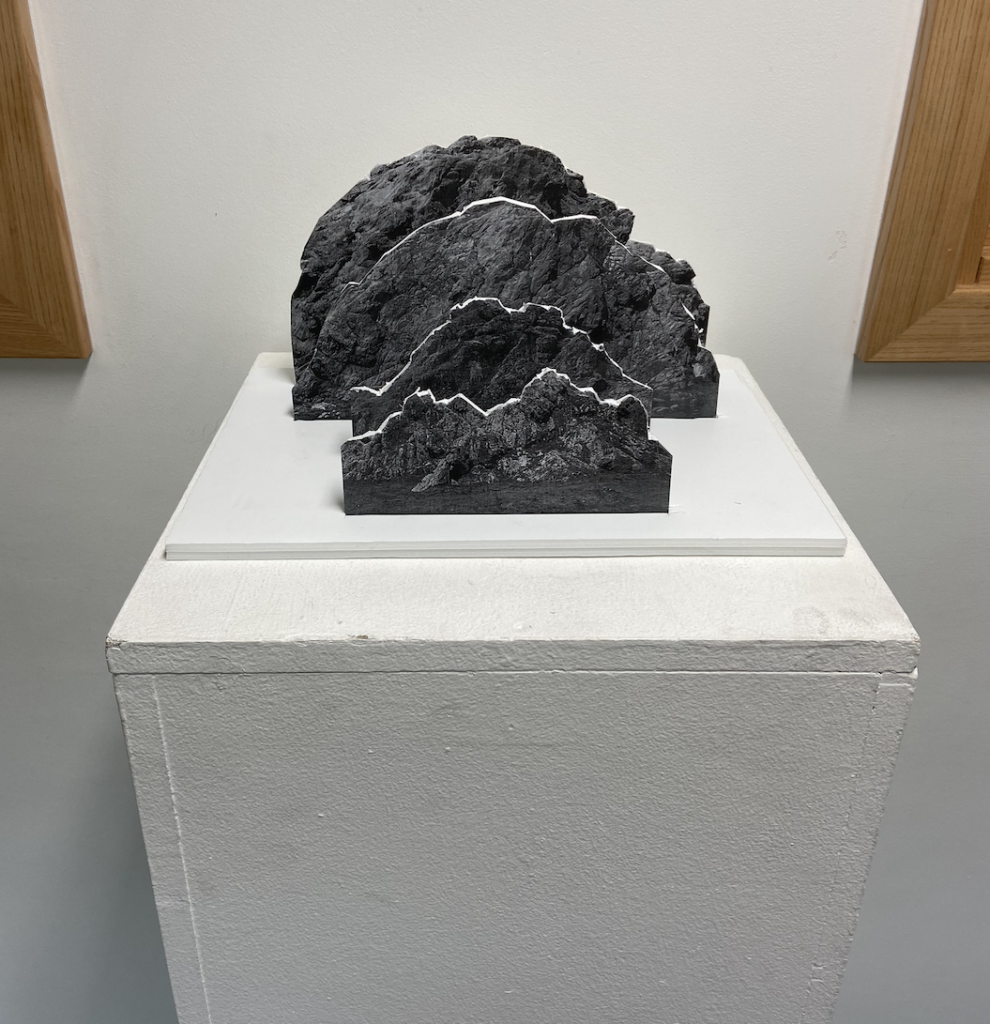
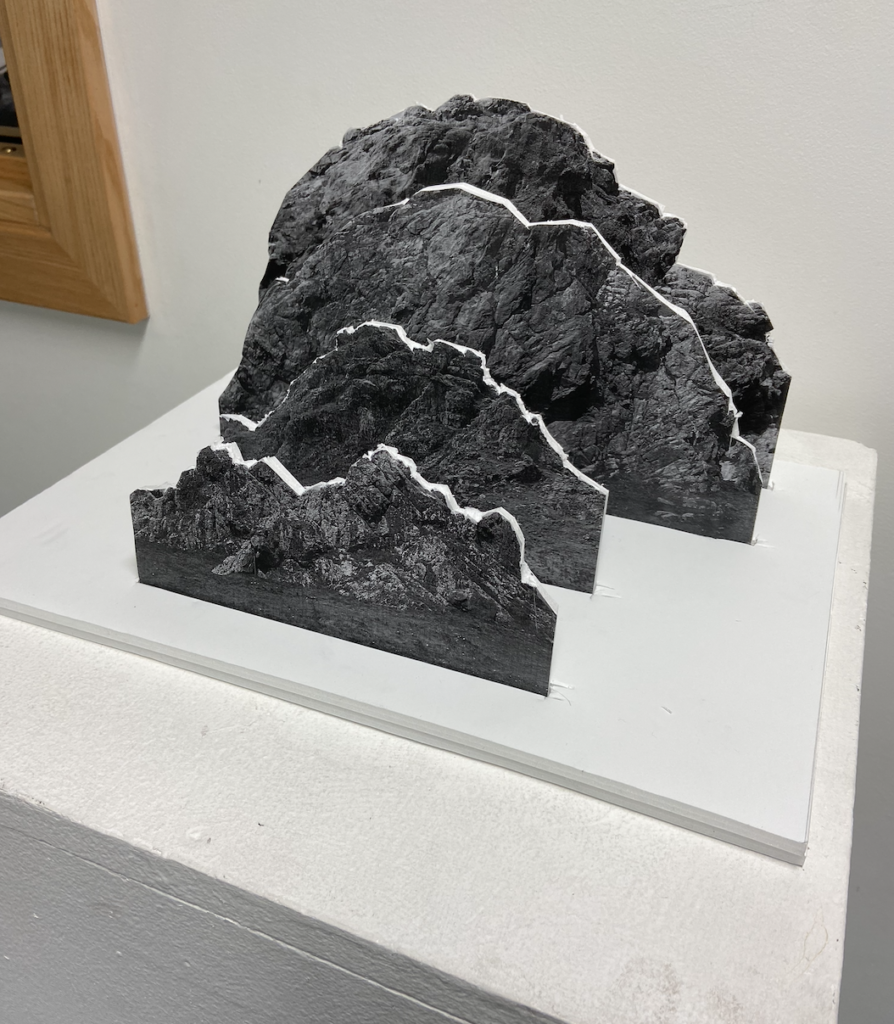
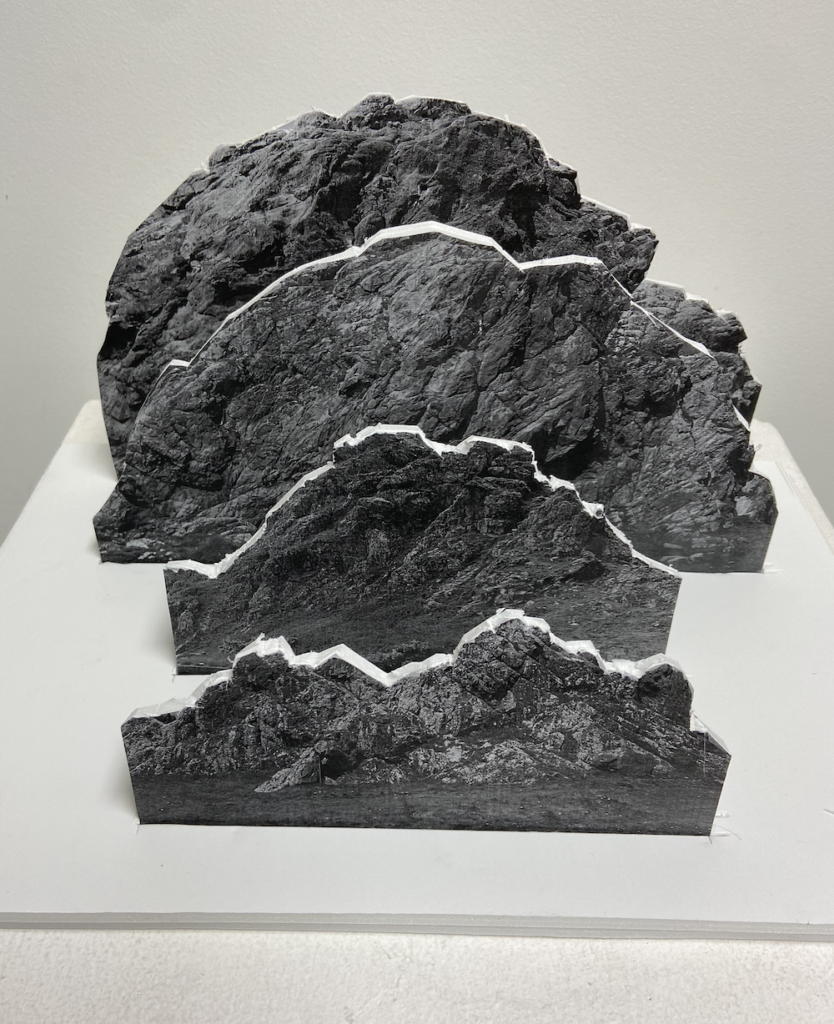
Here I have some photographs of my photo sculpture and I attempted to take it at different angles as to have a variety of outcomes. I really wanted to make it obvious that the sculpture was composed of many different images but to allow for them to also flow into one image, creating the optical illusion that I wanted to achieve much like Jody Powell’s.
Analysis and critique
Overall, I am very pleased with how my final sculpture turned out and I feel as if I was able to execute it well to the standard I set myself up with at the very beginning of my sculpting. The process was pretty straight forward and I was easily able to execute my piece to effectively showcase the illusion I was hoping for. I did come across a few areas where the background image was at a certain shape which I was slightly unhappy with, but I was able to fix this problem by just trimming the cut out to a more jagged shape as to still help it maintain the rock formation it had to begin with.
Something I would do differently next time, is I would have possibly changed the size of all the images slightly more just so everything was a bit more central. I would have also maybe picked a different image for the very back as the image I chose is incredibly jagged and isn’t as rounded as I hoped. I wanted the image in front of it to be central enough so that you could see the entirety of the other one behind it as well, but due to the formation of the rock, it gets slightly lost behind the one in front of it. Other than these critiques, I am very satisfied with how my final outcome turned out.