
Pictures for joiners –
Throughout my photoshoot of Bonne Nuit, I also took an array of pictures which I could use further on in my work to create joiners. I was able to select these from my contact sheets by flagging them (P). This would show the photos which I thought were of good quality to use then colouring them purple, so I knew that they were to be used for my joiners, and putting them into a separate folder on Adobe Lightroom.
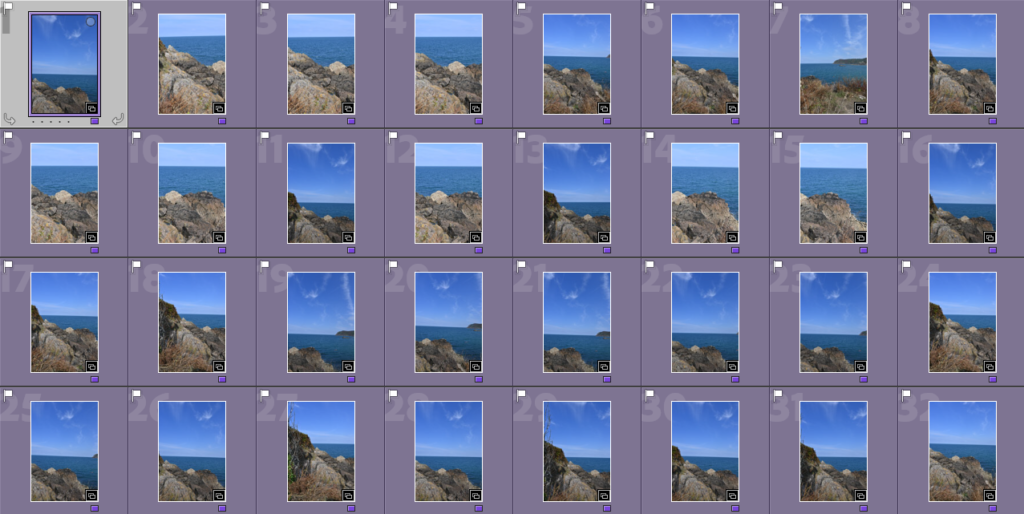
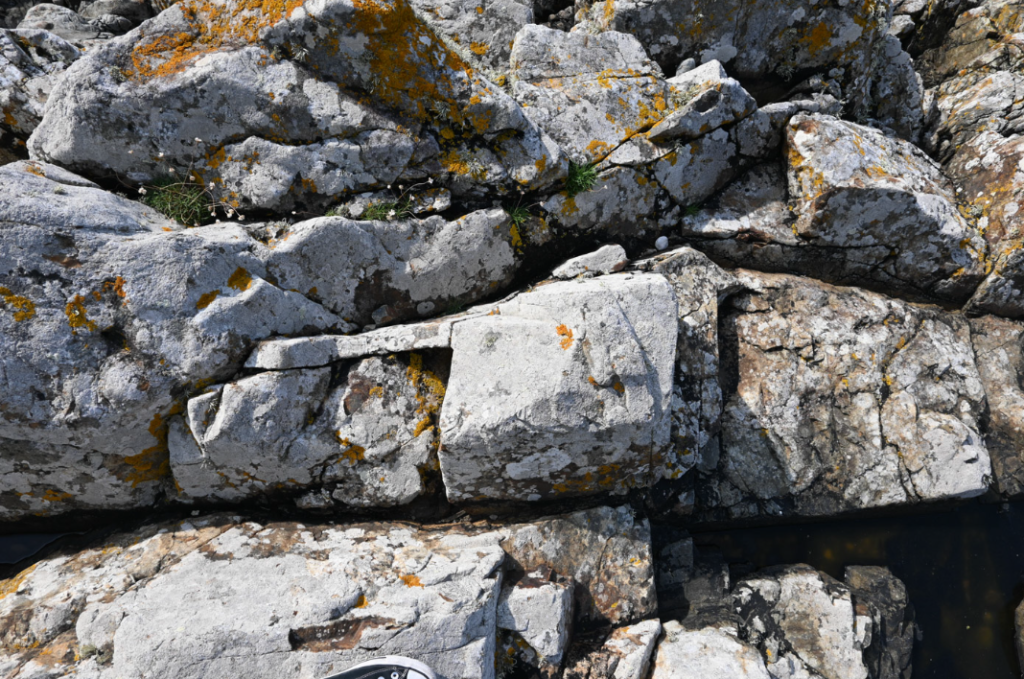
The first set of pictures which I took are of a rocky area to the side of Bonne Nuit in the headland, these turned out well due to the day I decided to go on as the weather was reliable and the sun wasn’t gleaming to the point where the photos would become overexposed. I liked this area because of the way the darker rocks, mainly to the left of all the pictures, because this creates a nice contrast between the two landscapes and how the horizon creates a gradient as it goes lighter at the bottom and darker at the top which creates a separation.
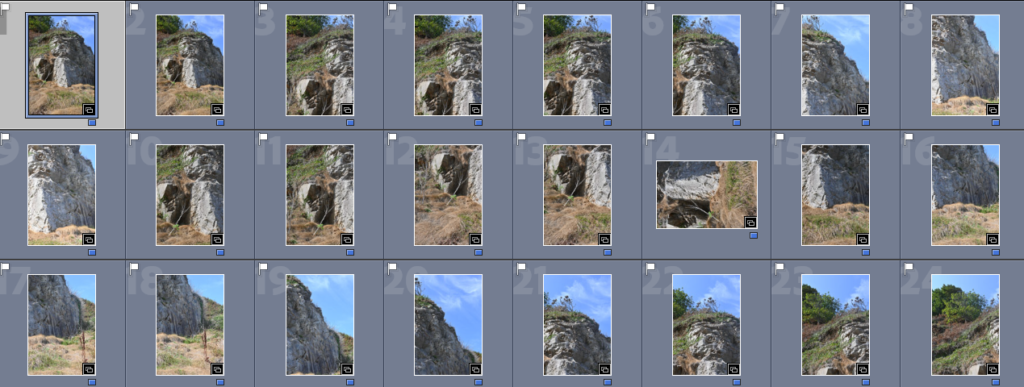
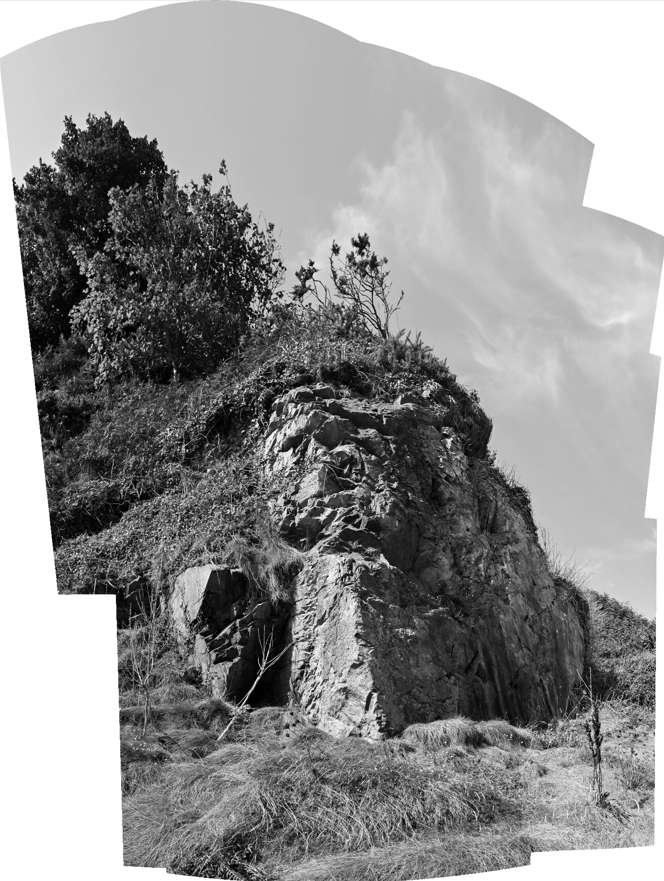
The second set of photos which I took to use for creating a joiner in photoshop consist of a large rock with a grassy headland above. I liked this as a possibility for a joiner because the rock had a variety of different textures on it which I thought would work well when creating a joiner, and the green of the headland contrasted nicely against the drier tones of the grass along with the brighter tones of the blue in the sky. If I were to take these pictures again I would make sure I took a larger selection so that I have more to work with.
Best shots –
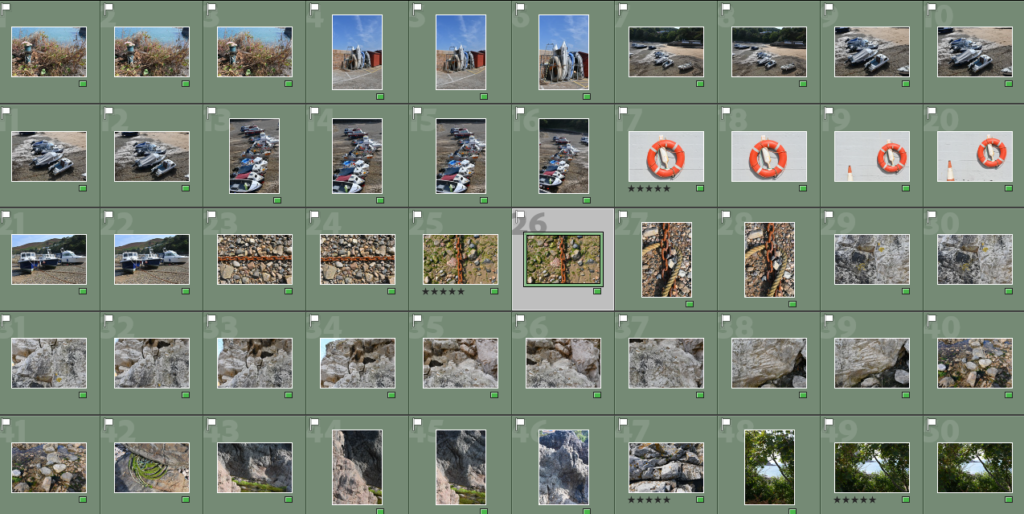
On Adobe Lightroom, I went through my photos which I thought were successful and sorted them by colour of:
– Red, for photos which I will not use.
– Yellow, photos which I think had potential but wasn’t sure on using them.
– Green, photos which I want to use and think are the images which turned out best.
As you are able to see in the picture above, around 50 of my photos I decided were successful and made them green. Then to help me decide and organise the final 4 images I used the star rating system, where I went through the photos in depth for a final time and gave 5 stars to the ones which I thought were excellent in quality, contrast, lighting, textures etc and these can be seen below.
My 4 final images –
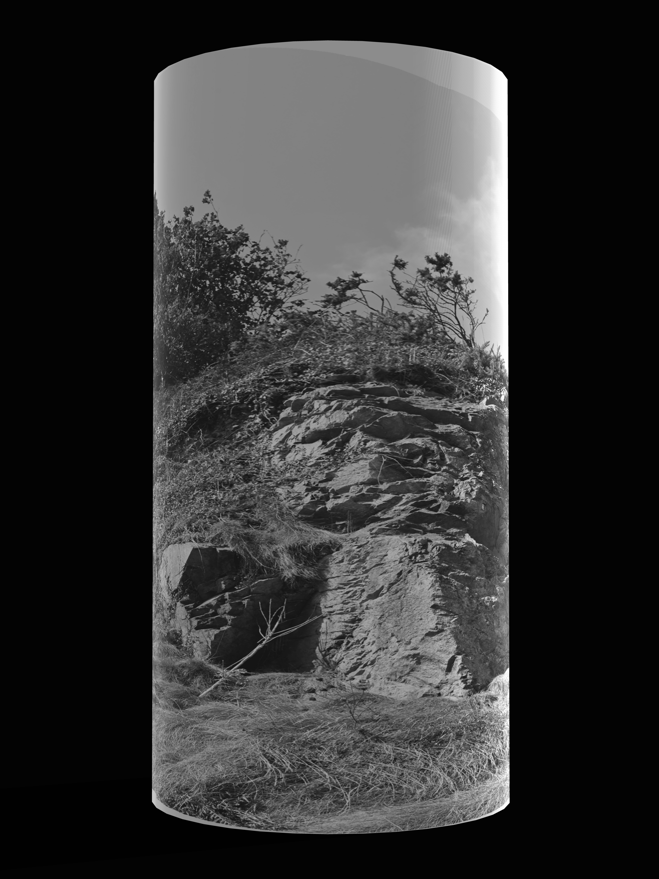
Joiners –
To create a secure basis for my joiners, I began by editing one picture to fix any lighting that may be over exposed and fix the colour balance too. Then I applied this to the other photos so that they would work well together, I also put one joiner in to black and white so that I could experiment with it.
Joiner 1 experiments –

Joiner 2 experiments –
Great, that you engaged in summer project and made some new images that you could do further joiner experiment with.