Use this simplified list to check that you are on task. Every item on the list represents one piece of work = one blog post. It is your responsibility as an A-level student to make sure that you complete and publish appropriate blog posts each week.
SUMMER TERM
WEEK 1: 20 – 26 June
1: CONTEXTUAL STUDY: Research the concept of Jersey’s Geopark – Mon 11 July
2: ARTISTS REFERENCES: David Hockney’s Joiner’s – Mon 4 July
WEEK 2: 27 June – 4 July
1: EDITING: Photoshoot from school trip
WEEK 3 – 4: 5 – 15 July
1: EXPERIMENTATION: Produce photo-collage: joiner
2: EVALUATION: Select 2-3 final outcomes and evaluate
3: FINAL OUTCOME: Choose one joiner and one single image and save high-res file into this folder.
M:\Radio\Departments\Photography\Students\Image Transfer\PRINTING – JOINER\A3
AUTUMN TERM
WEEK 1: 6-11 Sept
1. HISTORICAL CONTEXT: Still-life
2. ANALYSIS: Key painting/ photograph
WEEK 2: 12-18 Sept
1. RECORDING: Still-life images in studio
2. EDITING: Photoshoot from studio still-life
WEEK 3-4: 19 Sept – 2 Oct
1. ARTIST REFERENCES: 3D photo-sculpture
2. EXPERIMENTING: 3D Photo-sculpture
3. DEVELOPING: Installation of 3D photo-sculpture
4. FINAL PRINTS: Installation of 3D photo-sculpture
5. EVALUATION: Installation of 3D photo-sculpture
WEEK 5: 3 – 9 Oct
1. ARTIST REFERENCE: SJPA Collections and Emile F Guiton
2. EDITING: Photoshoot from Green Island
3. ESSAY: What are archives? (Deadline: Wed 12 Oct)
WEEK 6-7: 10 – 21 Oct
1. CONTEXTUAL STUDY: Photo-zine research
2. DEVELOPING: Photo-zine design and layout
3. FINAL PRINTS: Save into folder here:
M:\Radio\Departments\Photography\Students\Image Transfer\YR13 MY ROCK
Remember to include a range of sizes
A3 / A4 / A5 and black and white images too
File Handling and printing...
- Remember when EXPORTING from Lightroom you must adjust the file size to 1000 pixels on the Short edge for “blog-friendly” images (JPEGS)
- BUT…for editing and printing when EXPORTING from Lightroom you must adjust the file size to Short edge for “high resolution” images (JPEGS) like this…

- A5 Short Edge = 14.8 cm
- A4 Short Edge = 21.0 cm
- A3 Short Edge =29.7 cm
This will ensure you have the correct ASPECT RATIO
WEEK 8-9: 31 Oct – 11 Nov
1. PHOTOZINE: Print, present and evaluate
2. PHOTO-SCULPTURES: Complete, photograph as 2D image and evaluate
3. FINAL PRINTS: Mount, frame and present – most include ‘joiners’, single, diptych, triptych, grid/ sequence of images
4. VIRTUAL GALLERY: Blogpost with an evaluation – include final prints above + 3D Photo-sculptures on plinths
5. BLOG POSTS: Complete, improve and refine – use Checklist here and Go4School tracking sheet.
DEADLINE: Fri 11 Nov
We begin Personal Study Mon 14 Nov!
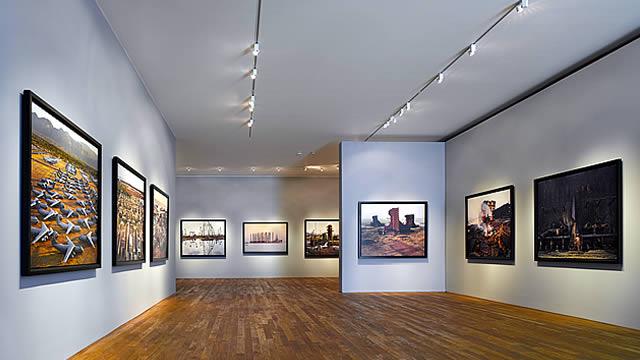
Making a Virtual Gallery in Photoshop
Download an empty gallery file…then insert your images and palce them on the walls. Adjust the persepctive, size and shape using CTRL T (free transform) You can also add things like a drop shadow to make the image look more realistic…


…or using online software
How I did it:
Step 1: Go to www.artsteps.com
Step 2: Sign in / up.
Step 3: Create.
Step 4: Create your own location or choose a template.
Step 5: Upload your images, put them in your exhibition, name it and give it a description.
Step 6: Present / view your Exhibition.
YOUR FINAL EVALUATION SHOULD CLEARLY SHOW 3-5 POSSIBLE FINAL OUTCOMES , INCLUDING YOUR PRESENTATION METHOD
- sequencing of images
- grouping of images -grids , triptych, diptych, dioramas, predellas
- sculptural / multi-media approaches
- framing methods
- blog (show examples of frames / borders + process)
- clarity of final outcomes—which images are your final outcomes?
- coursework round – up and evaluation

