
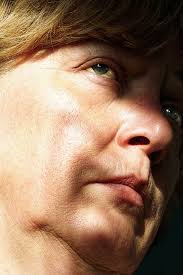
Close-up photography refers to a tightly cropped shot that shows a subject (or object) up close and with significantly more detail than the human eye usually perceives.
Tips for creating a better close-up include using a higher aperture for a soft-focus, and using a zoom lens in order to really create that close-up effect, whilst keeping clarity. Also, a lot of photographers experiment with creative cropping techniques to create an extreme close-up effect. I plan to experiment with this in my editing after my photoshoot.


Satoshi Fujiwara
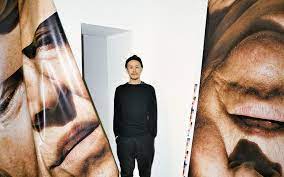
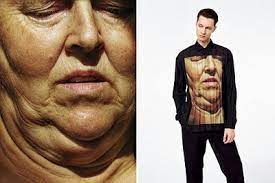
Satoshi Fujiwara is a Berlin-based artist and photographer. He initiates a pressing and critical action on the gazer, through the focal length set from portrayed subjects and the heterogeneous definition of his photographs, diverting from the standards of photo-journalism and an exclusively documentary dimension, thus producing a new emerging lexicon.

It was through a career in advertising, working as a graphic designer and planner, that Satoshi Fujiwara, born in Japan and now living in Berlin, became interested in how visual information and photographic images influence people and society, and how he could attempt to redefine photography to make cross-sectional inquiry within his artistic practice. Since 2015 his work has been exhibited internationally at institutions such as Fondazione Prada, Milan; La Boverie, Liege; 21_21 DESIGN SIGHT, Tokyo; and Deutsche Oper, Berlin.
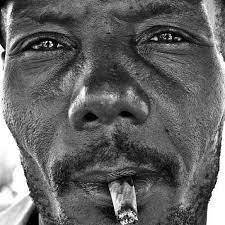
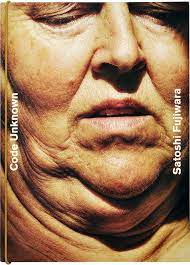
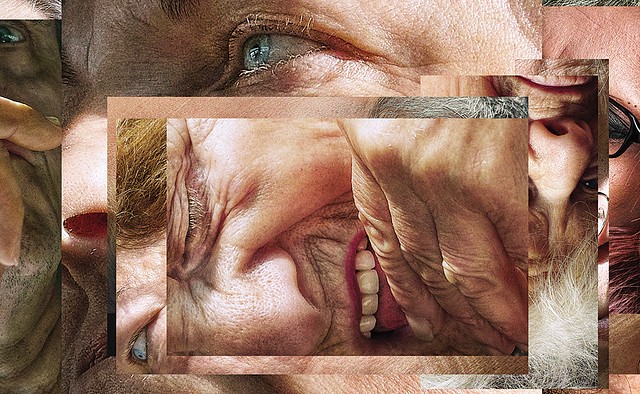
Satoshi’s Code Unknown series takes its cue from the film of the same title directed by Michael Haneke, whom Fujiwara admires. In this series, Fujiwara surreptitiously photographed subway passengers and limited the “codes” for reading the resulting images by framing and digitally processing them and making the subjects’ identities nearly illegible. Fujiwara’s bold series is also an attempt to resolve the contemporary photographic problem of “portrait rights.”

He has also participated in several art and photography fairs, art festivals, and biennials such as Biennale de l’Image Possible, Liège; Photo London, London; Paris Photo, Paris; Unseen Photo Fair, Amsterdam. In parallel to those projects, the artist has also done several collaborations such as Issey Miyake and Deutsche Oper Berlin, as well as Balenciaga. Satoshi has also published several books, including: Code Unknown, published by IMA photobooks, 2015; 5K CONFINEMENT, Luigi Alberto Cippini, published by la Fondazione Prada, 2017; HORSES, Satoshi Fujiwara & Yngve Holen, published by Walther König, 2018.
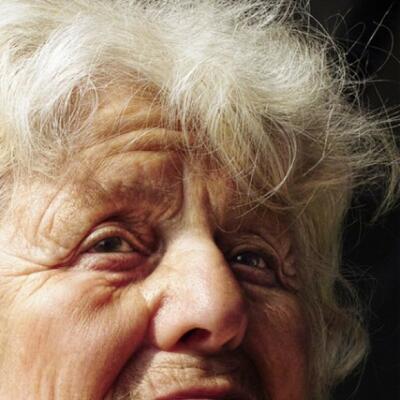
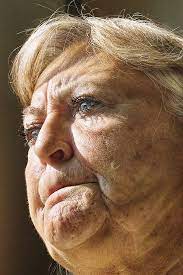
This image is part of Satoshi’s Code Unkown collection. The light in this image is natural due to the photo being taken unknown to the subject. The light comes from the left, creating a brighter side of the subject’s face. On the right side of the subject’s face, there is a soft shadow, which creates gentle contrast in the image. This shadow bleeds over to the left eye, and slightly into the deep parts of the left side of the face. The subject’s white hair contrasts with the black background, which creates a natural focal point. The fact this image was taken without the subject knowing could have been done to show the real versions of people, without posing or editing. This concept creates an authentic image, which shows a sense of vulnerability. – this is seen throughout Satoshi’s “Code Unknown” series.
My up-close images – photoshoot plan
| Genre | Location | Props | Lighting | Subjects | Shot types and modes on the camera | |
| Identity – portraits | Studio | Camera, tripod, and lights | Artificial – flashlight | People – my friends | Extreme close-ups – manual focus, macro, and portrait mode |
Contact sheets
After taking my pictures, I put them into lightroom classic. I created a collection titled Up Close for them to go in, then flagging by best and worst images using the P and X tool. I then refined my selection even more using colour coding for my final images. After this, I edited my images using lightroom Classic also. I wanted to keep my editing natural, in the style of my artist above.
In this shoot, we had a bit of trouble with lighting – we found that a lot of our images were under or over-exposed at first. After tweaking camera settings and moving lights, as well as turning them down and sometimes up.

One of my contact sheets – we had quite an orange lighting at first, but turning the temperature of the lights down and increasing their intensity helped this. I was experimenting with different zooms and models here too.

Another one of my contact sheets – using P and X to find my favourites, and removing those with over/underexposure. Also removing pictures with too high temperature or blurry images. We had an issue with blurriness at first, so we used a tripod to combat this as the photo shoot went on.
Best Images
Editing
For my editing, I used lightroom classic in develop mode.
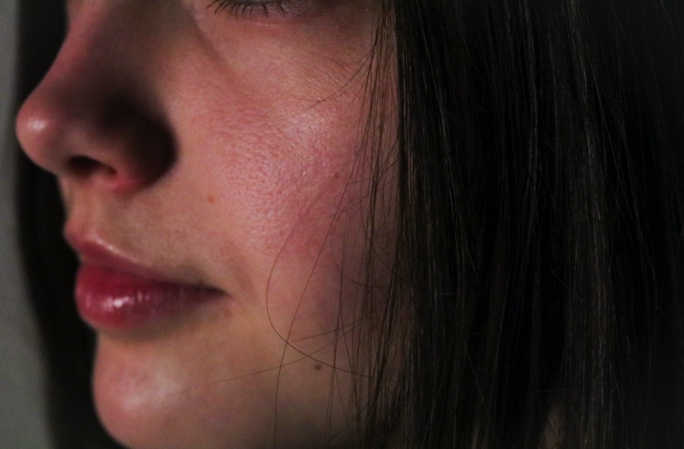
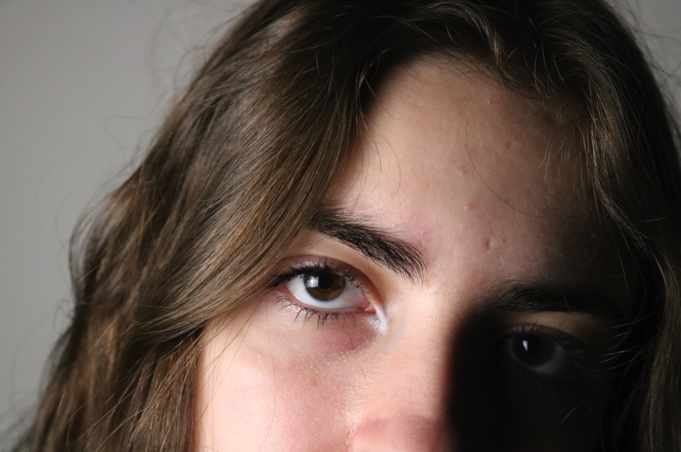
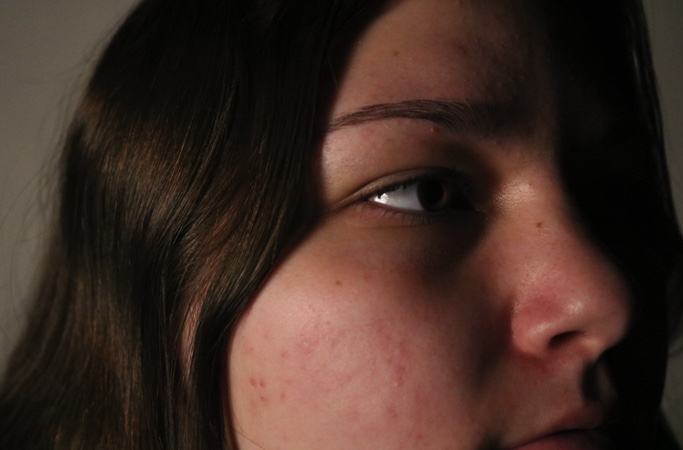
My final edit – I like how my use of cropping in this image makes the composition more abstract, focusing on an unusual angle that isn’t seen in my other images. My editing increased the brightness effectively I think, which was needed to help the initial underexposure.


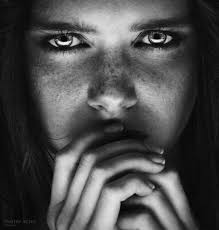
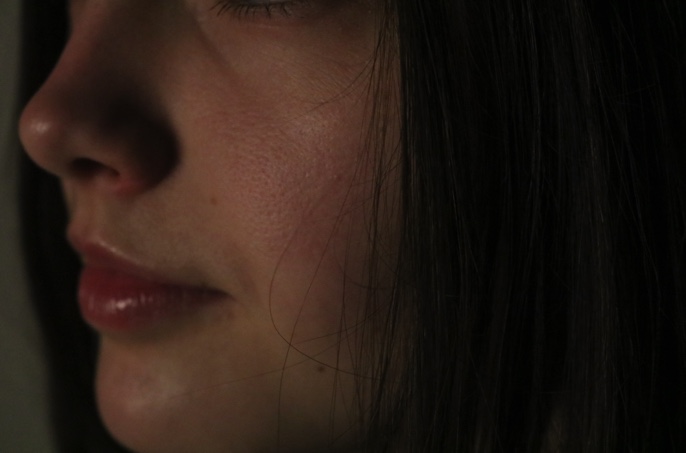
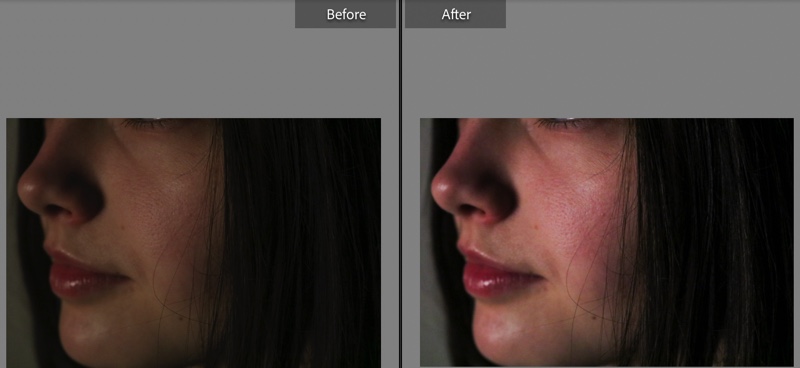
I think this is my most successful edit – I cropped it a lot which added depth and more interest to the image. I love the way the light falls on the right of the subject’s face, with the left strongly highlighted. I think my edit was quite successful, which added needed brightness to the tones in the image, which was originally quite dark and underexposed.
In this edit, I firstly cropped the image, then added contrast, highlights, and blacks into the image. Cropping the image created the more close-up effect I was looking for, and my editing techniques added depth.
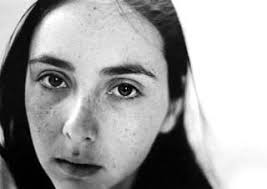
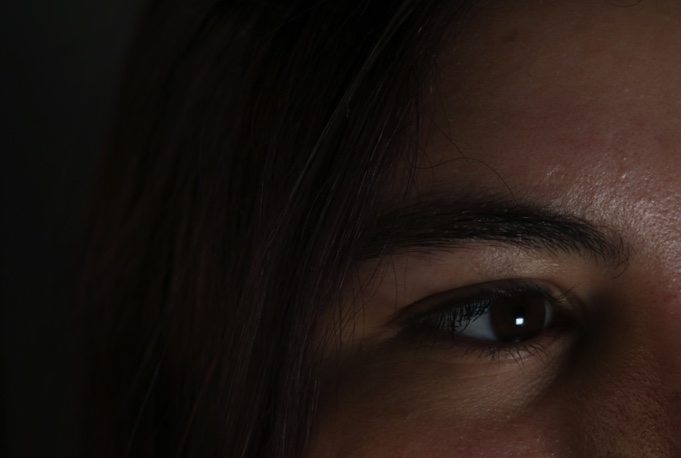
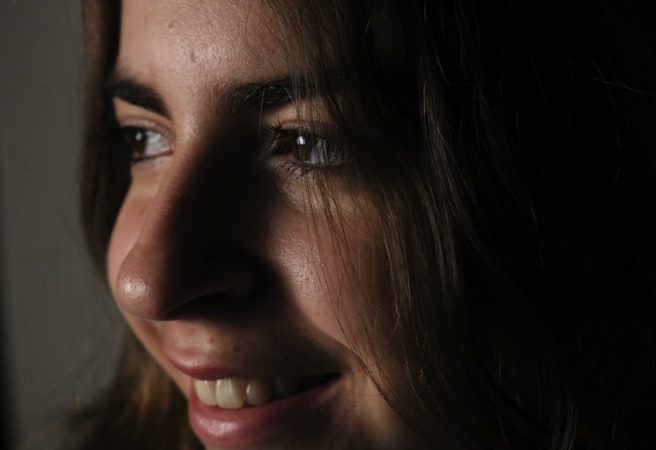
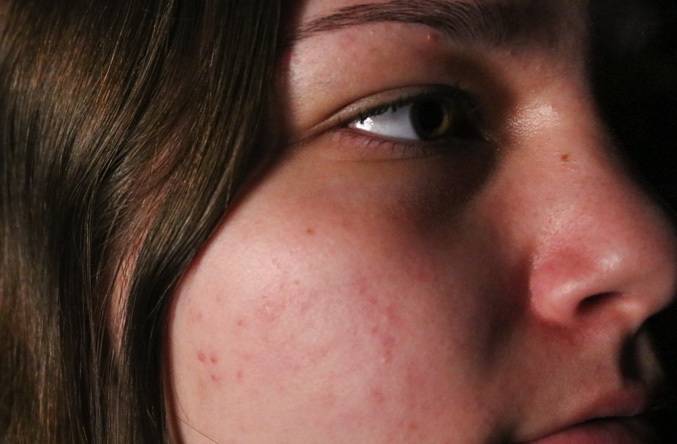
In this edit I wanted to keep it quite natural – I liked the shadow to the right and wanted to keep that. In my editing, I brightened the image by turning the exposure up, turning highlights up, and increasing clarity.

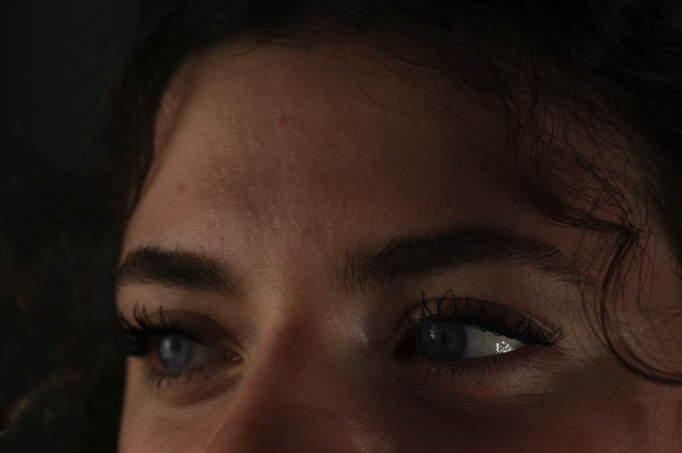
Again in this image, I liked the shadow to the right – however, the image was a little dark, to begin with, so I brightened it and added saturation and grain to bring out the subject’s eyes.

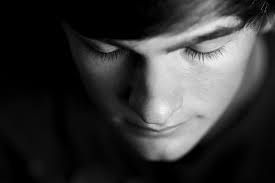
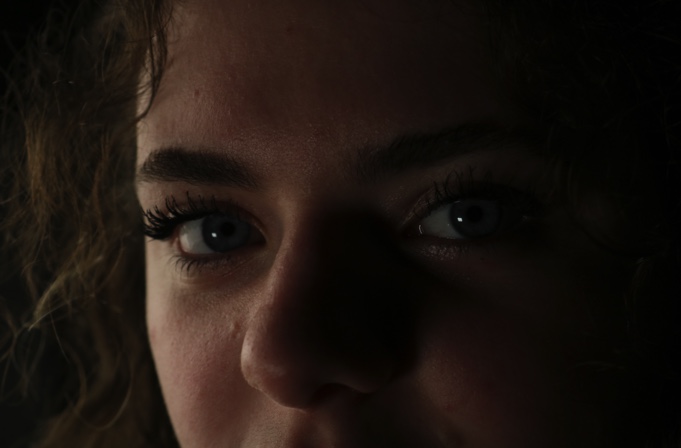
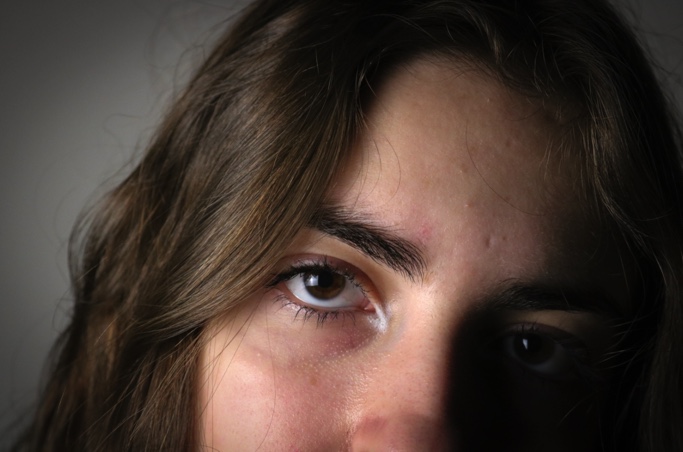
In this final edit, I wanted to increase light tones and highlight my subject’s hair and eyes. I did this by increasing whites, exposure, and highlights, and adding grain and a little saturation.
Overall, I think this shoot could be improved. I think our pictures are all quite similar which is quite difficult to edit, but with cropping, this was easier. – to combat this, in the future I will use different angles and move around my subject quicker when taking images to produce more varied images.