Camera, tripod, lights with flash, ring light, umbrella light, box light and transmitter
3/4, Headshot, close up, side profile
Artificial
Identity, portraiture
My photoshoot plan
Contact Sheets
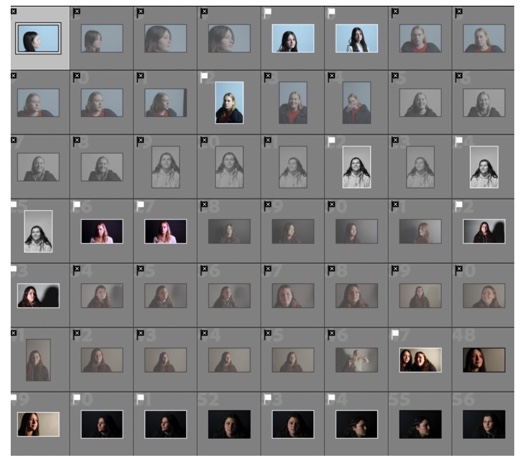
One of my contact sheets for this shoot – I uploaded my pictures to Lightroom classic, added them to a new collection for the shoot, and used the P and X tools to flag and reject my images. Some of my images were shaky in this shoot, so to combat this in the future I would use a tripod to ensure clear and steady images. – I used a portrait lens on my camera for some of these pictures, which I found helped for the best focus and narrow depth of field.
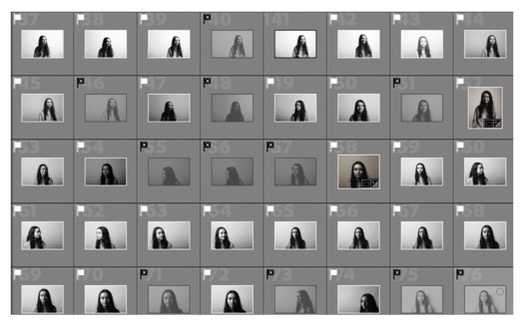
Another one of my contact sheets – in this shoot I had slight trouble with overexposure in my images, but I fixed this by turning lights down, editing post-production, and turning ISO down to around 100 for this shoot.
One point lighting
More dramatic one point lighting
More soft one point lighting
Examples of one-point lighting
One point lighting in photography means that light is only coming from one source. A single source of light can have a very natural, or depending on the posing of the subject, sometimes dramatic look that will draw people’s attention to the single lighted person or surface. One-point lighting, depending on its positioning, can also create a harsh shadow. However, this also depends on the brightness of the light being used, whether it’s natural or artificial.
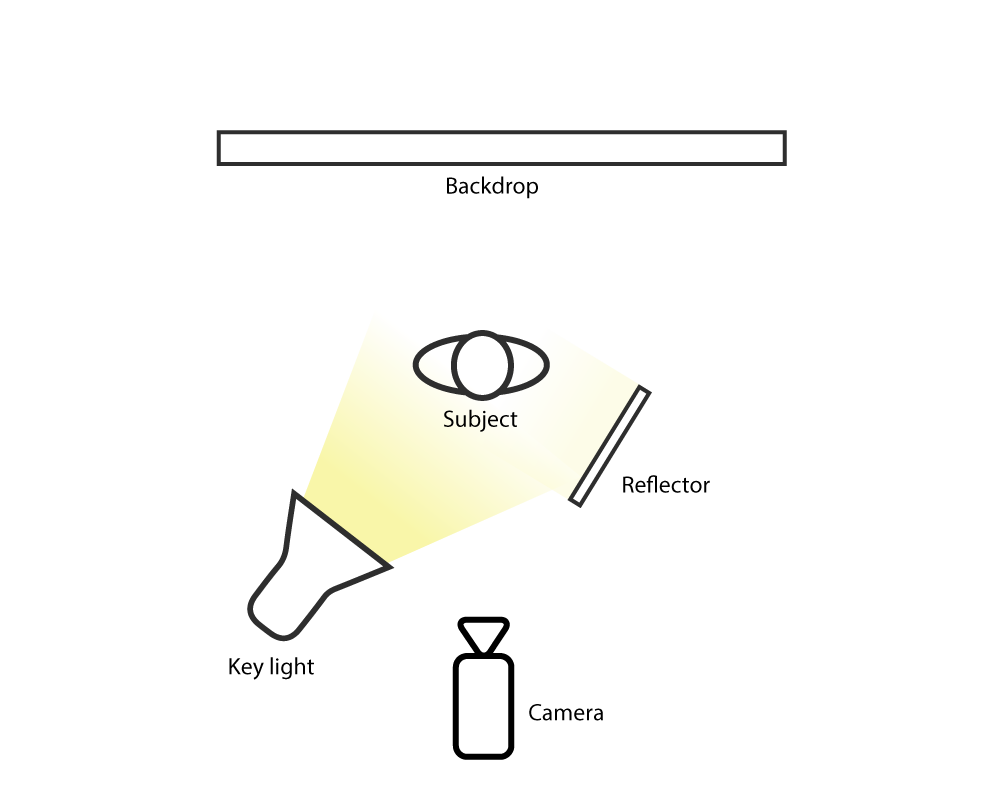
A one-point lighting setup
My examples of one-point lighting images
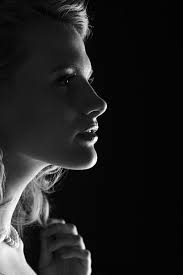
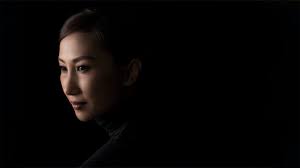
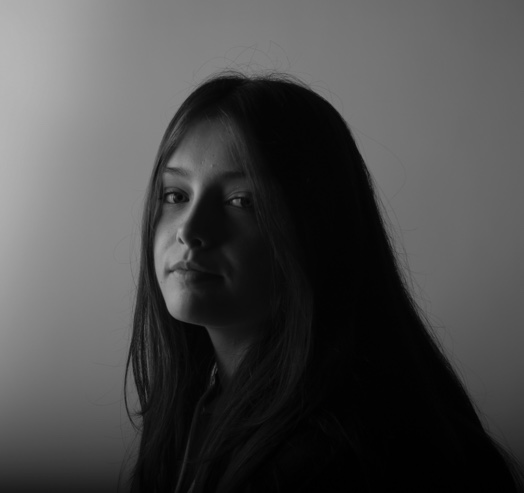
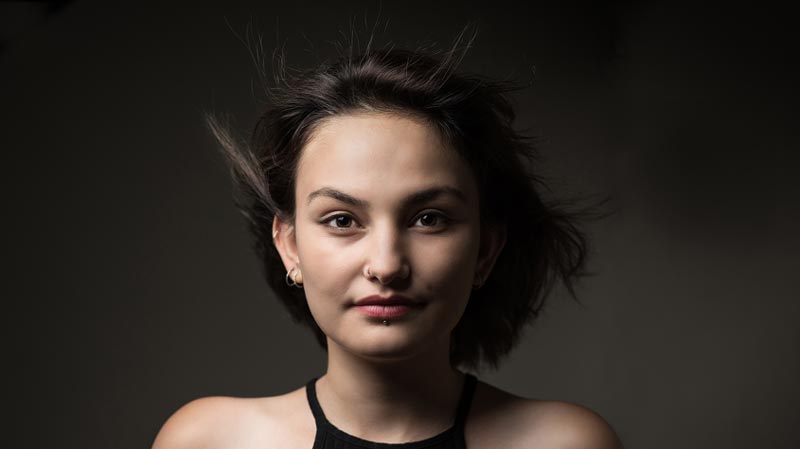
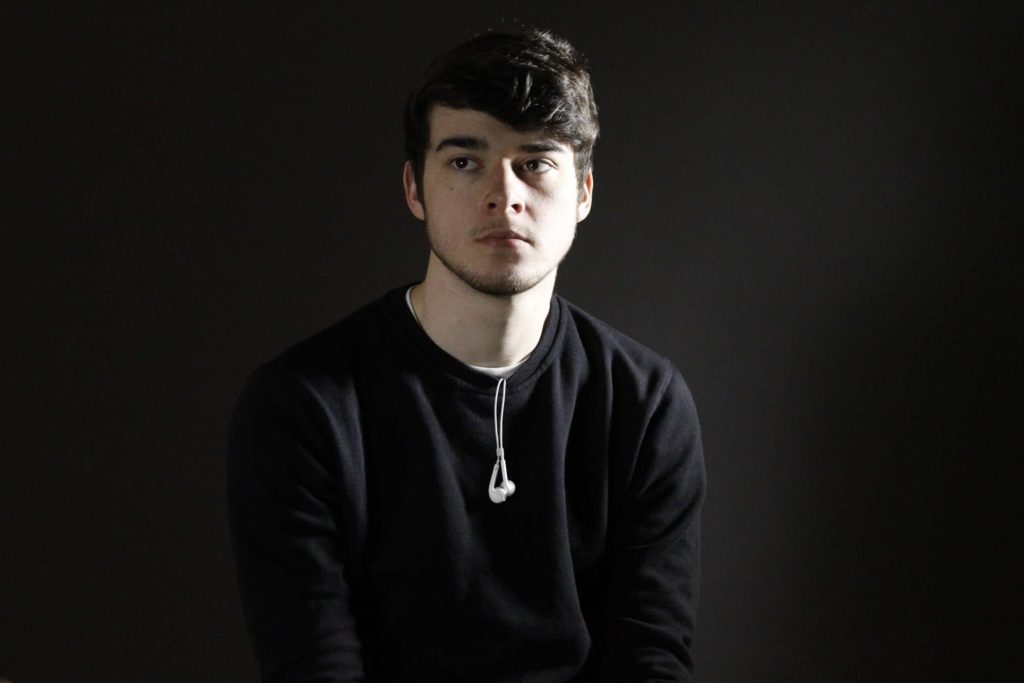
This is my first edited one-point lighting example. I have edited this image by increasing blacks, contrast, vignette, and adding grain. The light in this image is coming from the right, which illuminates the subject’s darker hair and eyes. The use of one-point lighting in this image helps to create high contrast between the areas of light and dark, creating a focal point of the subject’s face.
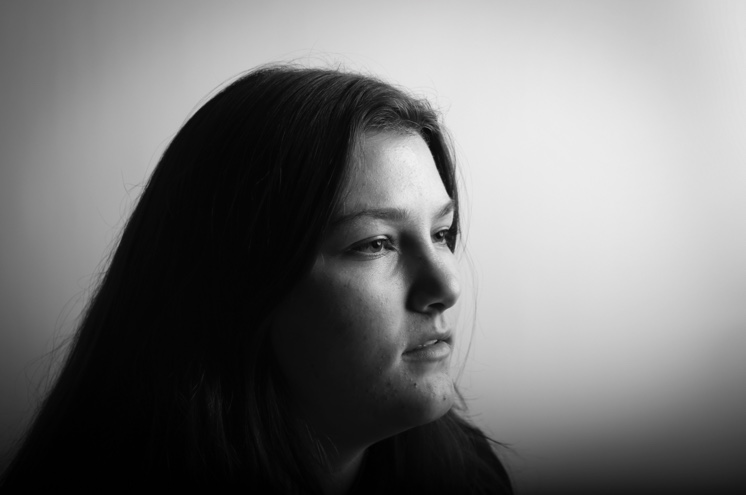
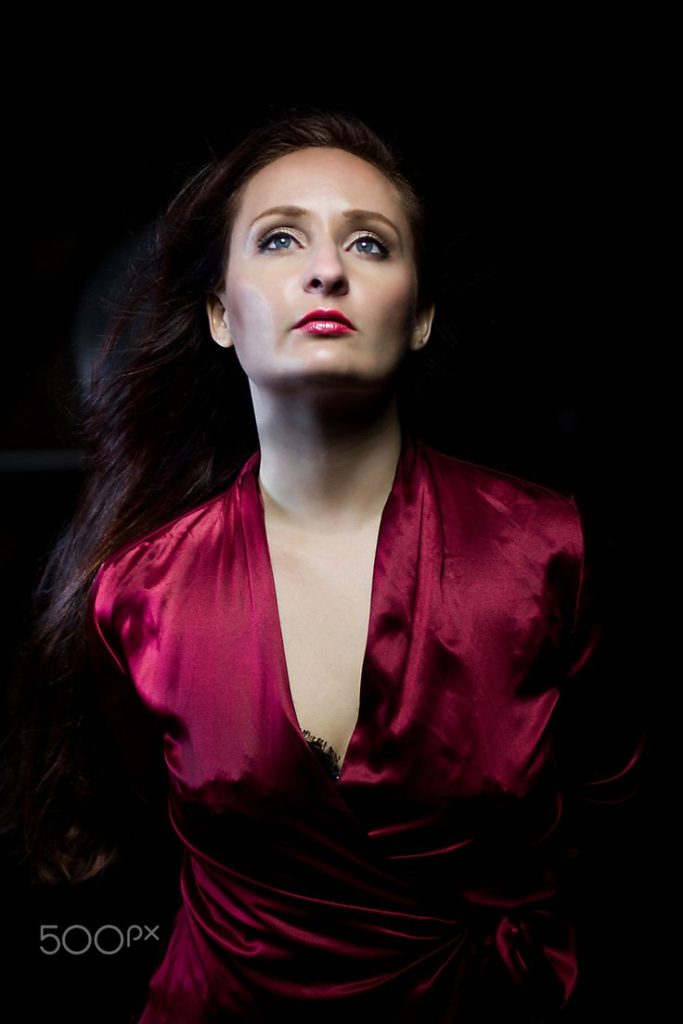
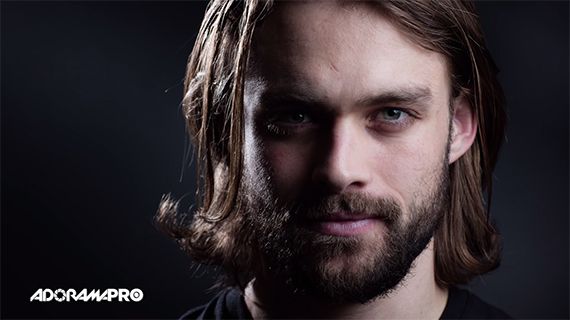
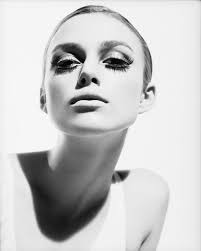
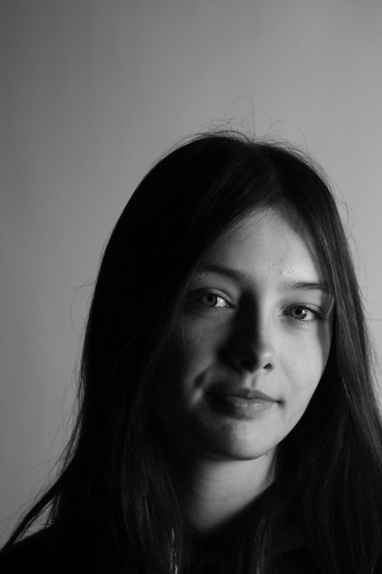
Edited – this use of one-point lighting creates Rembrandt lighting. The lighting is coming from the left-hand side of this image, with the subject facing towards the light, turning their head towards the camera. Light seeps into the right-hand side but is mainly on the left on my subject’s face. The faint triangle of light on the right side of the subject’s face is a key feature of Rembrandt lighting. The subject’s hair and body are mainly dark, which helps to create a high level of contrast in the image – this contrast helps to define the model’s features. For example, her nose is highlighted on the left but then contrasted to the right, as well as her eyes and the darkness of her hair.
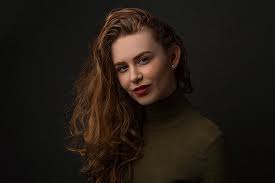
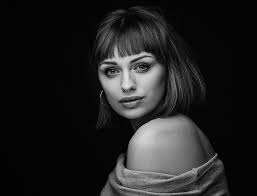
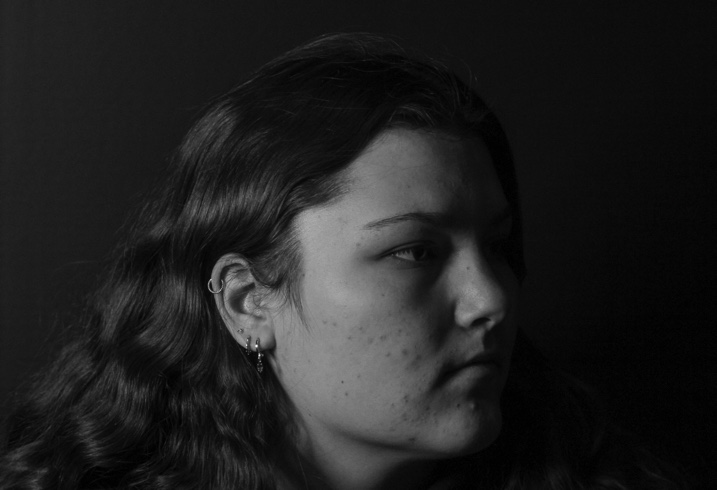
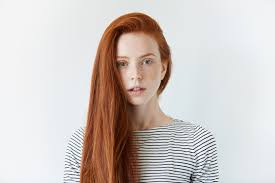
Edited – the light in this image comes from the left, which helps to illuminate the curly hair, and jewelry of the subject. The contrast in this image, increased by my black and white editing, helps to highlight the subject’s jawline, as well as her nose and eyes. In my opinion, the focal point in this image is the subject’s hair and ear, because of how it’s illuminated by the light coming from the left corner of the image.
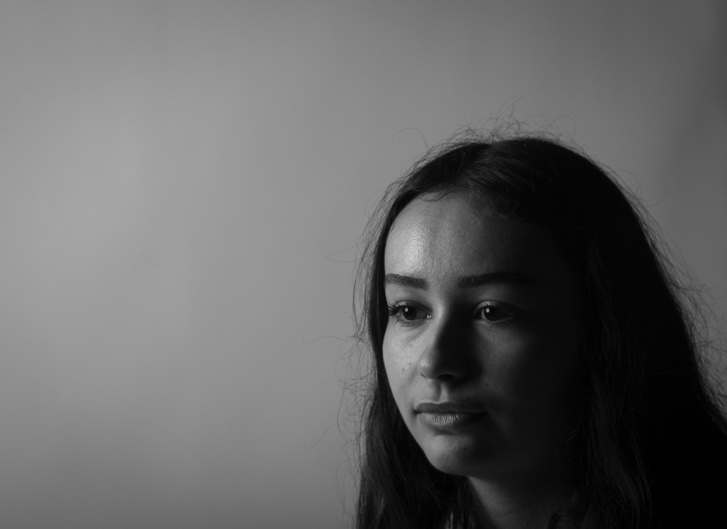
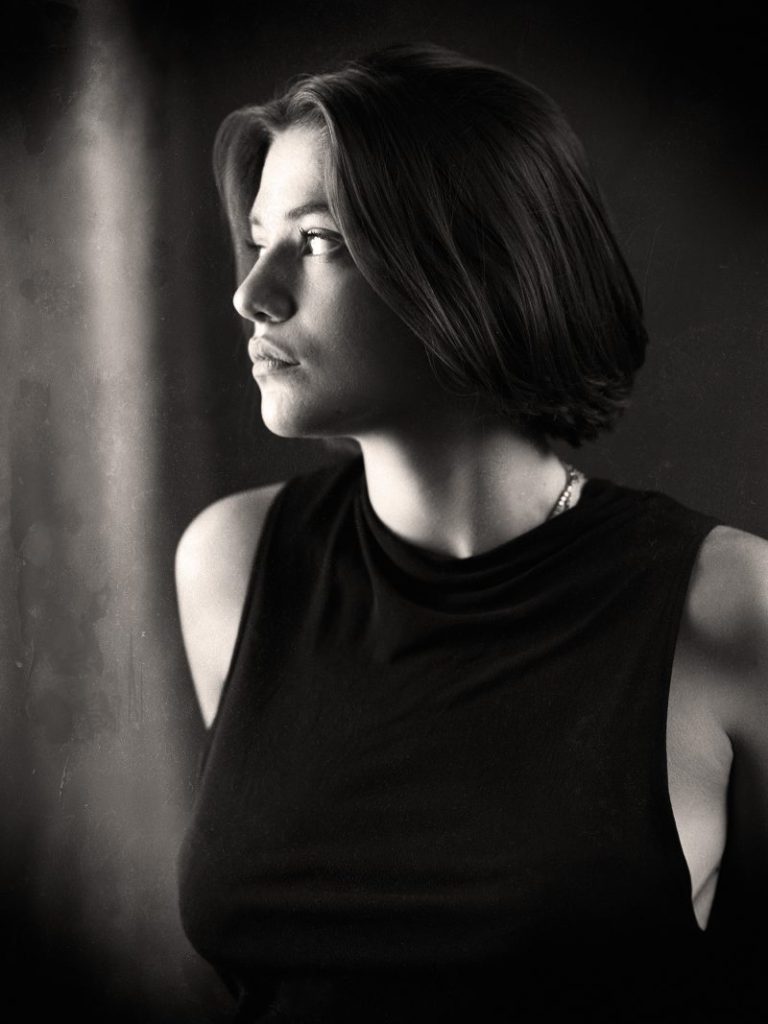
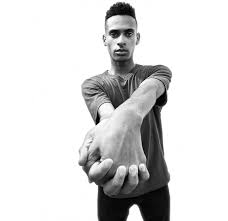
Edited – the lighting in this image is coming from the left to the left of the subject’s face. This placement creates highlights on the left side of the face and deep contrast to the right. These differing tones create a focal point of the subject’s eyes. Here, the light and dark tones meet and bring the image together, evening out the composition.
Two-point lighting
Rembrandt
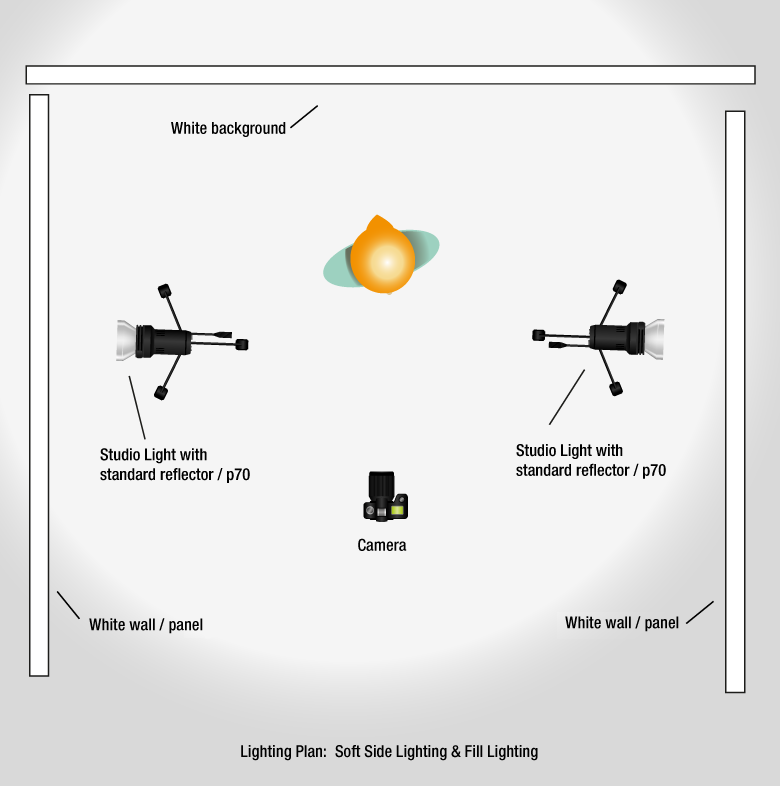
Two-point lighting in photography is the use of two sources of lighting when shooting. This can create, soft even lighting, illuminating the subject’s features well. The crucial concept to understand when using 2 point lighting is that the light sources point directly towards each other and the subject is placed between the two. On plan, there is a straight line between light source 1, the subject, and light source 2.
High-key lighting
High-key lighting is a style of lighting for film, television, or photography that aims to reduce the lighting ratio present in the scene. This was originally done partly for technological reasons since early film and television did not deal well with high contrast ratios, but now is used to suggest an upbeat mood.
A mood – board of high key, two-point lighting
High-key lighting is often used in commercials for food and beauty products. The brightly lit scenes often suggest an upbeat mood and positive message. This look can also imply truth and openness, making it effective for video interviews or training videos.
A two-point lighting setup
My examples of two-point lighting and high-key lighting images
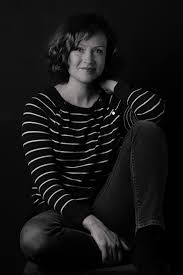
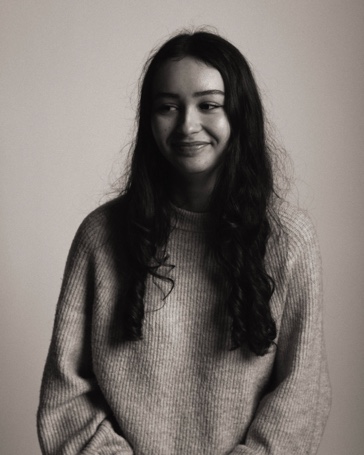
Edited – my favourite image from this shoot. I think this image works really well due to the framing and composition, but also the lighting. There are two lights on either side of the subject, both about the same strength. This creates even light on the subject’s body, but more contrast and shadow on the left of the subject’s face. The light background and jumper contrast with the subject’s darker hair and the high shadow in the face.
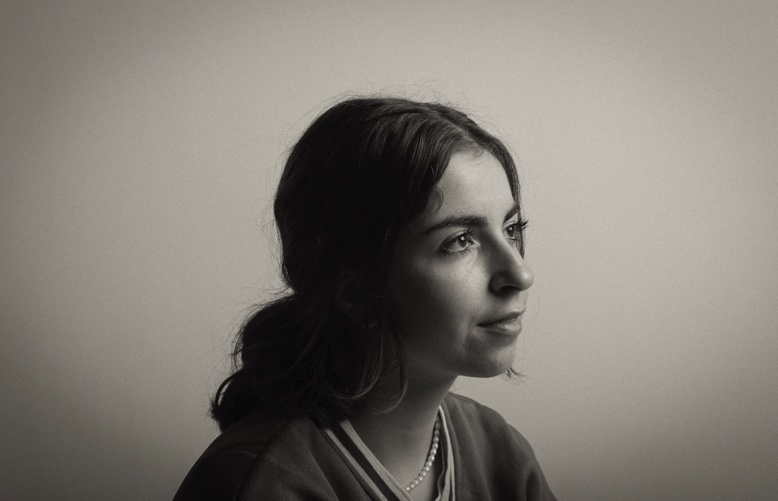
Edited – in this image, there is light coming from the middle, and also to the side of the subject. The light in this image is soft but slightly harsher on the subject’s cheek and hair where the subject is facing towards the harsher light.
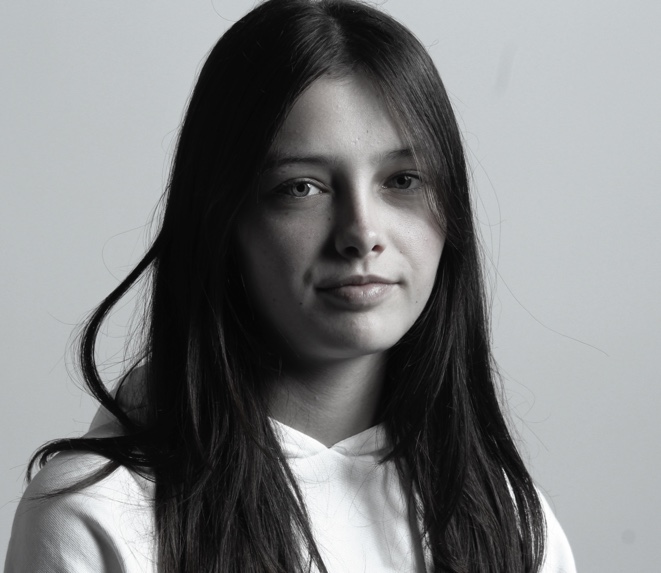
Edited – this is a high key lighting image with two-point lighting, with lights used on either side of the subject. The light on the left is dimmer, which adds shadow and depth to the image. The right light is brighter, adding highlights to the right side of the subject’s face, creating contrast in the image.
Edited – this use of two-point lighting creates a Rembrandt lighting effect, to the left of the face mainly. This was done using a dimmer light diagonally to the left, and brighter light to the right. This creates a shadow on the nose to the left, the eye, and the hair intensely on left, and more softly to the left eye and jaw.
Edited – this image was created using light in front of the subject, and light slightly to the left too. This creates a dramatic shadow in the background, and on the subject’s left cheek. This contrasts with the brighter face of the subject, as she is facing towards the light.