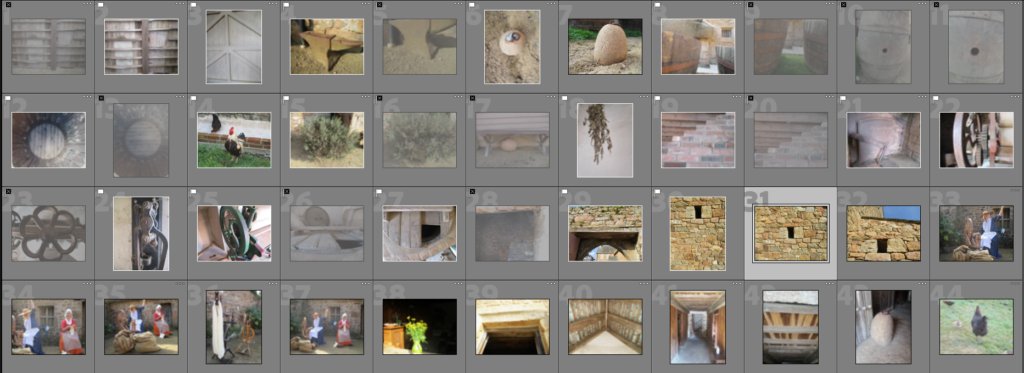
First I uploaded my images from the Hamptonne photoshoot from the Media Drive onto Lightroom.

In the First Round of Editing I divided my images into Picked and Rejected using Shift + P (for Pick) or Shift + X (for Reject). I did this a few times until I landed with the images I have chosen to edit.

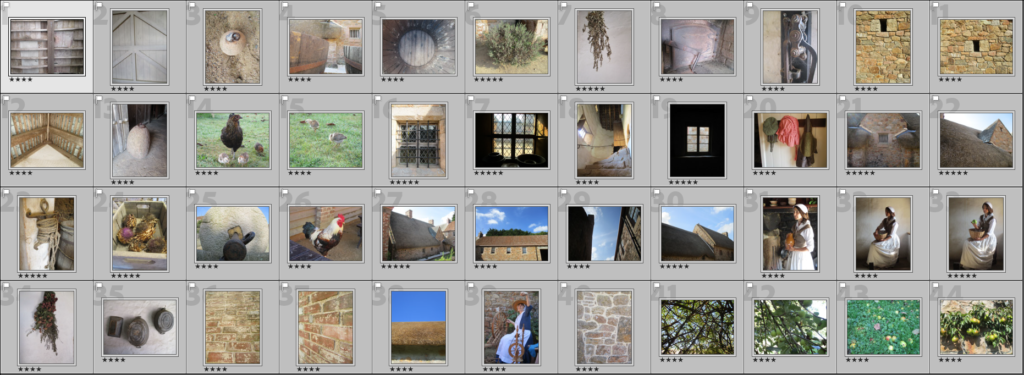
Next, I Filtered out the chosen images and rated them with stars, this is so I can determine which ones are my absolute favourites quicker.

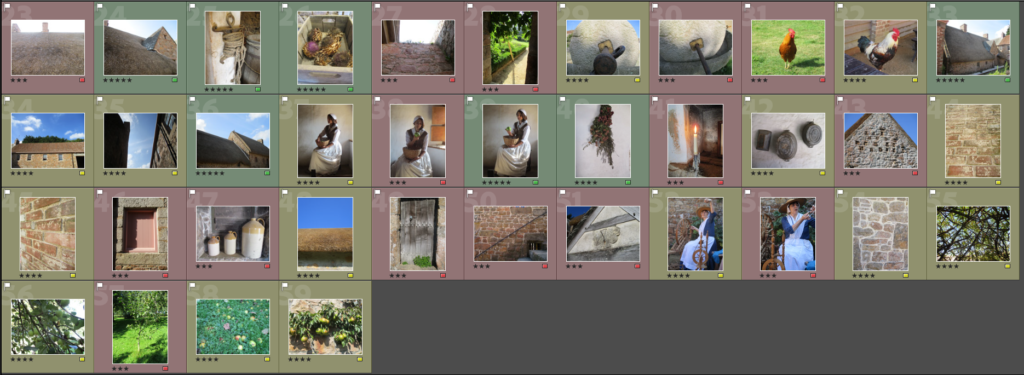
Next, I sorted the images into Green, which are the ones I want to edit, Yellow, the ones I might reconsider editing and Red, the ones I do not want to edit.

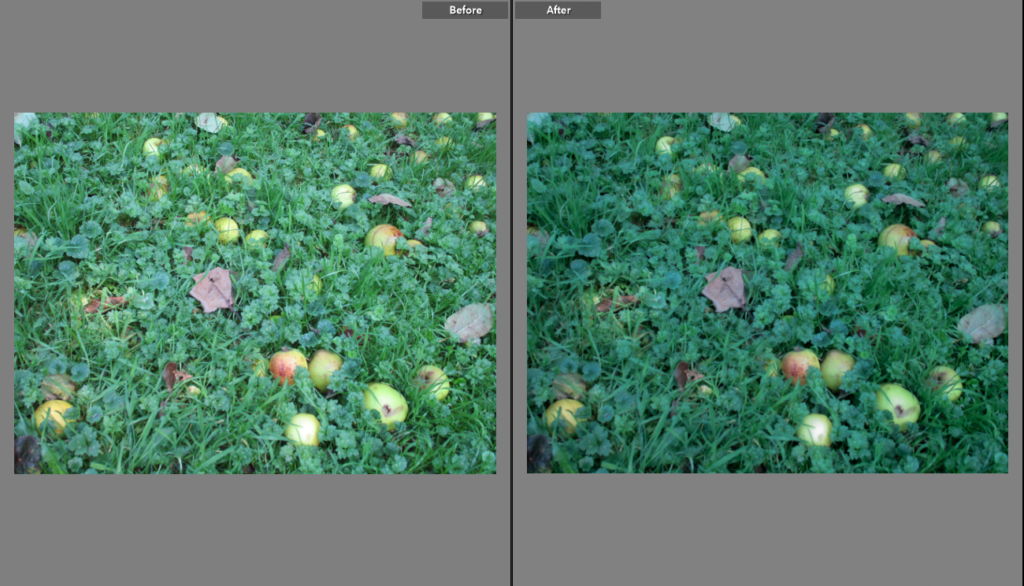
Finally, I edited my chosen images, I did this by adjusting things like exposure, contrast, colour as well as cropping it.
