
In these photoshoots, I focussed on developing my technique of using 1 point lighting which I’d known as the “Chiaroscuro” technique in photography.
The Chiaroscuro technique is often described as using high contrast lighting to create an image in black and white photography.

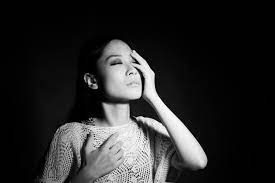
Here are some examples of the Chiaroscuro technique in photography. I think that this technique is unique and edgy because it creates a harsh, yet soft, contrast between the model and the background as they become very defined due to the lighting which highlights them as if they are under a spotlight which is due to the fact of using 1 point lighting which helps to create this effect quite well. I think that this will be a good technique to experiment with because you can use it to create dramatic portraits in black and white, which I haven’t done before, which changes the atmosphere entirely of a photo.
Photoshoot –
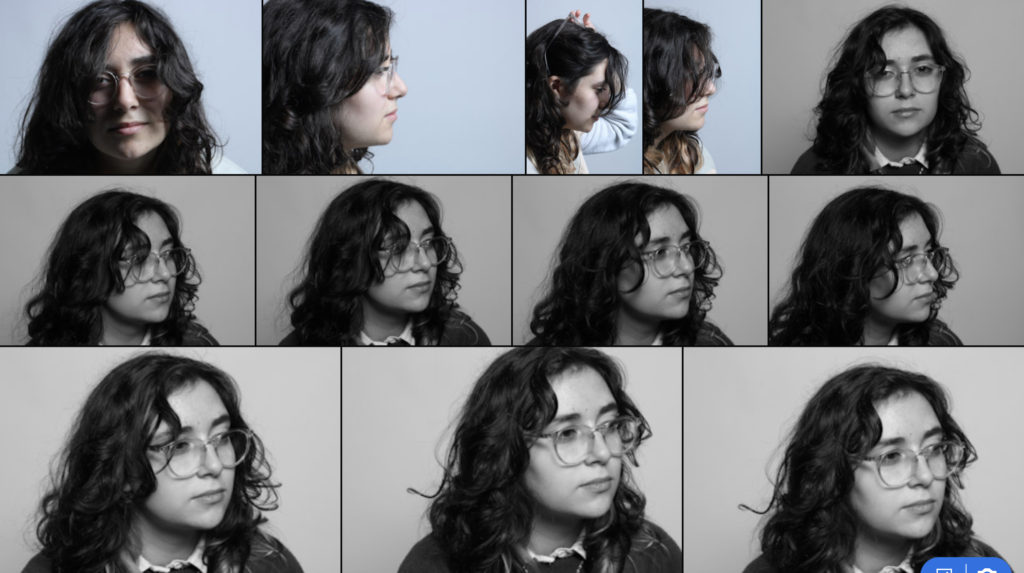
I enjoyed this Photoshoot with Oliver Doran because he showed us how important different angles and positioning of the model and lighting can be when creating a picture in black and white and how well it can help develop a photo well. He valued our opinion and kept asking how we would like to position the lighting and our model, so that we thought about it well so that we could create as good of pictures that we could.
I feel like these have reflected the Chiaroscuro technique well to an extent but when working in Adobe Lightroom I will be able to develop the lighting more to create that “high contrast” effect.
Best shots –
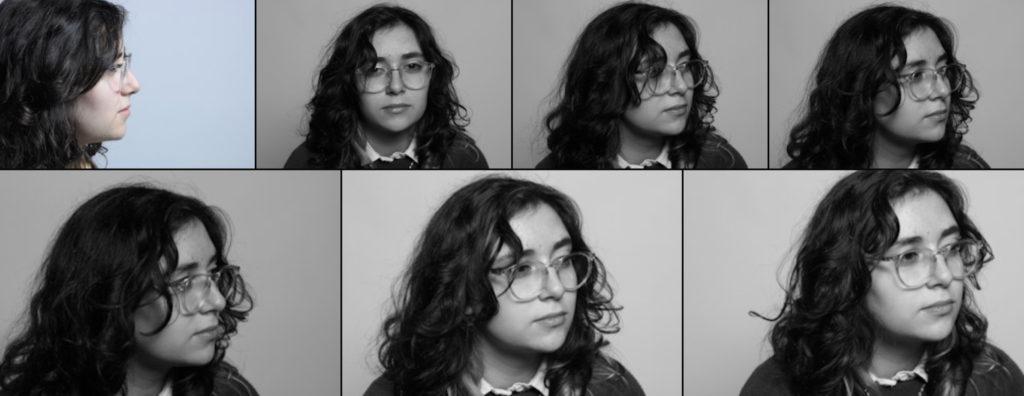
Using sub-selection on Adobe Lightroom with the letter “Z” I went through my photos which I took with Oliver Doran’s help and I chose these photographs as my best shots. This is because I like how they are positioned with the model remaining mostly in the centre of the picture, meaning that you can see them clearly. I will choose 1 of these pictures to focus and edit well on in Adobe Lightroom so that I can develop the Chiaroscuro technique into my work more.
Editing in Adobe Lightroom –
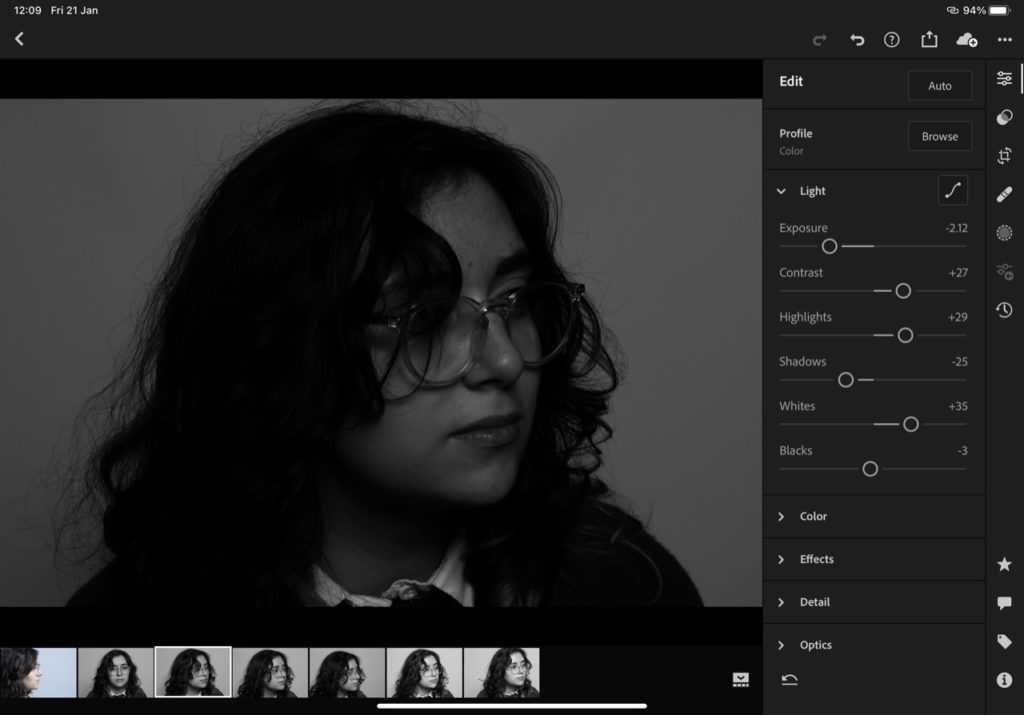
Here is the photo I decided to edit slightly on Adobe Lightroom to bring in more “Chiaroscuro” influence to the picture. I started off by Bringing the exposure down to make the lighting and tones darker even if we photographed in black and white, like Oliver Doran, I wasn’t happy with how light it still was so I wanted to change it.
Then I brought the contrast, so that the darker colours worked well against the lighter tones which I used the highlights and whites filters to make sure that this happened by brining them up. This helped to bring out the details in her face, similar to chiaroscuros, through the lighter tones as well as making them look soft and not too harsh on her face.
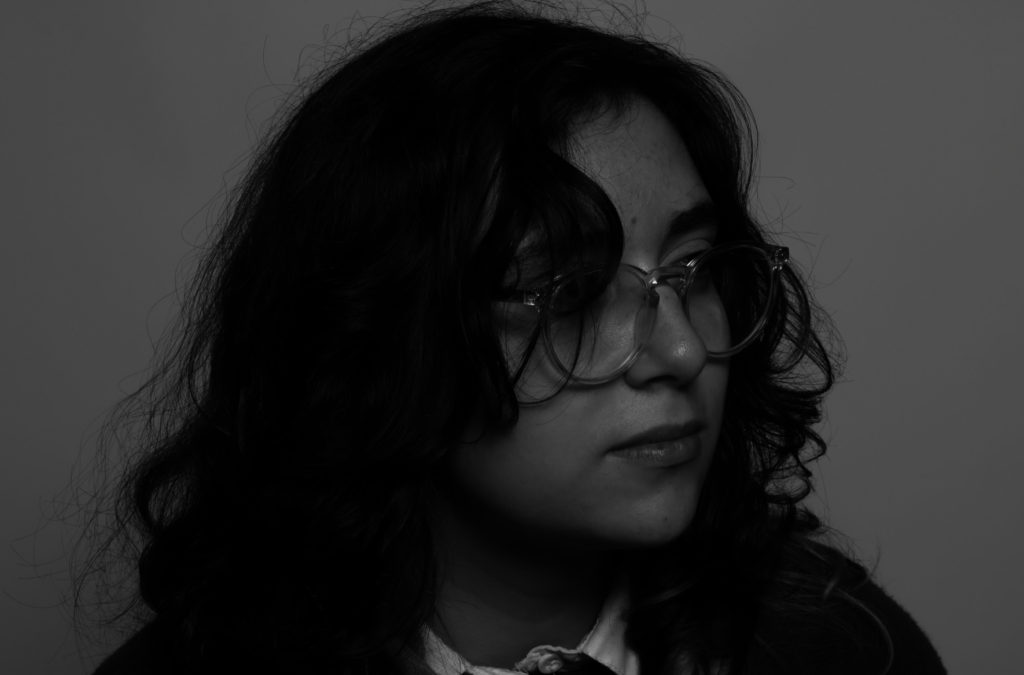
This was my final edit which I really liked how it turned out in the 1 point lighting and Chiaroscuro technique with help from Oliver Doran because, it isn’t so dark that the model isn’t able to be seen which can happen in some Chiaroscuros which creates a nice balance within the highlights and darker tones as they Willkie work well together to make sure that the picture is able to highlight her facial features while also hiding them away through the darker parts of her face such ads her hair or underneath her chin where there is a heavy influence of dark tones.