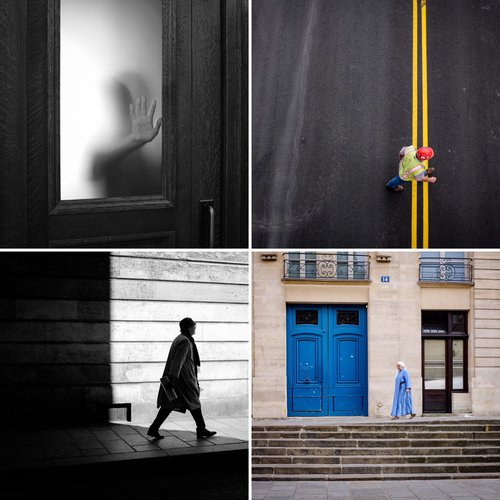
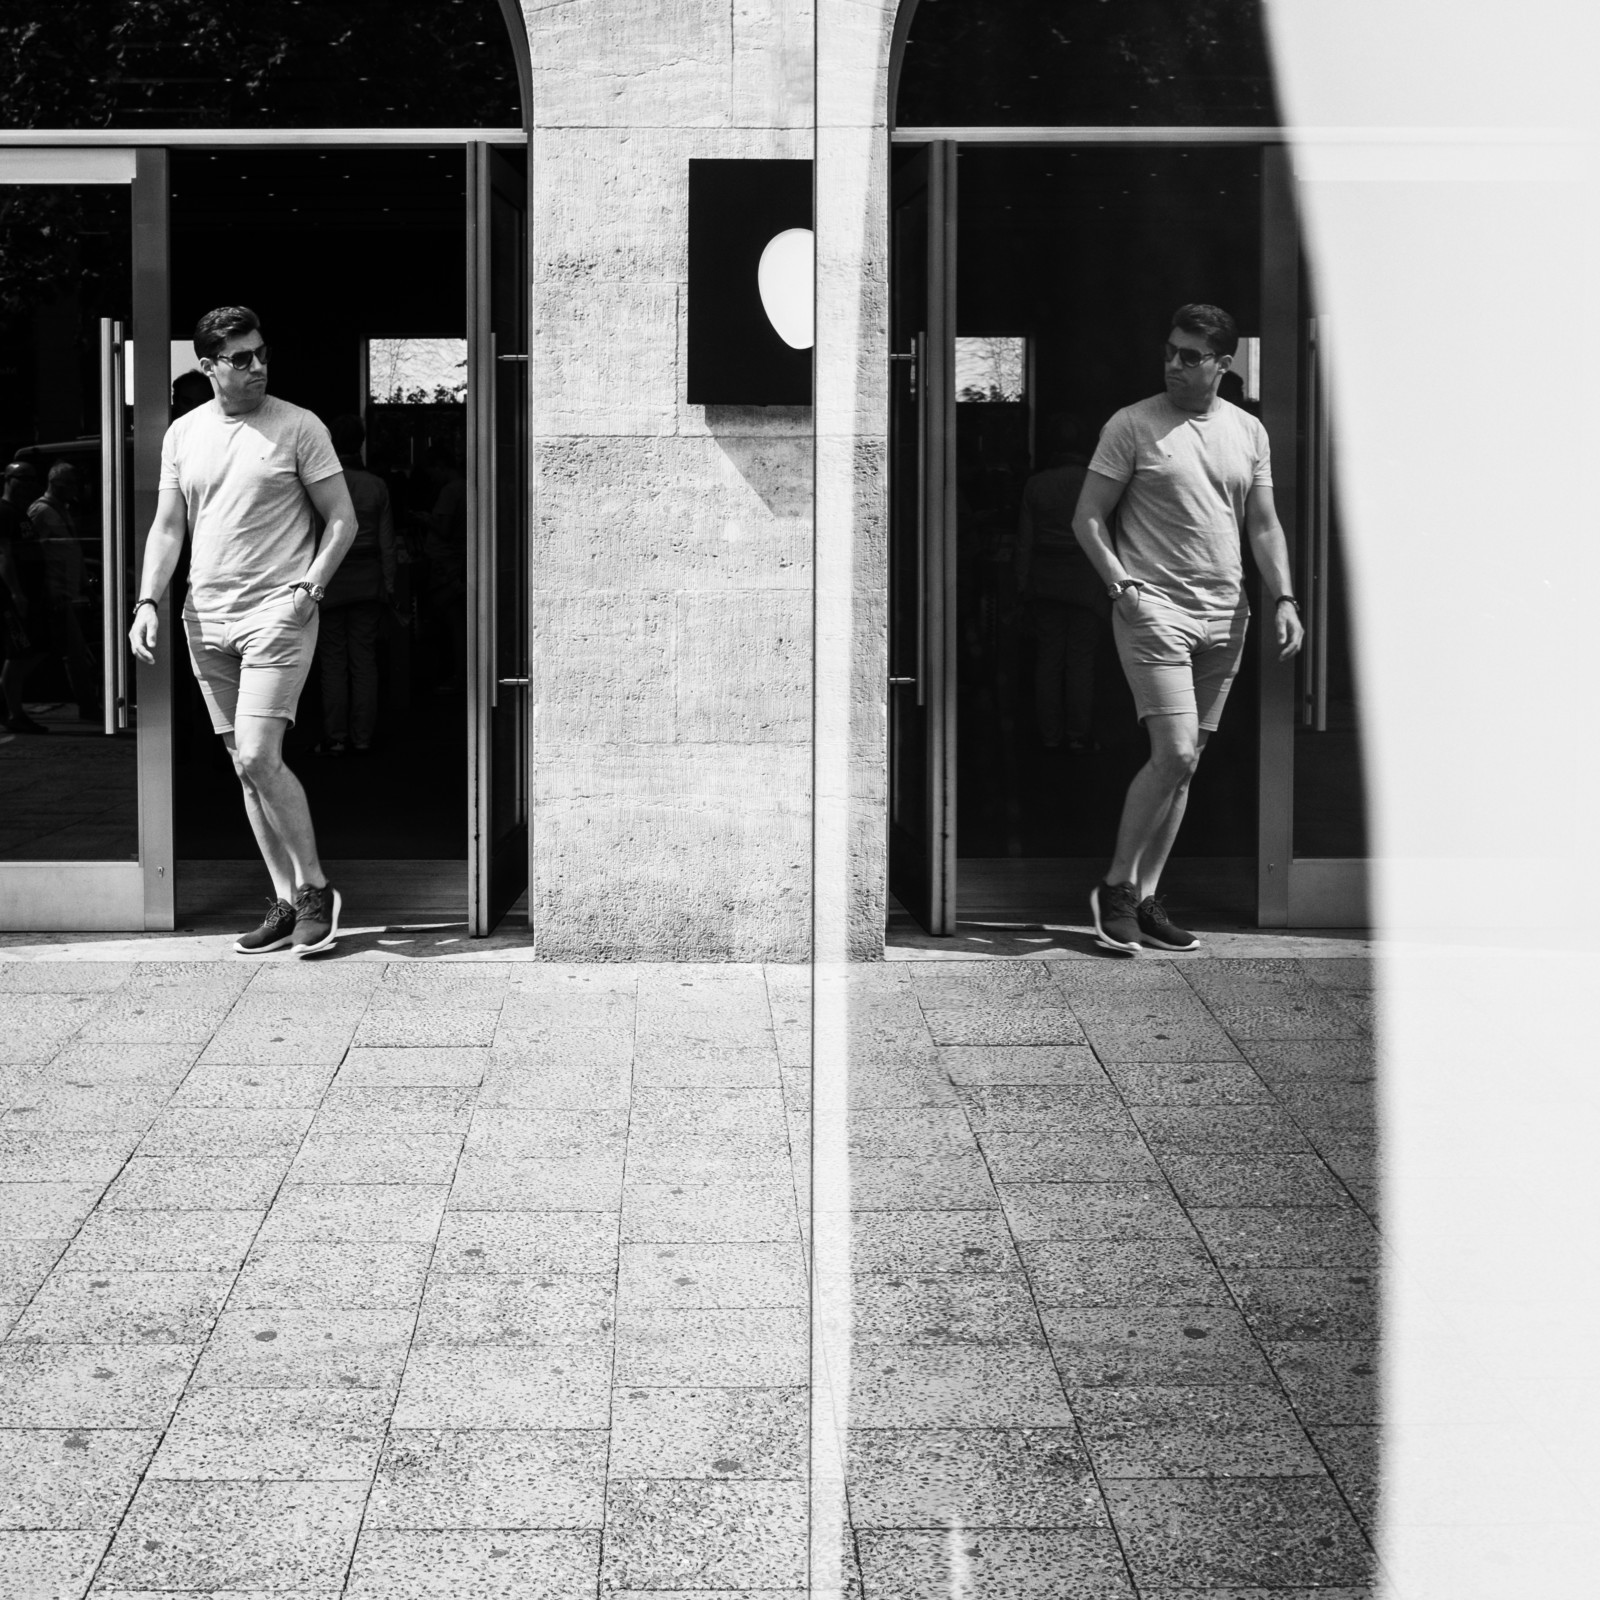
Juxtaposition photography is where 2-3 pictures are taken of objects/people that contrast or link together, which can be used to show peoples identities through their cultures or interests, this is seen within photography through the use of either contrasting/similar lighting, forced perspectives/cropping or the use of props.
Examples –
Experimenting
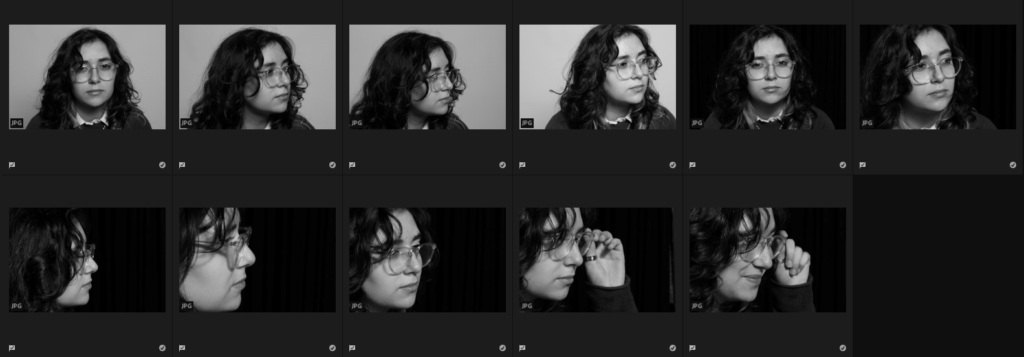
Here are the photos which I chose to use, I chose a selection so that I could experiment in many different ways and not be limited with what I could use.
2 Photos juxtaposed –
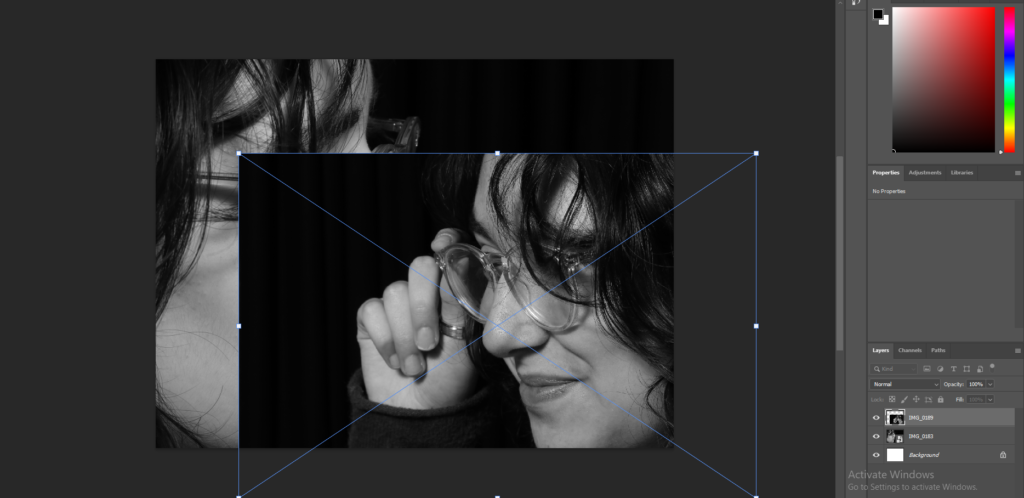
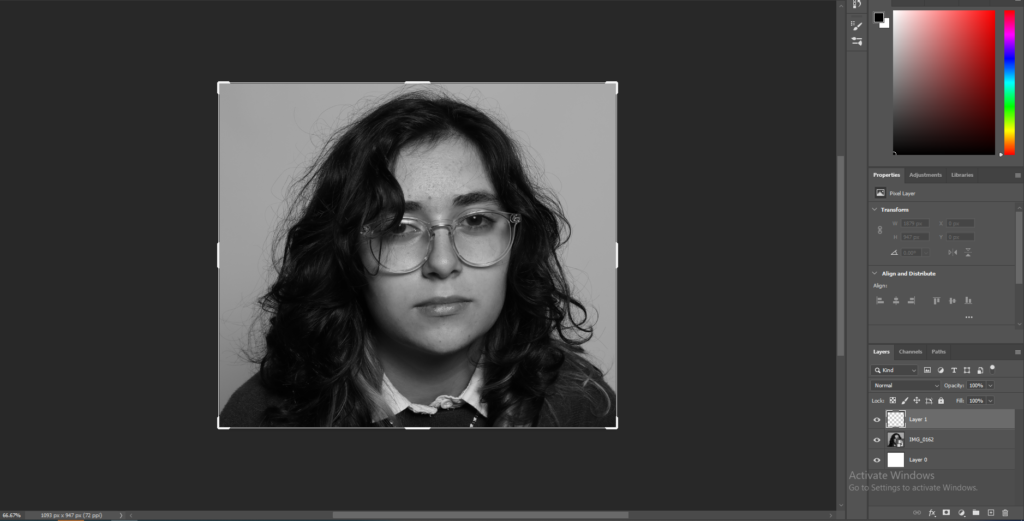
Firstly, I brought the other picture, from Lightroom, which I wanted to use into Photoshop that I could make it the same height and width as the other.
Then I selected the eraser tool and erased the part of the second photo which was on top of the other. I used a bigger brush width for the larger areas and for the difficult areas I used small width brush to help make it accurate.
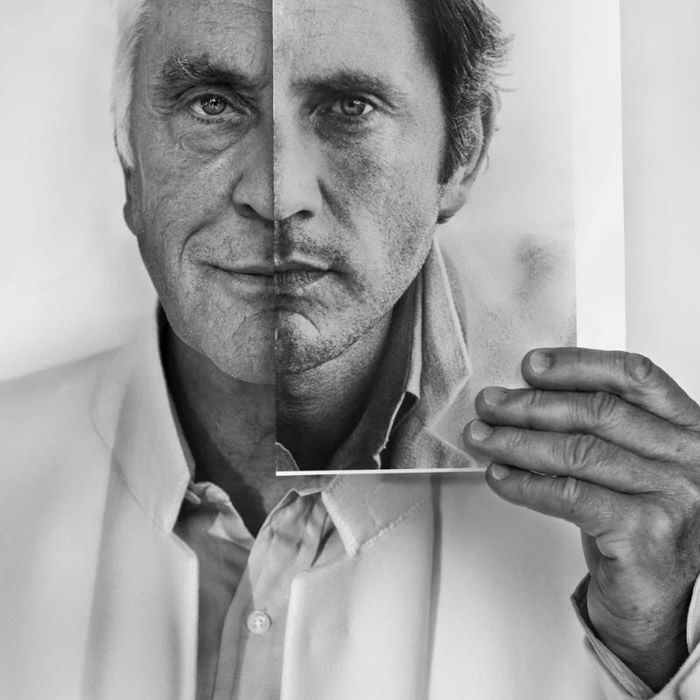
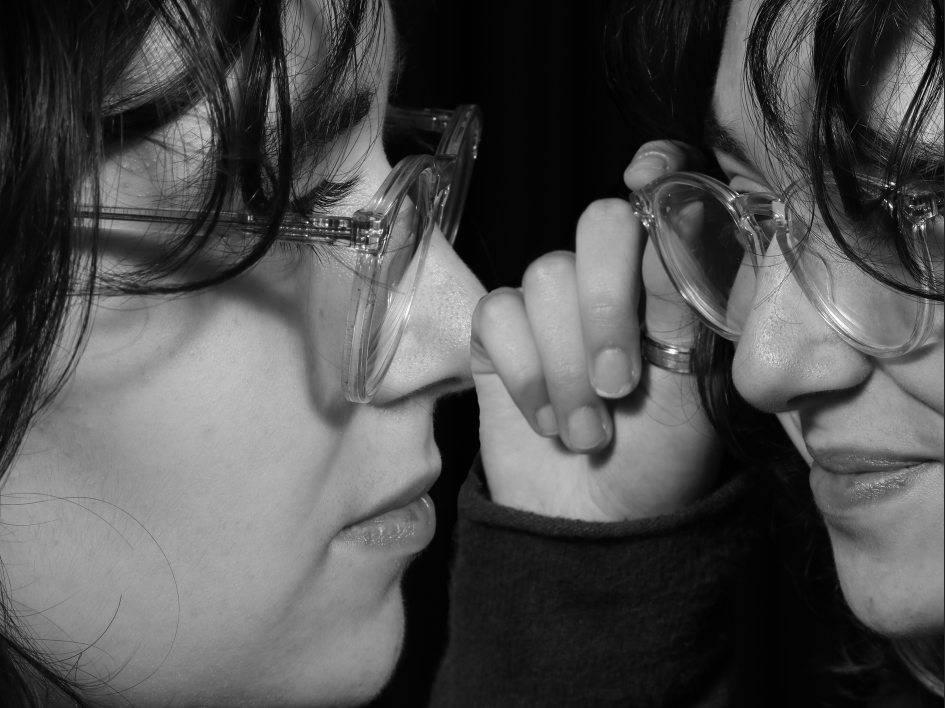
Final result –
I really like how this edit turned out on photoshop because of how well they overlap, creating the juxtaposed effect of overlaying images which is also helped through the use of taking the photos in black and white, which I preferred and is similar to Oliver Doran, so that the lighting and dark tones of the photo are similar yet slightly different to help determine the difference between them. It creatively shows two emotions which the model may have, as if they are battling with each other because she can’t decide how she feels.
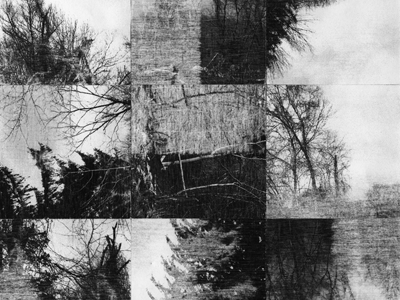
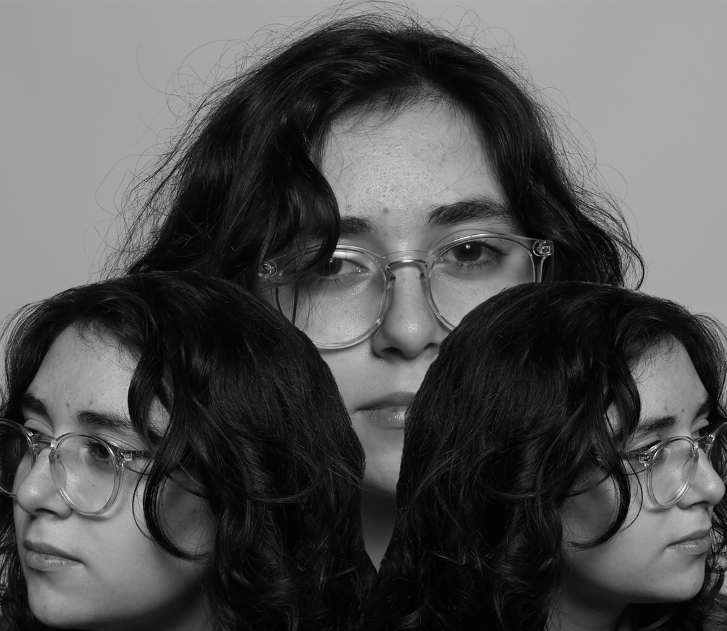
3 Photos juxtaposed –
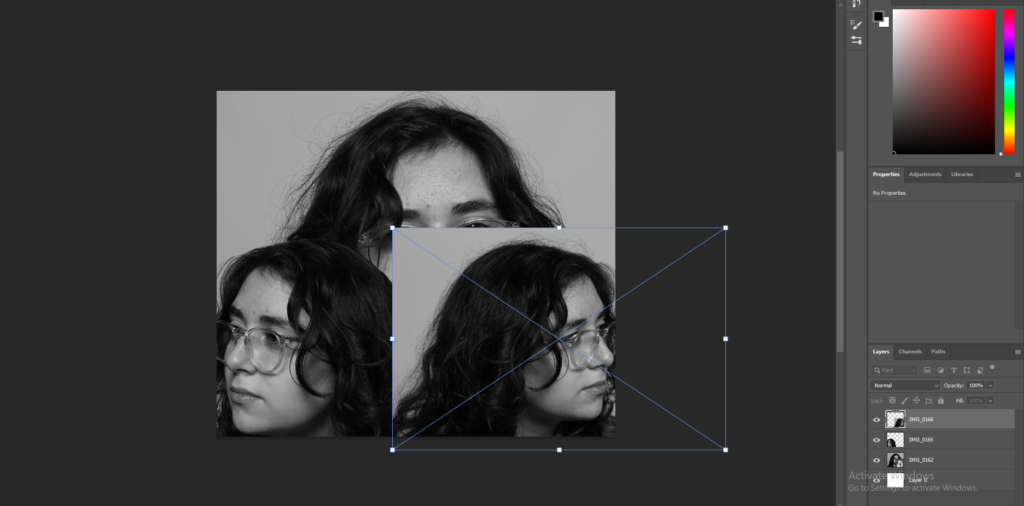
I first chose the size of the photo, which I cropped into being a small box, then I added a layer on top so that when I add the second and third photos it won’t damage the first which is on the bottom when I use the eraser.
Then I brought in the second photo, which I flipped horizontally so that the model was facing the other way, using the eraser I erased the area which I didn’t want around the photo, which was the grey background, then I added the third photo and did the same.