Selection Process


Collage Making and Experiments
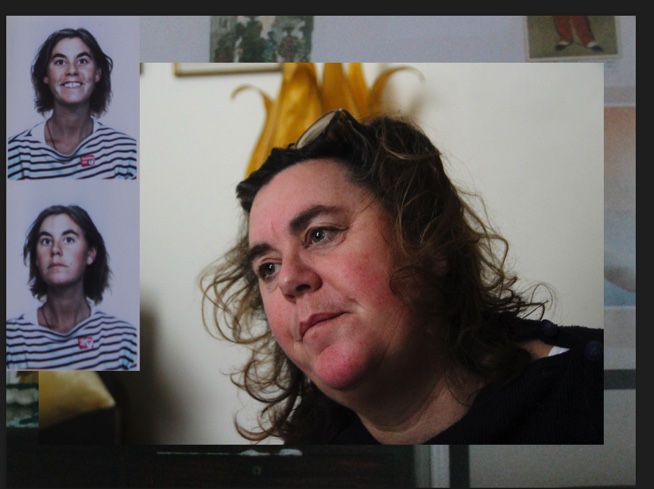
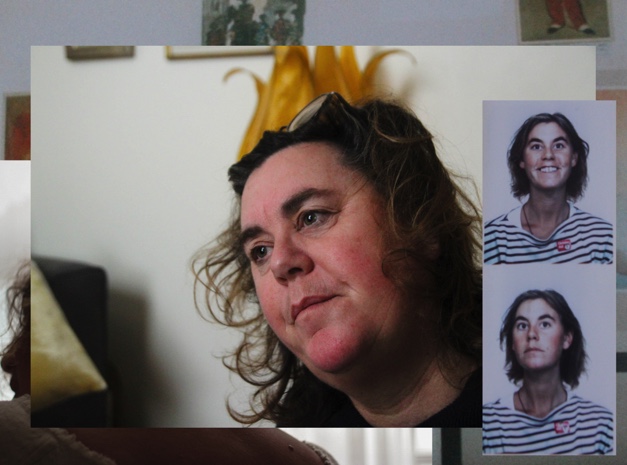
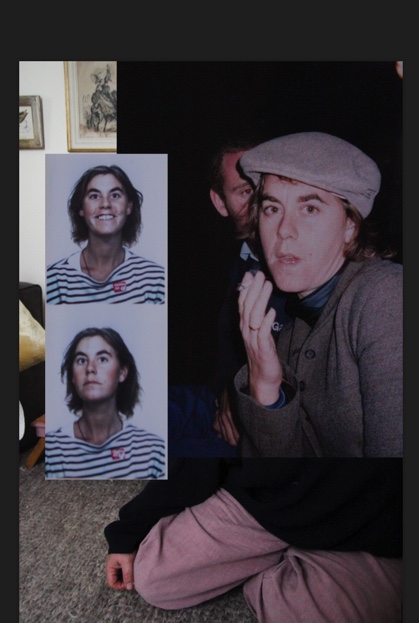
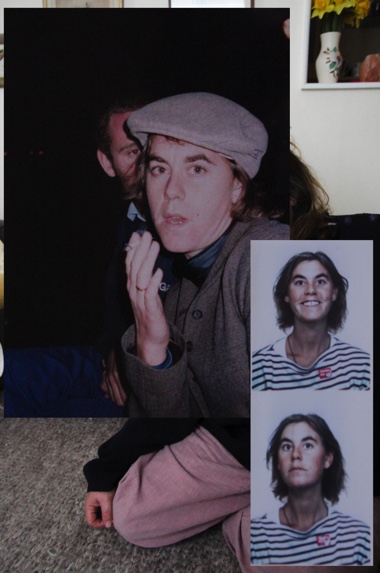
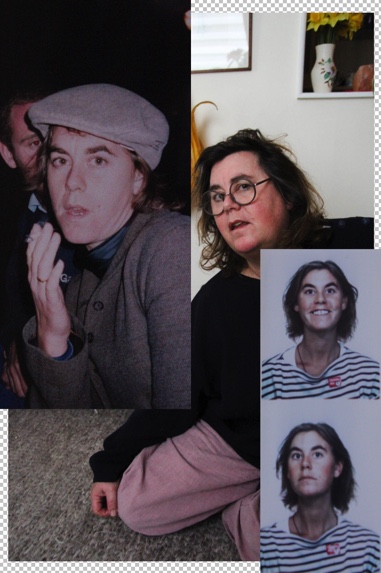
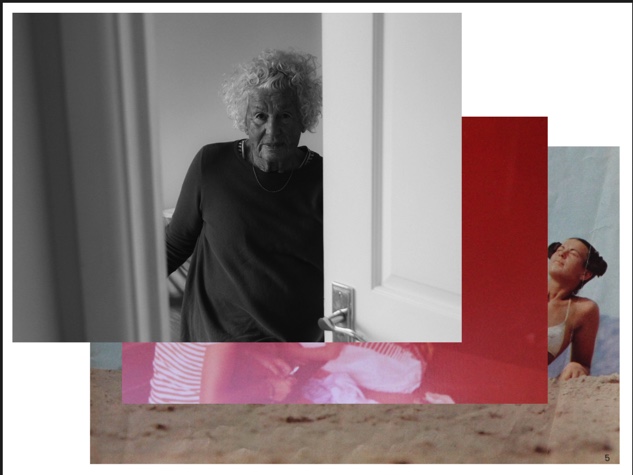
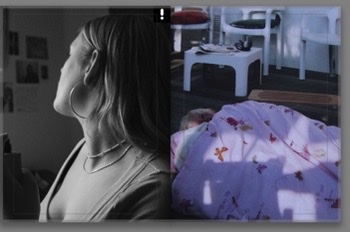
I used photoshop to create my collages, as developed from my identity project in year 12. – In this project, I tried to make use of more creative layouts and to create a stronger narrative of generational identity in my collages.


Final Collages
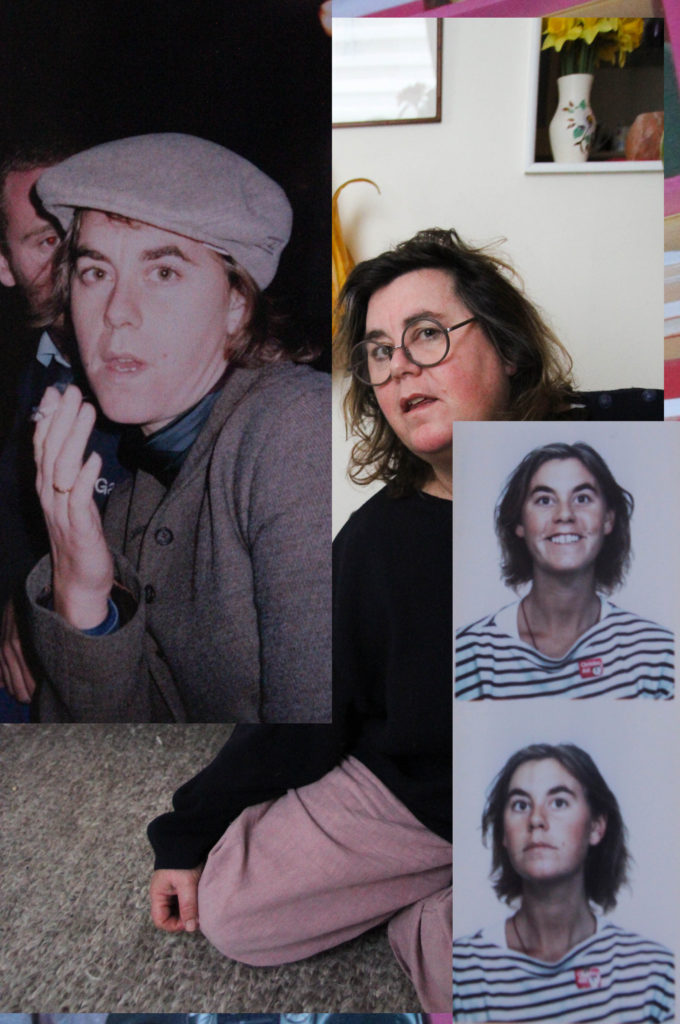
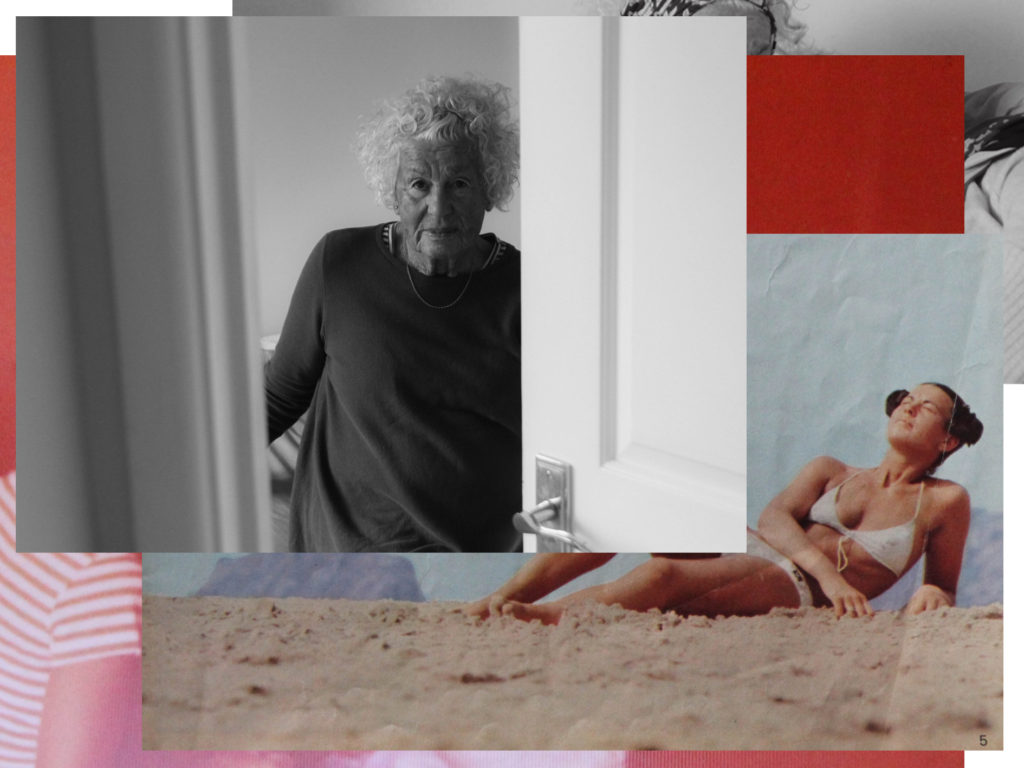

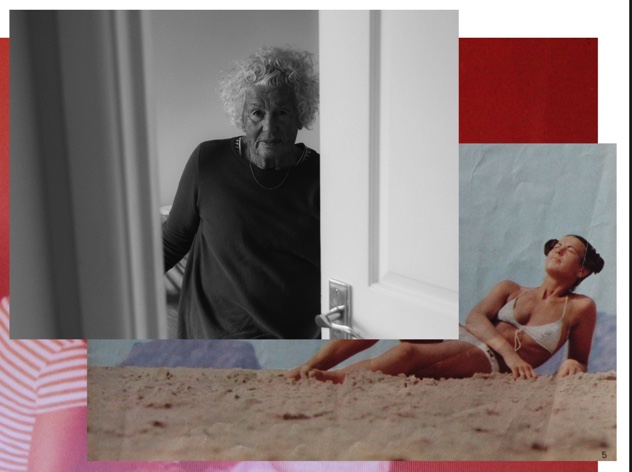
These collages were a development from the collages I produced in my year 12 Identity project. I developed my pieces in this project by using different types of images, especially including myself and different archival images – creating new presentations of generational identity through solely female perspectives. I created much more simple collages in this project, in order to keep these outcomes in line with the whole layout of my book. Using similar images to those used in the rest of my book in these collages helped the cohesion of all parts of my book, making sure the book flowed well from start to finish. I like how my final collages are vibrant and colourful, which to me represents the characters of both my grandmother and mother – vibrant colours are a running theme in my photobook, which represent my childhood, and my upbringing in many different places and within nature as a child. Creating a photo book with personal meaning and with my own perspectives was important to me as women are often silenced and ignored when telling their own stories – presented in a way that is not truth and only for the benefit of the onlooker. Therefore, by producing these collages and this project altogether, I feel that I am producing my own stories, with female truth.
Creating the Layout

I started with 50 pages but as I began to add images, I realised I needed more pages. In the end, I had 70 pages – I feel that this is slightly too many but due to the volume of my images and the different layouts I wanted for my book, I am happy with this amount. Having this amount of pages has enabled me to create the narrative which I had envisioned for my book, creating a cohesive beginning, middle and end of my book.


In this first bit of experimentation, I was getting used to the layout of the book format in Lightroom, experimenting with different image layouts. I didn’t want to create a book that was too busy, with too many different layouts of images – I tried to use consistently similar layouts: single and double-page spreads, with some images smaller and larger.


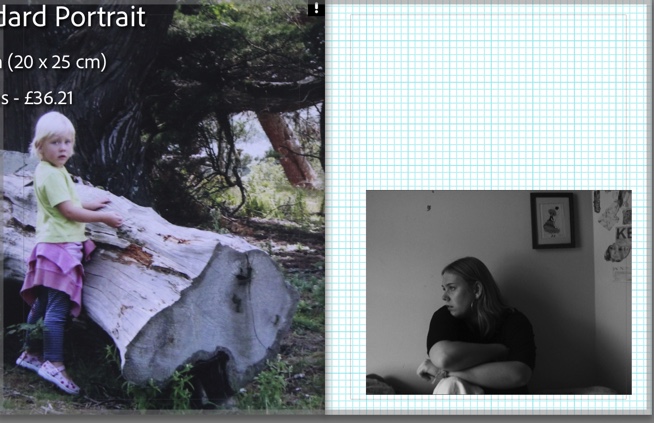
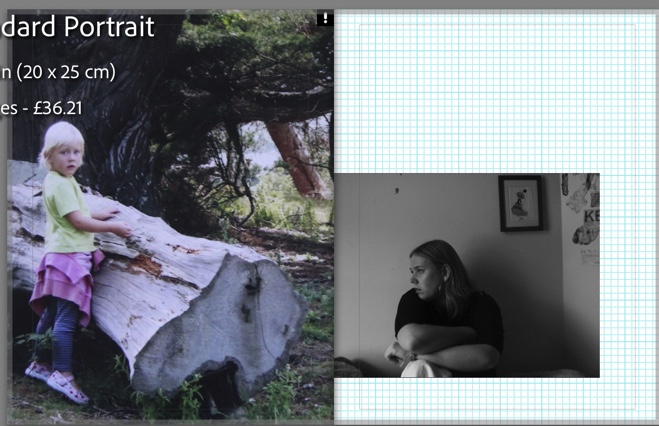
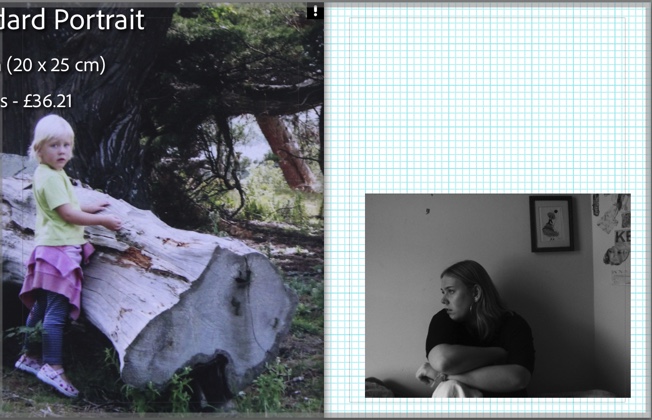
I found it initially difficult to deal with a large volume of pages, and working on lots of pages at once was overwhelming at first. To combat this, I focused on certain parts at a time – for example, the start or end parts. This also helped me to continue the narrative and story in the book that I was trying to create. I included my strongest images in the middle, placing importance on the middle spreads. Towards the beginning and end of my book, I used understated, gentler images to vary the types of photographs used.


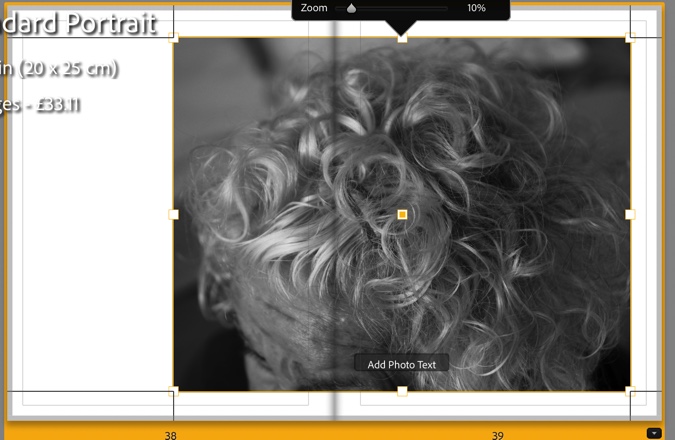
This was a collection of my final experiments with my book. When adding some images to my book, and previewing the outcome altogether, I realised some images were not edited quite to the quality I wanted. I was able to make editing adjustments right from the book into develop mode. (seen above) It was helpful to make quick adjustments to potential images in my book and also helped me to narrow down my selections of quality images. This allowed me to keep the highest quality work in my book. Also in this final set of experiments, I experimented with colour pages. I decided to include these colour pages throughout my book, roughly every few pages. I included these pages in a pinky-purple colour: it matched well with the amount of pink and purple tones in the book, but also can be seen as a symbol of femininity and childhood – this links well to my project as I wanted to touch on the idea of pre-conceived ideas of femininity and mother figures, and present these ideas through my own experiences and family, flipping the gaze into that of the female gaze, opposed to the traditional male gaze seen in the mainstream media.
(Full evaluation of my book and images in a separate blog post.)