| Idea | Settings | Locations | Props | |||
| Generational Identity, Identity within the home | Manual focus, creative auto, macro, portrait | Home, and my grandmother’s house. | Tripod, portrait lens |
Contact Sheets

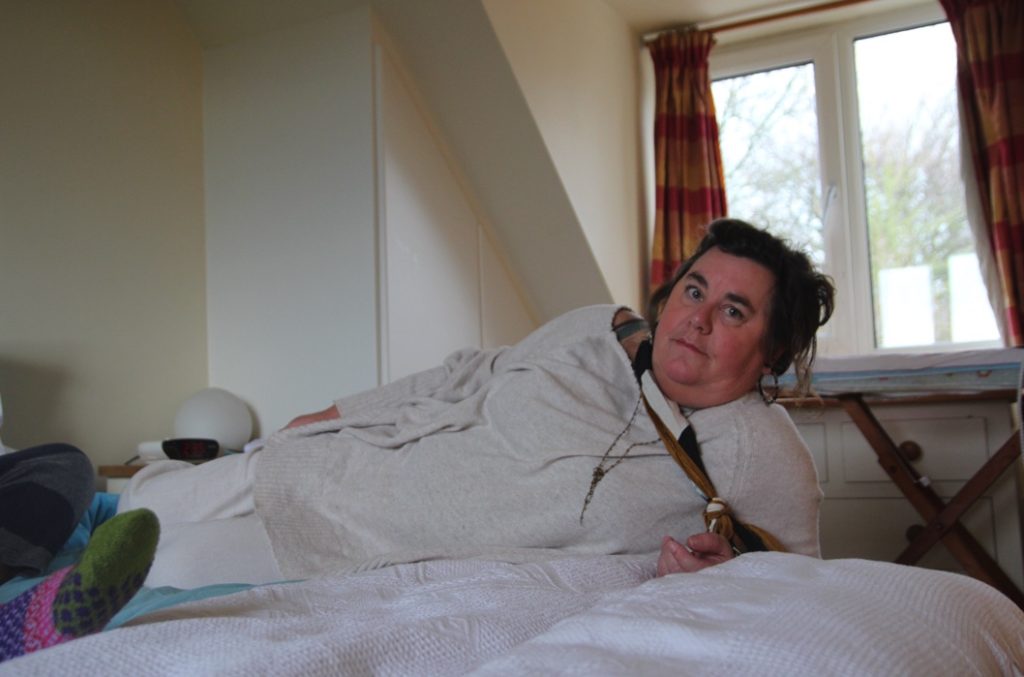
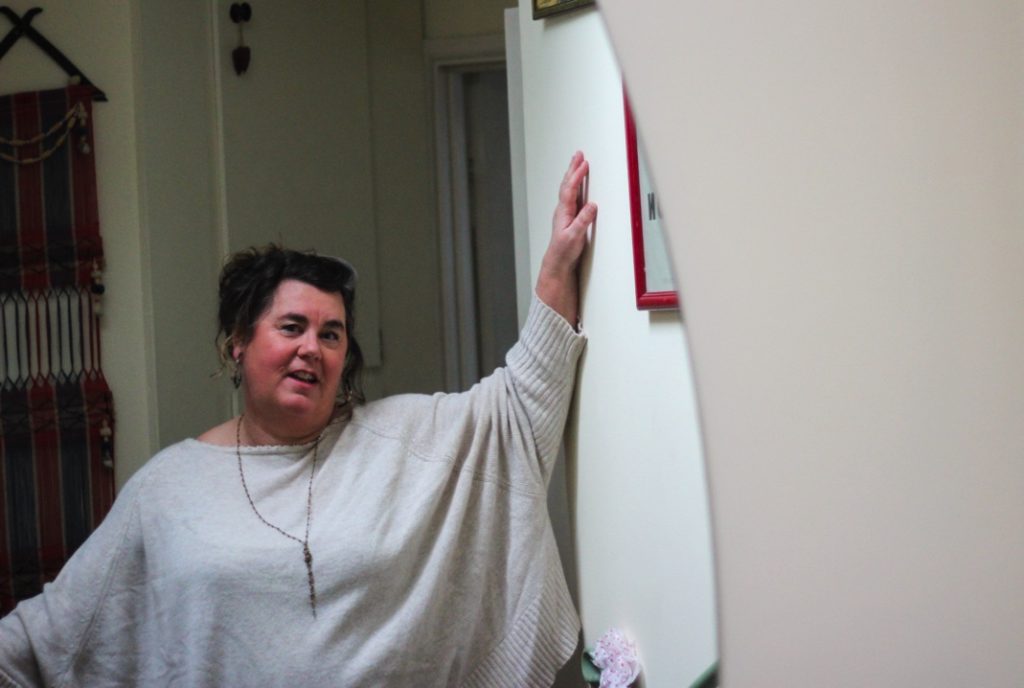
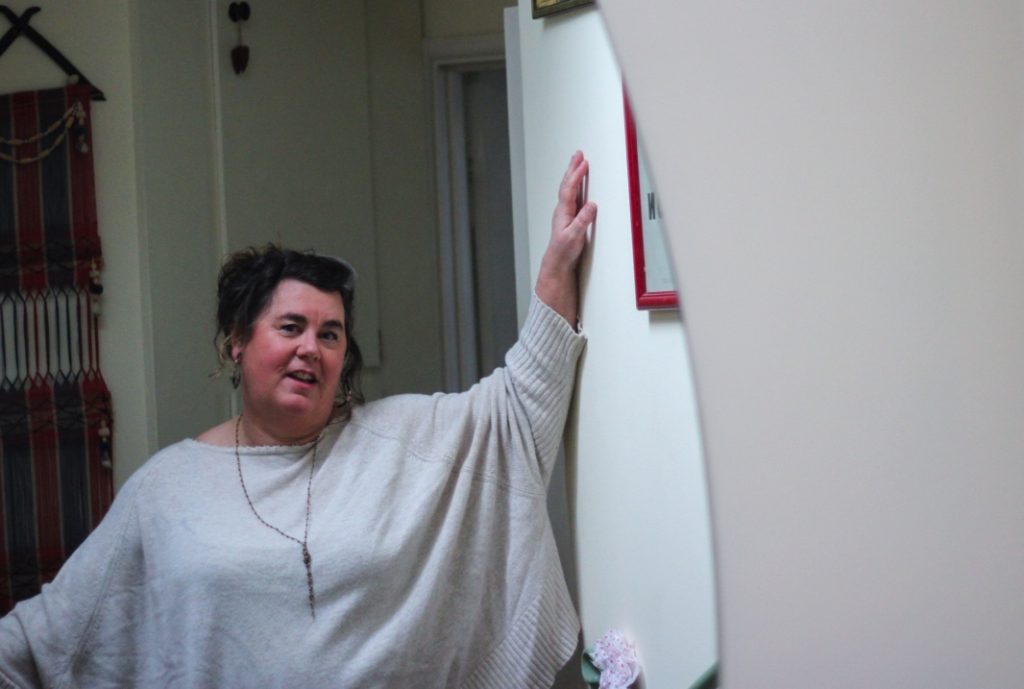
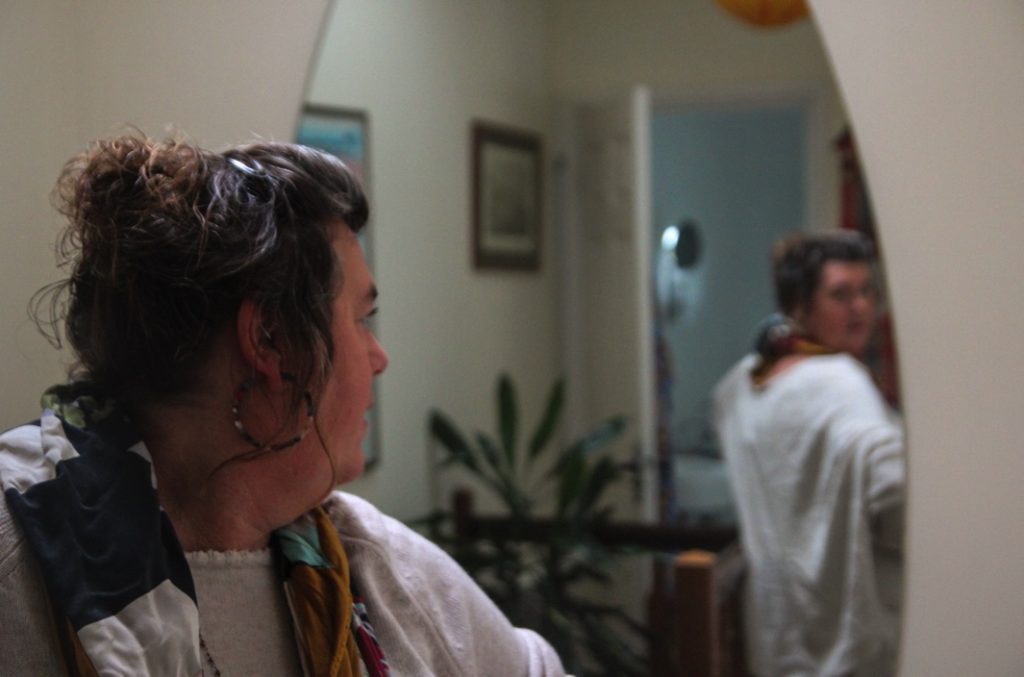
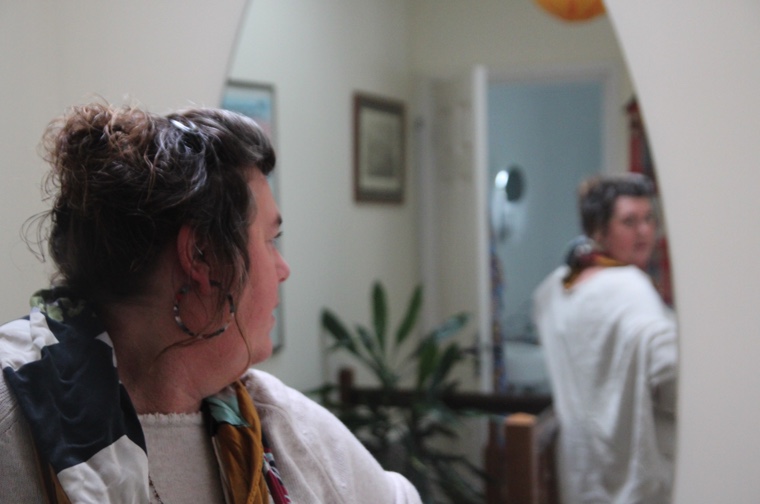
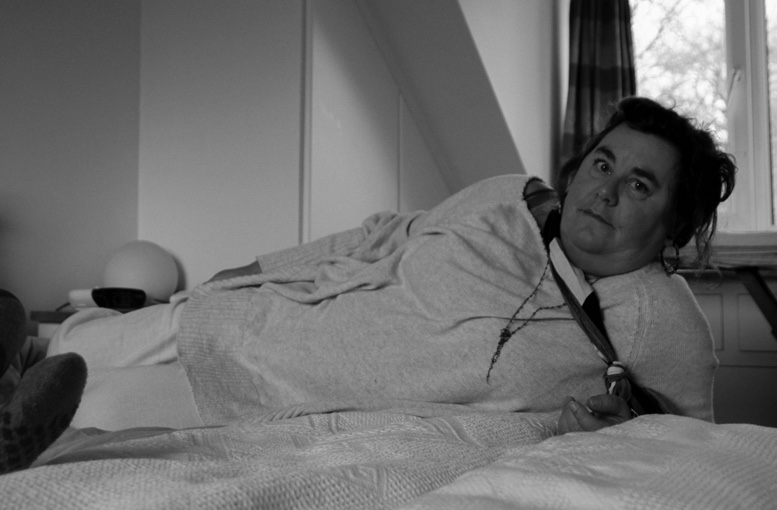
At first, in this shoot I struggled with overexposure shooting in my mum’s bedroom – I combatted this by closing the curtains and changing my position. The day I was shooting was quite overcast, so this didn’t help. I found shooting in my hallway easier, due to the better light – this was mainly due to the helpful overhead light from my skylight.

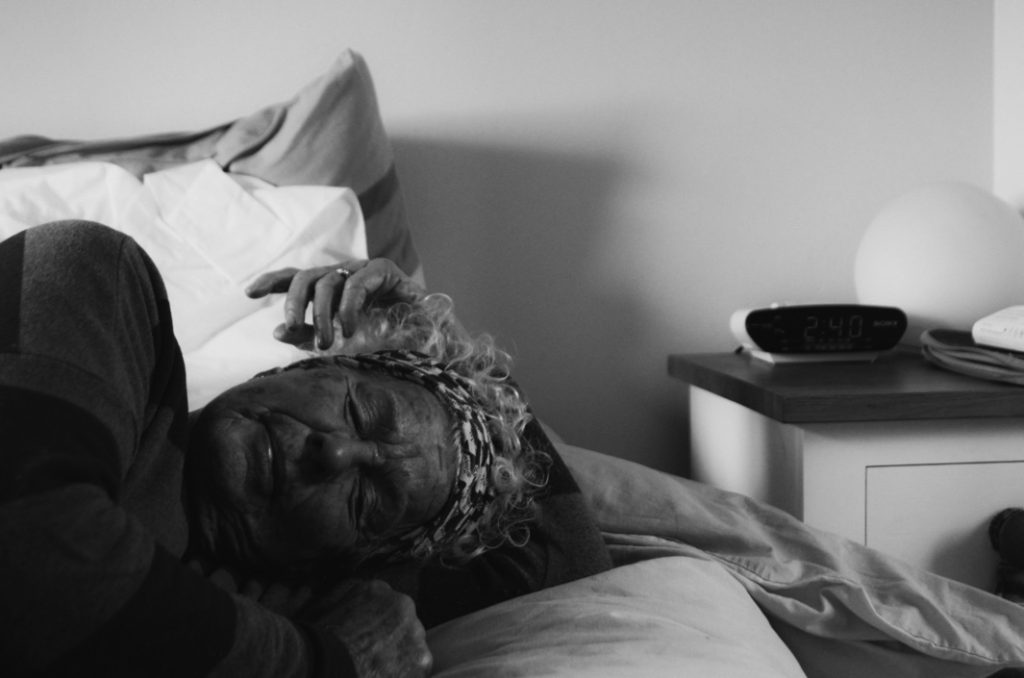
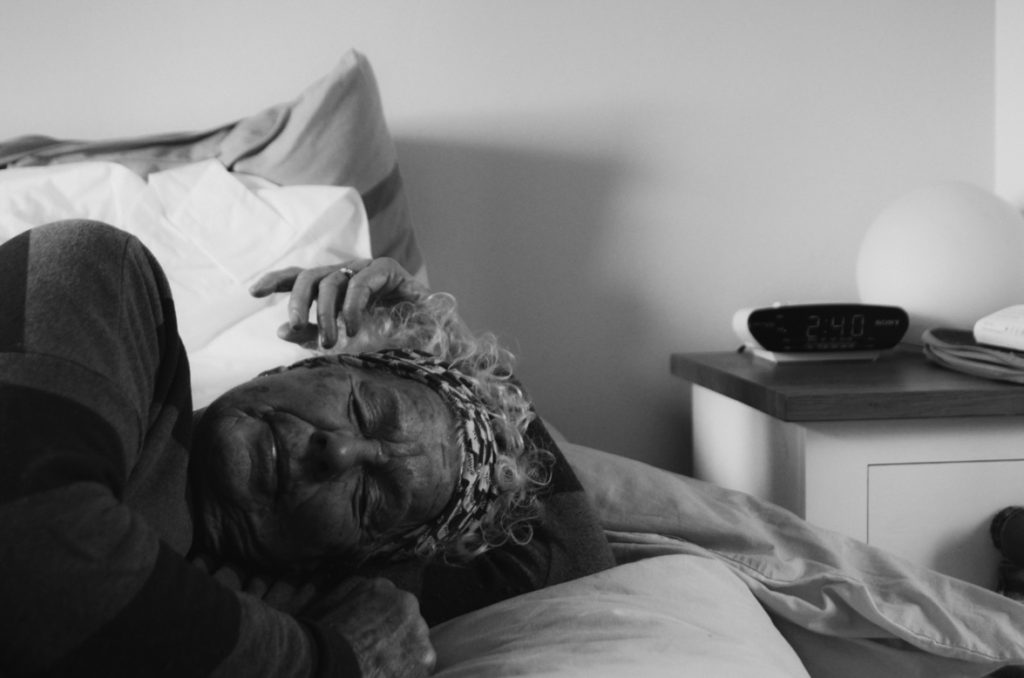
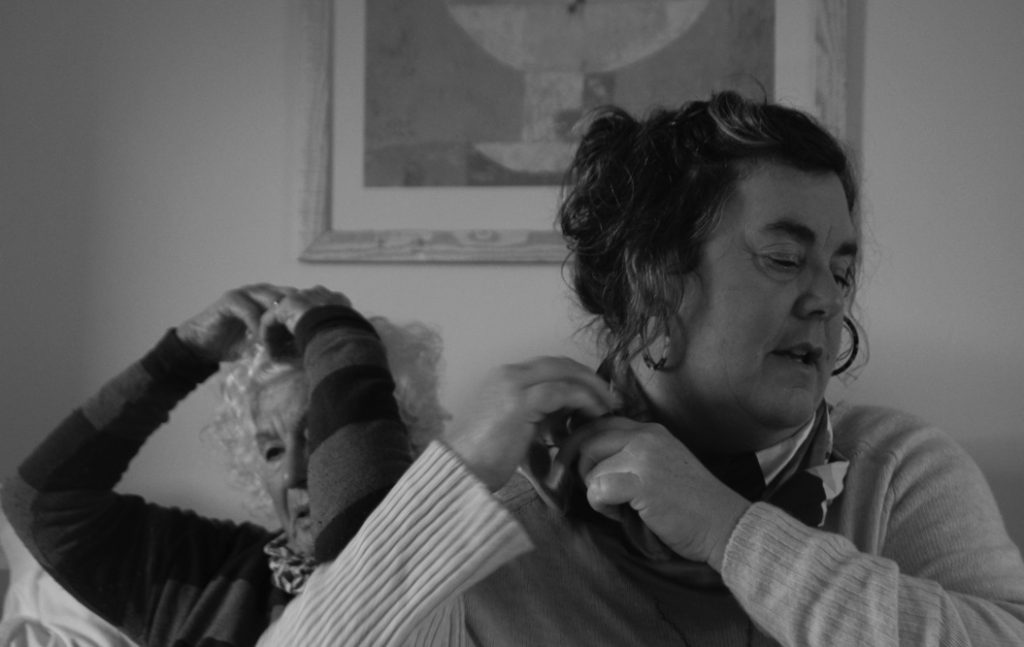
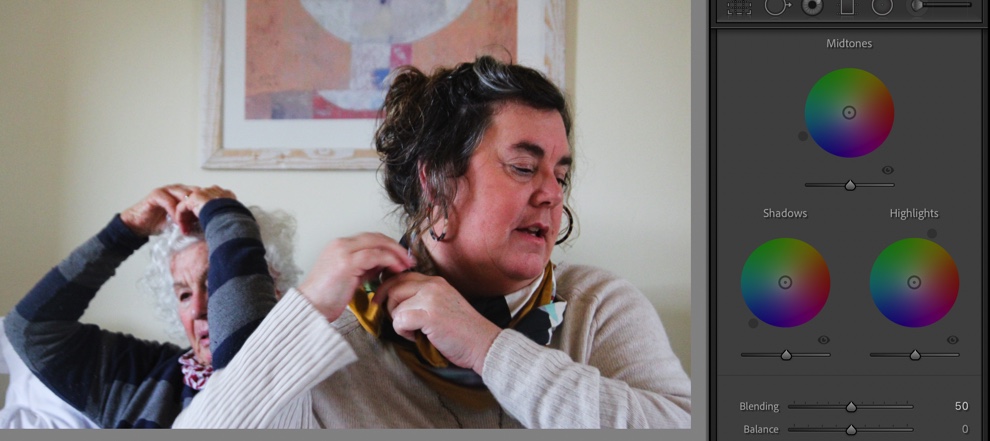
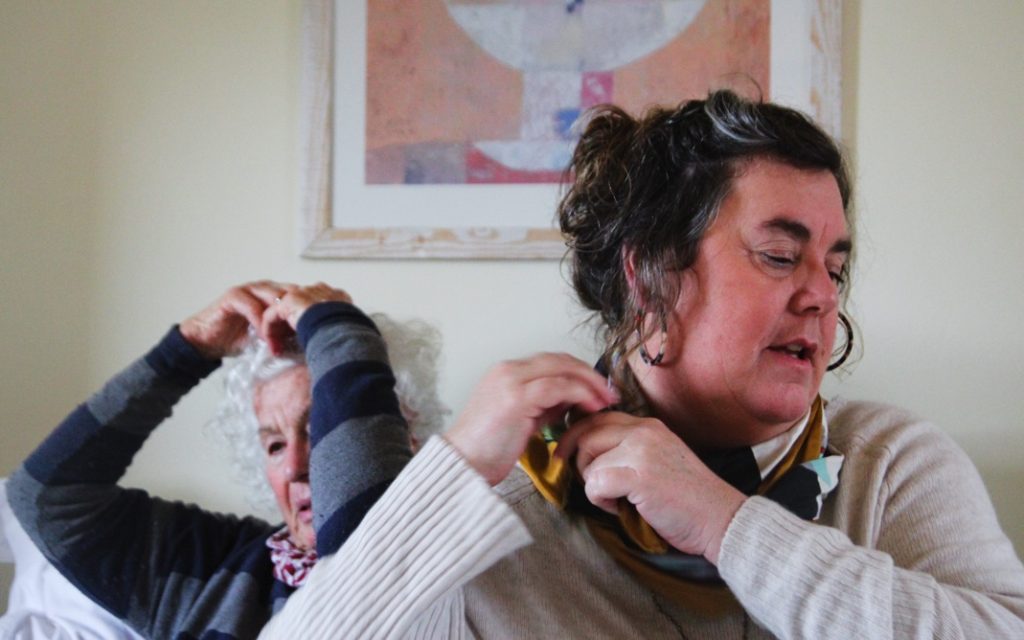
These pictures are from my grandmother’s house – the lighting was much better here, due to two sources of light in the bedroom. The central position of my grandmother’s bed helped me to create better compositions in my images.

These are more photographs at my grandmother’s – I think in this shoot the photos improved as the shoot continued, with better composition and lighting helping.
Editing






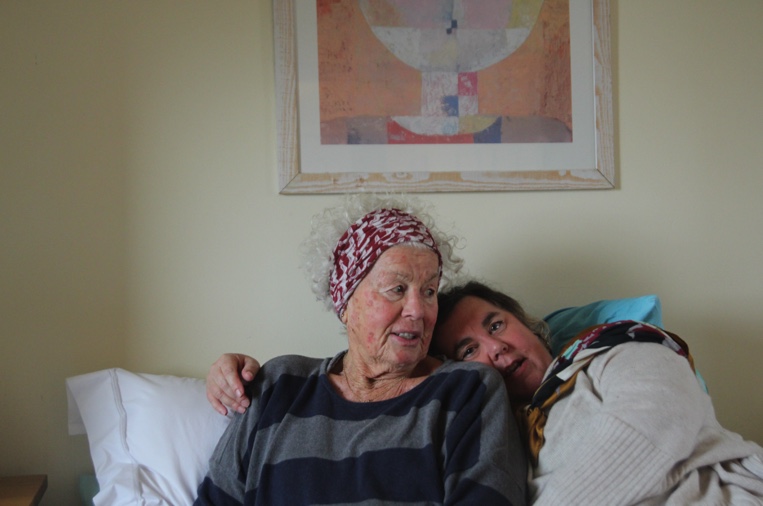
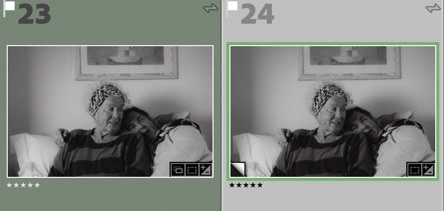
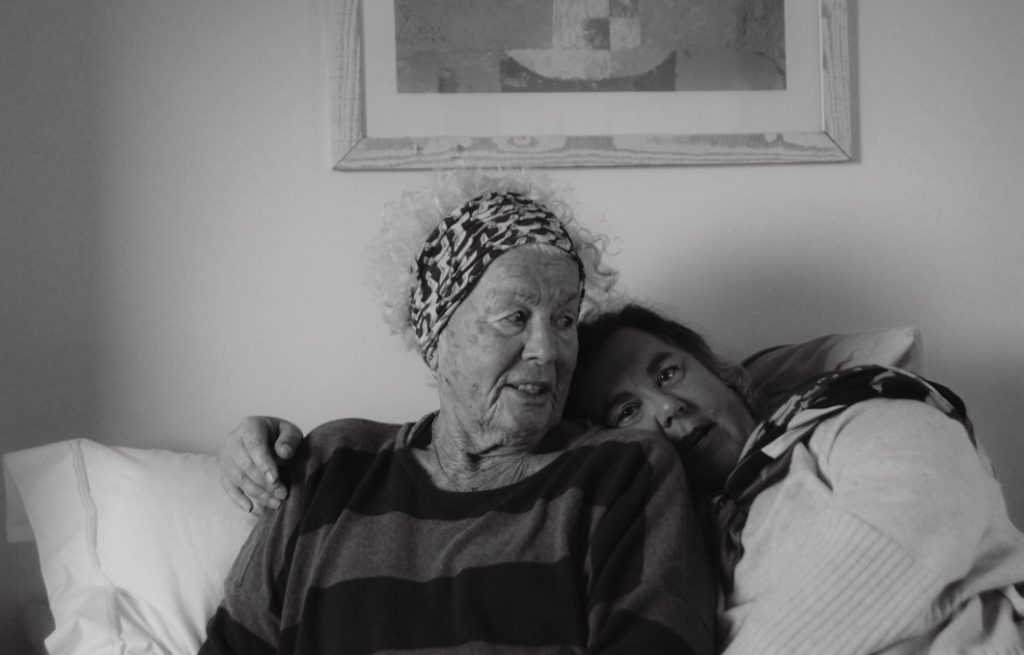

Final Images
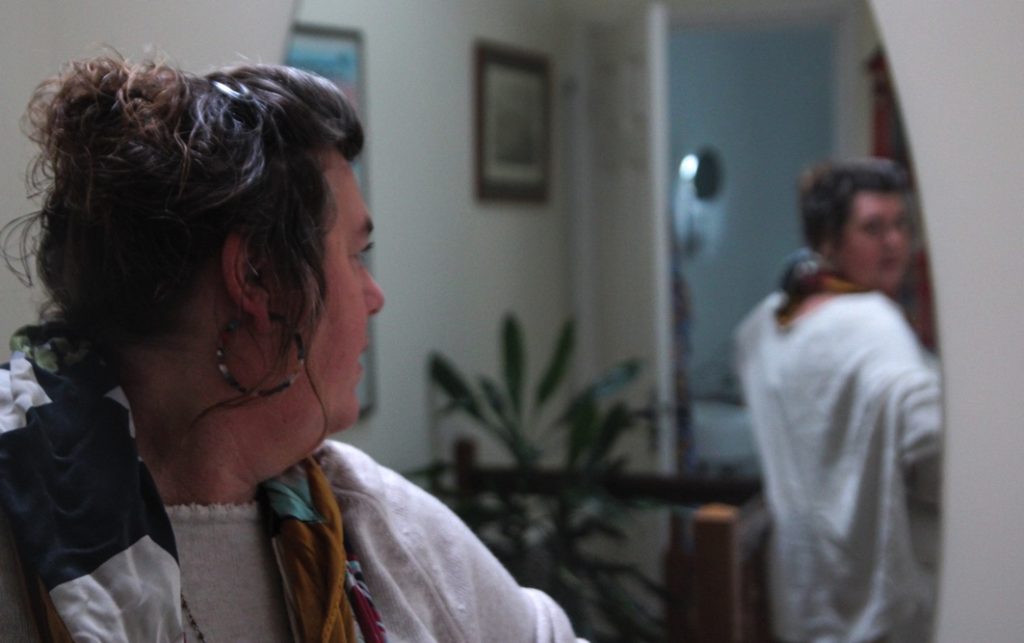



Evaluation
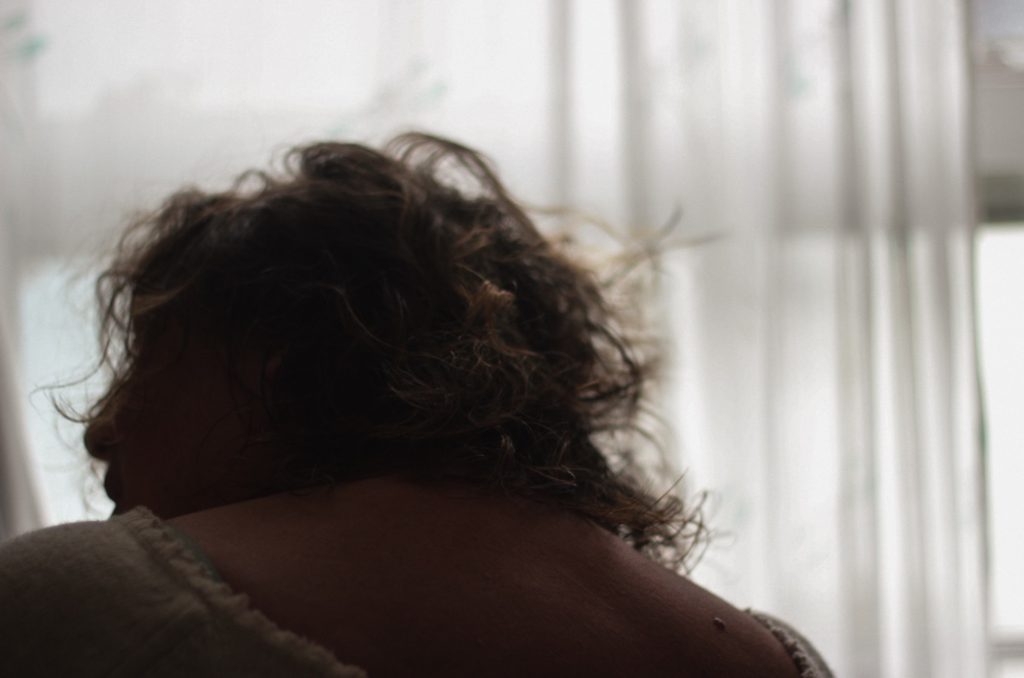
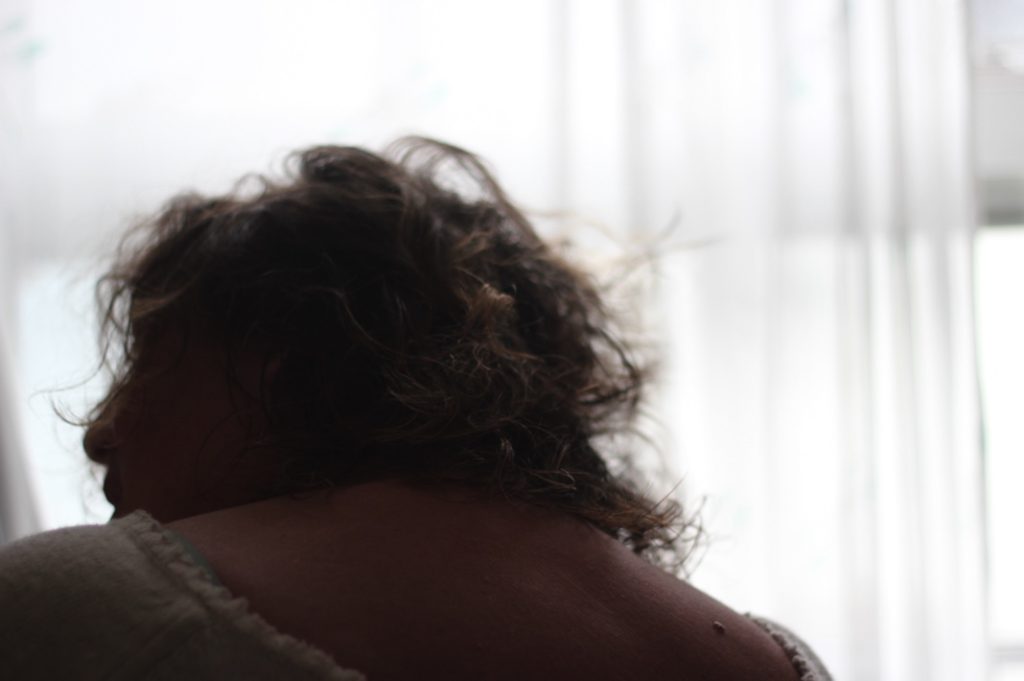
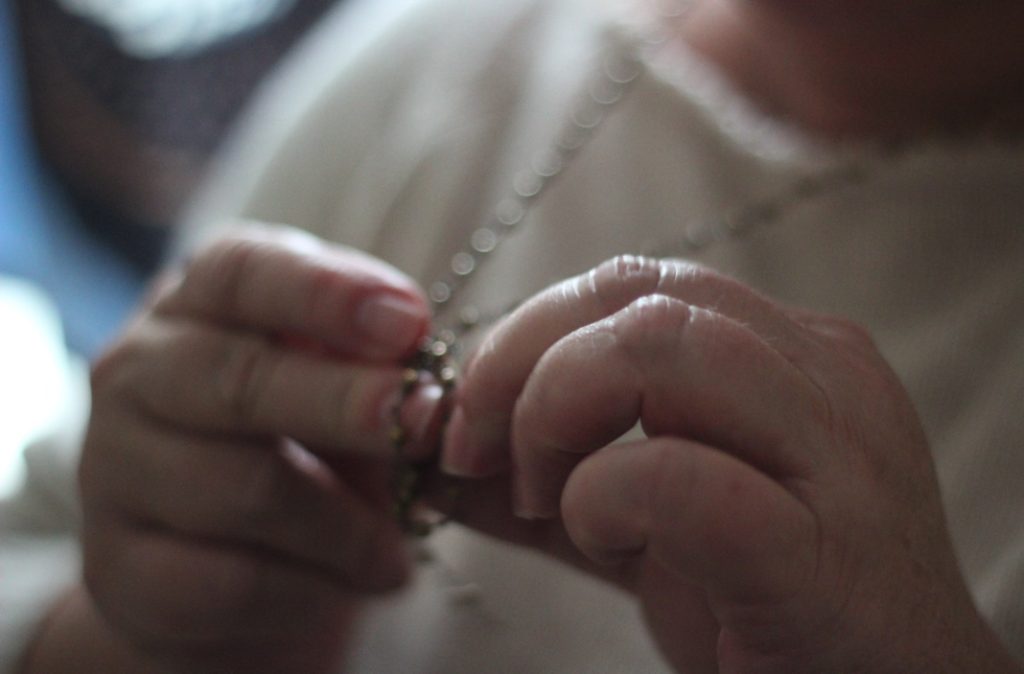
Overall, I found this shoot to be successful – I hadn’t taken portraits in a while before carrying out this shoot, so it took me a while at the start of the shoot to get to grips with directing my subject, using lighting correctly and adjusting settings effectively on the camera. This shoot was definitely an improvement from my first self portrait shoot – I had better planning and organisation, which really helped me to produce more quality outcomes. Plsnning locations and times specifically before shooting really helped me in this shoot. Although this photoshoot was still successful, I need to carry out at least one or two other portrait shoots in order to have a high enough amount of quality images to use for collages and final prints.
Photoshoot 4
Contact Sheets

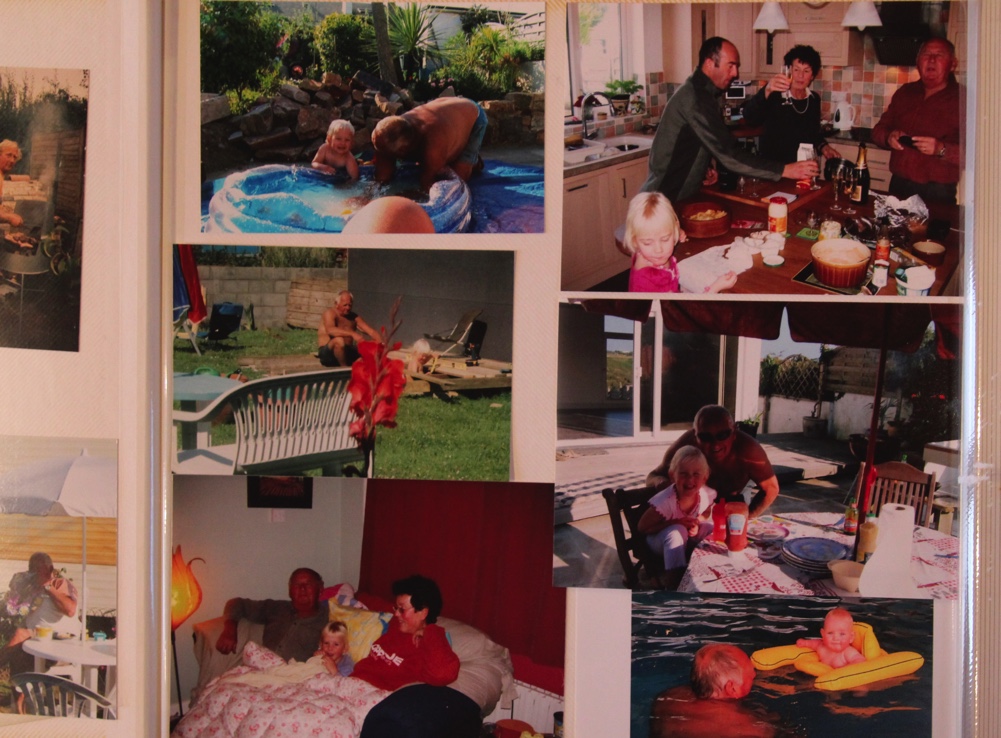
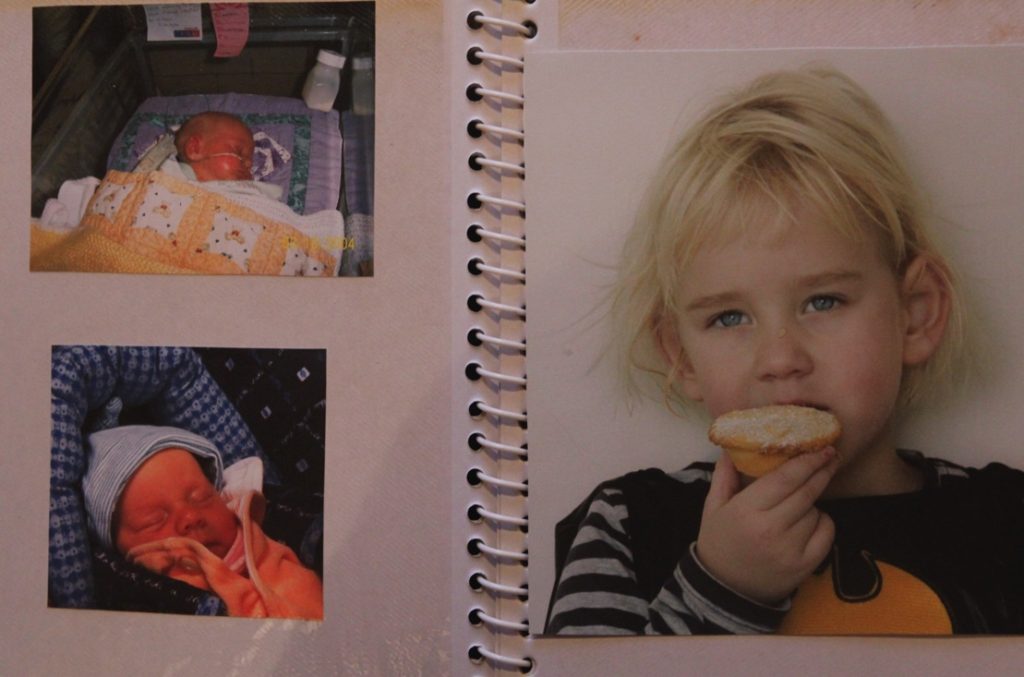
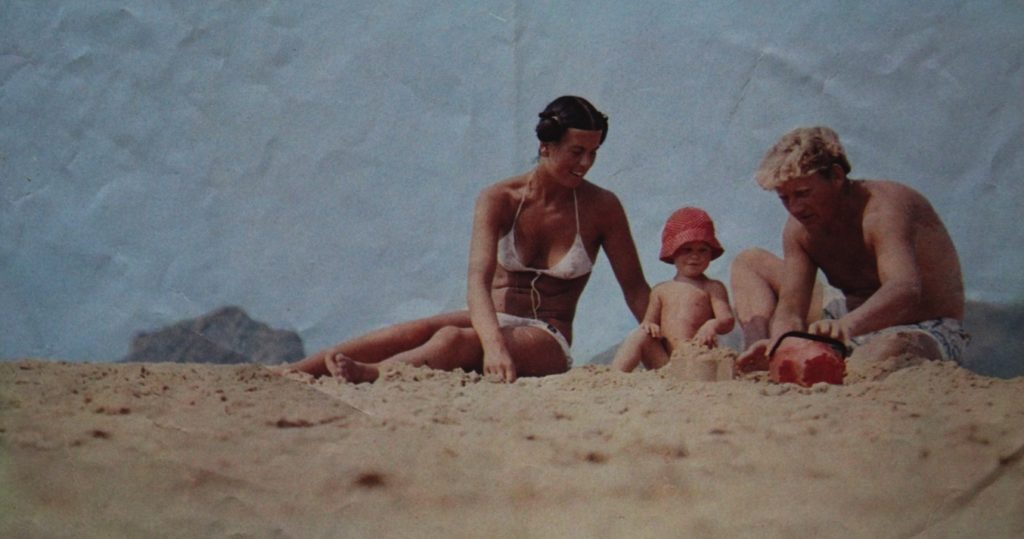
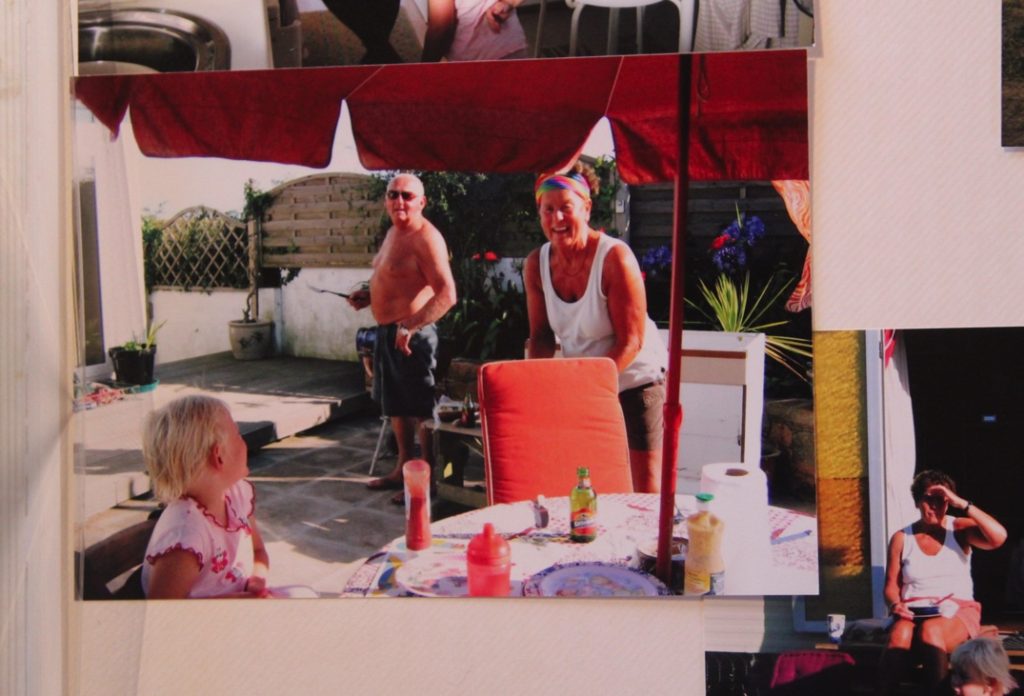
I took these in late afternoon, so had a little trouble with redness/orange lighting from overhead lights as it got darker. To combat this, I ended up taking the last few images outside. I could have avoided these issues by using a copystand at school, but most of these images are very precious and I wouldn’t want to bring them in out of their albums – the images still turned out even with the minor issues and weren’t affected too much so this didn’t change much in terms of quality.

Editing

I don’t need to edit these images much initially – they all are more or less as I want them. However, when combining them with other images i may edit them a little to make them more similar, or to correct over/under exposure. I used a red colour label to separate my best images out of the shoot and cropped/ rotated images as needed. I wanted to keep raw edges and imperfections in the images, as I think taking them away removes their authenticity to a point.
Best Images
Below are my best archival images from this shoot.

