Oregon Work – Selections, Best Images and Editing

Selection process

After importing my images into lightroom, I separated all my images into subfolders of my Oregon trip for each photoshoot. It was important to organise my images like this as I had a lot of pictures – they were all very different photoshoots and having them separated made my selection process much easier.
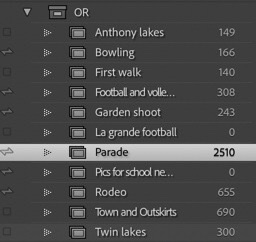
My categories in Lightroom Classic for this work

Best images selection

After sorting out my contact sheets and categories for each set of images, I began to filter my images for each photoshoot to pick my best images. In lightroom I used the P and X tools for my best images and images I did not want to keep. I then went through them again, making a new subfolder for my best images, with colour coding, and a star rating: 4 stars (good image, one of my best) and 5 stars (one of my best images, important to include in my final outcome). I used different colour coding to filter different kinds of best images: green for rural landscapes, red for urban landscapes, and purple for portraits.

Urban Landscapes

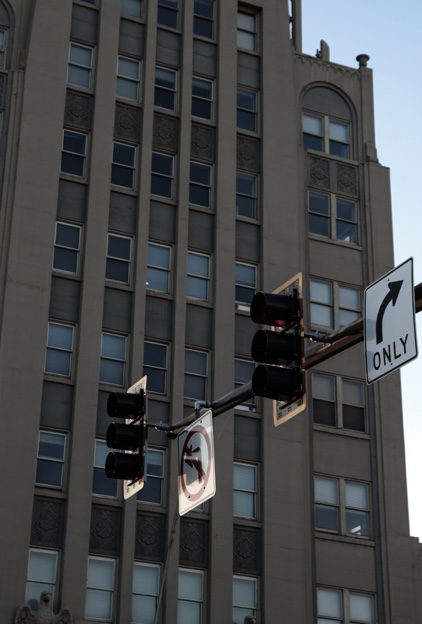
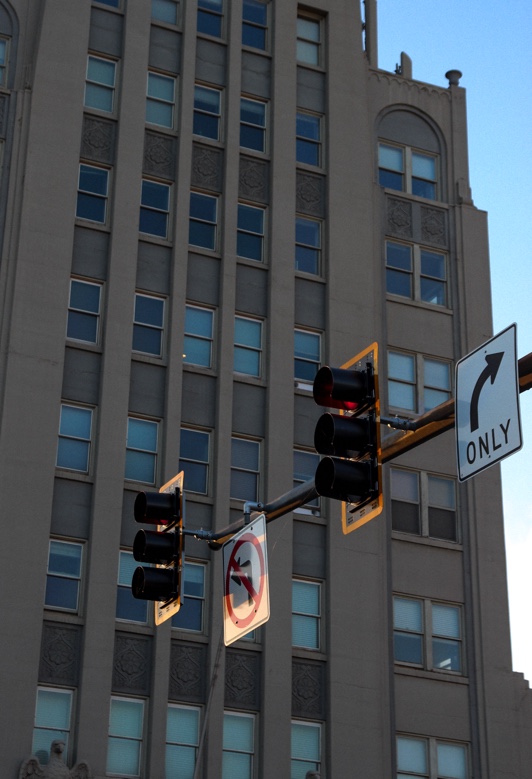
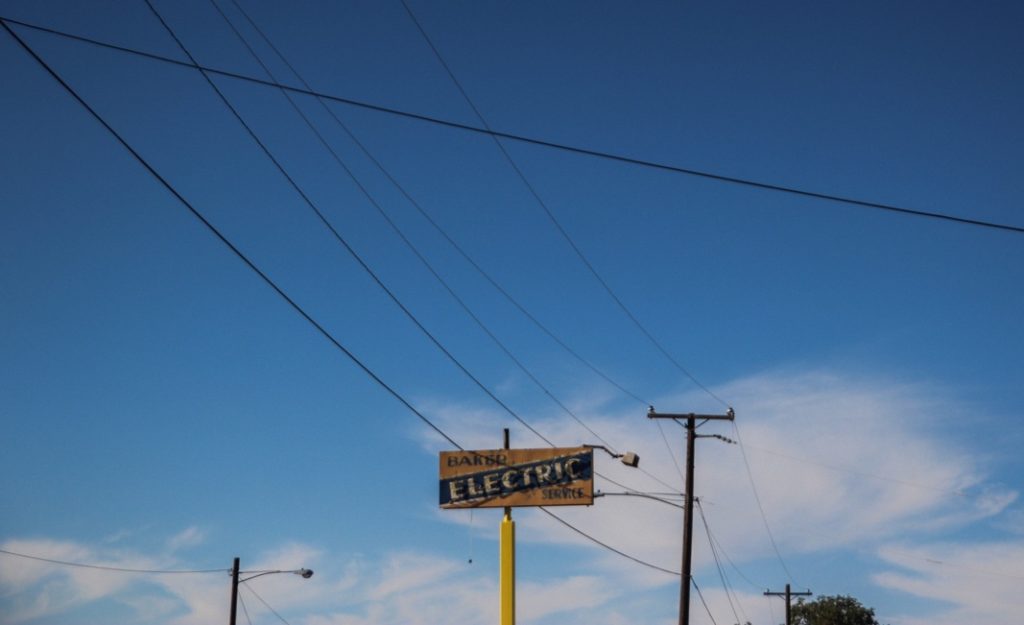
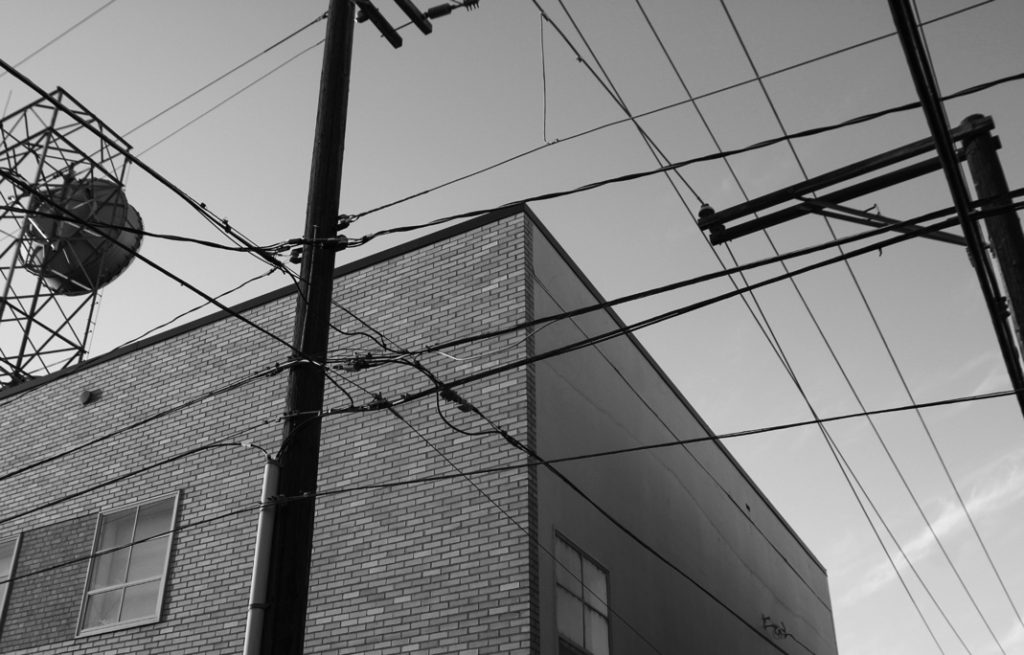
My best images for these shoots are labelled red, with star ratings.

Examples of my editing

Rural Landscapes

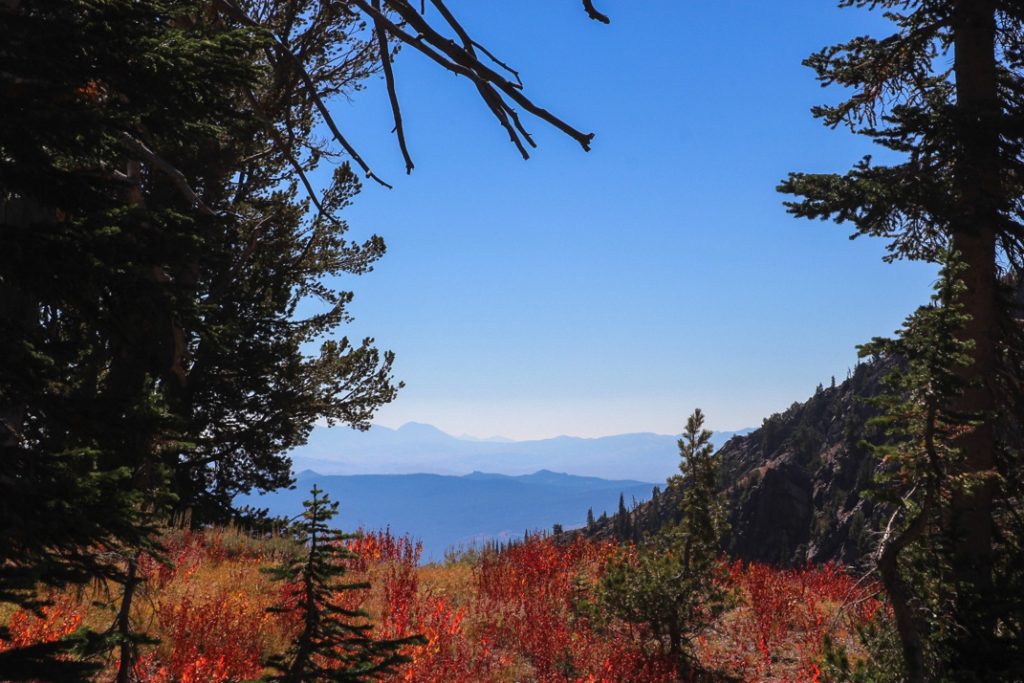
My best images for my rural shoots are labelled green.

Examples of my editing

Portrait images

The best images from my portrait shoots are labelled purple.

Examples of my editing

Evaluation

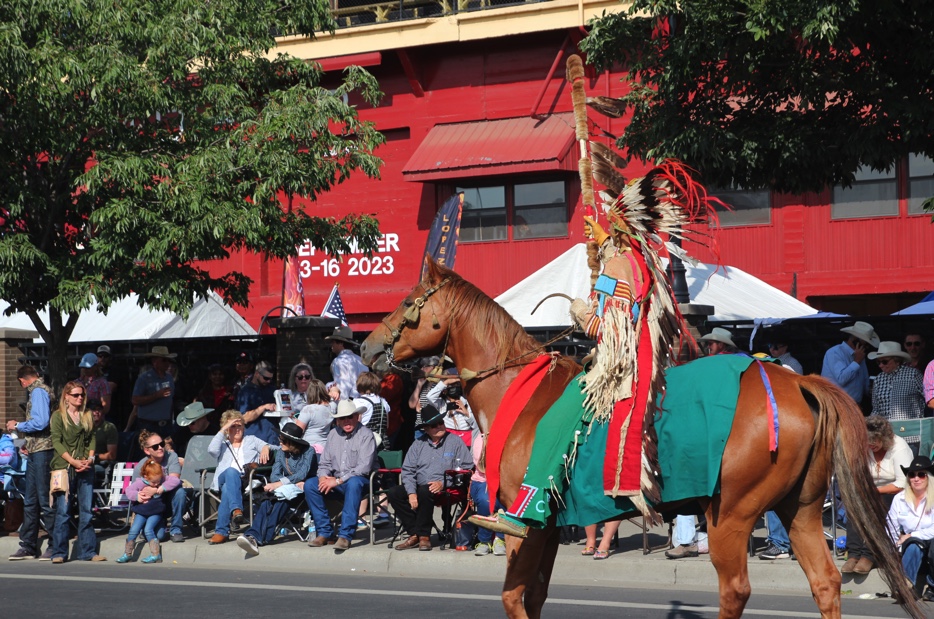
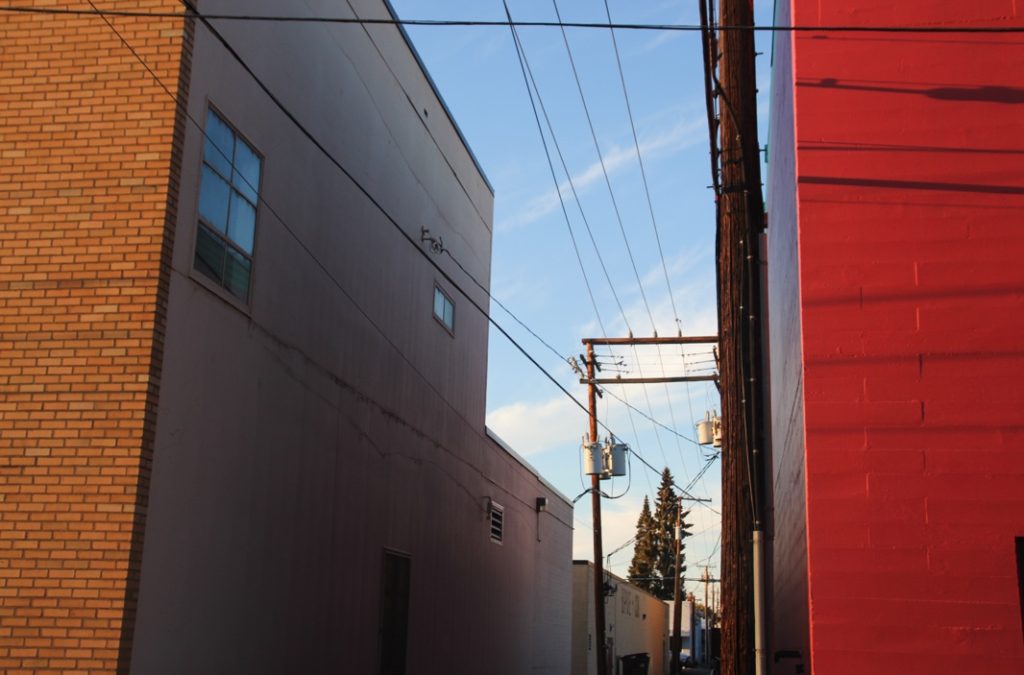
Overall I think my editing was quite successful. I tried to show a range of different edits, both B and W and colour. My editing was made more successful by the light in some of my shoots. Particularly, in my urban shoot, the light was great which made my editing easier – I shot during the start of golden hour, which helped to create a softer light with less glare and overexposure.

In my shoot from the parade I dealt with a bit of overexposure which I think I managed to correct quite well using lightroom. I also found cropping a very useful tool, as quite a lot of my images needed compisitionally changing. Using the cropping tool as well as the rule of thirds helped me to make a lot of my images much more compositionally balanced. In a lot of my images, I tried to create edits with vibrant and rich colours. I normally like to edit with lots of grain and a faded look, but for these images I wanted to try a different look, more vibrant and saturated. I think I acheived this quite well, but some of my images were too oversaturated at first – I edited some of my images, particularly the ones from the parade, twice or three times to make sure I was happy with the overall image.

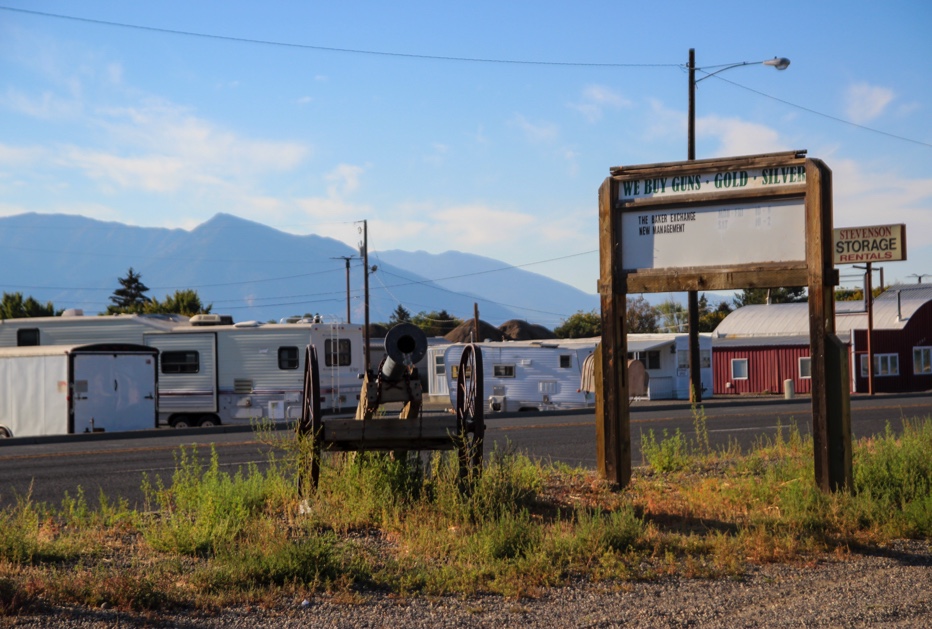
Photo Zine Research

A photography zine, for example, is a tool that photographers can use to tell a visual story, to inform an audience about a specific topic or issue, to showcase and advertise a new idea or simply create a preview of an ongoing project. – Google

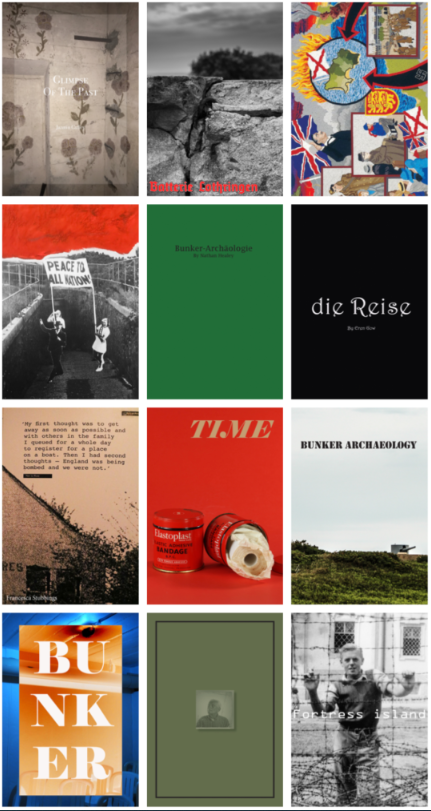
Examples of Photo Zines

Photo zines are a method photographers use to convey information to their viewers in a simple and easy to understand way. They can me constructed with photographs and typography or just photographs. Personally i think that photo zines without writing make a more interesting zine as more is left to the imagination of the viewer.

There are many ways to create a photo zine however the most efficient way is using Adobe InDesign. The software makes it very simple to construct the zine while still having almost every feature a professional photographer would need.

Layout design and desktop publishing software | Adobe InDesign

There are many aspects required to make a zine a quality product that people want to look at. The front cover is the most important part as it must be designed to grab the viewers attention. this means it must have the best image displayed to cover the whole front page. There are multiple ways to lay out the images within the zine. Firstly where is a double page spread there the image will cover both pages going all the way to the corners. This is where the photographer would place their best images as it shows off the detail and colour the best. Second is a sing page spread, this is where the photographer would place one image covering just one page of the zine. this means that two images will be next to each other which means the designer must ensure that they go together well and do not contrast too much. Lastly is a framed image. this is when the photographer makes the images smaller than the page so that a boarder whichever colour the print paper will be will appear around the edge. This can show some of the best details in an image as the colours in the photo can be made to contrast the boarder.

green island photo shoot

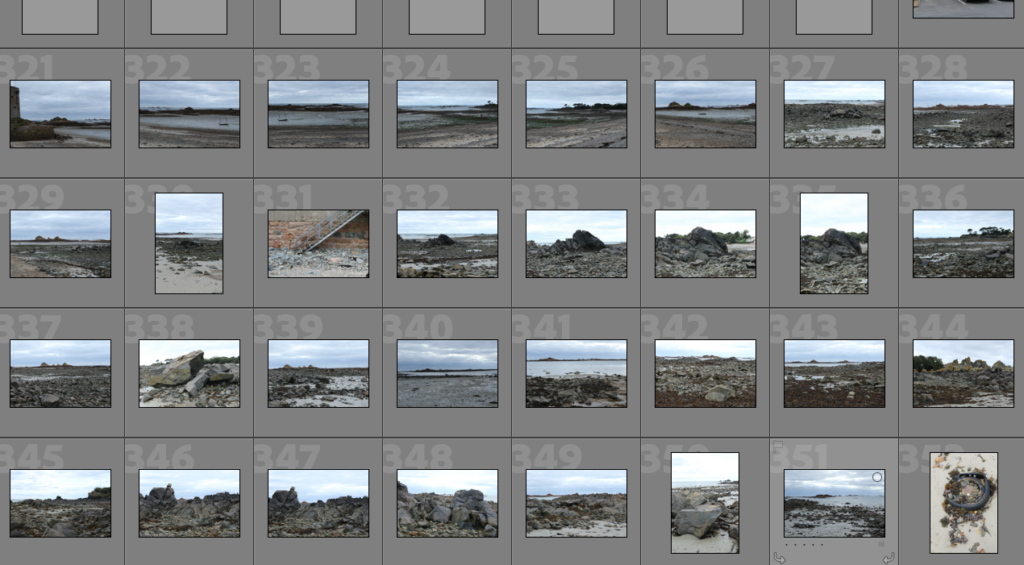
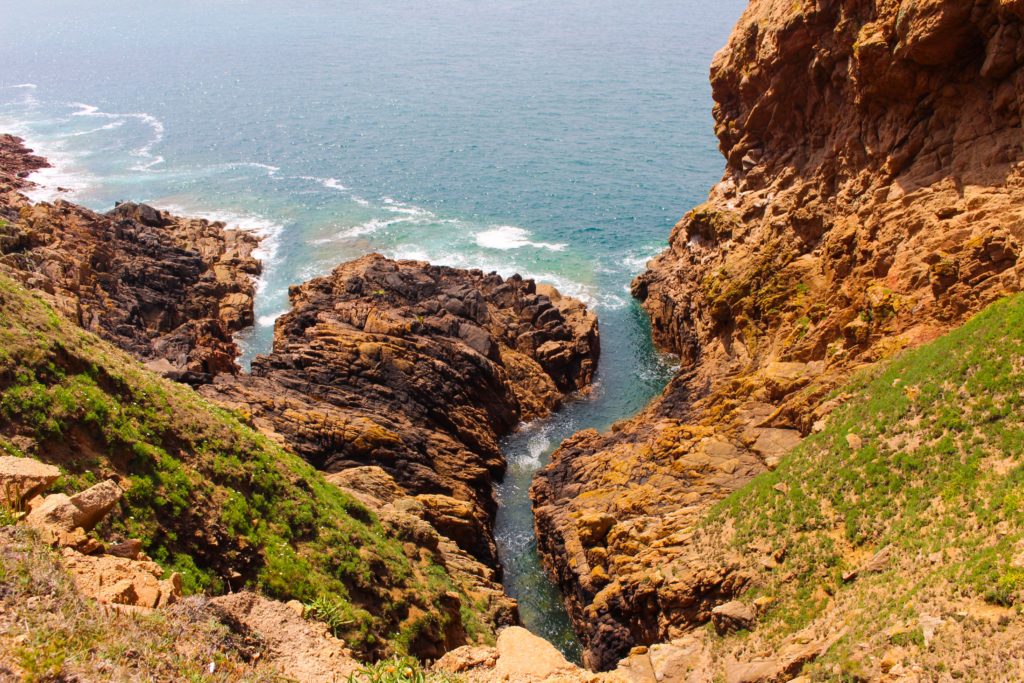
we walked from le Hocq along the coats line to green island along this walk I positioned my lens onto the coast line, rocks and out to see. from this trip i took 464 images. after I went through all my images and rated them i ended up with 102 mgood image that i felt was worth editing i then edited them and continued to work my way through refining them down every star level.

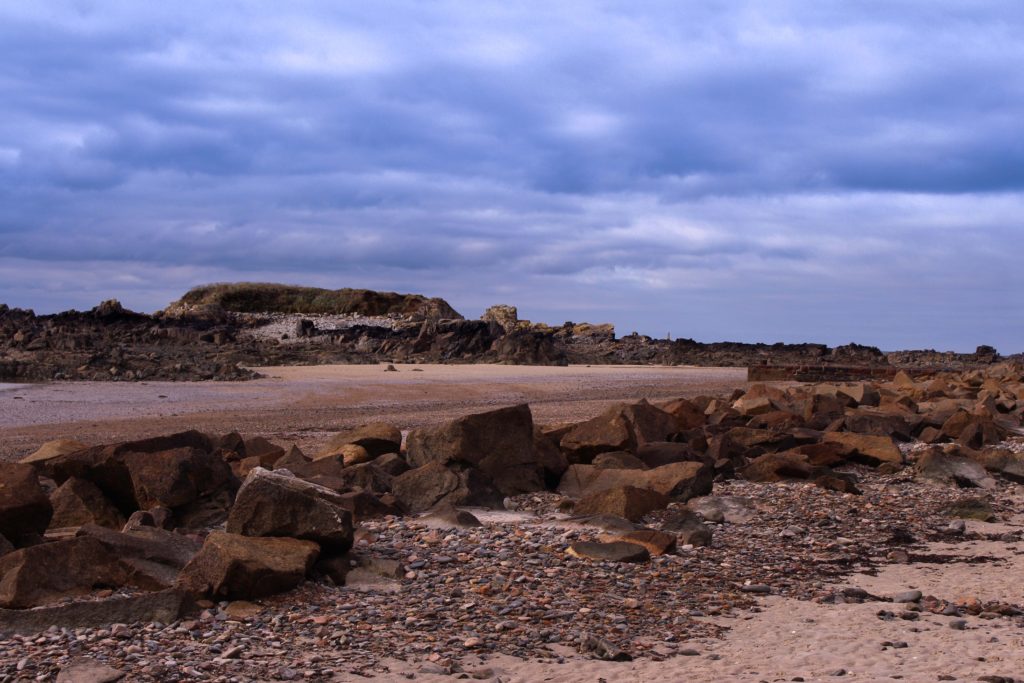
the day we went out it was very over cast so I used the graduate filter tool on almost all of them to reduce the exposure in the sky portion of the images, so that the image is not over exposed.

whilst we where walking around i was experimenting with a lot of very low perspectives which made the rest of the landscape seem more impressive.

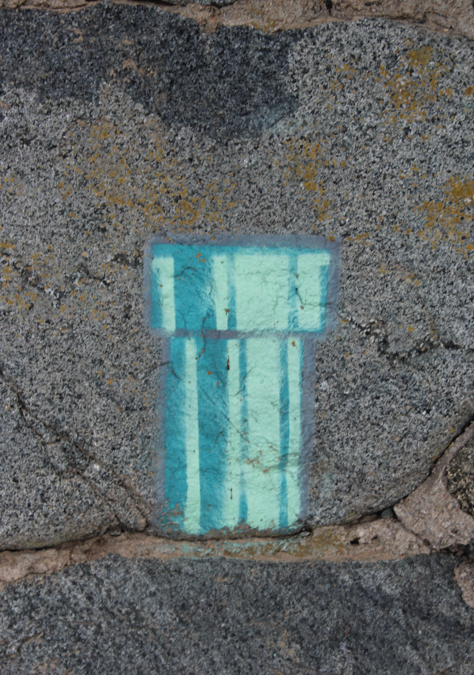
I found some graffiti on the sea wall at the end of green island.

I created many virtual copy’s of this image and continued to manipulate them to appear in different colours, using the different hues in the image and saturations levels. I then had the idea to juxtapose four of them in different colours.

these show all my best images from this shoot that I have rated to 5 stars.

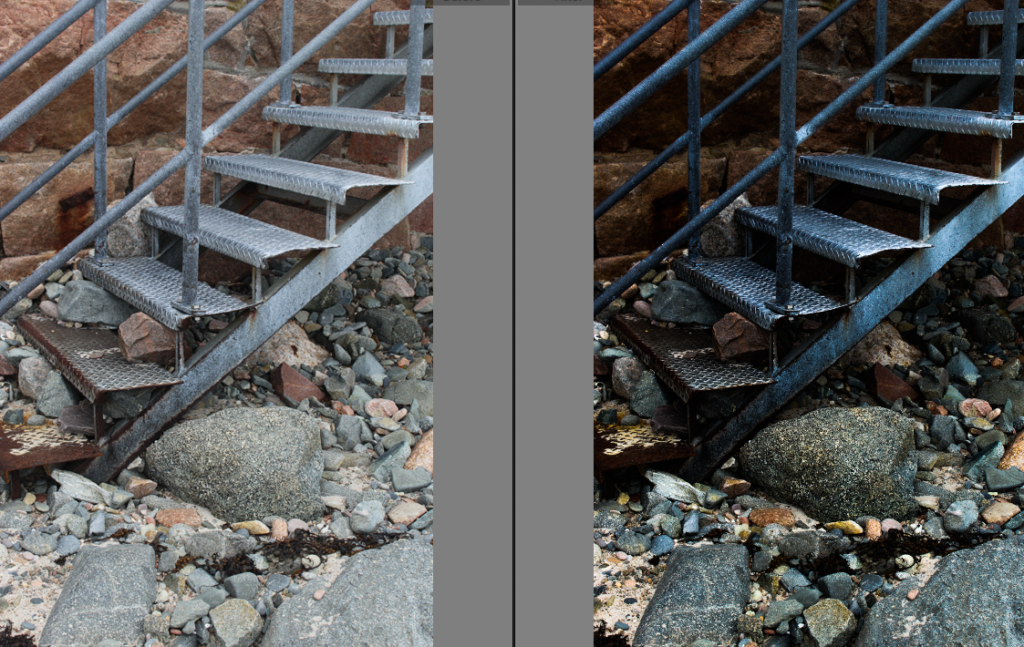
when I found these stairs going on to the beach I went over because I liked the interesting wear that has been put on these stairs from rocks bashing against them in the waves and the interesting rust colours created by the salt water corroding the metal. I took a few images of these stairs however I liked this image the most because the leading lines of the stairs which lead your eye up and across the image. this image is much more clos up than the other images I took. I then edited it to bring out the shadows to give more depth to the image. I also bring out the highlights on the stones on the floor.

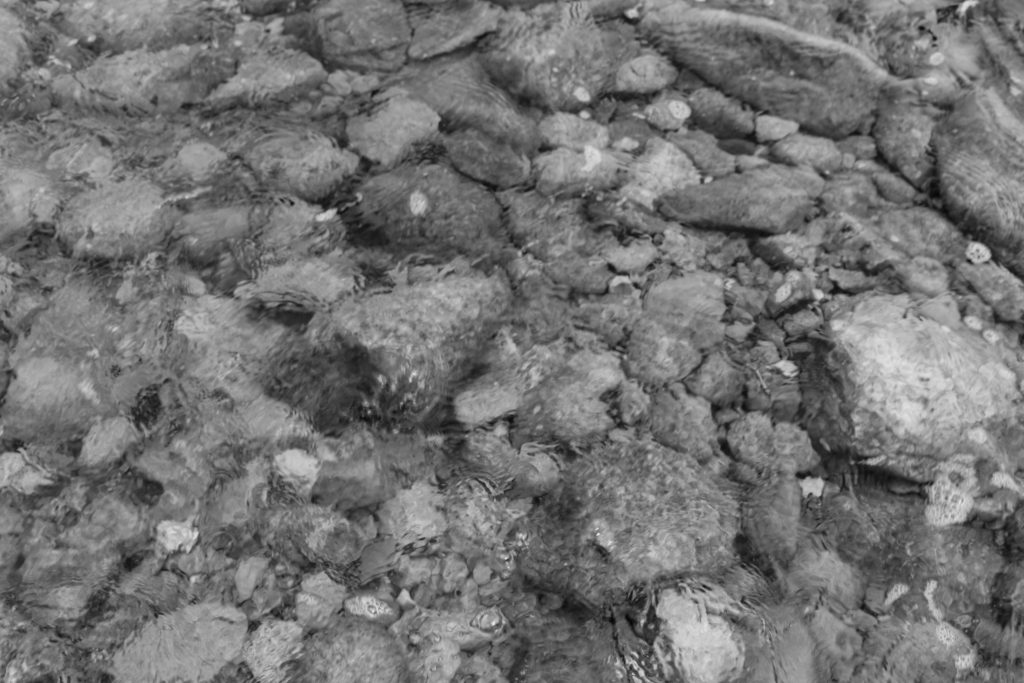
I found a rock pool far down the beach at le Hocq where a very interesting pattern was formed by moving water sand on top of a rock which created this very organic intricate pattern. I positioned my lens straight above it to give a deadpan aesthetic.

I then edited it to bring out the pattern as much as possible by increasing the contrast and vibrance. I decreased the exposure to darken the image because it was a very over cast day that i felt didn’t work with this image.

I took this image from the top of green island I tried to position some of the sea wall on the back side of the island to give contrast to the rest of the very natural environment. I used the graduate filter tool to reduce the exposure of the sky so that there is better balance to the image I also reduced the highlights in the sky to give depth and bring out definition in the clouds.

green island photoshoot

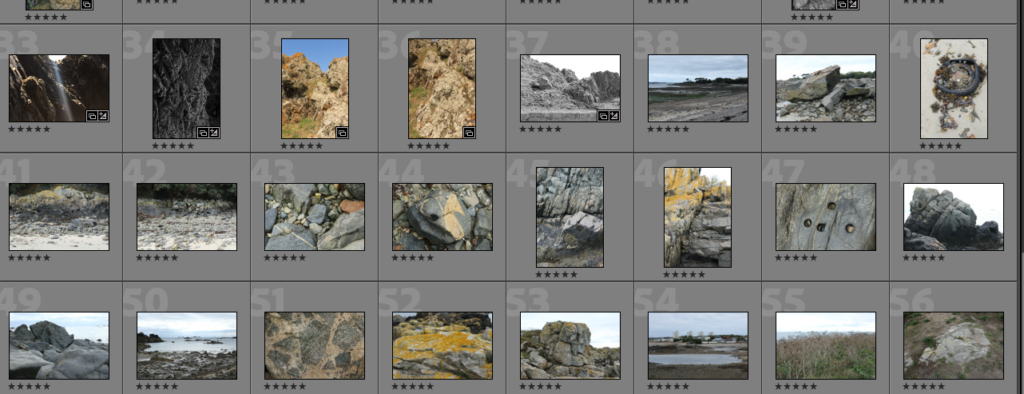
SELECTION

Uncategorized contact sheets
First I sorted them by rating
Final set of 16 zine photos shortened down

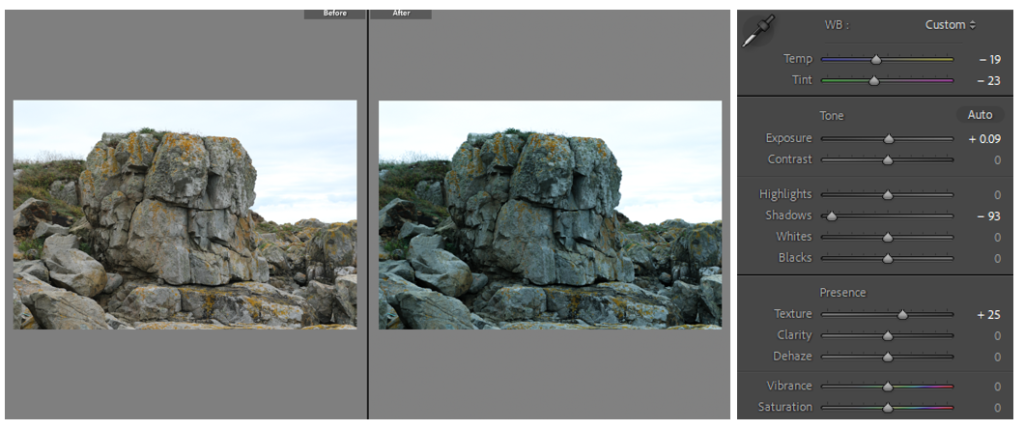
EDITING

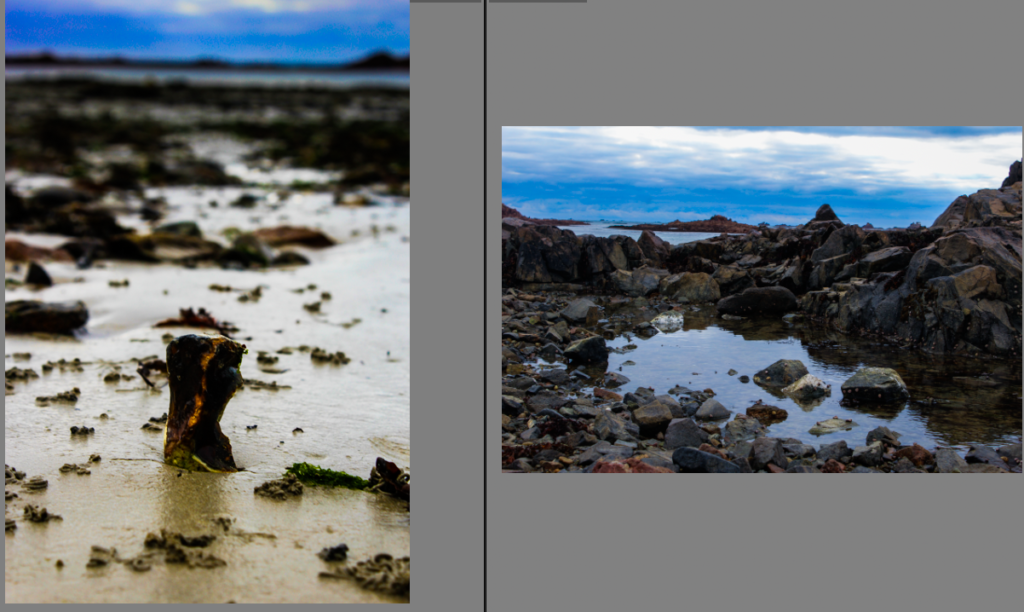
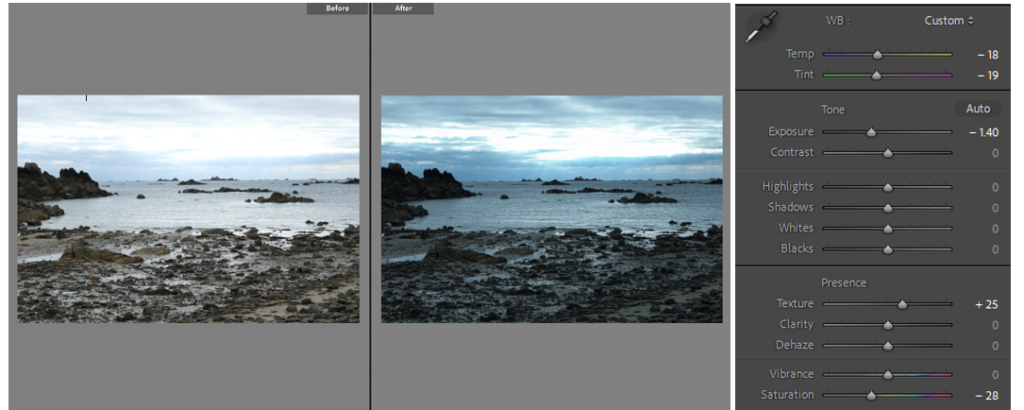
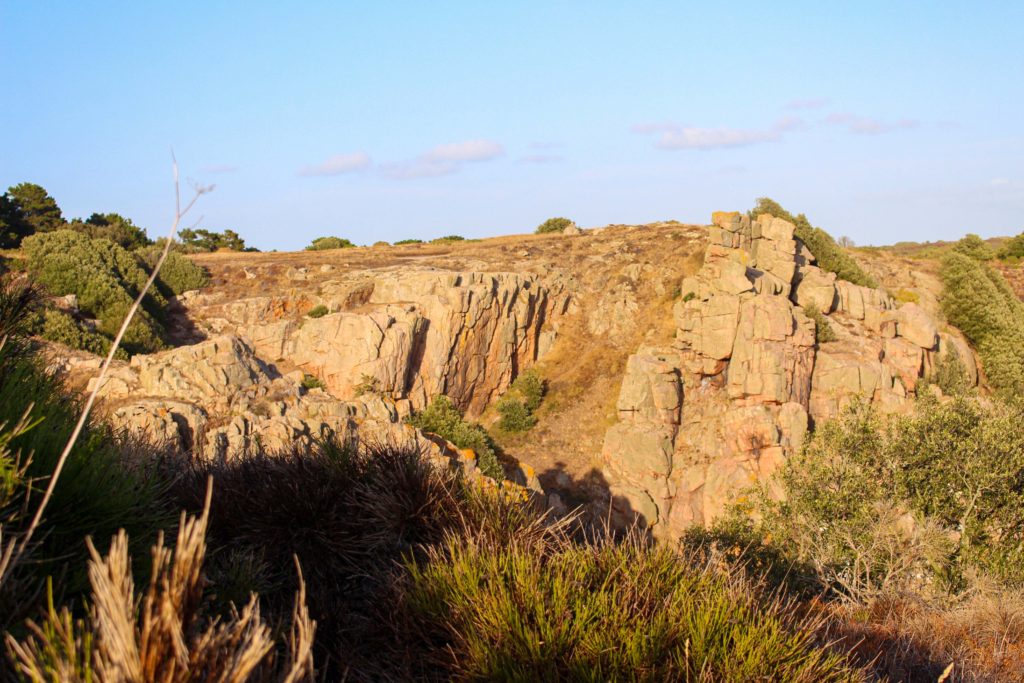
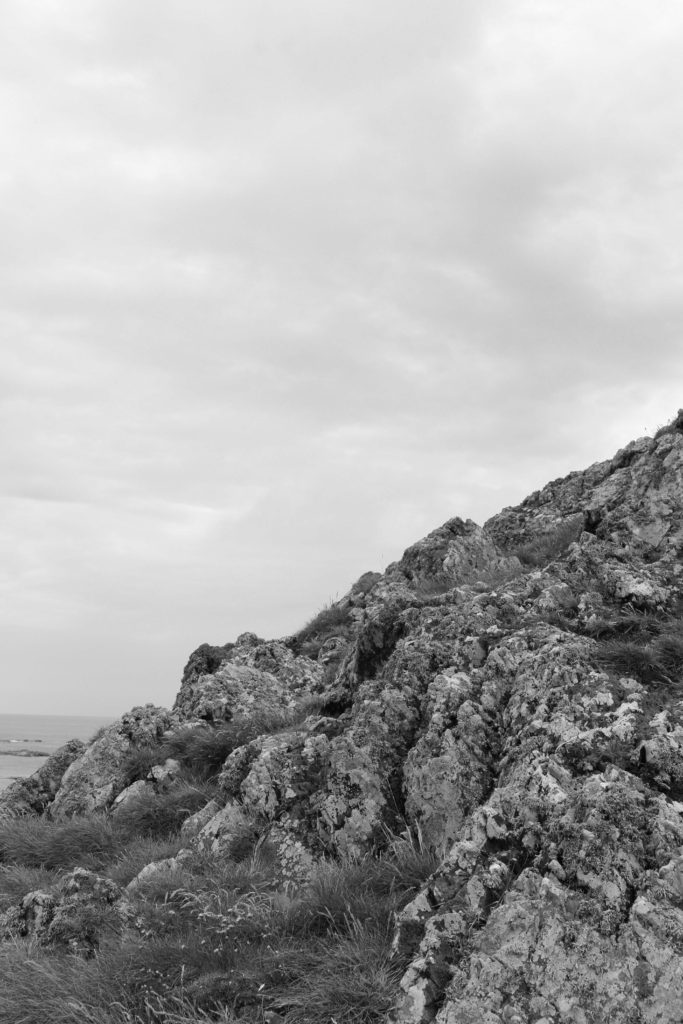
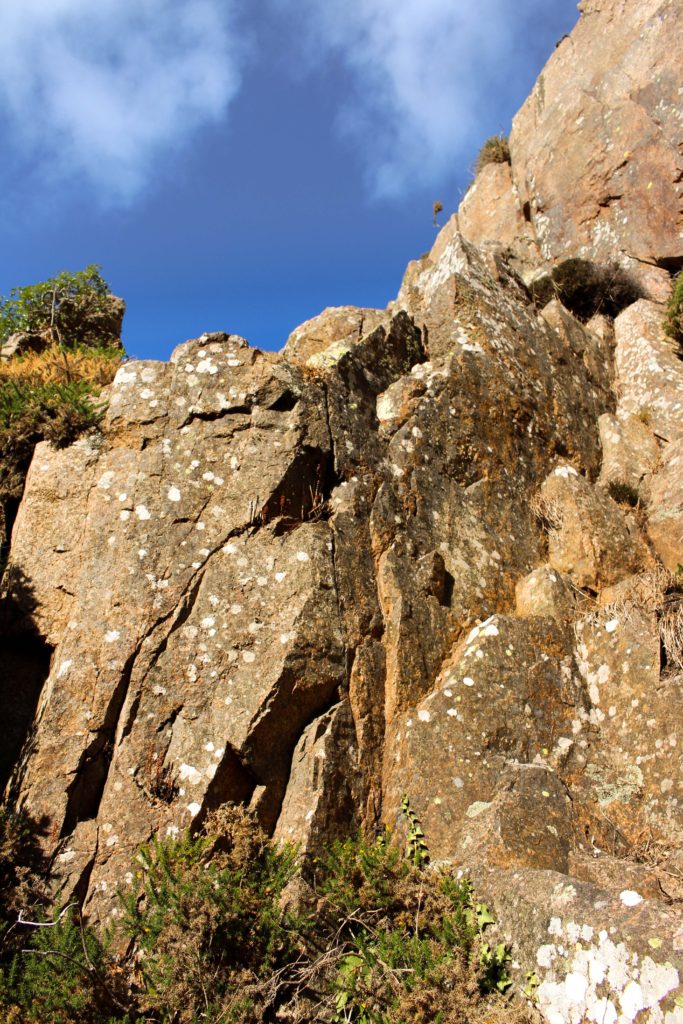
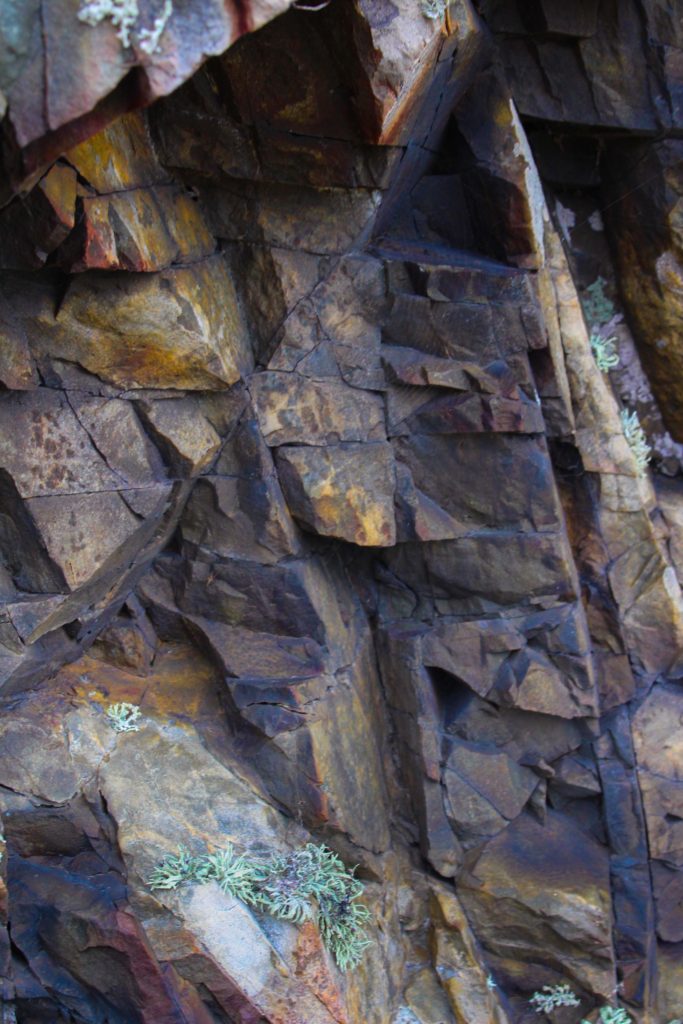
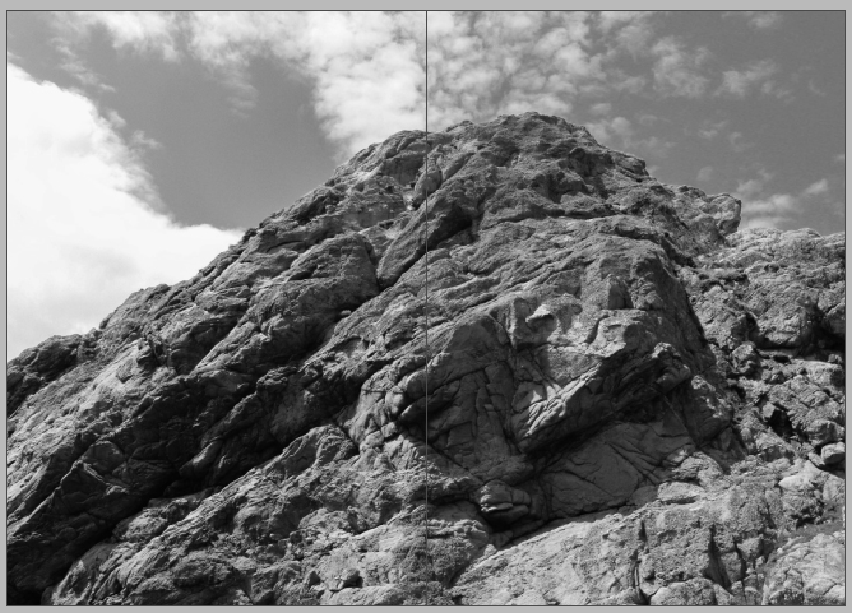
All of the photos are edited similarly to match the aesthetic of my zine, but these are my three favourite edited photos. Above, i lowered the shadows to draw focus and add detail to the cracks and edges in the rock face. The photo below i lowered the exposure and added a more blueish hue to the sky which overall gave a eye catching colour contrast between the rocks and the horizon.

Colour plays a big part in setting the mood in photography. I edited my photos with an underlying hue of blue and green to add emotion and help create a narrative. blue is often associated with a sense of calmness and safety, whereas green creates a sense of tranquility and vibrance. It’s nature’s color therefore i used it in my editing as the photos are of natures landscape and erosion of rocks over time. Paired together, green and blue are cool colors that form a refreshing combination.

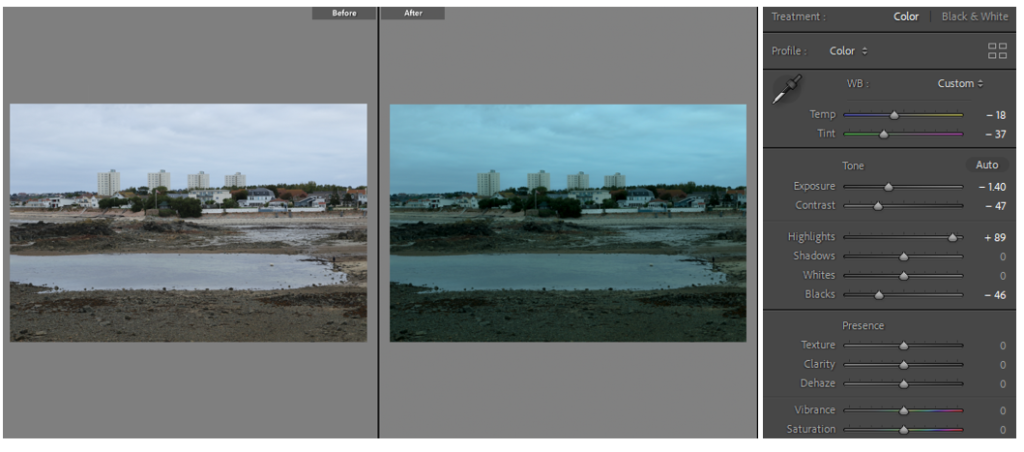
This photo is my favourite my 16 edited images – my attention goes straight to the pool in the middle, then to the tower blocks and manmade horizon in the background – a contrast from my top photo of the sea, the change in setting shows the difference between a natural landscape vs. an industrial landscape, and the impact mankind has had on nature. The tower blocks in the back helps build structure in the photo as they are in a set of 4 which catches the viewers eye, and the darker colours compliment the buildings by adding narrative.

Zine Design

InDesign Settings for the Zine:
Create new document
width: 148mm
height: 210
pages: 16
orientation: portrait
columns:2
column gutter: 5mm
margins: top, bottom, inside, outside: 10mm
bleed: top, bottom, inside, outside: 3mm

Image Selection:

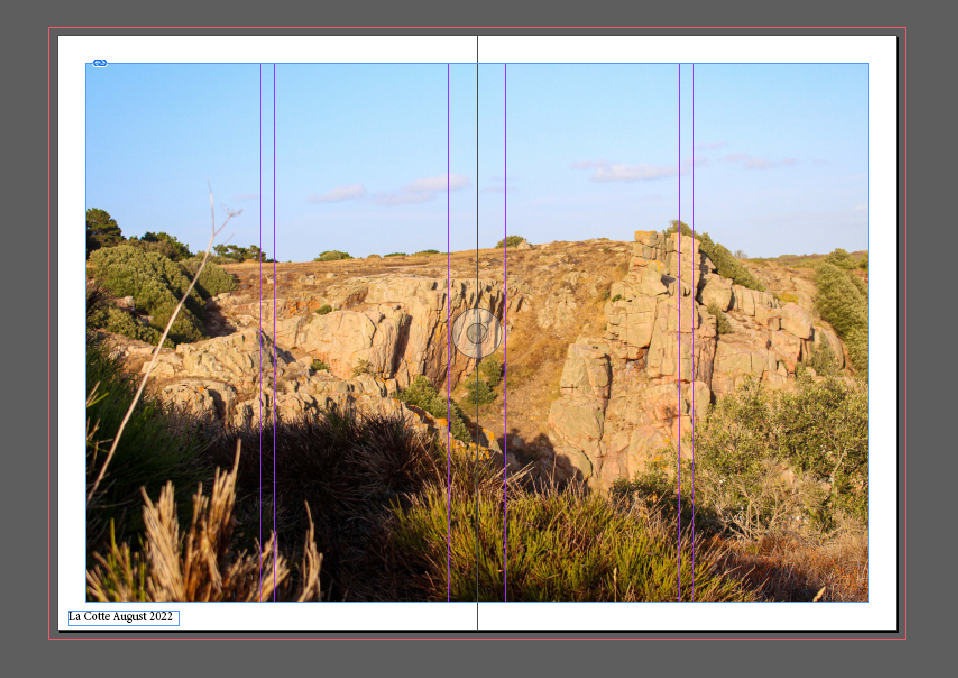
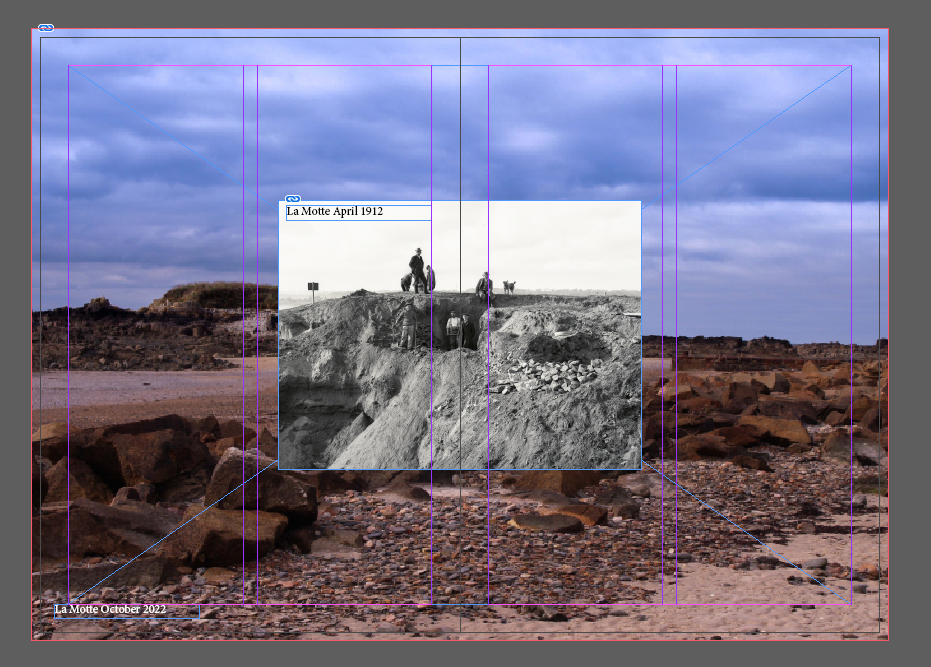
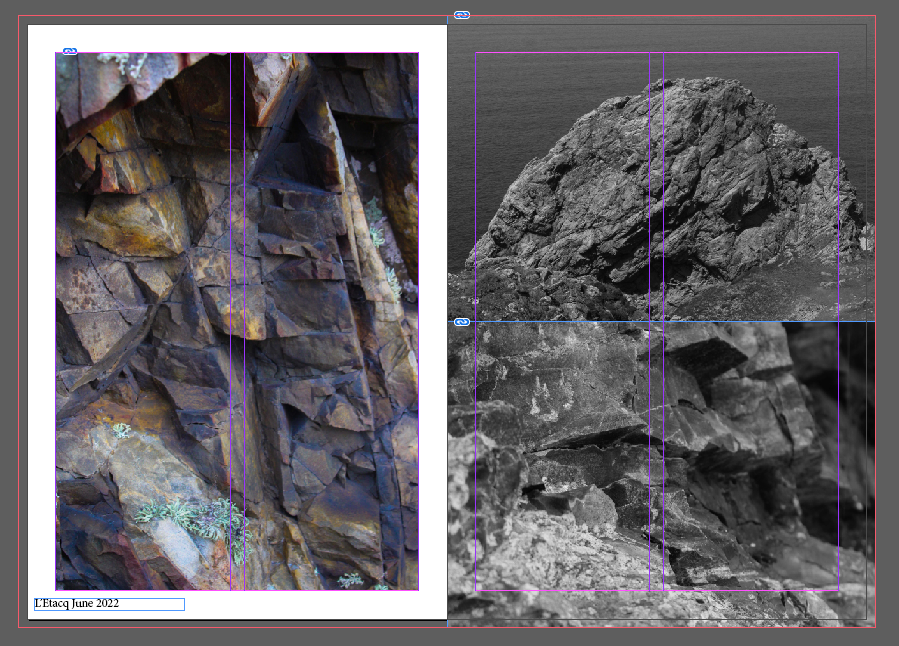
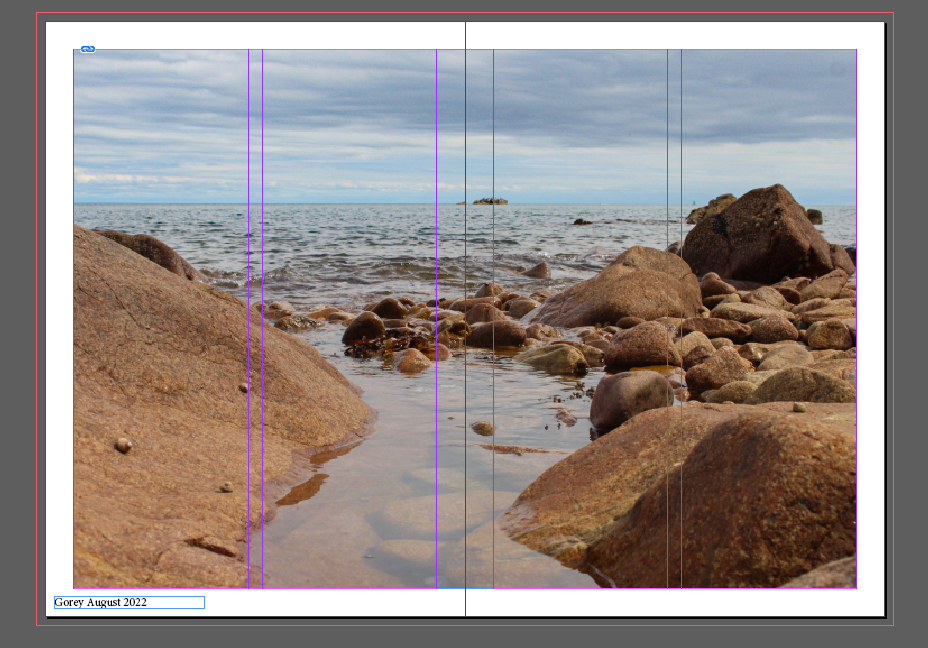
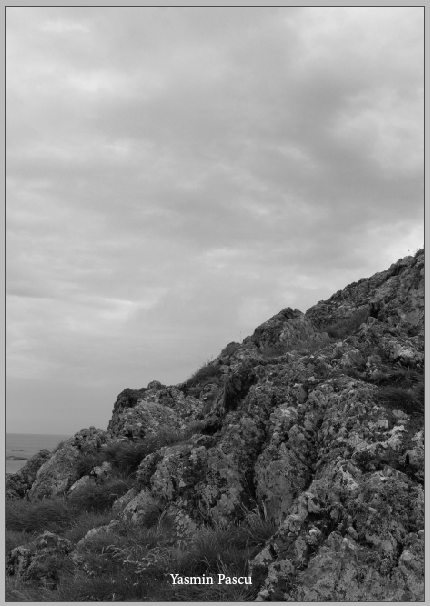
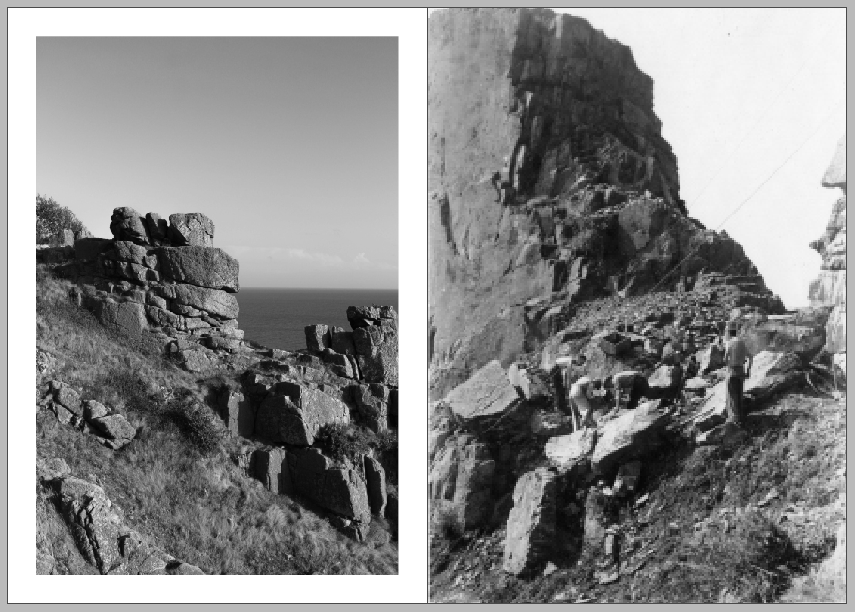
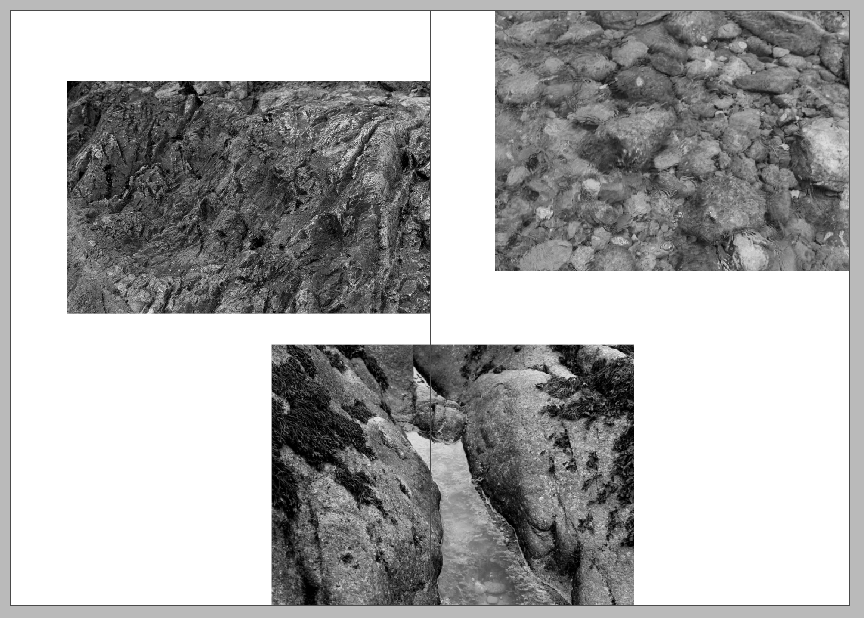
I started by making a new zine document in InDesign using the settings above. I then went into Lightroom and went through all of my photographs from the “My Rock” project. I wanted my zine to be about the rocks around the island of Jersey, which is why I chose 4 different locations (La Cotte, La Motte, L’Etacq and Gorey) and about 4 images for each location to present in my zine.

My Images:

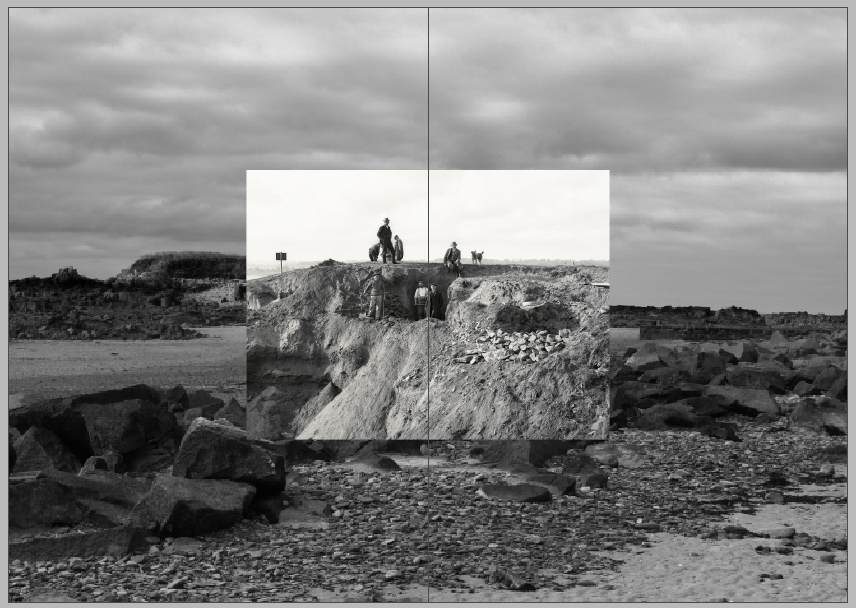
Societe Jersiaise Images:

Possible Zine Layouts:

Layout 1
Layout 2

Layout 1:

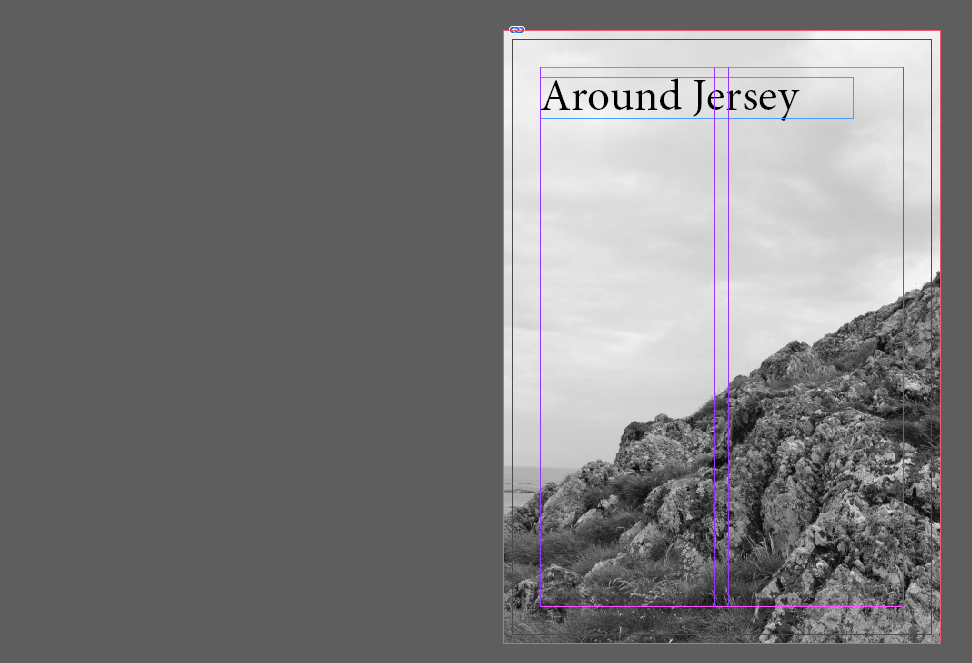
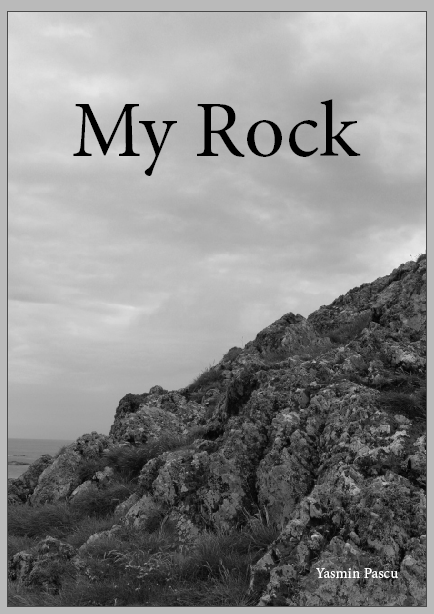
I like this layout because it uses all of my images and clearly shows all 4 locations, however, it also feels like there is too much going on. The pages of the zines are full of images which makes it a bit complicated and not as simple as I wanted at the beginning. Each page has a text in either the right or left corner which informs the viewer where the images were taken and why. I think this is a nice touch but it also clutters the page and the position of the text is inconsistent on each page which I don’t like. The title for this zine is “Around Jersey” which is an okay title because it truthfully says what the zine is about, but it’s also boring. I feel like the back cover should also be something more than just a black image because it makes the zine look unfinished. Even a little story/poem on what the zine is about would look nice at the back to make it more interesting.

Layout 2:


I like this layout more than the other one because it looks simpler and it’s not as cluttered. I think the black and white images makes the zine look more well put together and not as distracting. I managed to use more or less the same images I used in layout 1, which I’m happy about, as well as a few new ones because I wanted the theme to be the same and I didn’t want to change it last minute. I took away the text from each page that informed the viewer about each location because I thought it was bit too much, but I will definitely use it again in a different project because I really liked it. I kept the back cover black because I couldn’t think of anything and added the text “my rock” all over it in grey because that is my title. I changed the title to the name of my project because I thought it would be easier and more fitting.