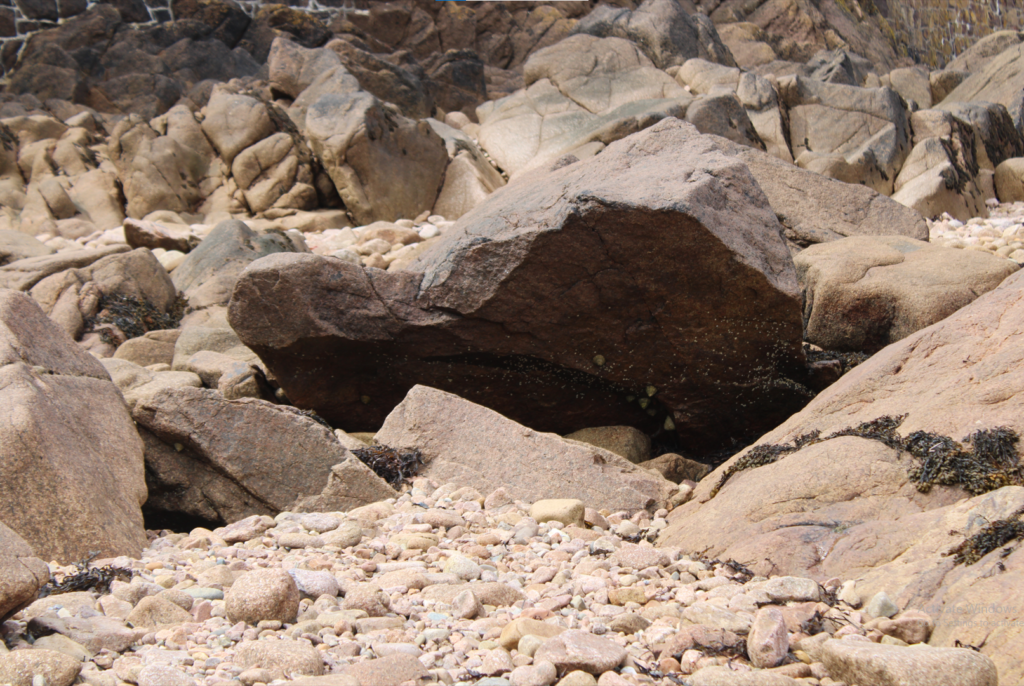
We decided to create 3D sculptures out of our images. In order to create my photo sculpture, I needed to select which photos I wanted to use. I knew I wanted to experiment with textures so I began by choosing a variety of close-up shots with a mixture of patterns as I thought they would work well when I attempted to add texture to them.
—- Experiment 1: ————-
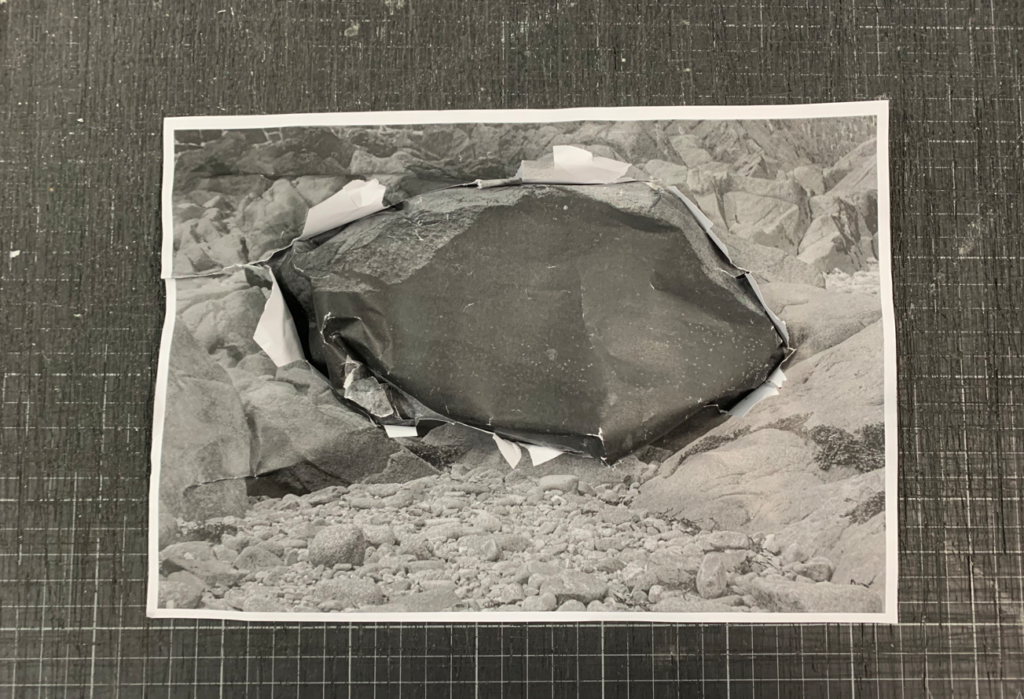
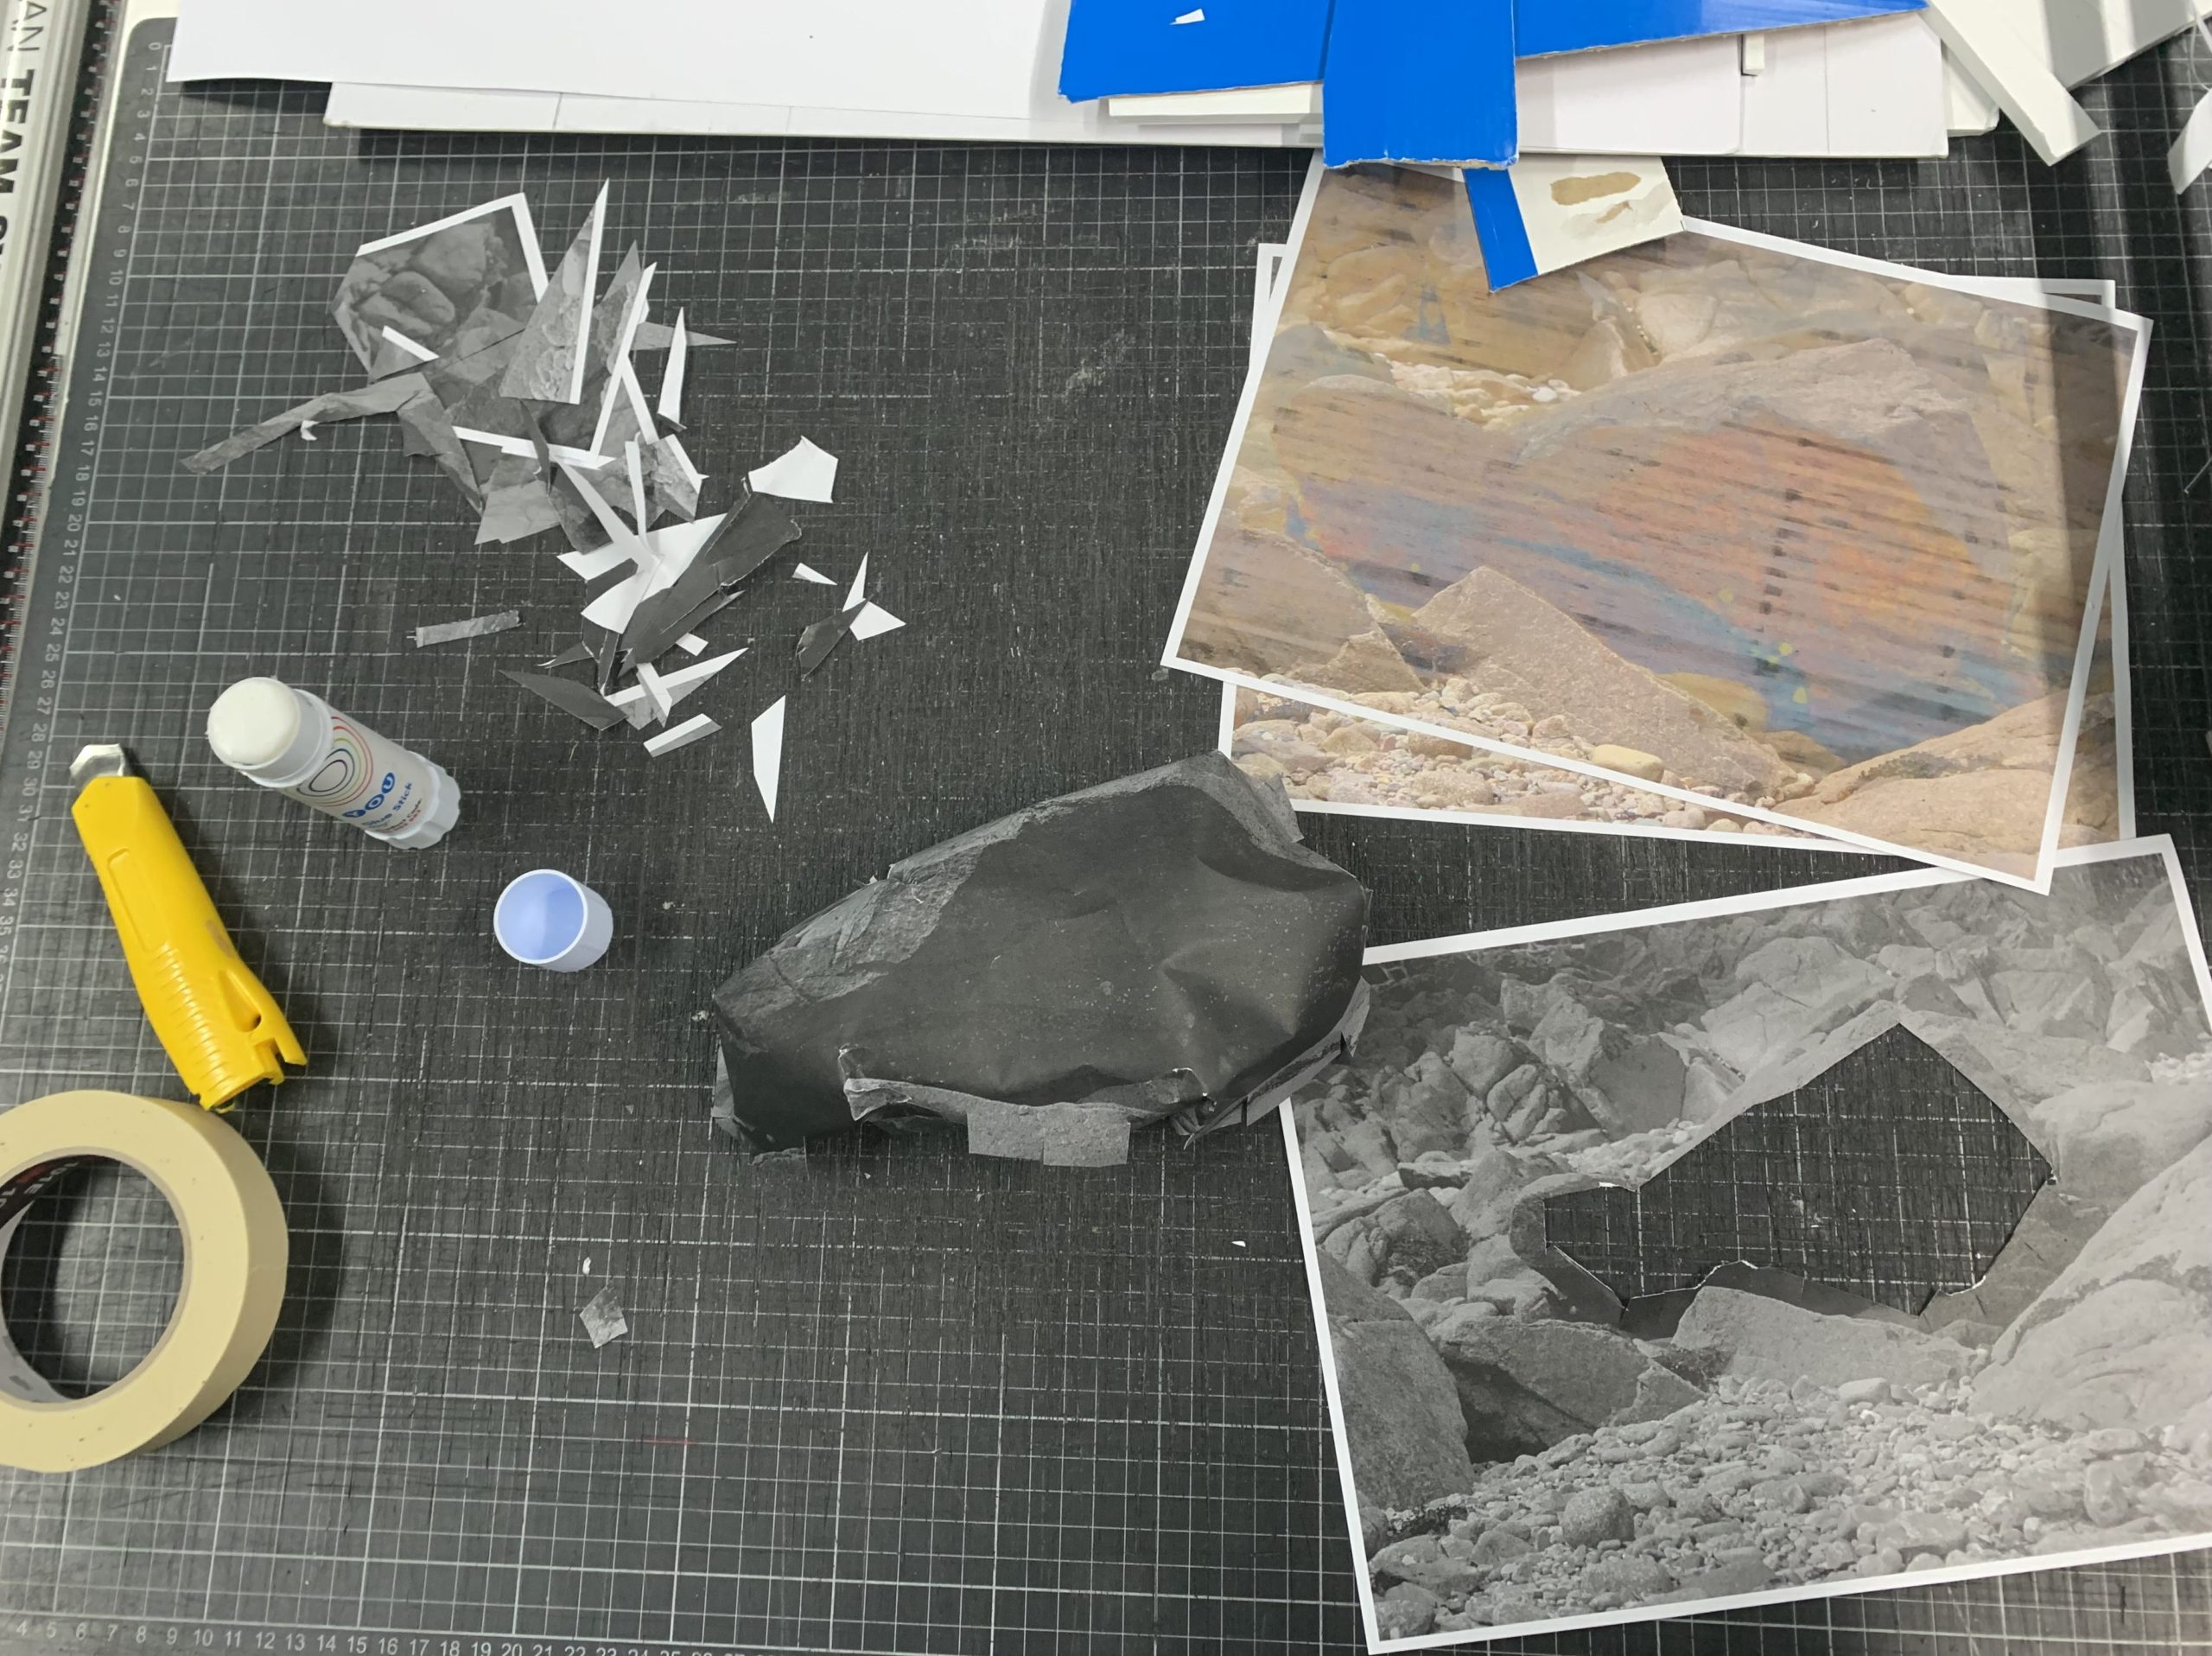
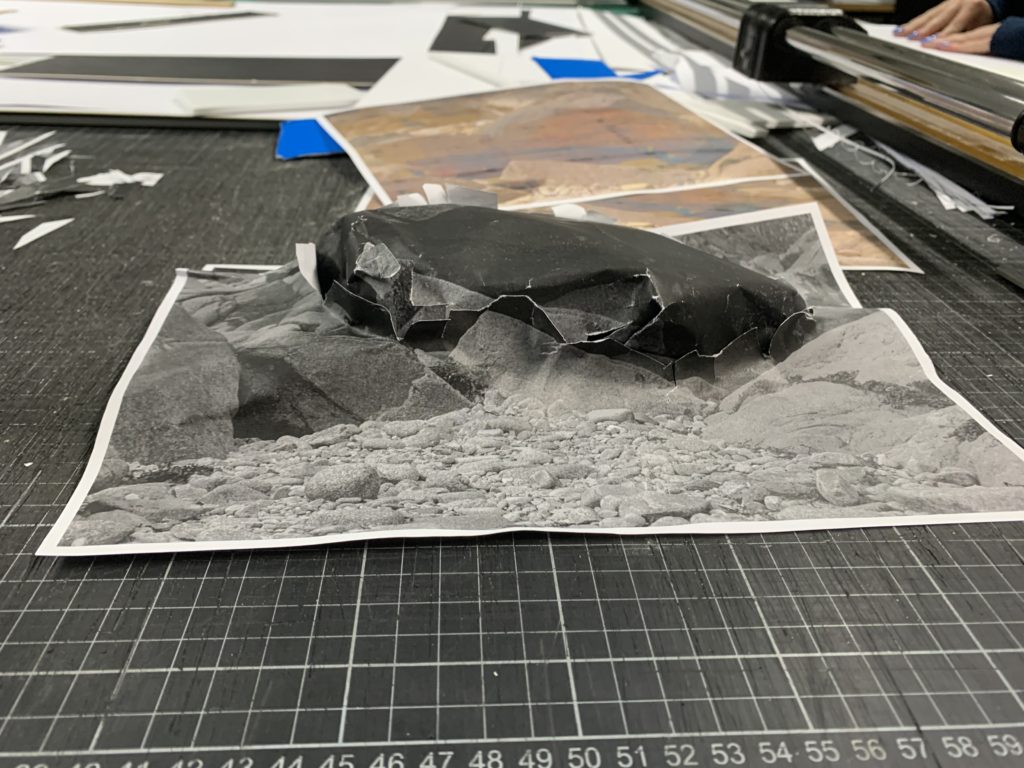
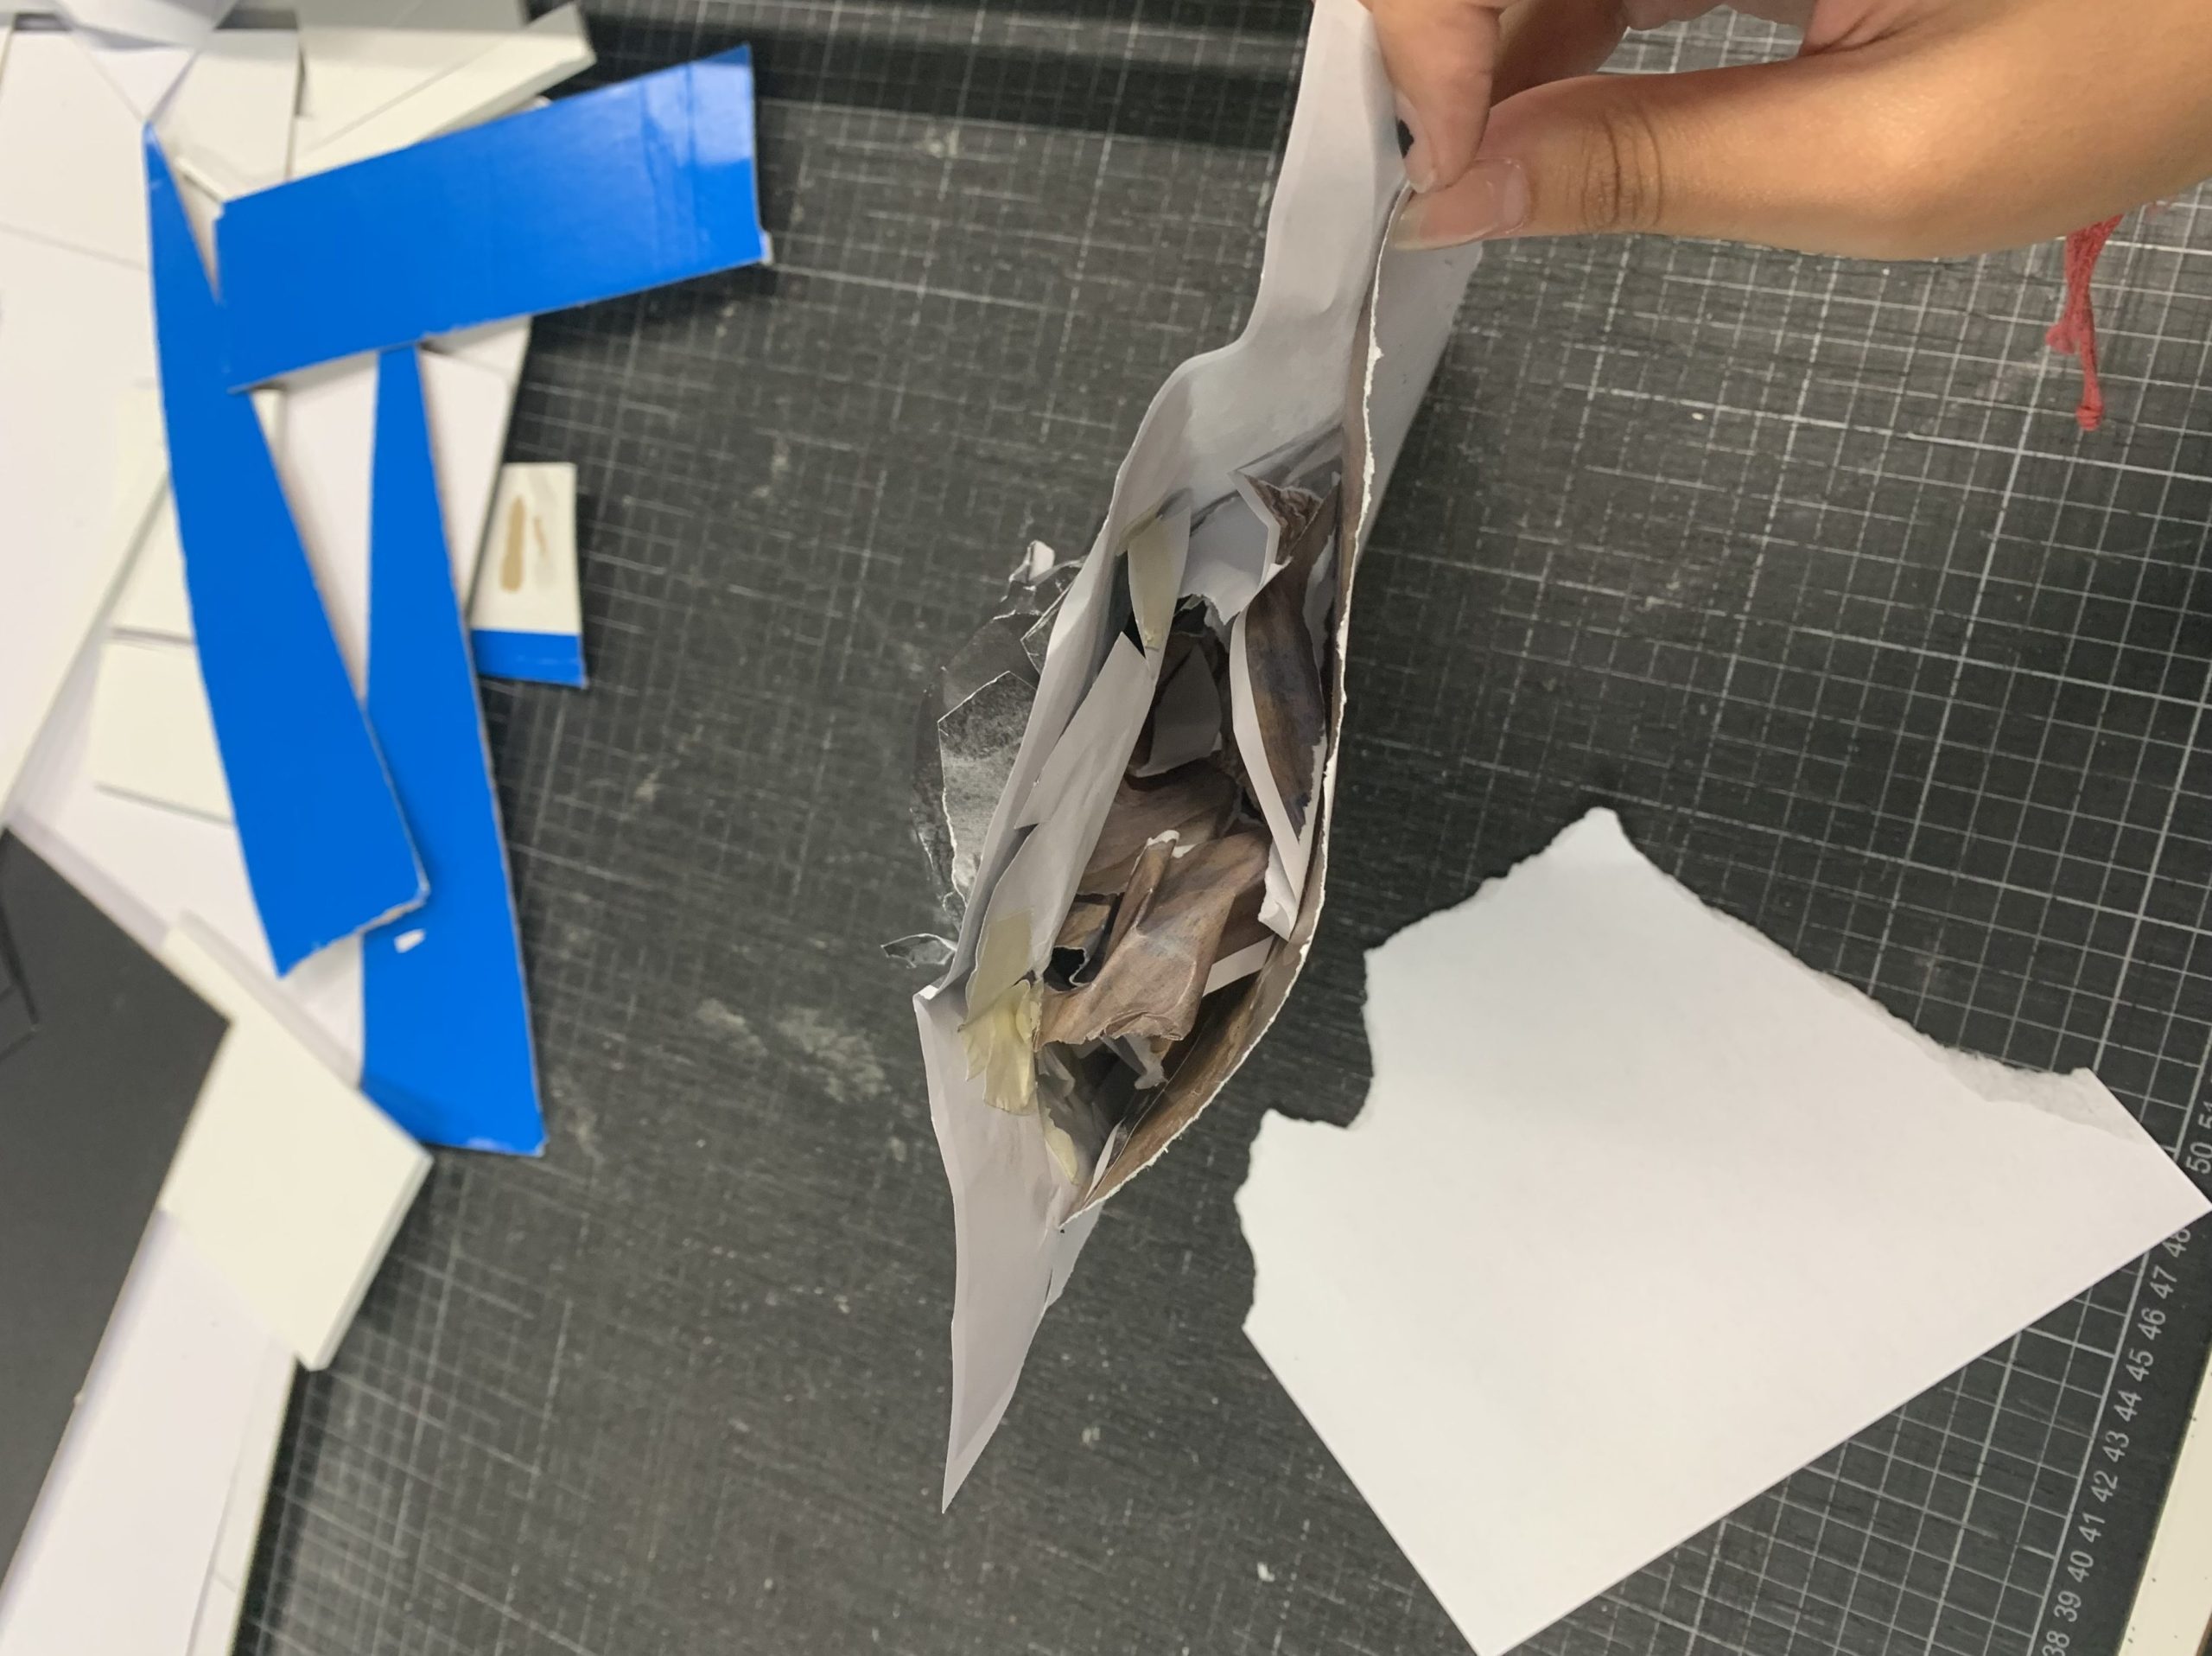
In order to create this experiment, I printed out the same image twice, one slightly bigger than the other, before cutting out the rock in the centre of both images. From there, lightly crumpled up the bigger rock and stuck down the edges through the smaller hole, creating the illusion of a protruding rock, which I found quite difficult as some of the edges didn’t want to stick leading me to tear arts of the image to make it work. I then stuck a scrapped image onto the back, creating a small pocket and stuffed that with the scrap paper from my work. This made the piece sturdier as it was less likely to collapse to the touch. Overall, I am content with my first experiment and want to recreate and improve it further by choosing a different image [as this one was a bit too dark] and by taking my time with my presentation, making it look less scruffy/torn.
—- Experiment 2: ————-
I started this experiment with the idea of creating some sort of textured piece by making each ridge within the image stand out in some way. However, once I stuck my image down onto a piece of foam, I realized it would be easier to take away from the piece rather than adding on, leading me to carefully cutting into parts of the image & foam. This created small dips within the piece which allowed the rocks in the piece stand out due to the texture I created. Overall, although I do like the experiment, I don’t think I’m going to pursue it further as I can’t see it becoming anything more interesting than it currently is.
—- Experiment 3: ————-
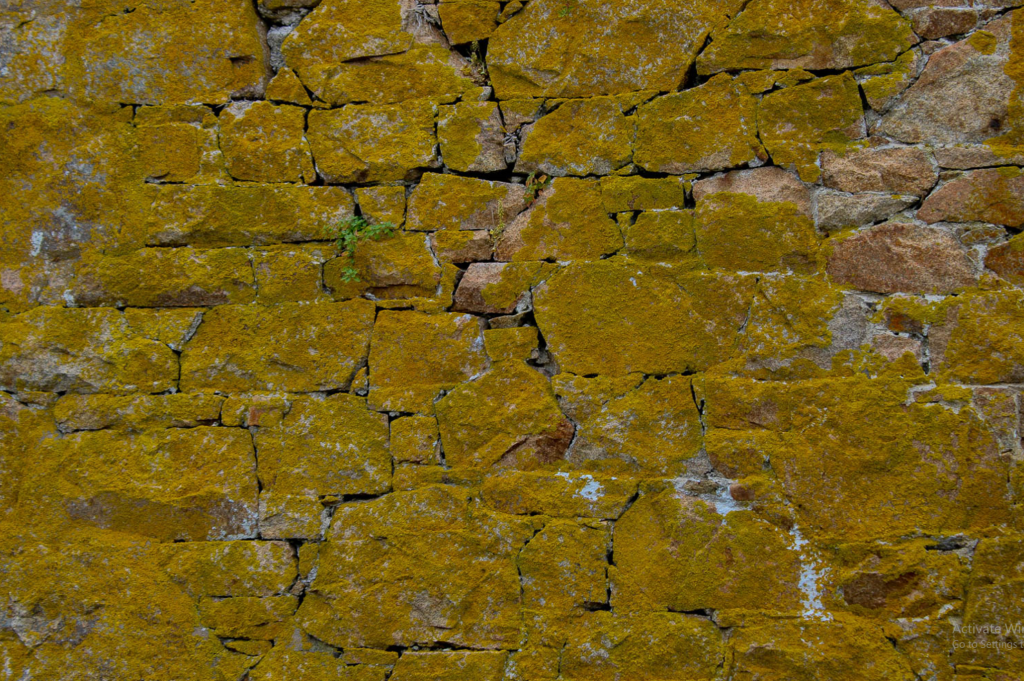
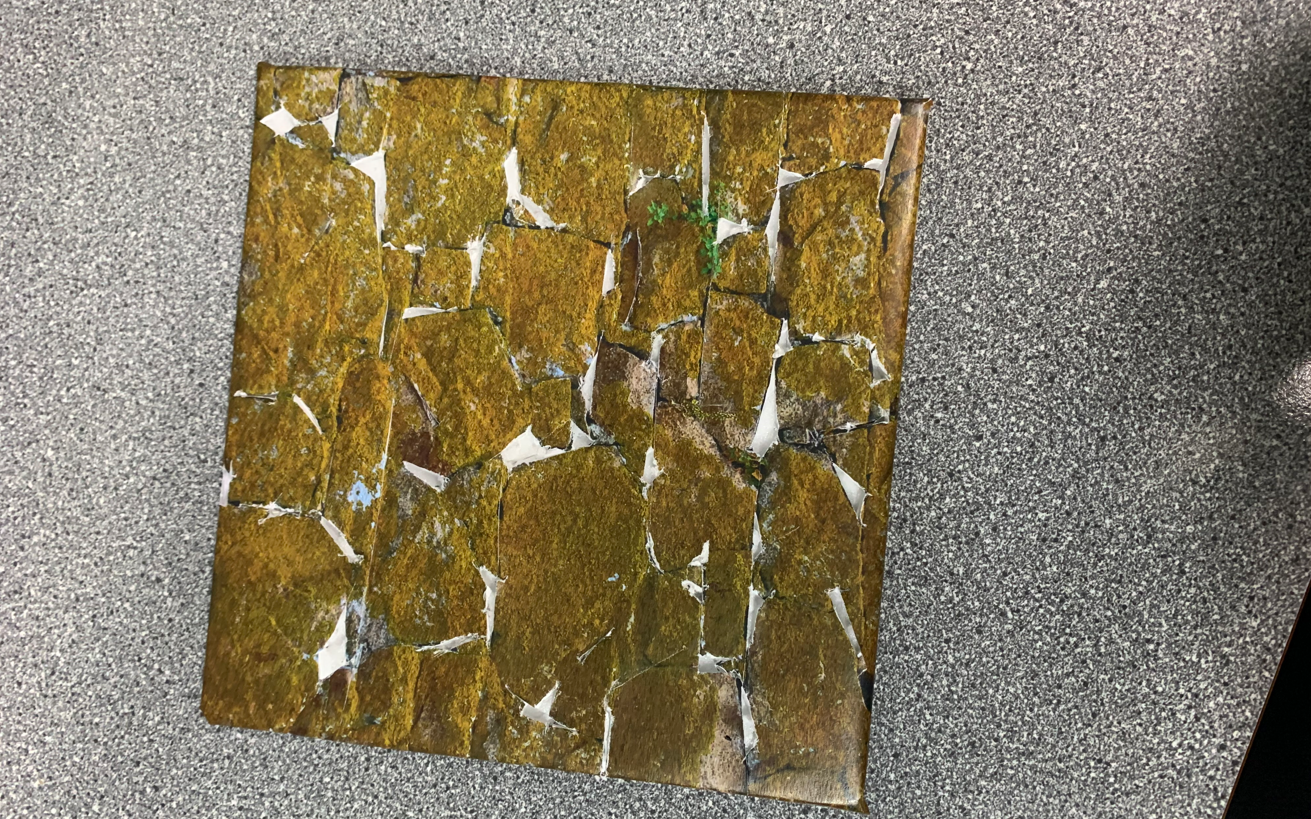
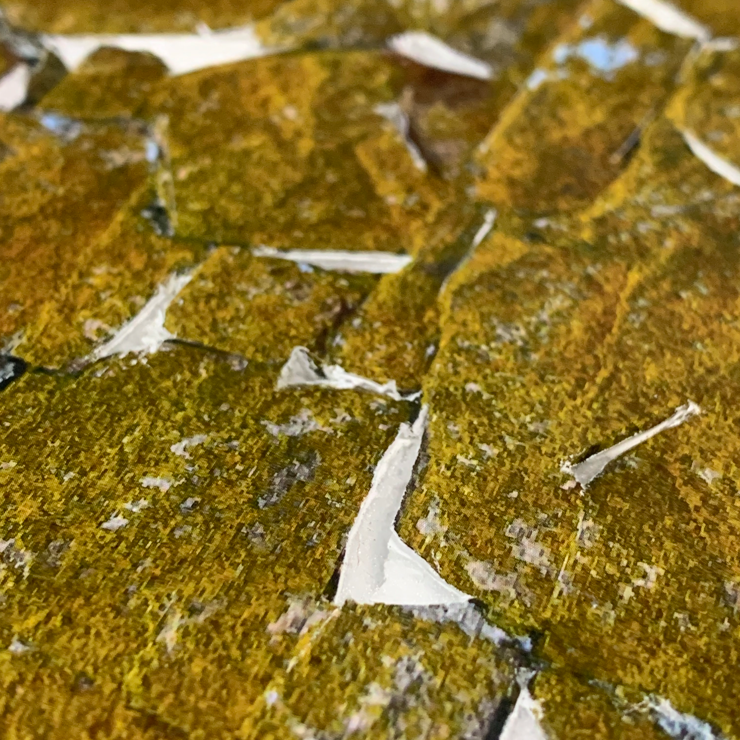
This experiment was linked to my second one as I had a plan to make a texture board of sorts, using different methods to make different textures and looks. For this one, I printed out the same image twice, sticking the first one down onto a square piece of foam board. Then, I used the cut most of the rocks that could be seen on the foam board out of the second image and onto separate pieces of foam board, careful cutting around both the image and foam so it would fit perfectly on top of the base. For some of the rocks around the edge, however, I decided to let the overhang the board which I think added more depth and form to the piece. Overall, I like the final experiment better than the second one as the rocks here stand out against the rest of the image, creating a more interesting composition.


I like all your 3D experiements. Make sure that you photographs them as a still-life with proper lighting and arrangements againct neutral backdrop either in the studio or using setup outside classroom. Your current images doesn’t do justice to the actual sculptures.