
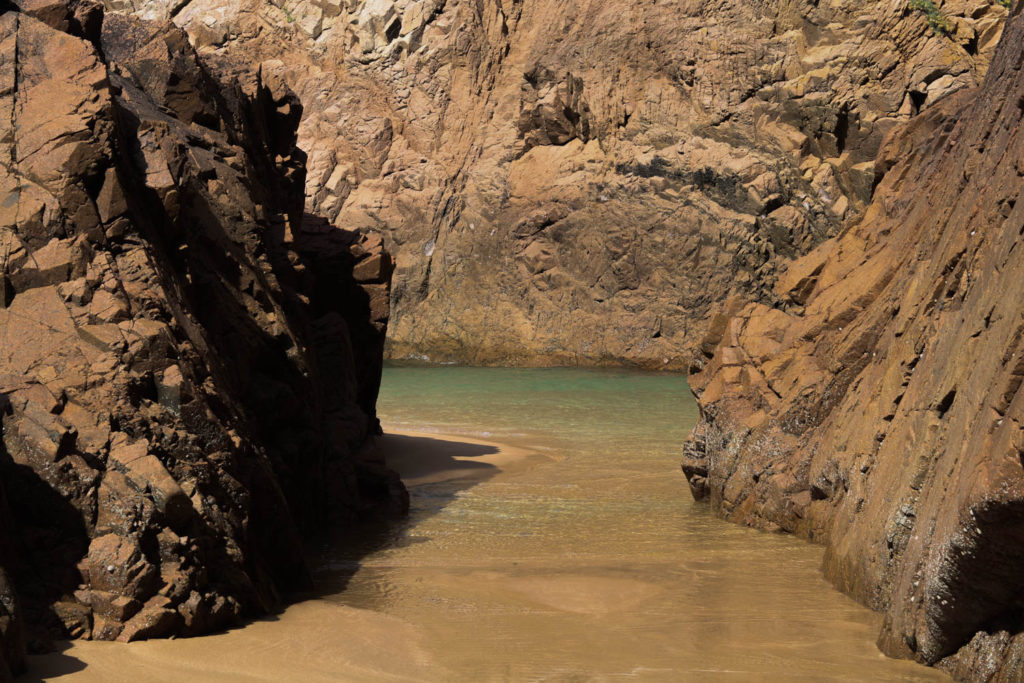
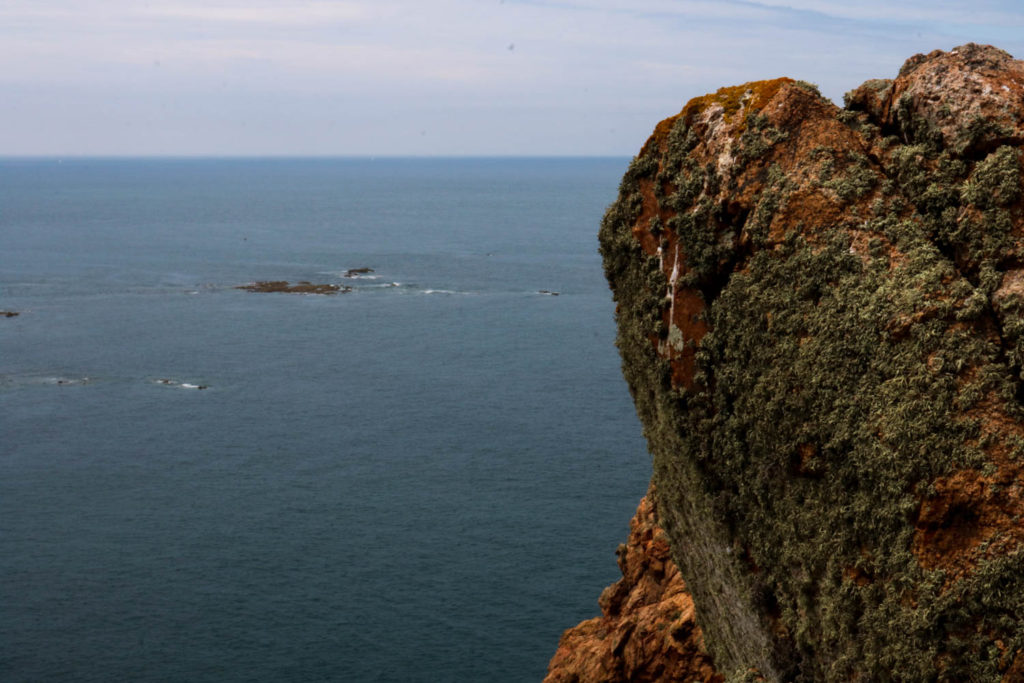
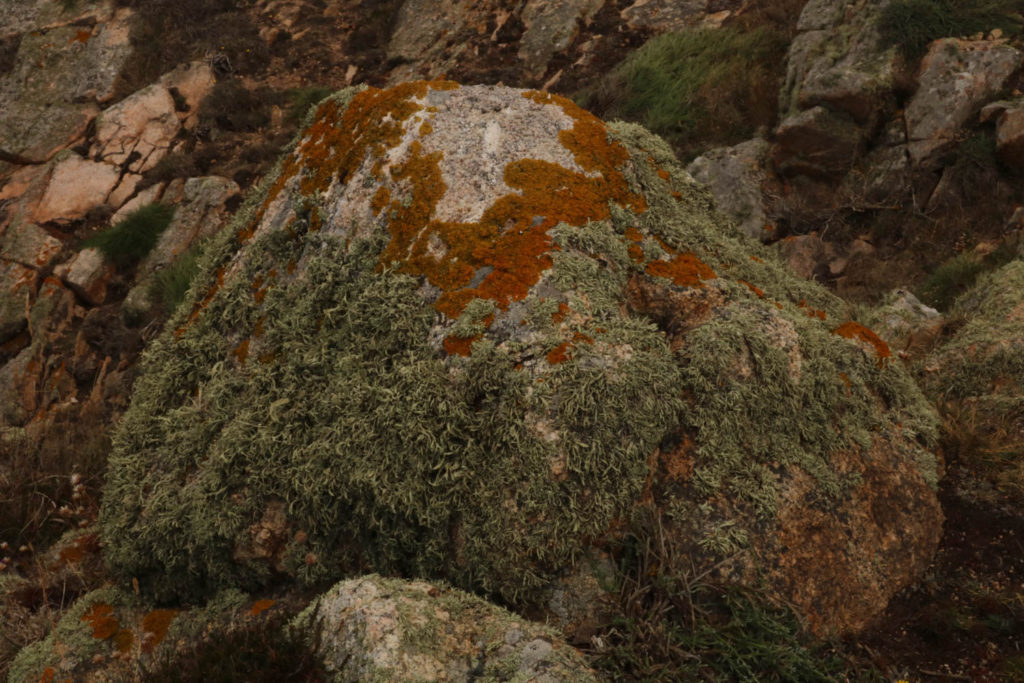
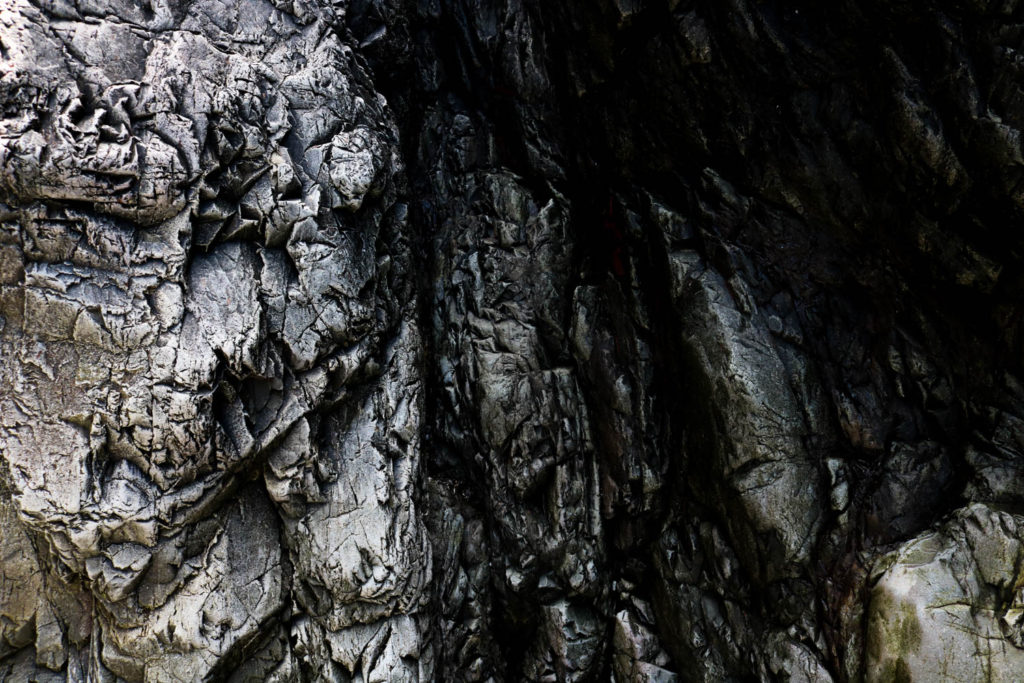
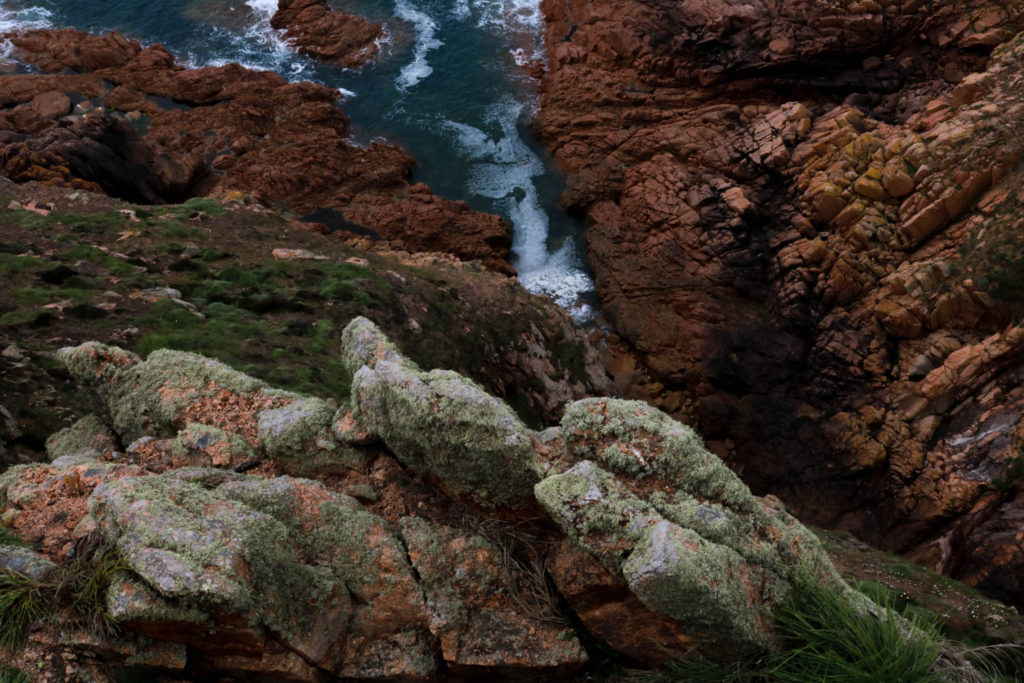
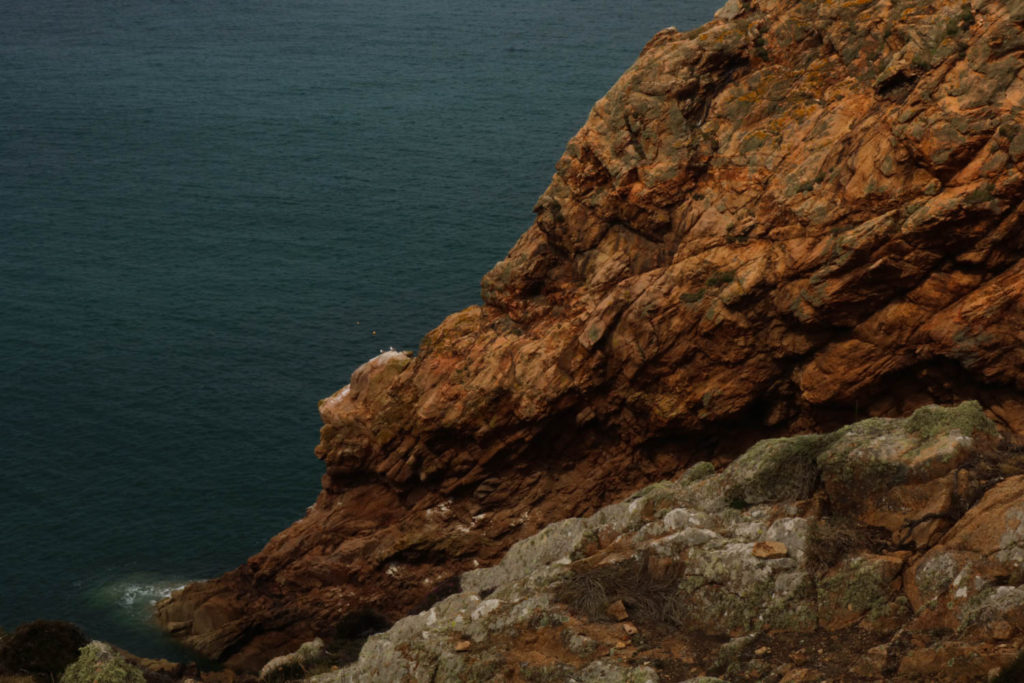
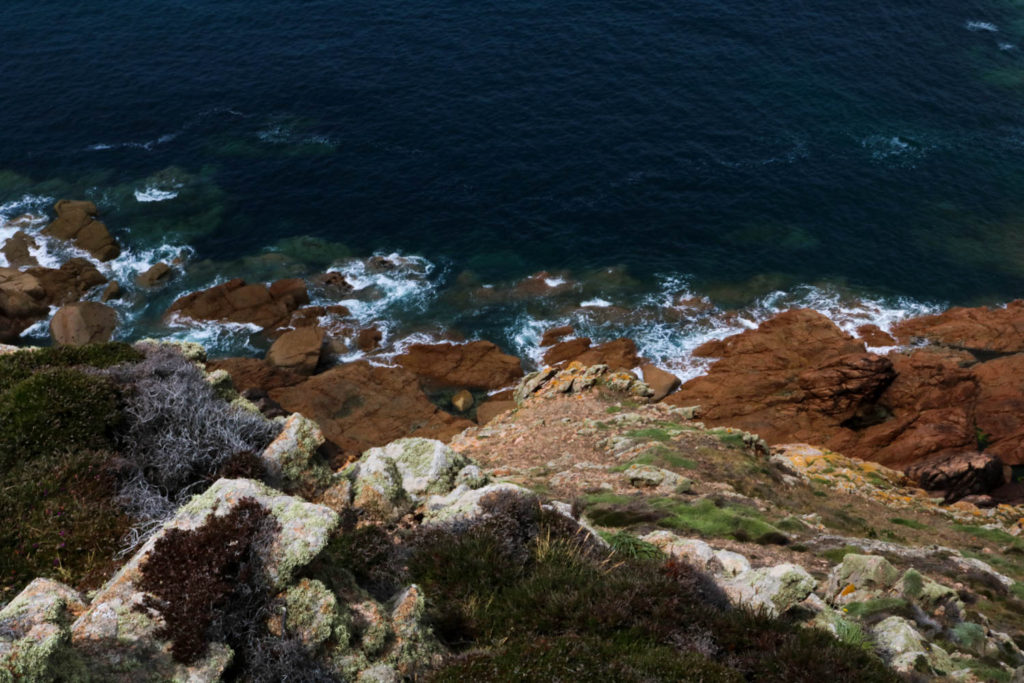
To help me create the 3D sculptures I first picked out my best images from Plemont and stinky bay, these images are presented below, I decided to choose these images as I felt they fit best together and will make aesthetic sculptures. After picking my images I printed them out and started to make the layout and plan for my sculptures.


Experiment 1
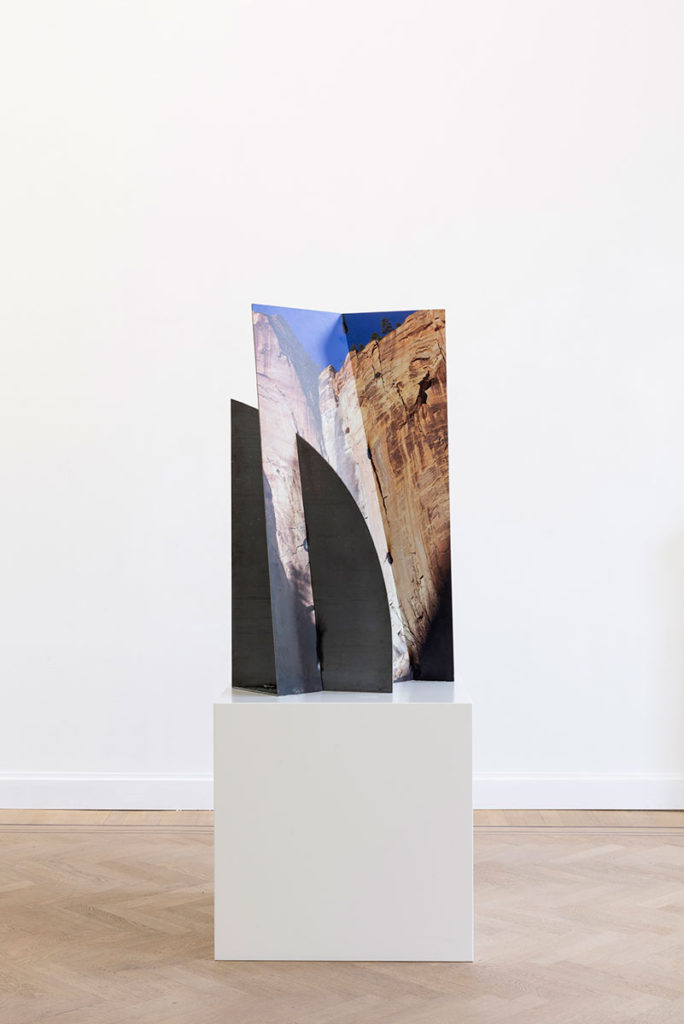
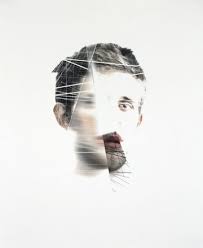
For my first experiment, I took inspiration from Letha Wilson who is known for her unique photography and sculptures. She prints images, embeds them in the surface of her work and manipulates them into various compositions. She uses images that include desert sunsets, different rock formations and a range of different trees which are mainly taken in Hawaii, the American west and Iceland. The natural world is a big concept in her work and is the main focus of all her projects.
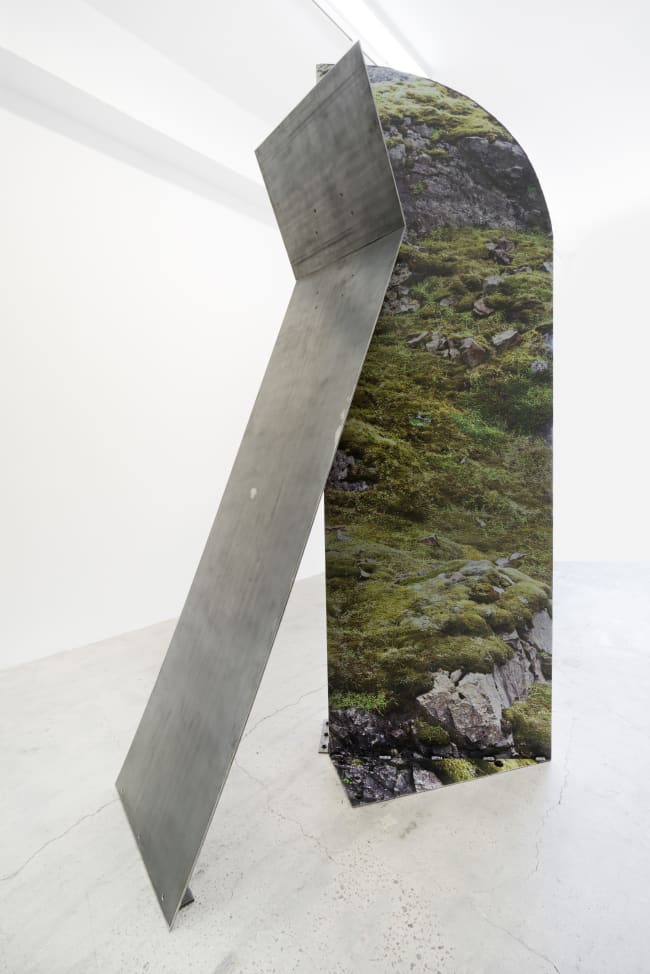


Wilson was born in Honolulu, Hawaii but was raised in Colorado, she now lives in Brooklyn, New York where is earned her BFA from Syracuse University and her MFA from Hunter College. Letha has done many outdoor excursions which include the Rocky Mountains which have placed the natural world and its photographic image at the root of her artistic interests.
Letha Wilson’s work has been featured in solo exhibitions at GRIMM, Amsterdam and New York. As well as many other places around the world. Wilson has also participated in group exhibitions at the New York public library, The Henie Onstad Triennial for Photography and New Media.
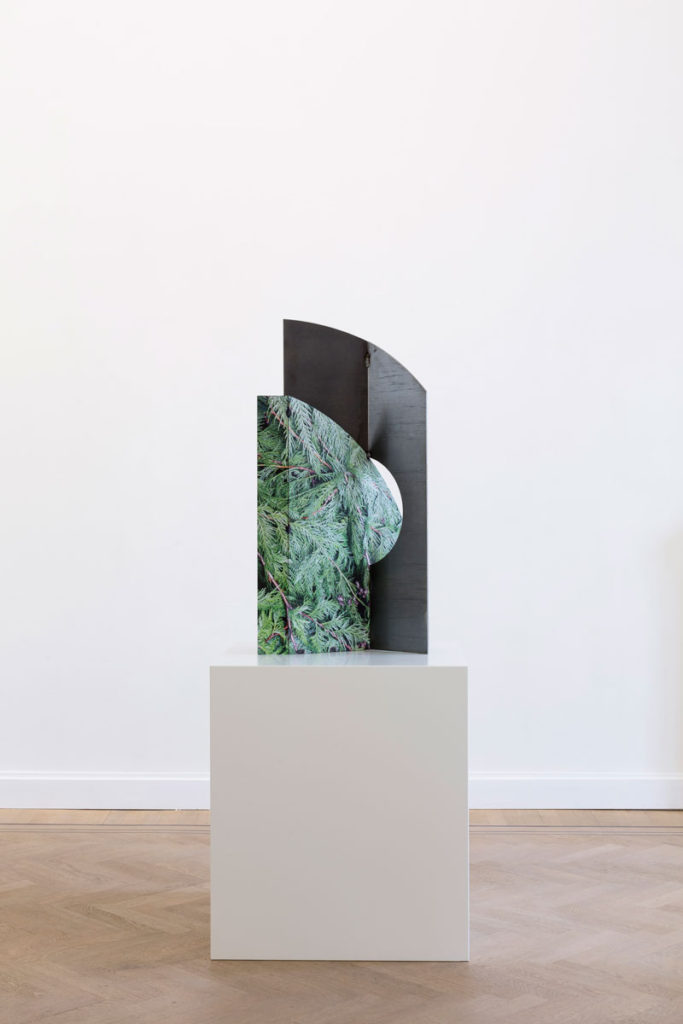
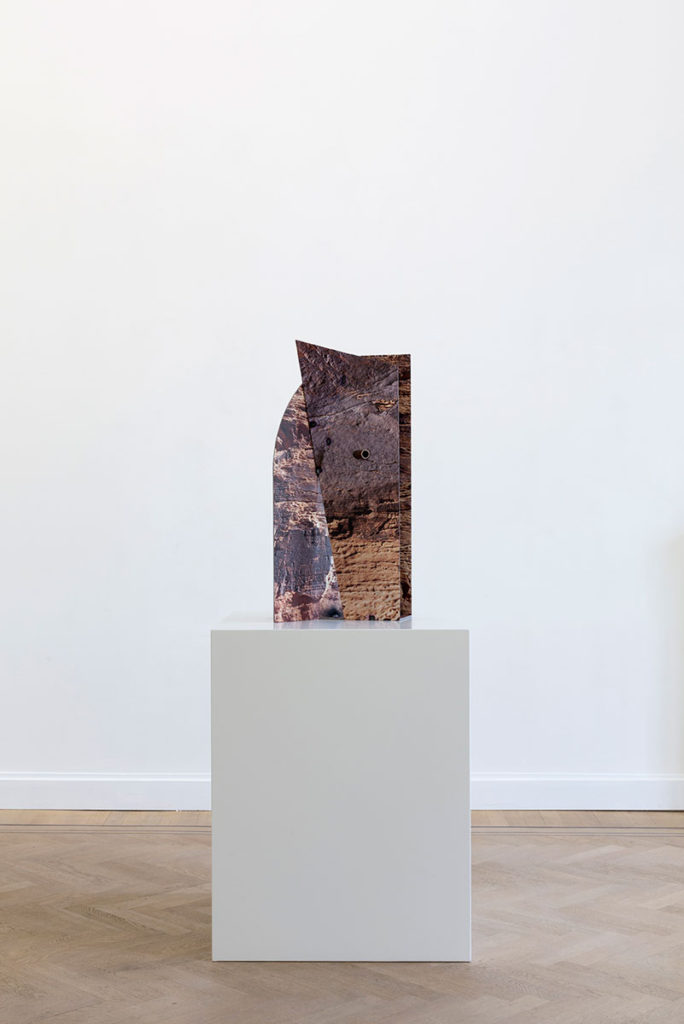
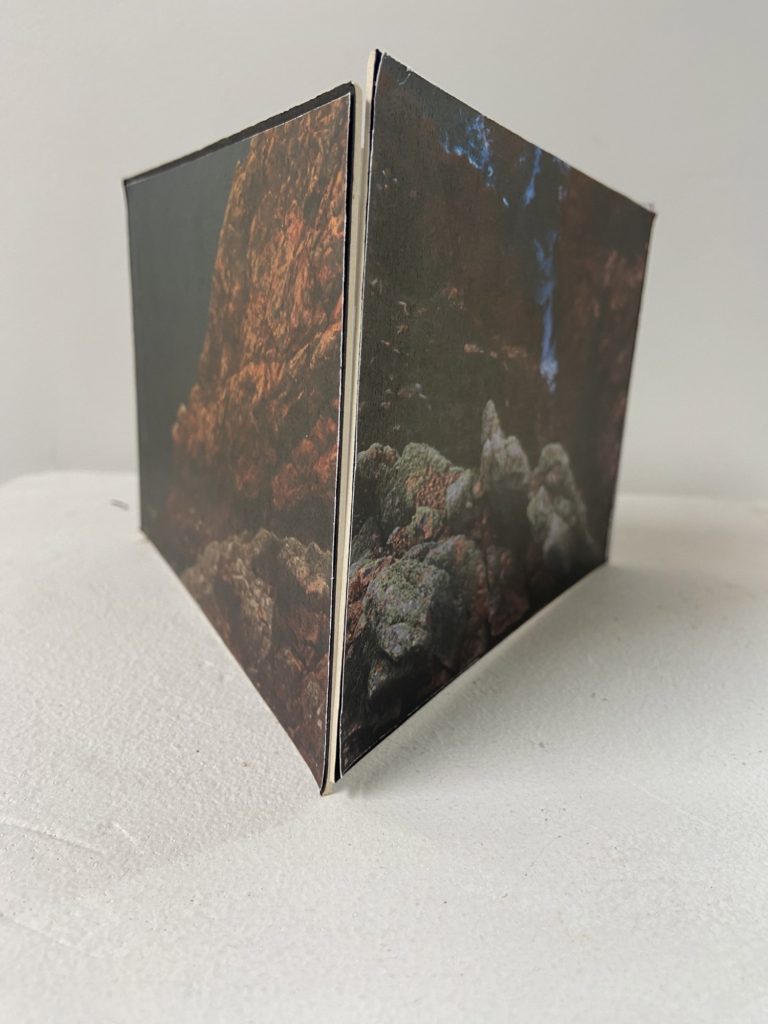
Below I have shown some different angles of my first experiment. To make this sculpture I first started by printing out 6 different images that I had chosen from my Plemont and Sticky bay photoshoots, originally I only wanted to use 4 photographs and have two boards attached together but as I was experimenting I decided it would look better with 3 and have a more unique aesthetic. When actually building the sculpture I first started with 3 pieces of mount board which I then glued my chosen images onto so that could make two slits in the bottom so that it would be a standing object.
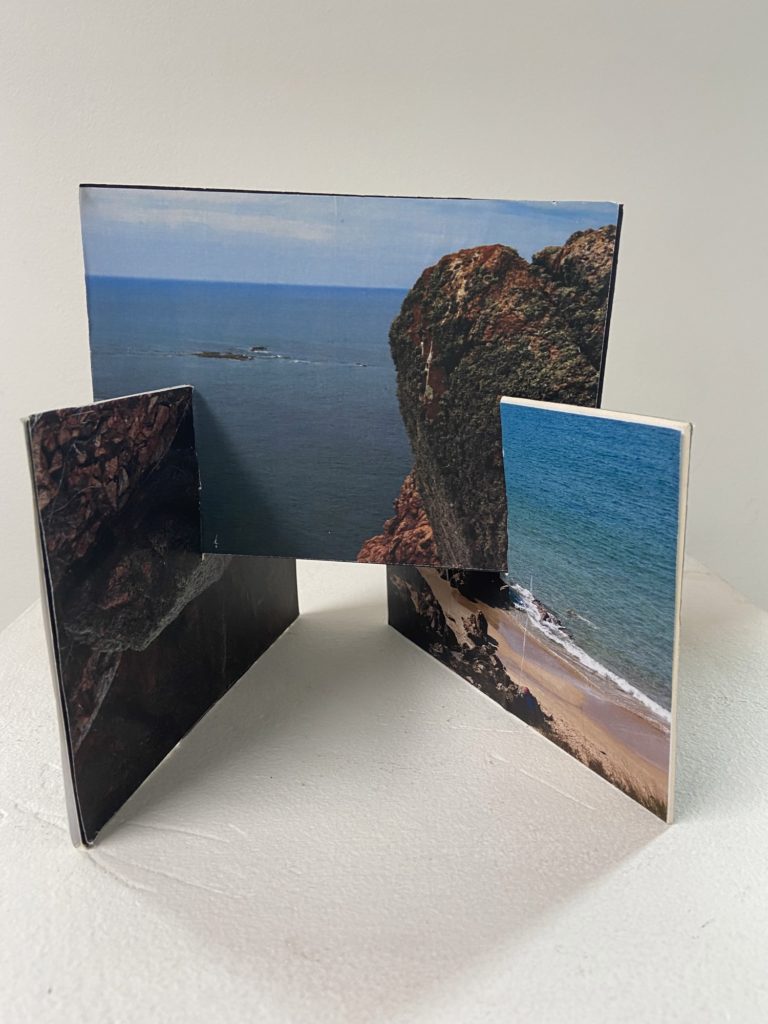
I like this sculpture as it allows me to display a good amount of my final images in a creative way that is also pleasing to look at. This project allows me to get more experimental and creative with how I present my photographs which I think is useful when it comes to our overall ability in photography. Furthermore, I enjoy how it allows us to get. more hands-on with our images and away from the computers, it also helps us to display our own personalities to some extent.
As well as liking this sculpture and thinking it is a good first attempt, there are also some things that I would do differently if I could re-do it. Firstly, I would measure out the photos and the mount board more carefully as I think having neat edges can really make a difference to the quality of the final sculpture. I would also measure the splits accurately so that they are not too loose which causes the whole sculpture to move, this also makes a difference when it comes to the overall analysis and critique of the project.
Experiment 2
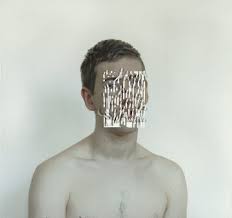
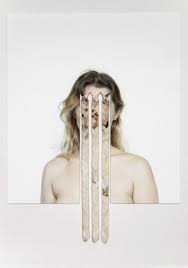
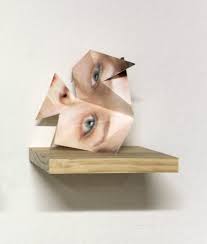
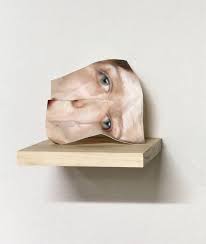
For my second experiment, I looked at the work of Joseph Parra. Parra was born in South Florida but now resides in Baltimore, Maryland which is where he received a BFA at the Maryland Institute College of Art with a major in painting and a minor in Art history and finally a concentration in Printmaking. Joseph always had an interest in working with the aspects of identity in relation to the human figure and his work challenges the traditions of portraiture through acts of concealment and exposure. Parra also studied at the Marie Walsh Sharpe Summer Seminar and The International School of Painting, Drawing, and Sculpture in Umbria, Italy.
Joseph Parra is most notably known for his exhibition in the National Portrait Gallery in Washington, DC as well as the Margulies Warehouse in Miami, he also has had his work shown in many other galleries.
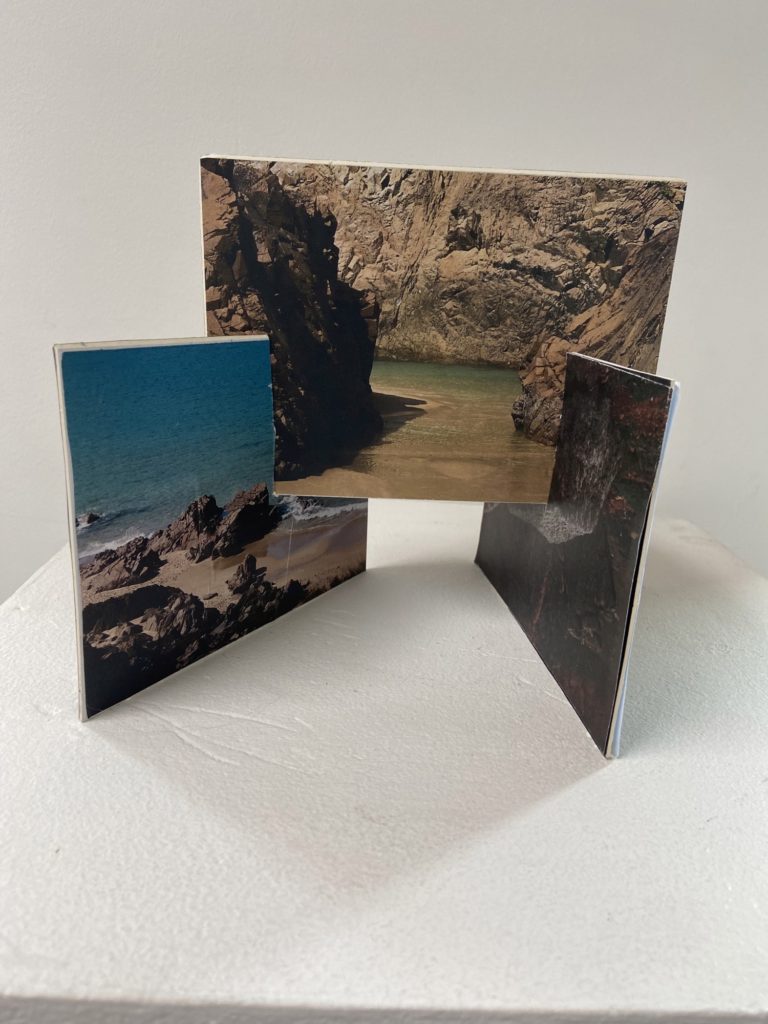
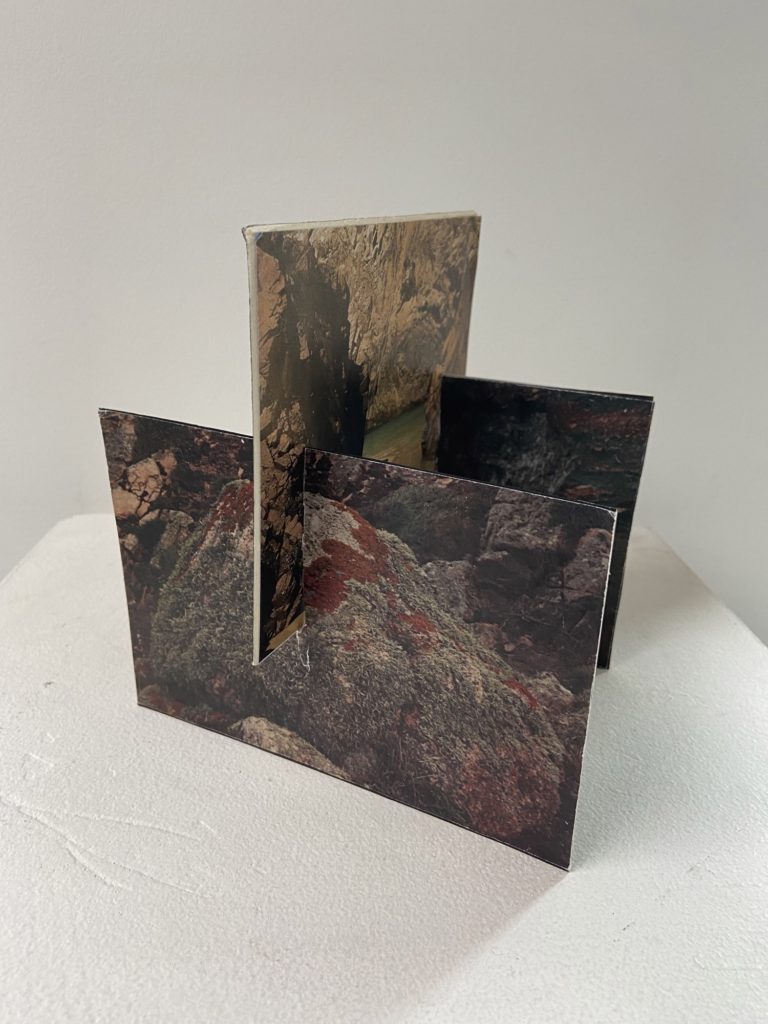
Below I have presented my second experiment, which shows the different angles of my sculpture. For this experiment, I have tried to make a 3D triangle to display my photos, to do this I first printed out my chosen images which I felt would fit nicely together and they would flow to create an eye-catching sculpture. Secondly, I glued these images on to mount board so that they had a firm structure to stand up on and that won’t be flimsy and bend when trying to construct the sculpture. Thirdly, I used masking on the inside of the sculpture to connect all the images together and lastly I added a plain piece of mount board to the top and bottom of the sculpture.
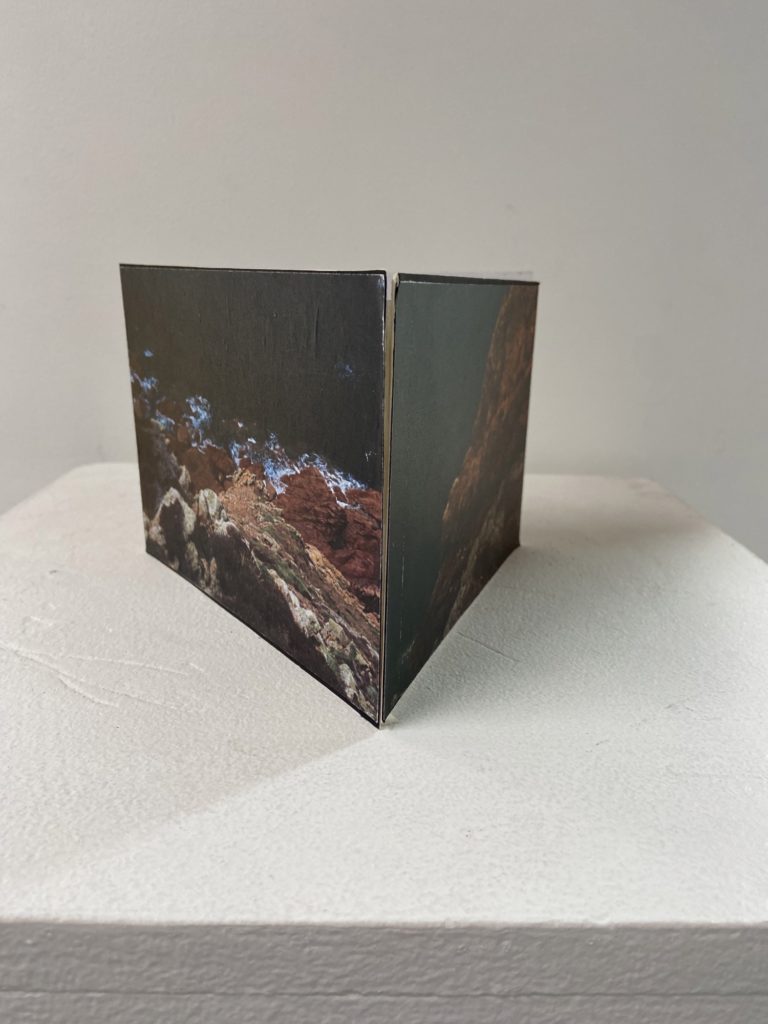
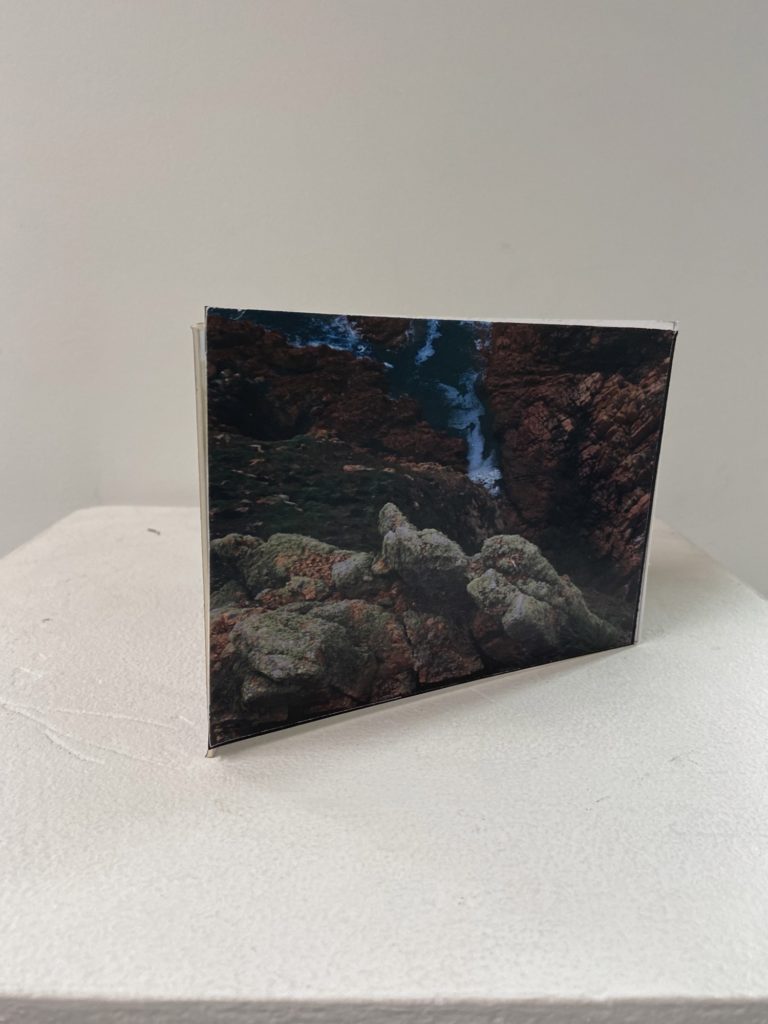
I like this sculpture as it is an easy but interesting way to showcase different photos from all angles. It is also easy to add to as a sculpture as it is such a simple design that it can be enhanced in many different ways. There are a few downfalls to this sculpture such as the measurements of both images and the mount board. If I could re-do this sculpture I would take more care in measuring each photo to fitting the mount board, also making all the measurements even as I feel it would look a lot more sleek and aesthetic. As you can see in the middle image, the board on the right is slightly taller than the left which is very noticeable and is a big disadvantage to those sculptures.