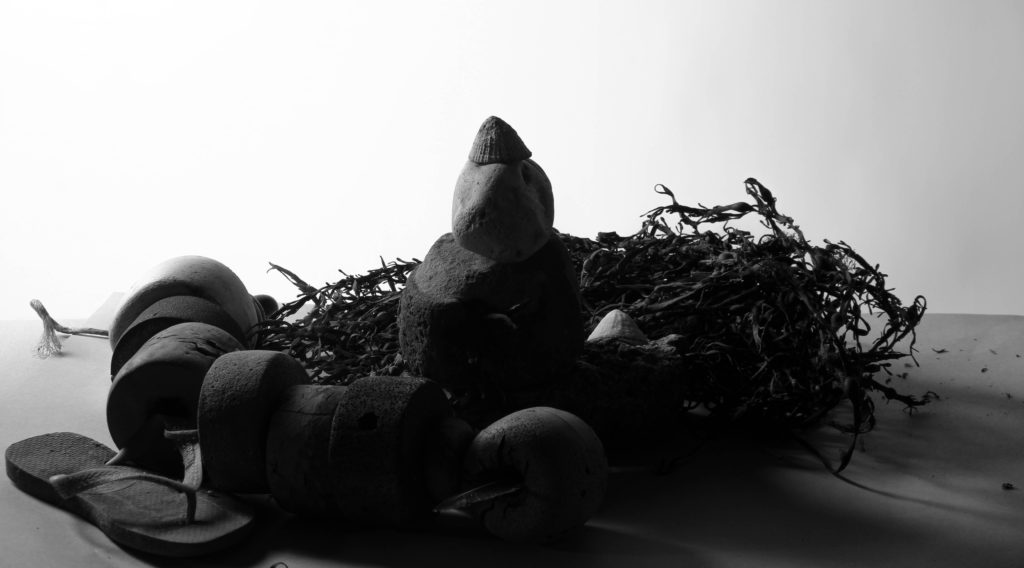
For this photo shoot, I went to the studio and laid out objects in a specific form to try and get the best photos. I took around 50 – 60 images of different layouts of beach like objects such as, rocks, dead bushes, seaweed, and shells. I made a total of 3 different layouts for 3 different types of images I was going to take.
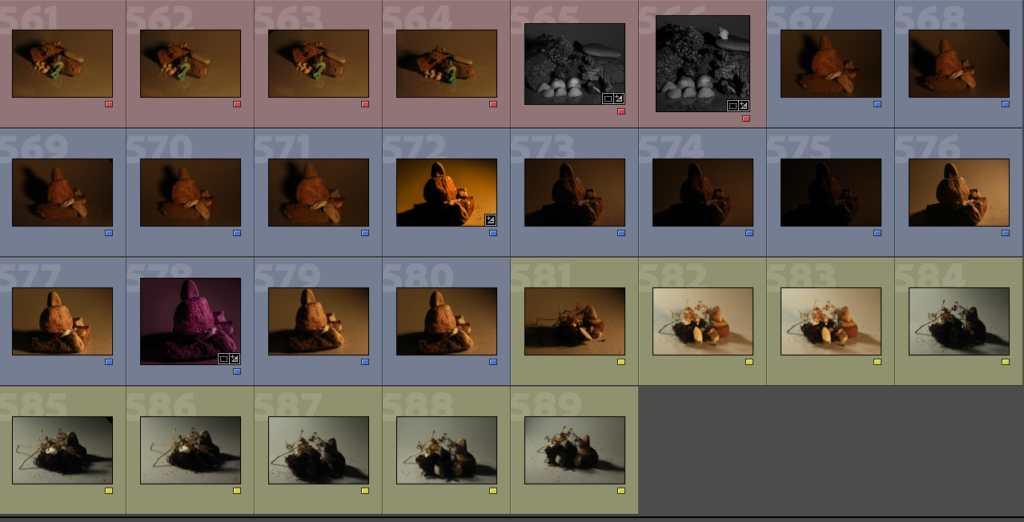
Contact Sheets
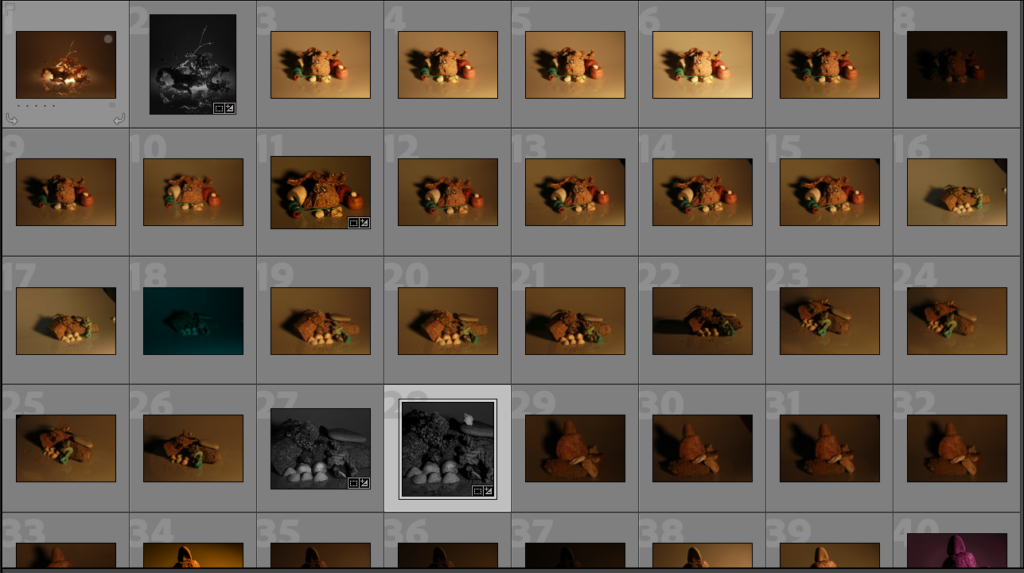
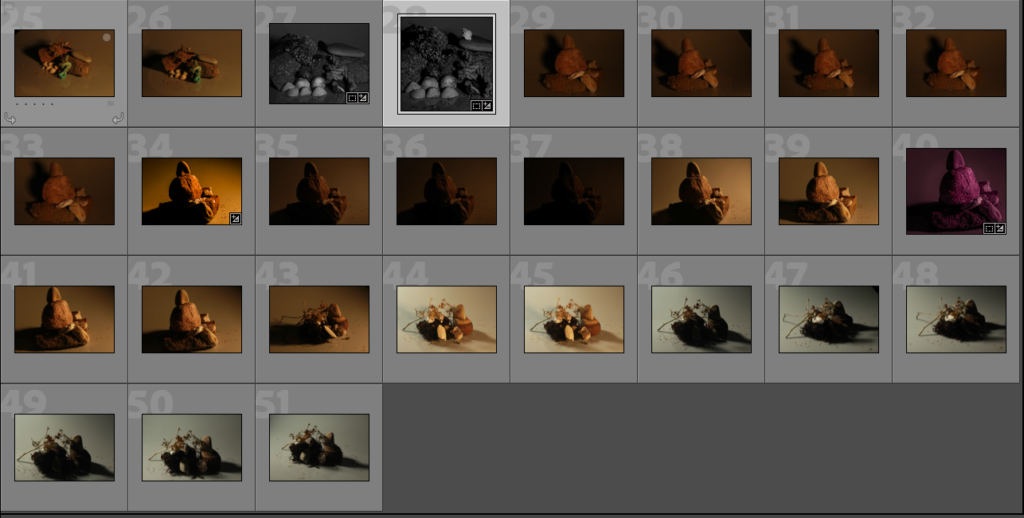
I took a total of 51 images throughout my 3 different object setups. Most of the images turned out well, however some were slightly out of focus and had a shutter speed which was too high for some of the photos. After seeing how many images I had I decided to colour coordinate my images to narrow them down into specific colours for each object layout.
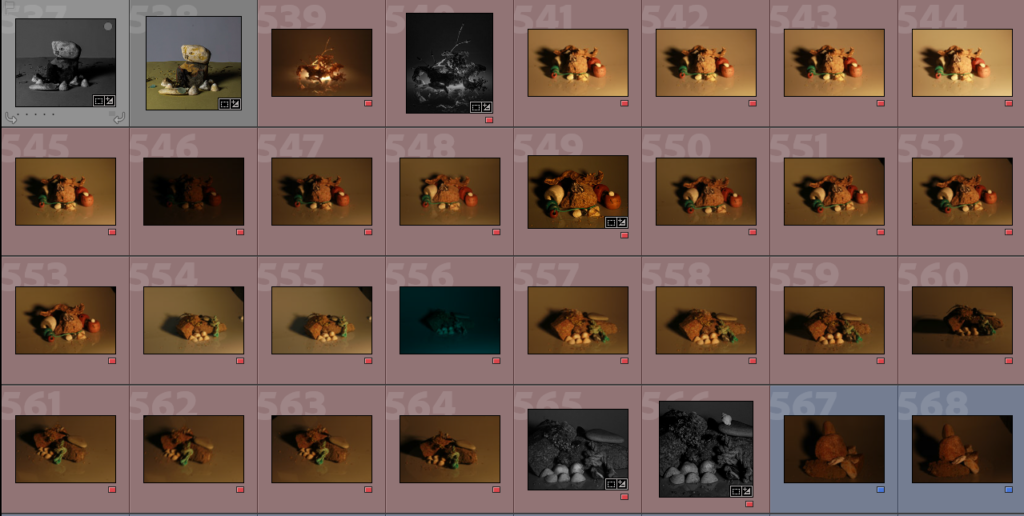
After organising my images into specific colour I decided to start to edit some of my images in Adobe Lightroom. I knew which images to edit first because of the P and X tool which helped me pick out the usable images for these edits.
Lightroom Edits


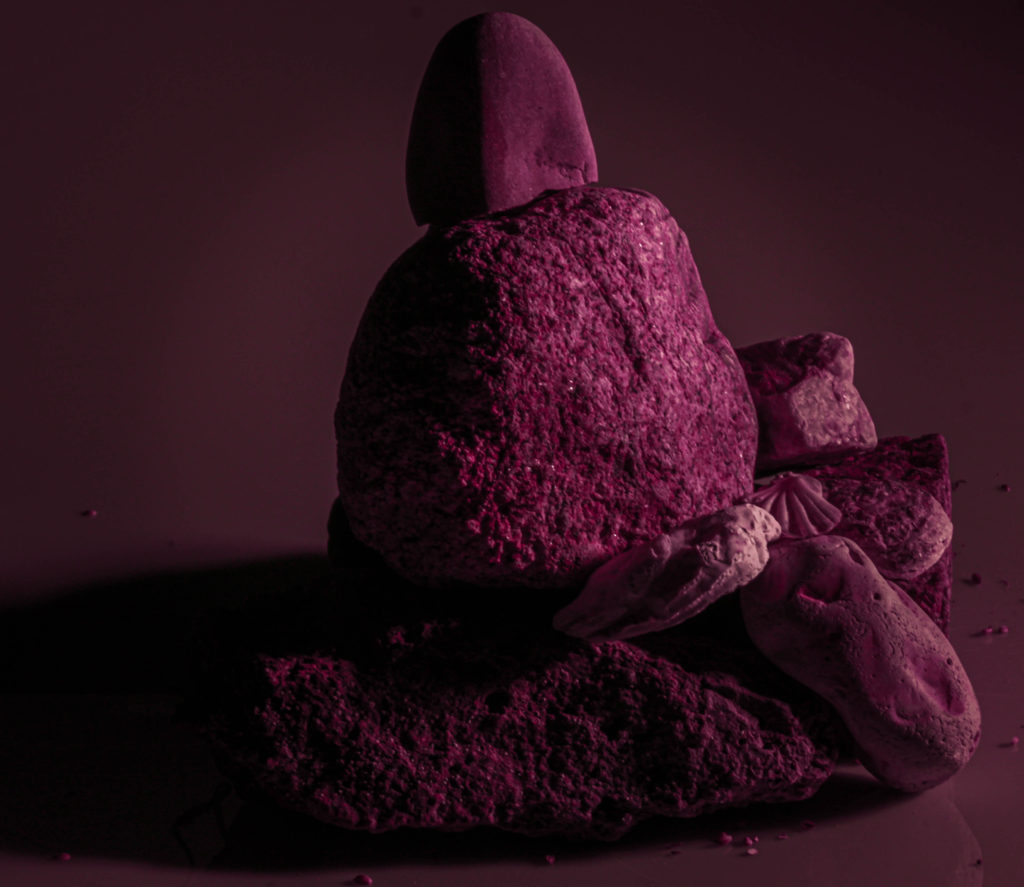
Lightroom Colour Experiment
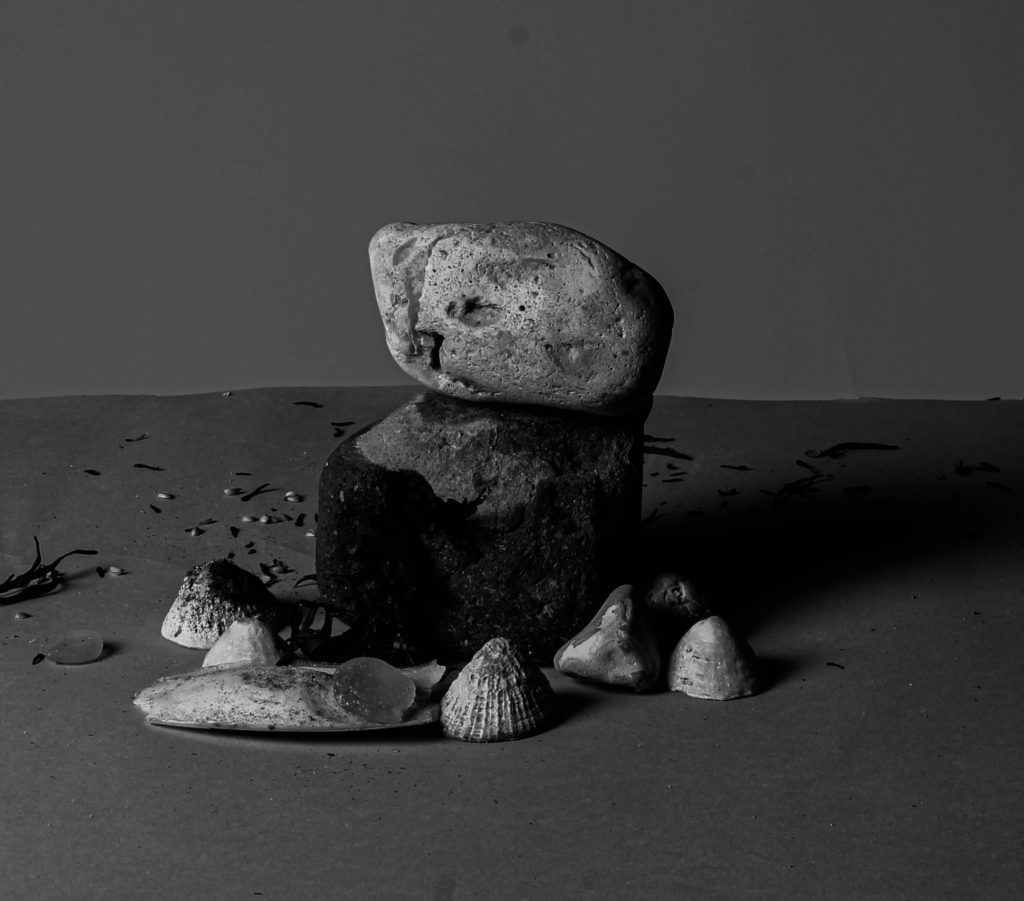
For this image, I wanted to try something different and experiment with the colour tools on Lightroom. I started by choosing the image I wanted to edit and chose the one displayed below.
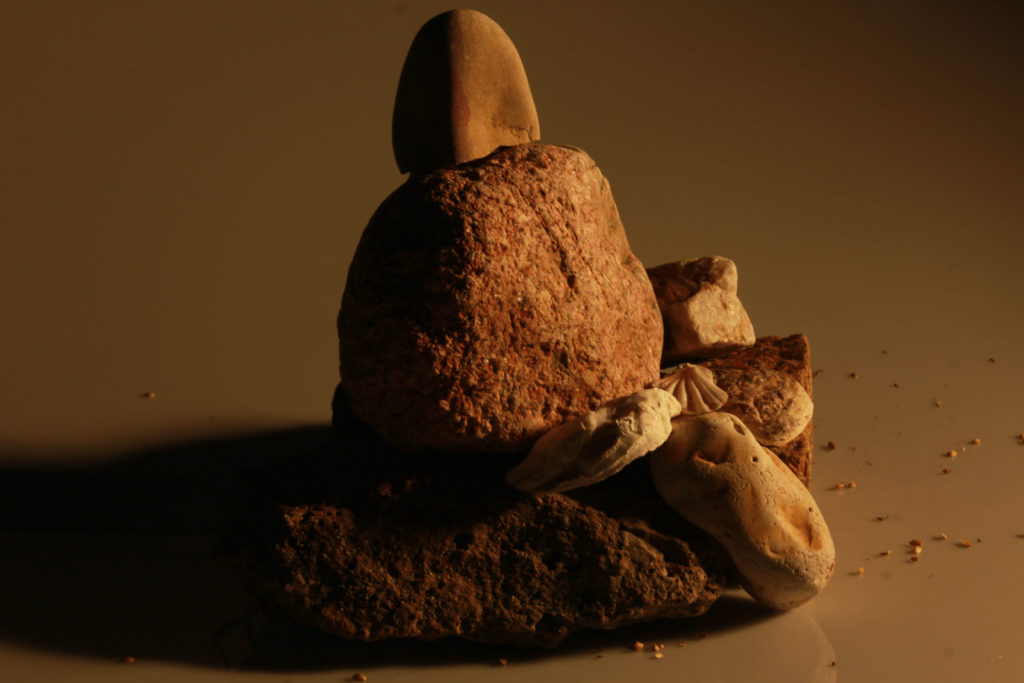
To begin, I first thought that the rocks need to be more centralized so I decided to crop the image down into a smaller portrait photo.
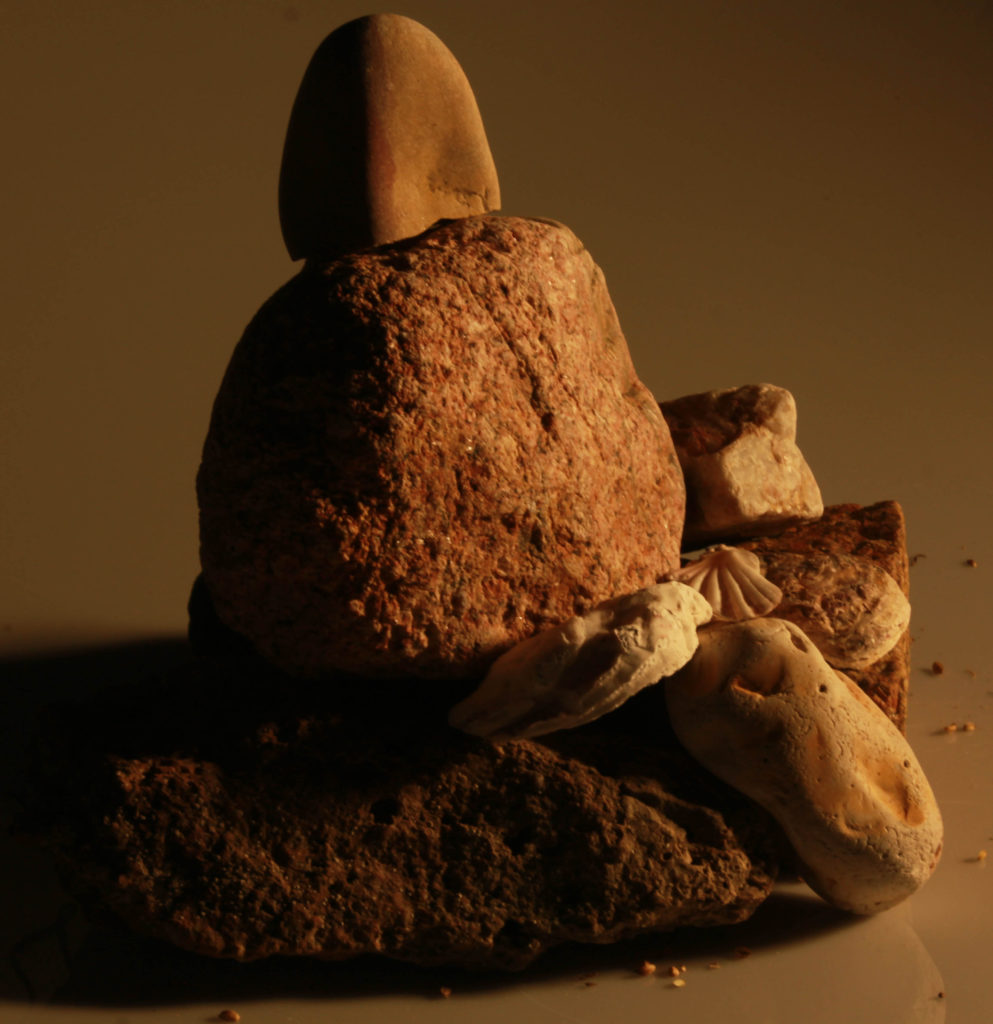
I then did the usual and edited the image using the basic developing tools such as, texture, exposure and contrast until I decided which way it looked the best.
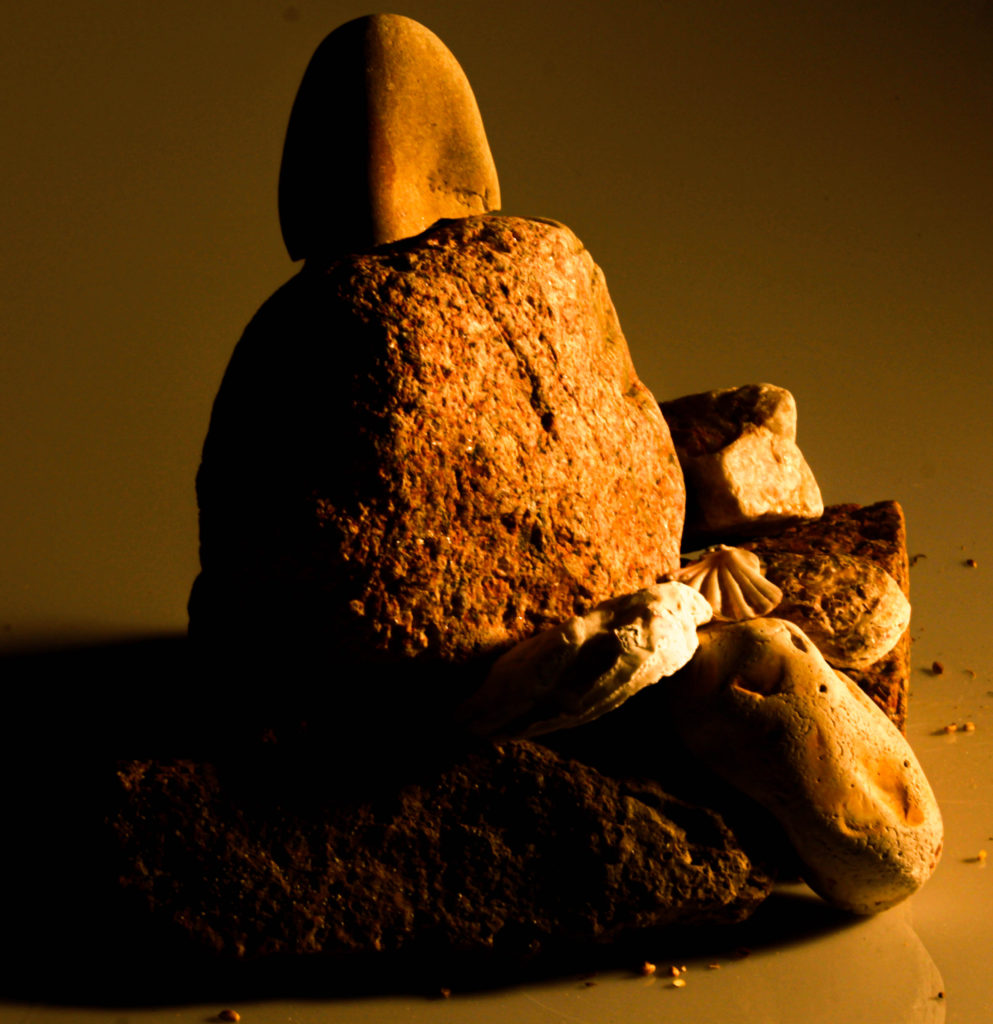
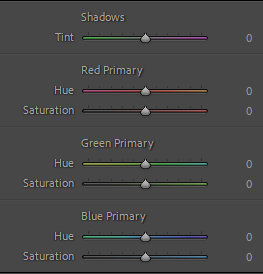
Finally I travelled to the colour tools to experiment with the tools such as, colour grading, tone curve and effects.
Final Edit