Experiment 1:

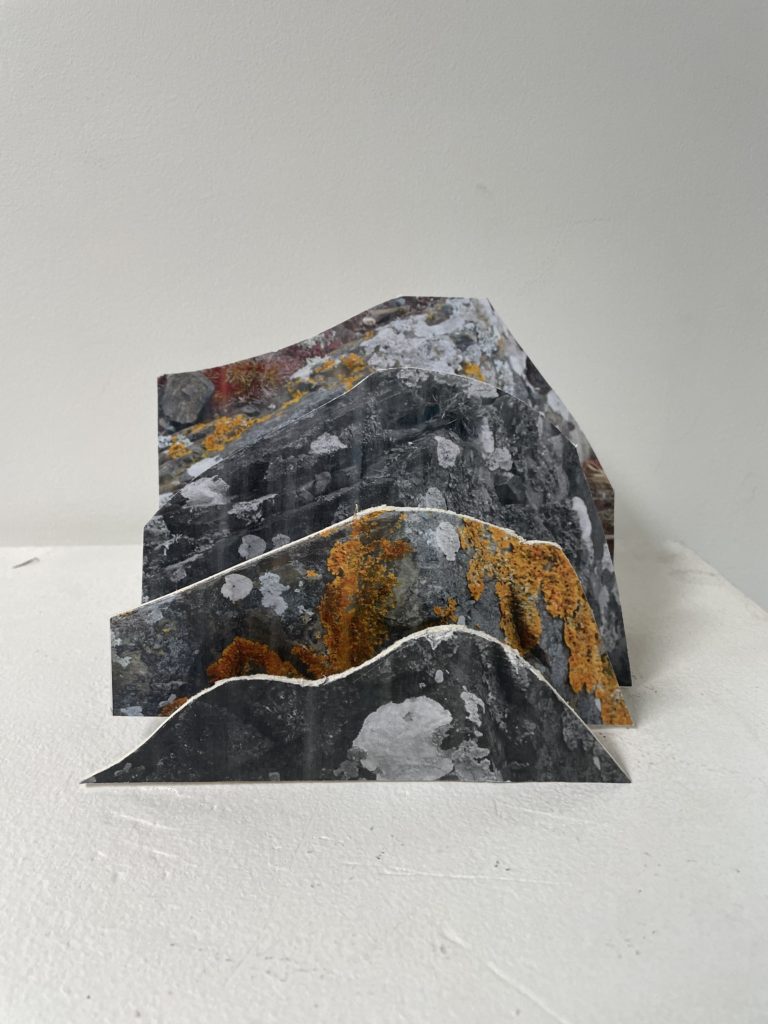
For this experiment I was inspired by Jody Powell and decided to make something similar to her. I like how she created a simple 3d sculpture using one image. For my sculpture I used the same picture I took on photoshoot at L’Etacq and used a black and white version of it and a colour version. I did this because I wanted my sculpture to stand out more by having colourful and colourless layers.
I printed both versions of the image twice because I wanted four layers in total and decided I wanted my layer to go colour, black, colour black (from top to bottom). I used a glue stick to stick them on to some card paper then cut uniform shapes into the images using a craft knife and a mat. I started with the black and white picture at the front by cutting it smaller than the other images and making it in the shape of a mountain and repeated this process with the other images. The more I cut, the bigger the image became from the last one.
Instead of making a proper stand I used some spare paper that I had cut into strips and stuck them on to the back of each image, making a 90 degree angle so that it could stand up on its own. Then I placed all the pieces in front of each other starting with the biggest image and photographed the sculpture.
I like how the black and white images make the colour pop in the other images and how it looks because it’s a very simple design. I enjoyed making this sculpture because it was quick and easy. I will most likely re use this technique later on in my project and I’d make print the images in A3 and use more layers. I would also probably stick the images on to foam board and make a better stand so that the whole sculpture is more stable.
Experiment 2:

[figure 1] 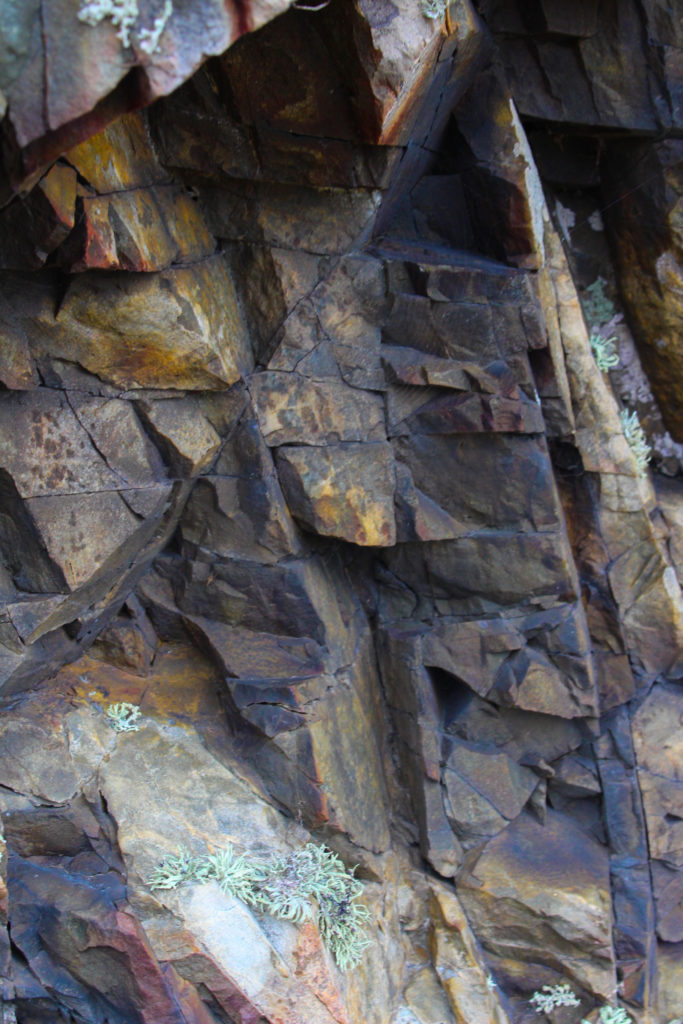
[figure 2] 
[figure 3]
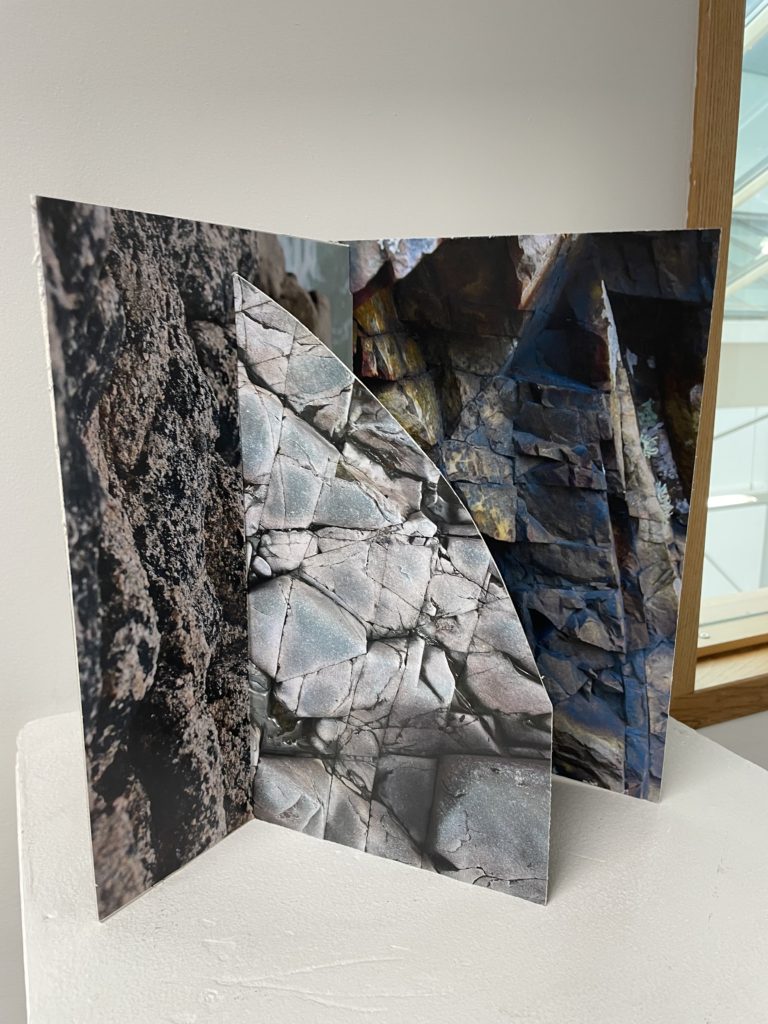
For my second experiment I was inspired by Letha Wilson who is a mixed media artist that works in photography and sculpture. I chose her because I liked the idea of having multiple layers and using them as a puzzle. For this edit I used 3 images (one from Plemont and 2 from L’Etacq).
I briefly edited my images in lightroom then printed them out. I stuck them on to some card paper using a glue stick and used a craft knife to cut them . I used card paper instead of foam board because I thought it would make it easier to cut and put together. I started by cutting a straight line through figure 1 using a craft knife because I knew I wanted to put another image through it. When I decided, I drew a curve on figure 3 and cut it off because Wilson’s sculptures usually have that curve and I wanted my work to be similar to hers in a way. To finish it off I made a slit into figure 2 on the left and attached it to figure 1.
It’s a bit tricky to put up at first because of the amount of pieces but once you get it to stand up it’s pretty stable. I like how it turned out because I think all the shapes of the rocks look interesting together. I enjoyed the process of making this and I would totally try it again by experimenting with multiple images and shapes.