Still life paintings dates far back to Egyptian and Roman times, while still making appearances in the Middle Ages and Renaissance Era. Although, it only became a genre of art after these time periods yet falls quite low on the hierarchy of visual art.
The timeline –
This low placement in the hierarchy of visual art for still life paintings was due to the 1699 historiographer, André Félibien. He created a system of categorisation for the different types of visual arts, starting from the highest than moving down to the lowest. These consisted of:
- History Painting
- Portraiture
- Genre Painting
- Landscapes
- Still Life

What is a still life?
There are various types of still life’s such as flowers, banquets, breakfast, animal and symbolic. The style of Vanitas falls in to the Symbolic category, Vanitas are used to represent life and death, as it means “Vanity” in Latin and shows how life is short and we shouldn’t focus on the materiality side of life as it can be seen as vain. Vanitas may be more recognisable due to their use of skulls, watches and hourglasses which show the passing of life throughout time, they also used dice, wine, fabric, jewels etc in the artworks. Throughout time, Still Life has progressed from Ancient Egyptian to Modern which I will talk about below.
Ancient Egyptian
Still Life for Ancient Egyptians included common foods/objects and were used as tombstone decorations. They were used to honour the dead and show what the person may have in the afterlife such as food.

Renaissance still life
Mainly religious artworks in a style with a symbolic meaning. Renaissance Still life were made to explore the natural world through observation which then was used to transform in to a painting and could be found in the backgrounds of religious paintings or illuminated manuscripts, but these were more common in northern Renaissance and Early Netherlandish paintings.

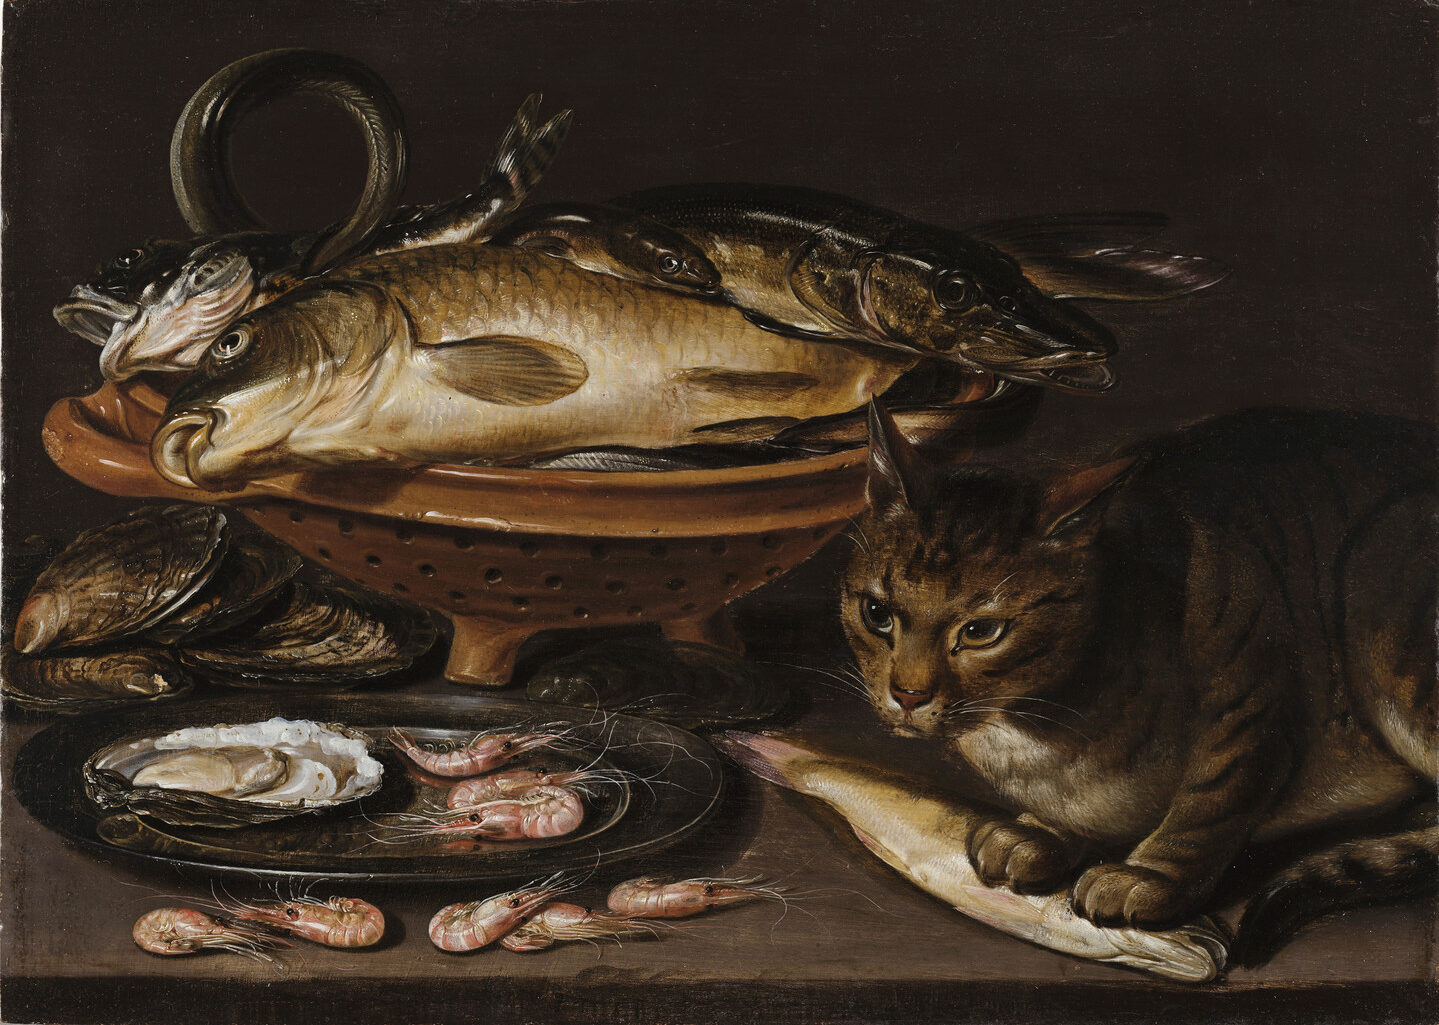
Dutch still life
Originated in the Netherlands or countries referred to as “Low Countries” such as Belgica and the Netherlands. Still Life became very popular during the Dutch Golden Age which was due to the Dutch becoming independent from Spain and creating the Dutch public. Artworks in this time had a specific style which was mainly flowers, and they were favoured as they showed everyday scenes of people and their lives which was relevant during the Protestant revolution throughout this time and this eventually became known as “Dutch Realism”. The common types of Still Life paintings were still popular this time such as Vanitas, florals and everyday still life pieces.
Modern still life
Modern Still life guided new artworks such as Impressionism and Post-Impressionism. This era of Still Life brought artists to life such as Vincent Van Gogh, who’s known for his expressive paintings of vases, flowers, etc. Many modern Still life’s still consisted of fruit, bread, wine but the way the work was created was different as these modern Still Life artists used larger brushstrokes, colours and a variety of different perspectives, seen from the picture below.

Famous still life photographers –
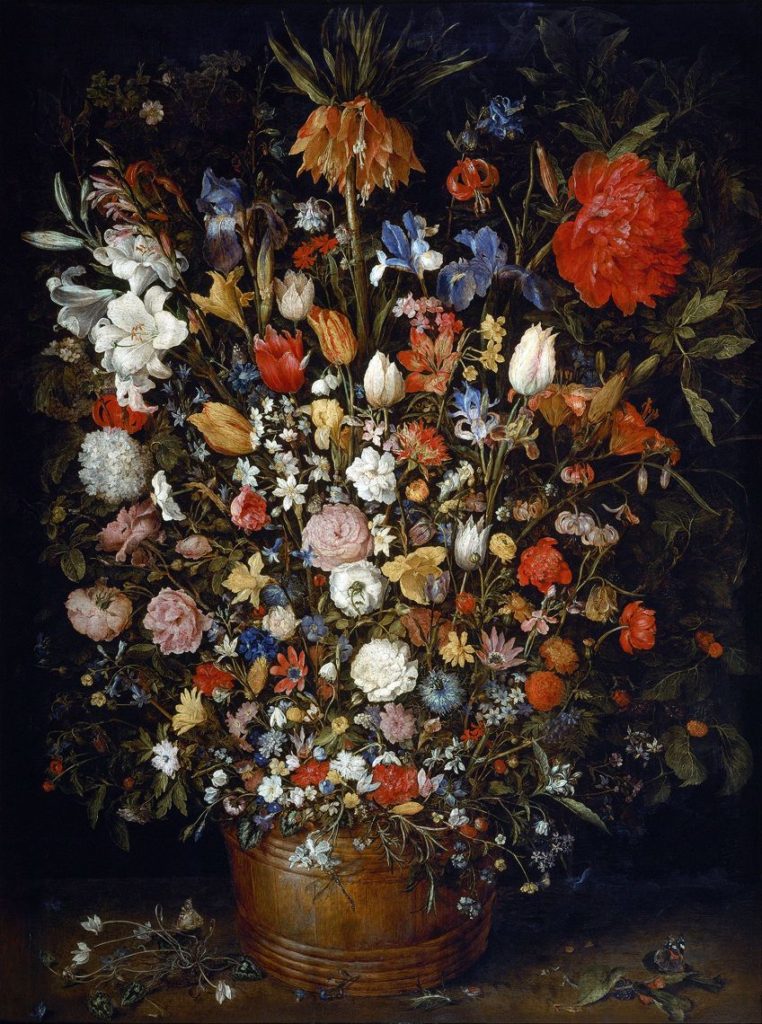
Jan Bruegel
- A Flemish painter and leading artist in the Still life Genre.
- Born in Brussels, 1568.
- Specialised in floral paintings and paradisal landscape paintings, which he is most known for as he gained the nickname “Flower”.
Willem Kalf
- Born in Rotterdam, Amsterdam 1619.
- Specialised in the style of Pronkstilleven, and was a popular artist.
- His work has unique characteristics such as including porcelain Chinese bowls and jugs while paying close attention to detail which enhances the symbolism of composition.
- Used a dark palette in his work and enhanced this with texture and light, for example how light bounces off silverware and the colour of lemons seen in the work below.