Process of editing my images
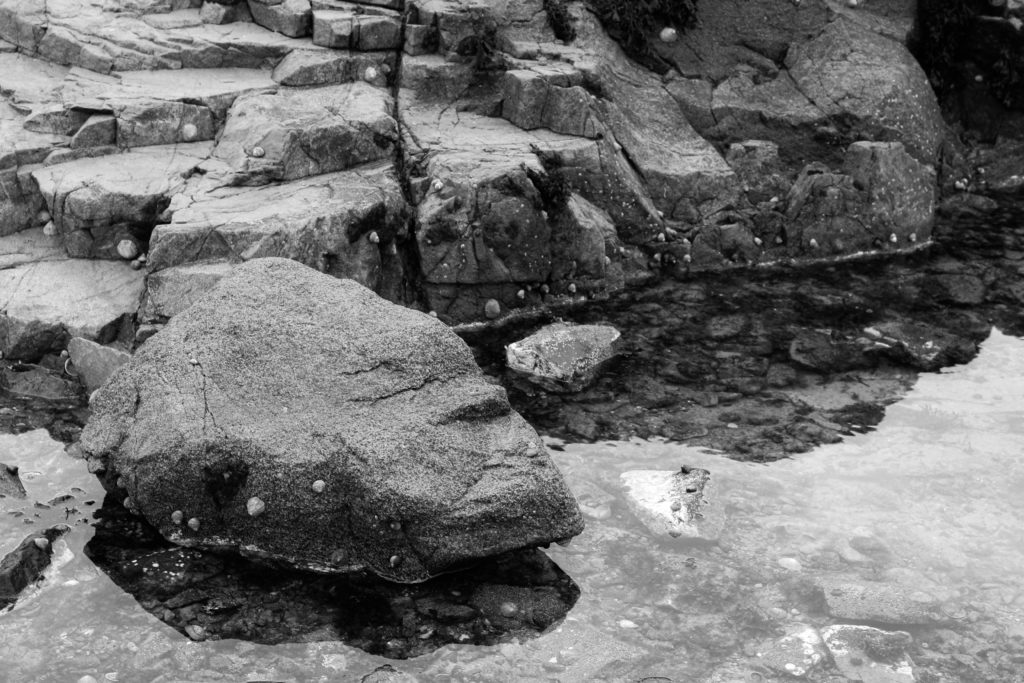
Image Edit 1:
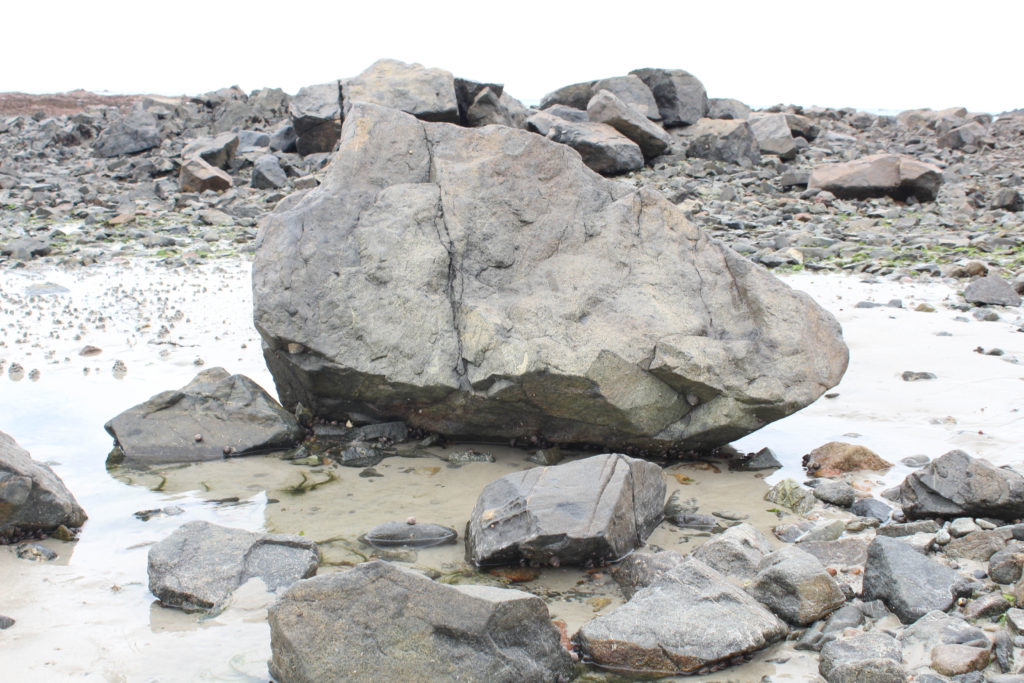
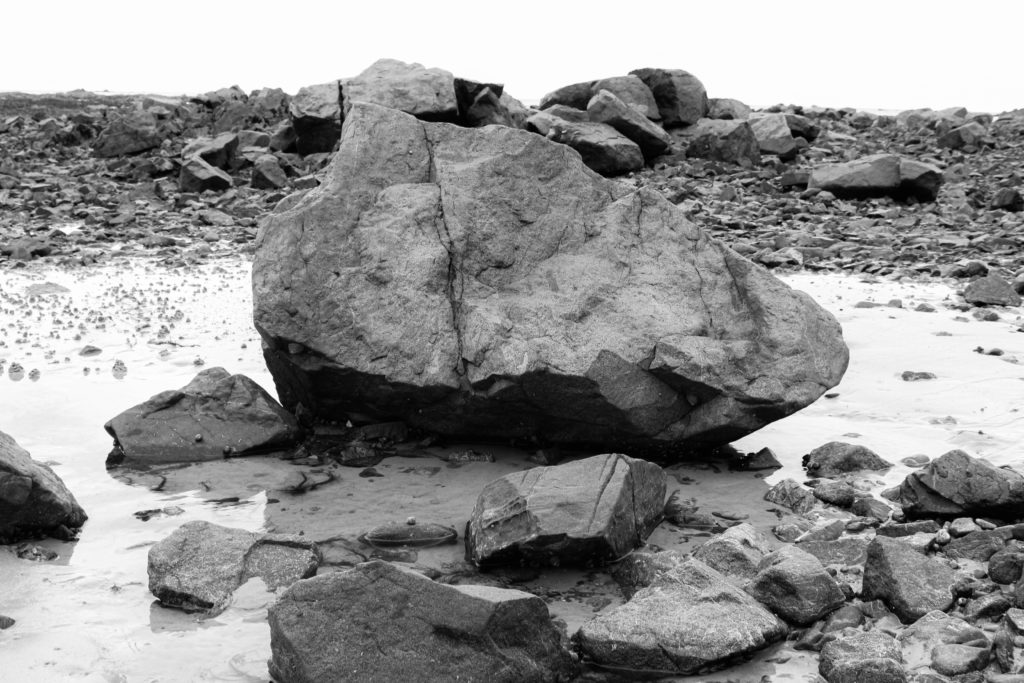
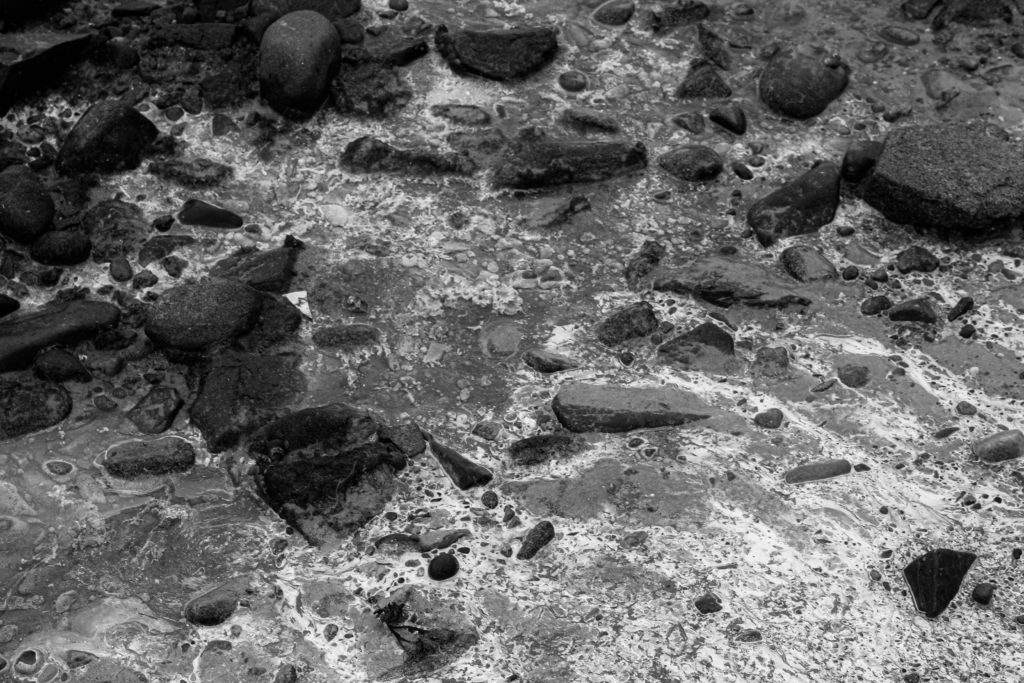
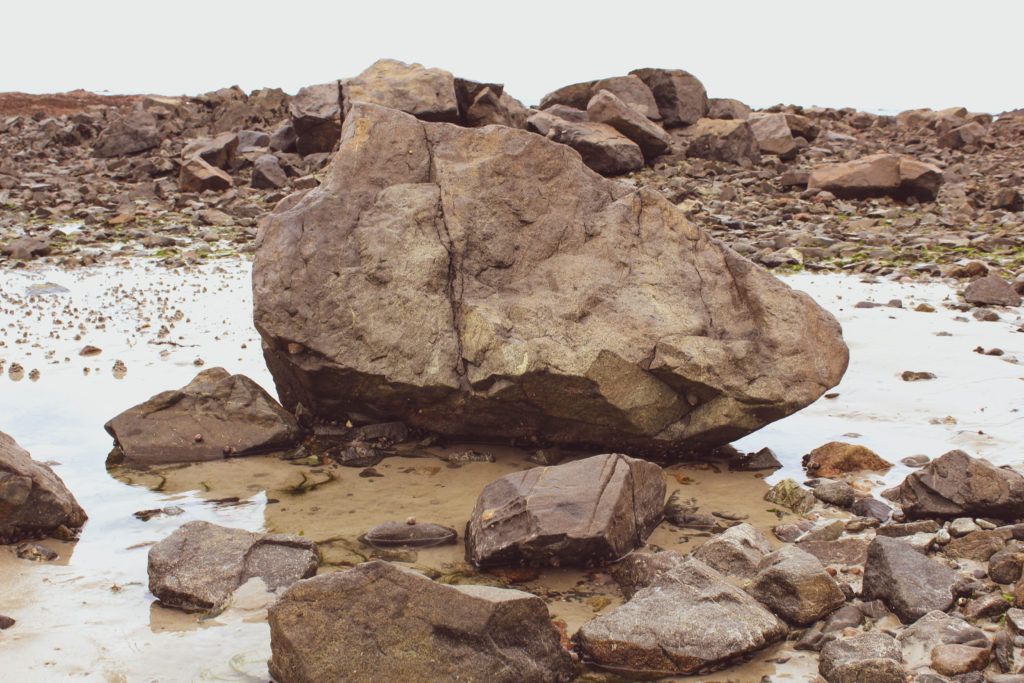
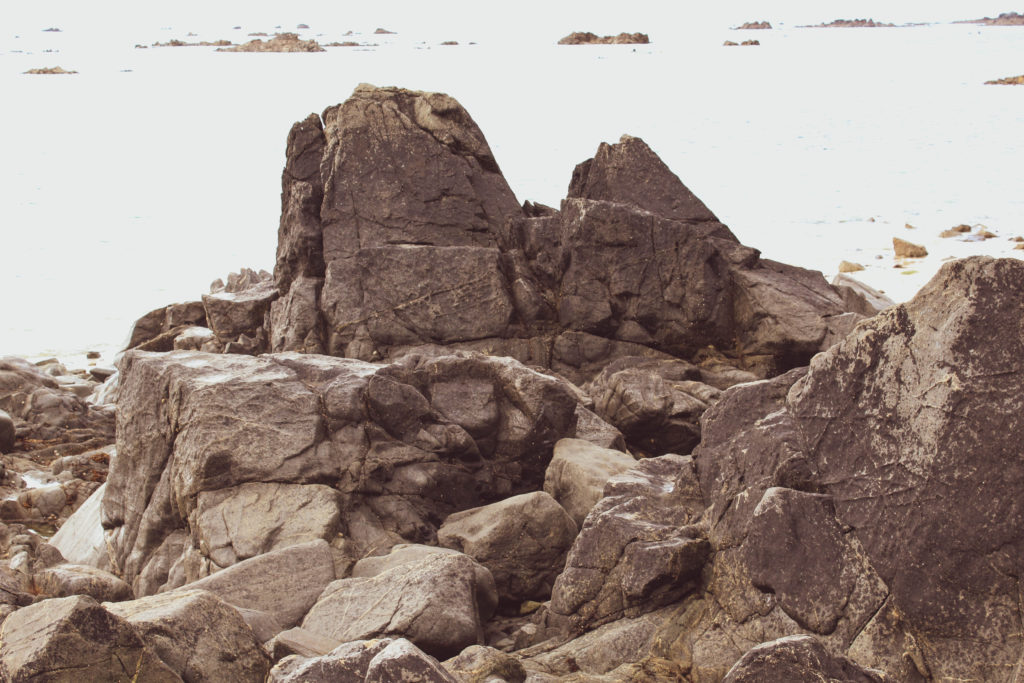
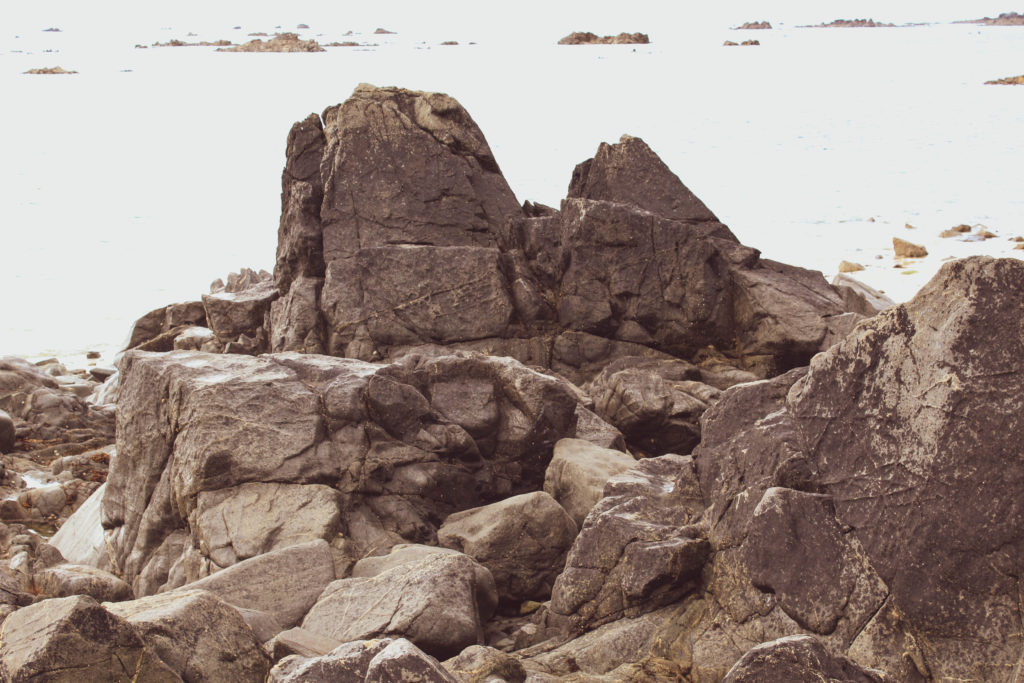
Here with this image, I decided to convert it into a black and white image like I have been doing with my previous images from past photoshoots such as the L’Etacq one and the Devil’s Hole one. I wanted to showcase a sense of importance by making this rock central to the image.
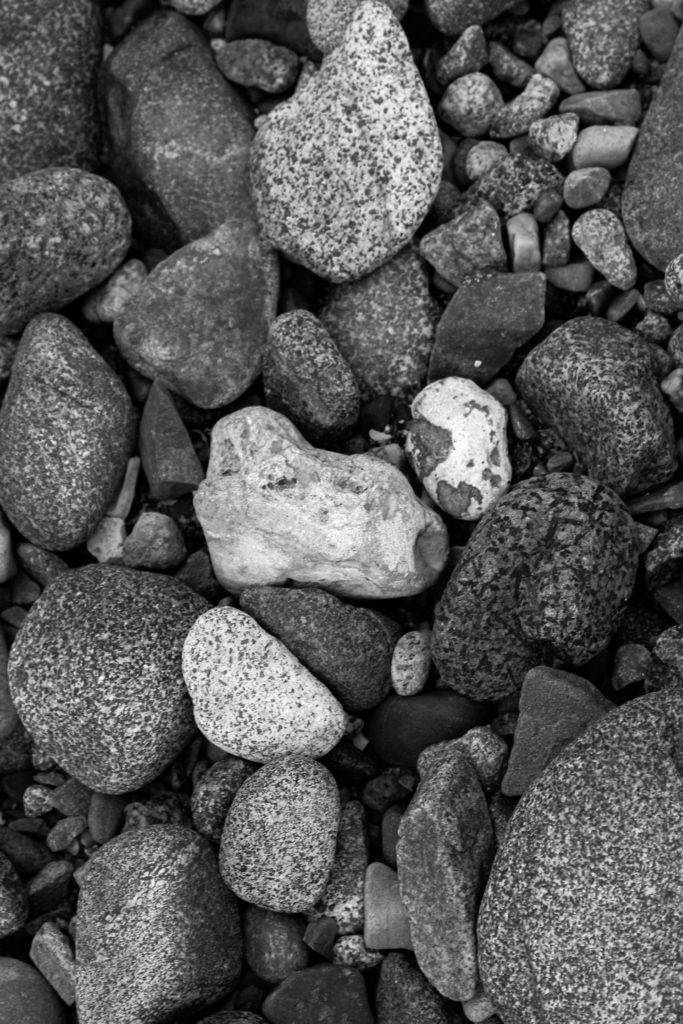
Image Edit 2:

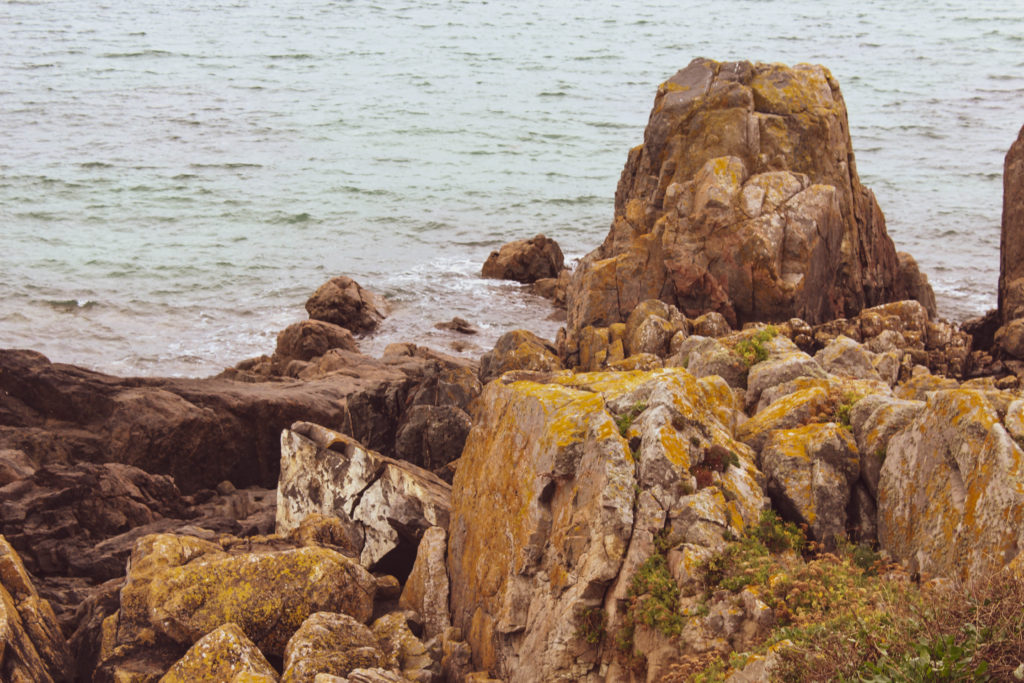
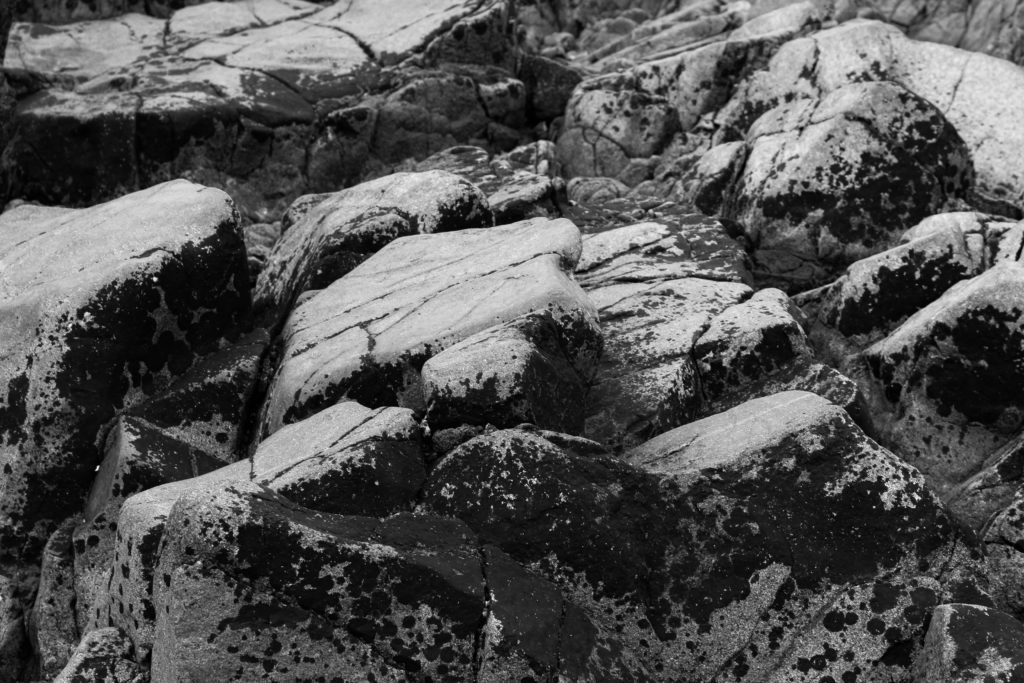
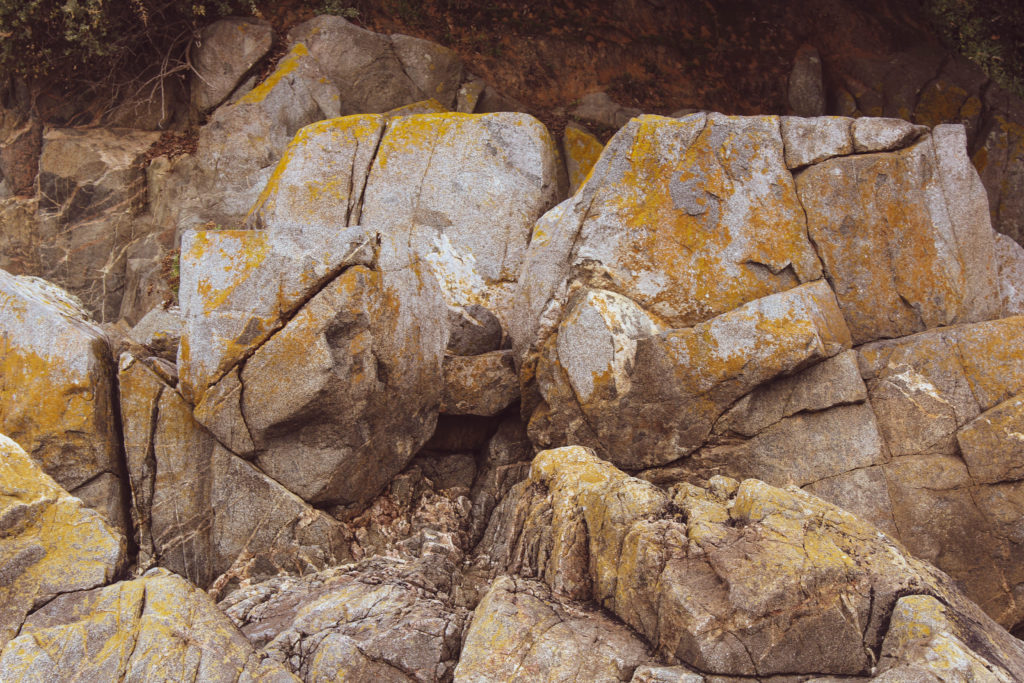
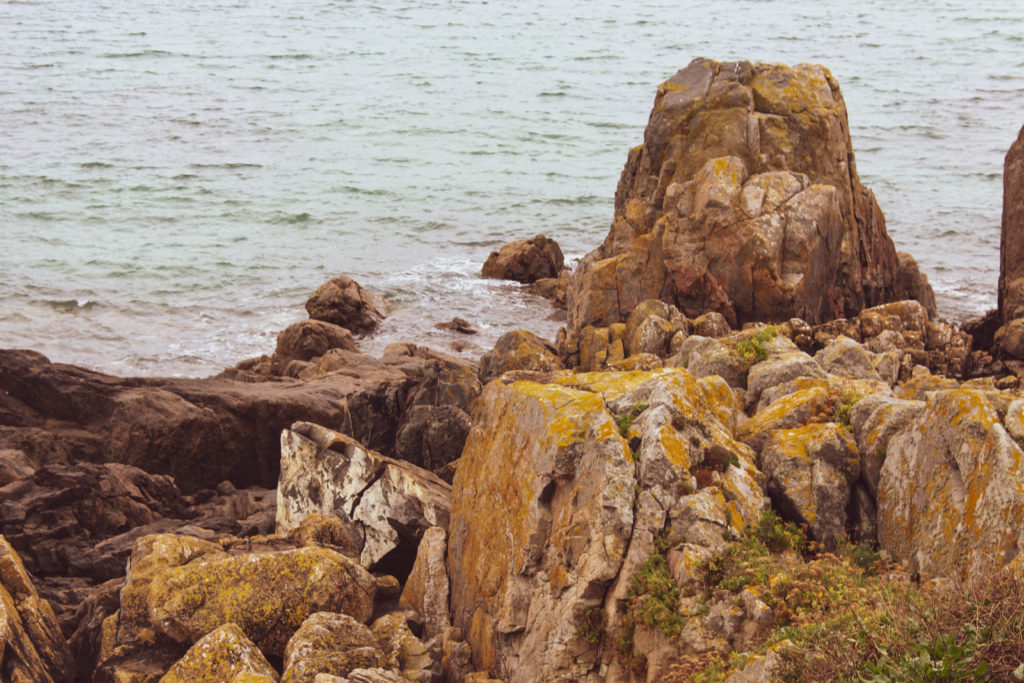
I decided to edit this photo by choosing one of the creative presets and adjusting it to my liking. I wanted to experiment with colour this time rather than strictly black and white, just to enhance Jersey’s beauty within it geology.
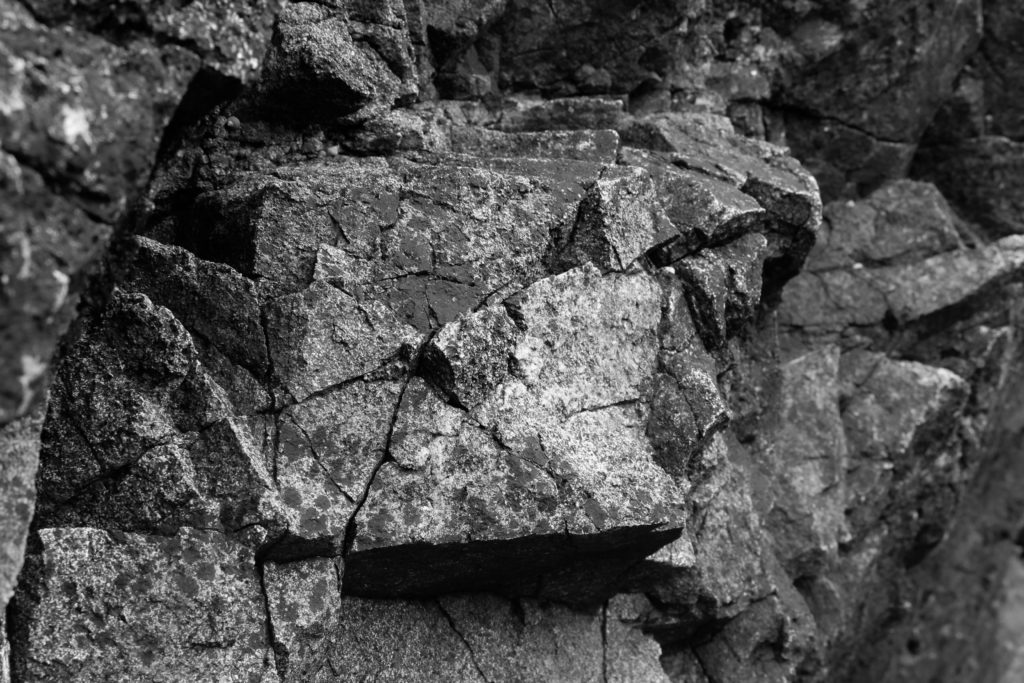
Image Edit 3:
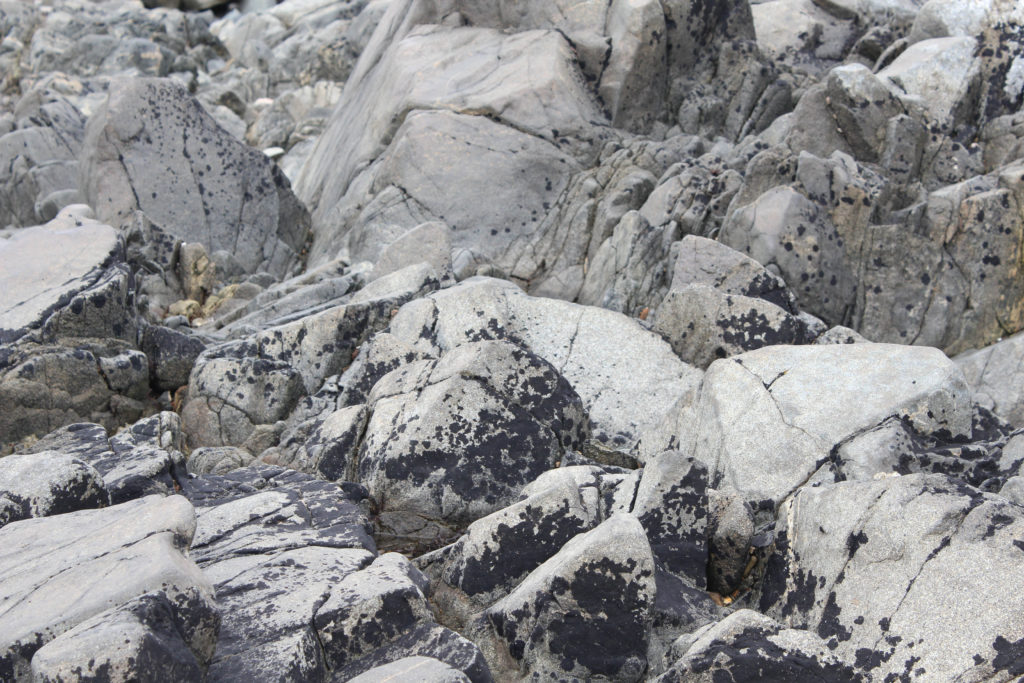

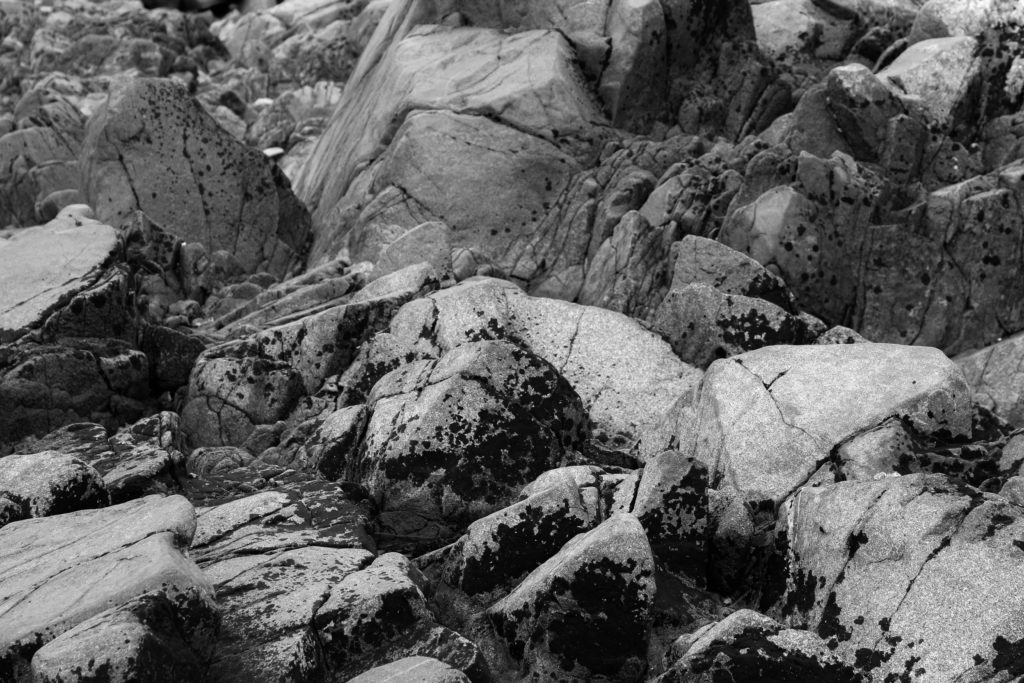
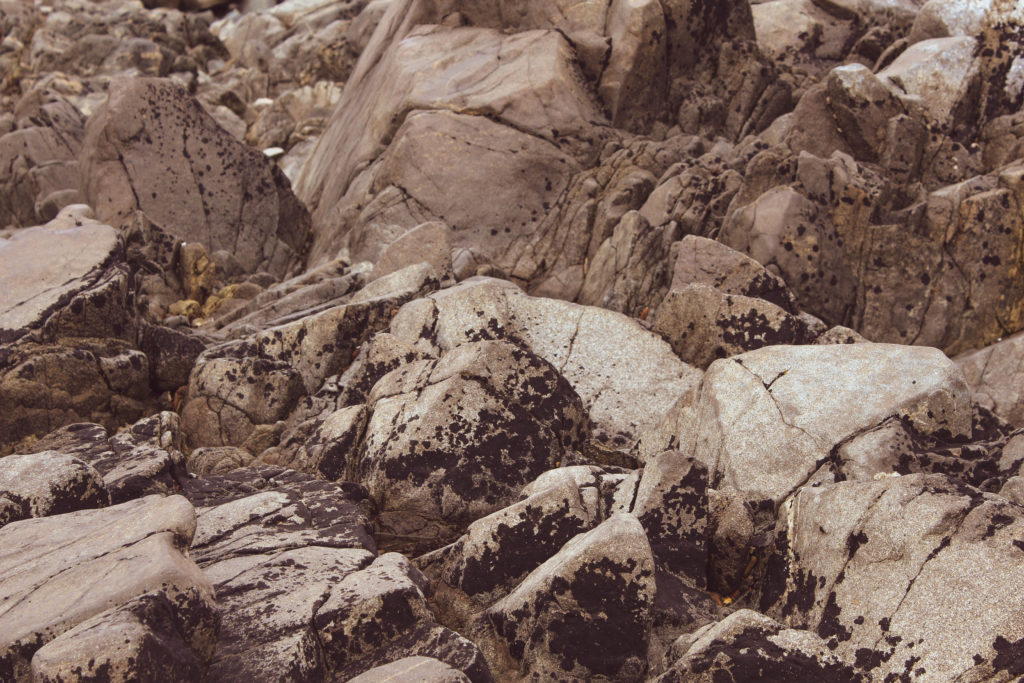
For this image, once again I have chosen to edit the original image with a much warmer preset within the creative filters. I wanted to create a warmer image as a contrast from my usual black and white ones, just to see how it would present. I wanted to display warmth within the image so that Jersey’s colours would shine and showcase what the islands beauty is really all about. Both images have quite a drastic colour difference, one being a lot cooler with black and whites, and the other being much warmer with browns and beige tones.
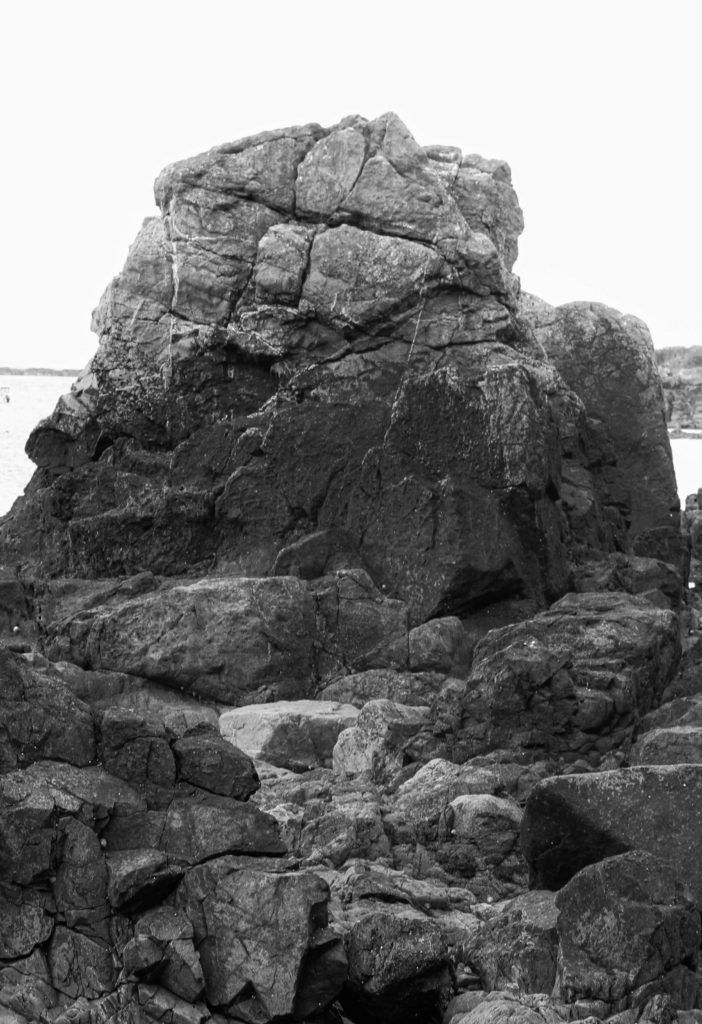
Image Edit 4:


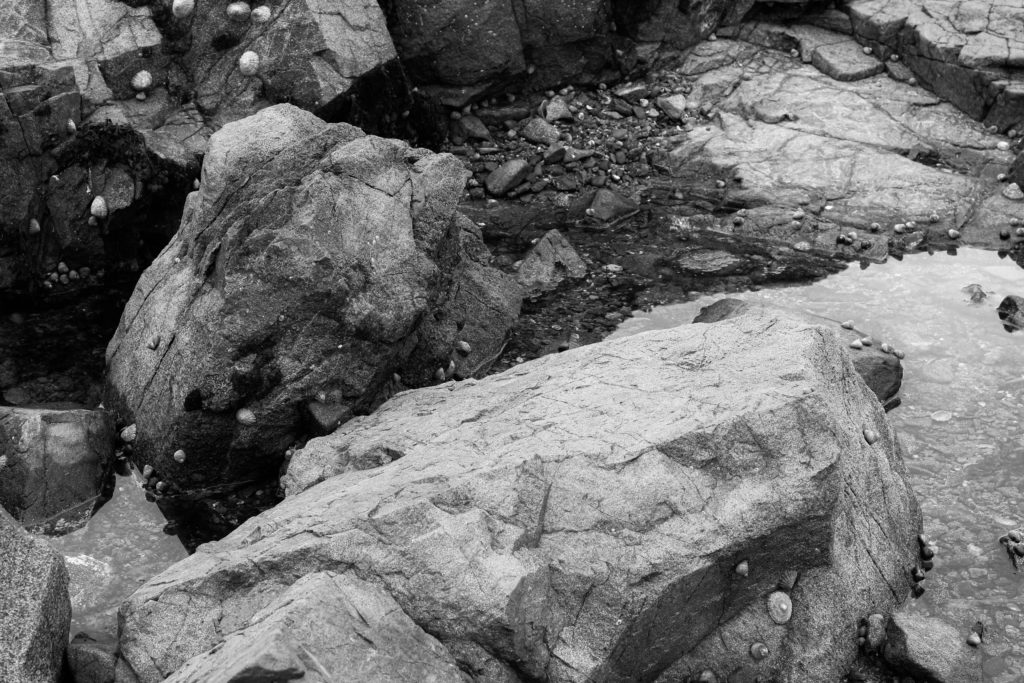
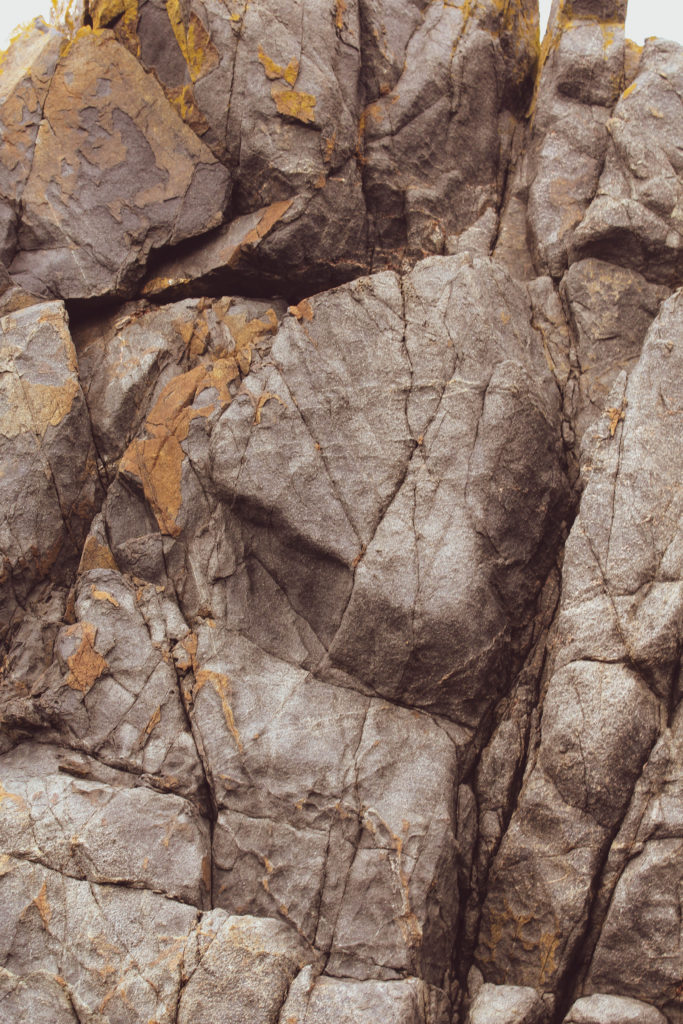
Here I have followed the same editing method for my first editing example, but the only difference is that this image is taken as a portrait photograph whilst the other image is taken as a landscape photograph. I tried to capture once again the true essence of Jersey’s geology by presenting a large rock as the central focal point for the photograph. I once again chose the approach of editing it in black and white as to capture a more dramatic interpretation of the islands formations and rock shapes.
—- Best images —-
Coloured images:


Black and white images:

