
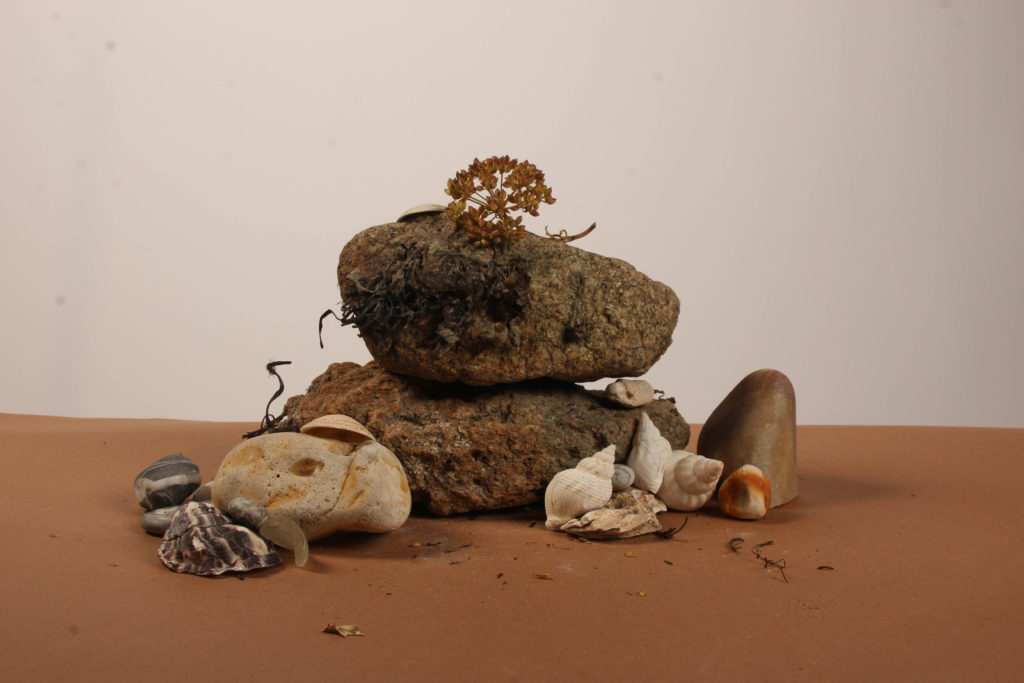
With the still life images, I arranged a group of rocks and other materials into a formation that I was happy with. Once this was achieved, I took a few photos of the items and decided to change the backdrops and boards they lay on.
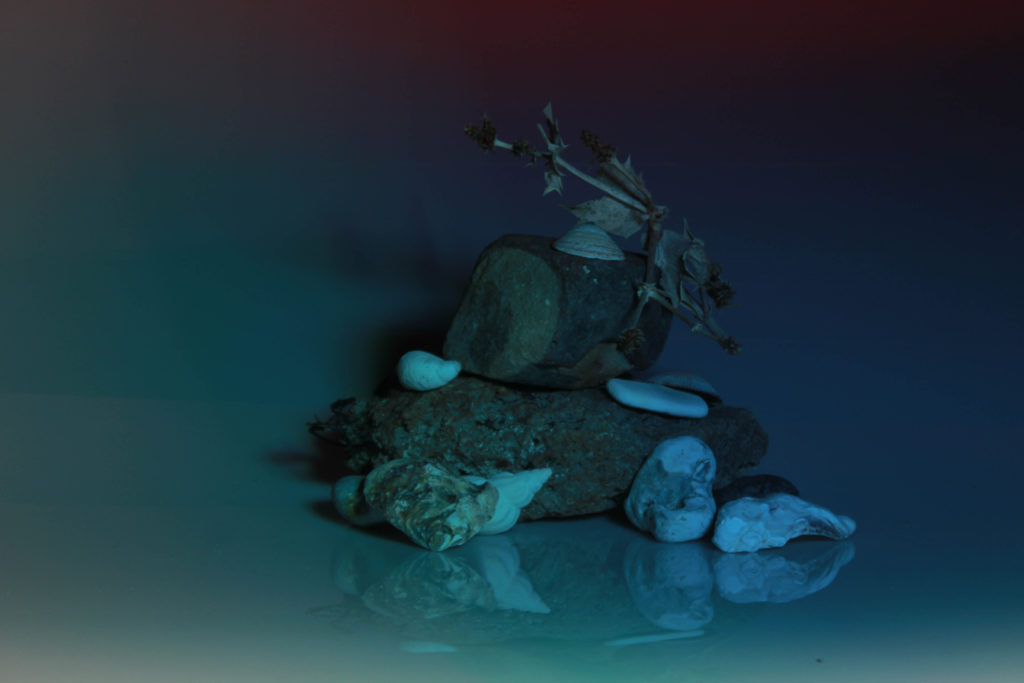
A few of the photos taken consisted of a layout placed upon a table with coloured card and a white backdrop. This gave off quite a simple look to the photograph with a slight variation of colour change with the card underneath. The other range of photos were taken however on a much harder surface that was a lot more reflective than the card. It was fully white, but I was able to play around with the colour of the lighting by placing coloured plastic over the lights used. This provided a wide range of multicoloured photographs which were interesting to experiment with.
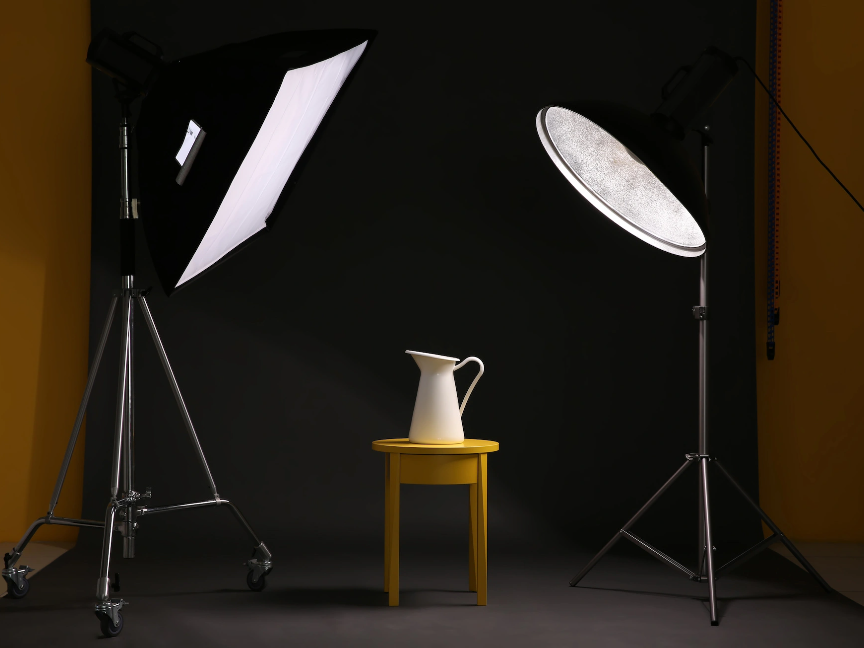
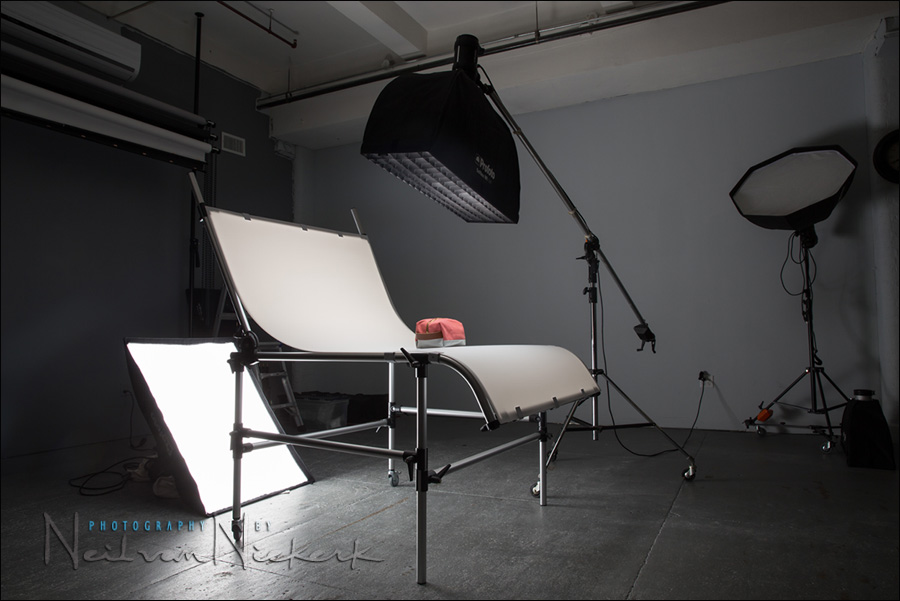
When taking my images, I ended up mainly taking flash head photographs of my still life displays and also continuous lighting photographs. I wanted to experiment with different lighting approaches so that I could get a variety of outcomes.
—- Continuous and flash head lighting —-
What is continuous lighting?
Continuous lighting in photography occurs when you turn the studio lights on, they stay on. You can power your studio lighting up or down, based on what you need, but they produce ‘what you see is what you get’ lighting.
Continuous lighting comes in different kinds, including incandescent, LED, fluorescent, tungsten and even plasma lights.


What is flash head lighting?
Flash heads, whether hooked up to a power pack or integrated into a monolight, generally feature an interchangeable reflector (bowl or dish) used to shape the light. More compact units may come with a built-in reflector. Interchangeable reflectors give photographers numerous options.

Contact sheets:


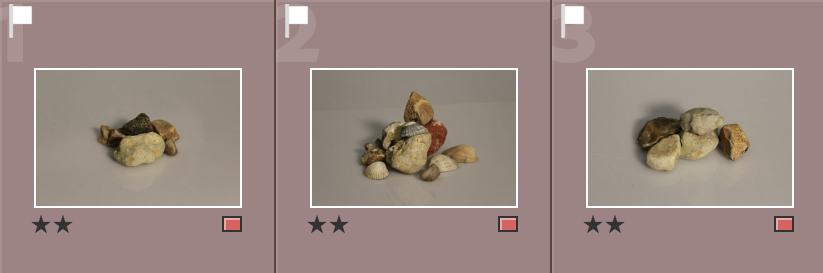
Flagged photographs:

Colour coded and star rated photographs:


Best images:
—- Still life photo-edits —-
Before and afters:


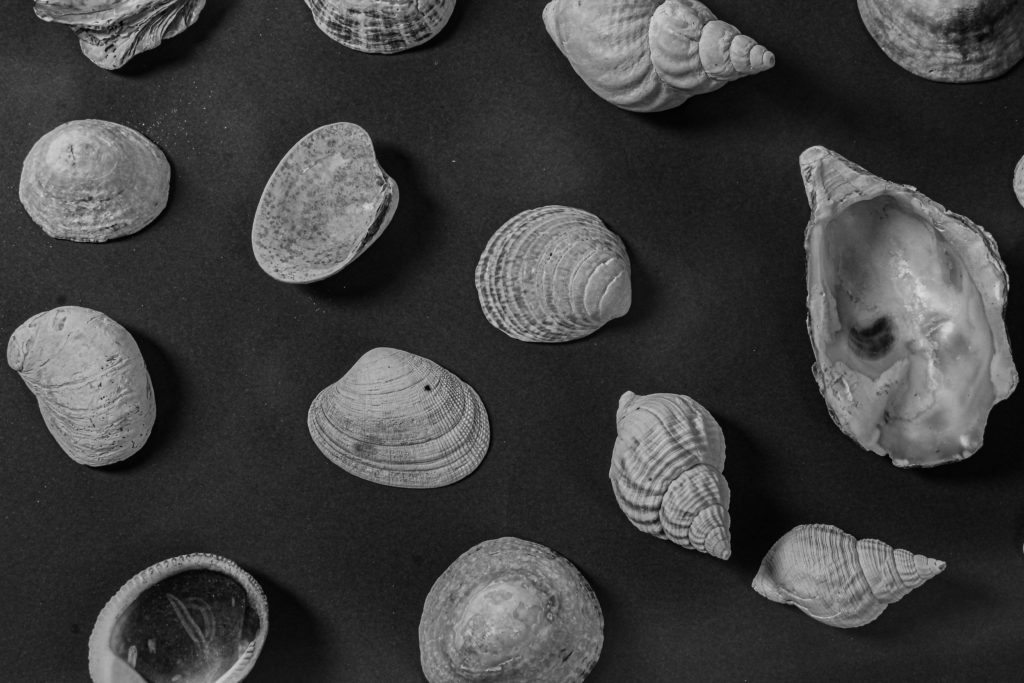
Black and white experiments:


Colour experiments:

Final outcomes + Image Analysis

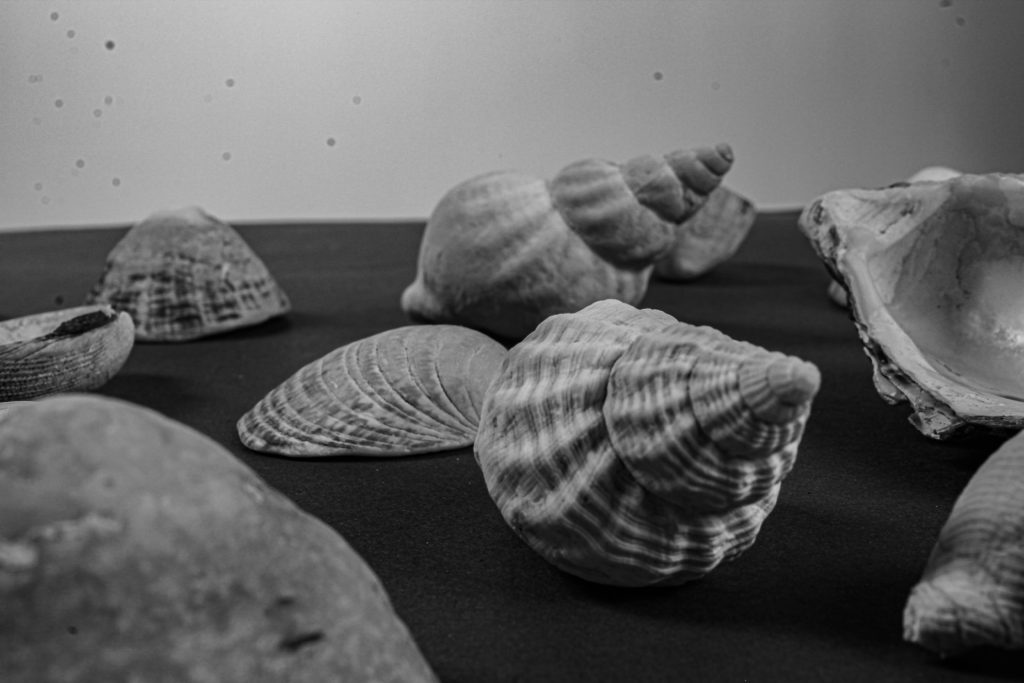
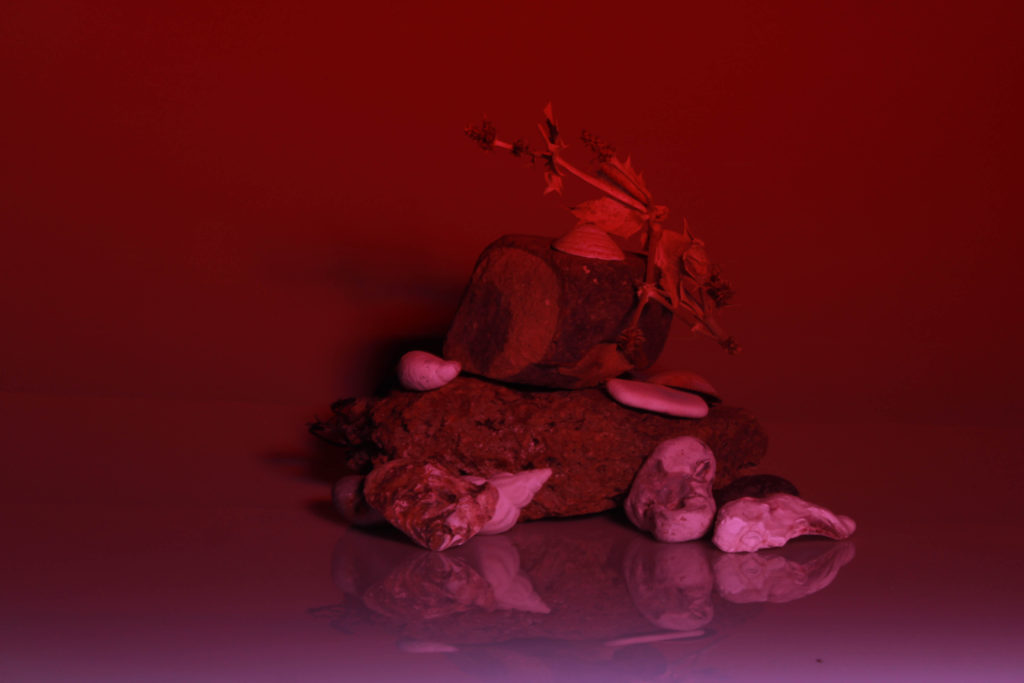
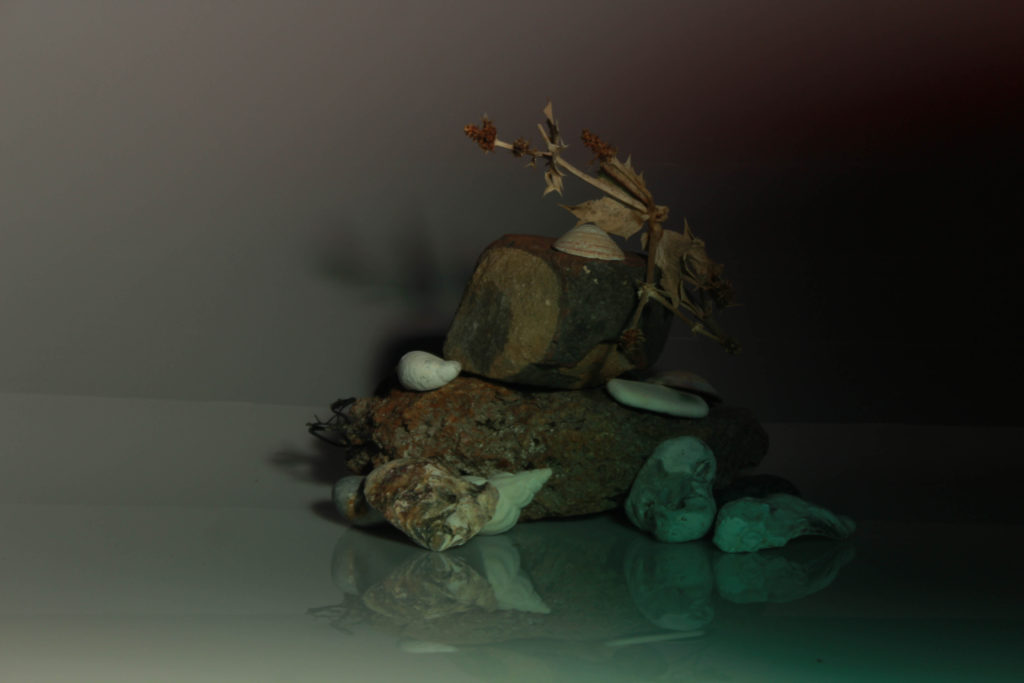
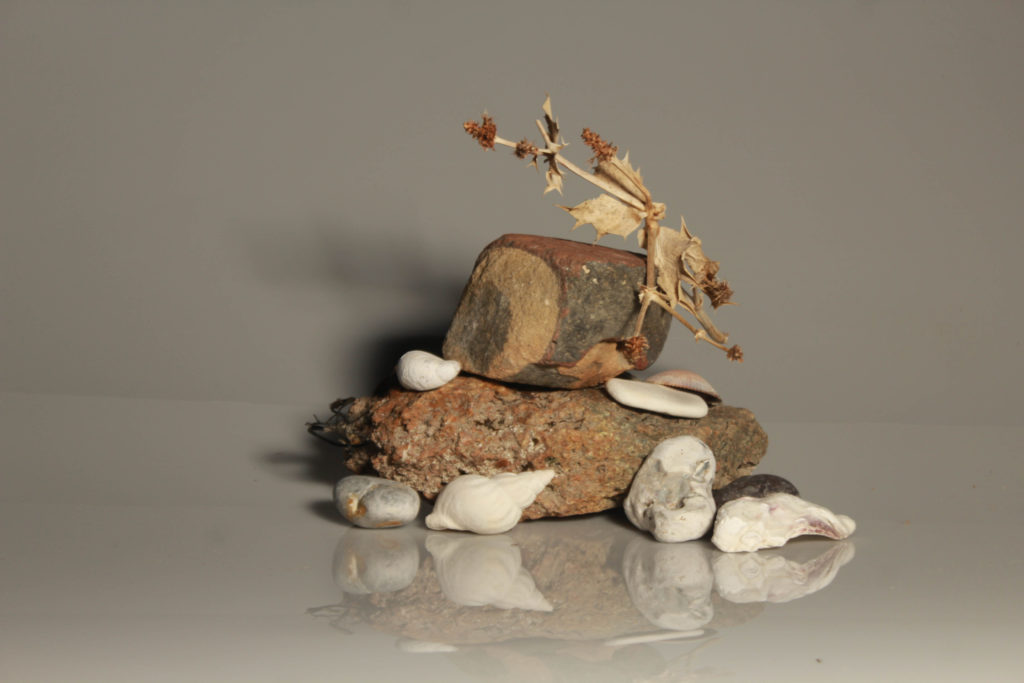
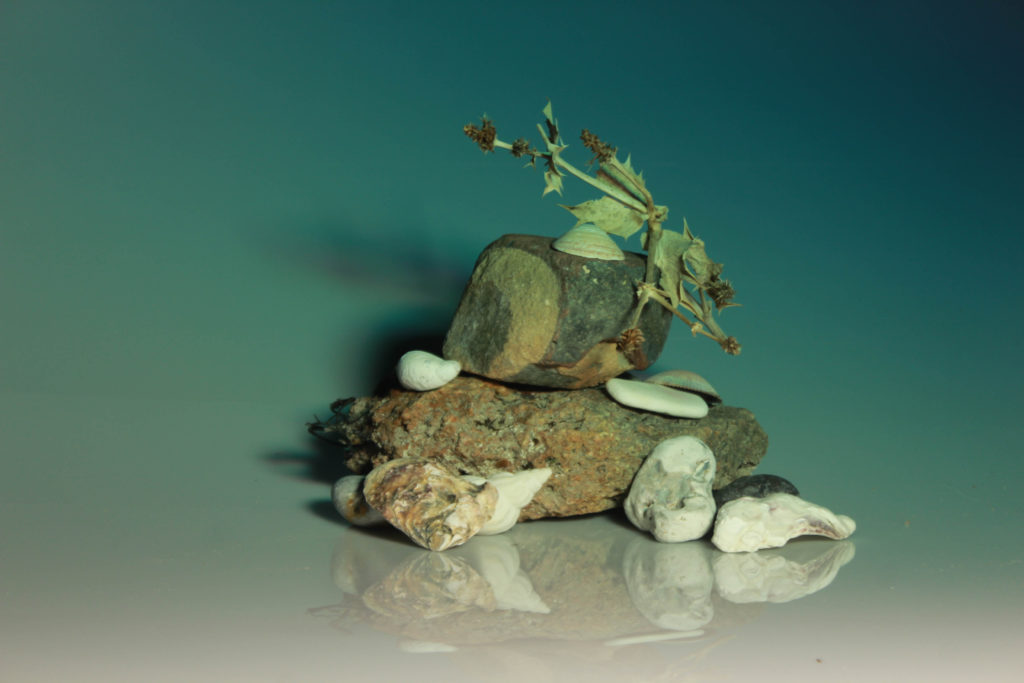
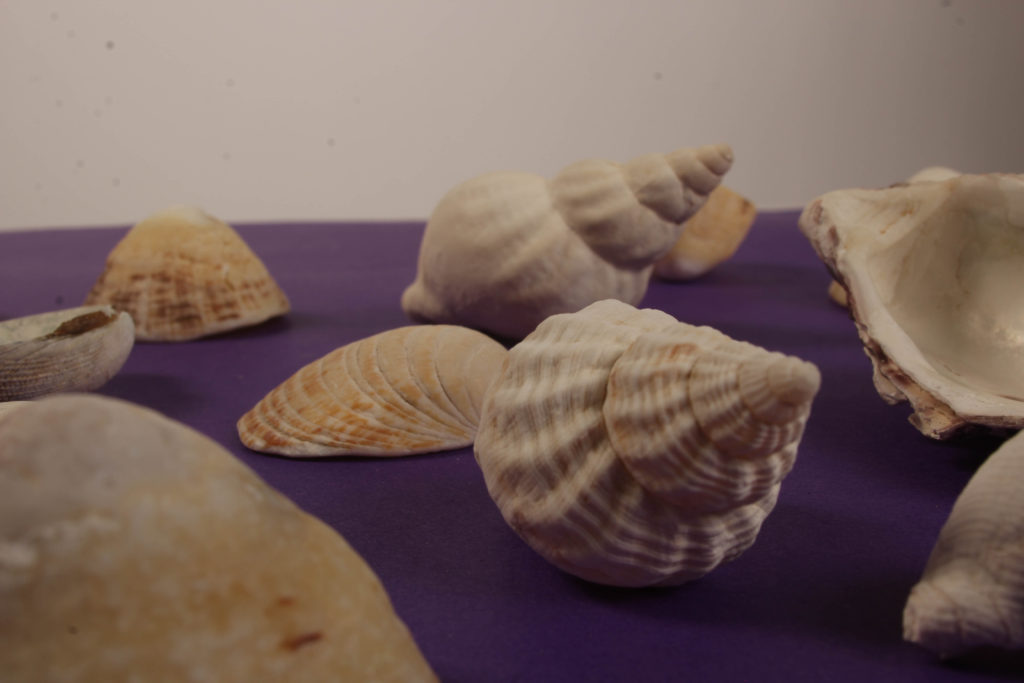
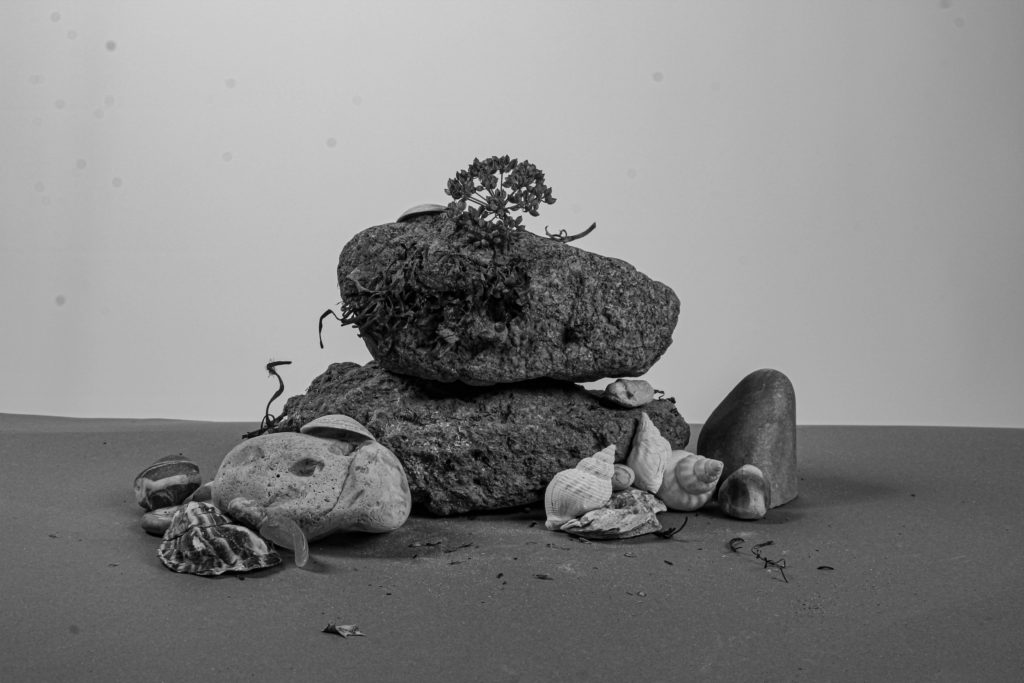
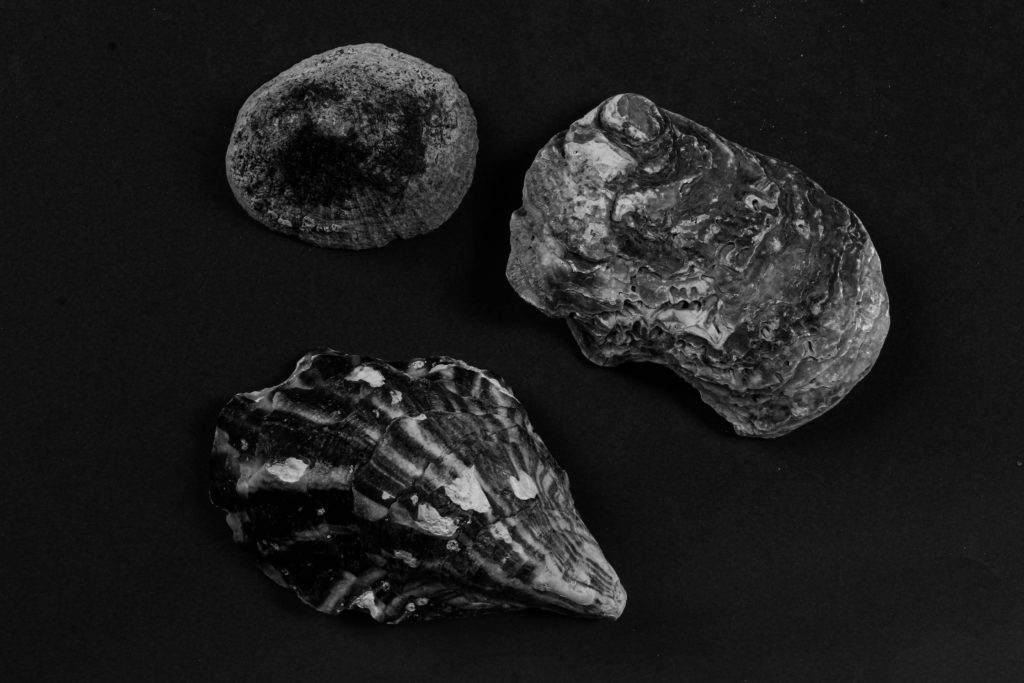
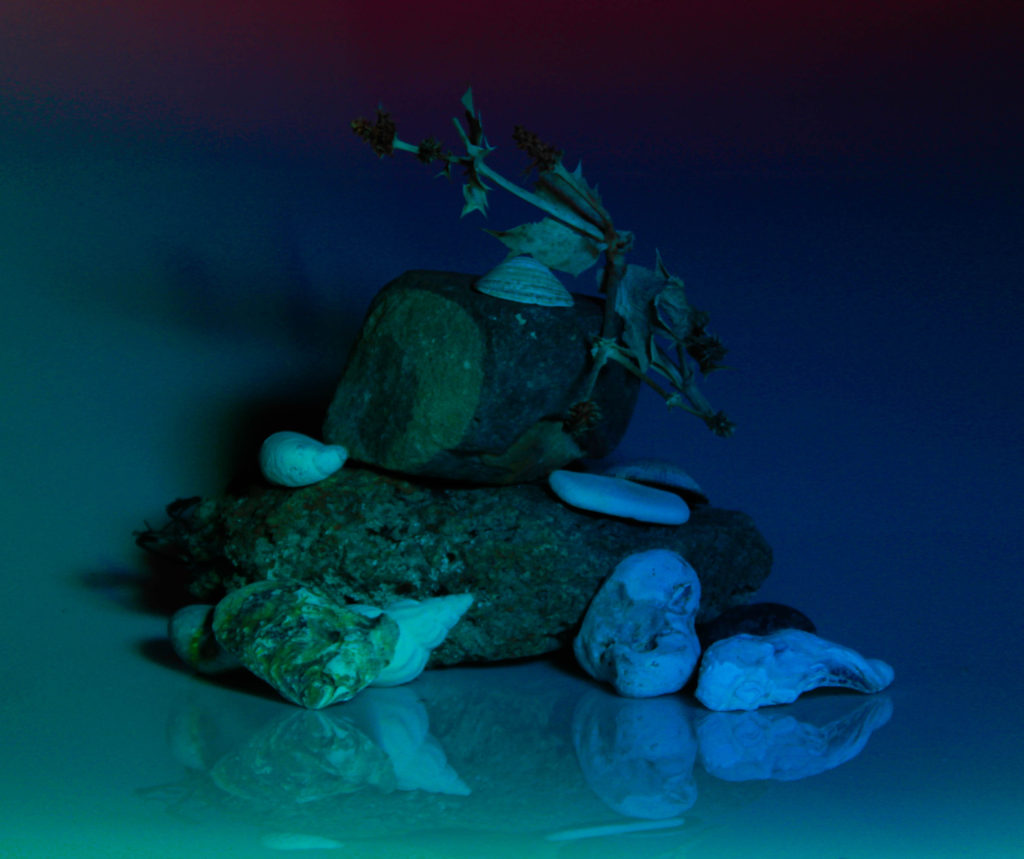
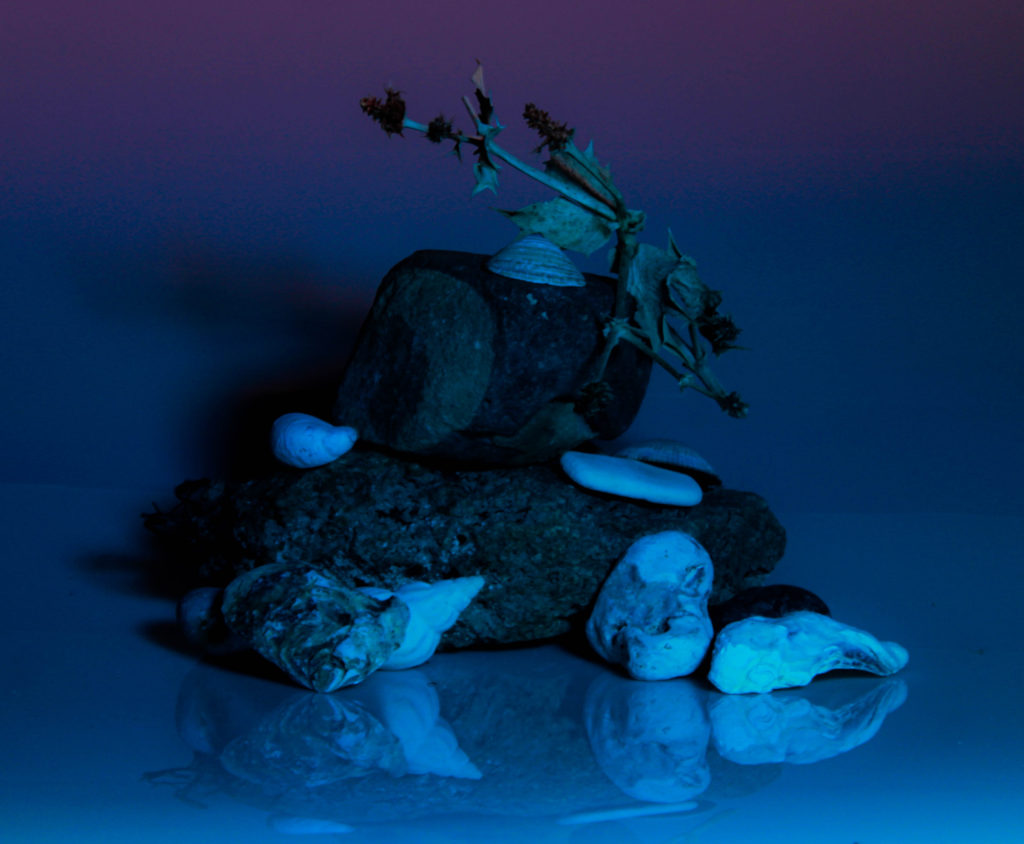
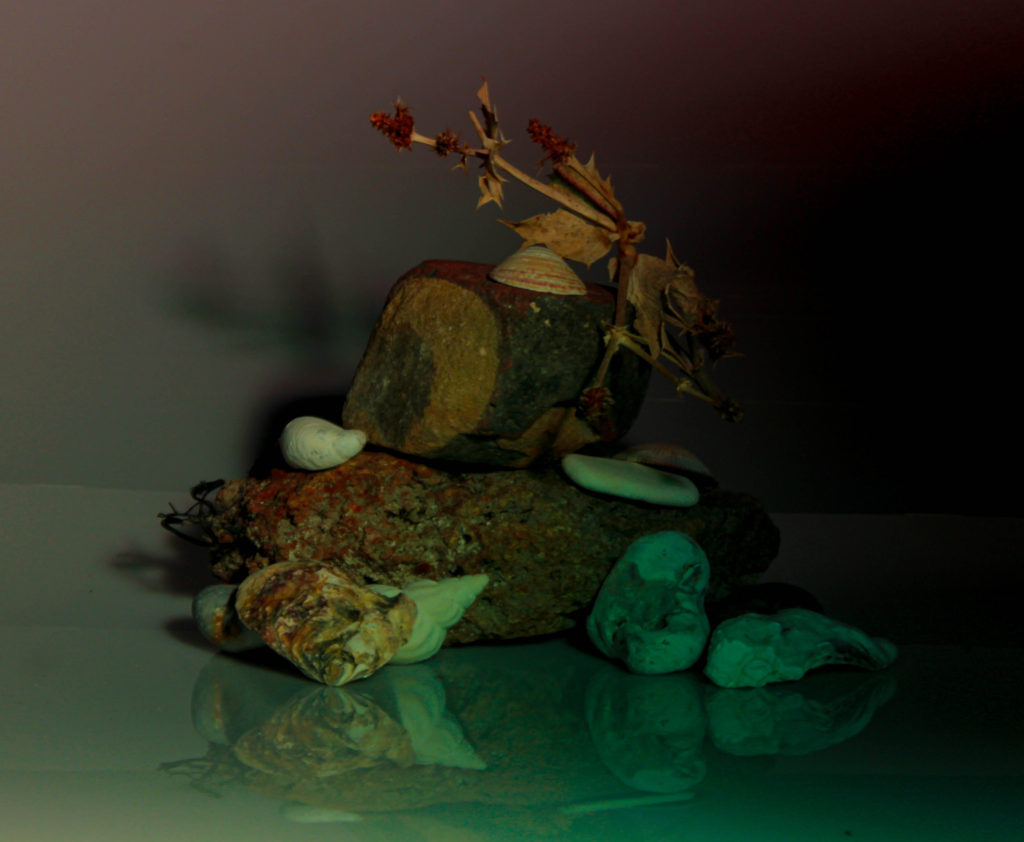
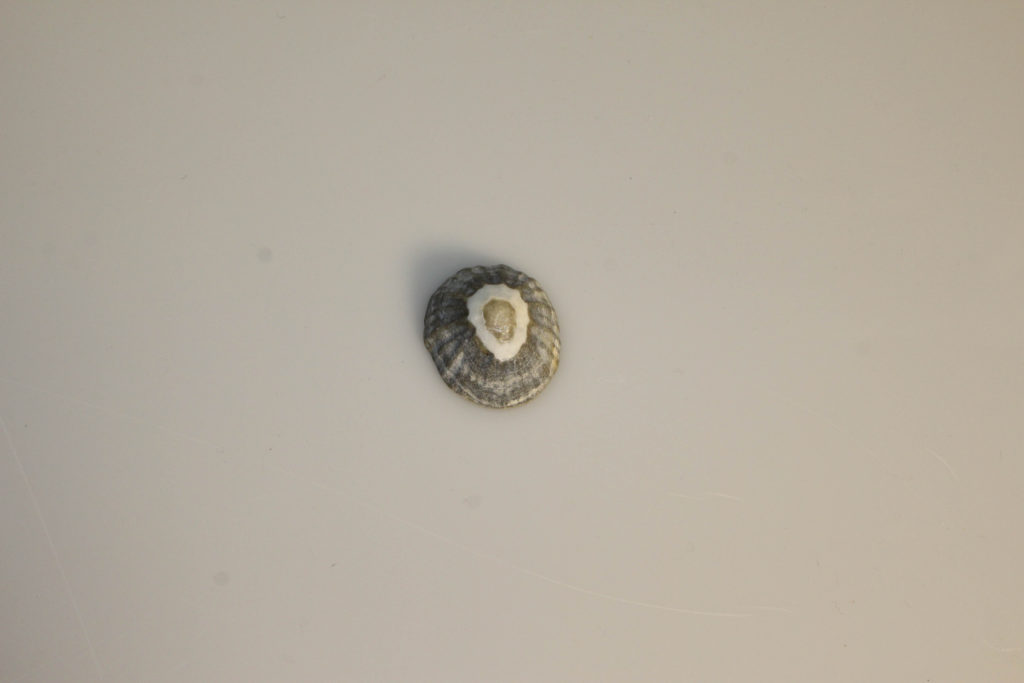
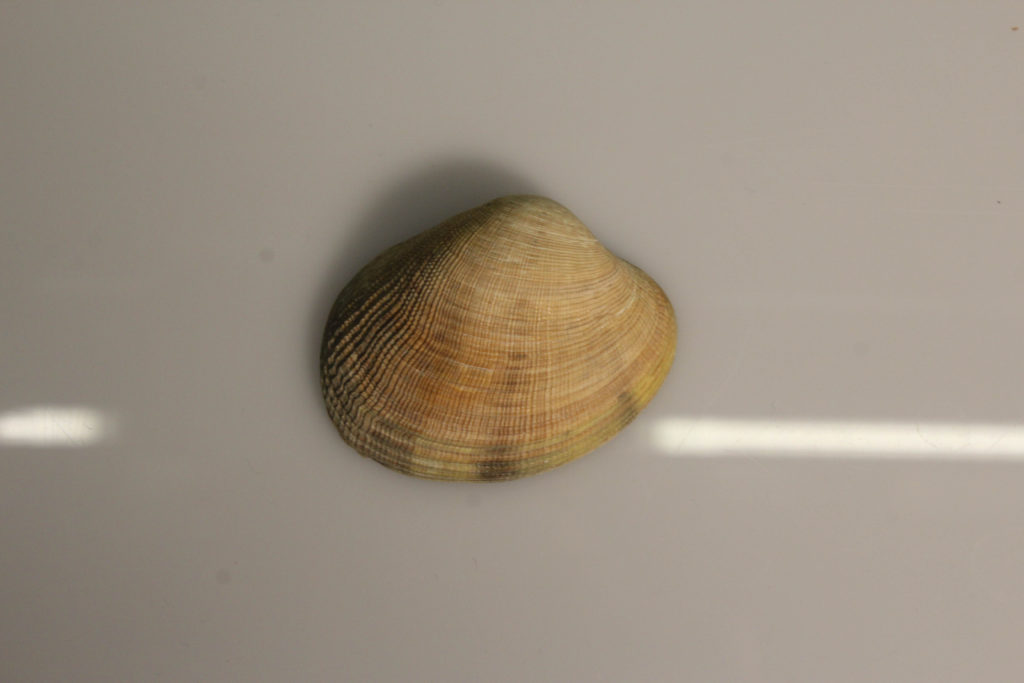
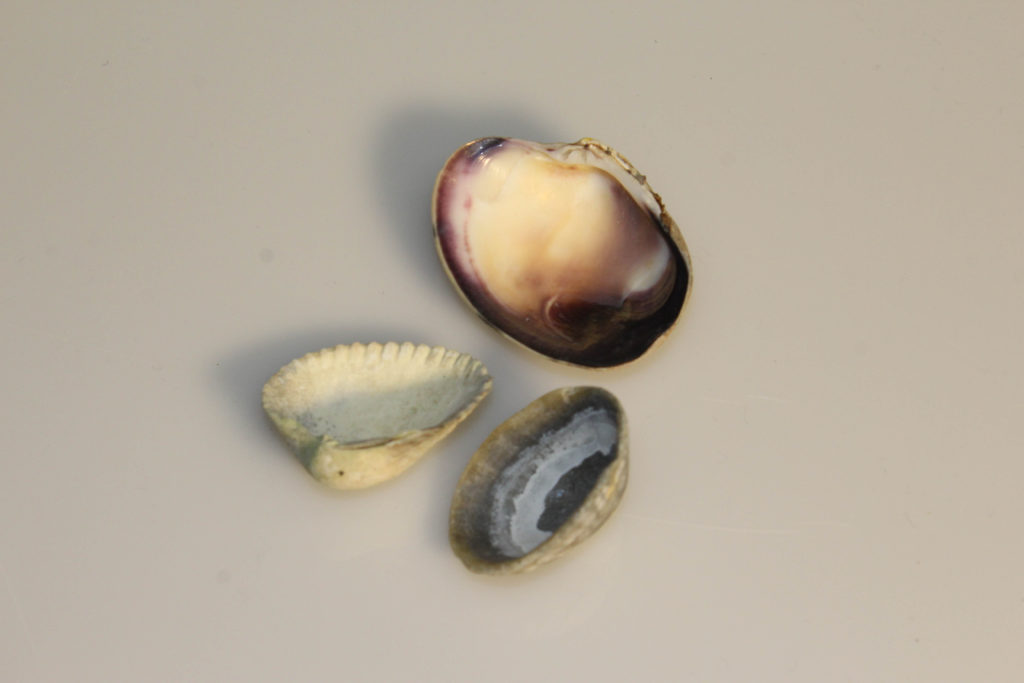
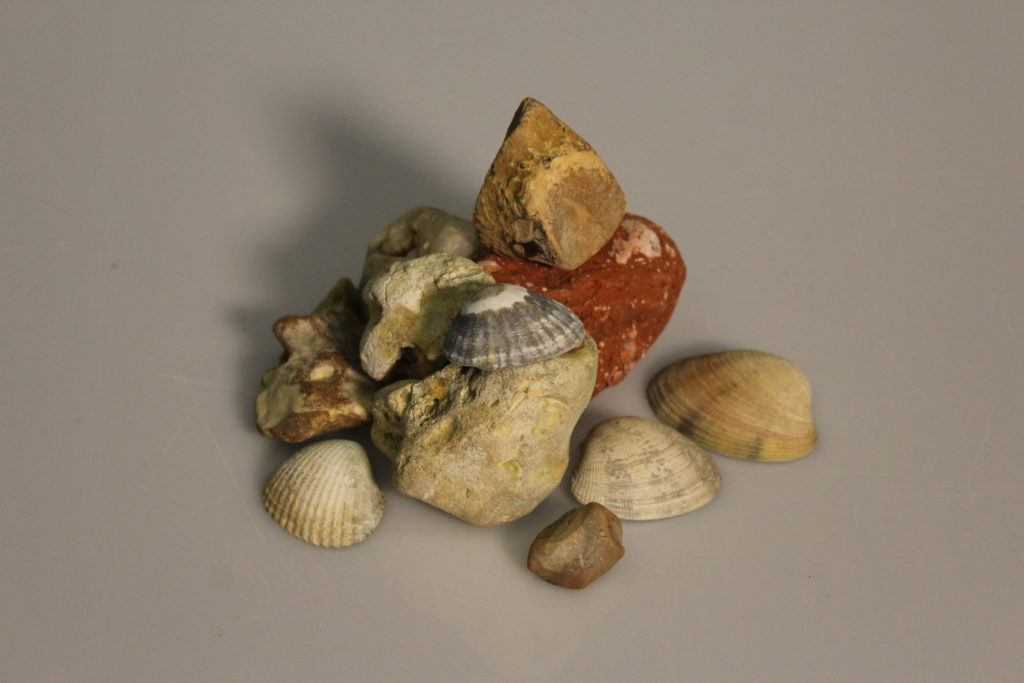
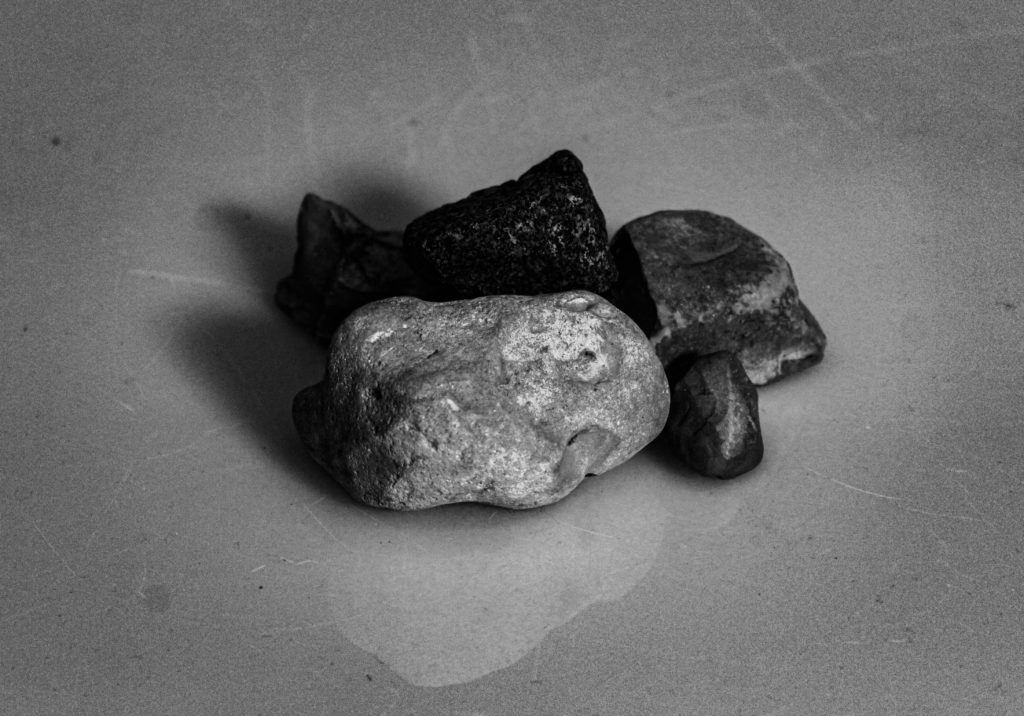
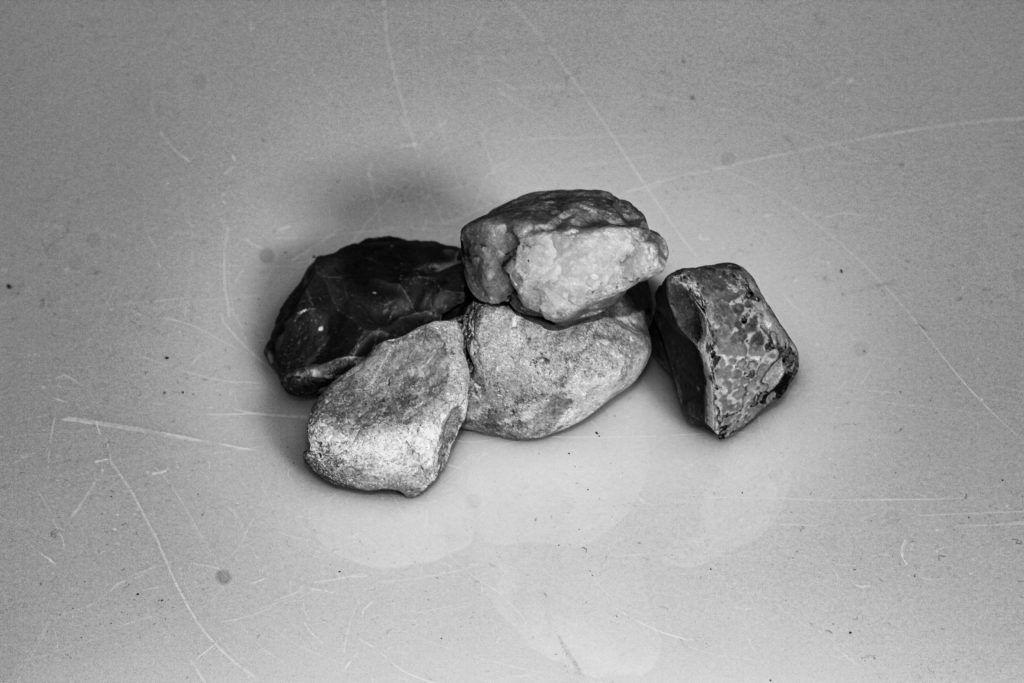
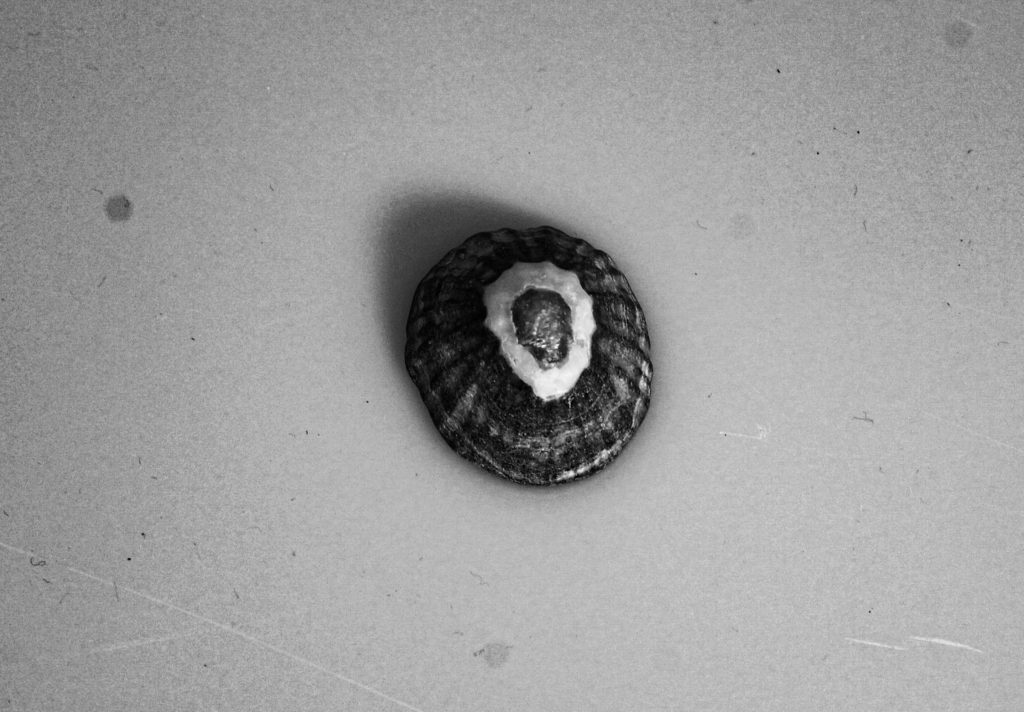
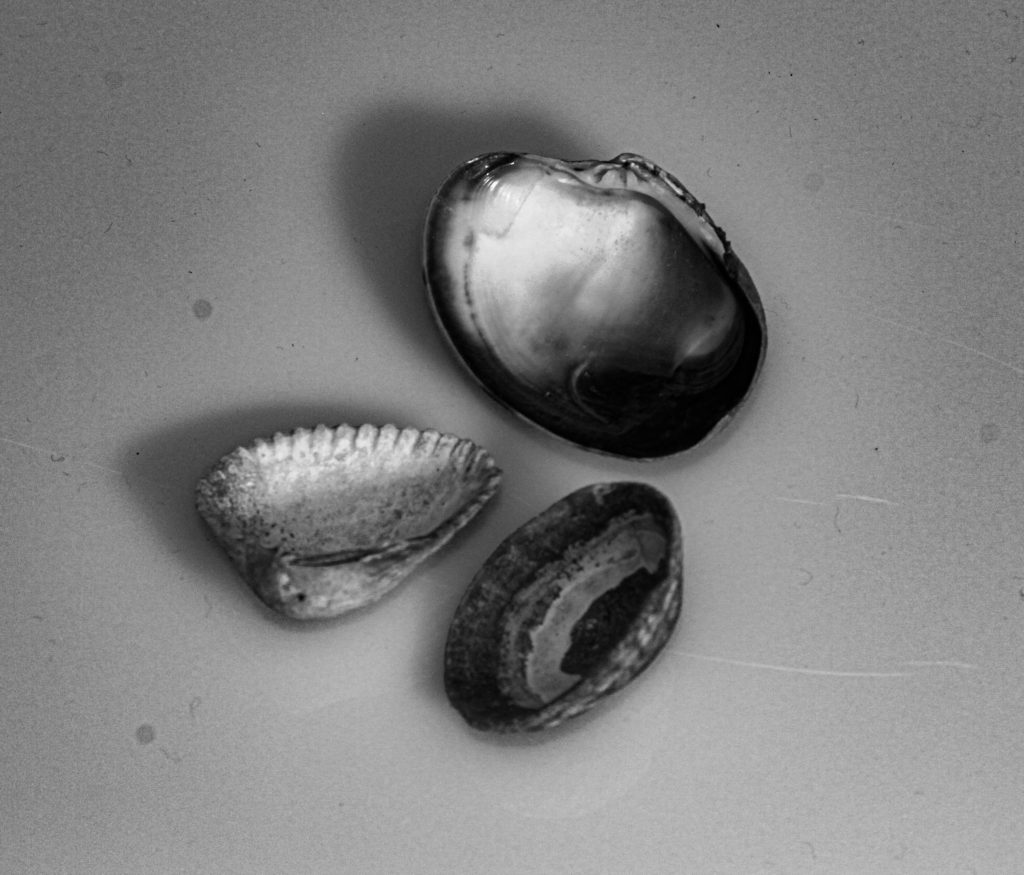
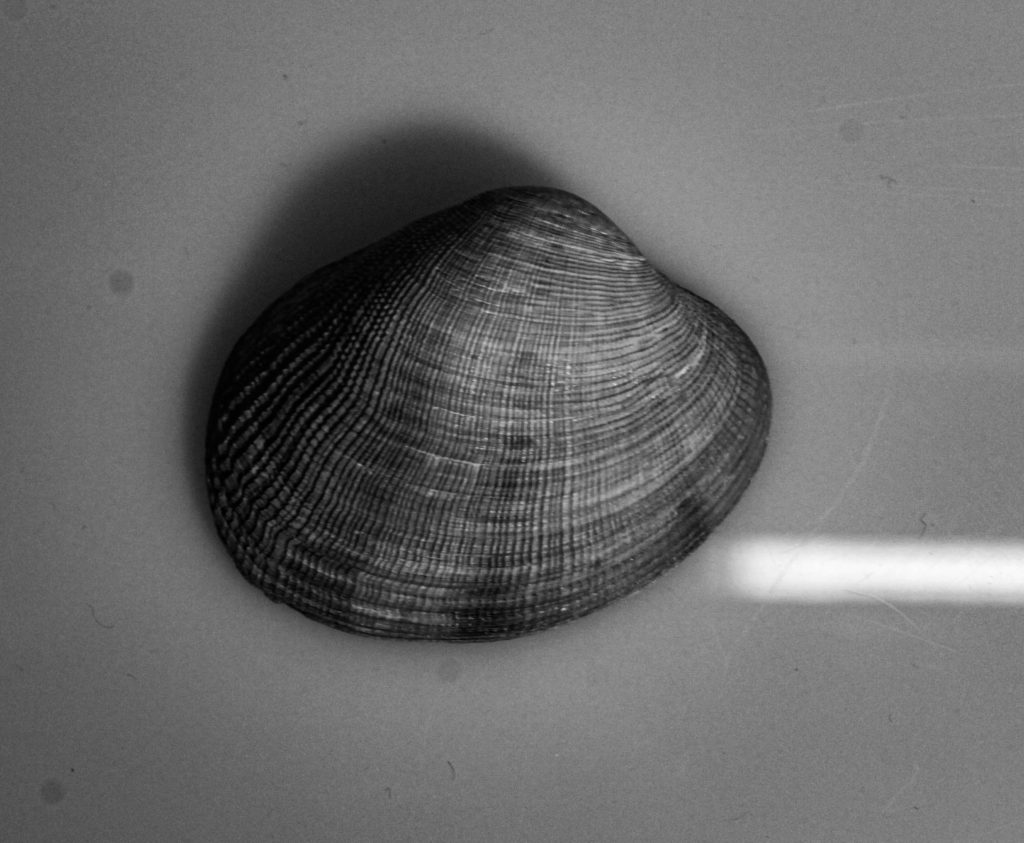
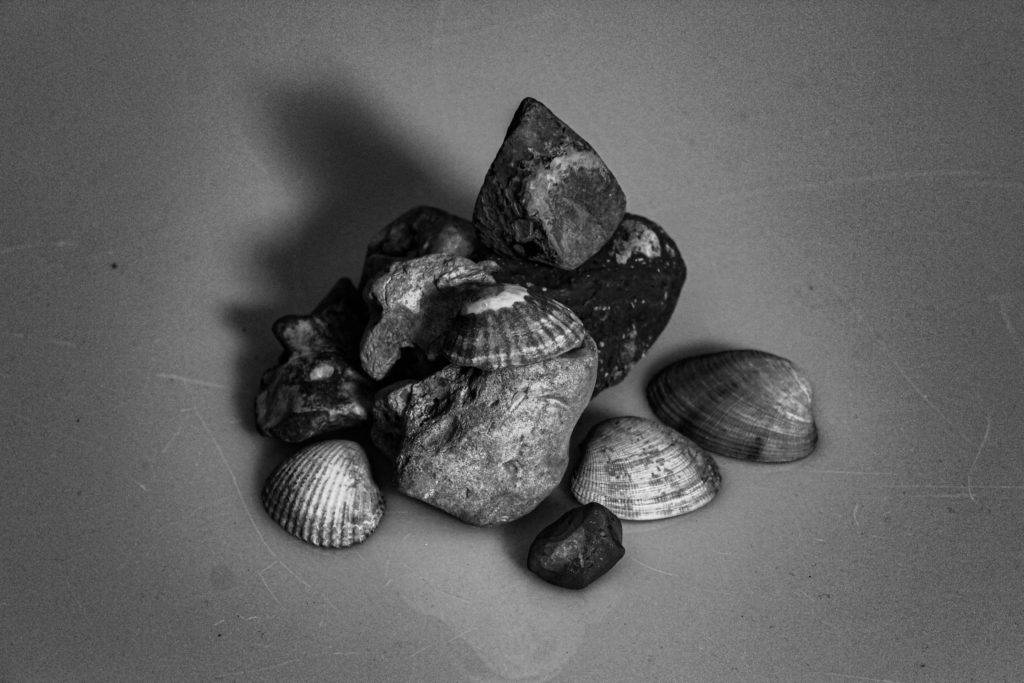
I have chosen these three images as my first final outcomes as I believe they all compliment each-other well with each containing a variety of objects from the locations in Jersey we have visited. I wanted to display the history of Jersey through the items that can be found among the island and present its geology through the process of a still life photograph. Each image contains the same types of shells but they have all been laid out different and have been photographed at different angles. The first image displays a range of shells all across the photograph whilst the second image only showcases a select number of shells to really highlight a closeup view of what the object really looks like and what it presents for Jersey.
Although I like how these images turned out, I will say that I have a few critics to make about the three images taken. With the third image in particular, I am satisfied with how the image was taken and the angle it was taken at, but I think now that it would have looked a lot better with a similar coloured backdrop so that the shells are showcased a lot more obviously. Photographing them up against a light backdrop, takes away a little of the shells shape as it’s getting lost in a similar colour scheme to that of the backdrop.

For this image, once again I like how the final outcome turned out but I still believe that the image holds some weaknesses that could be improved in order to make the image much higher quality. I believe that the image is slightly blurry and the shadow isn’t as crisp and clear as I hoped it would be. I also think that the reflection of the image isn’t very reflective and shiny which is something else I would like to improve on.
Next time, I would aim to make the image just a bit sharper by possibly adjusting the lighting more and taking the images more slowly as for the camera to process the photographs taken.
Second photoshoot attempt
After doing my first photoshoot, I ended up revisiting the studio to take another selection of photographs to see if I could possibly improve a bit more with taking still life images.
Contact sheets:
Colour coded and star rated photographs:


Best images:


Final edits:
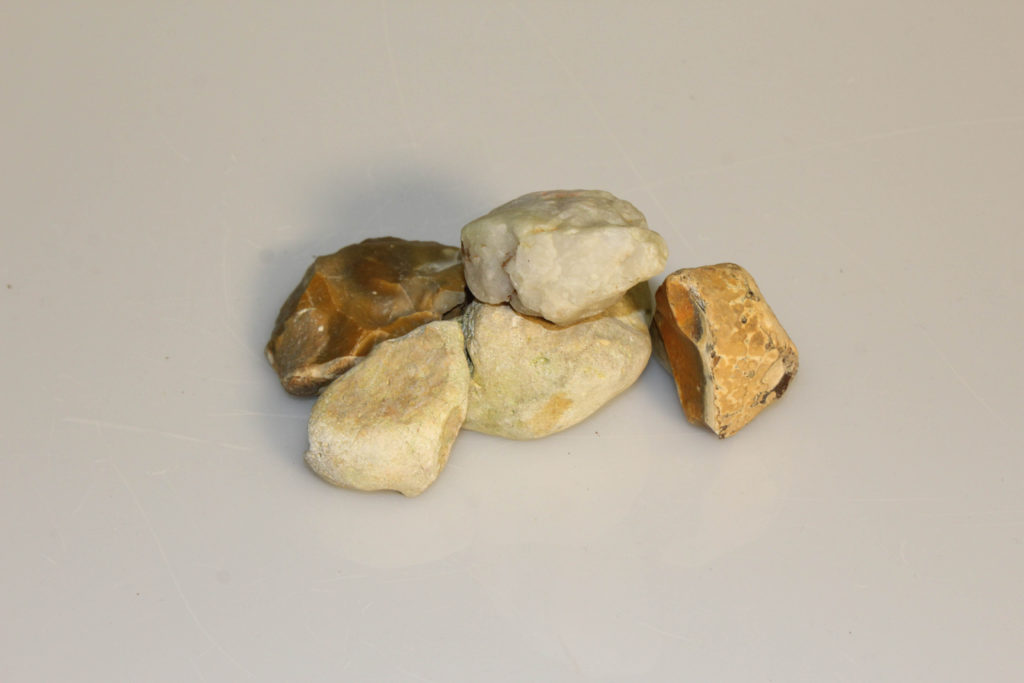
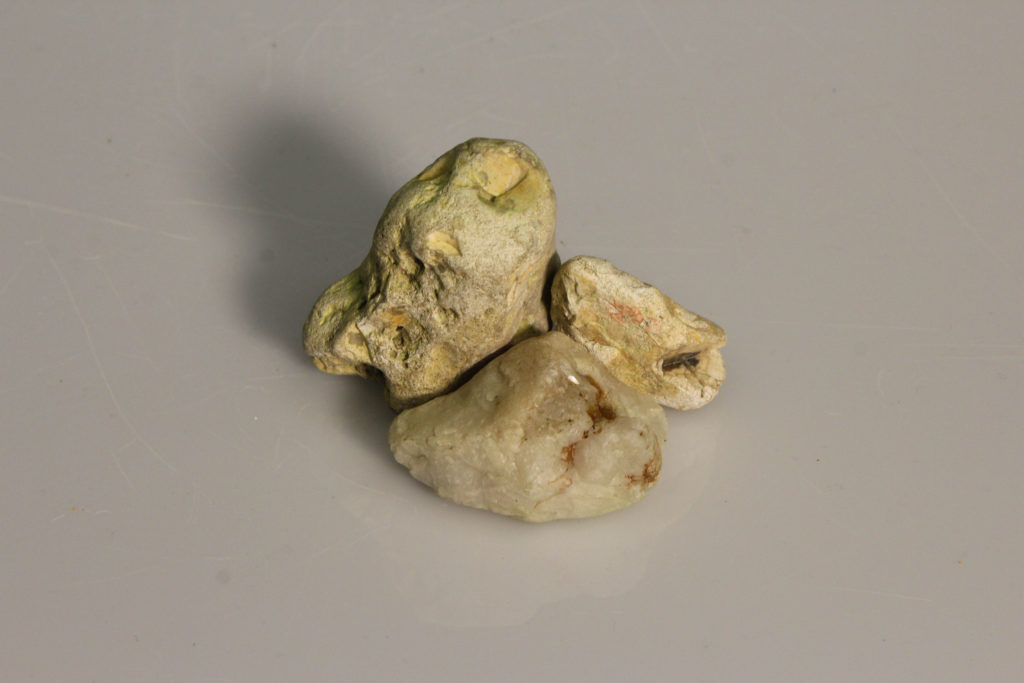
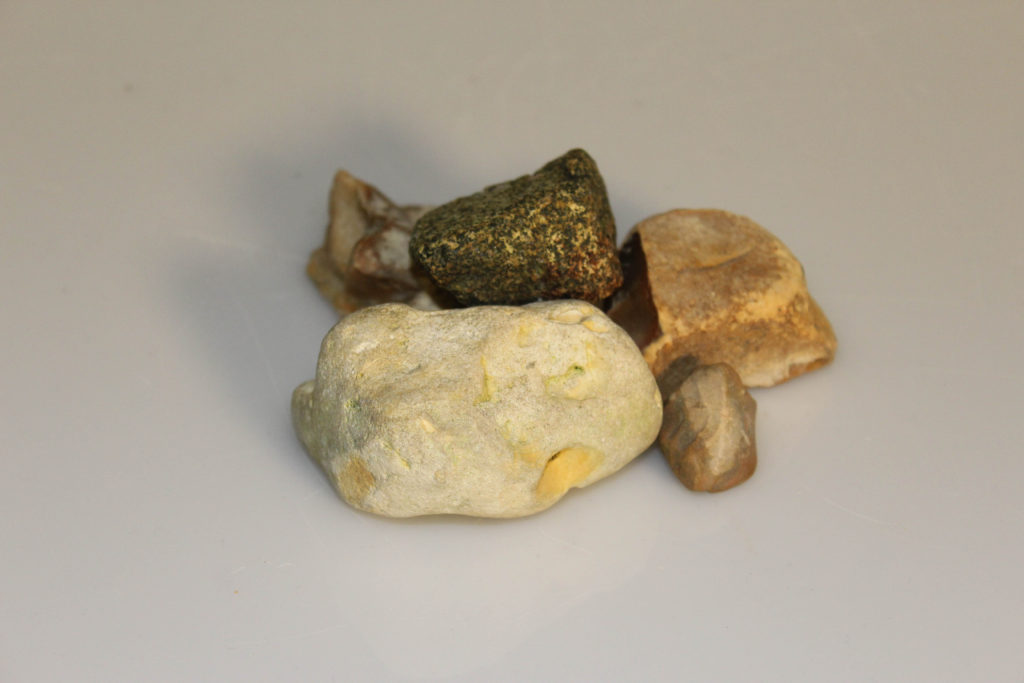
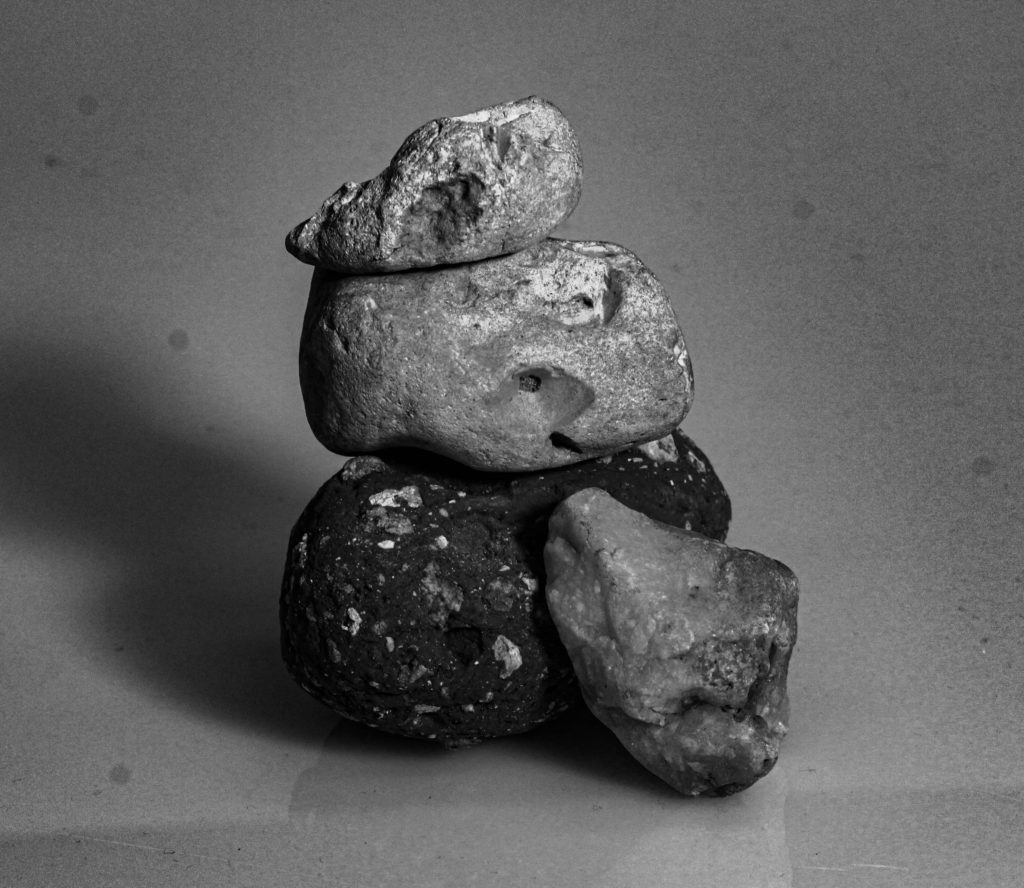
Combined rock photographs:

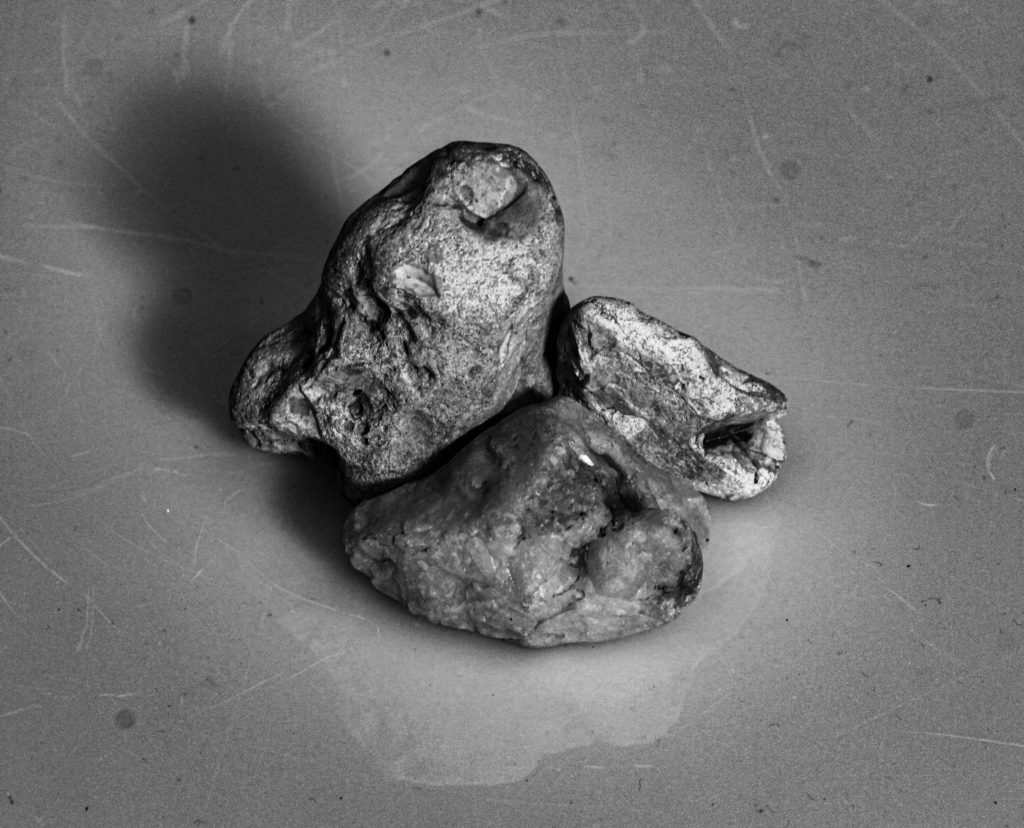
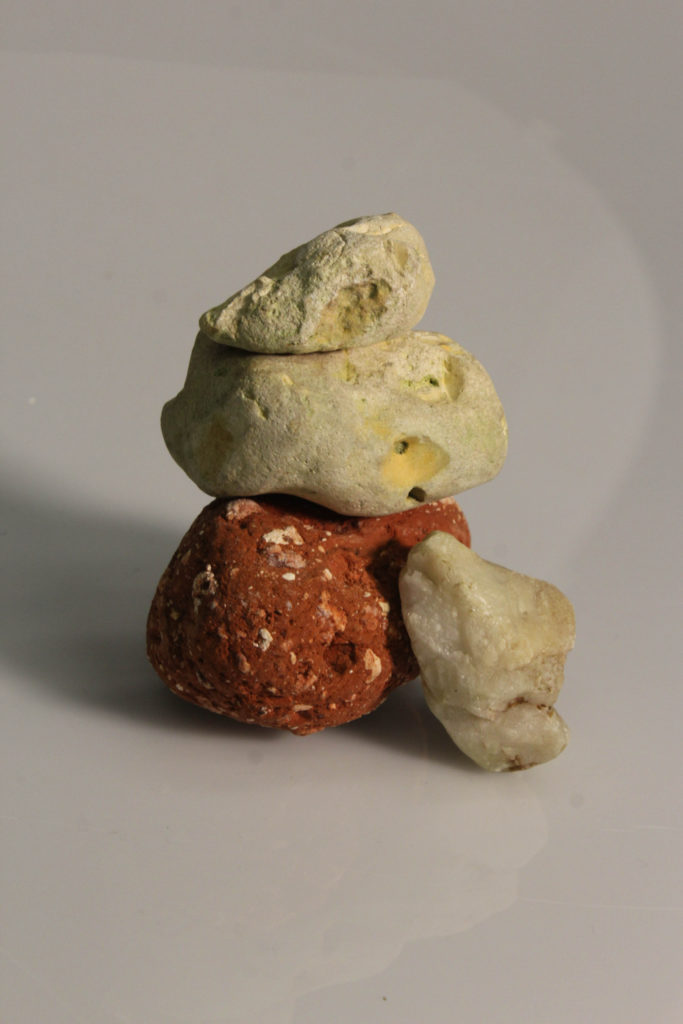
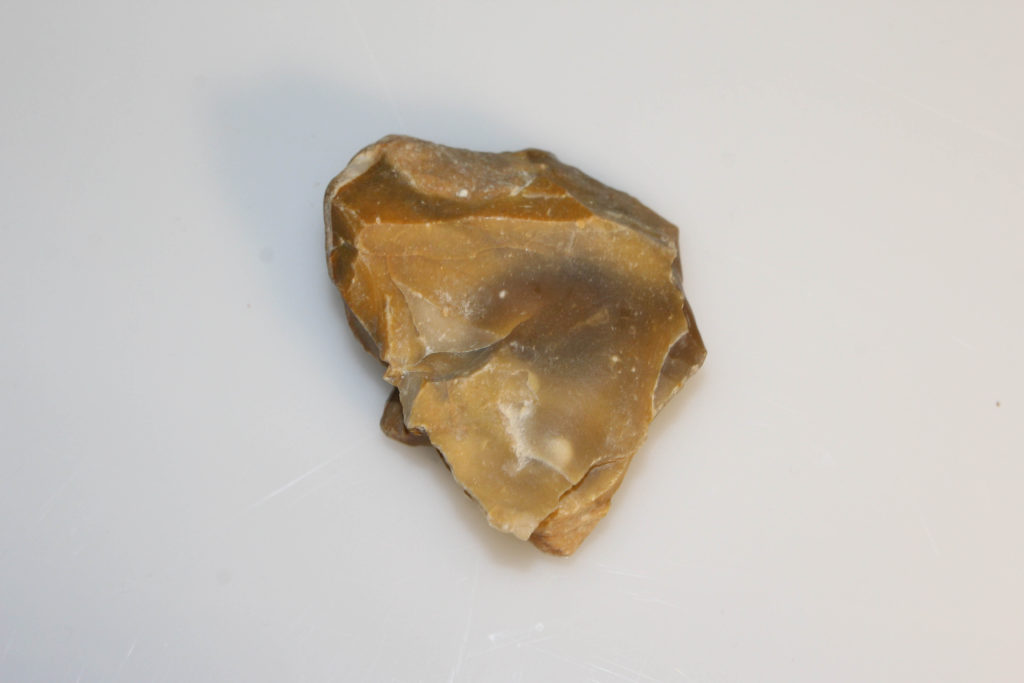
Singular object photographs:

Evaluation and Critique
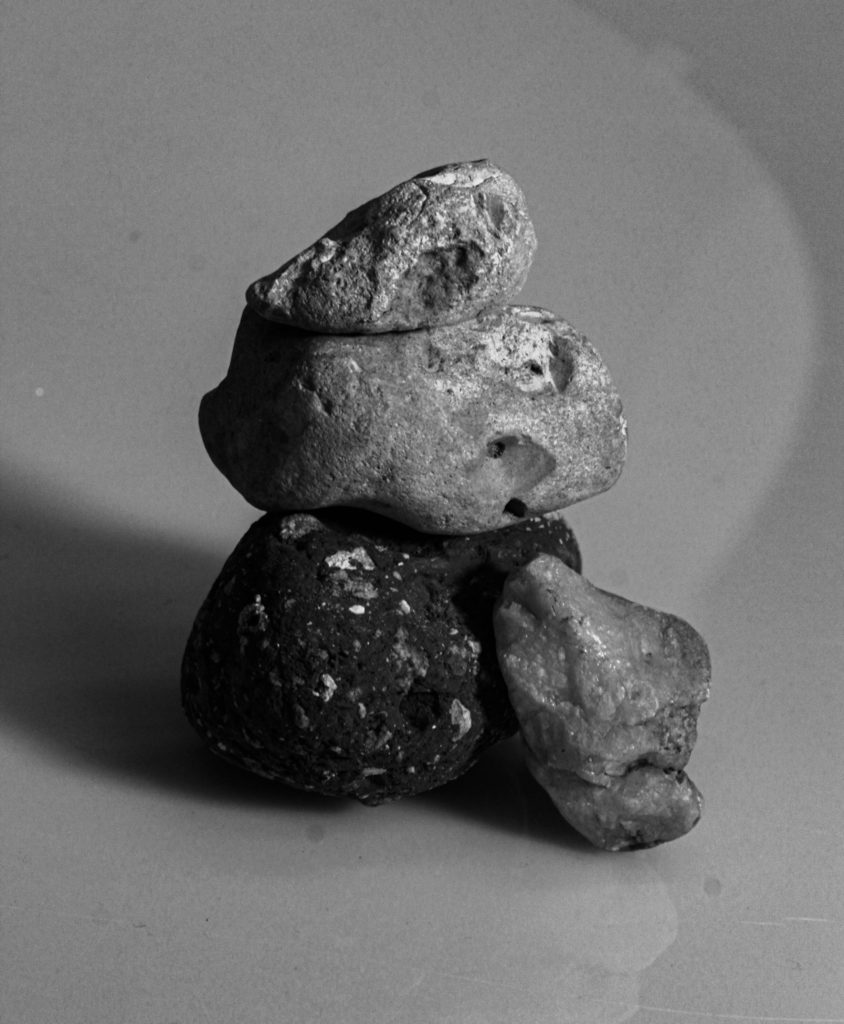
Overall, I am very happy with how my second set of images turned out and really enjoy the look they give off with the scratchy background behind the rocks. I believe that this scratchy texture helps to elevate the images a lot more to make it seem like the whole image is rough and jagged. The rough and jagged sense displays what Jersey’s geology really is like and displays the real basis of the islands structure and aesthetic.

For the photographs that contain a collective of rocks, these ones I believe were to be my strongest photographs as I feel they hold a very bold sense of imagery. They capture the real sense of Jersey’s geological aspects and what the island has to hold within it’s beaches and other rocky landscapes. The way I edited the photo I particularly like as it highlights the layers of textures from each rock and gives them a much richer amount of importance.
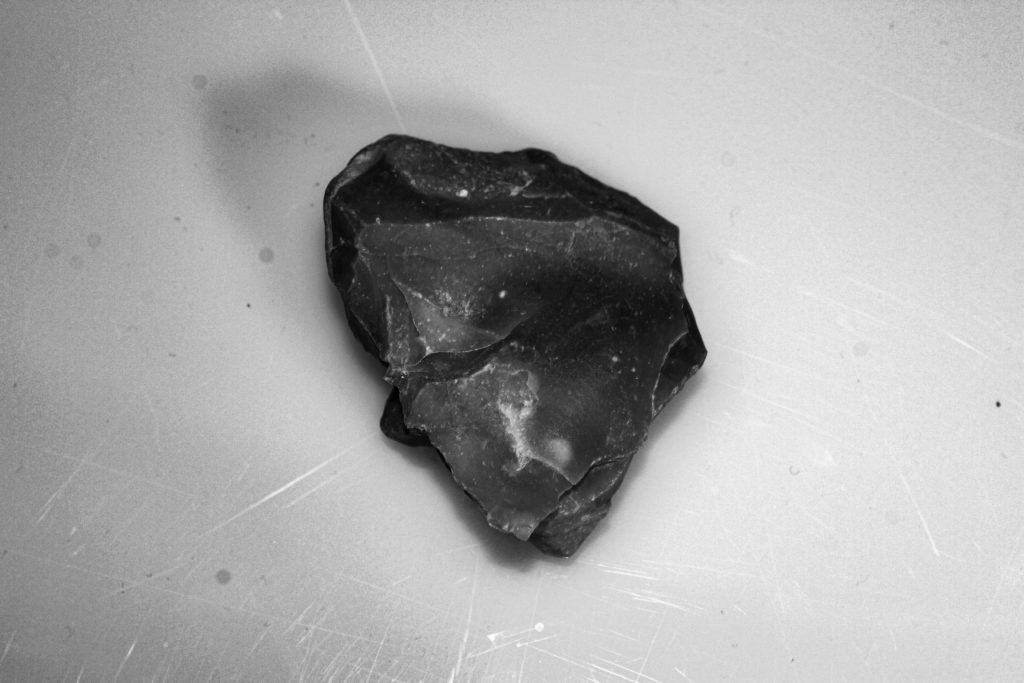
For my singular images, I particularly like this image out of all the ones I took as I believe it is a very dramatic image and once again displays a nice rough and scratchy presence. Next time I would have possibly tried out photographing the rock on a black surface as I feel like that would have added quite a bit more depth, but it might have also faulted the overall aspect of the rock due to the rock containing quite harsh colours already. The focal point wouldn’t be very clear to see if it’s surrounded in a similar colour to the rock itself, whilst the white background displays the rock in its entirety.